1 / Surface Reconstruction
2 / Dissertation Consultation
3 / Voices as Personality–Prototype Making
4 / Identity Map–Prototype Making
SURFACE RECONSTRUCTION
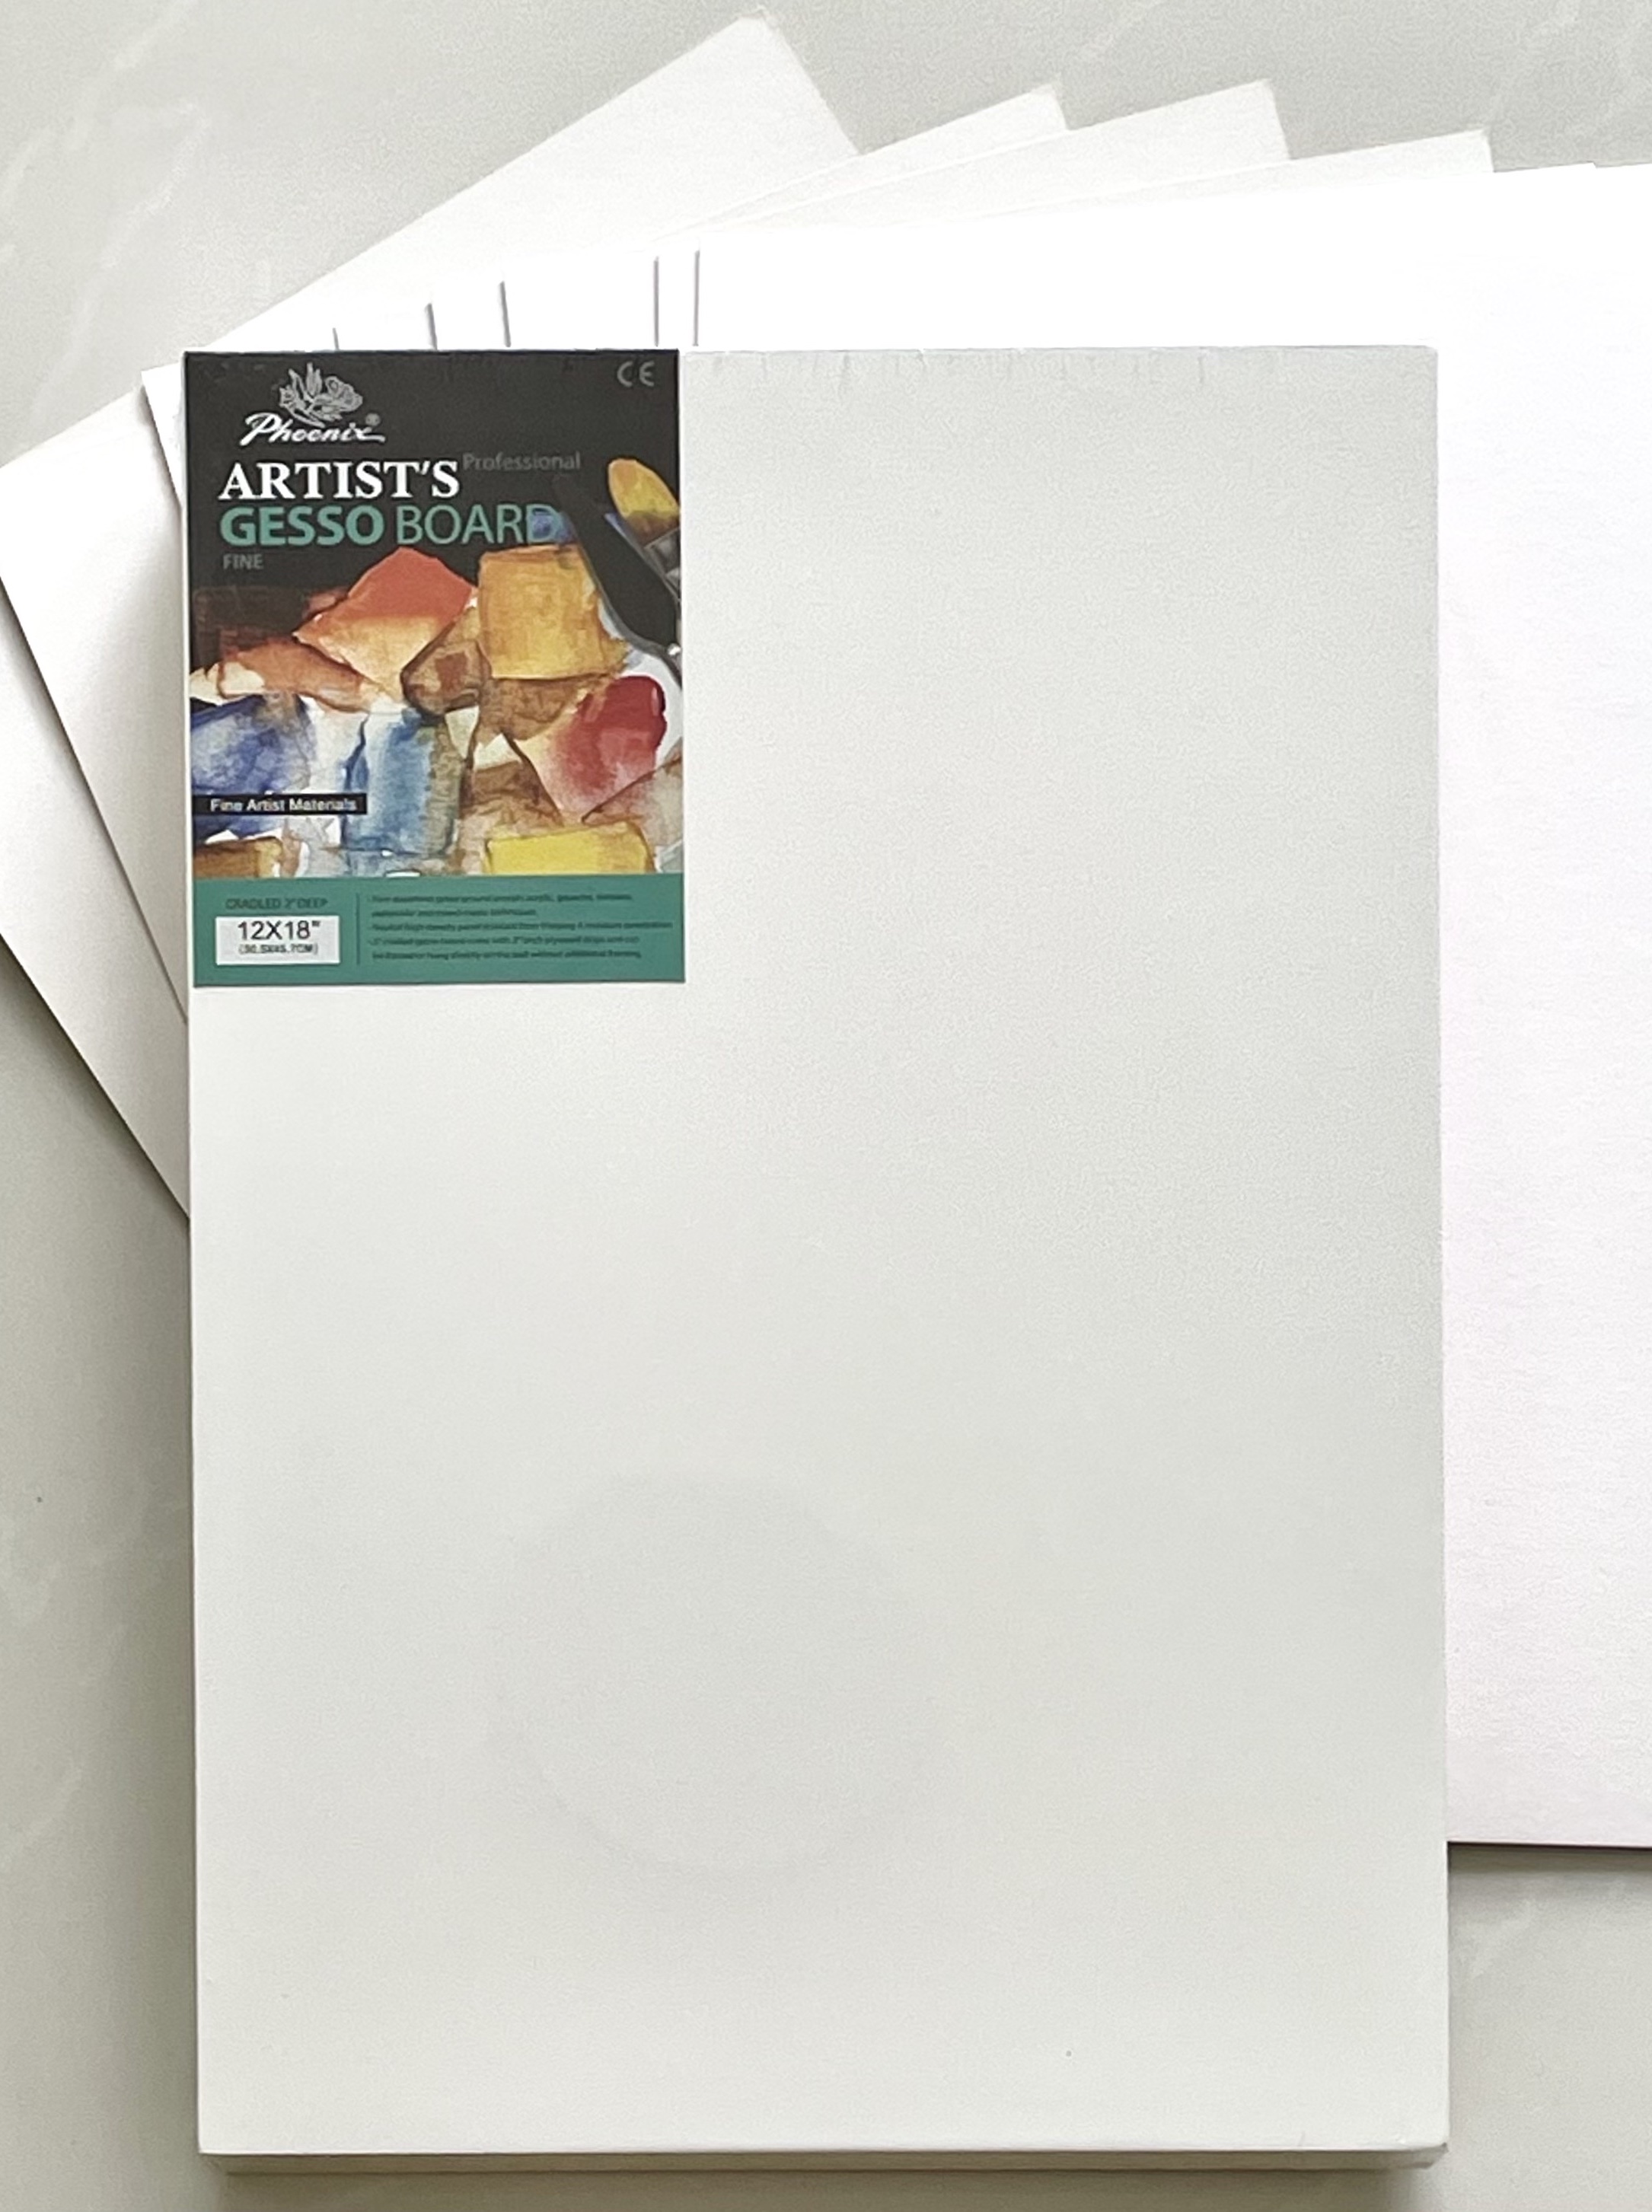
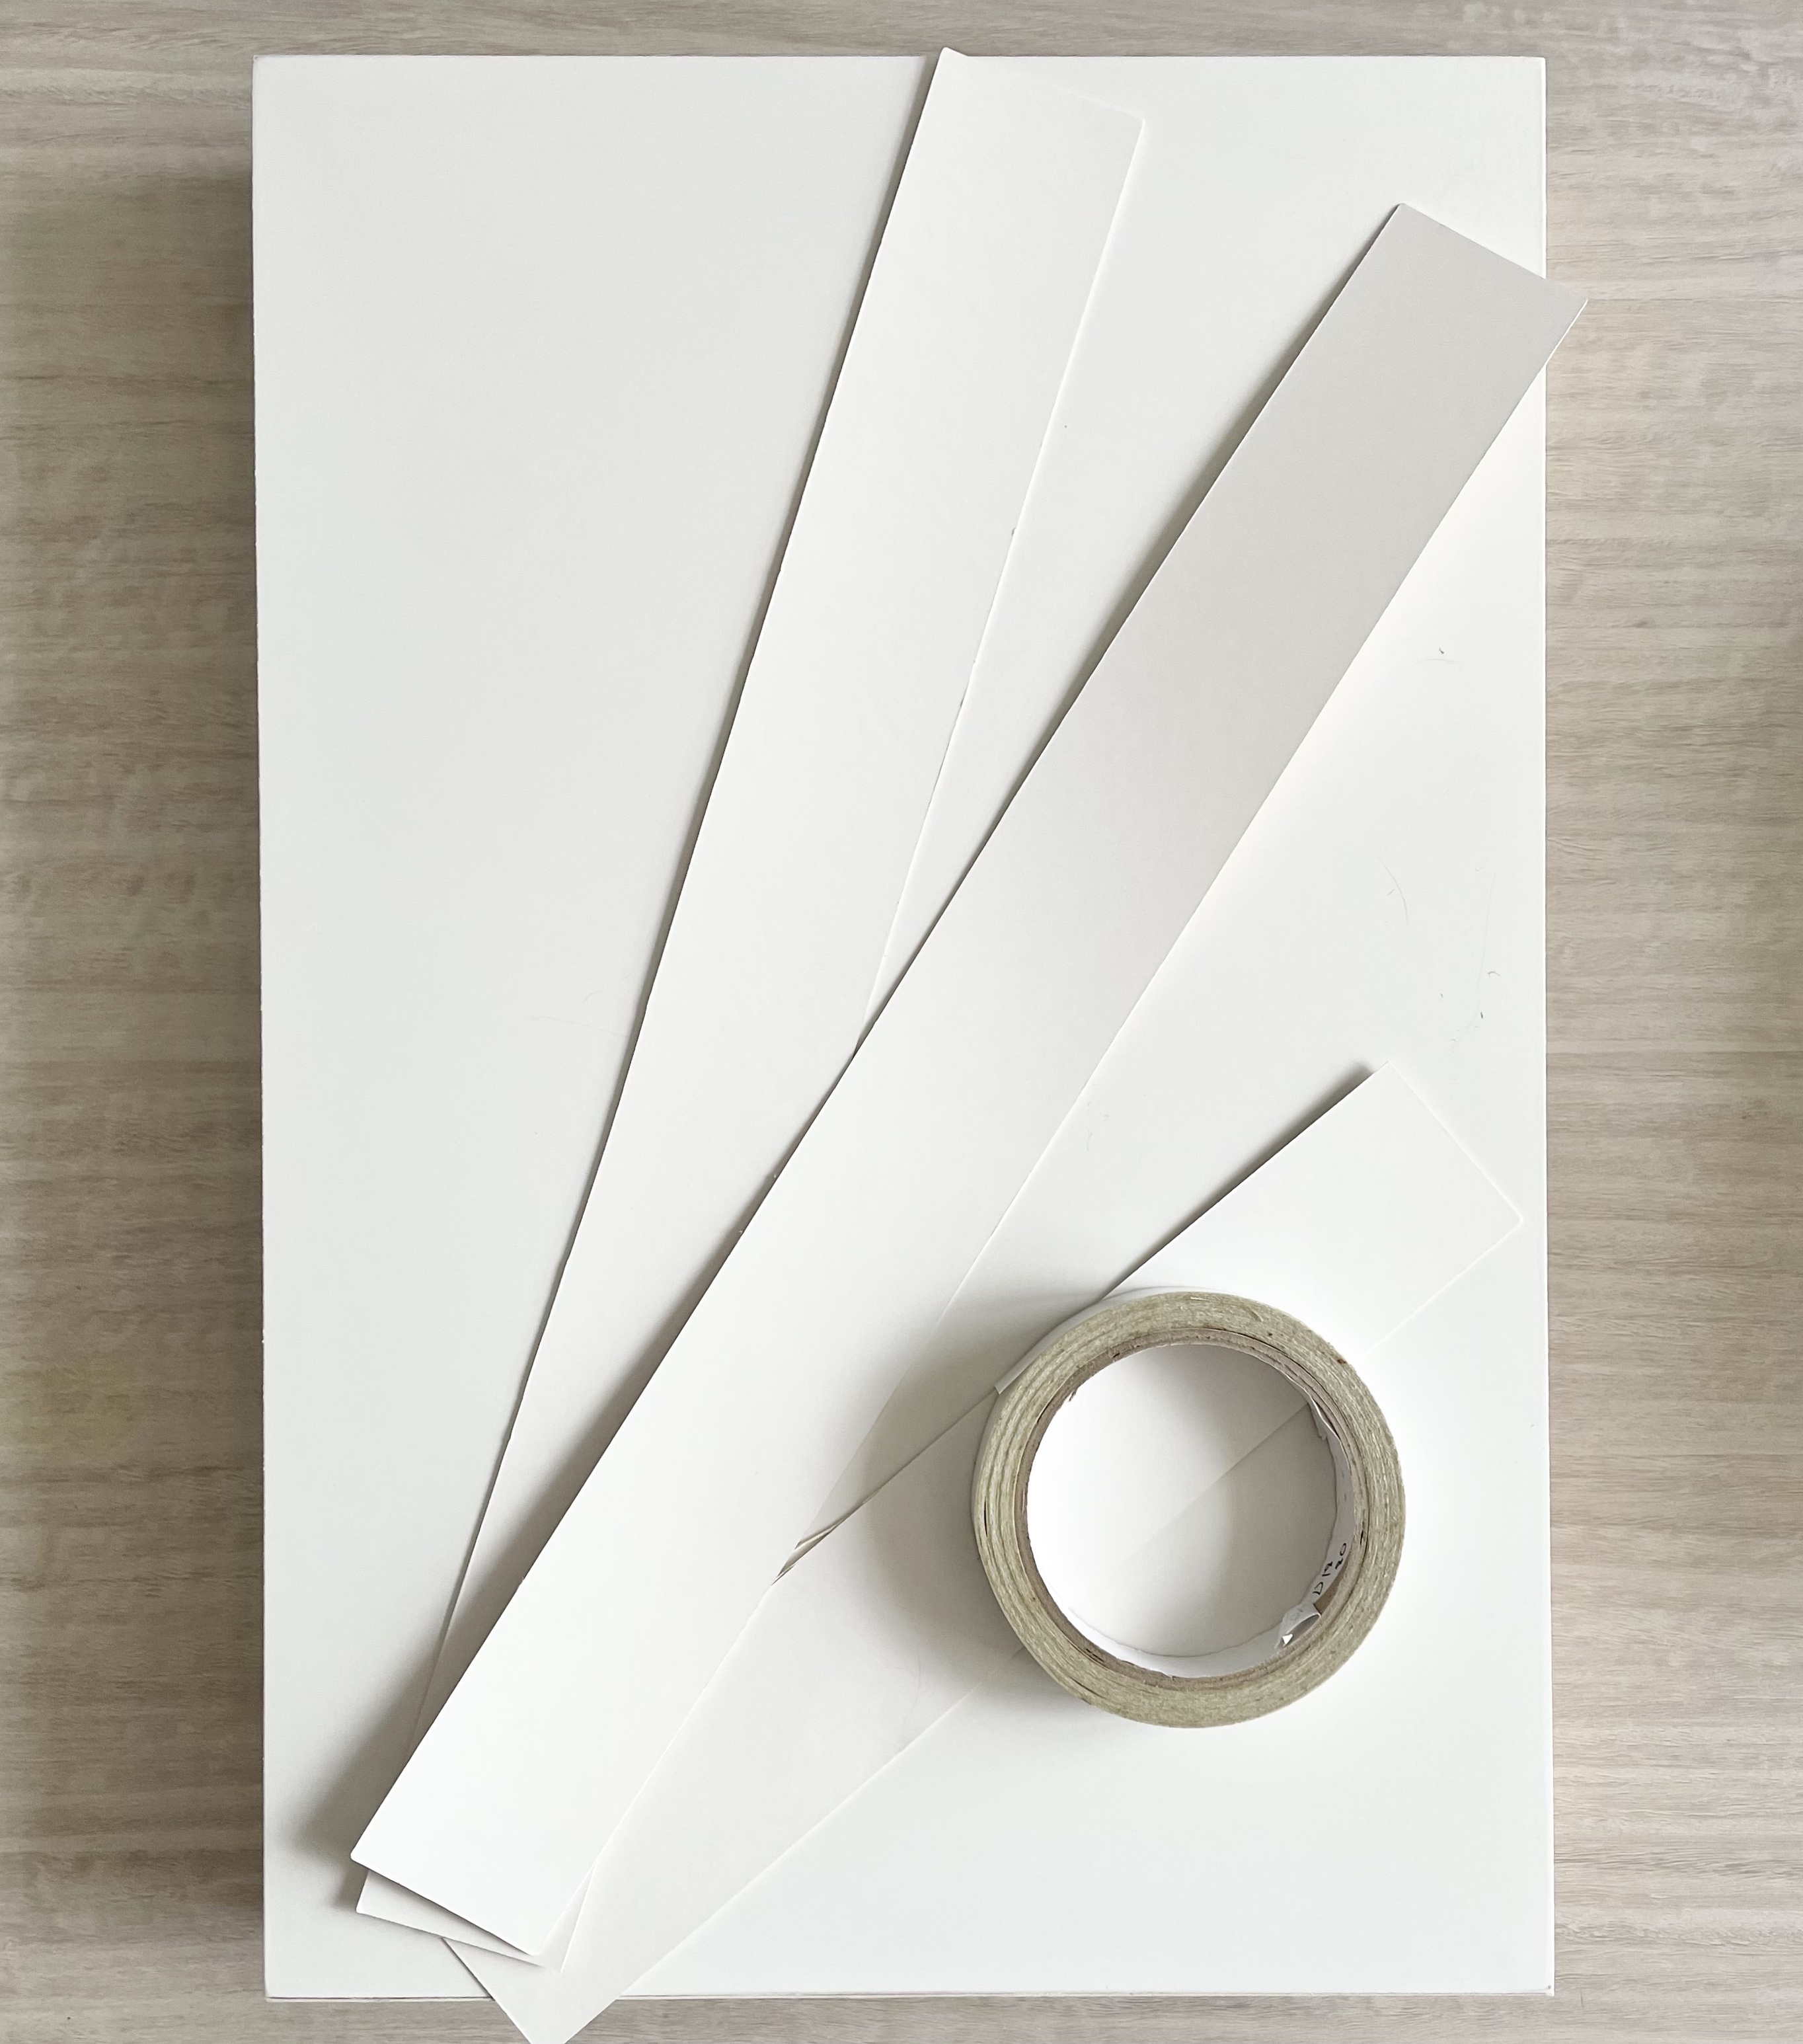
Images: Materials to create a surface for user-testing.
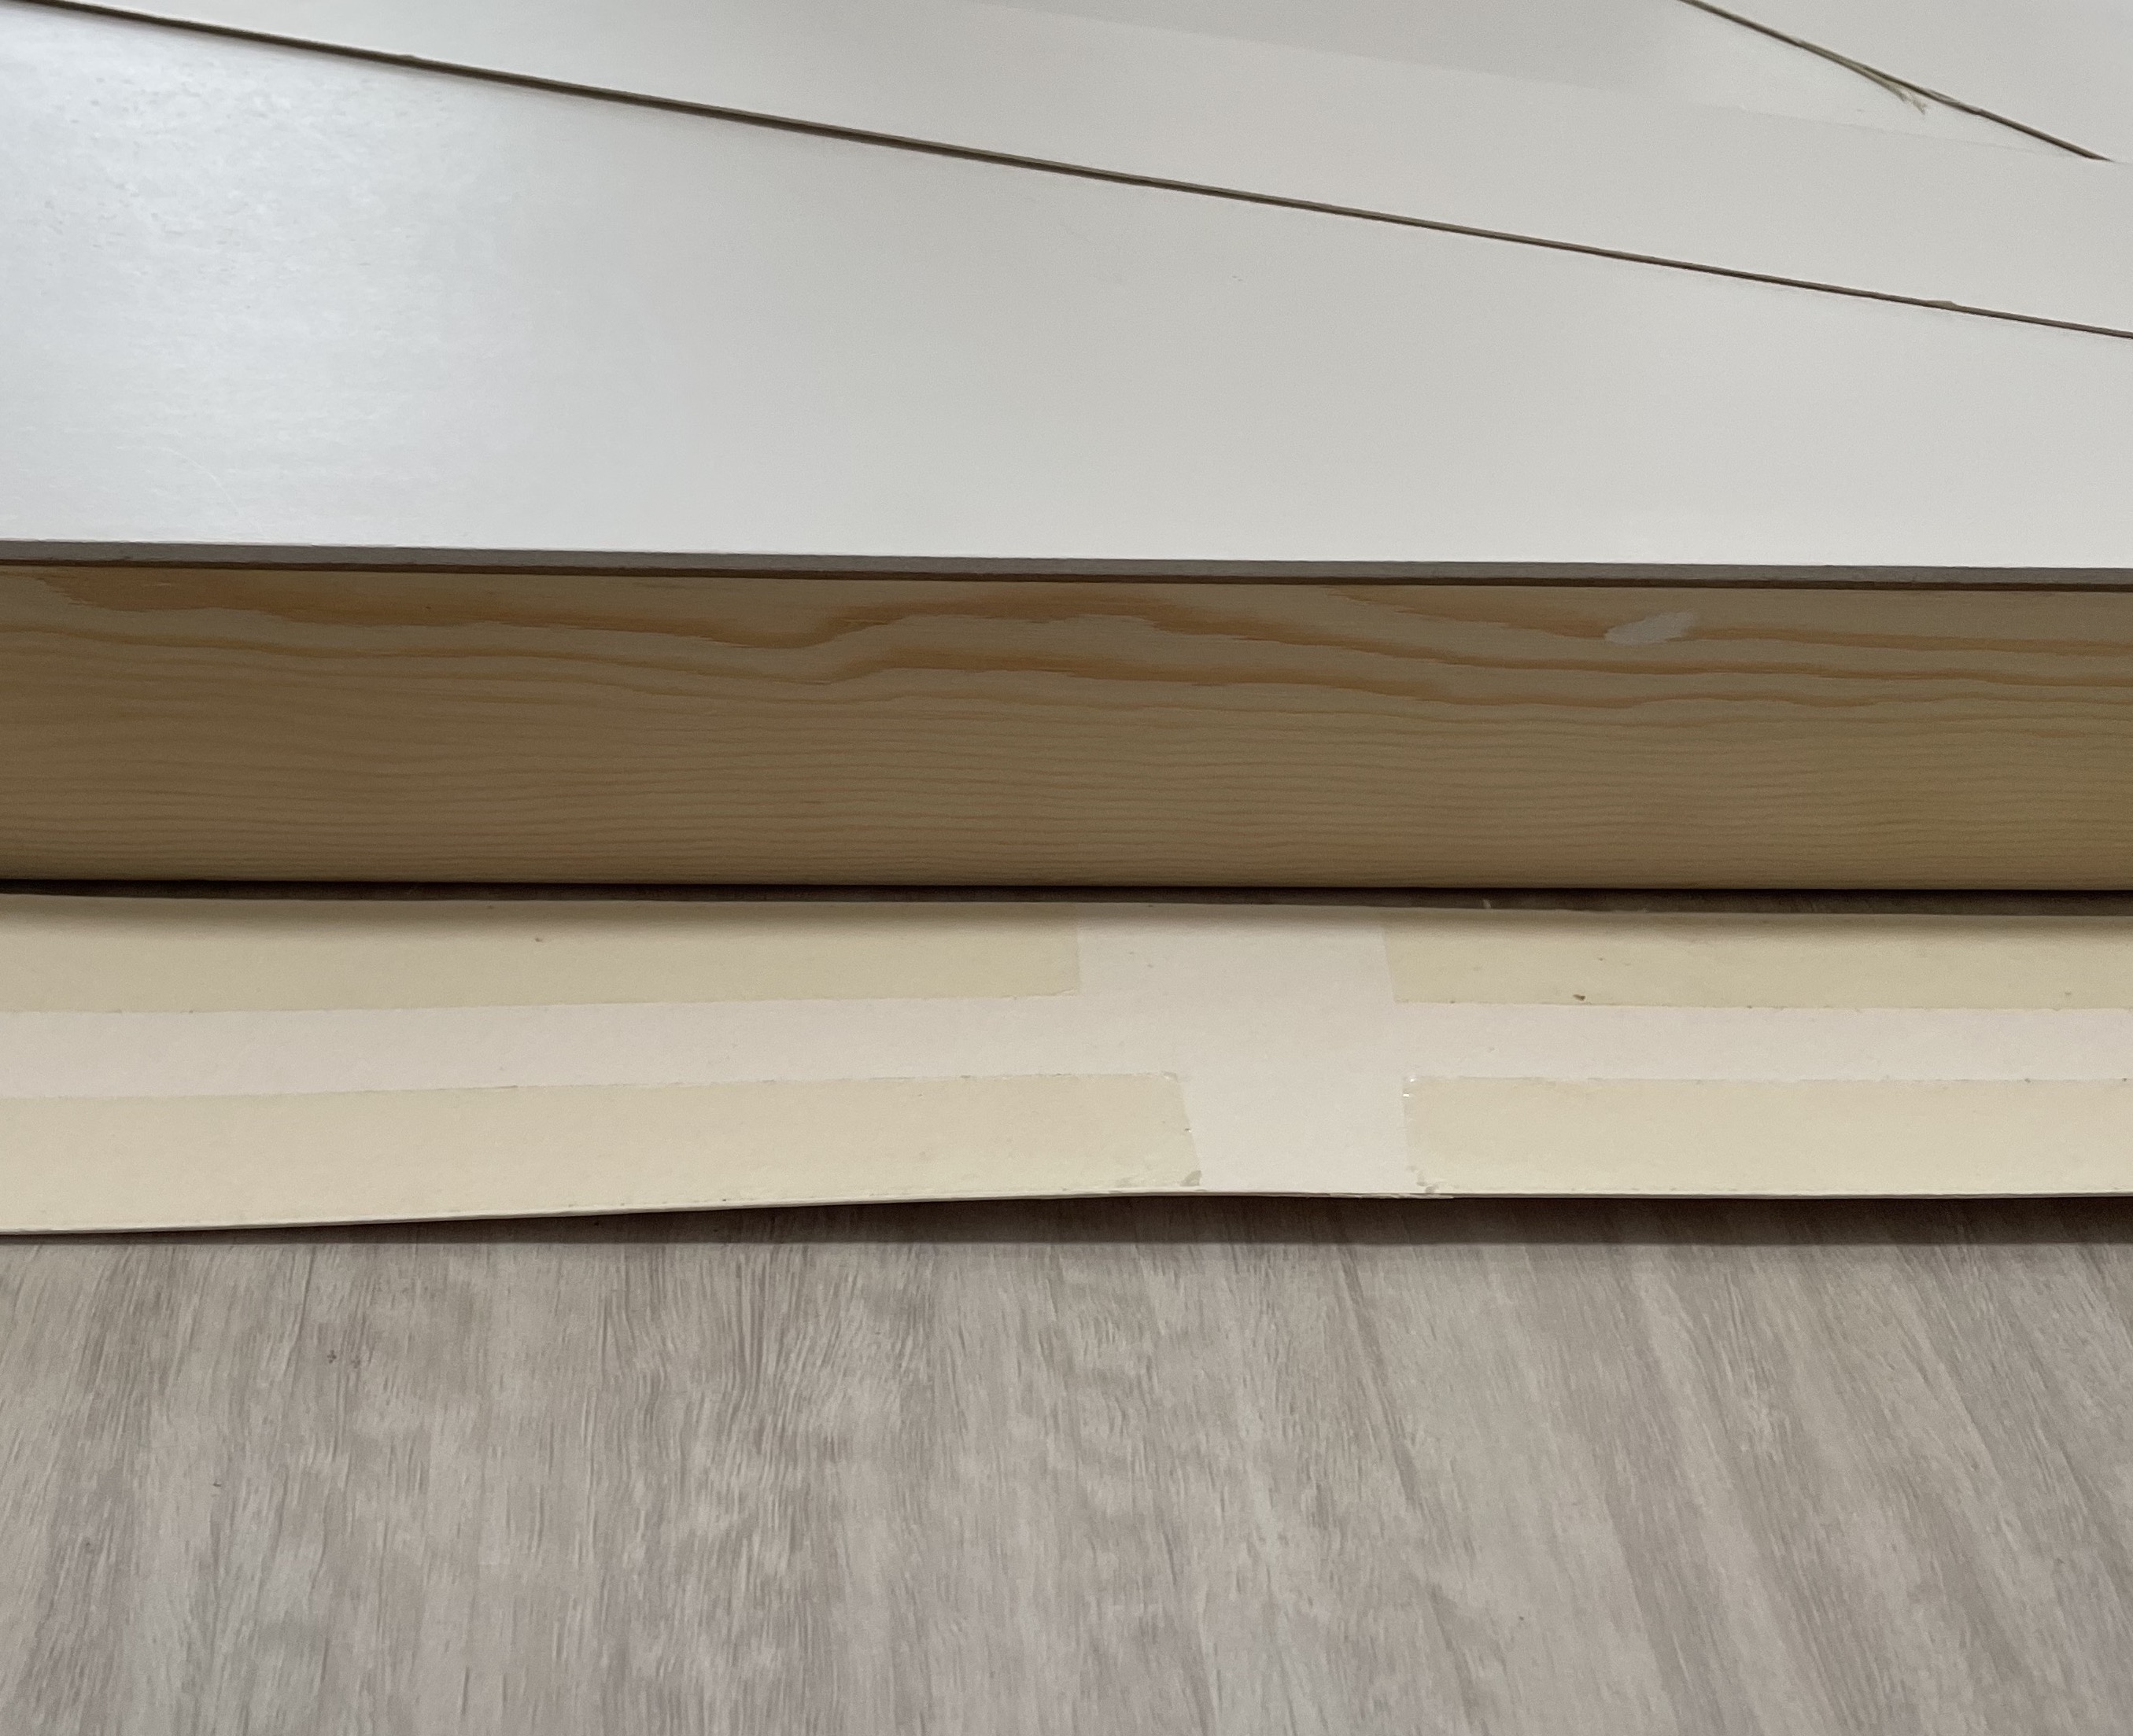
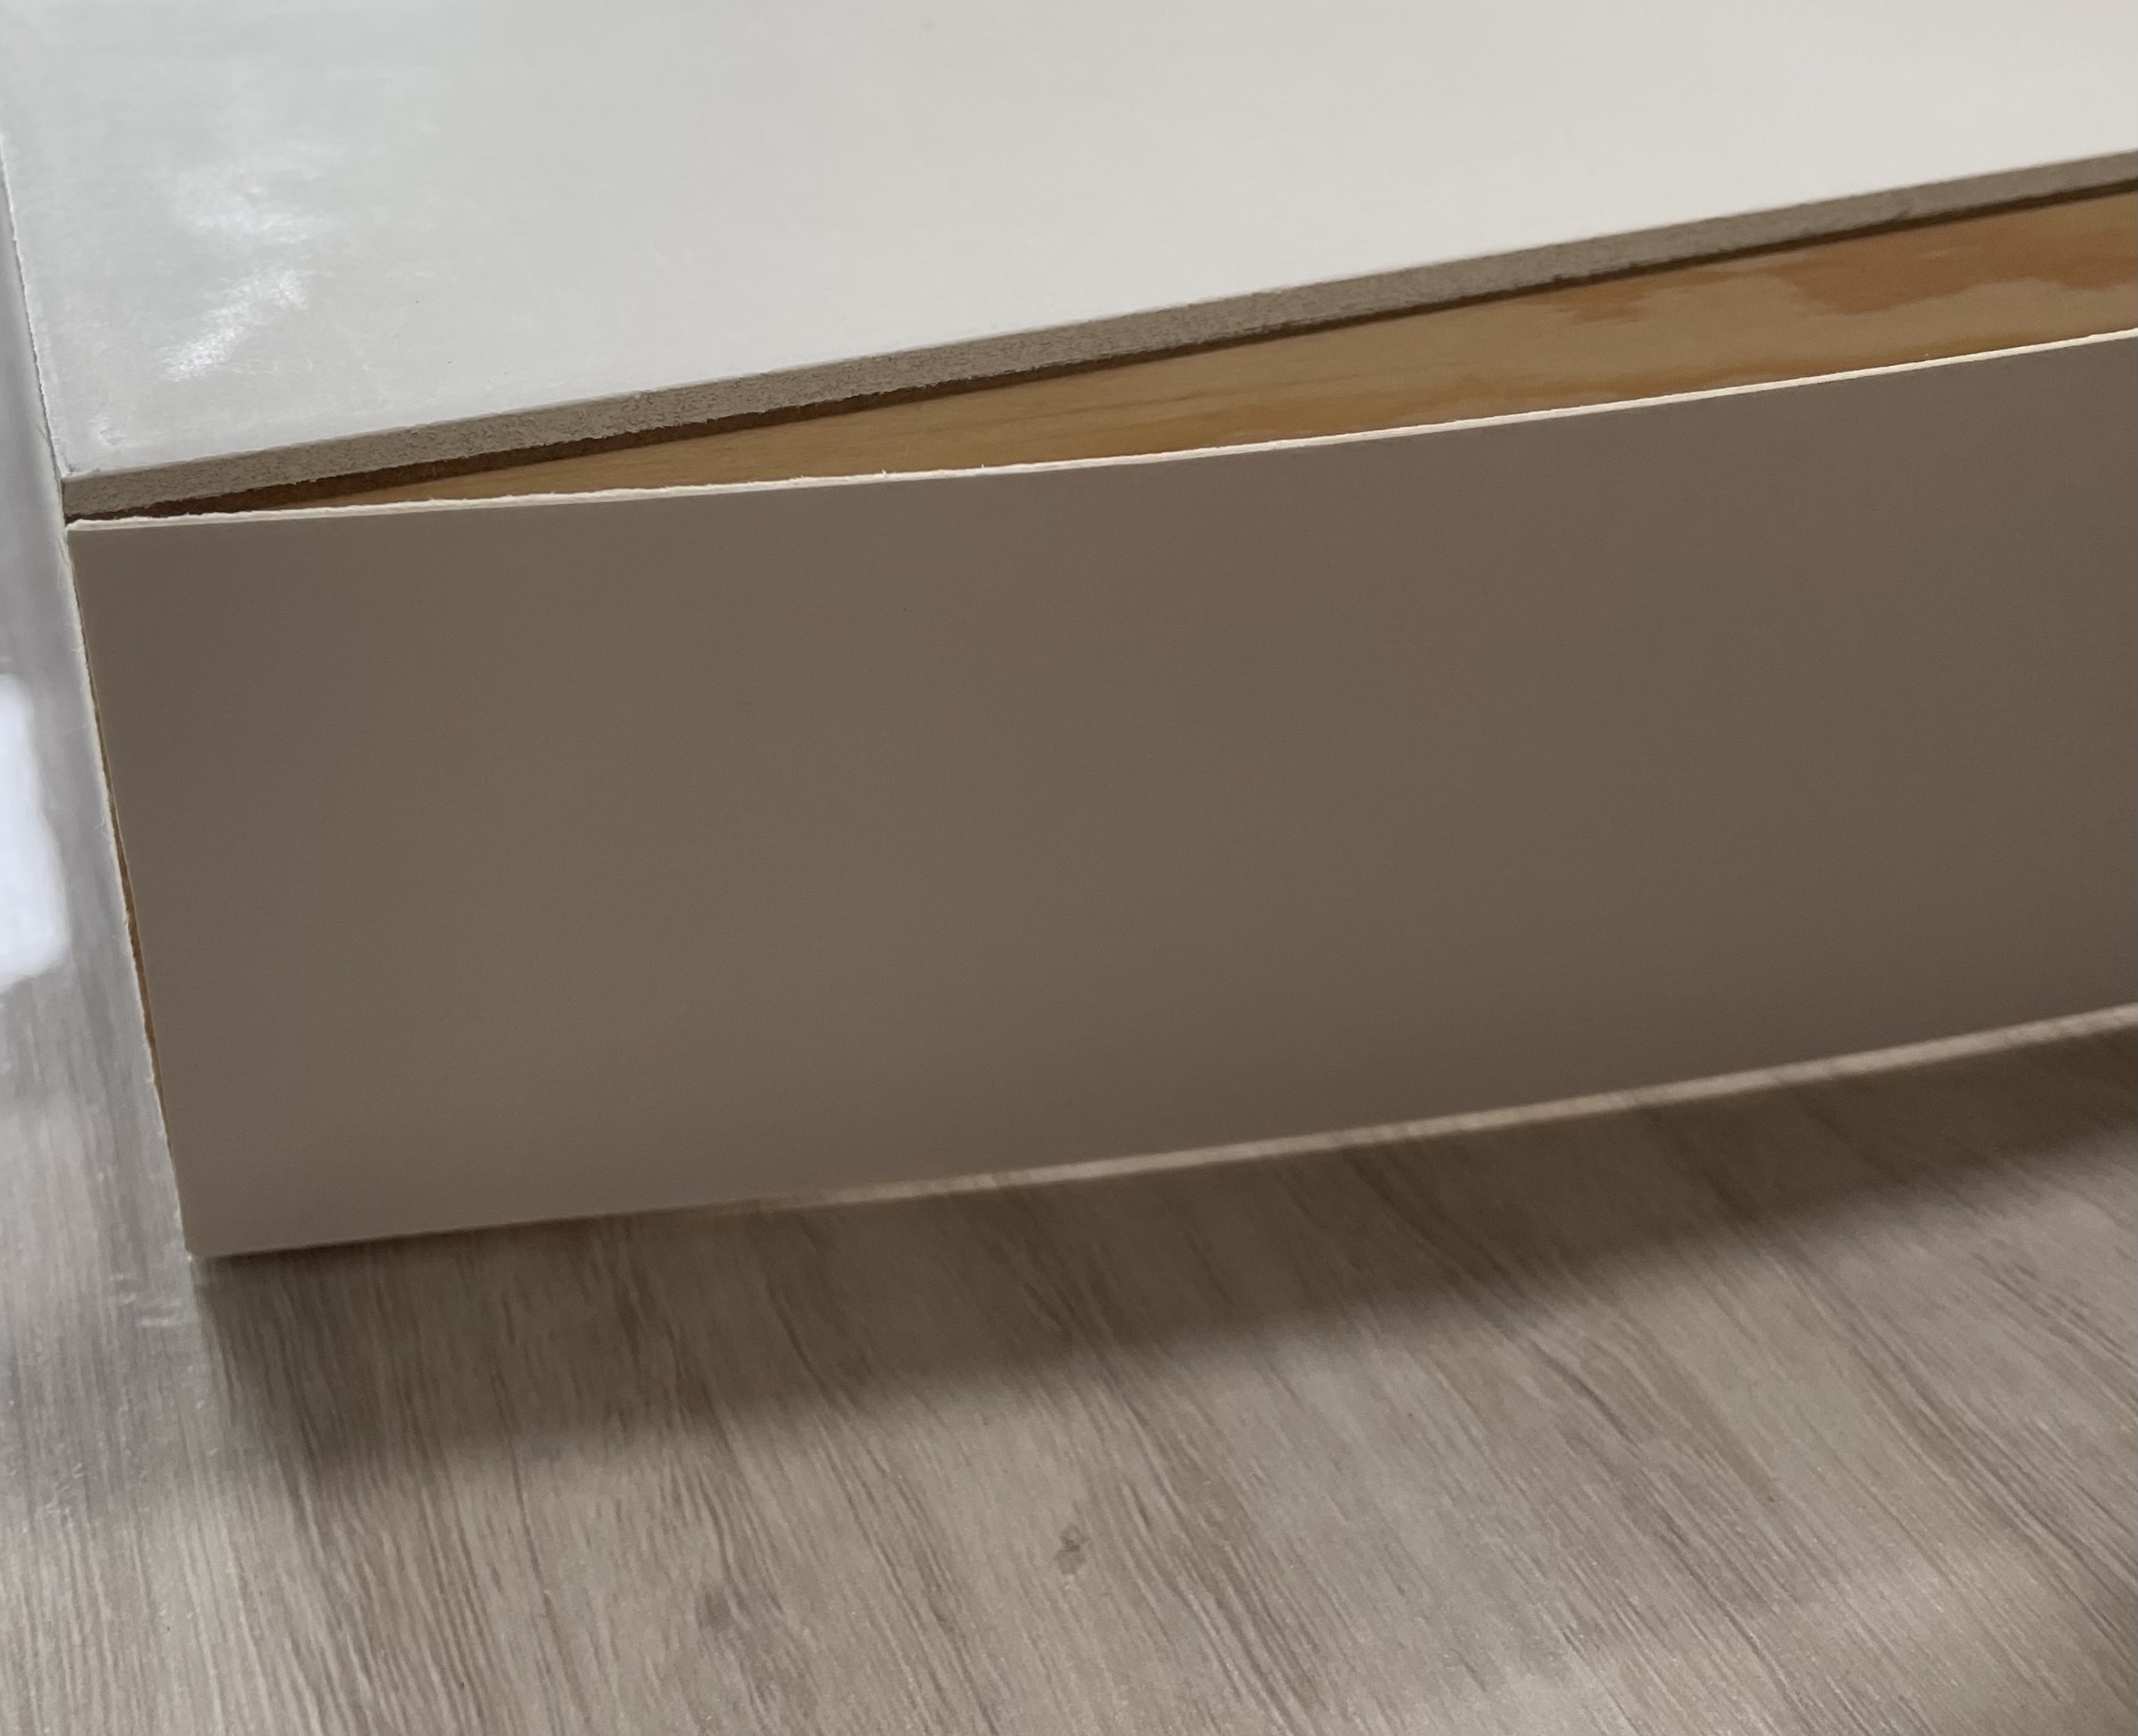
Some materials that was bought from Artfriend include mounting boards to temporarily package the prototypes, an artist's gesso board and A3 papers in the colour eggshell to match the board. The A3 papers were necessary to hide the wooden sides of the gesso board. After several colour matching, I found that the eggshell colour matched the shade of white on the gesso board most closely.
I used double-sided tape to stick the paper onto the sides, which held on surprisingly well. In addition, the measurements and cutting of the paper had to be exact to blend into the gesso board to create a seamless continuation to the adjacent sides.
DISSERTATION CONSULTATION
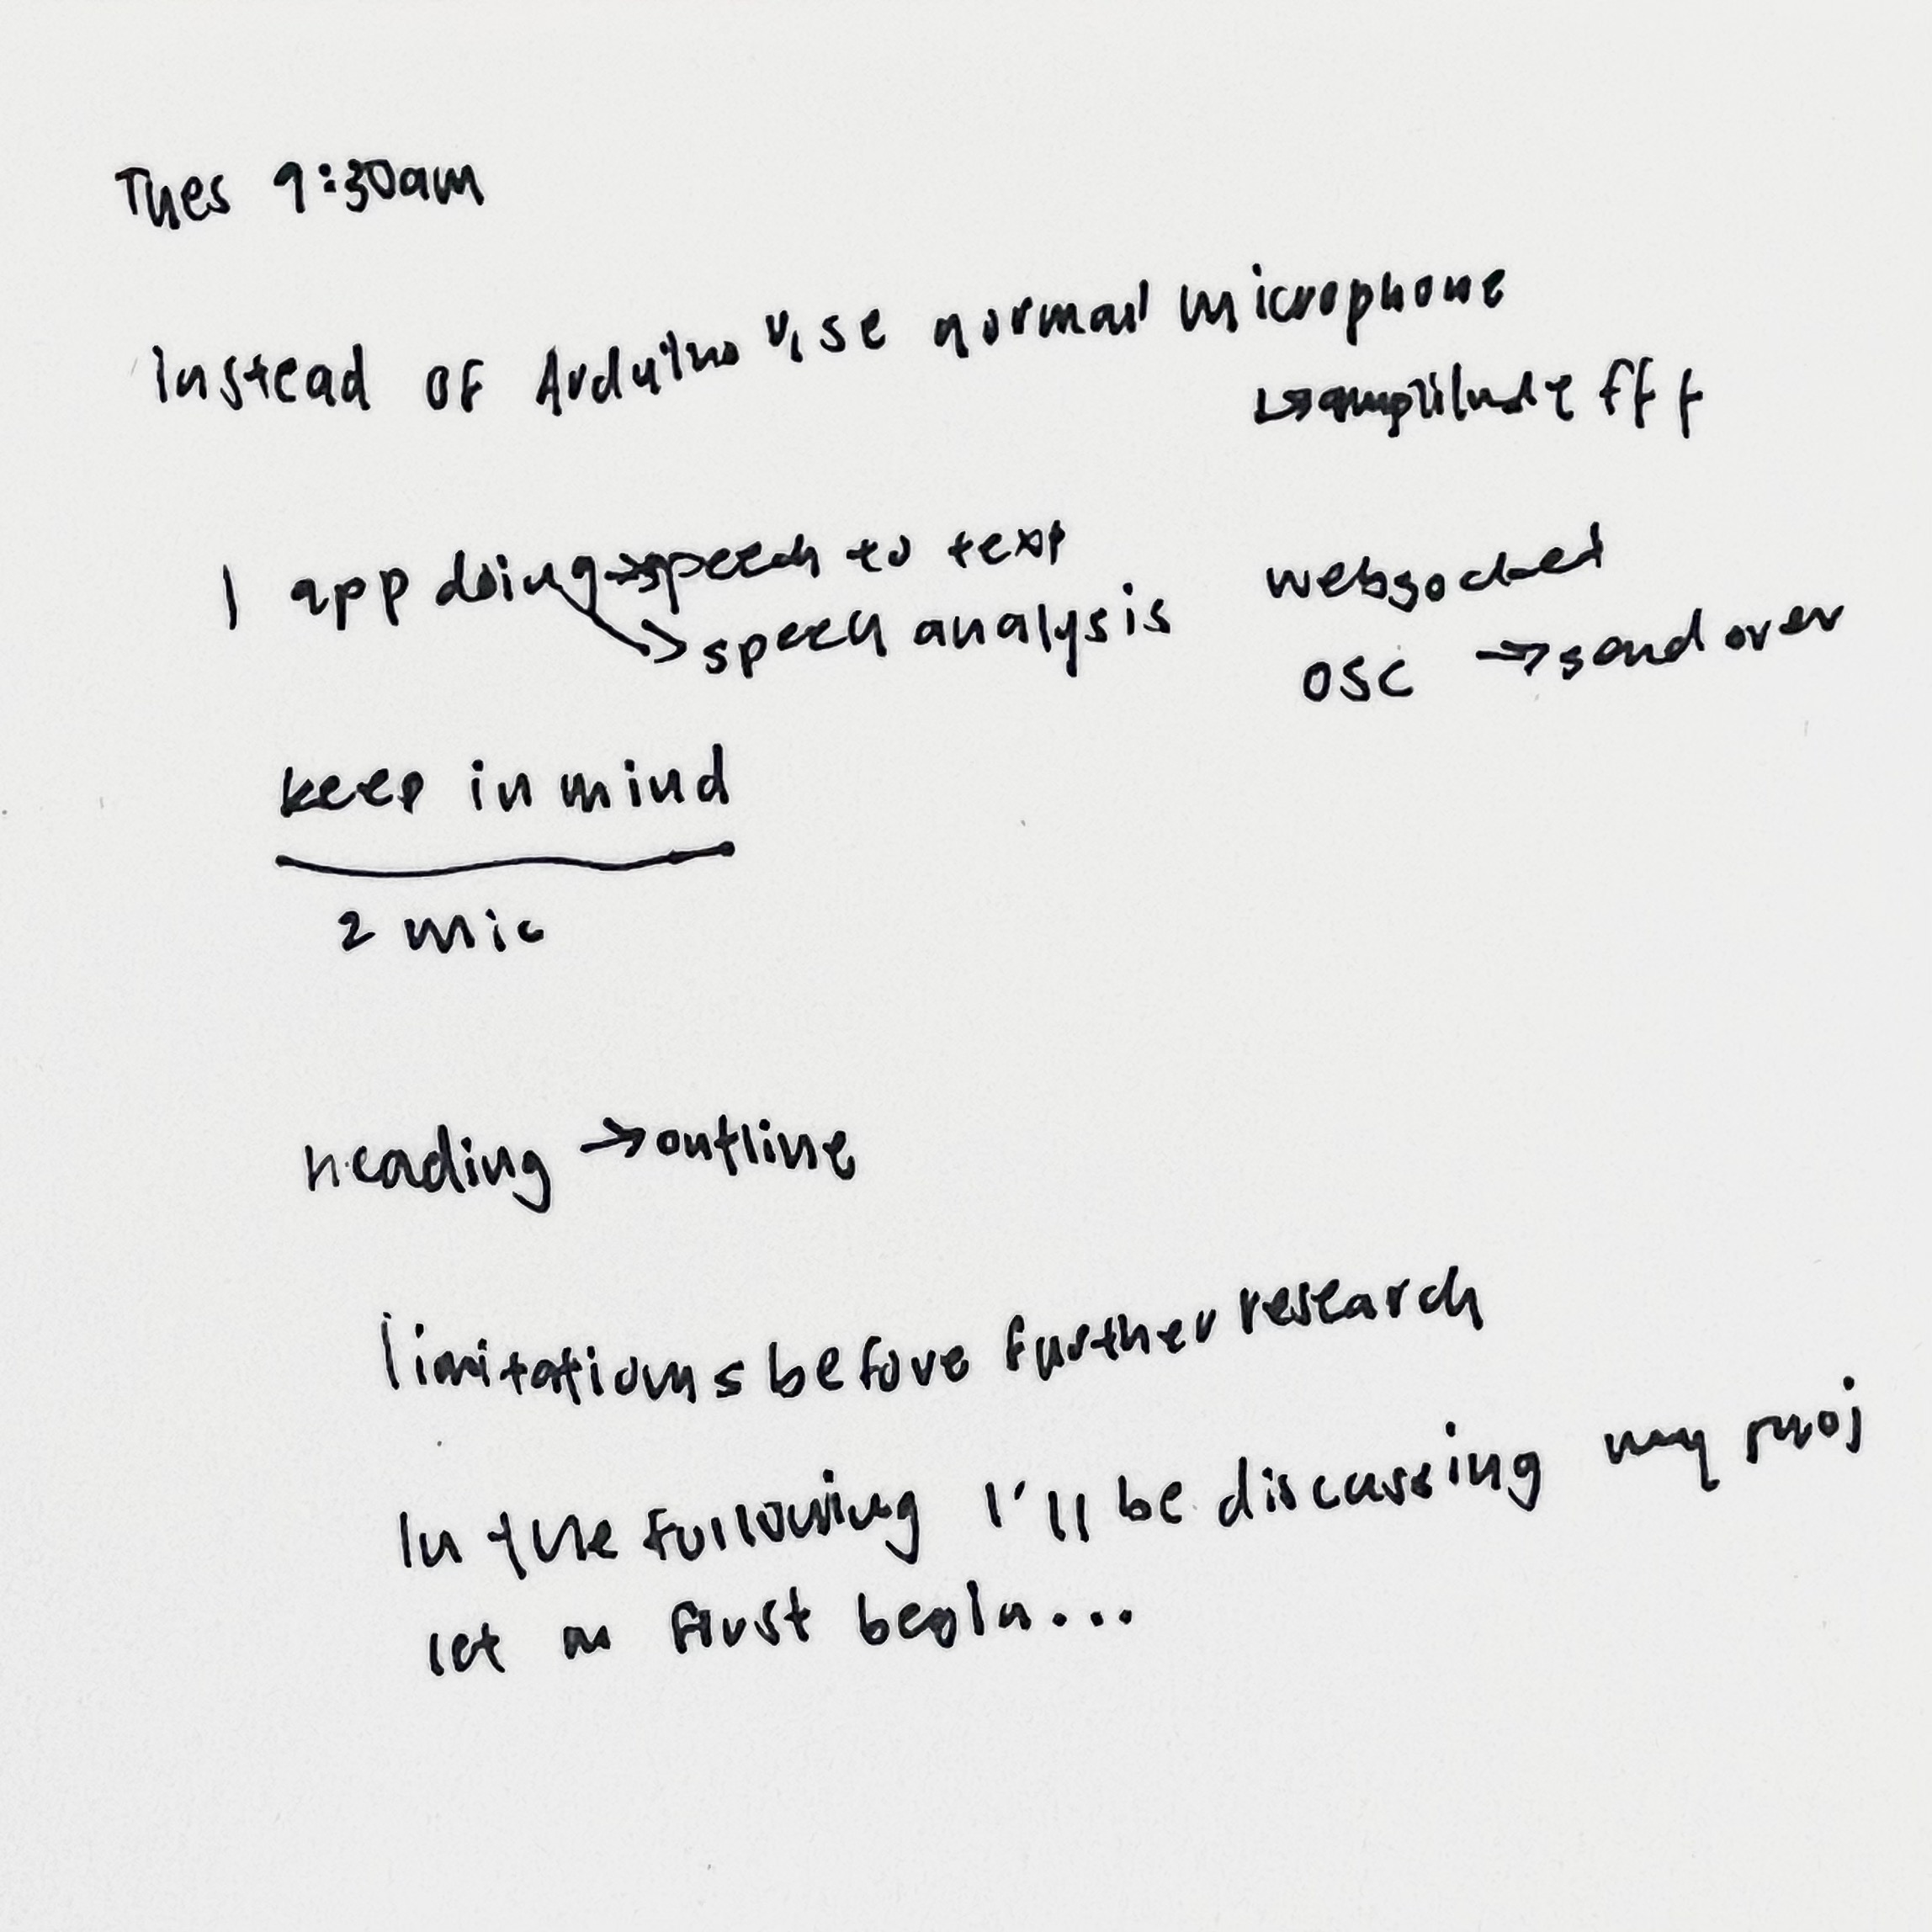
Notes for practical work:
–Instead of Aduino sound sensor, it might better to use a normal microphone as sound sensors can only detect amplitude and fft.
–For speech to text and speech analysis to work, it needs to be done in one application
–To connect Google Cloud Speech Recognition API, can consider using WebSocket or OSC to send over the data into Touchdesigner
Notes for writing :
–Headings should be reflected in the outline
–Limitations should be discussed before further research
–Include introductory sentences before each sentence such as "In the following..., I'll be discussing... Let me first begin...", to improve the flow of reading
VOICES AS PERSONALITY-PROTOTYPE MAKING
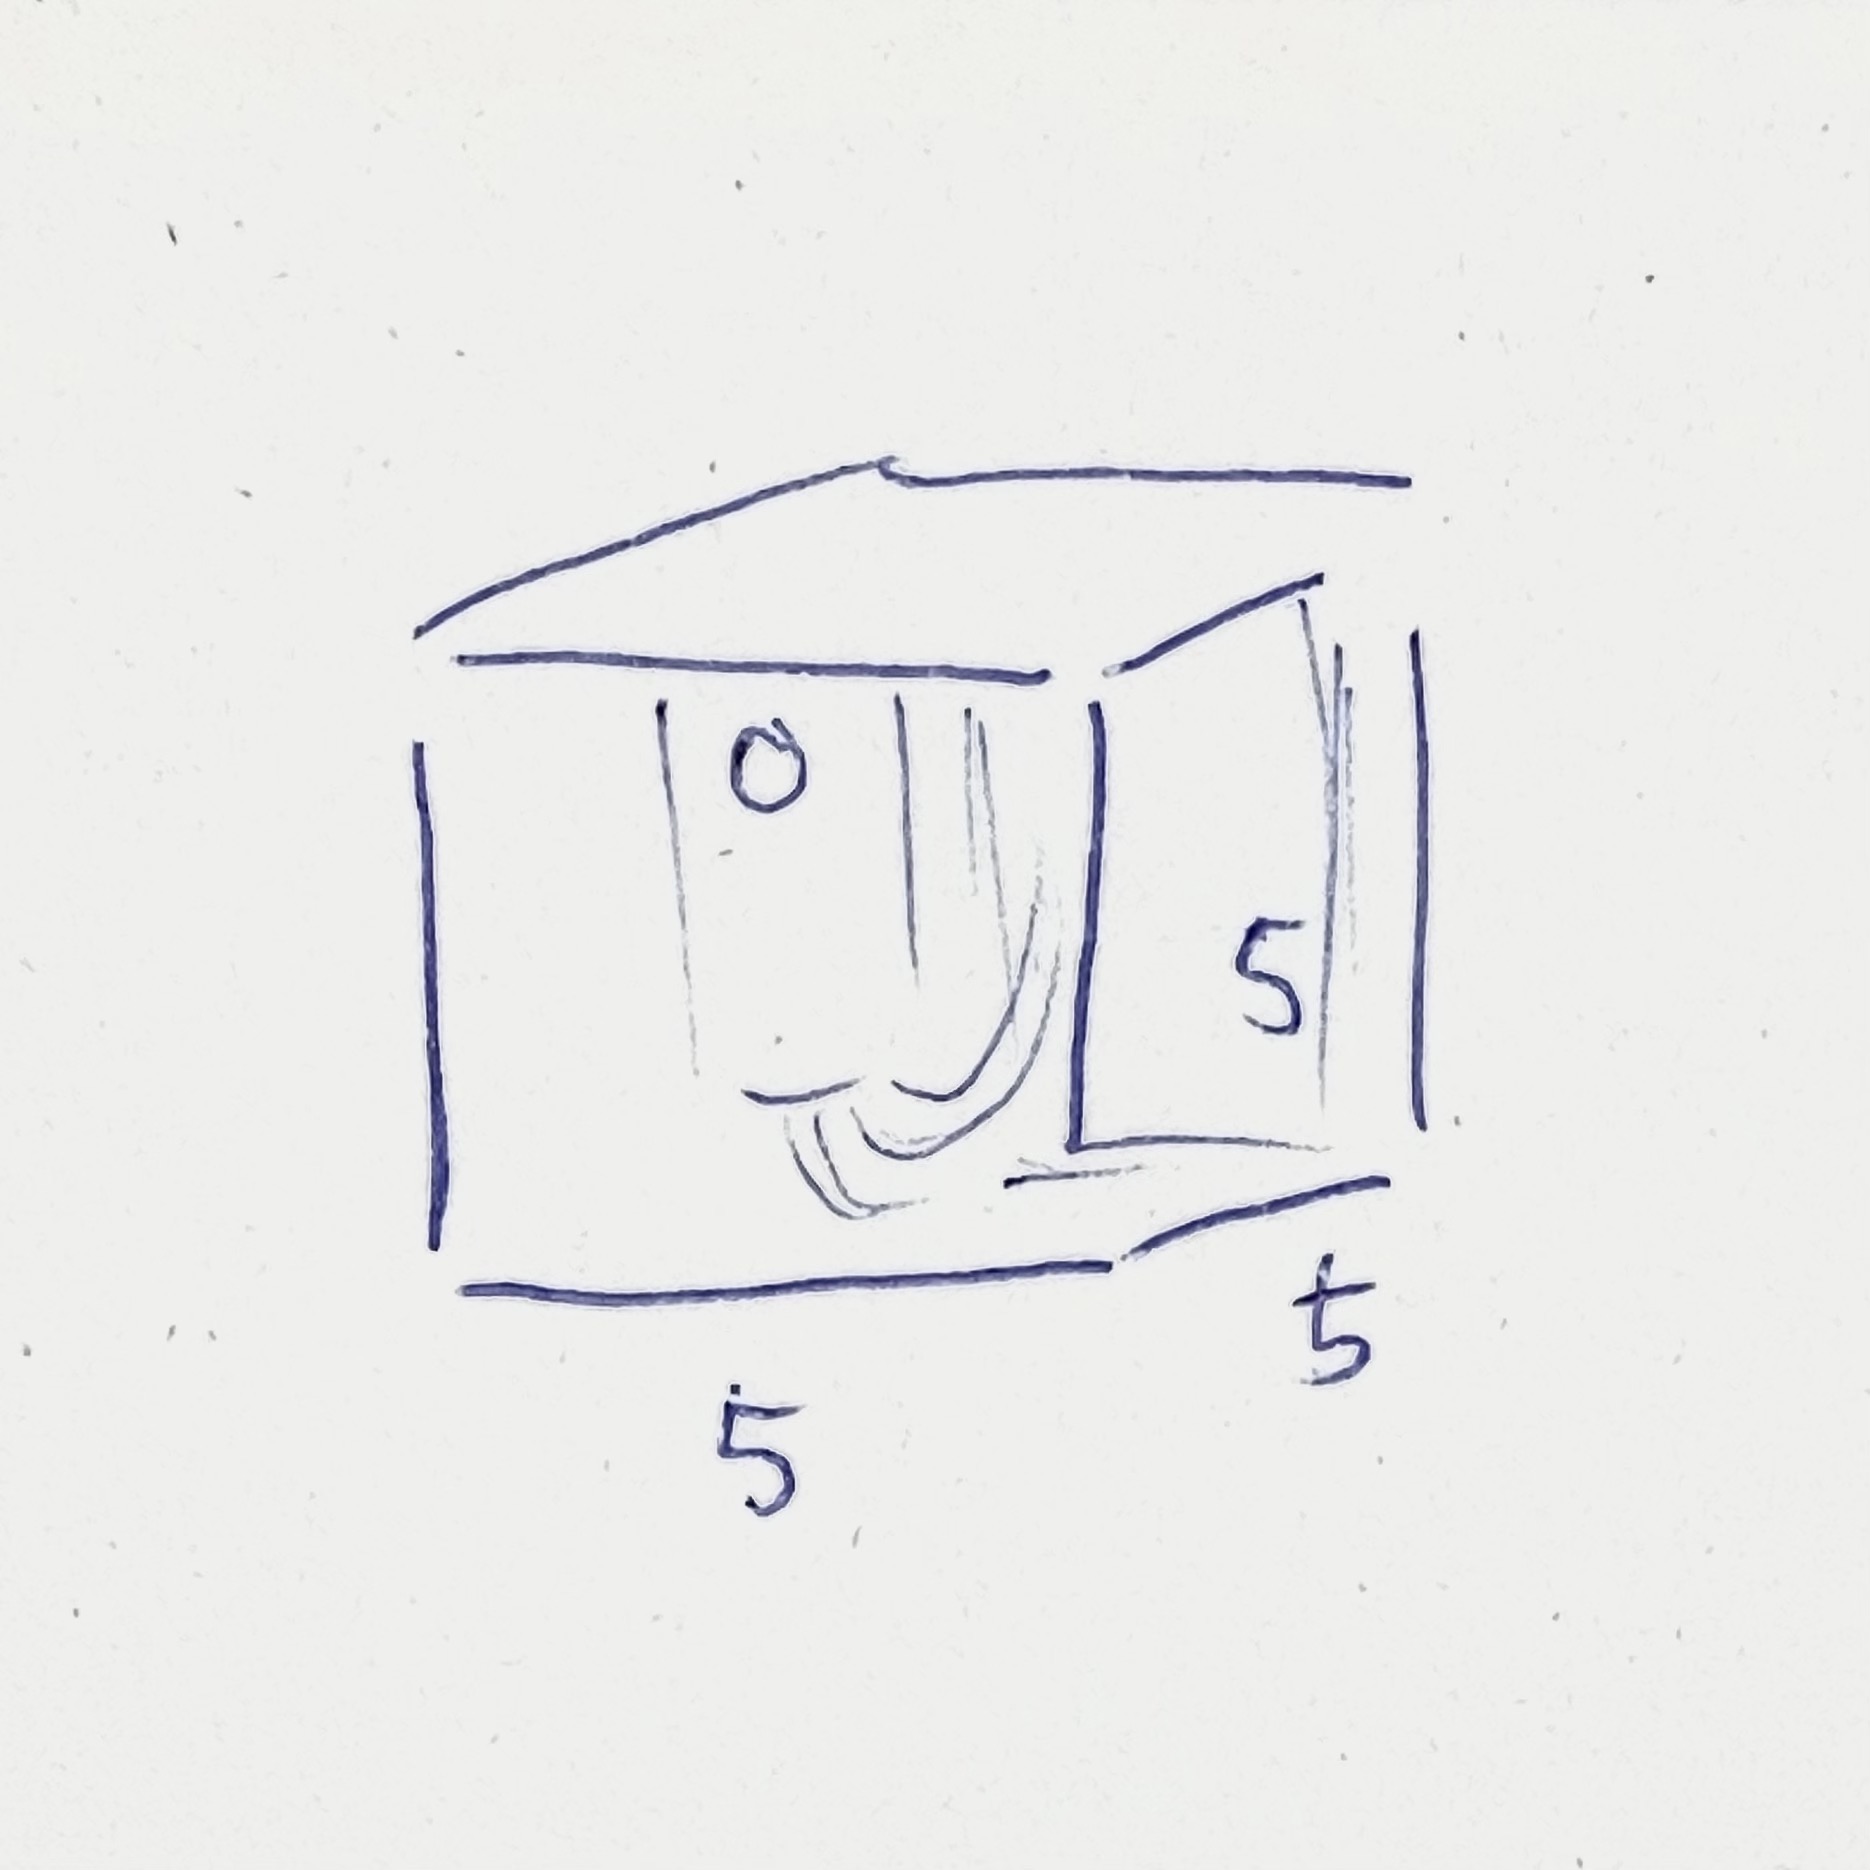
Arduino Sound Sensor:
To conceal the Arduino sound sensor set-up, I considered using mounting board materials to construct a compact box to package the prototype. With a measurement of 5cm on all sides to create a square box, I intended to create two holes, one for the microphone while the other is for the Arduino UNO cable connected to the laptop.
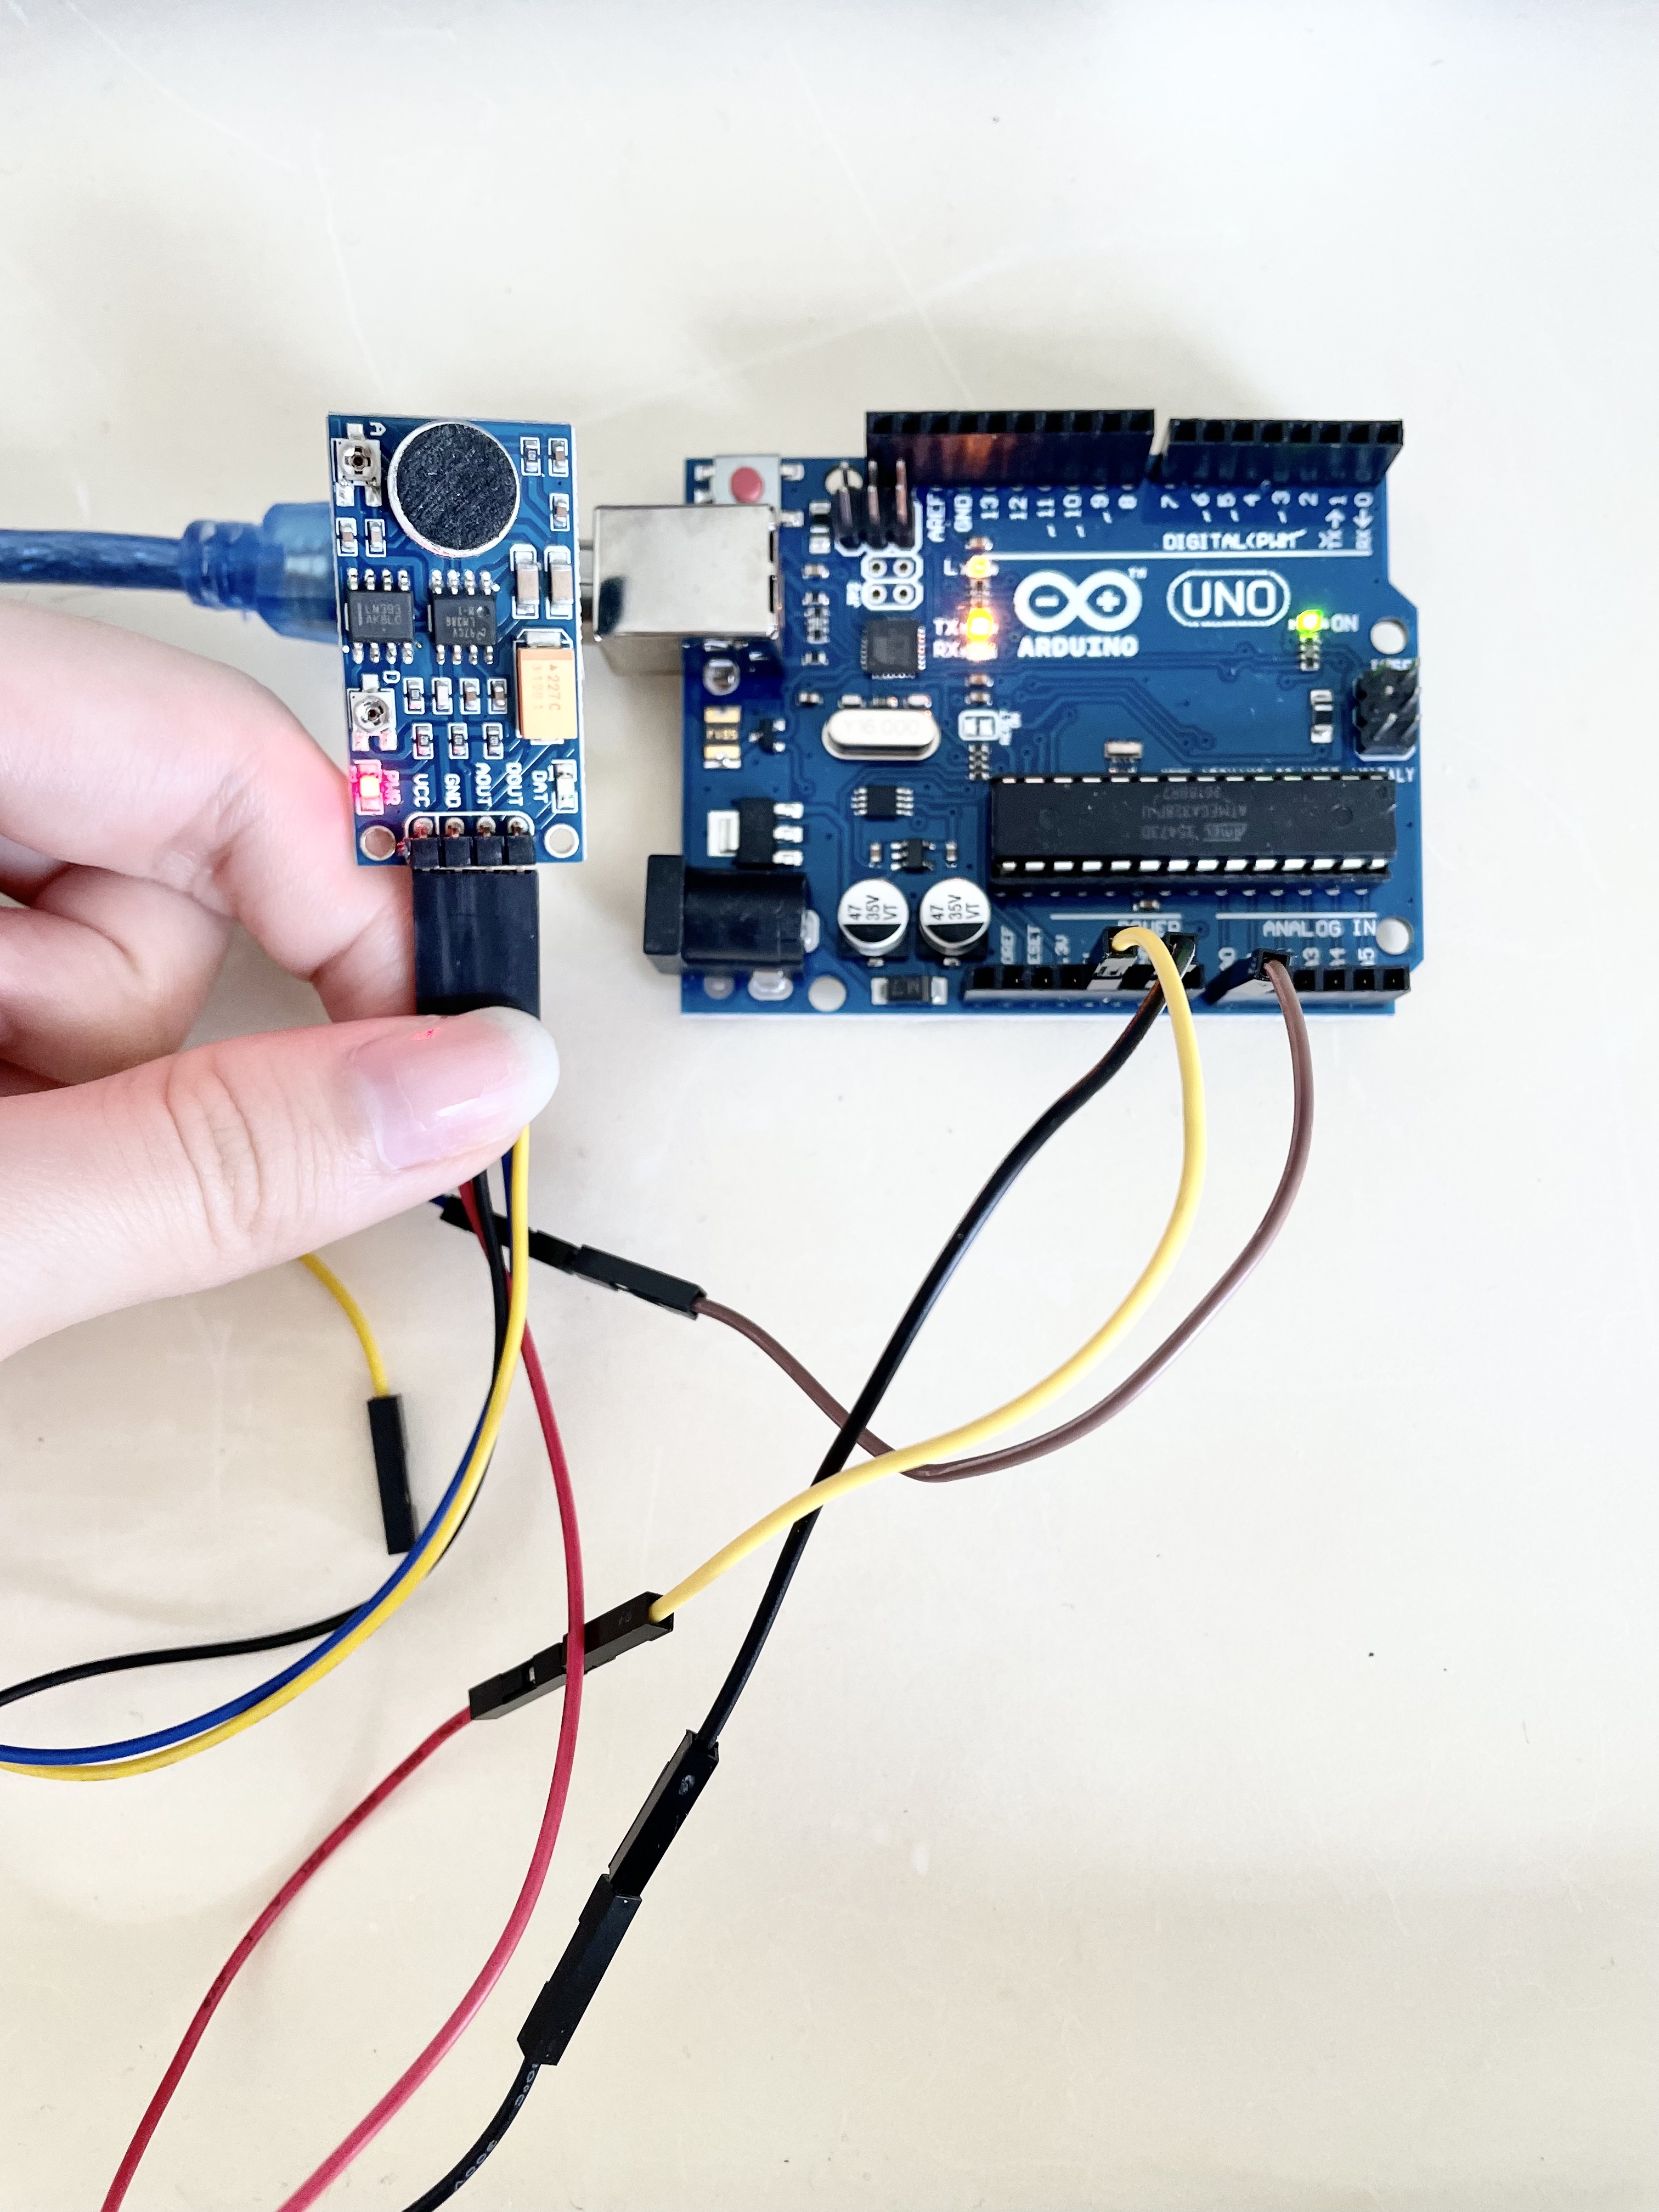
Images: Sketches of Voices as Personality box casing & Sound sensor connected to Arduino Circuit
Maono Microphone:
However, from Tuesday's consultation, I realised that sound sensor may not be a suitable device for user-testing due to its limited abilities in capturing vocal pitch and frequency. Therefore, I decided to swap out the device with a Maono microphone. I think the switch was beneficial as the audio device appears more intuitive when it is physicalised as a microphone. Also, it functions the same as the computer's mic as it is able to detect volume, pitch and frequency. In addition, it can be synced with Touchdesigner and used as a primary audio device in manipulating letterforms. Thus, I think the Maono microphone is more appropriate for data collection purposes

Image: Testing a Maono microphone with Touchdesigner.
IDENTITY MAP-PROTOTYPE MAKING
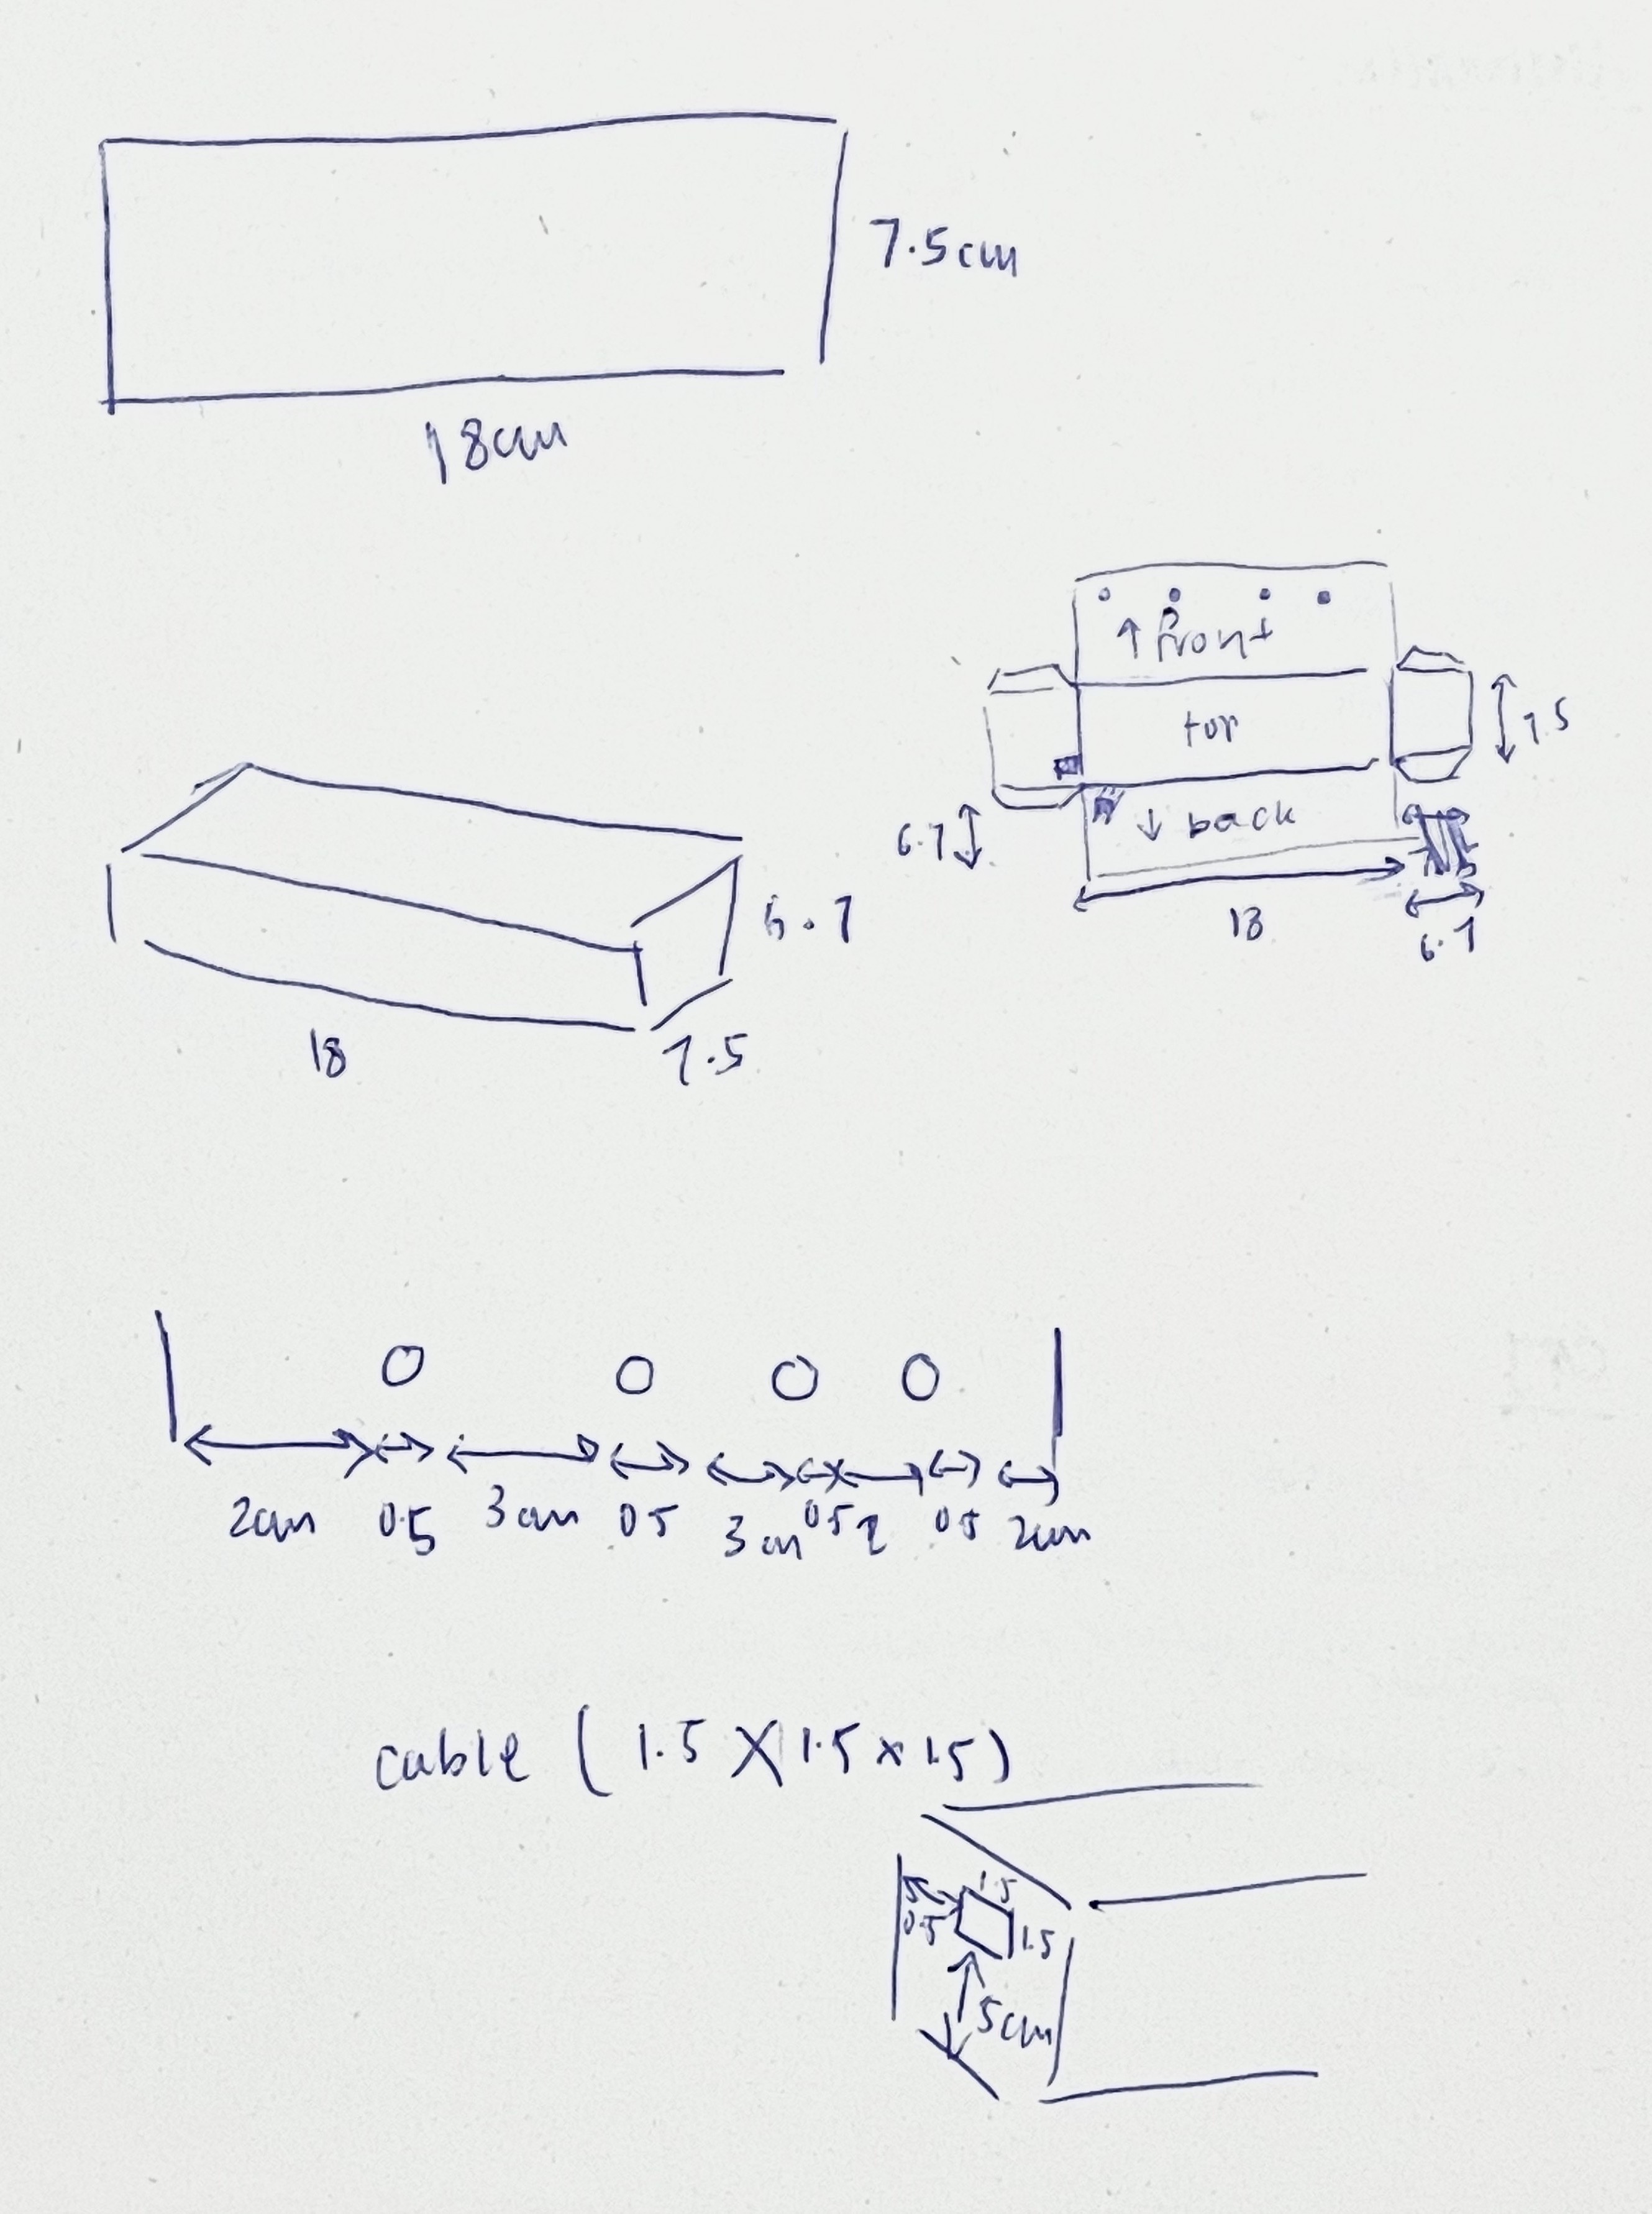
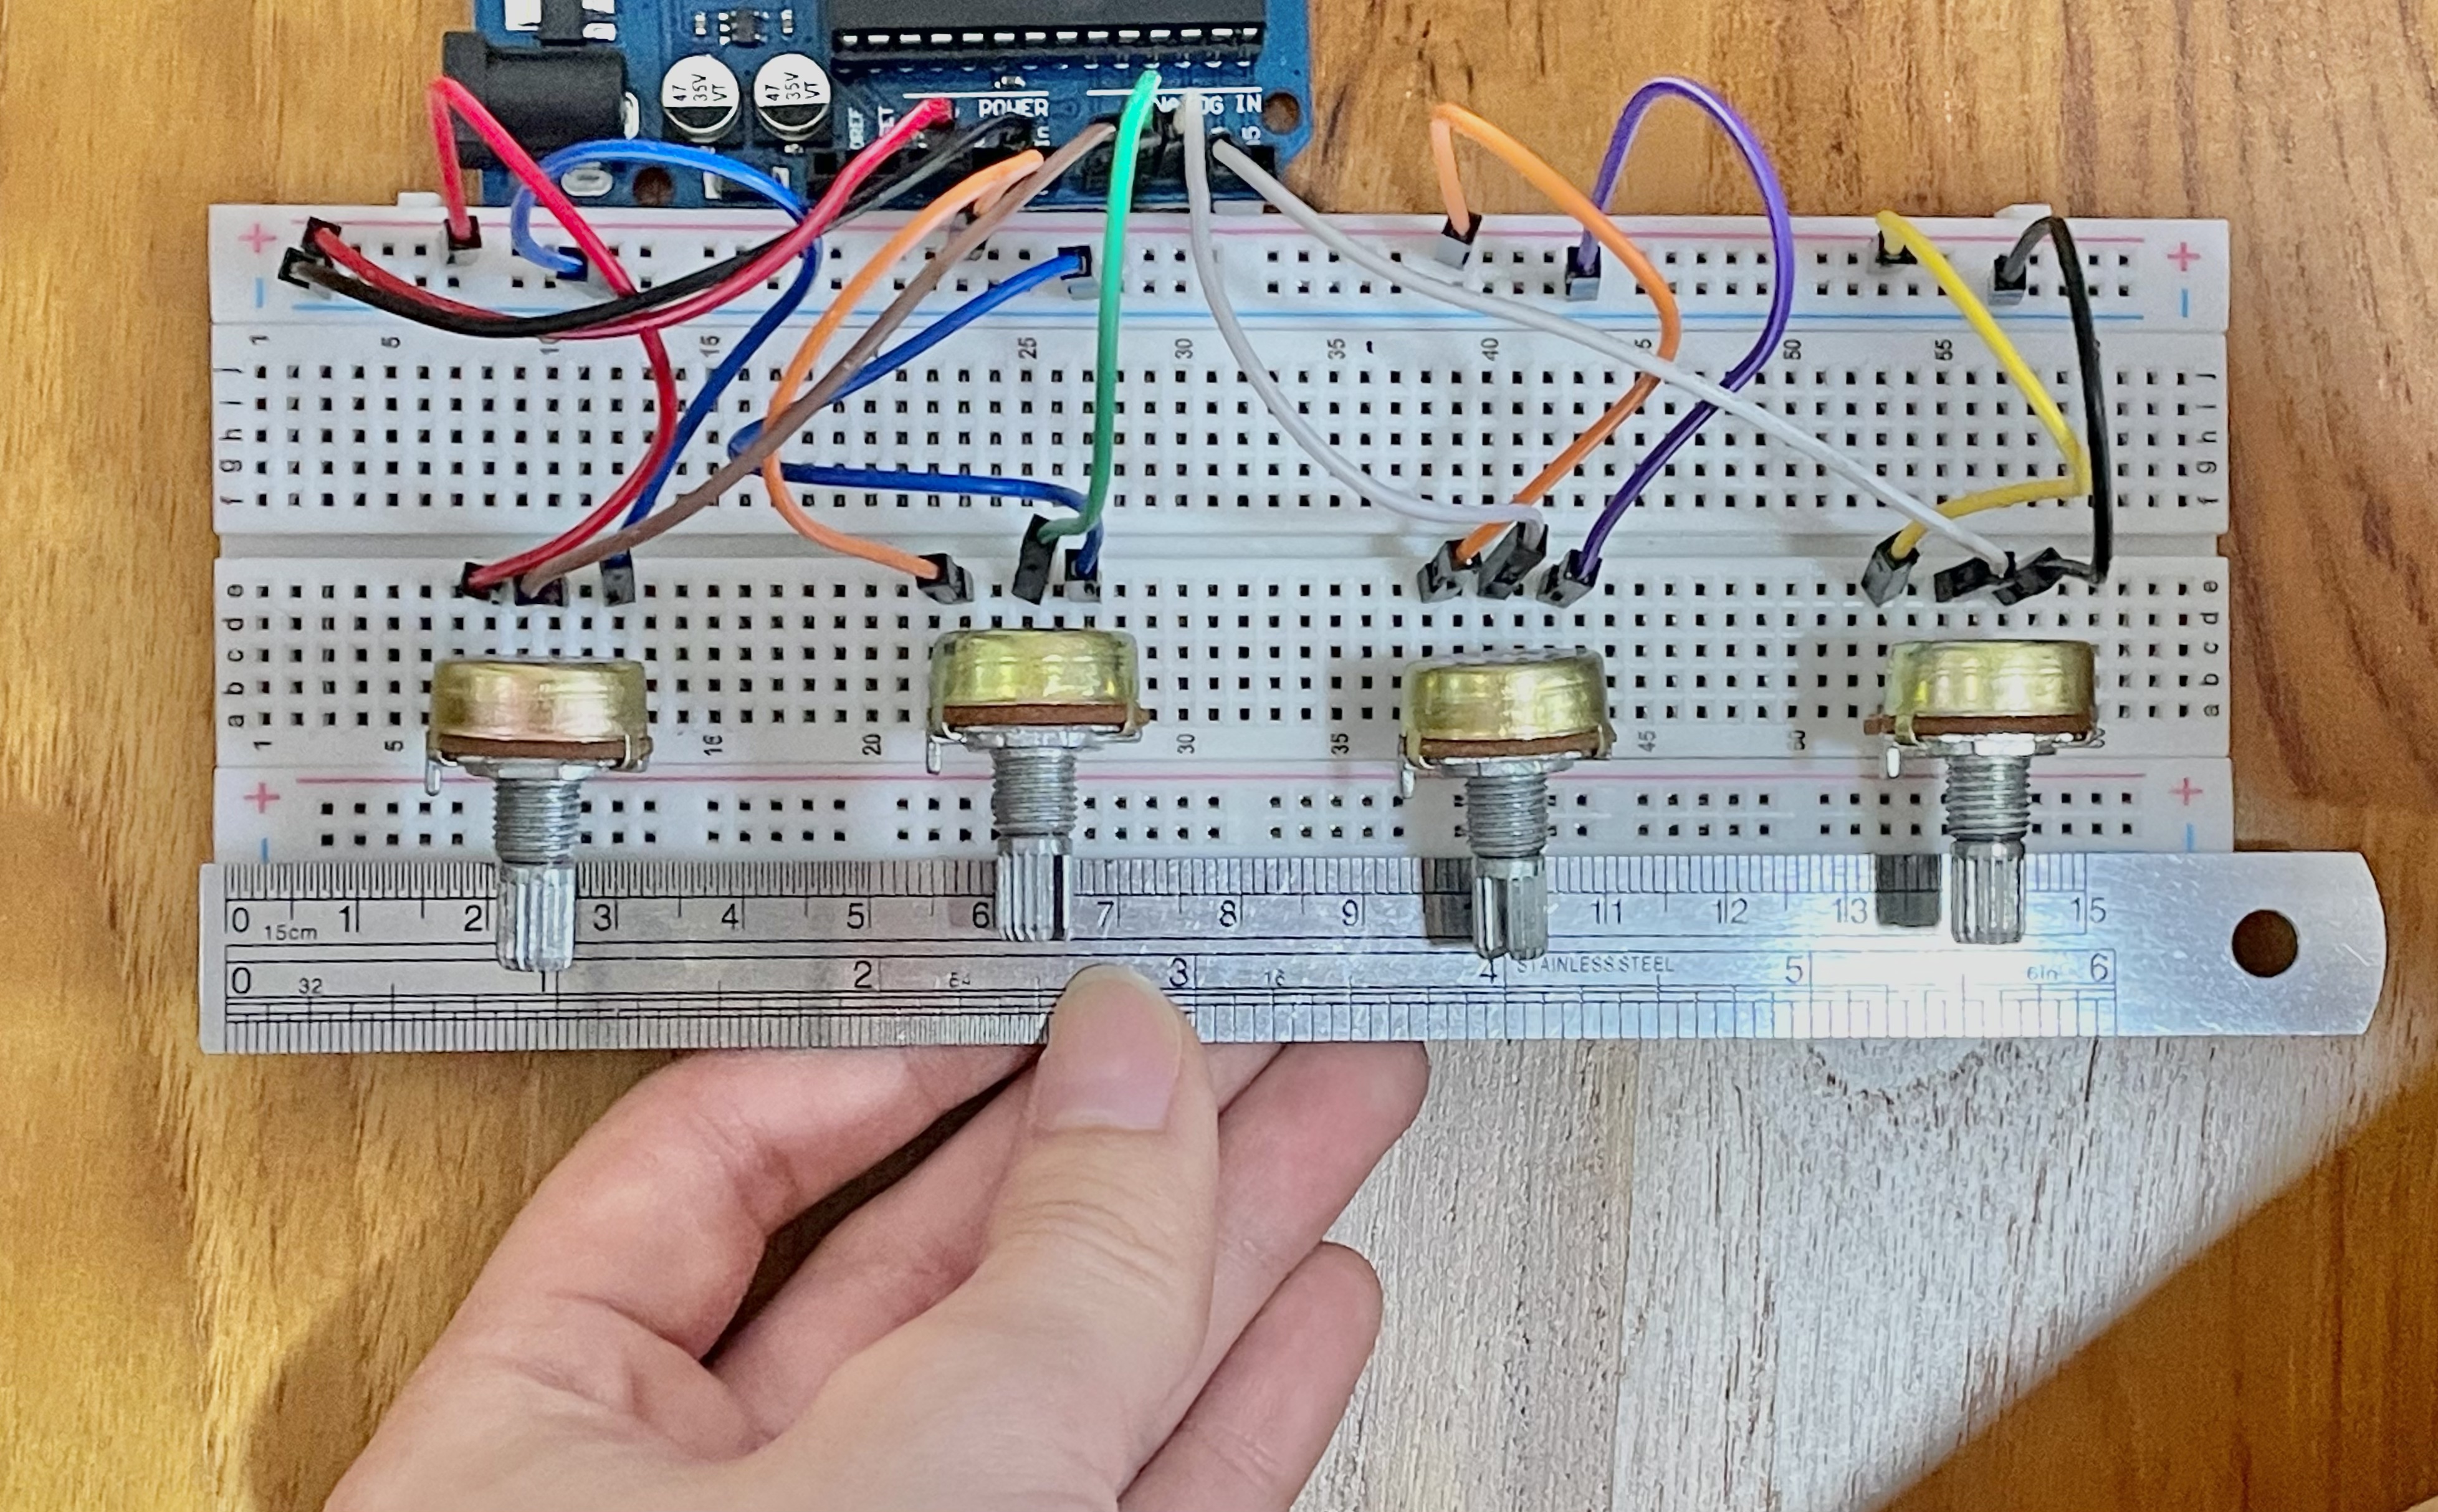
Sketches:
For Identity Map, the casing to cover the potentiometer set-up is more complicated as the casing needed to hide the Arduino circuit, breadboard and potentiometers, while ensuring that the potentiometers are still accessible.
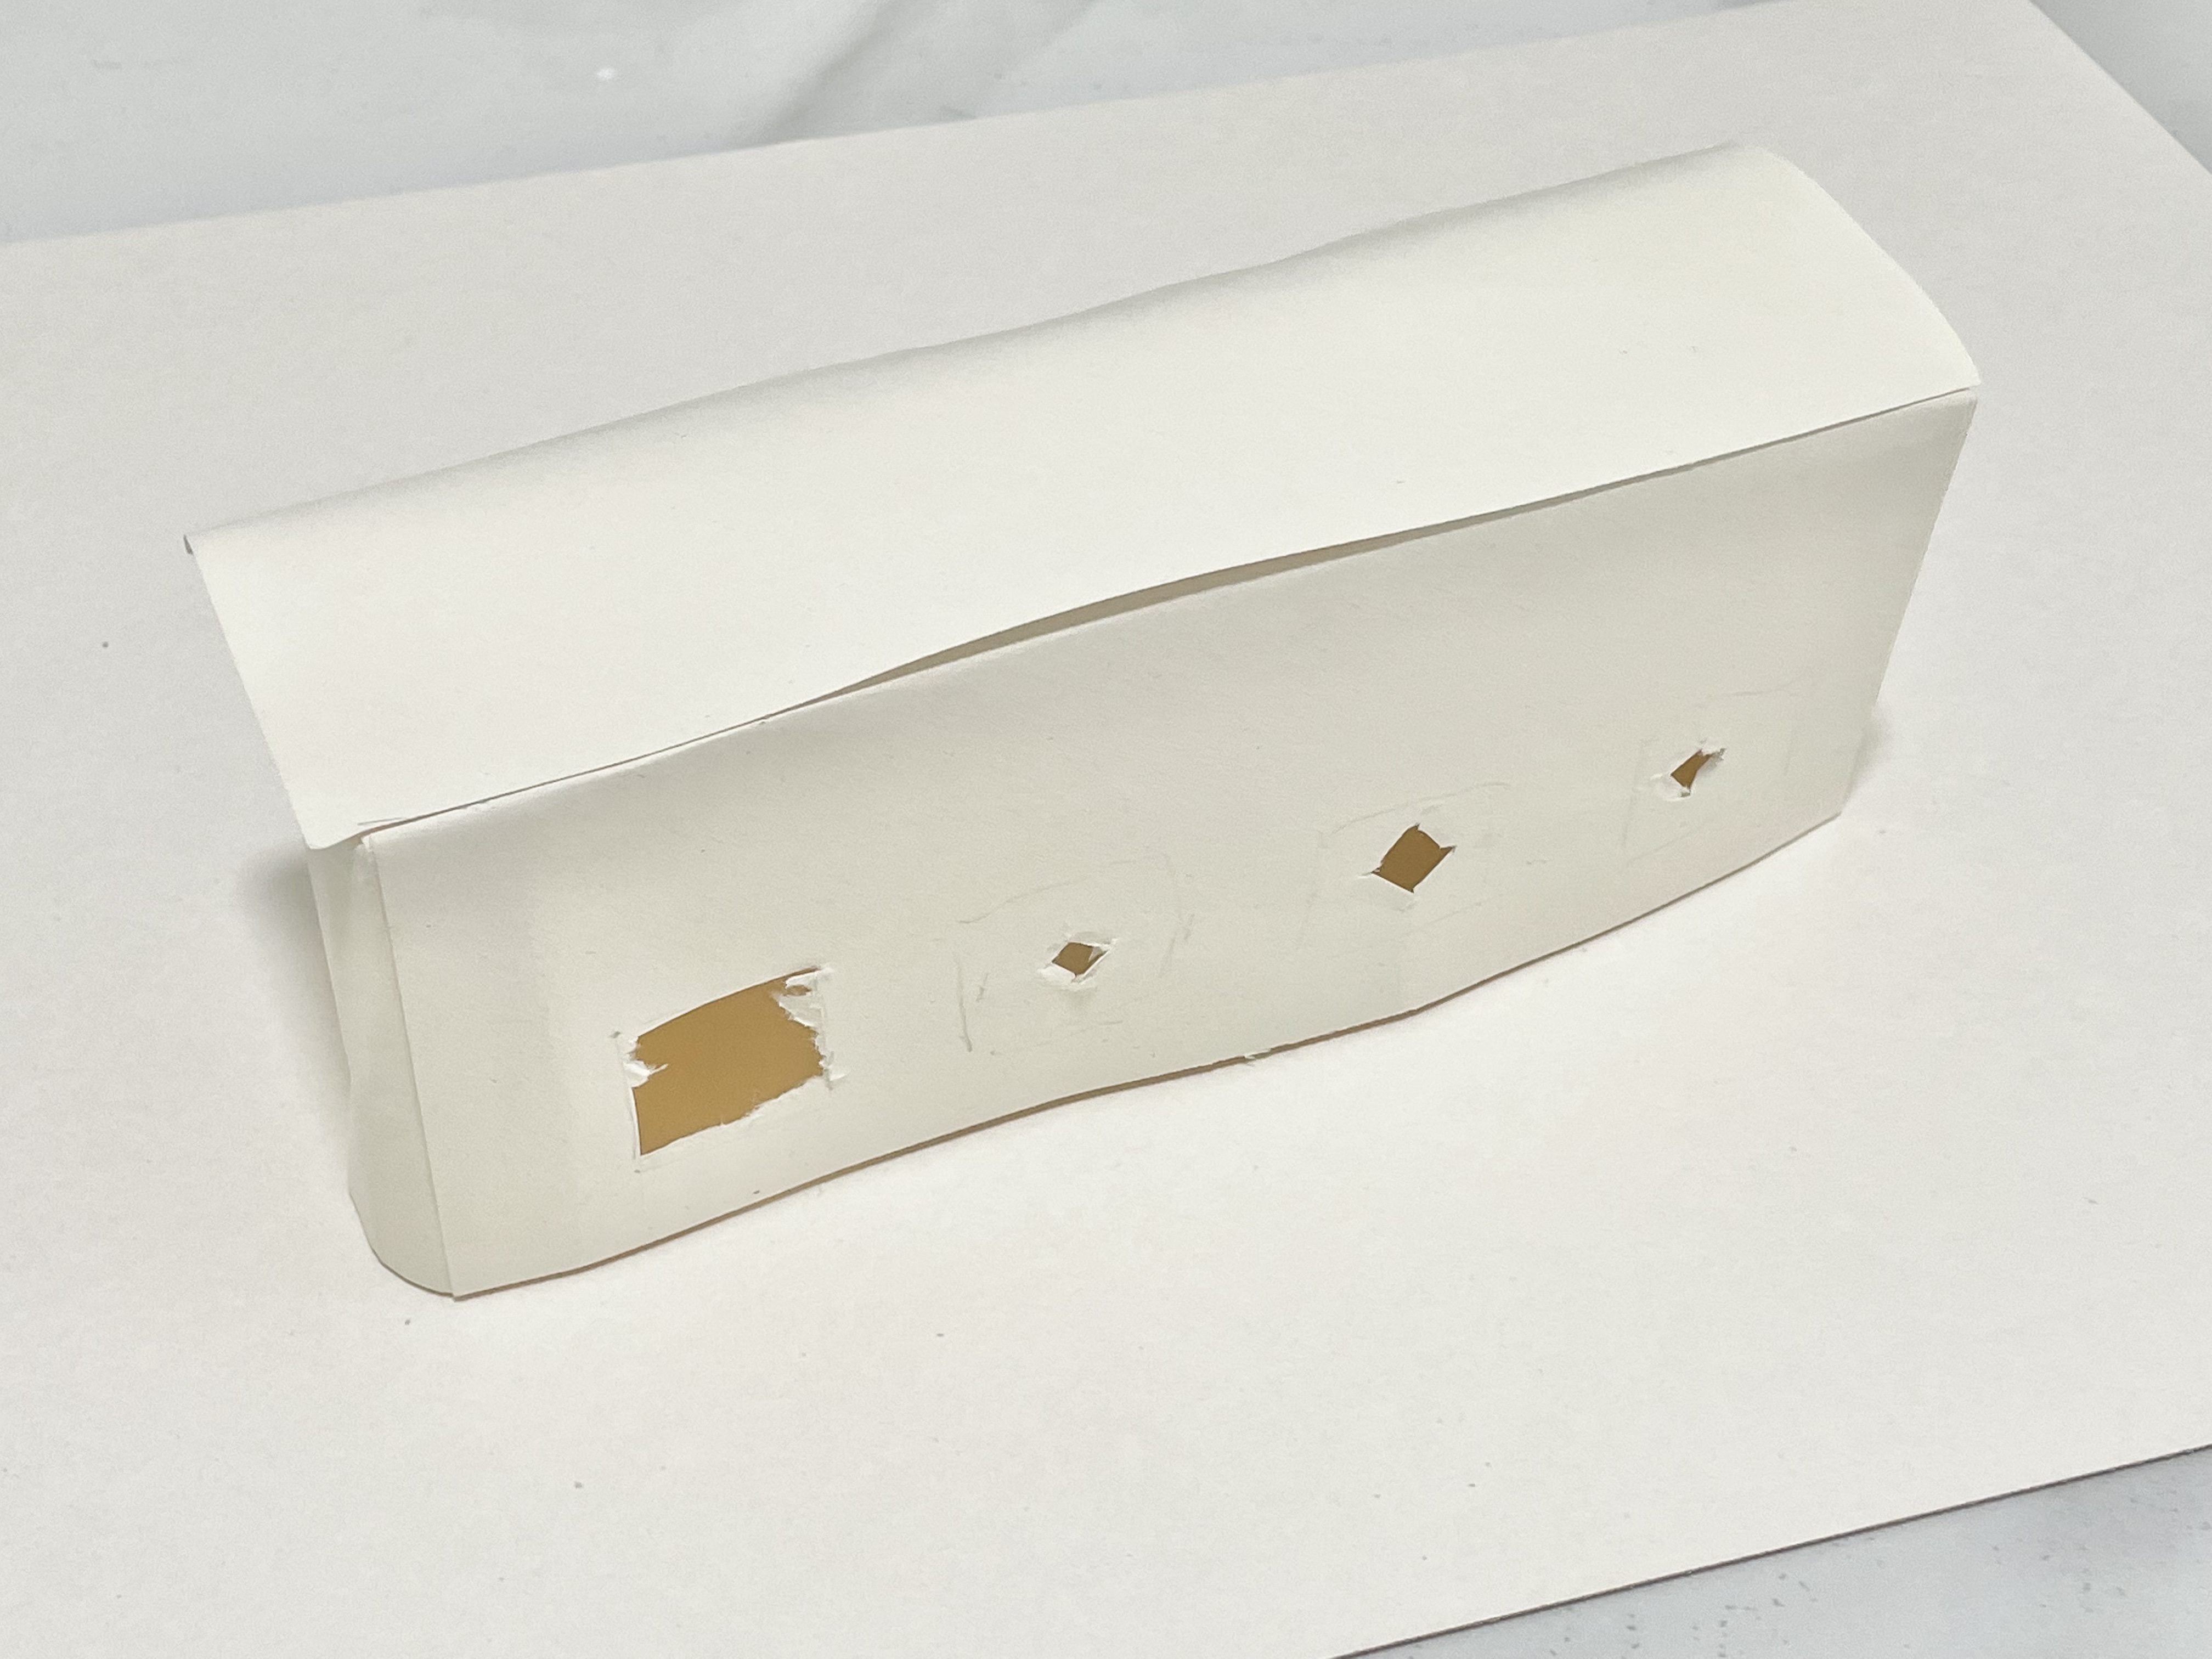
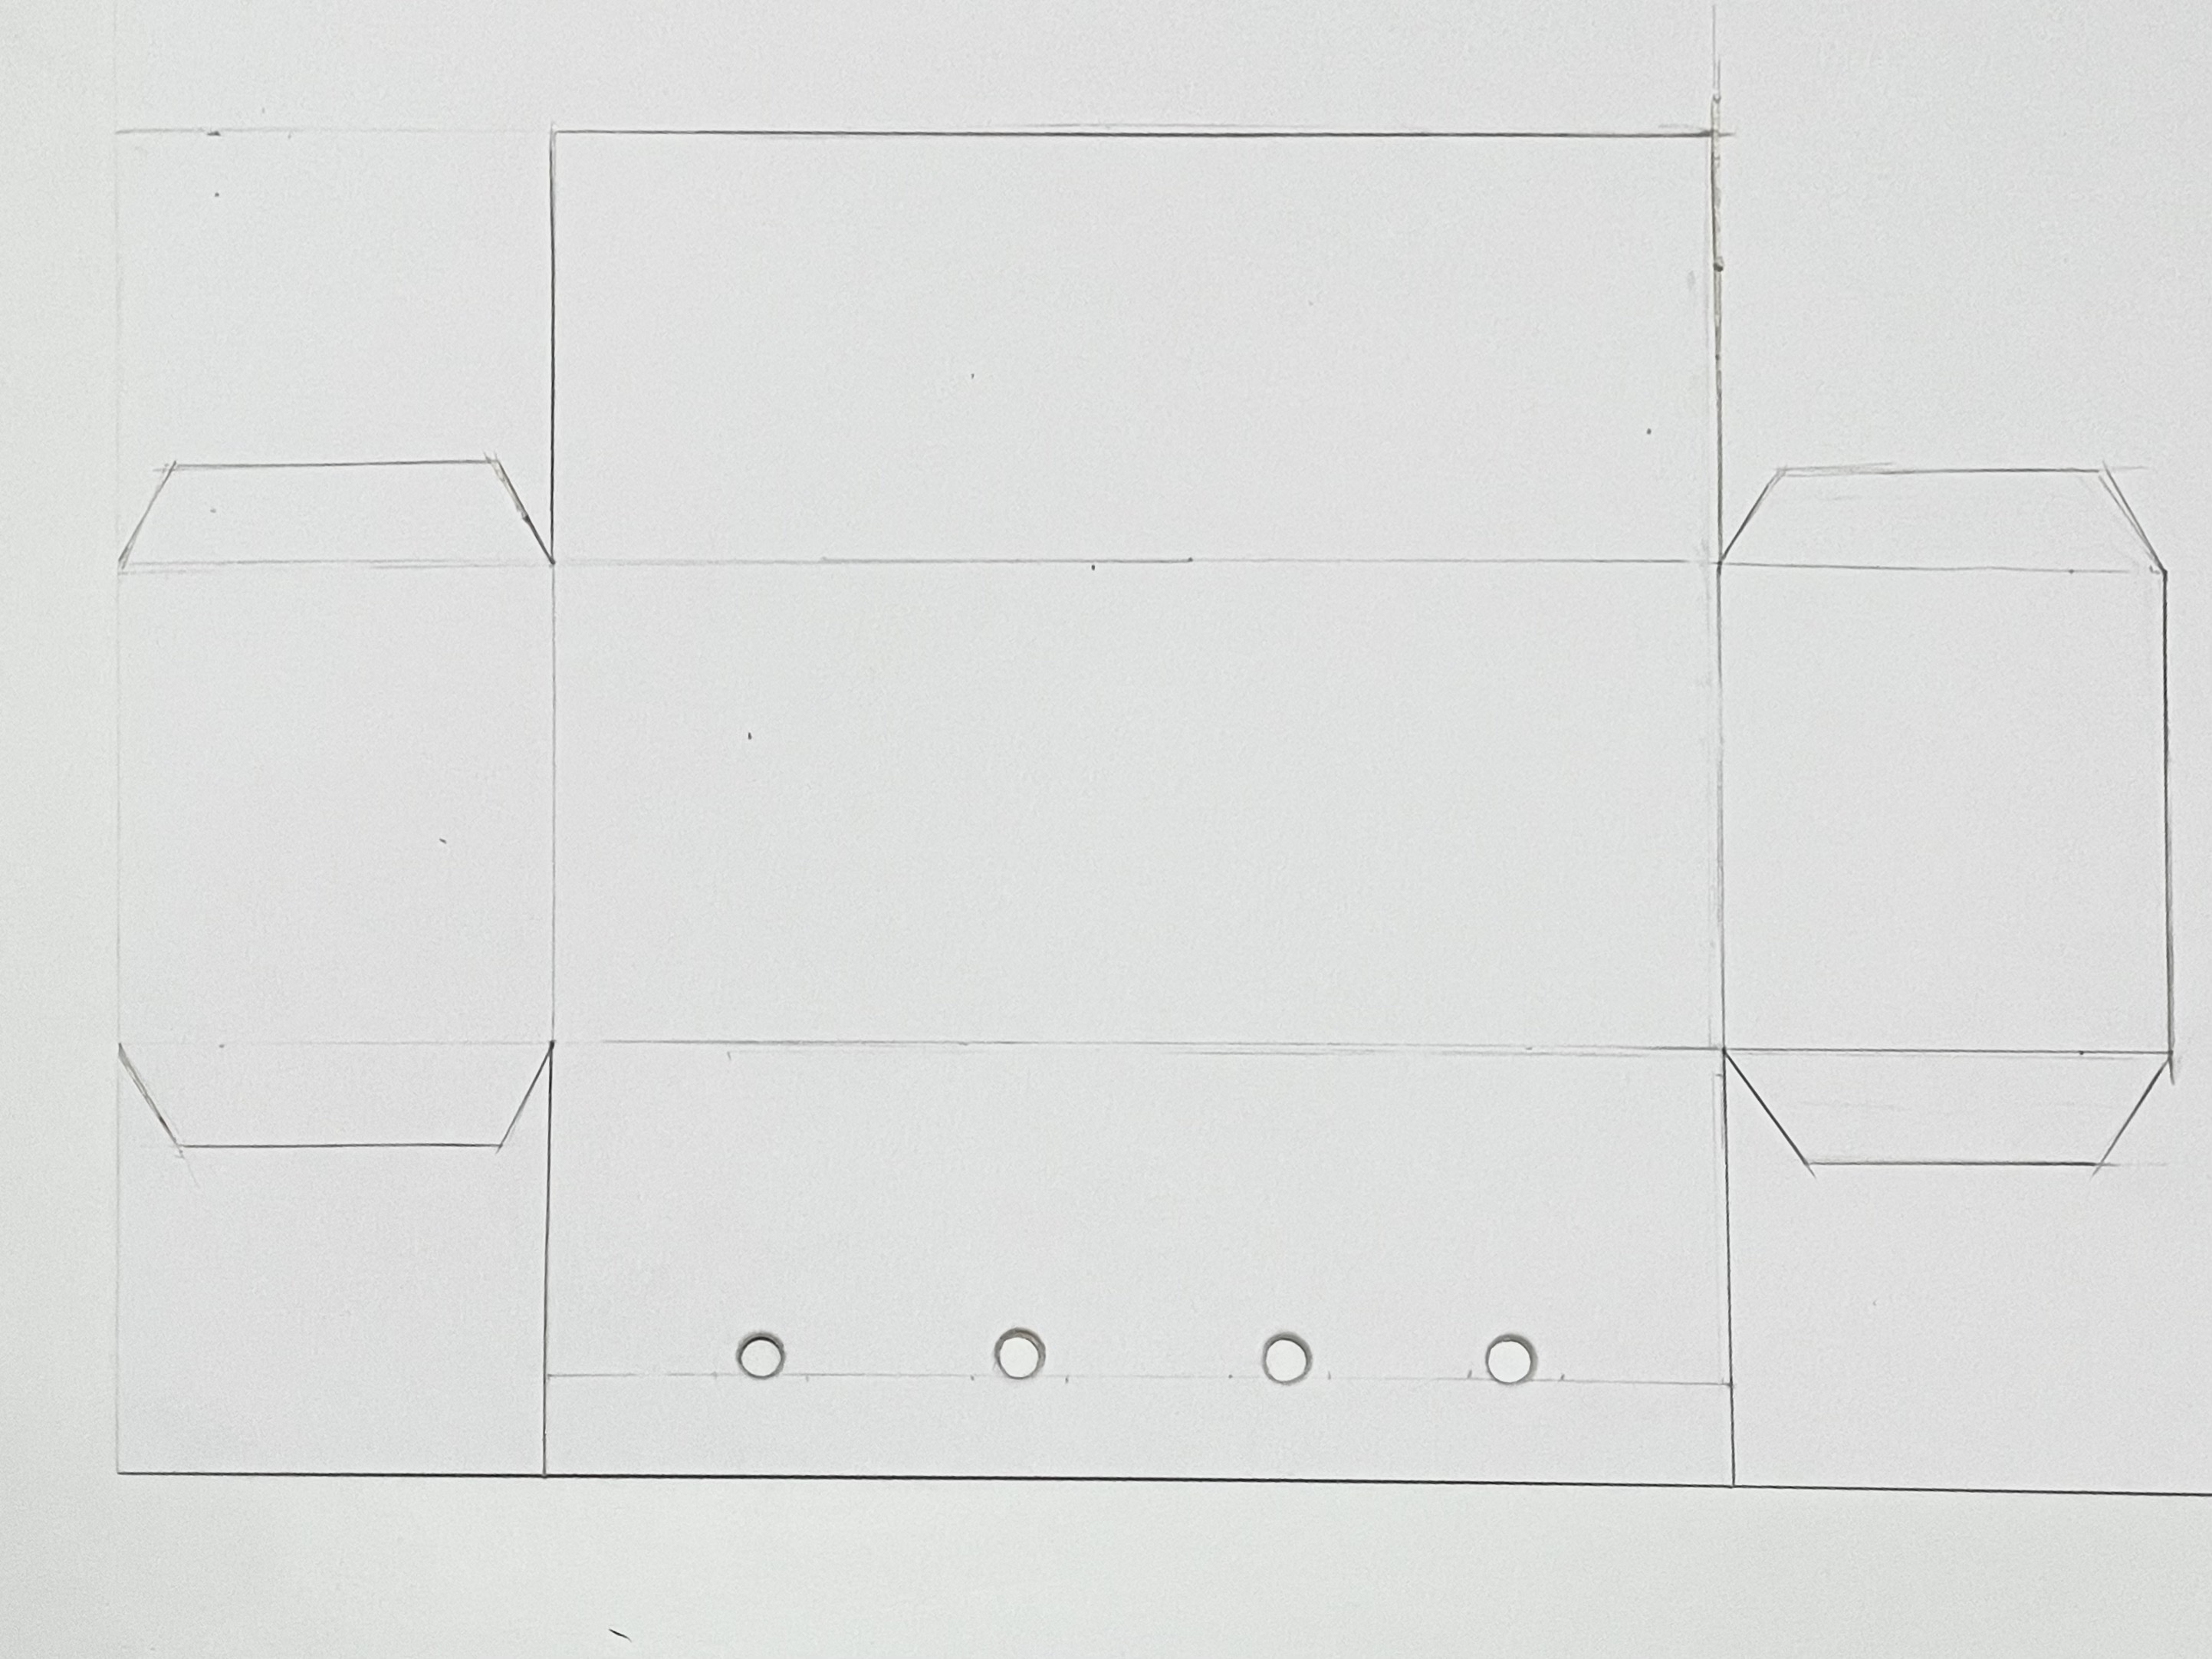
Paper mockup:
On the right, is a quick mockup of the box using normal paper, to try out the measurements, size of the holes for potentiometers, height of jumper wires, and the hole for the cable connected to the laptop.
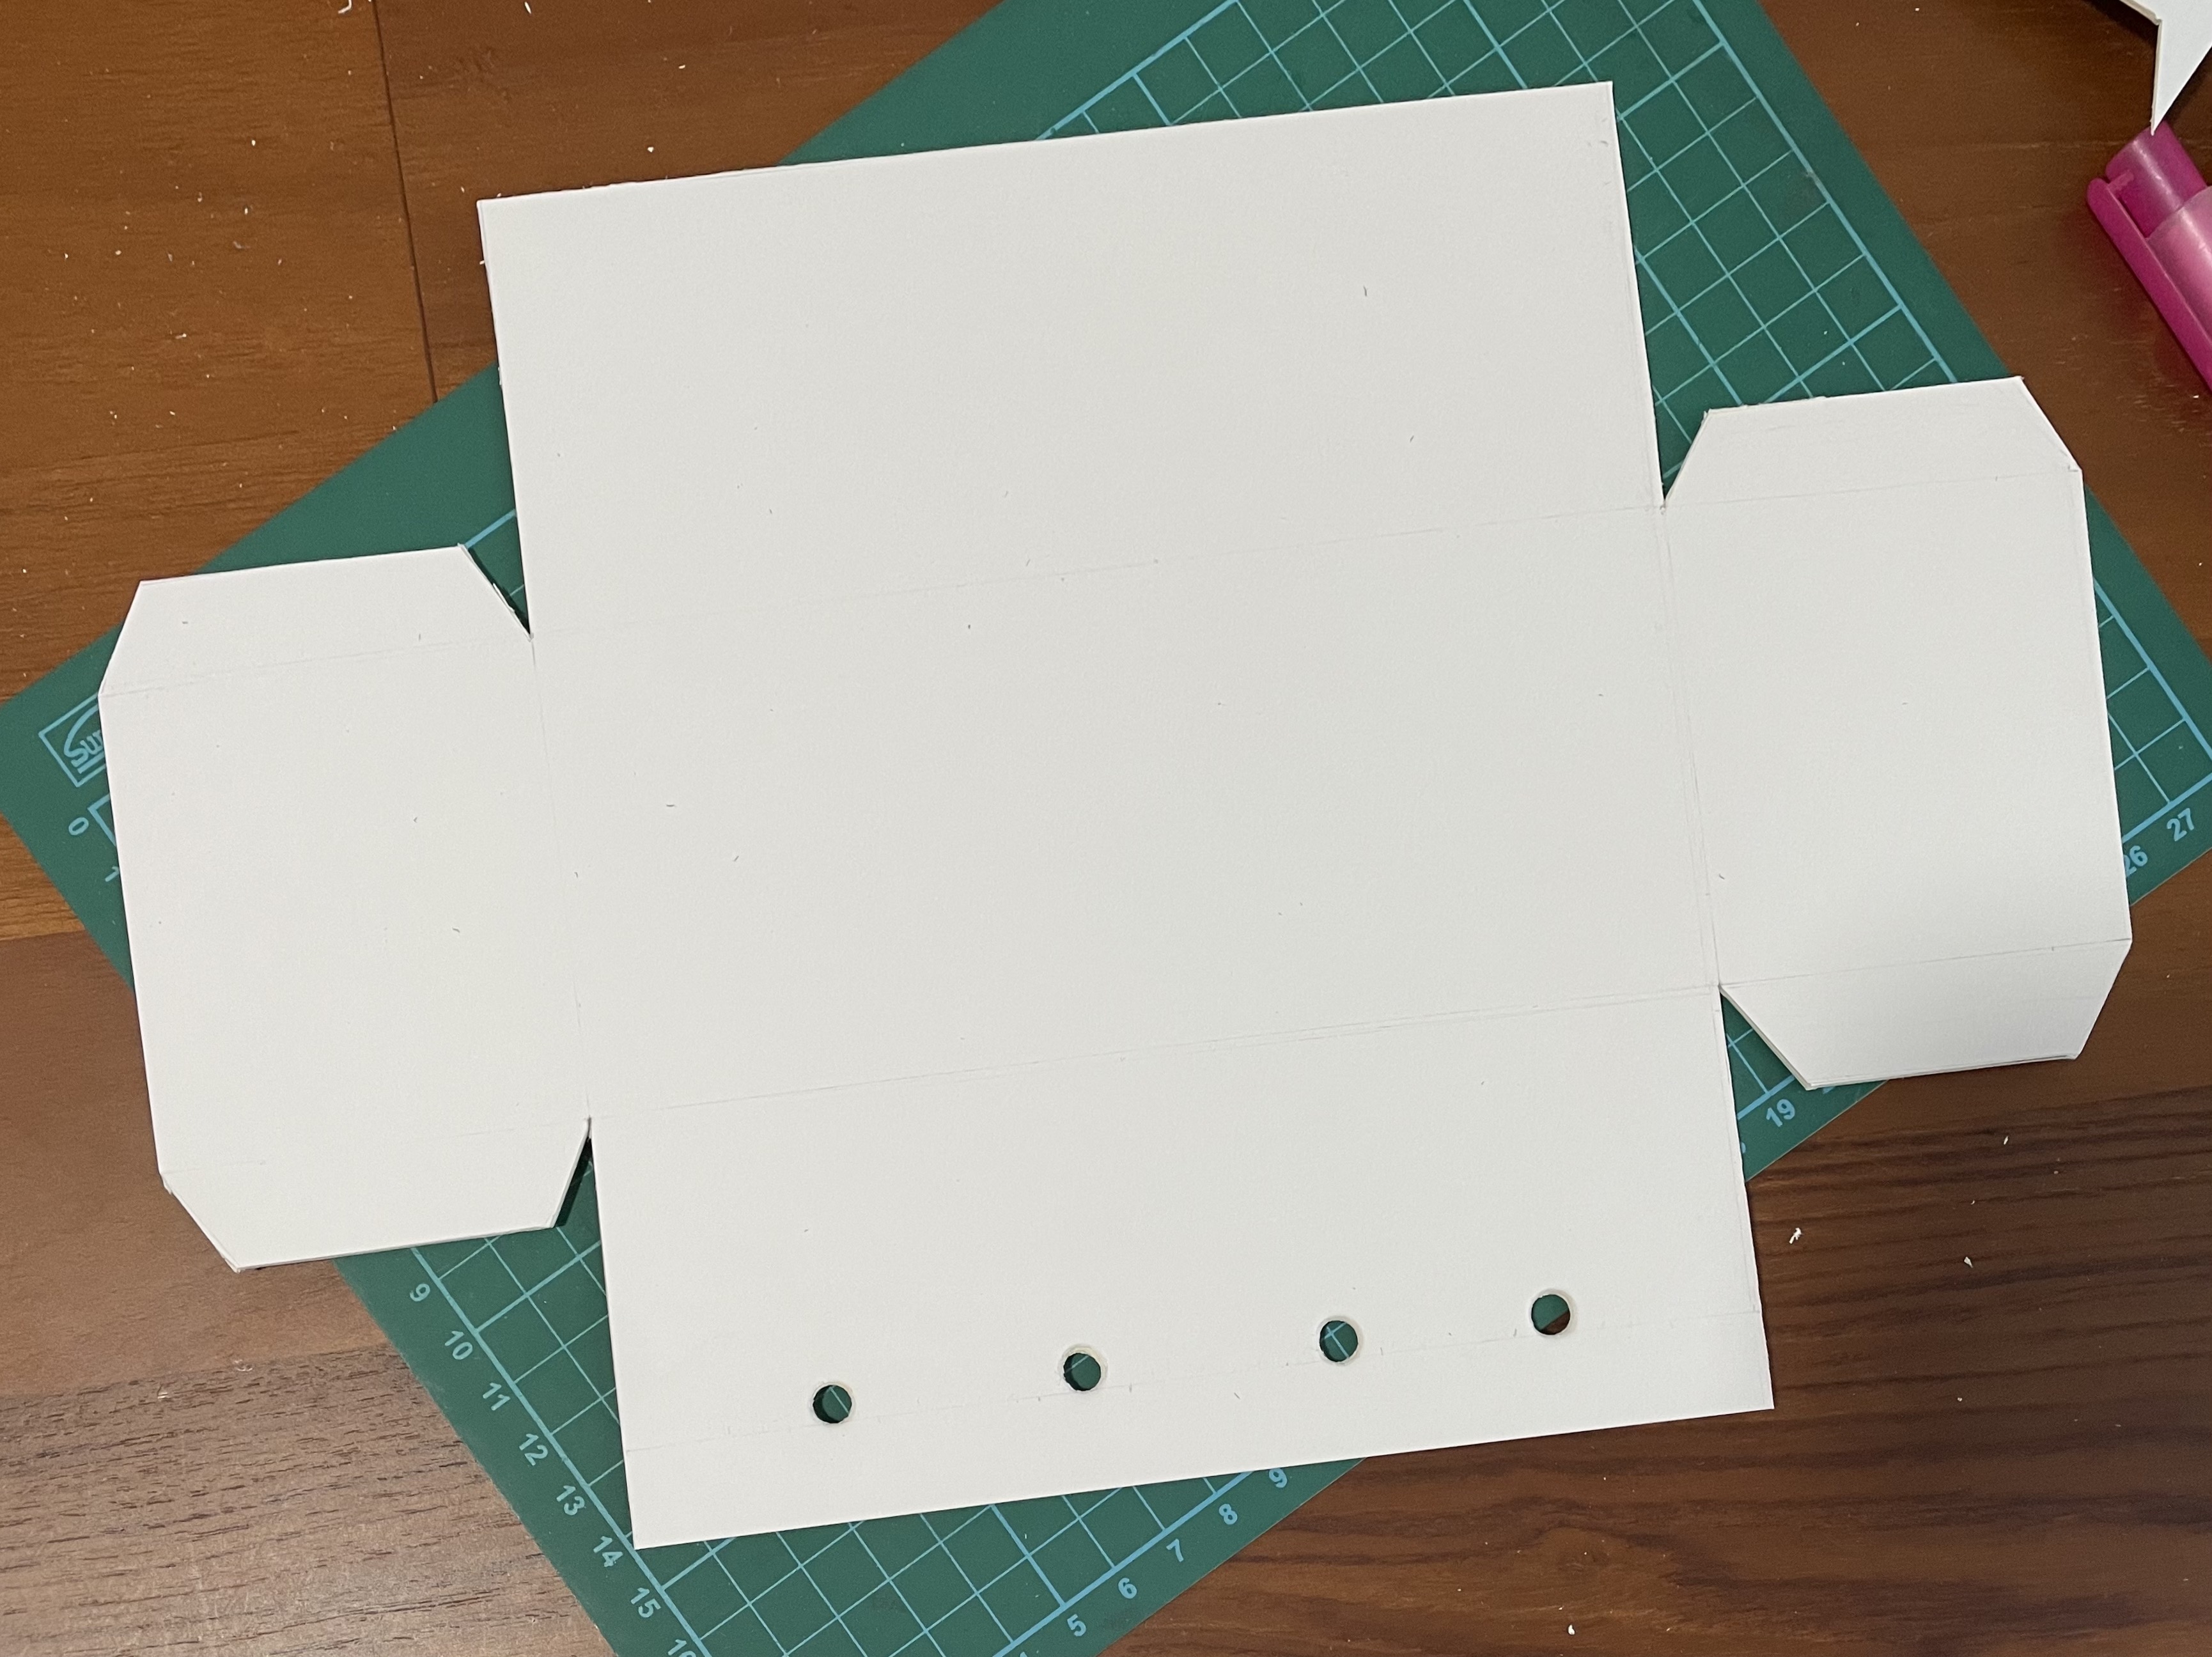
mounting board:
After carefully marking down the positioning of the potentiometer handles, I used a leather hole puncher as compared to a regular hole puncher to create larger circles for an easy access to the potentiometers.
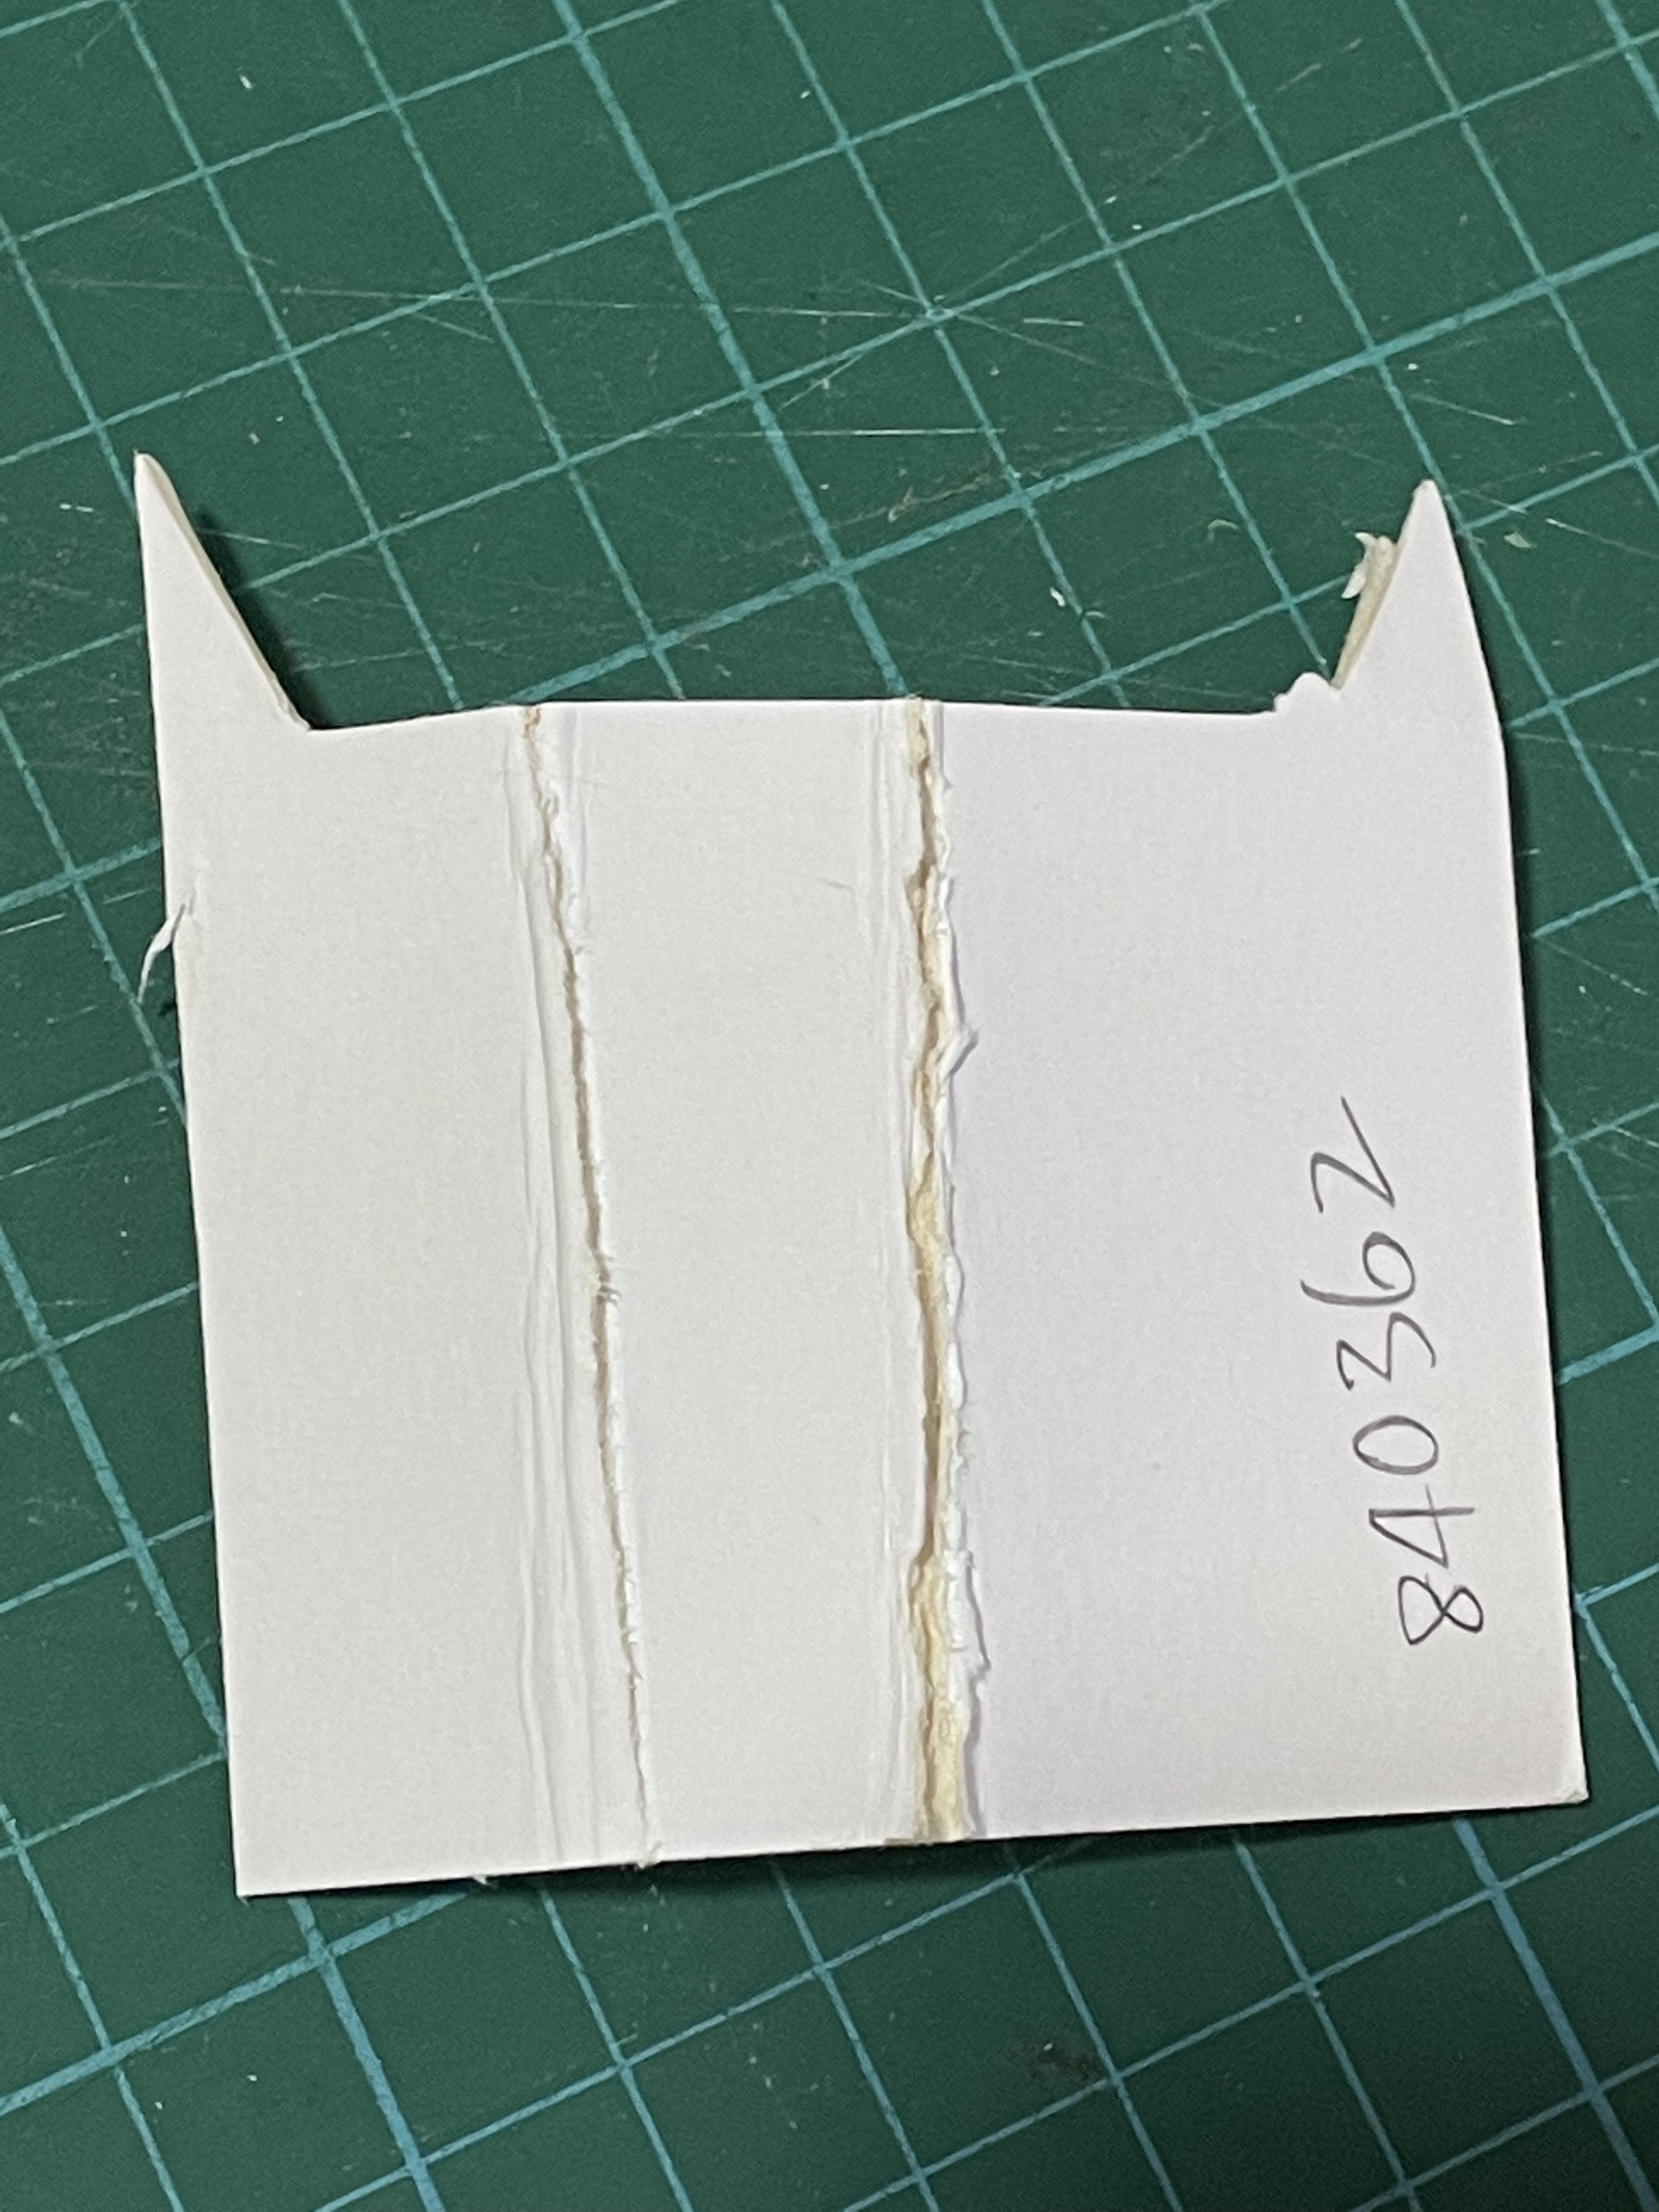
Image: Folding test 1.
Here I tested the folding of mounting board using different methods of scoring. In this version, I scored 5 times on one side and proceeded to fold. The result wasn't ideal as the crack was very visible
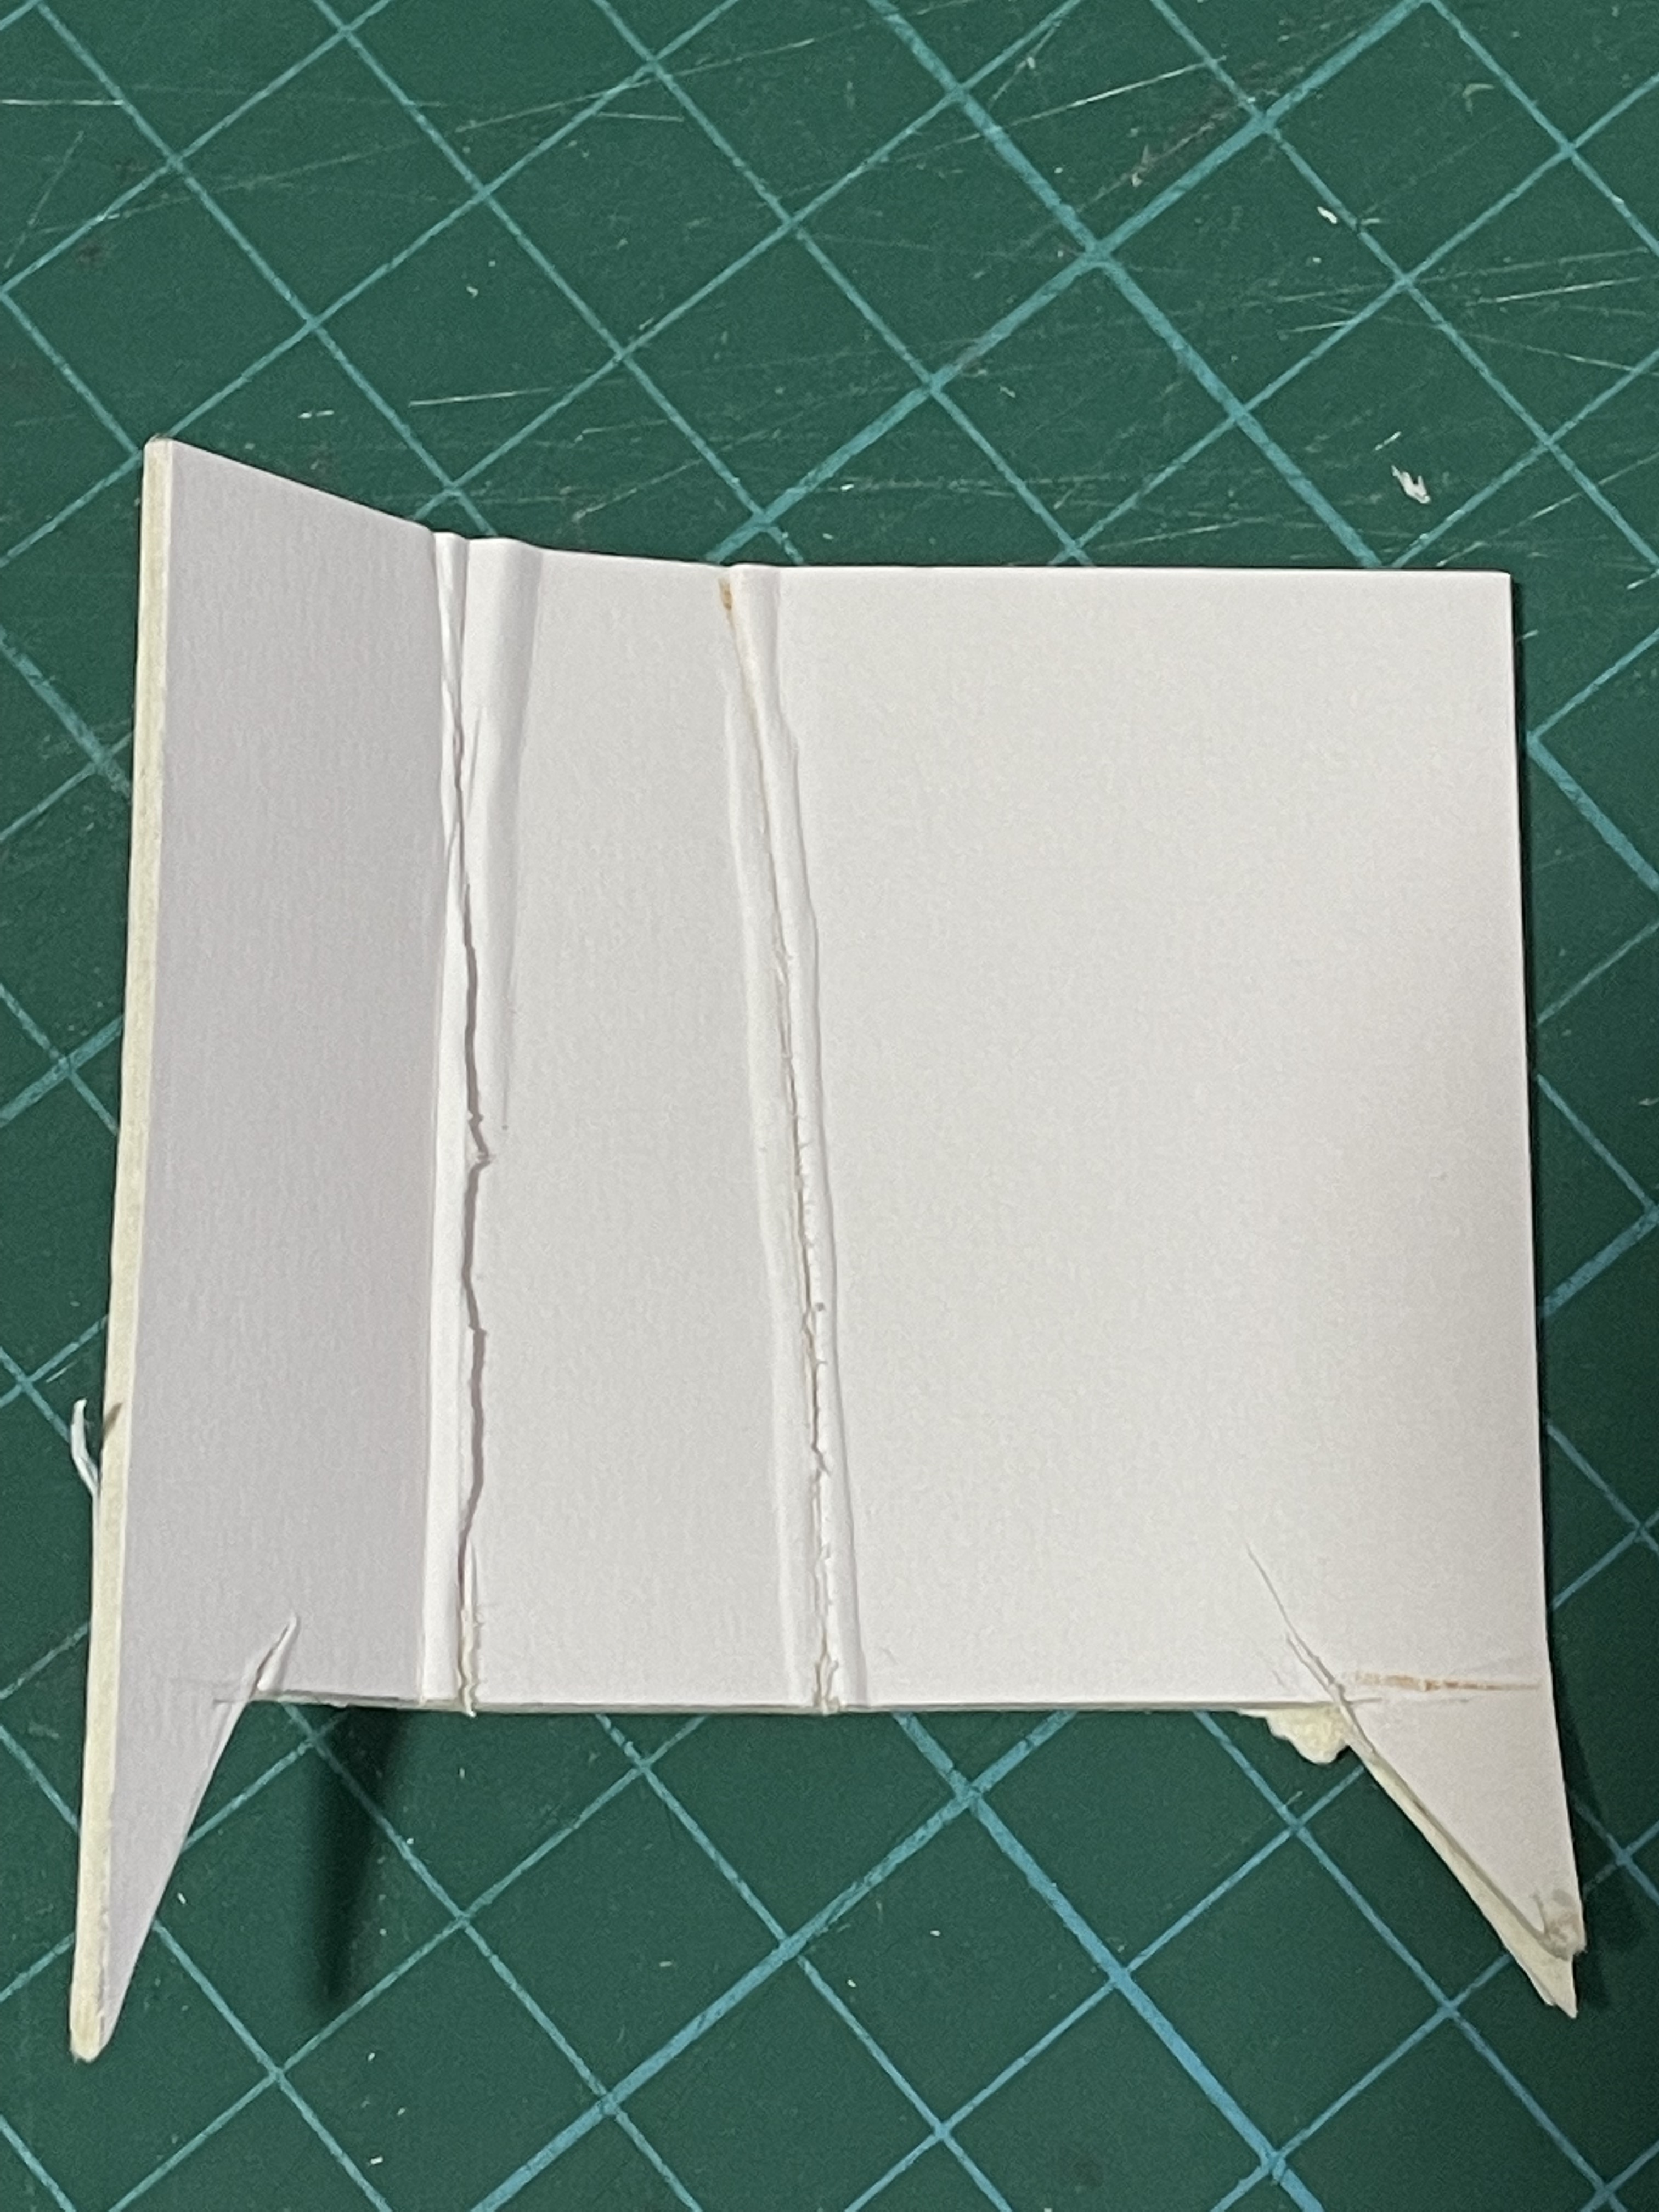
Image: Folding test 2.
In my second attempt, I tried to fold gently without any scoring, which kind of created this irregular fold which also wasn't ideal.
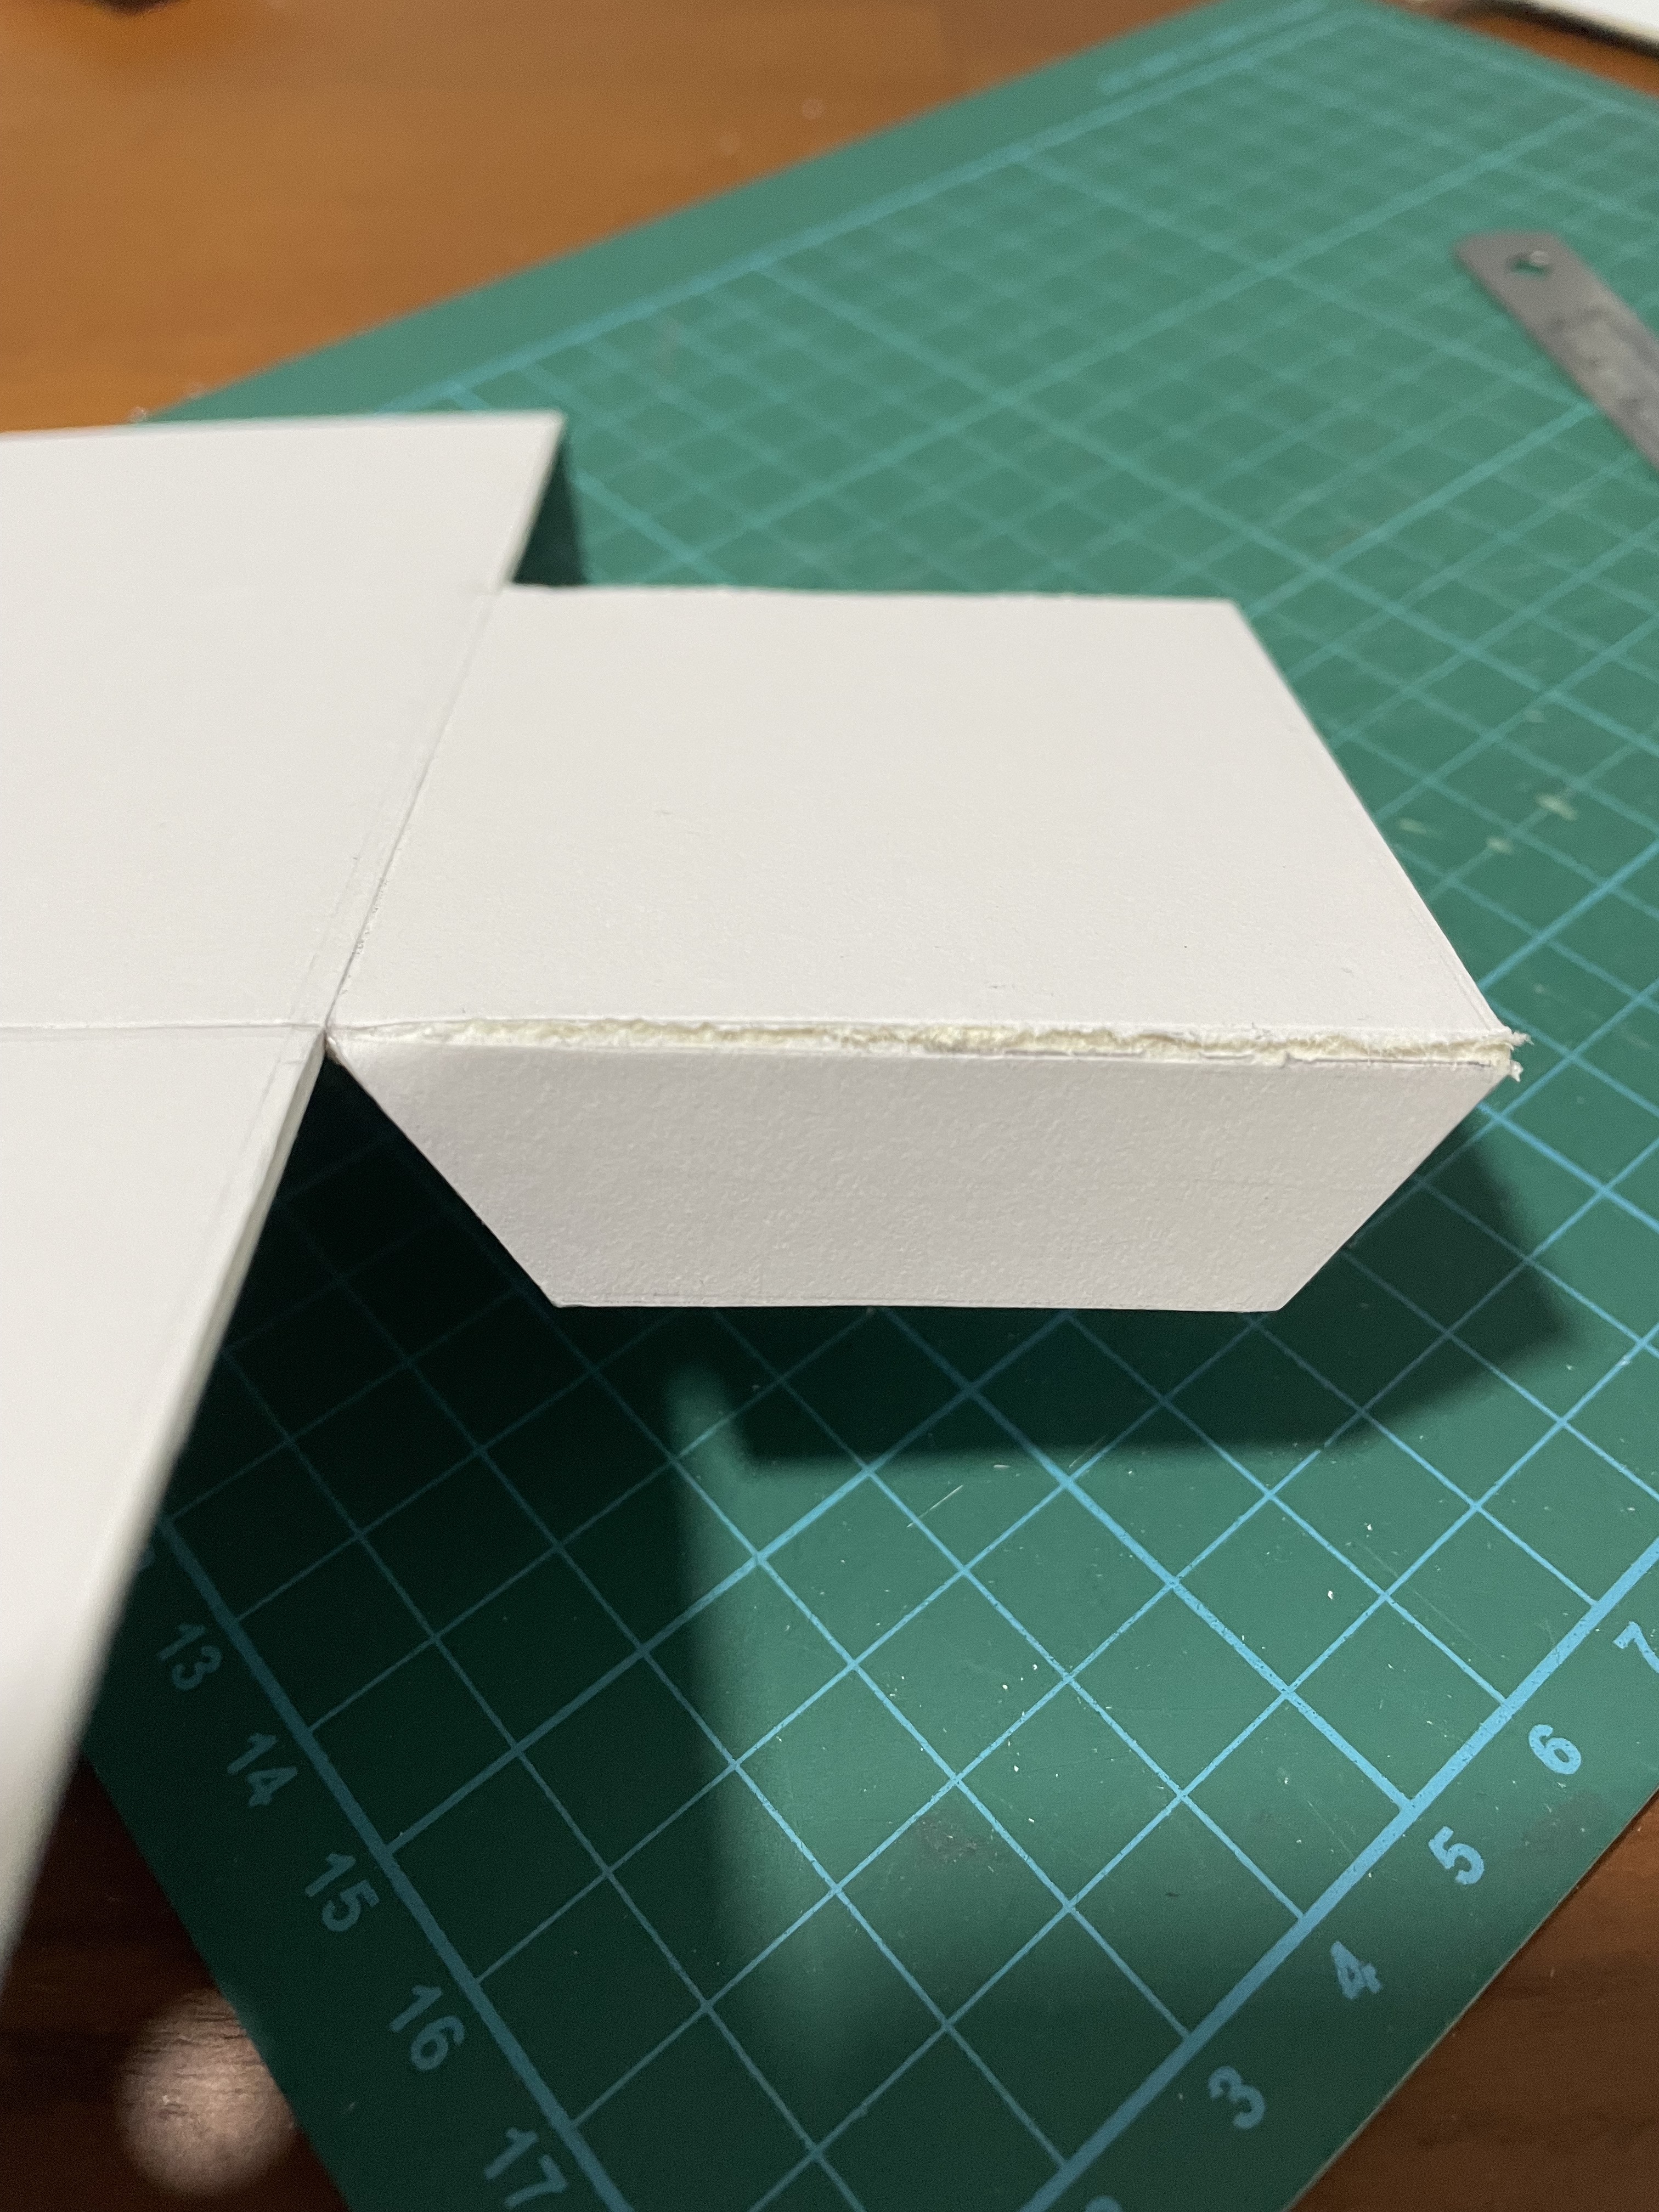
Image: Folding test 3.
In the third test, I tried to score 5 times on both sides, front and back. This created a less visible crack which was an improvement.
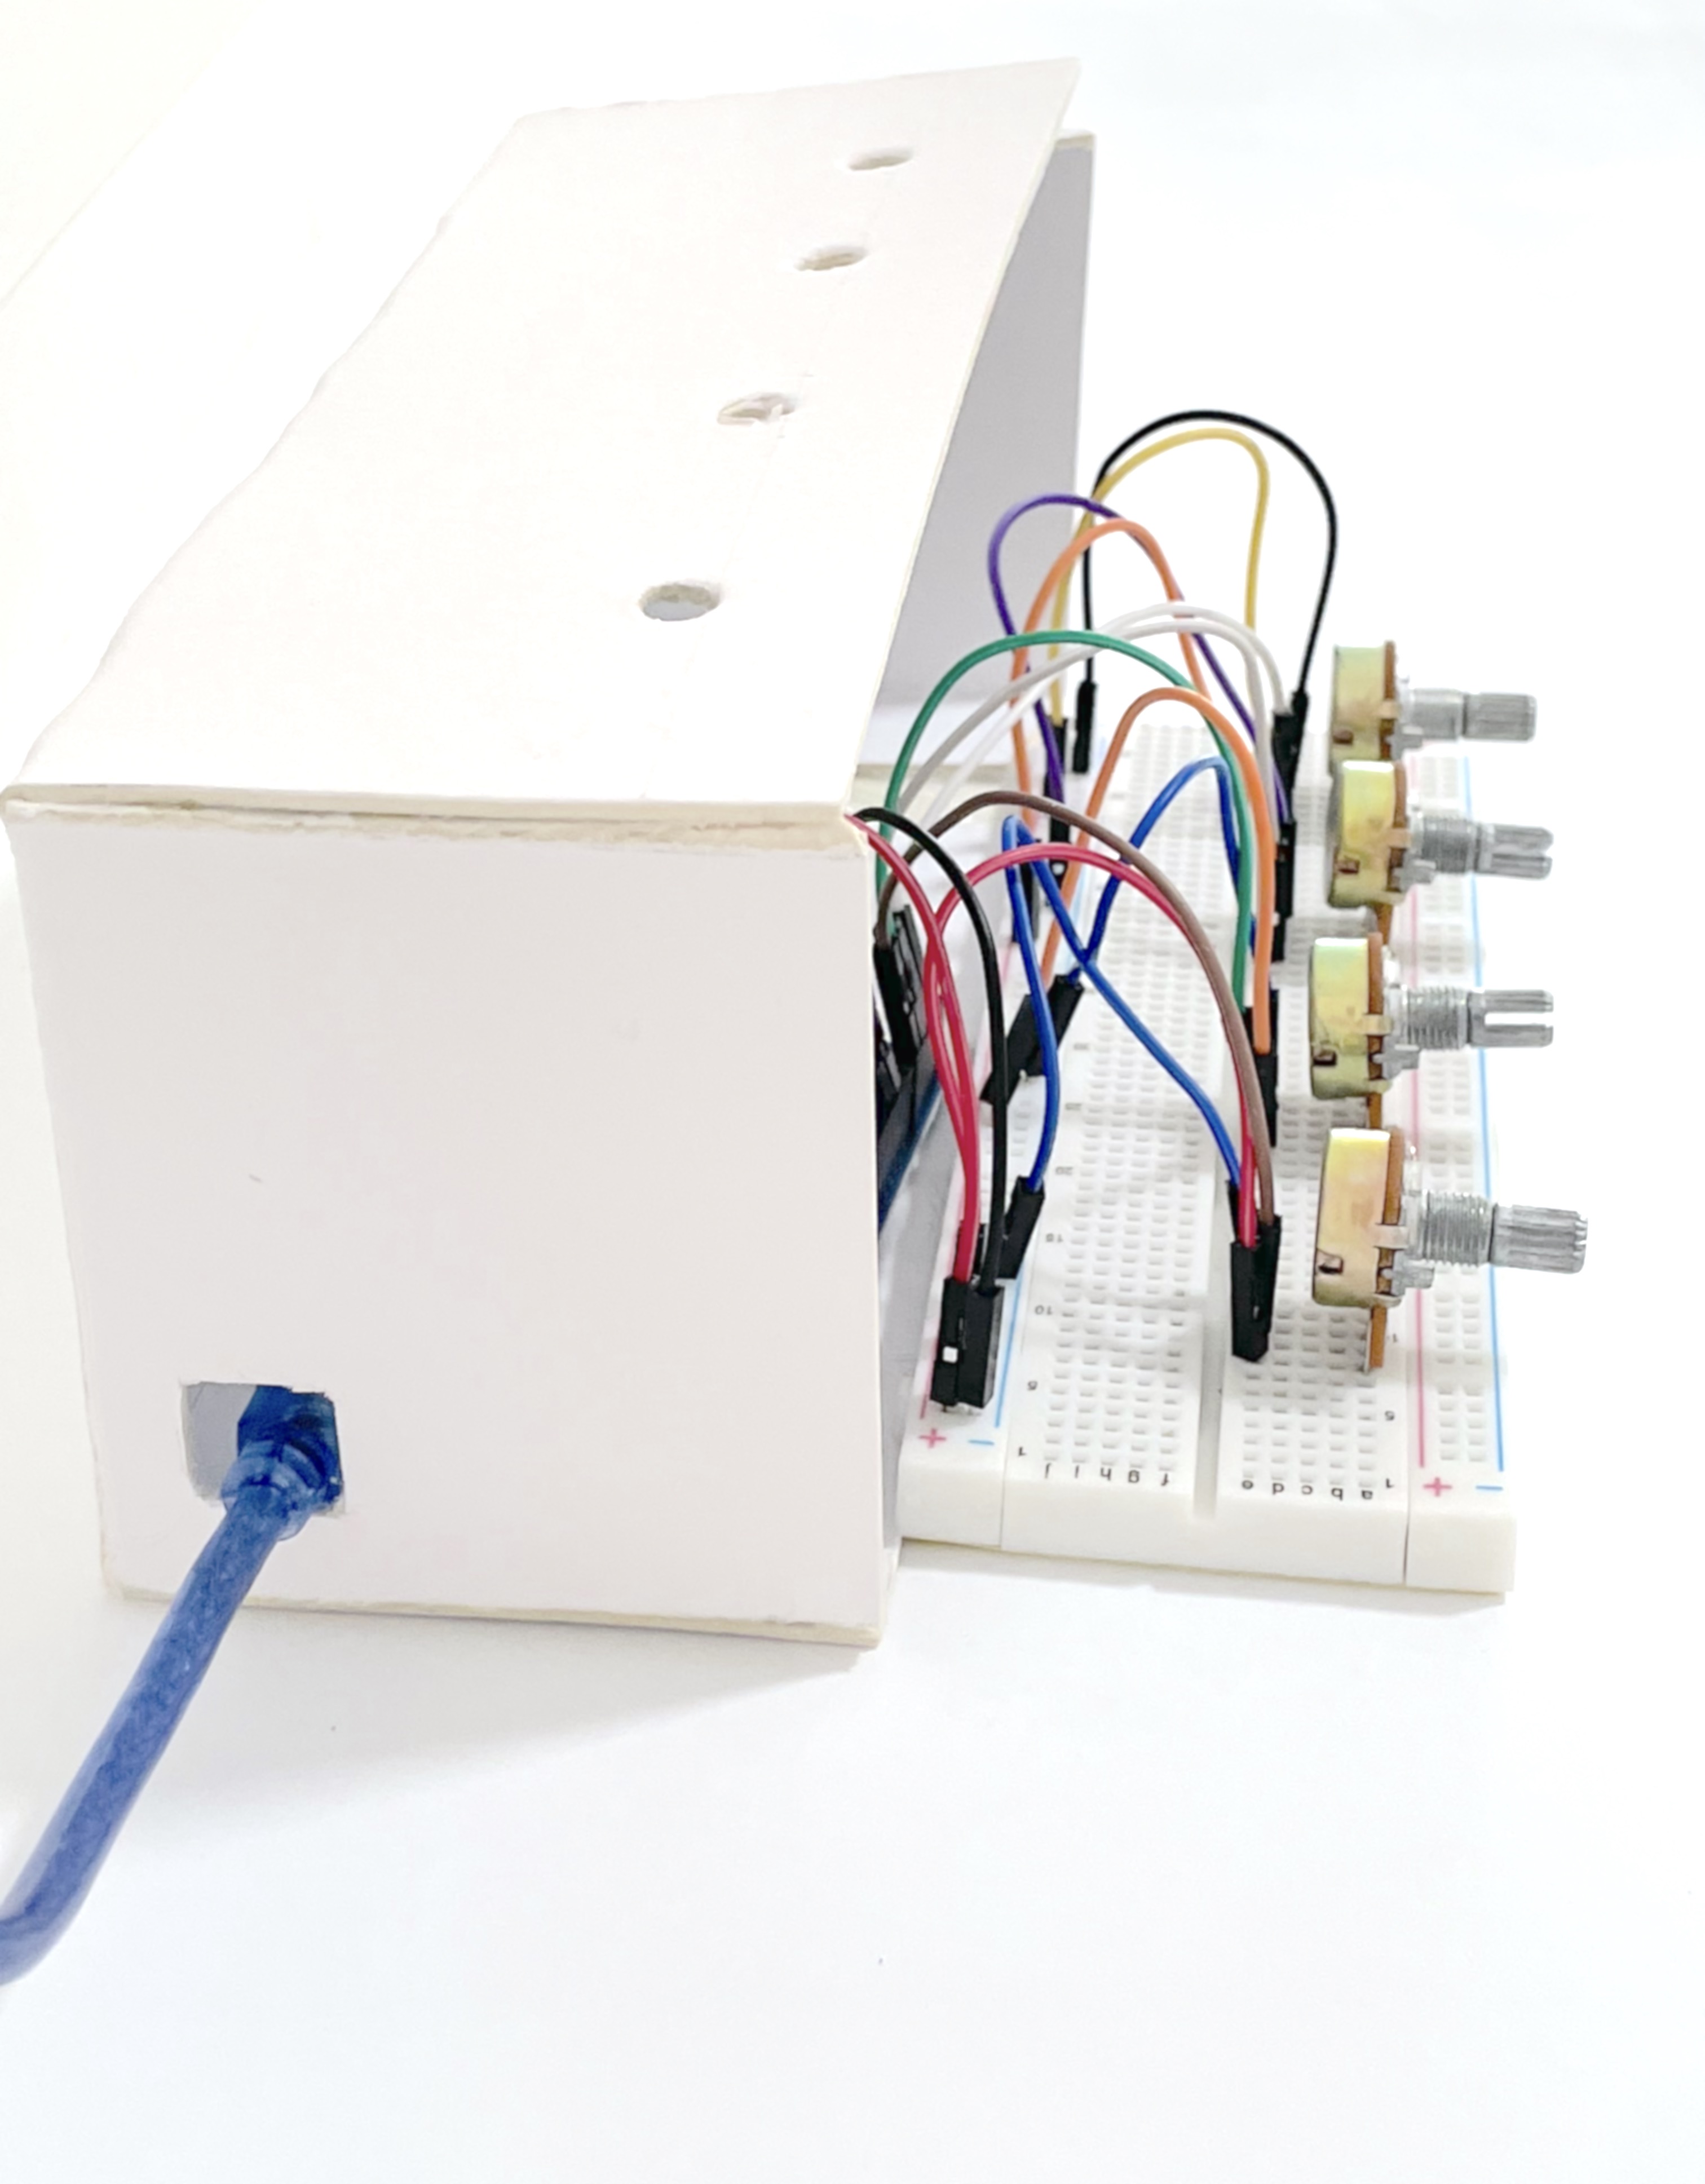
Image: Various methods such as glue tape/stick, superglue, white glue and doubl-sided tape were tested to stick together the sides of the box..
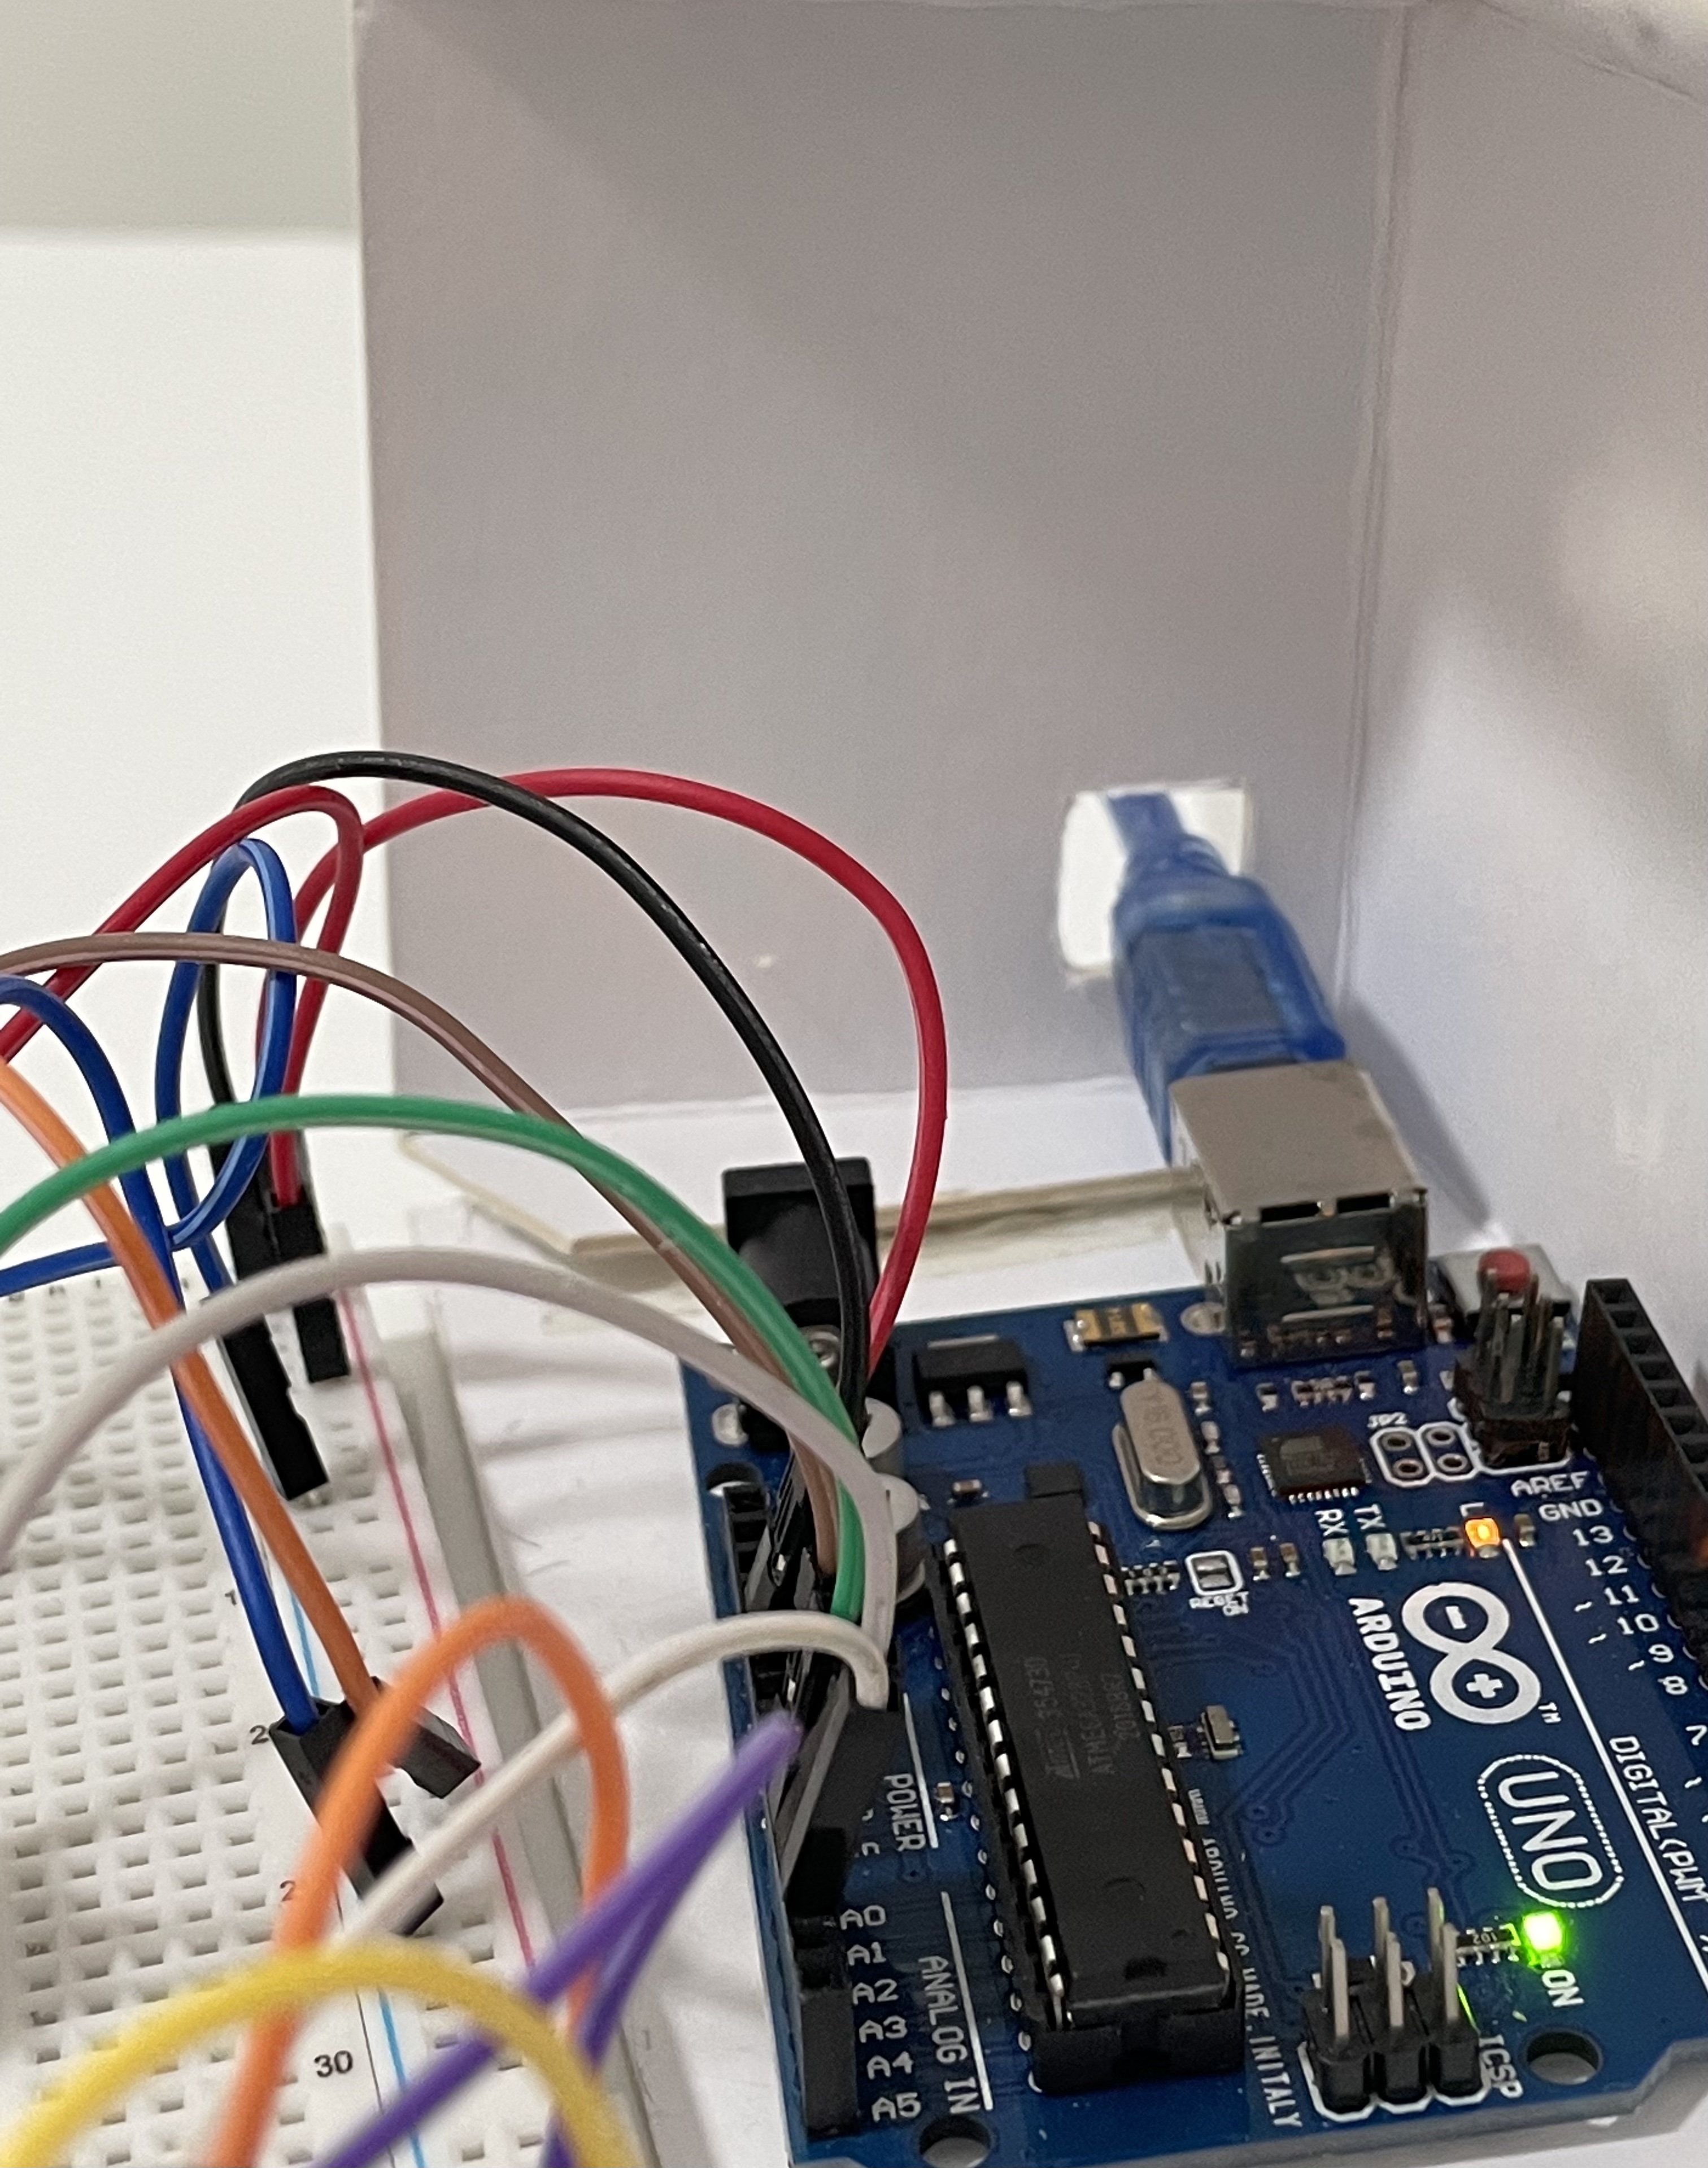
Image: Interior of the box casing.
