1 / Google Cloud Speech To Text Api
2 / Voices As Personality–User-Testing
3 / Identity Map-User-Testing
4 / Affective Data Objects-User-Testing
5 / Dissertation Consultation
GOOGLE CLOUD SPEECH TO TEXT API
Inspiration
I first got the inspiration to incorporate speech recognition in my prototype from this video. It shows how it was possible to link a Google Cloud Speech-To-Text-API to Touchdesigner and enable real-time speech-to-text translation. From this tutorial, I tried using OSC to connect the API, but I couldn't get it to work, so I tried using WebSockets instead.
Reference for connecting Google Cloud Speech-To-Text-API to Touchdesigner
The available resources and documentation of tutorials and samples provided in the Google Cloud library enabled me to gain a really clear understanding of how to use this API and how to write the code for it!
From the first tutorial, I was also directed to this Google CLoud Speech-to-Text Set Up documentation. In this page, it provides a step by step walk-through of how to enable the API in the Google Cloud console and create make an audio transcription request .json file.
Specifically, the tutorial on speech requests documentation taught me the three methods to perform speech recognition, through synchronous, asynchronous and streaming recognition methods. I decided to use the streaming recognition method as its real-time recognition functionality reallt elevates the usability of the prototype. Utilising this method, it can produce interim results while the user is still speaking which allows the typographic distortions to slowly evolve with time. Hence, I think this approach was more ideal than the other two methods in speech recognition results.
As the tutorial doesn't specify the details of the streaming recognition method, I referenced these documentation to learn about how to incorporate this streaming device In addition, I figured how to adjust the interim results code such that the processing time is reduced to produce seamlessly constant results.
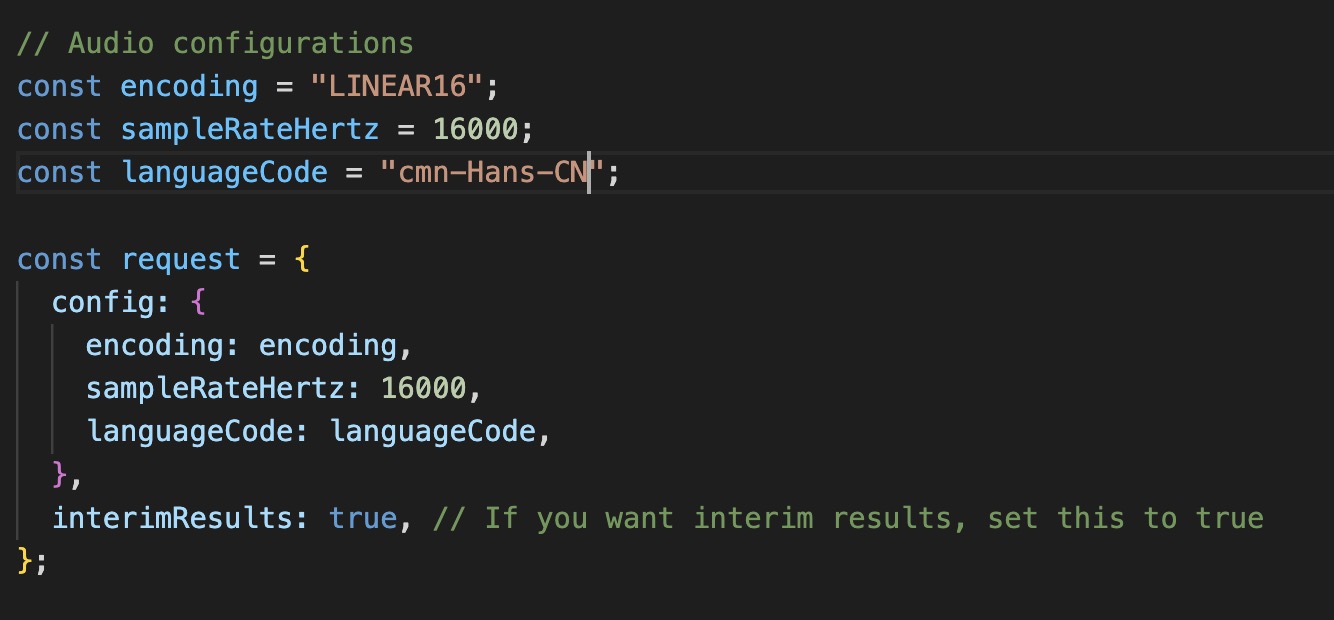
After scouring the Internet for tutorials on hw to connect Google Cloud API to Touchdesigner, I didn't manage to find any. But I did find documentations of different steps that will enable me to piece together to form a workable document that can connect the API serve to Touchdesigner. Additionally, I also found multiple overlapping documents on the same methods but devised in a different manner. For instance, I found several audio configuration and recognise stream references which offered more knowledge on how to write the code properly. Plus, I also found this Google documentation on transcribing audio from streaming input. With this, I was able to stream input from my microphone as a source for speech recognition.
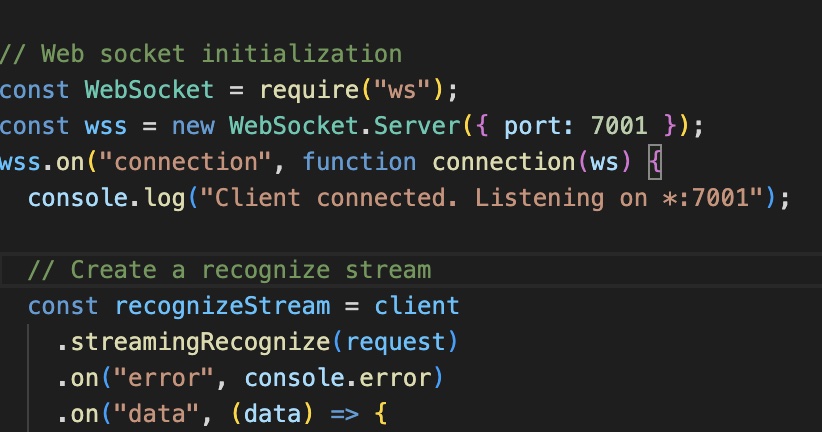
By setting the port name to the same value, I was able to establish a link between the .js file and the websockets operator in Touchdesigner. Through this, inputs from the Google Cloud API is streamed into Touchdesigner.
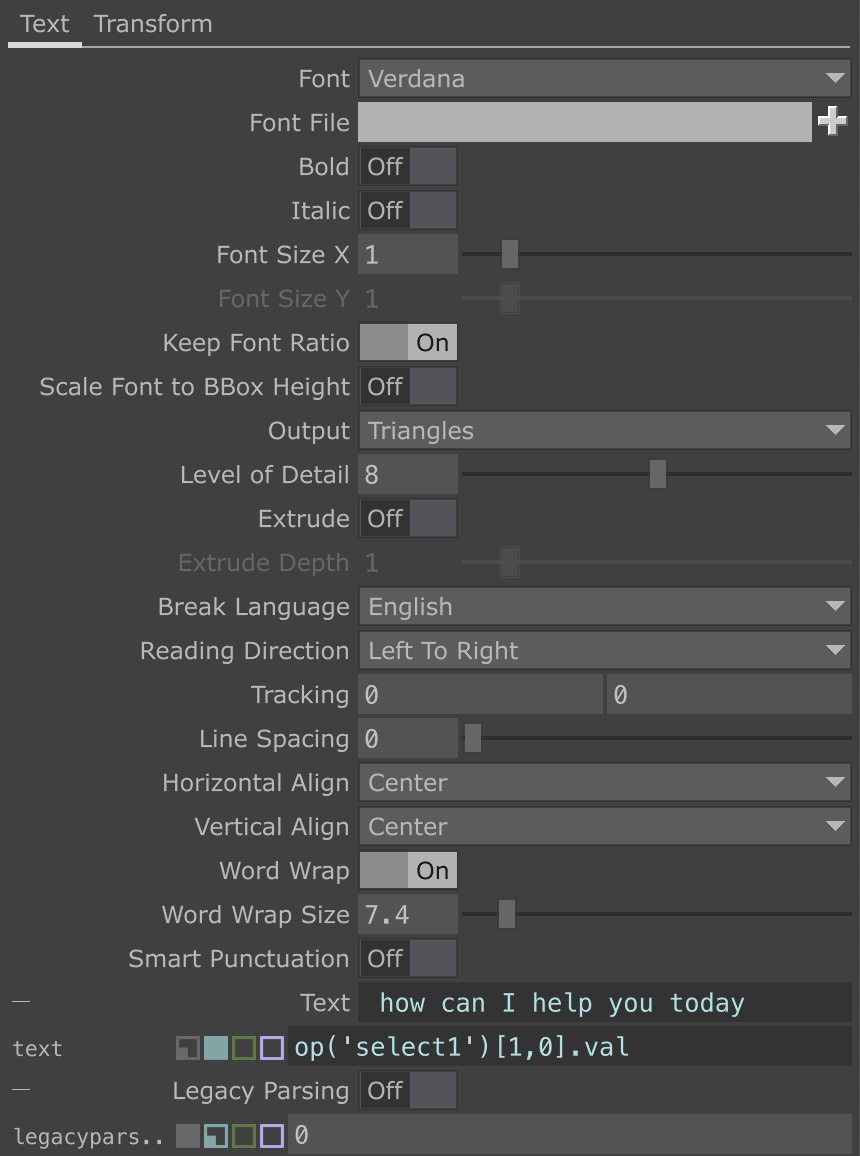
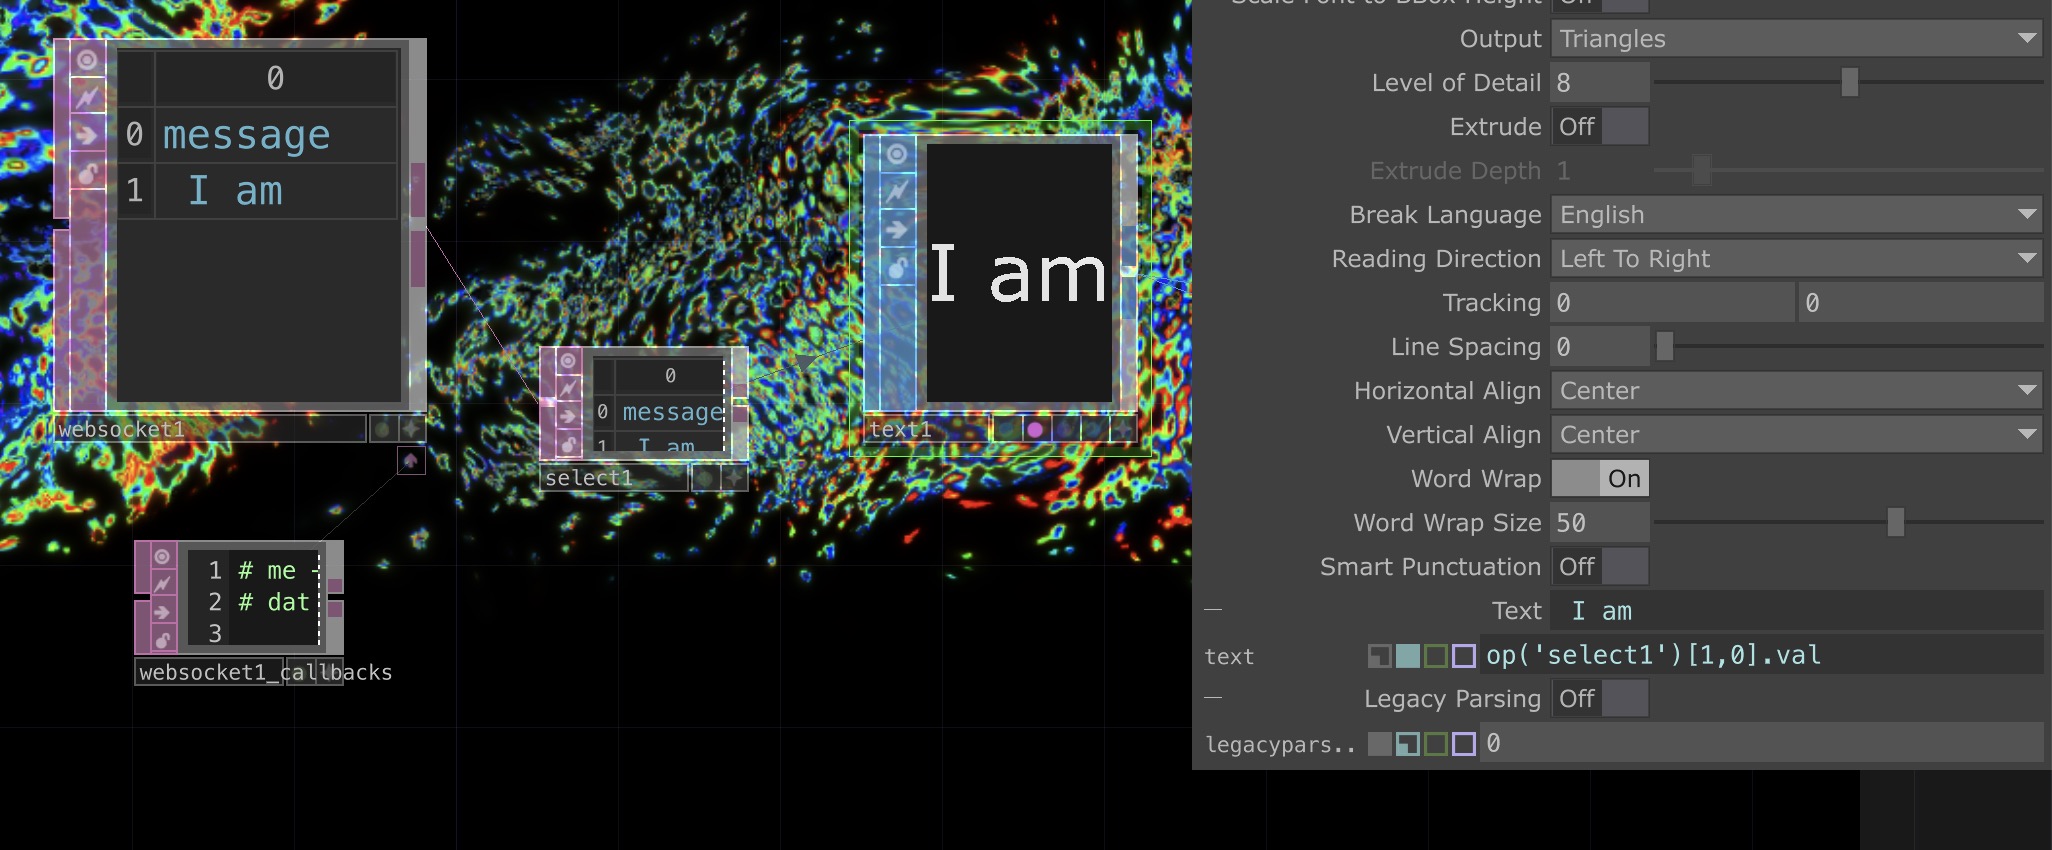 ↘ Linking a DAT table cell to Text
Unlike past practices where one could link a parameter by simply dragging and dropping the values into operators. In this context, the values from the WebSockets could not be linked in the same way. Thus, I referenced a Derivative Forum to learn how to manually write an expression that could and select the operator and its individual values to read from.
Some exploration I did with the language code as I wanted to test if speech inputs in other languages can be recpgnised and displayed as text. Therefore, I change the English language code to "cmn-Hans-CN" which is the language code for Simplified Chinese. And it did work! In the above example, I said "大家好" in Chinese which means "hello everyone".
This presents potential for the identity tool to cater to people of different races and nationality.
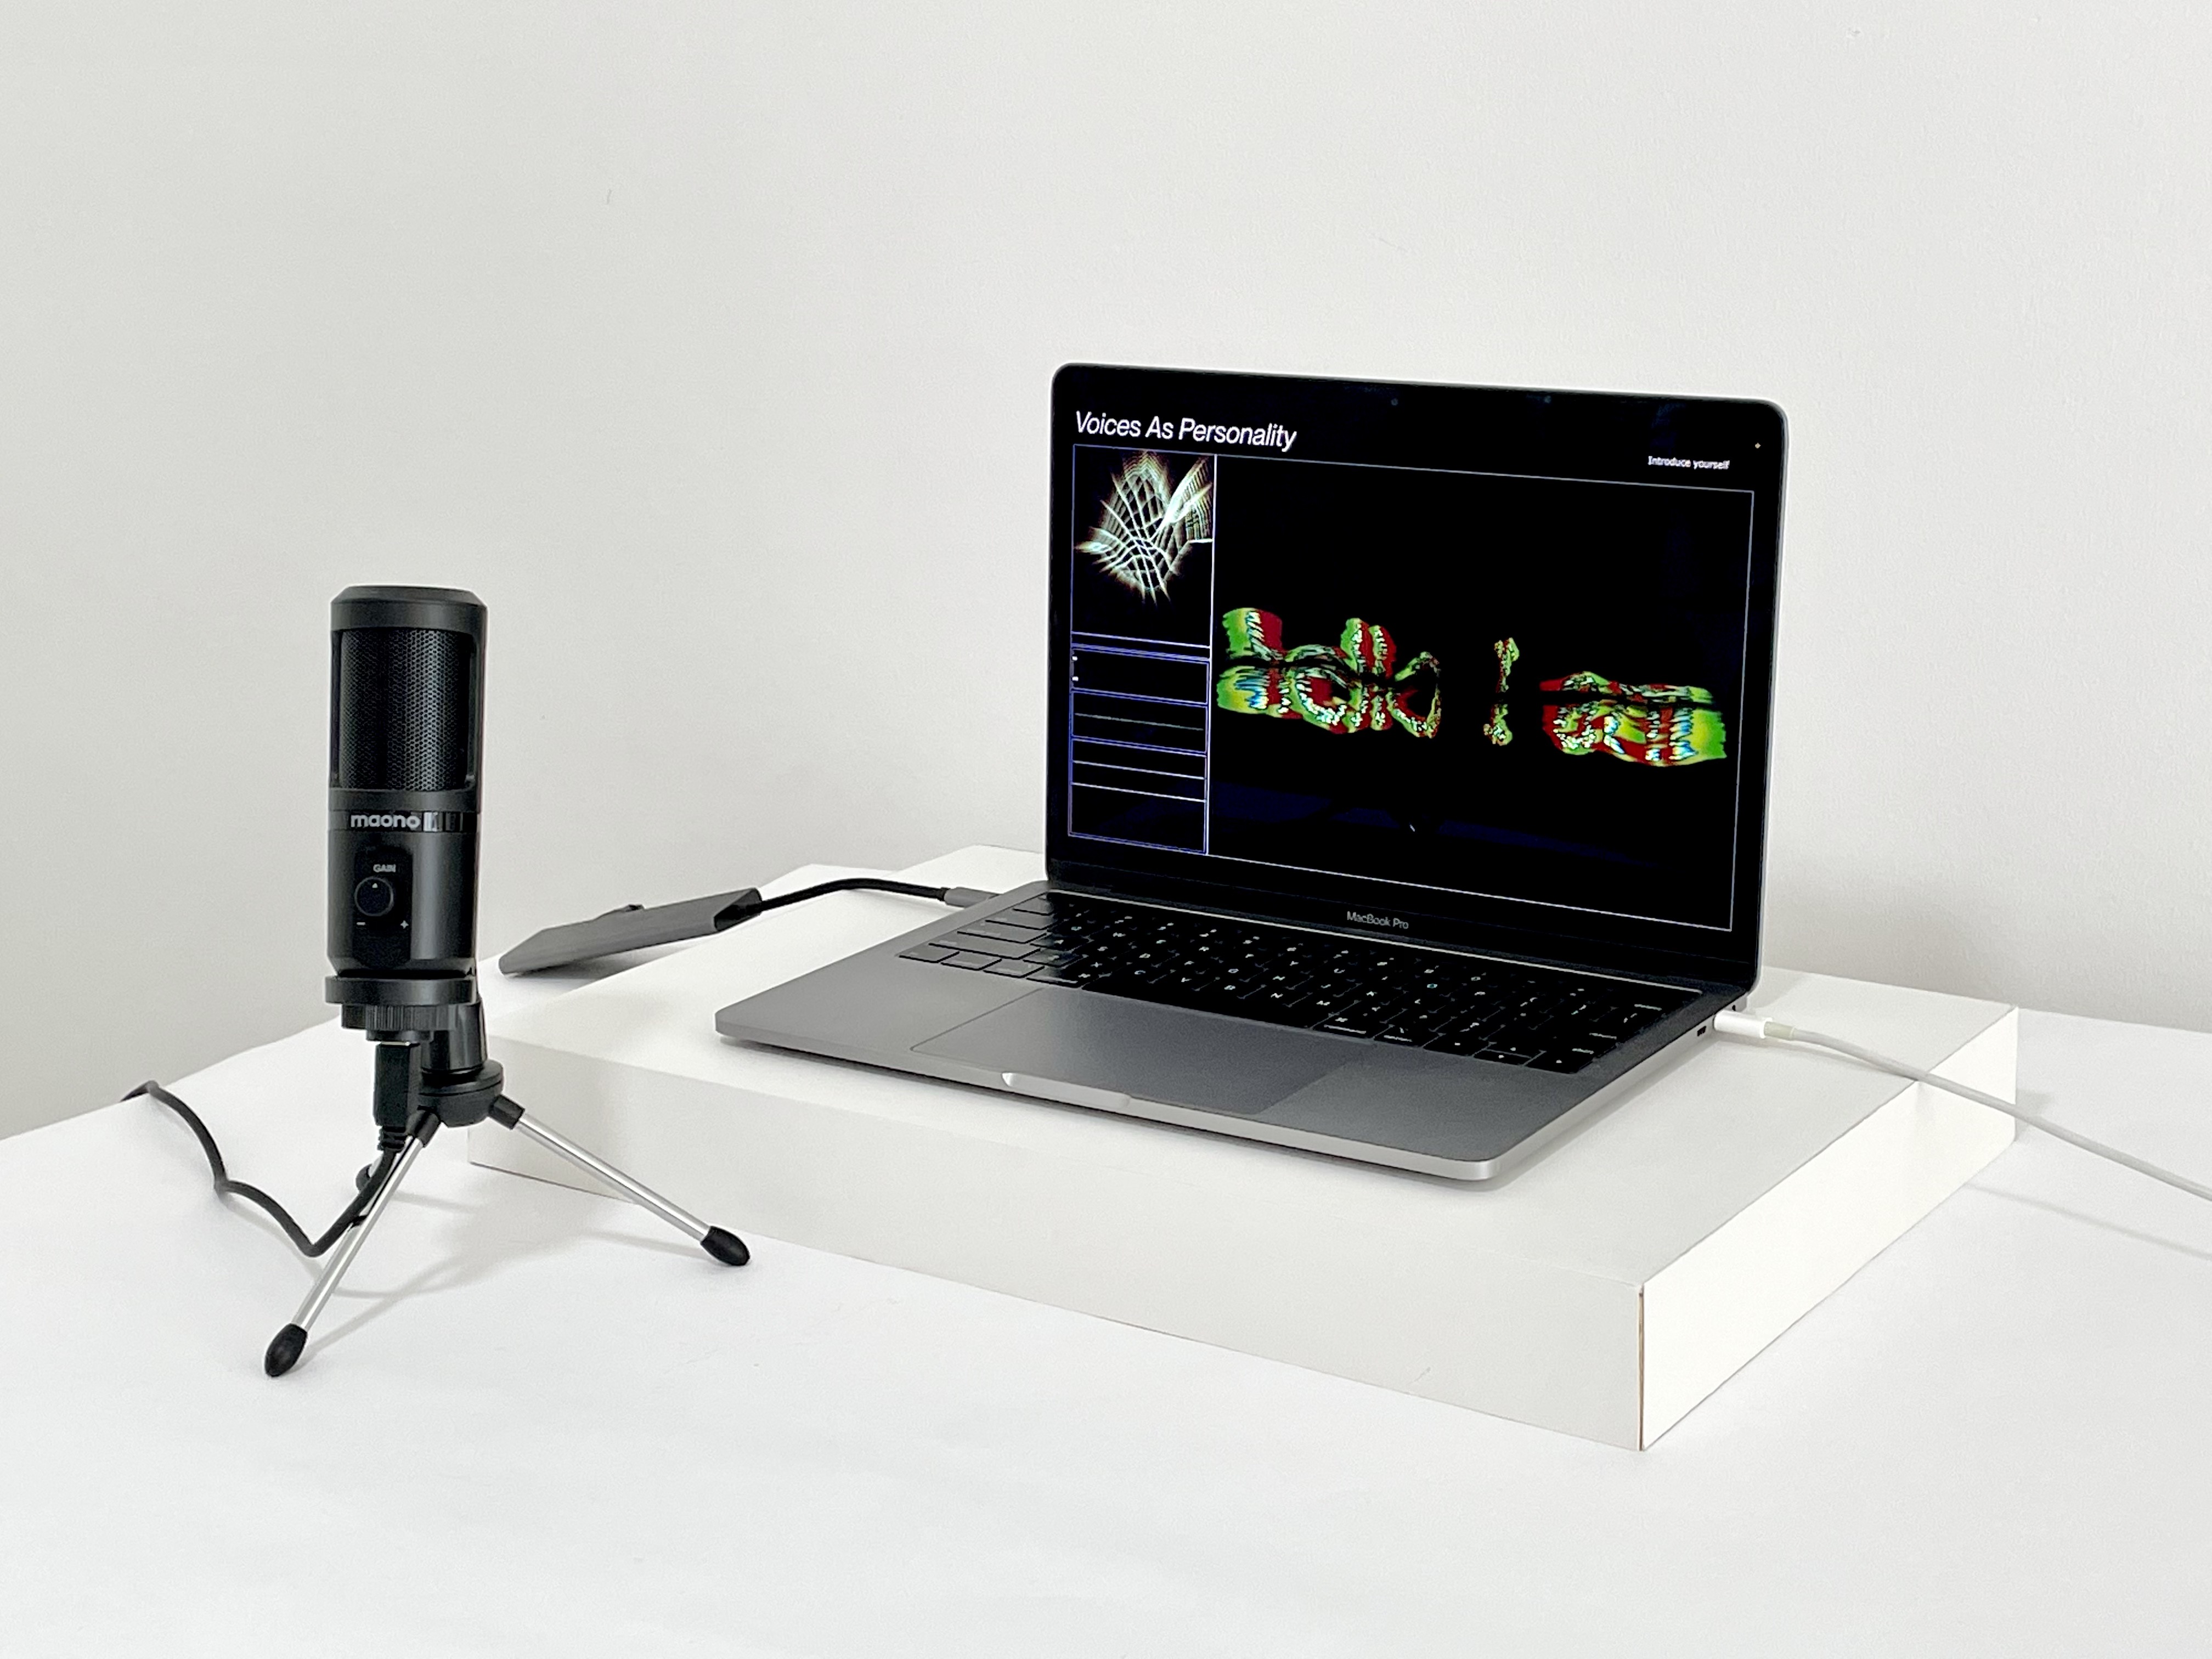
Below is a demonstration of me trying out the prototype together with the Maono microphone. I tried to use sounds like clapping or knocking on the table to manipulate the letterform without changing the text that had been generated.
All in all, the programming of Google Cloud Speech-to-text API to Touchdesigner was such a difficult and challenging process. Half the time was spent on just trying to understand all the new terms and functions etc. Even after reading all the documentation, when I tried to apply it myself, I faced so many issues just trying to make the codes work. Thankfully, a friend of mine helped me make sense of everything resolve the problems with the code.
VOICES AS PERSONALITY–USER-TESTING
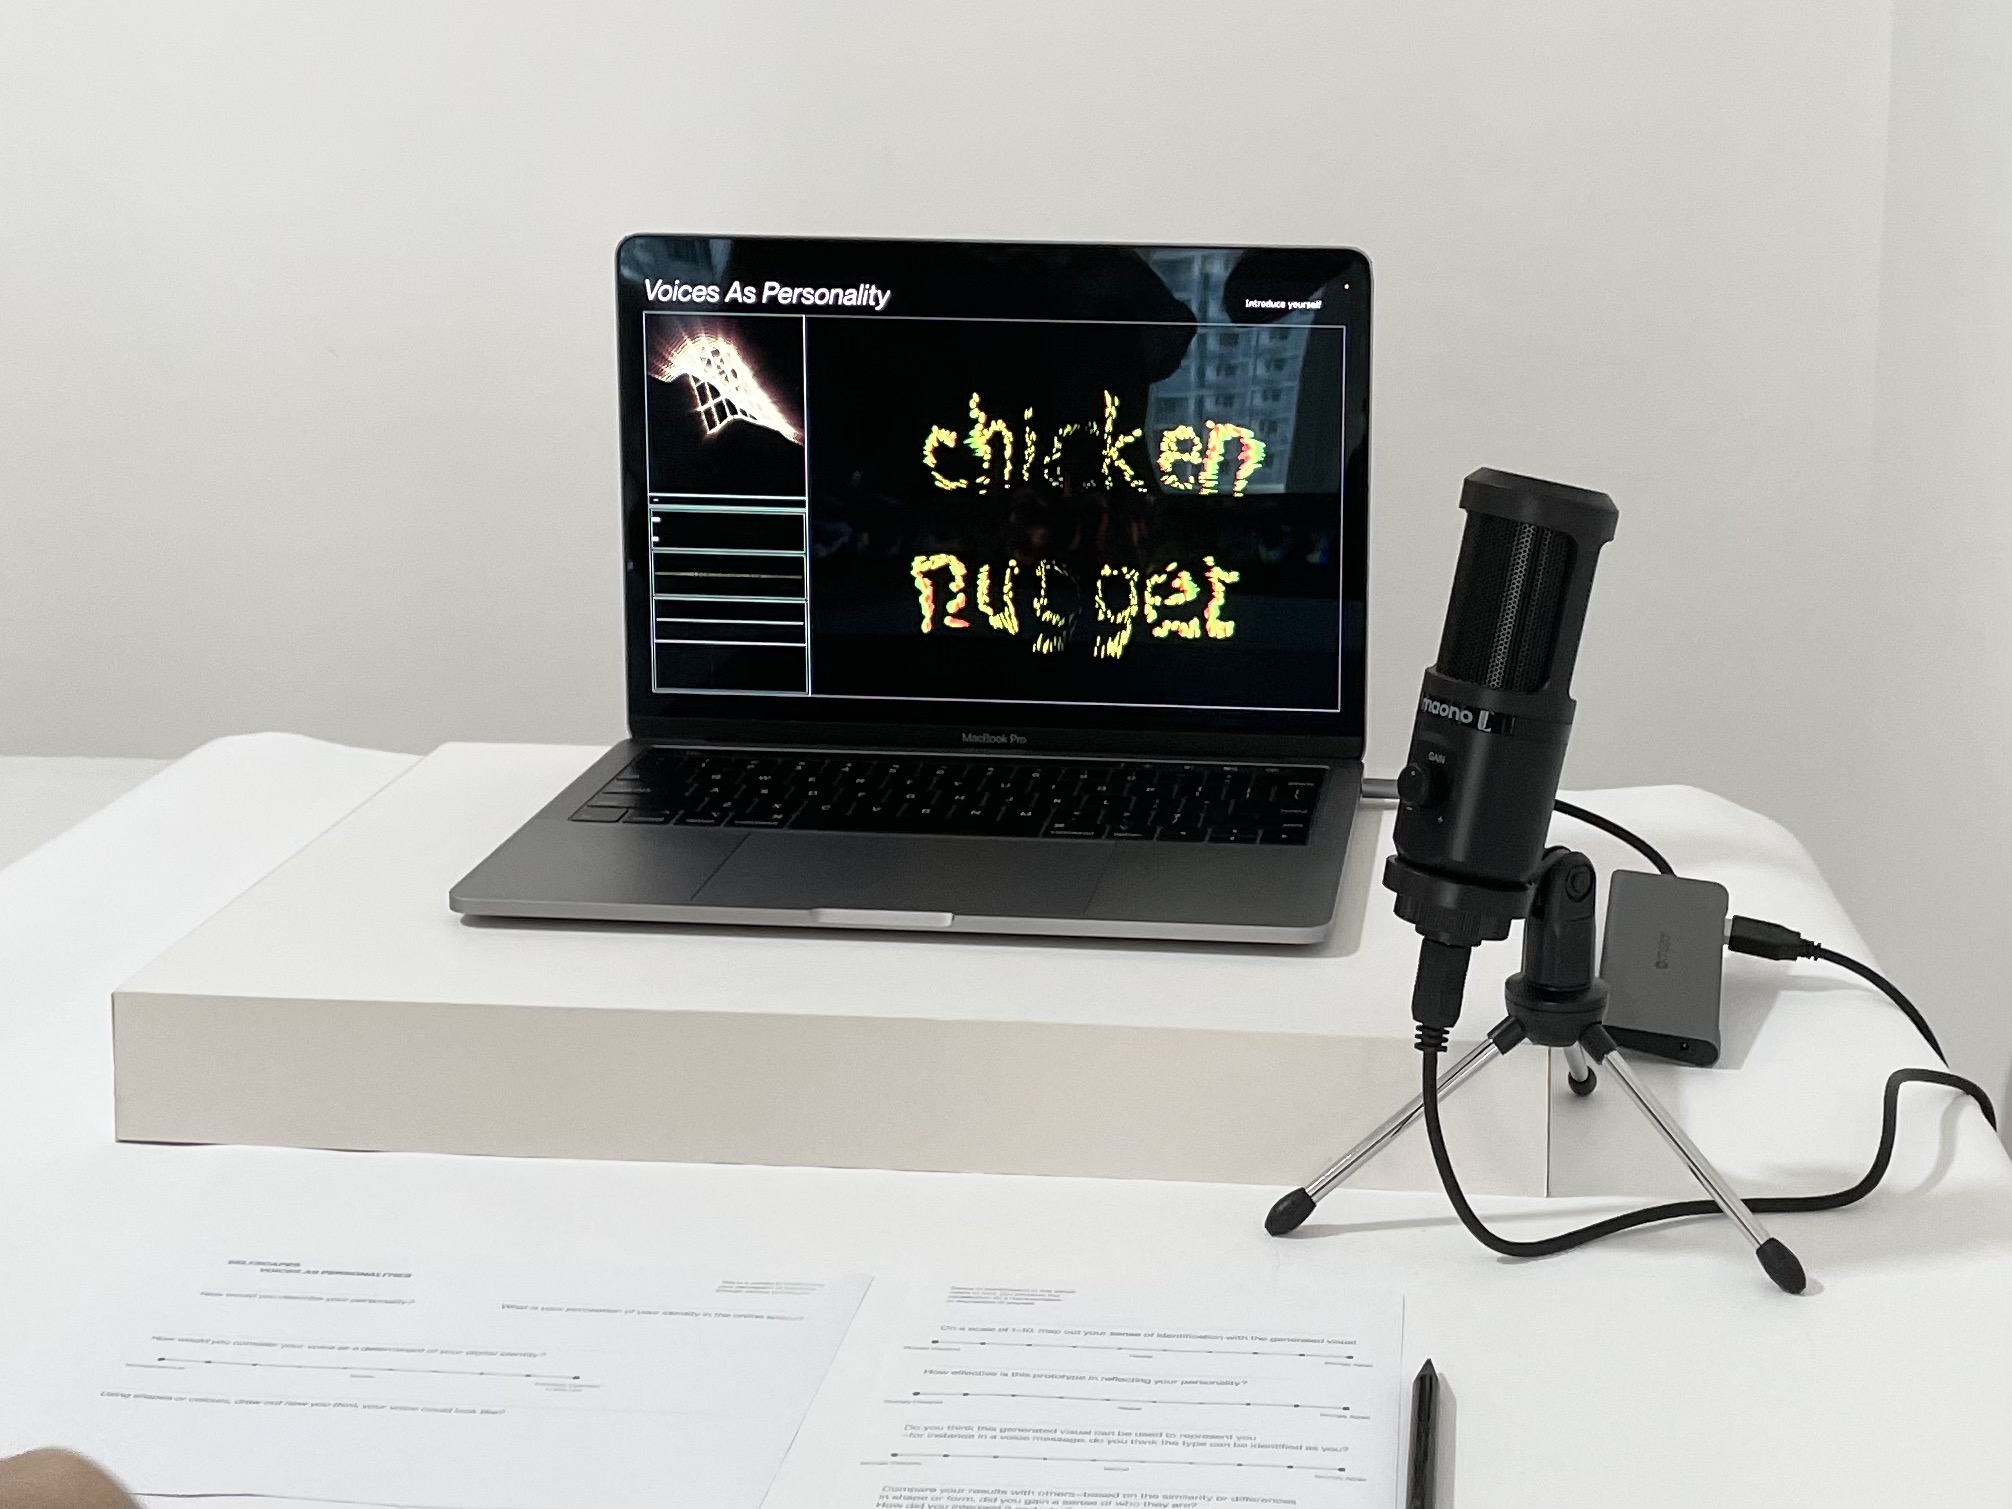
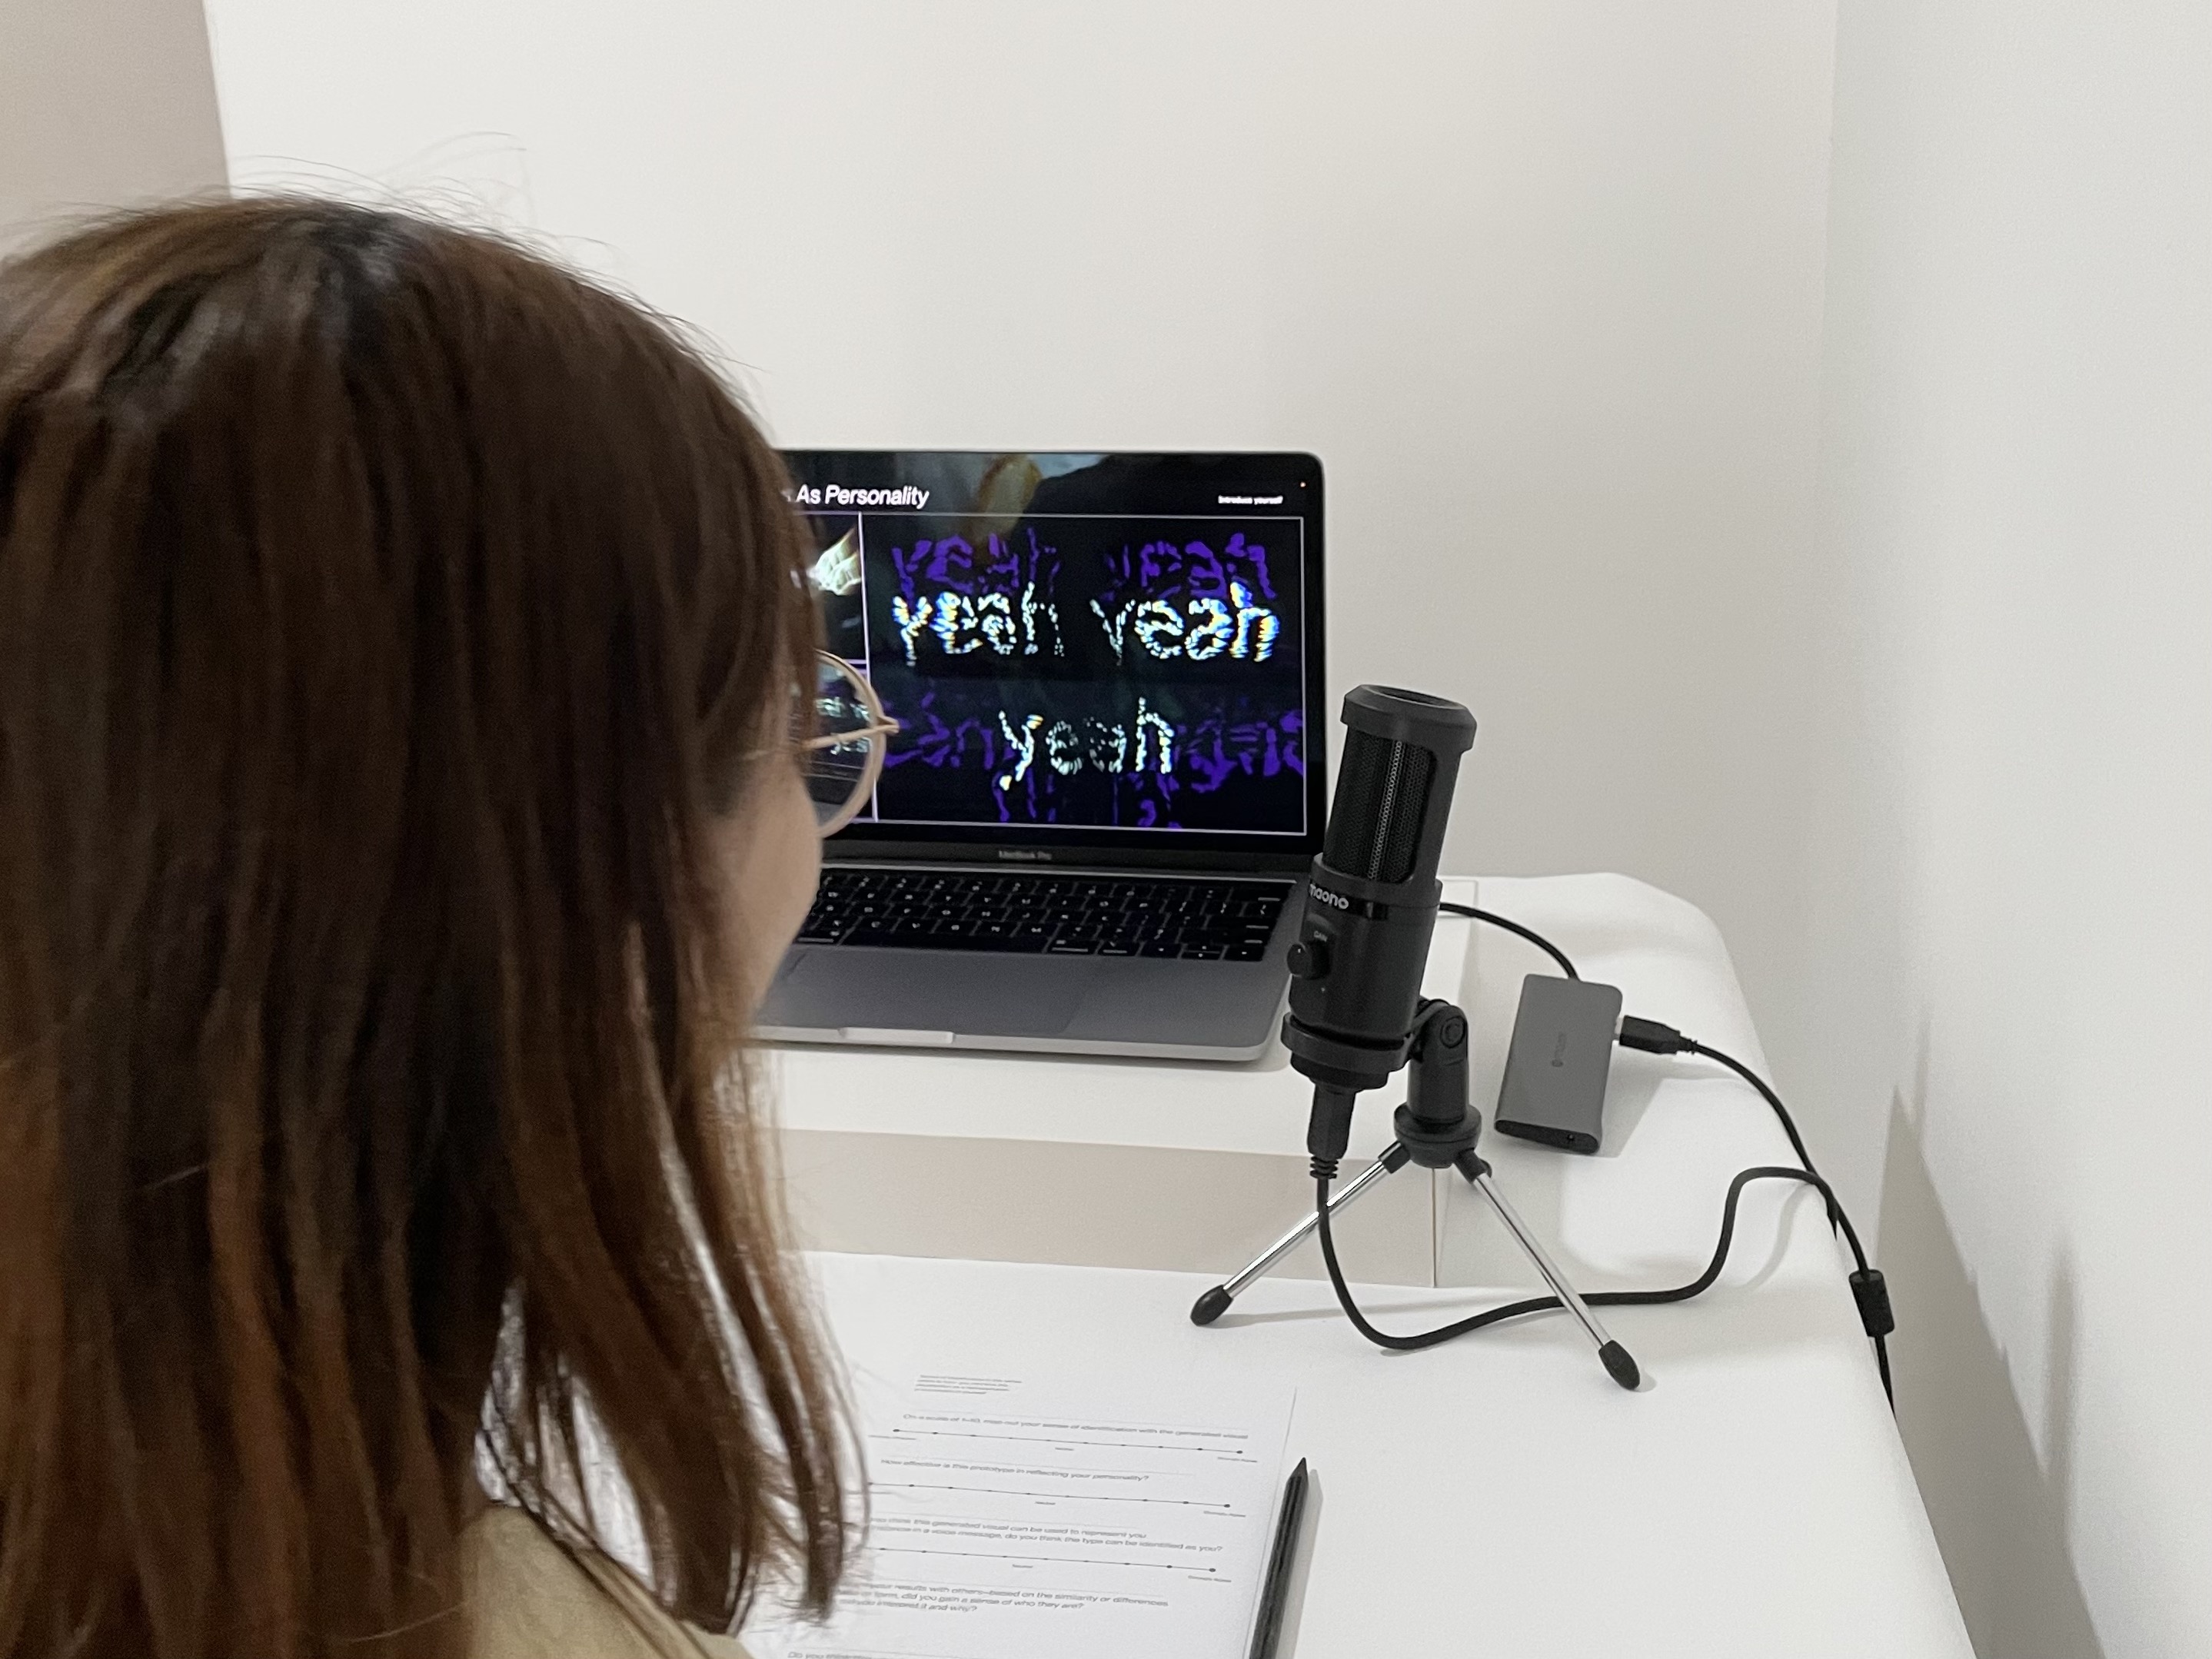
I was quite happy with the user-testing for Voices as Personality as the prototype functioned perfectly, with all the audio input streaming, analysis and display are working fine concurrently.
The video features one of the participant trying out the prototype by saying her name.
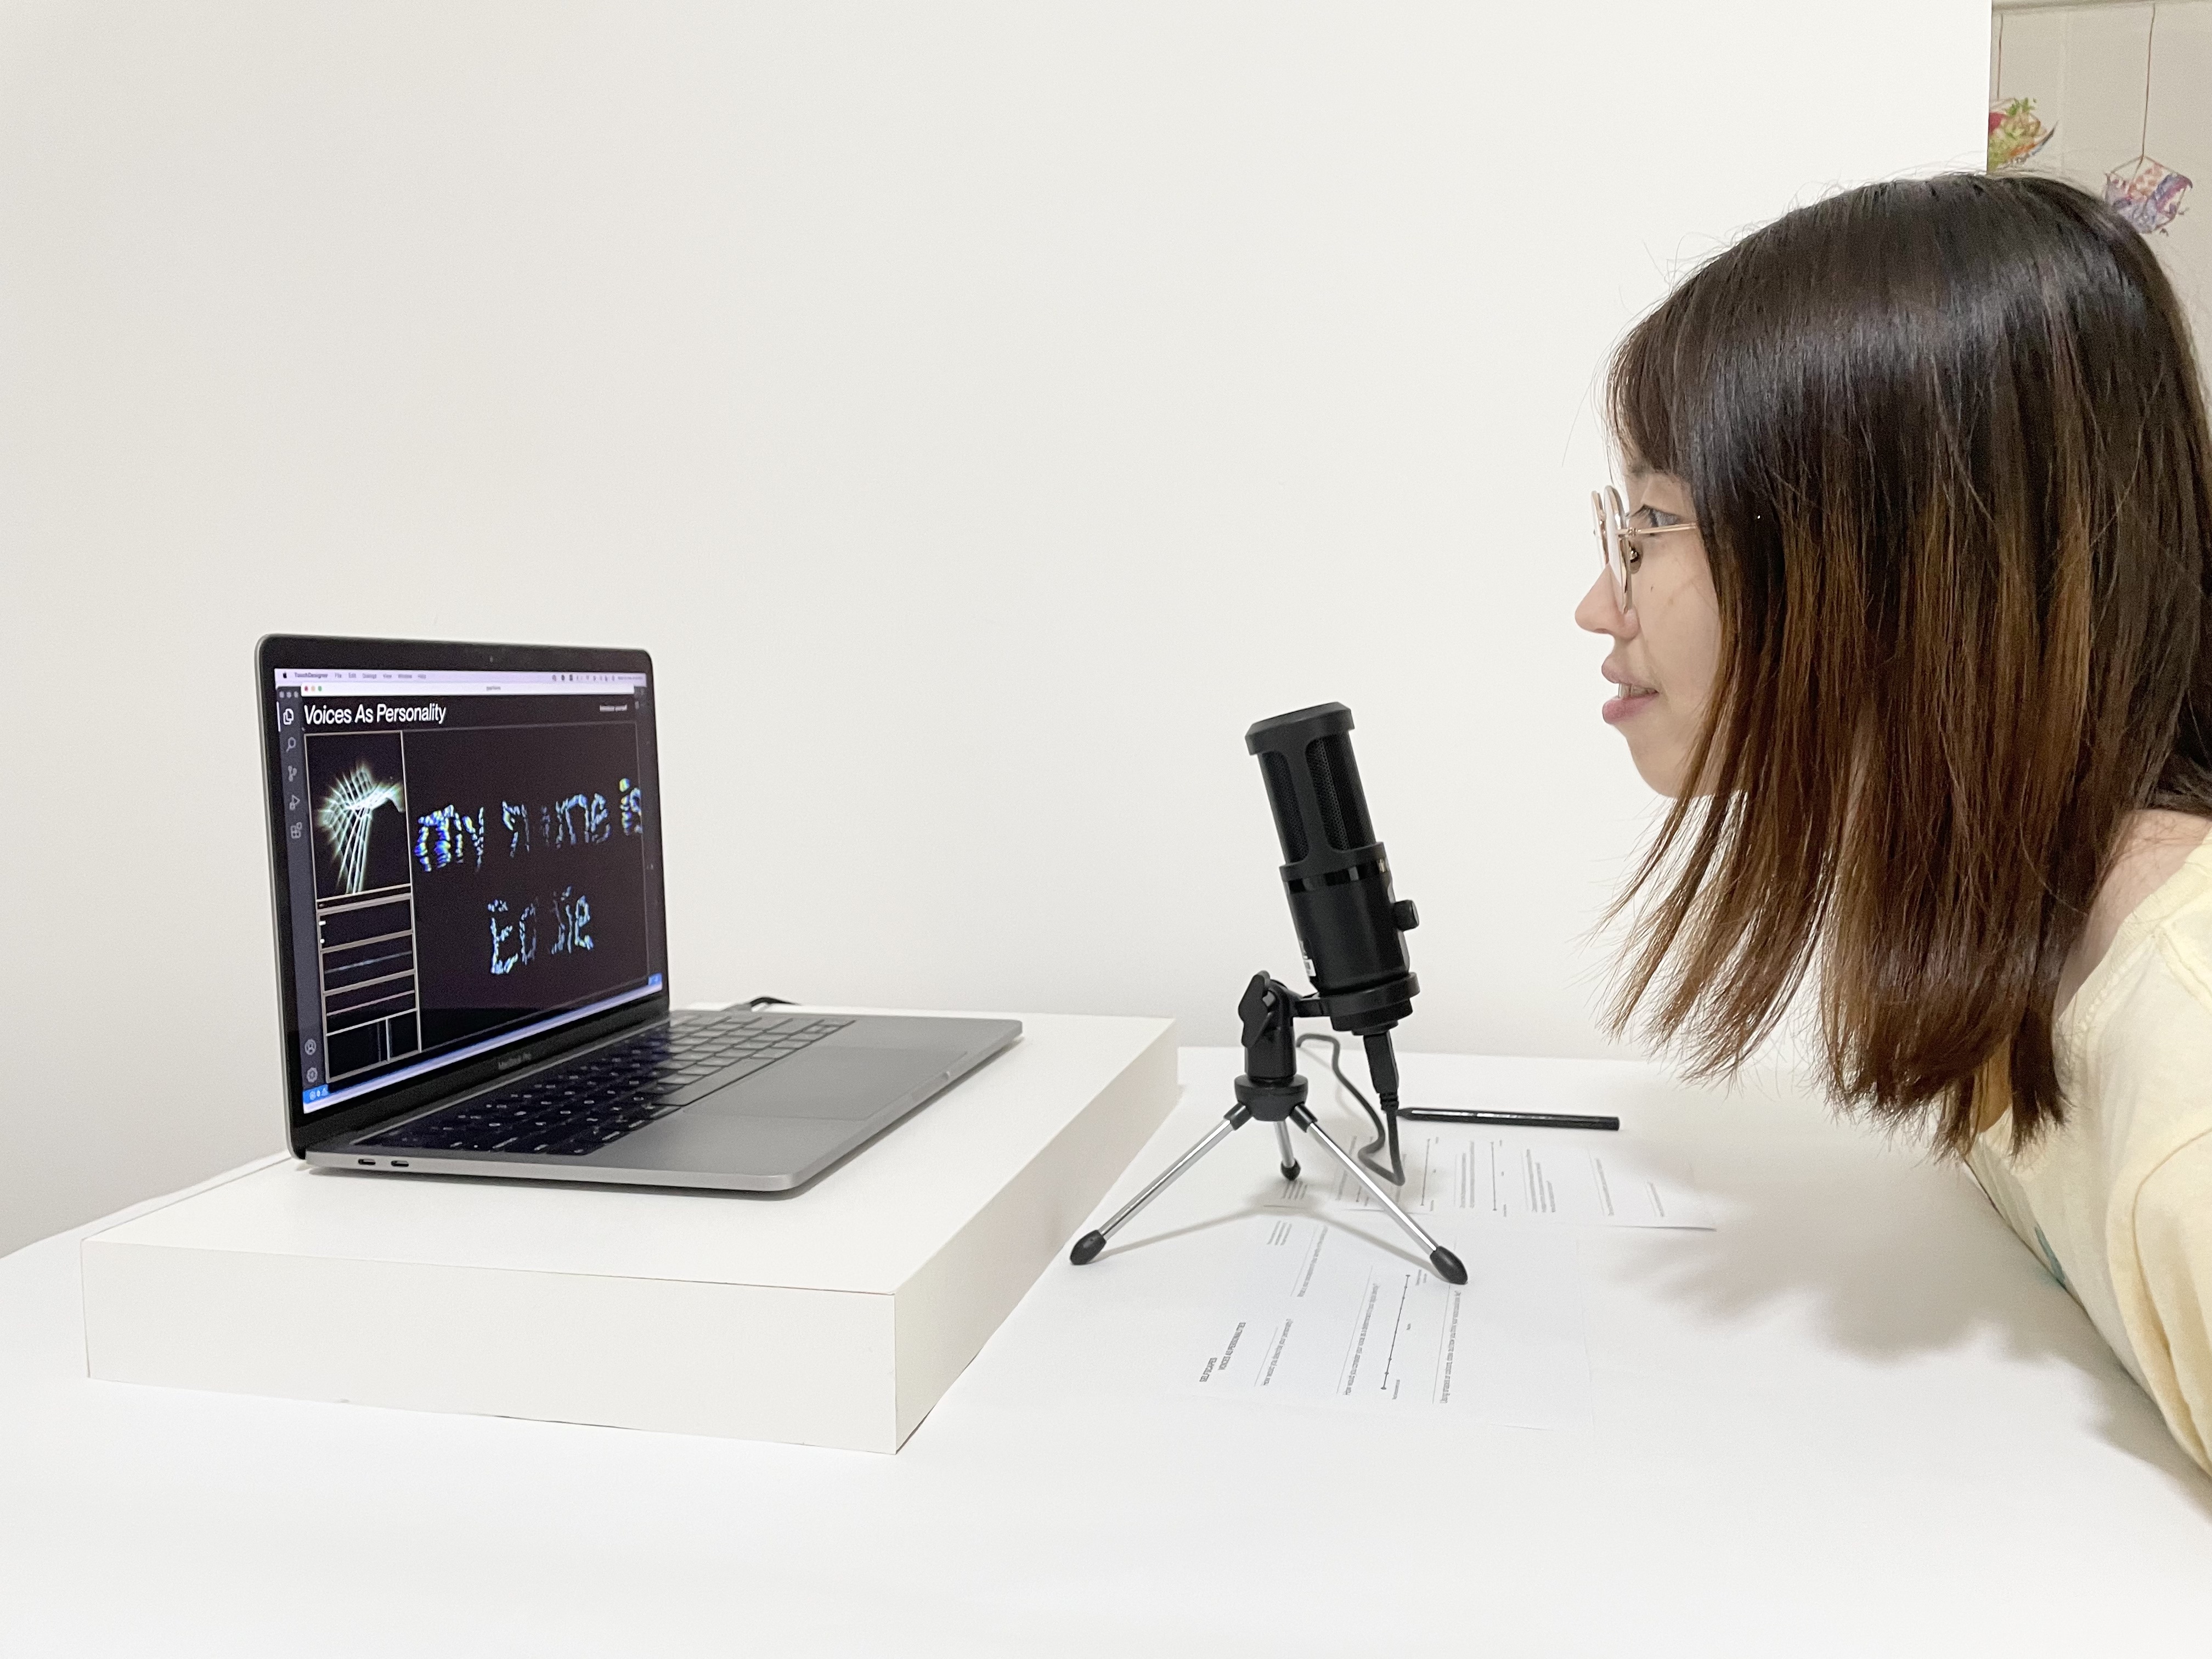
In some other explorations, the participant just played around with the speech recognition of the prototype and used different vocal pitches to try to acheive different typographic outcomes. The participant also tested the prototype's vocal analysis using a voice message to garner speech inputs.

IDENTITY MAP-USER-TESTING
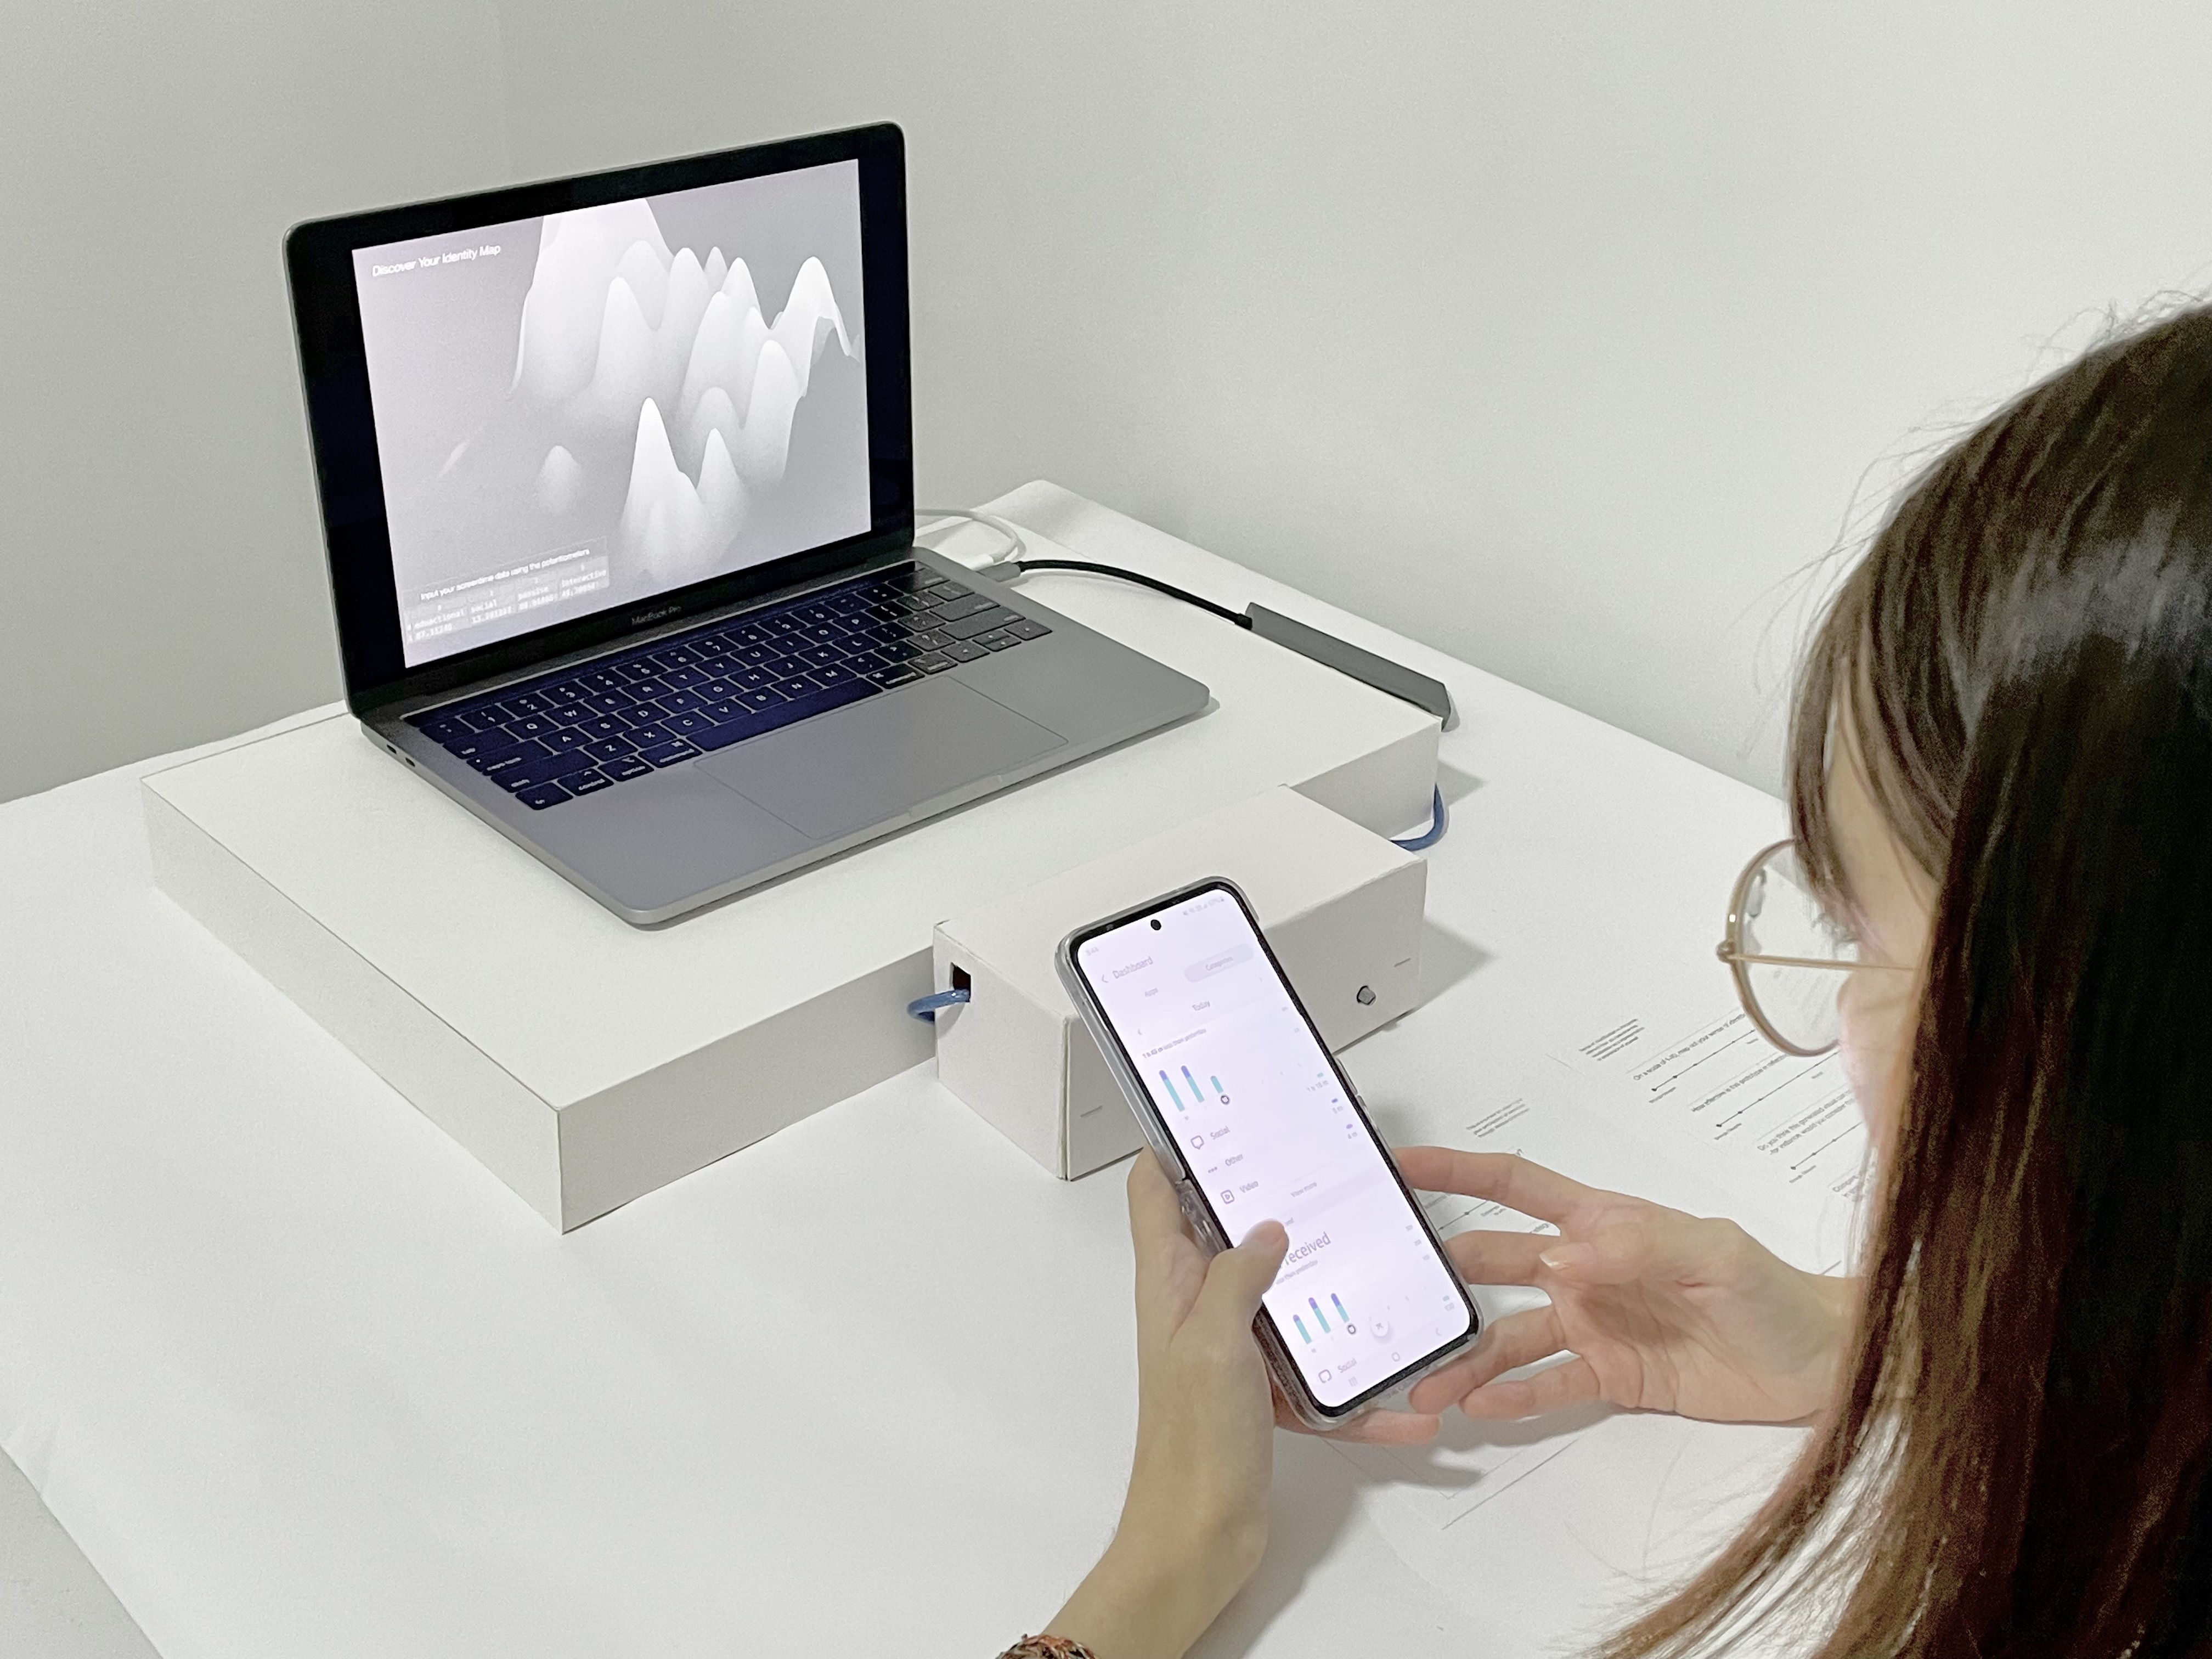
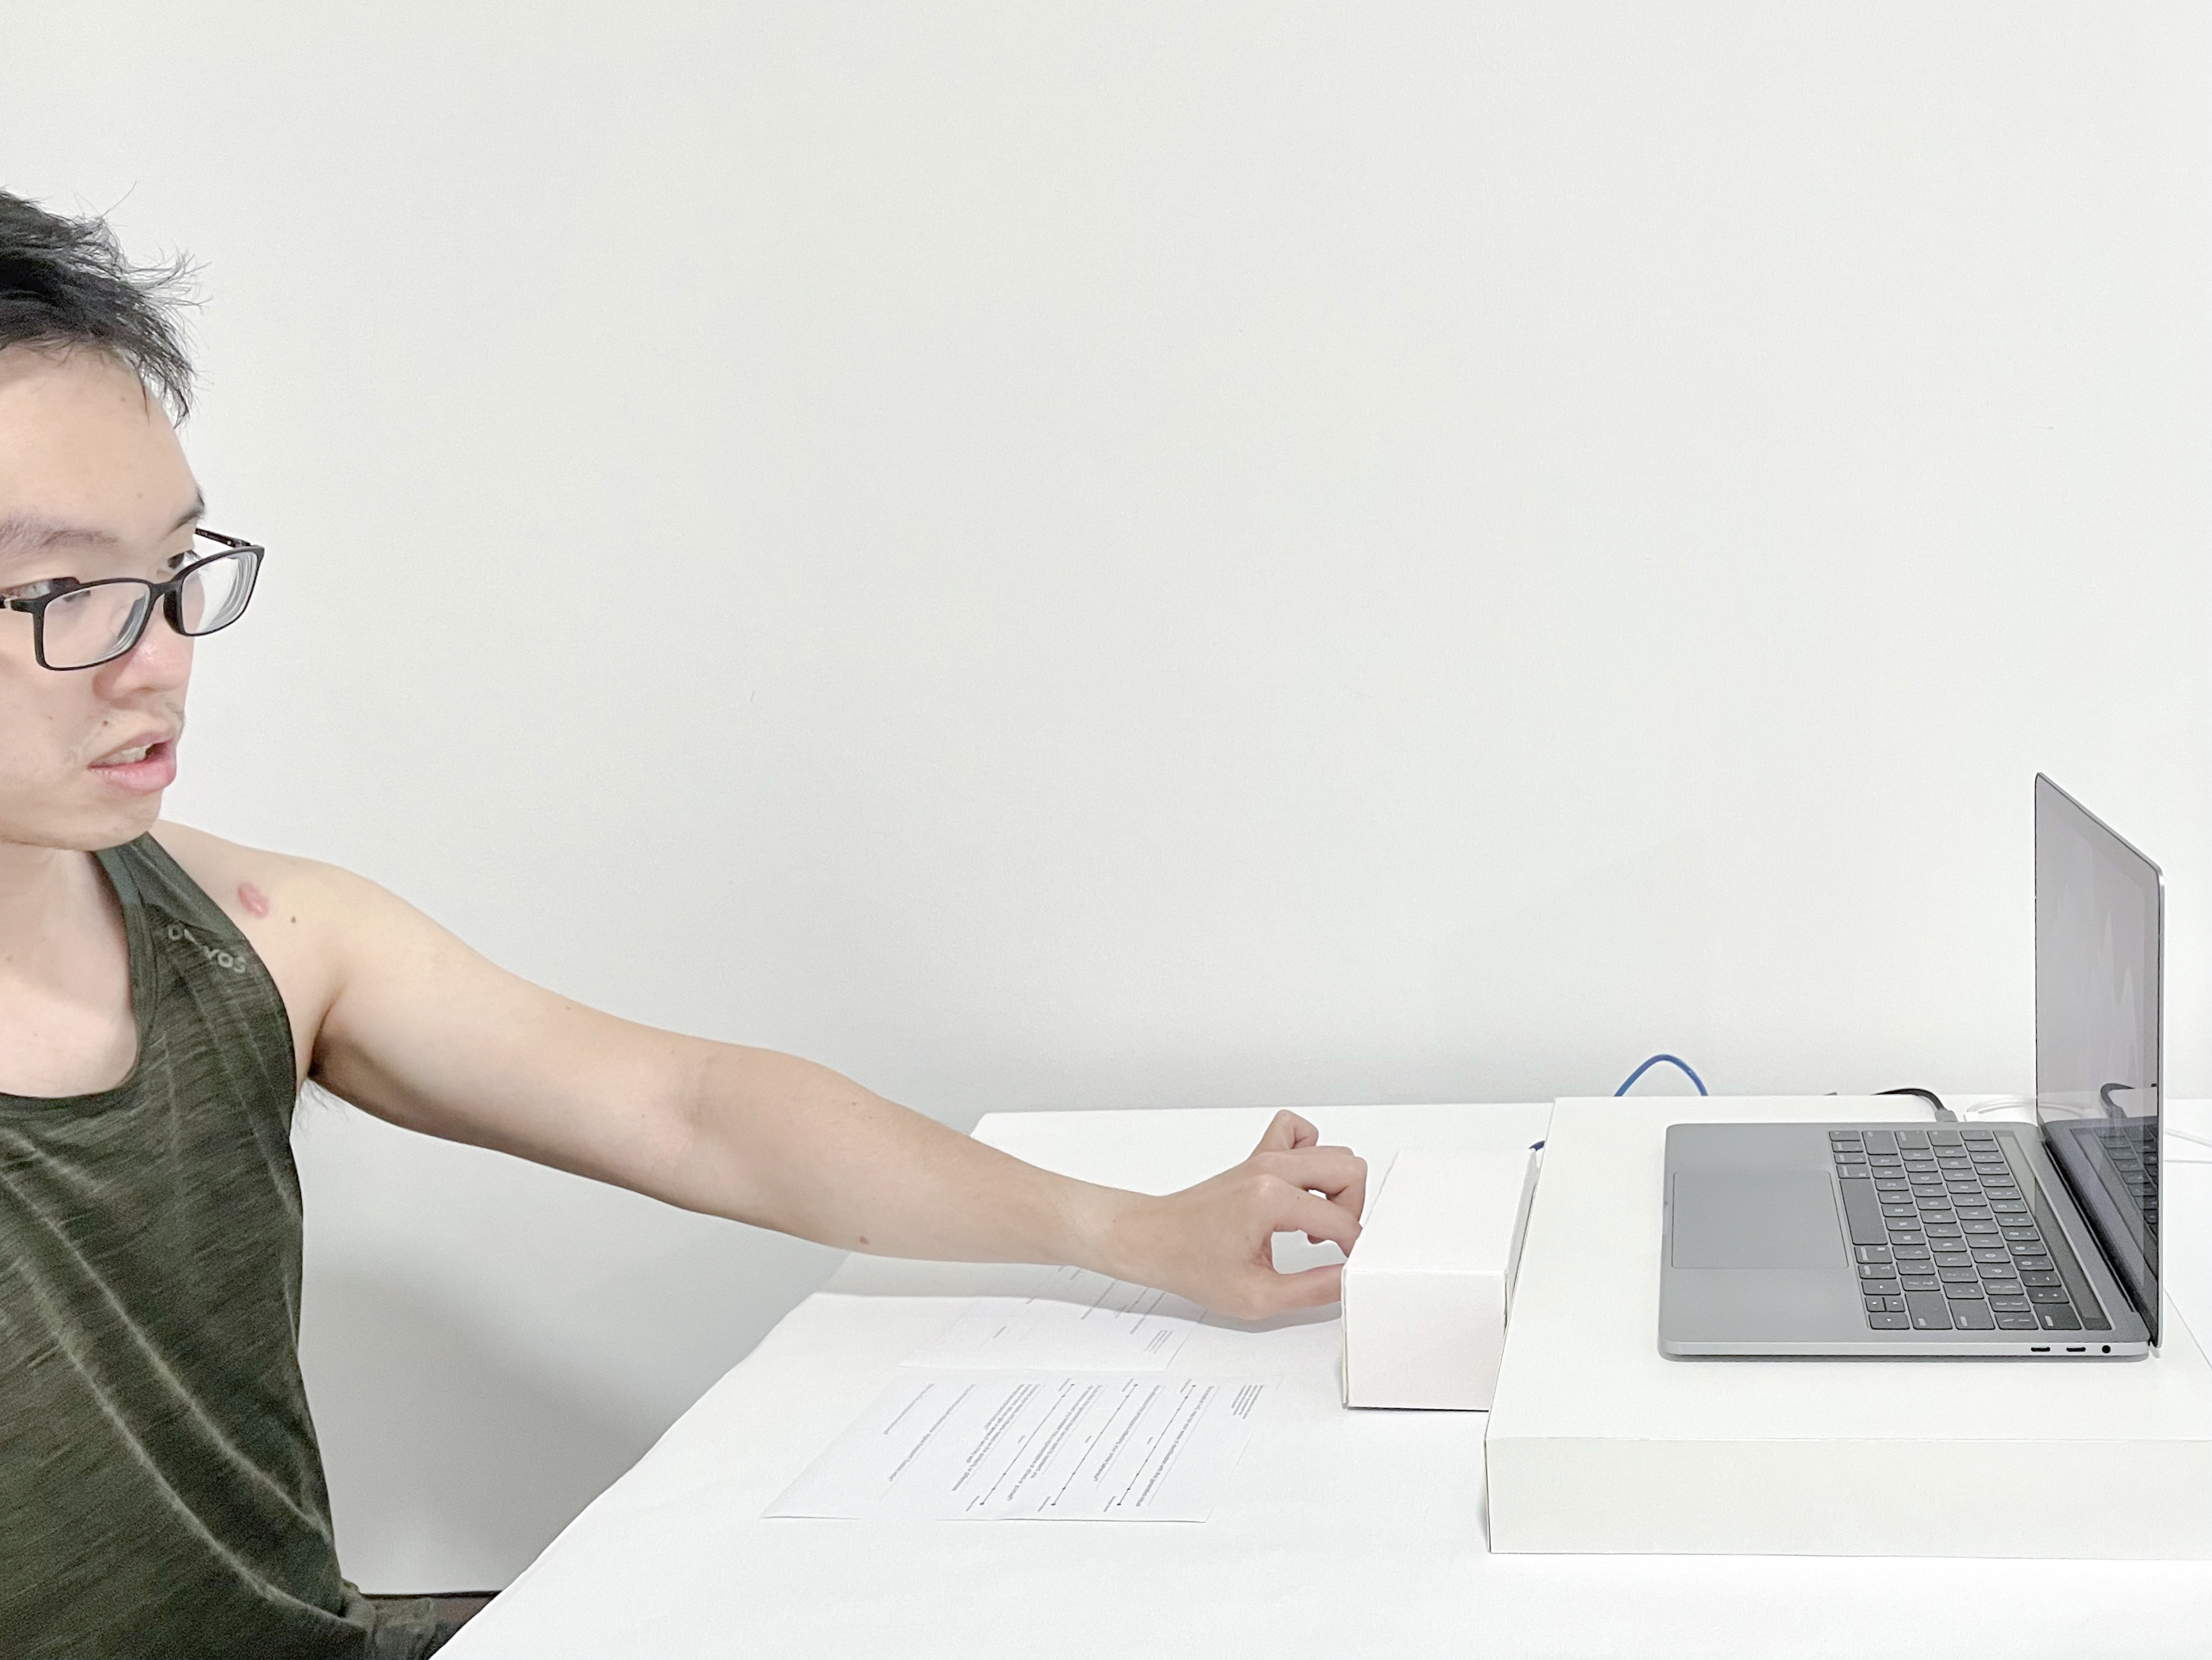
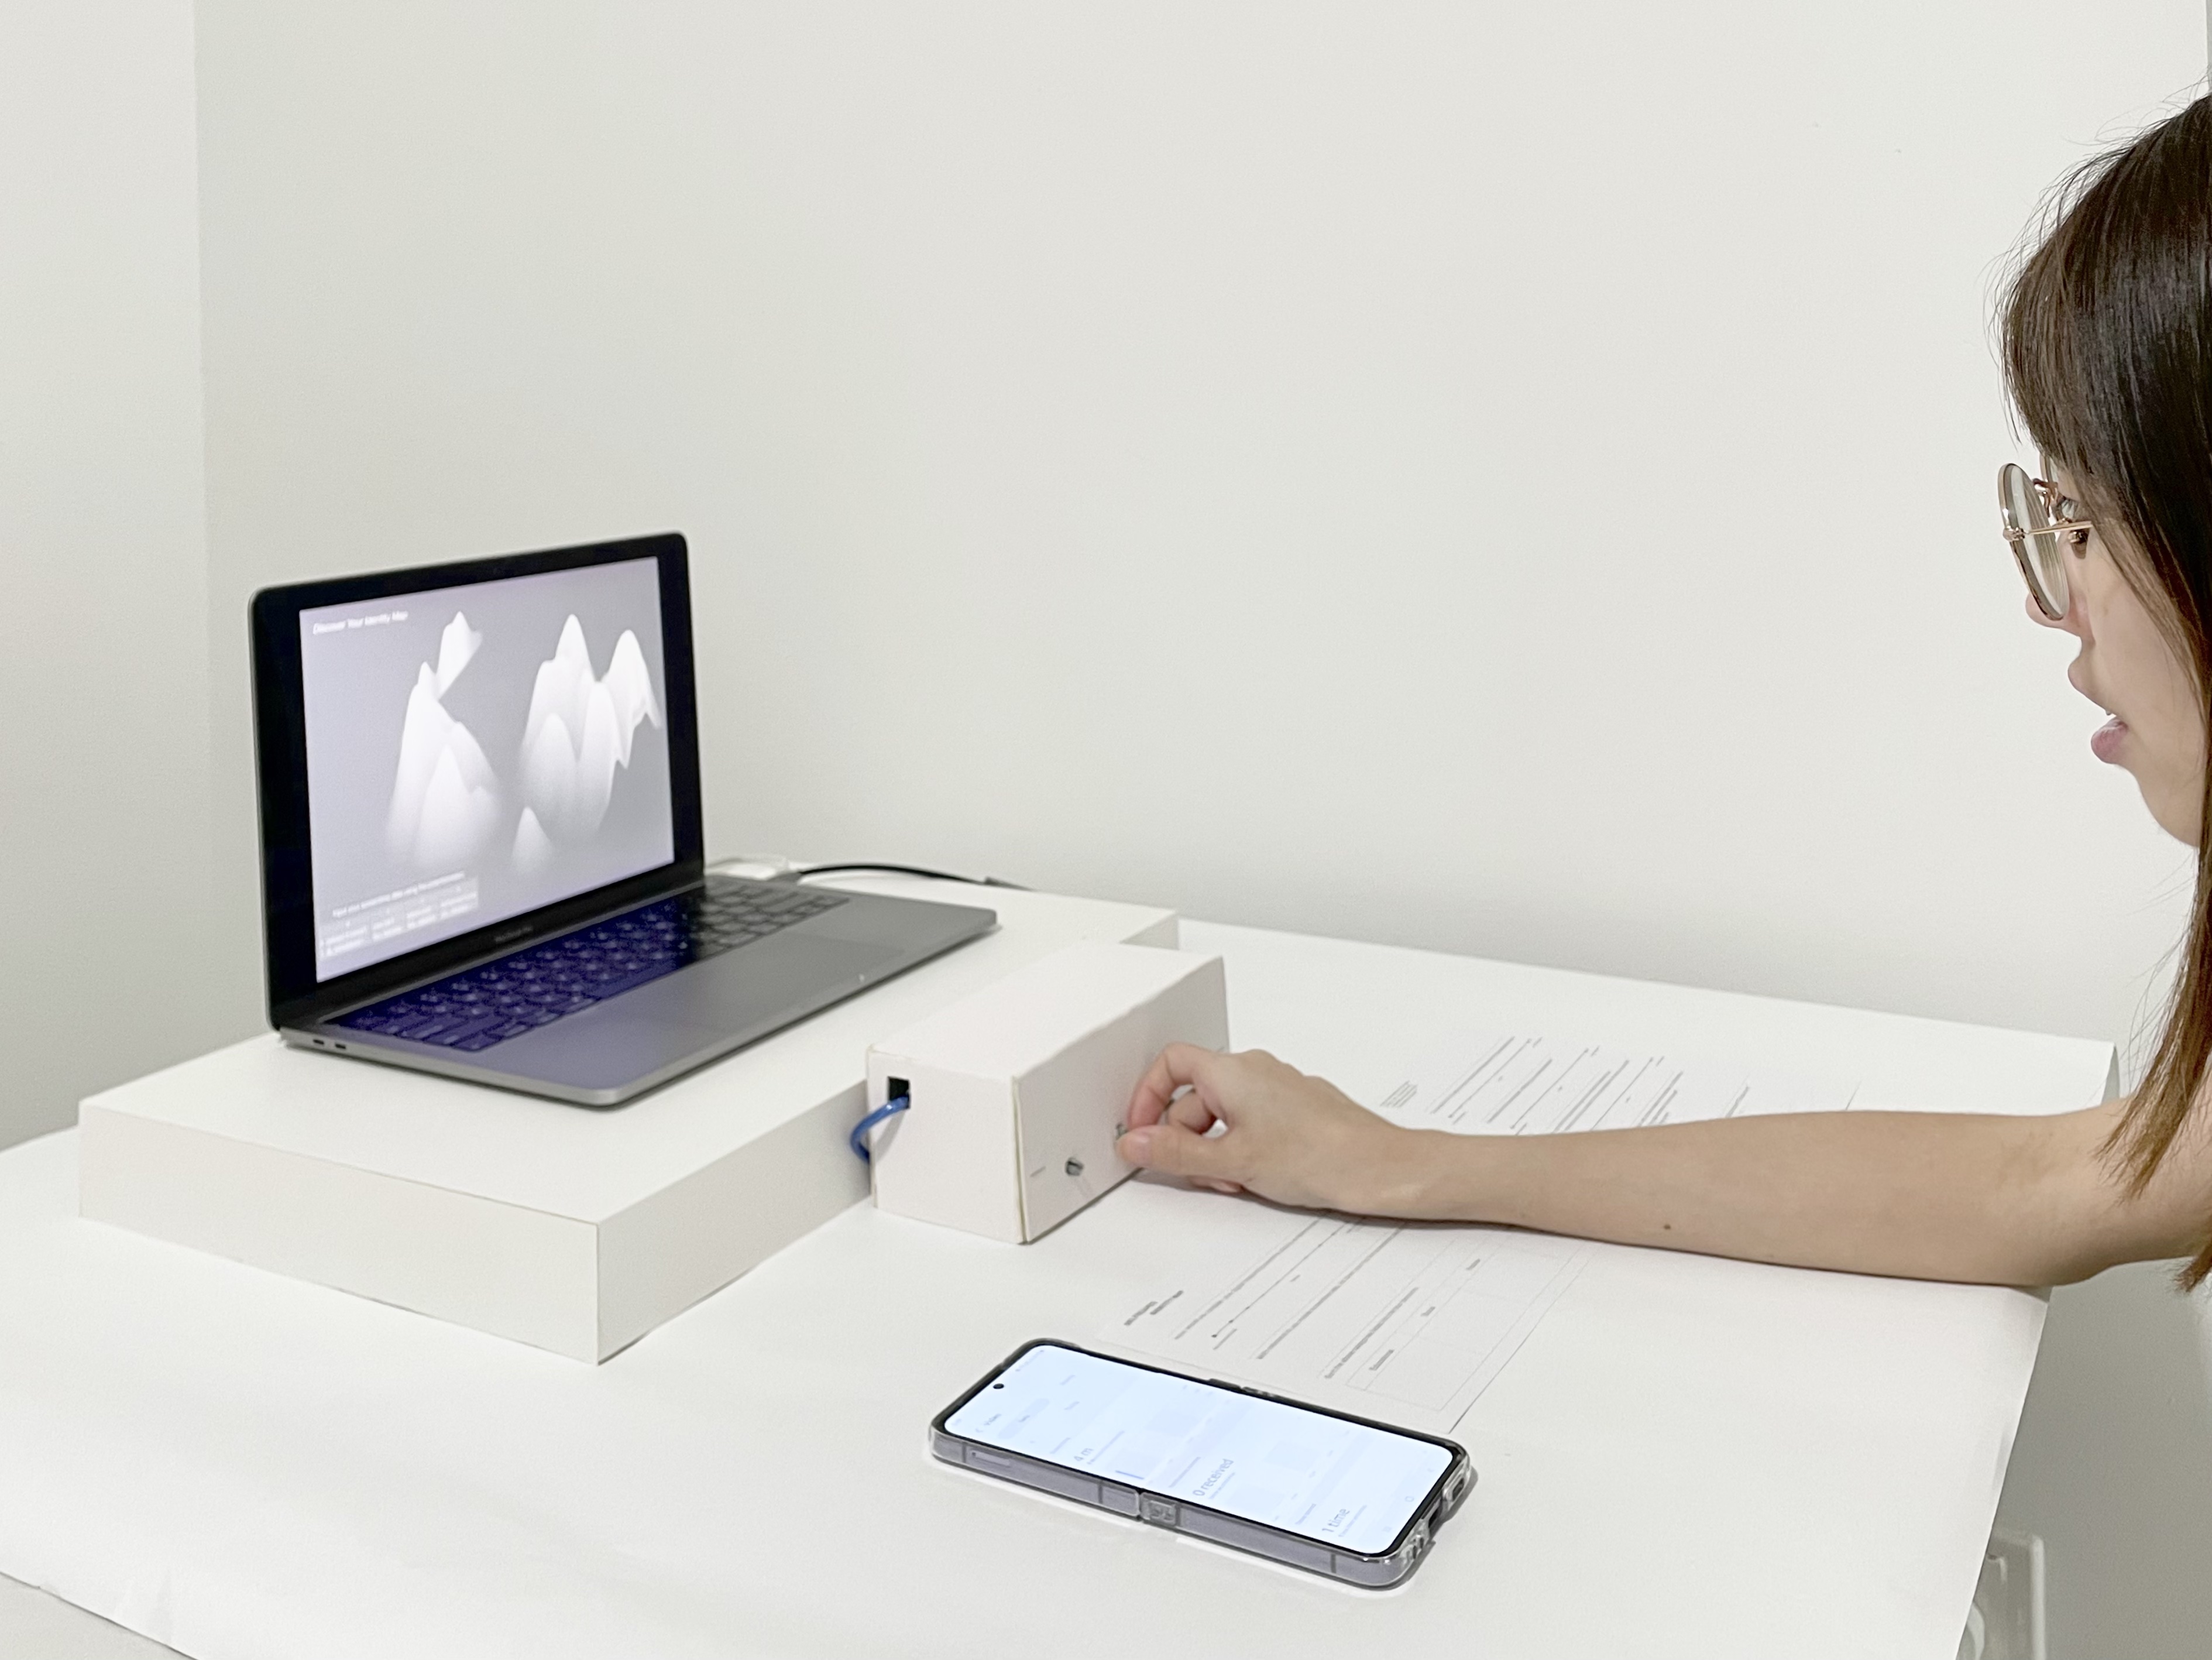
It was the most difficult to set up the prototype for Identity Map as the breadboard had to be tilted at a certain angle so that the knobs of the potentiometers could protrude out of the box more and make it more accessible for participants. I also noted that because of the lack of labelling about the screentime categories, participants were confused as to what the potentiometers were meant to do.
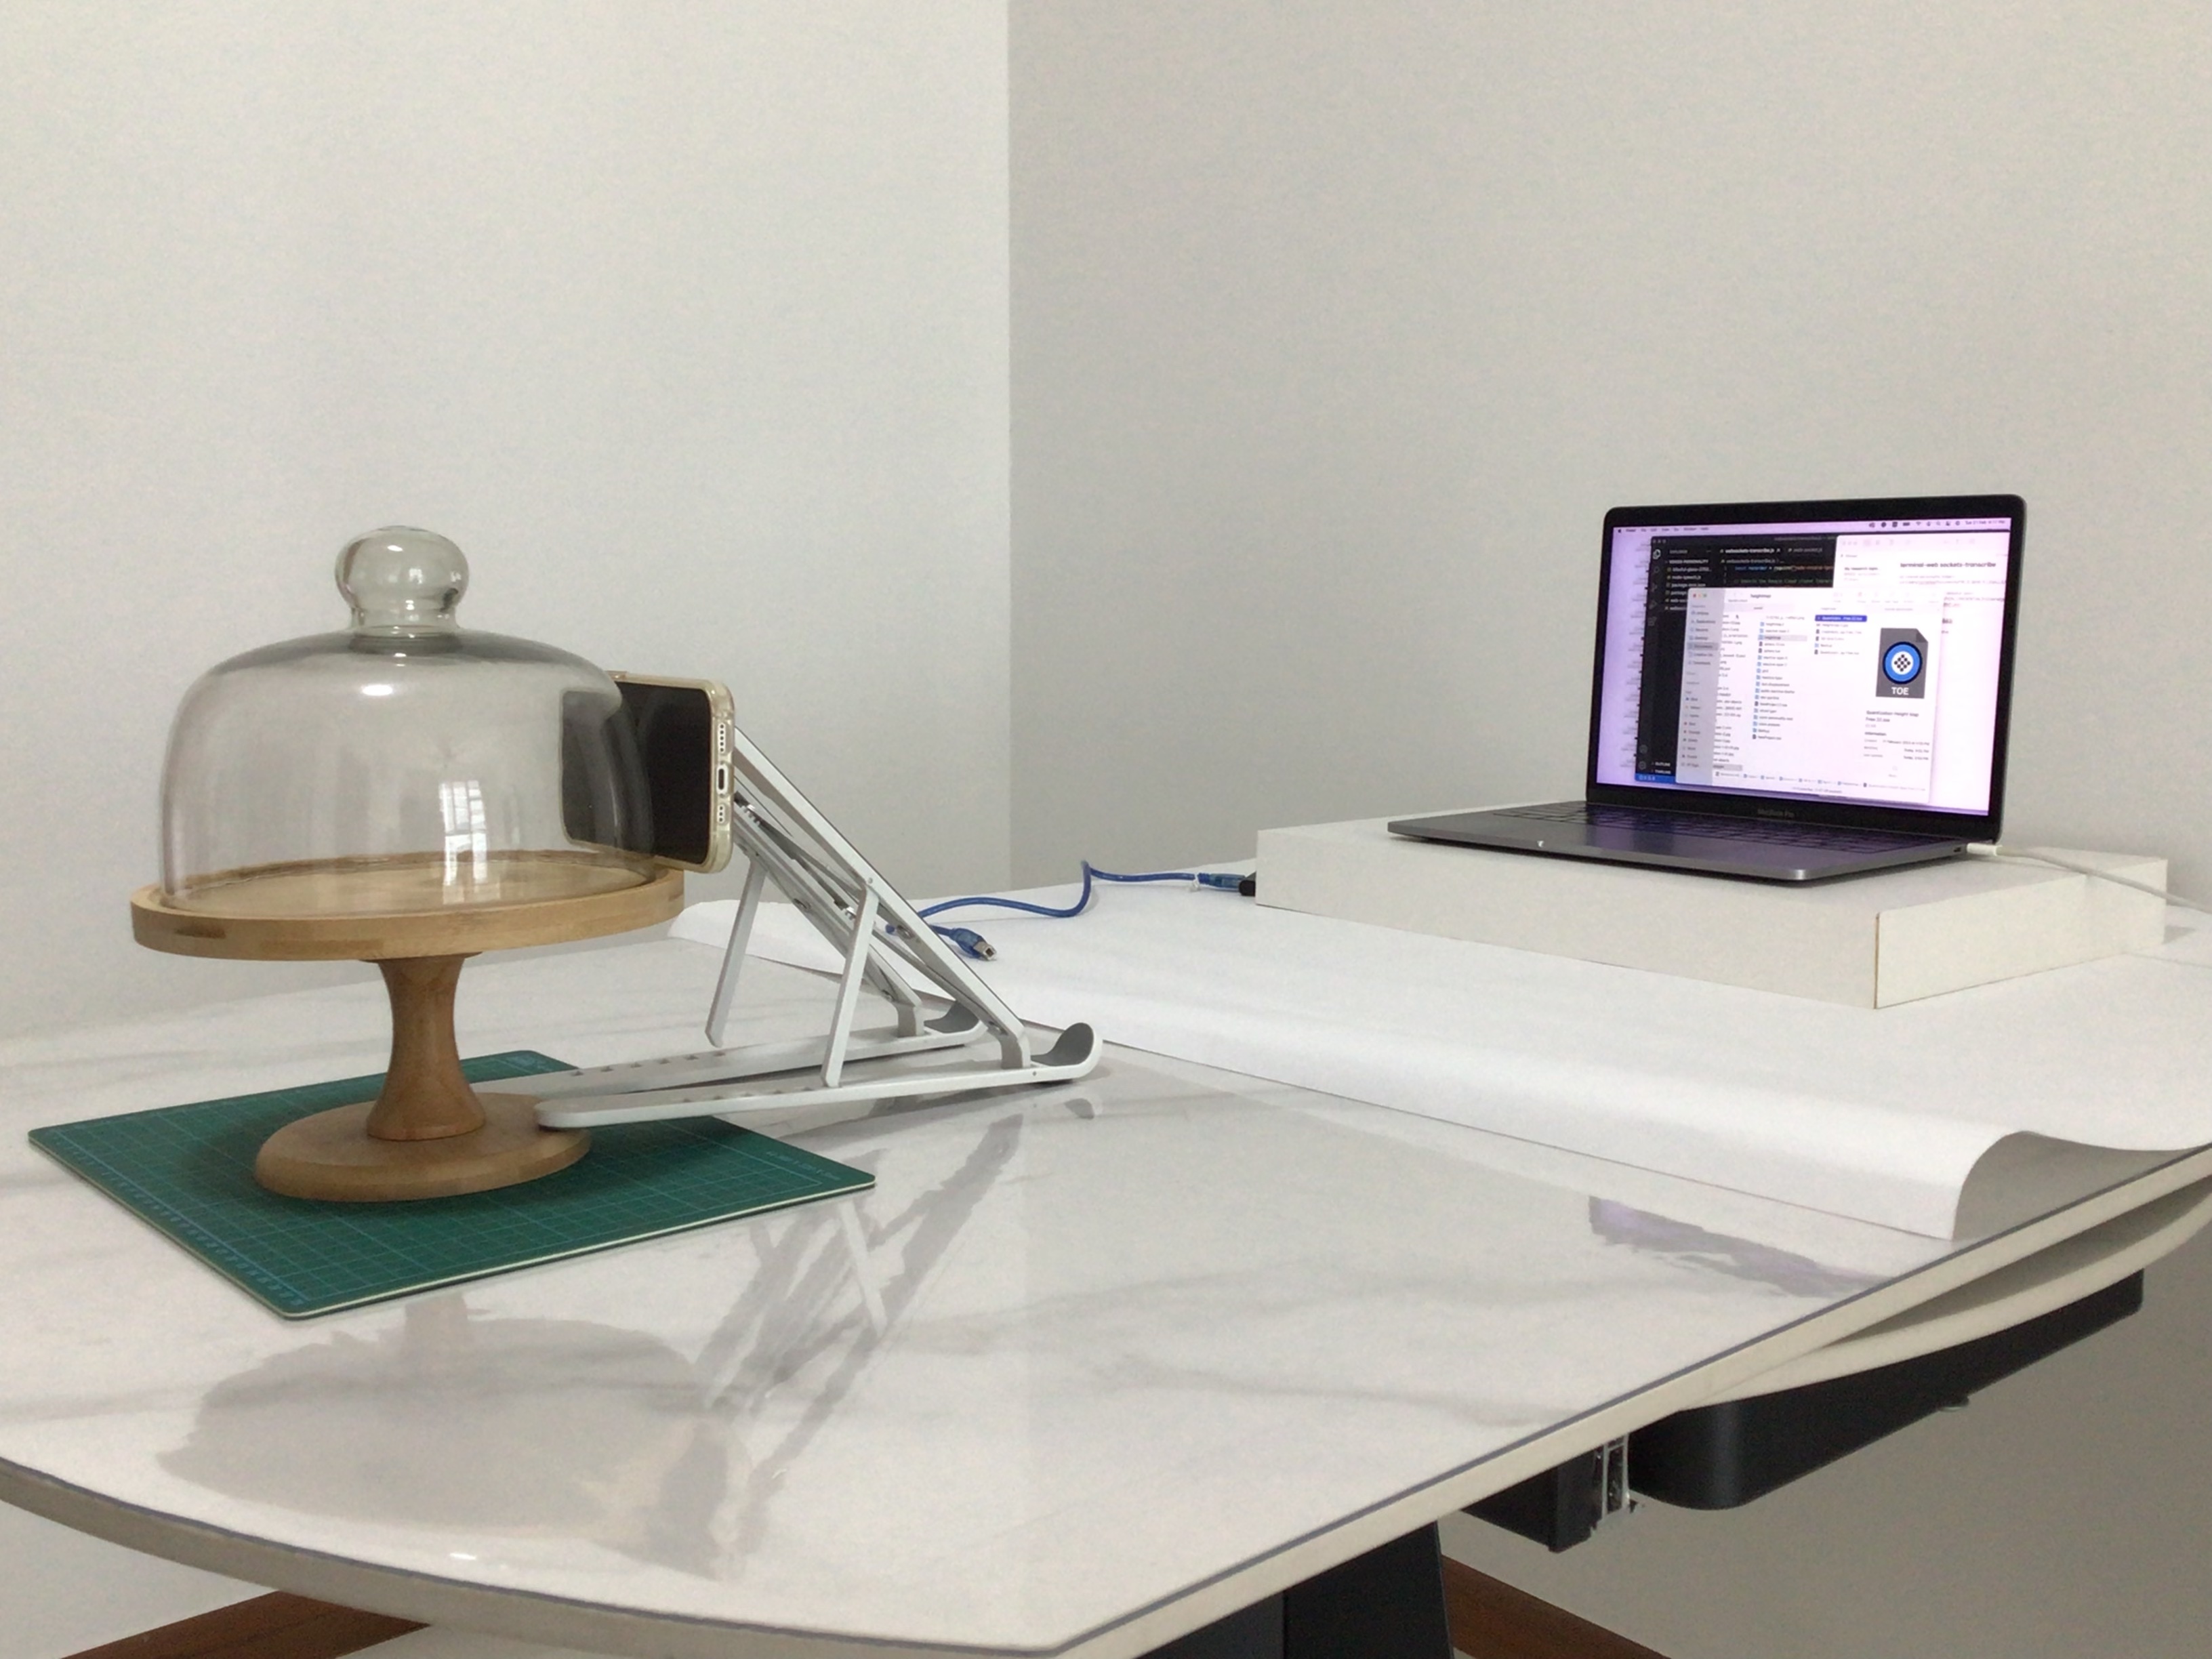
In addition, as I filmed this demonstration of the Identity Map myself, I ha hd to make do with the materials I had with me, since I did not own a tripod. So, I used a pastry display to position my phone and my laptod stand to hold the phone upright.
AFFECTIVE DATA OBJECTS-USER-TESTING
After developing the other two prototypes, I realised that my Affective Data Objects arteface looked quite inconsistent with the other two as the use of green was not reflected in the other prototypes. Hence to maintain some level of aesthetic consistency, I gave the artefact a renewed colour scheme in an attempt to standardise the colour usage and appear more like the Identity map with its use of blacks, whites and grey.
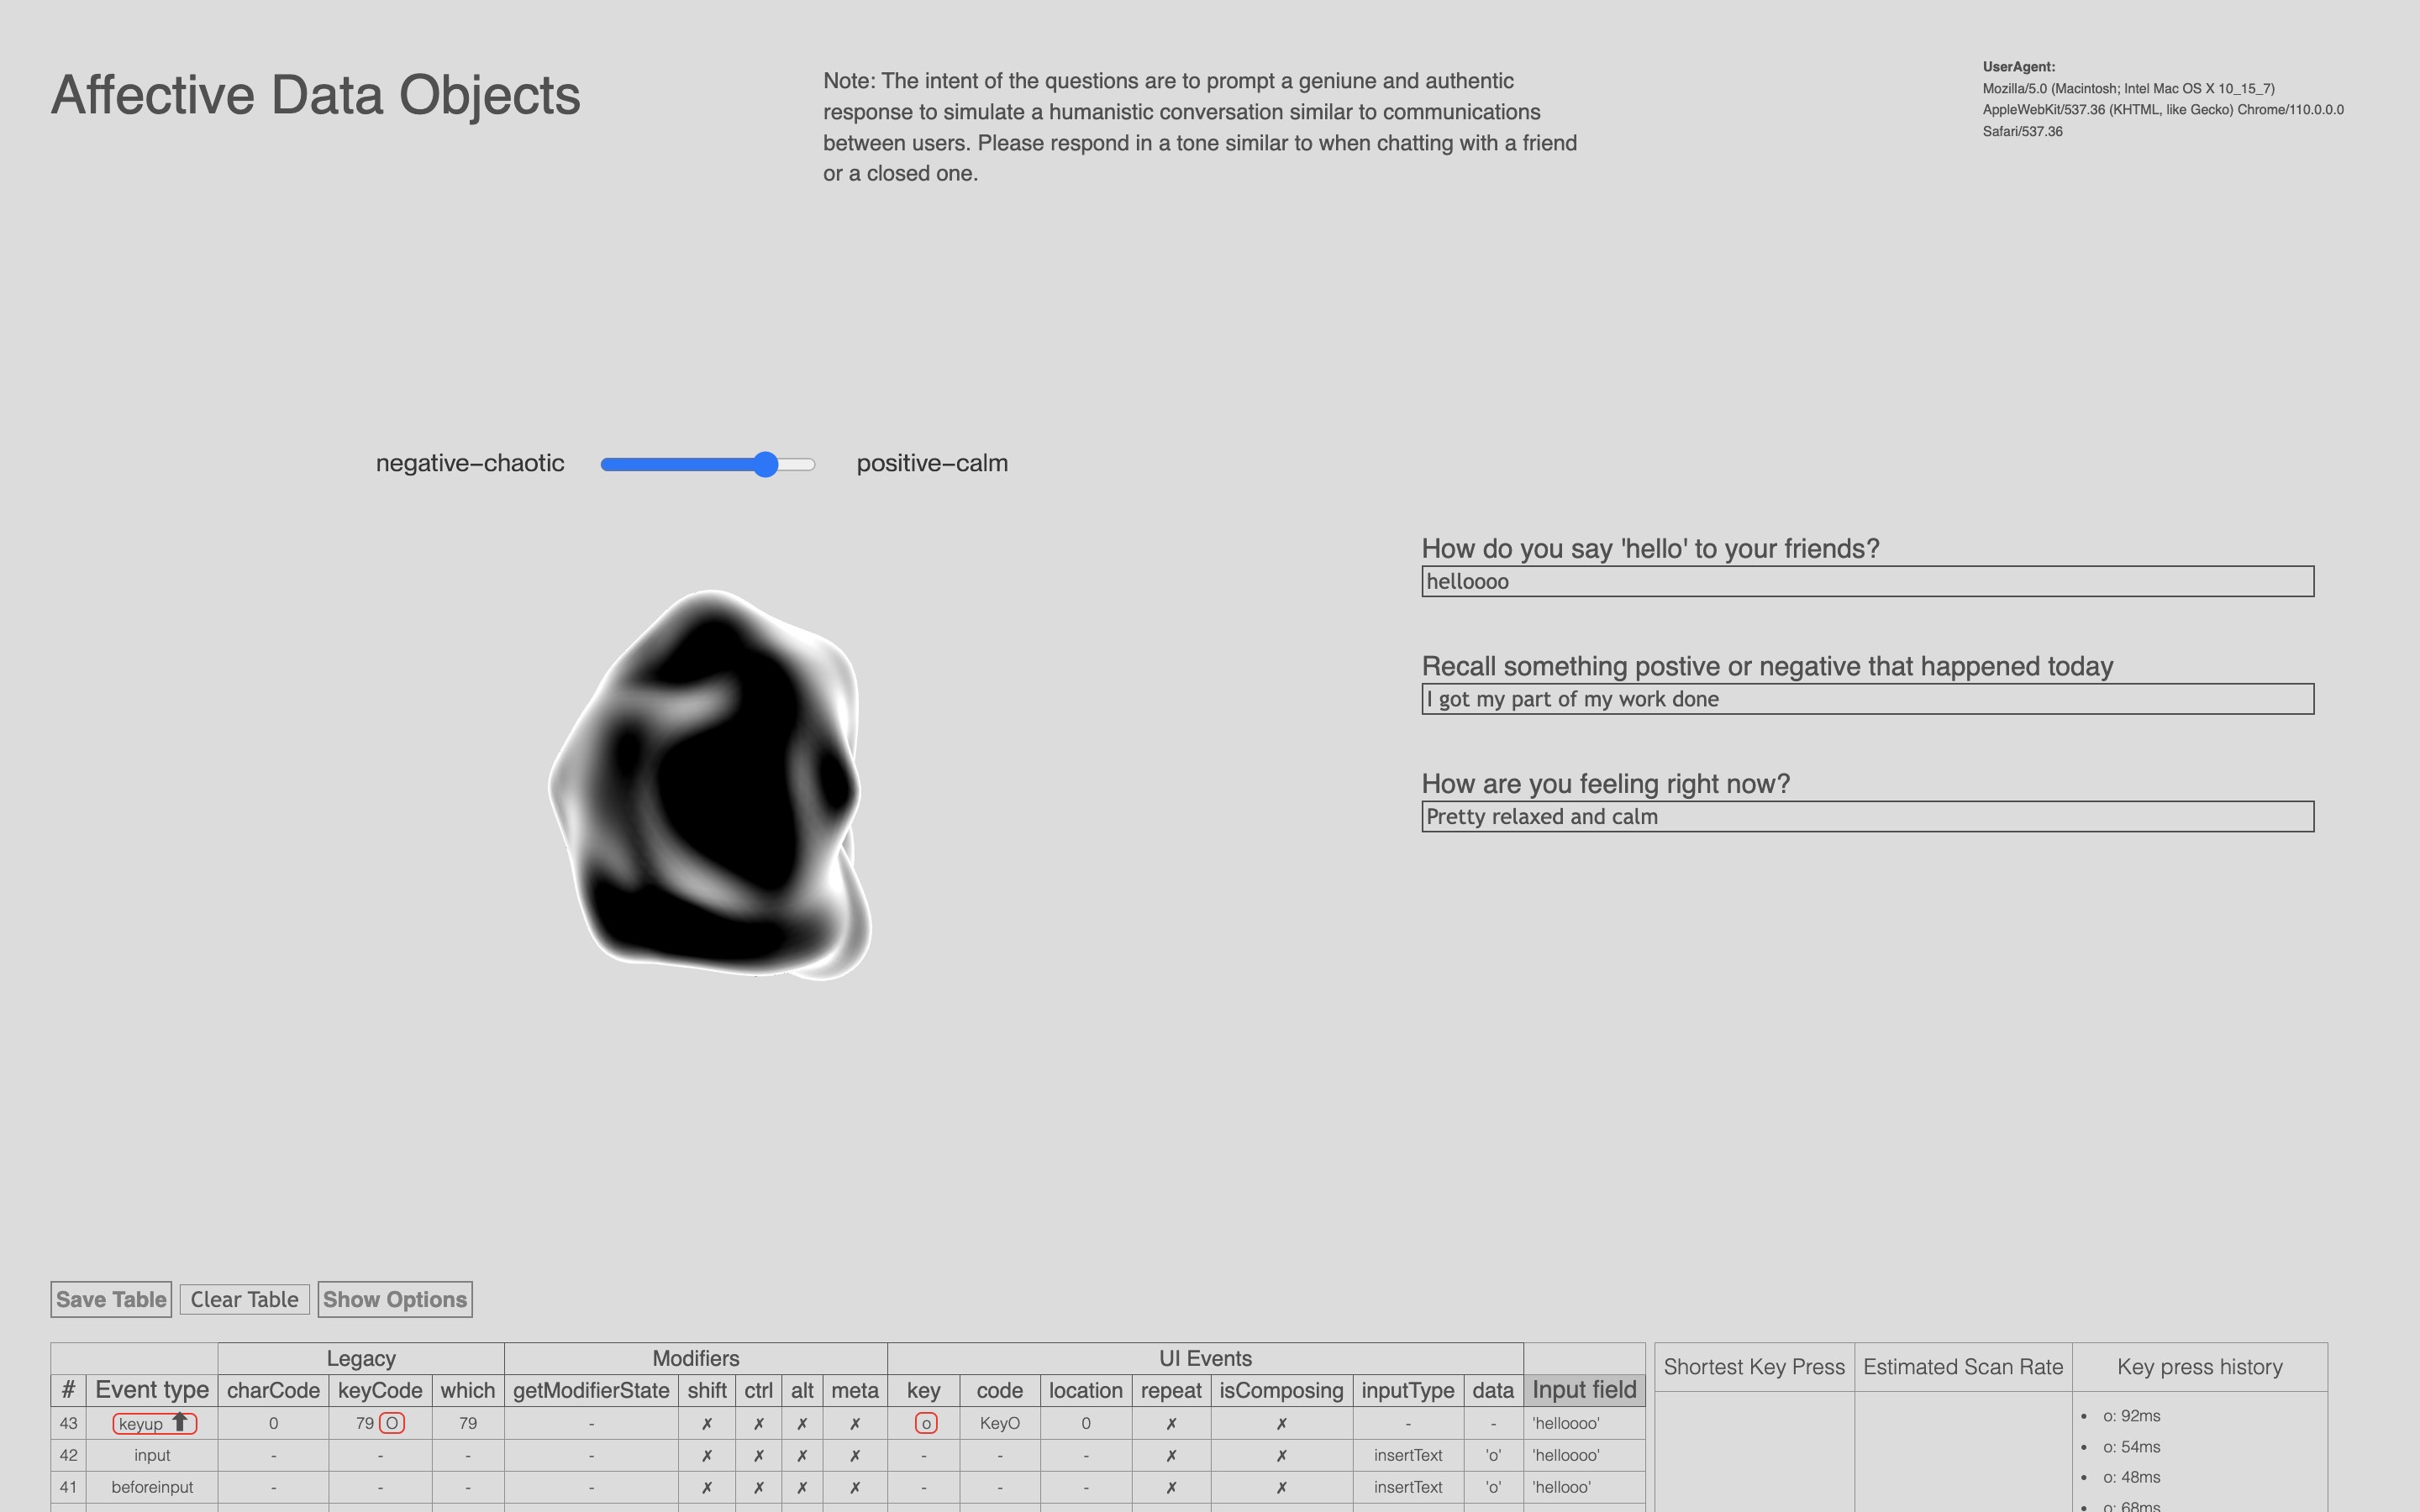
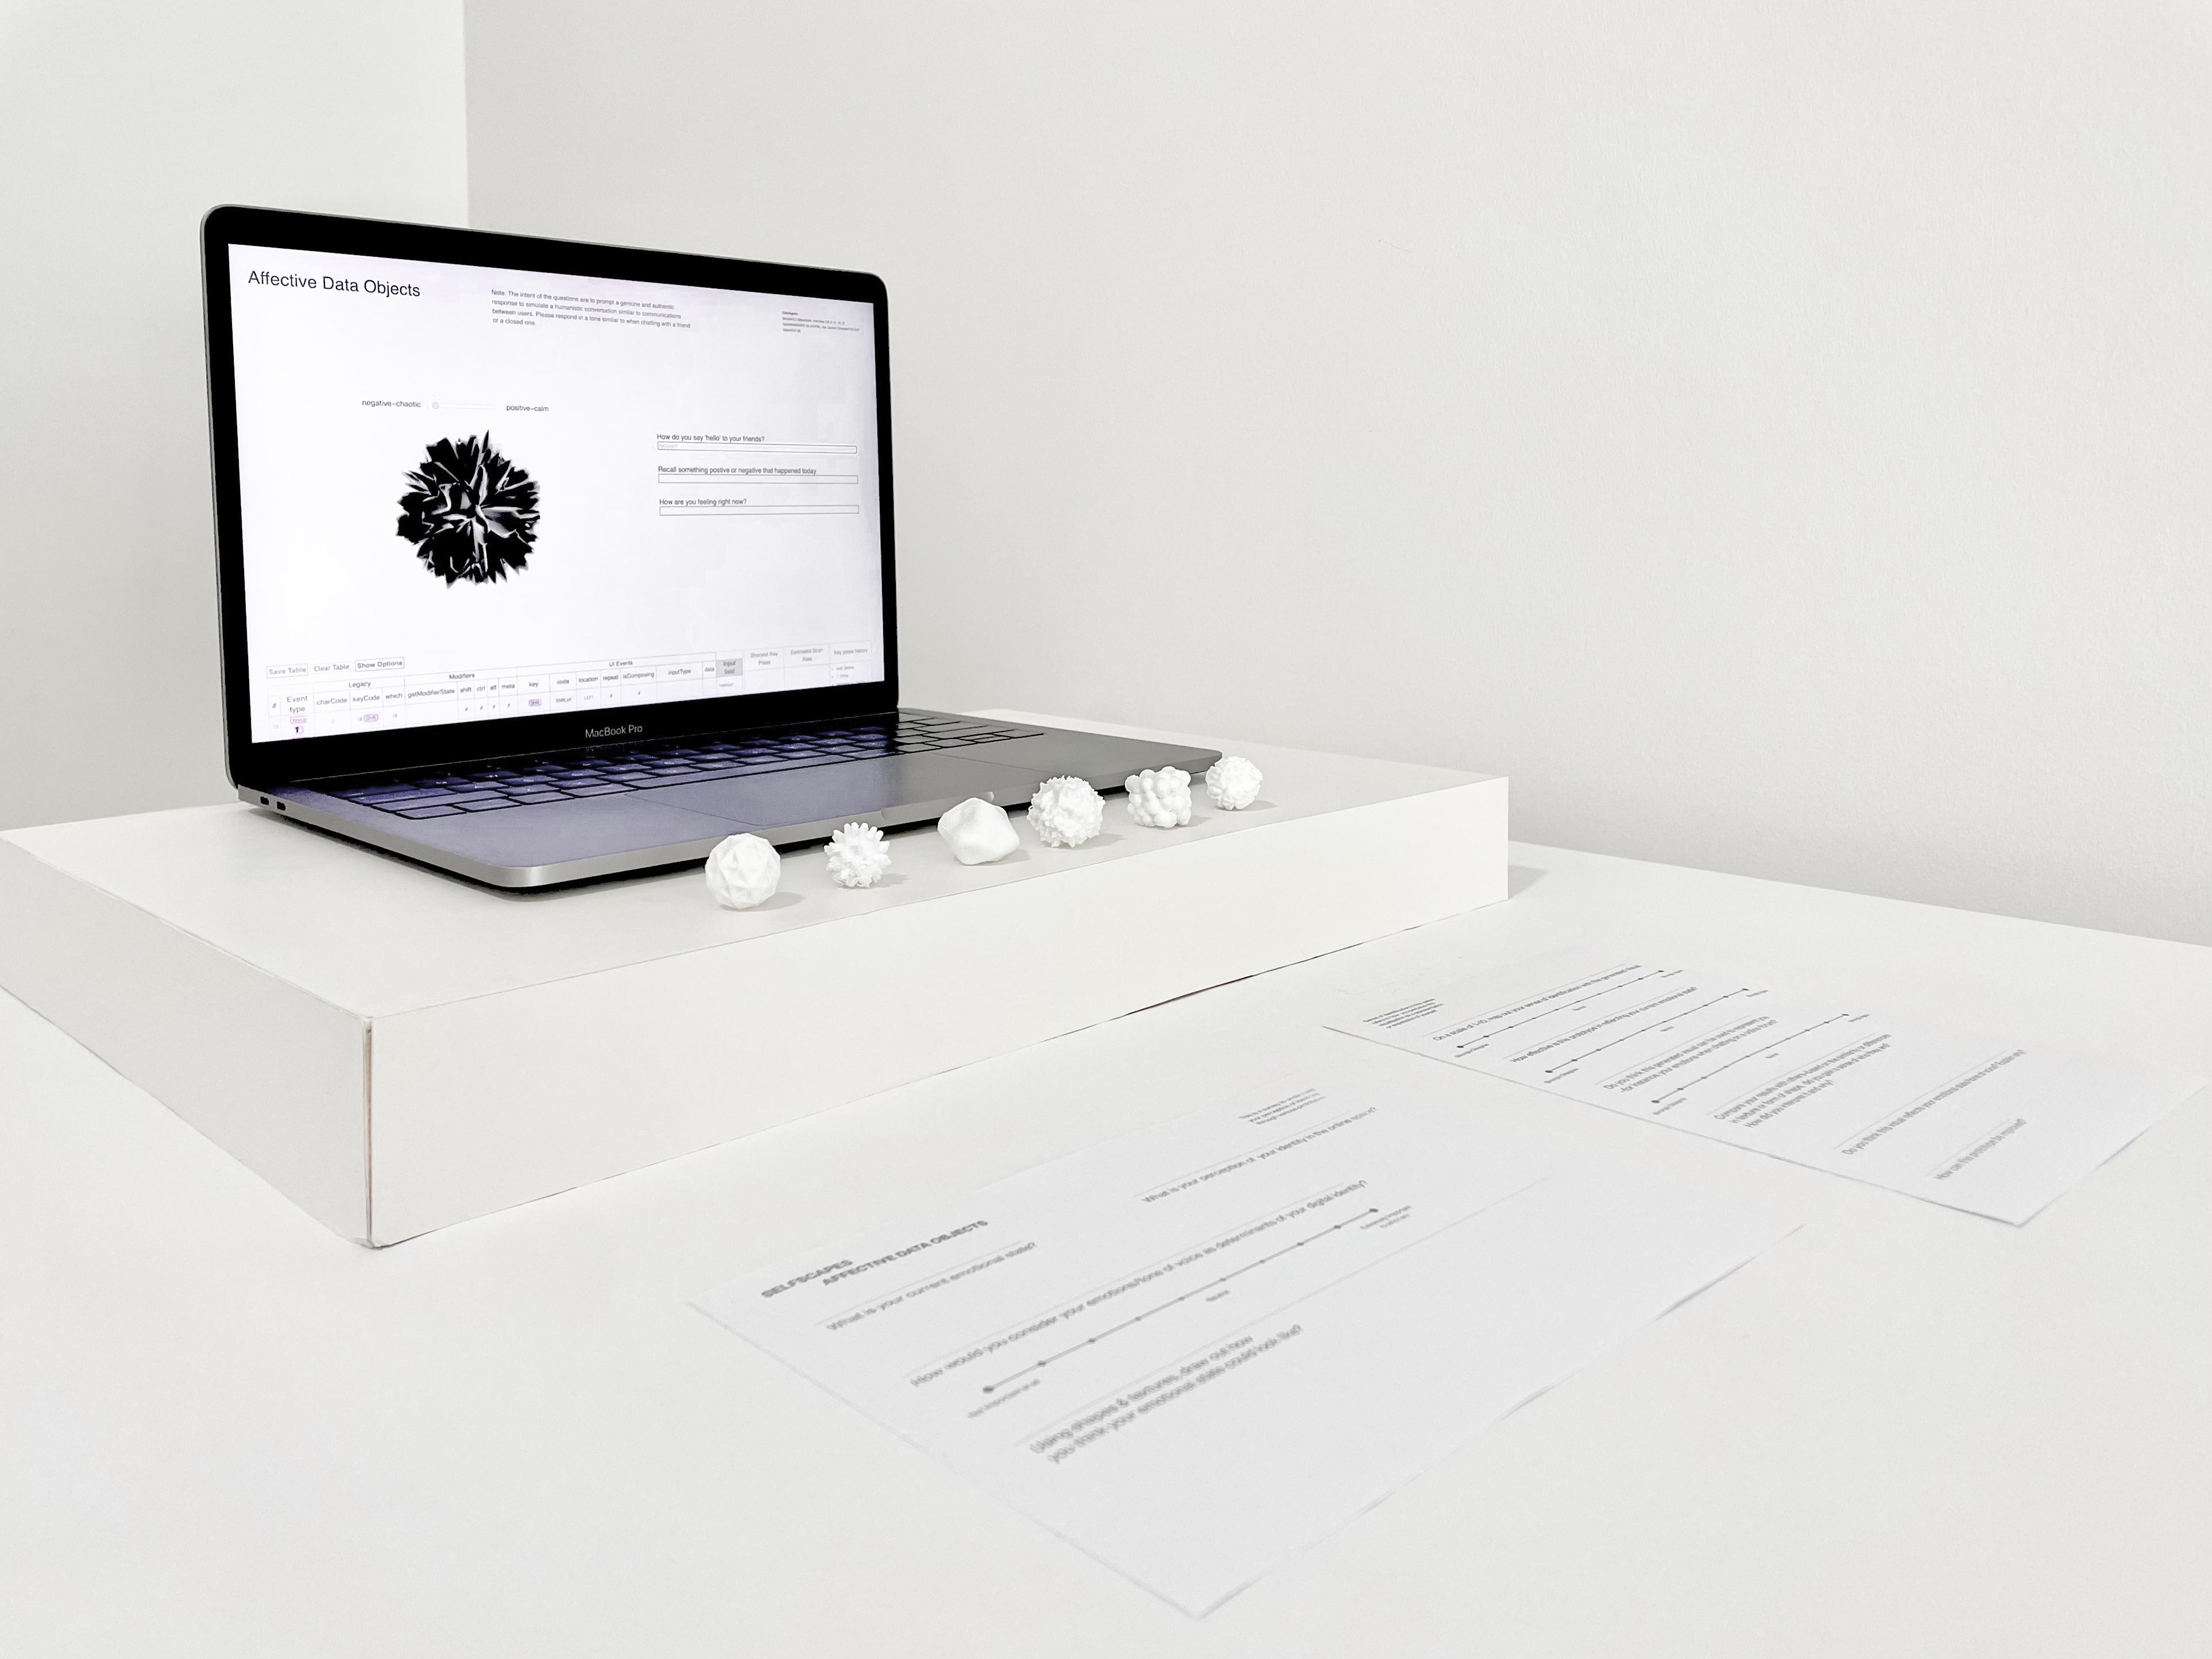
Moving forward, I intend to create more data objects and even explore the idea of mixing data objects to represent the combination of various emotional states. In addition, I plan to print them in a larger scale to aid in the comprehension of texture and detail. Also, a takeaway pointer that I learnt from my previous printing session was that in Blender, I should make sure the data objects are hollow on the inside, to accelerate the printing process. This is because, in the previous round, the printer had to print the insides of the data object as well, which made the printing process longer and less efficient.However, I should definitely do a test print, as making the interior hollow may affect and change the weight and feel of the data object which can alter the way of interpretation for participants.
DISSERTATION CONSULTATION
Notes:
–Notes on further research should discuss the potential and the steps moving forward
–No need to discuss concepts but if theoretical research is something worth expanding on, you can include that
–Limitations should be discussed before Notes on further research
–Conclusion should include a summary of what was covered, what was done and what was achieved
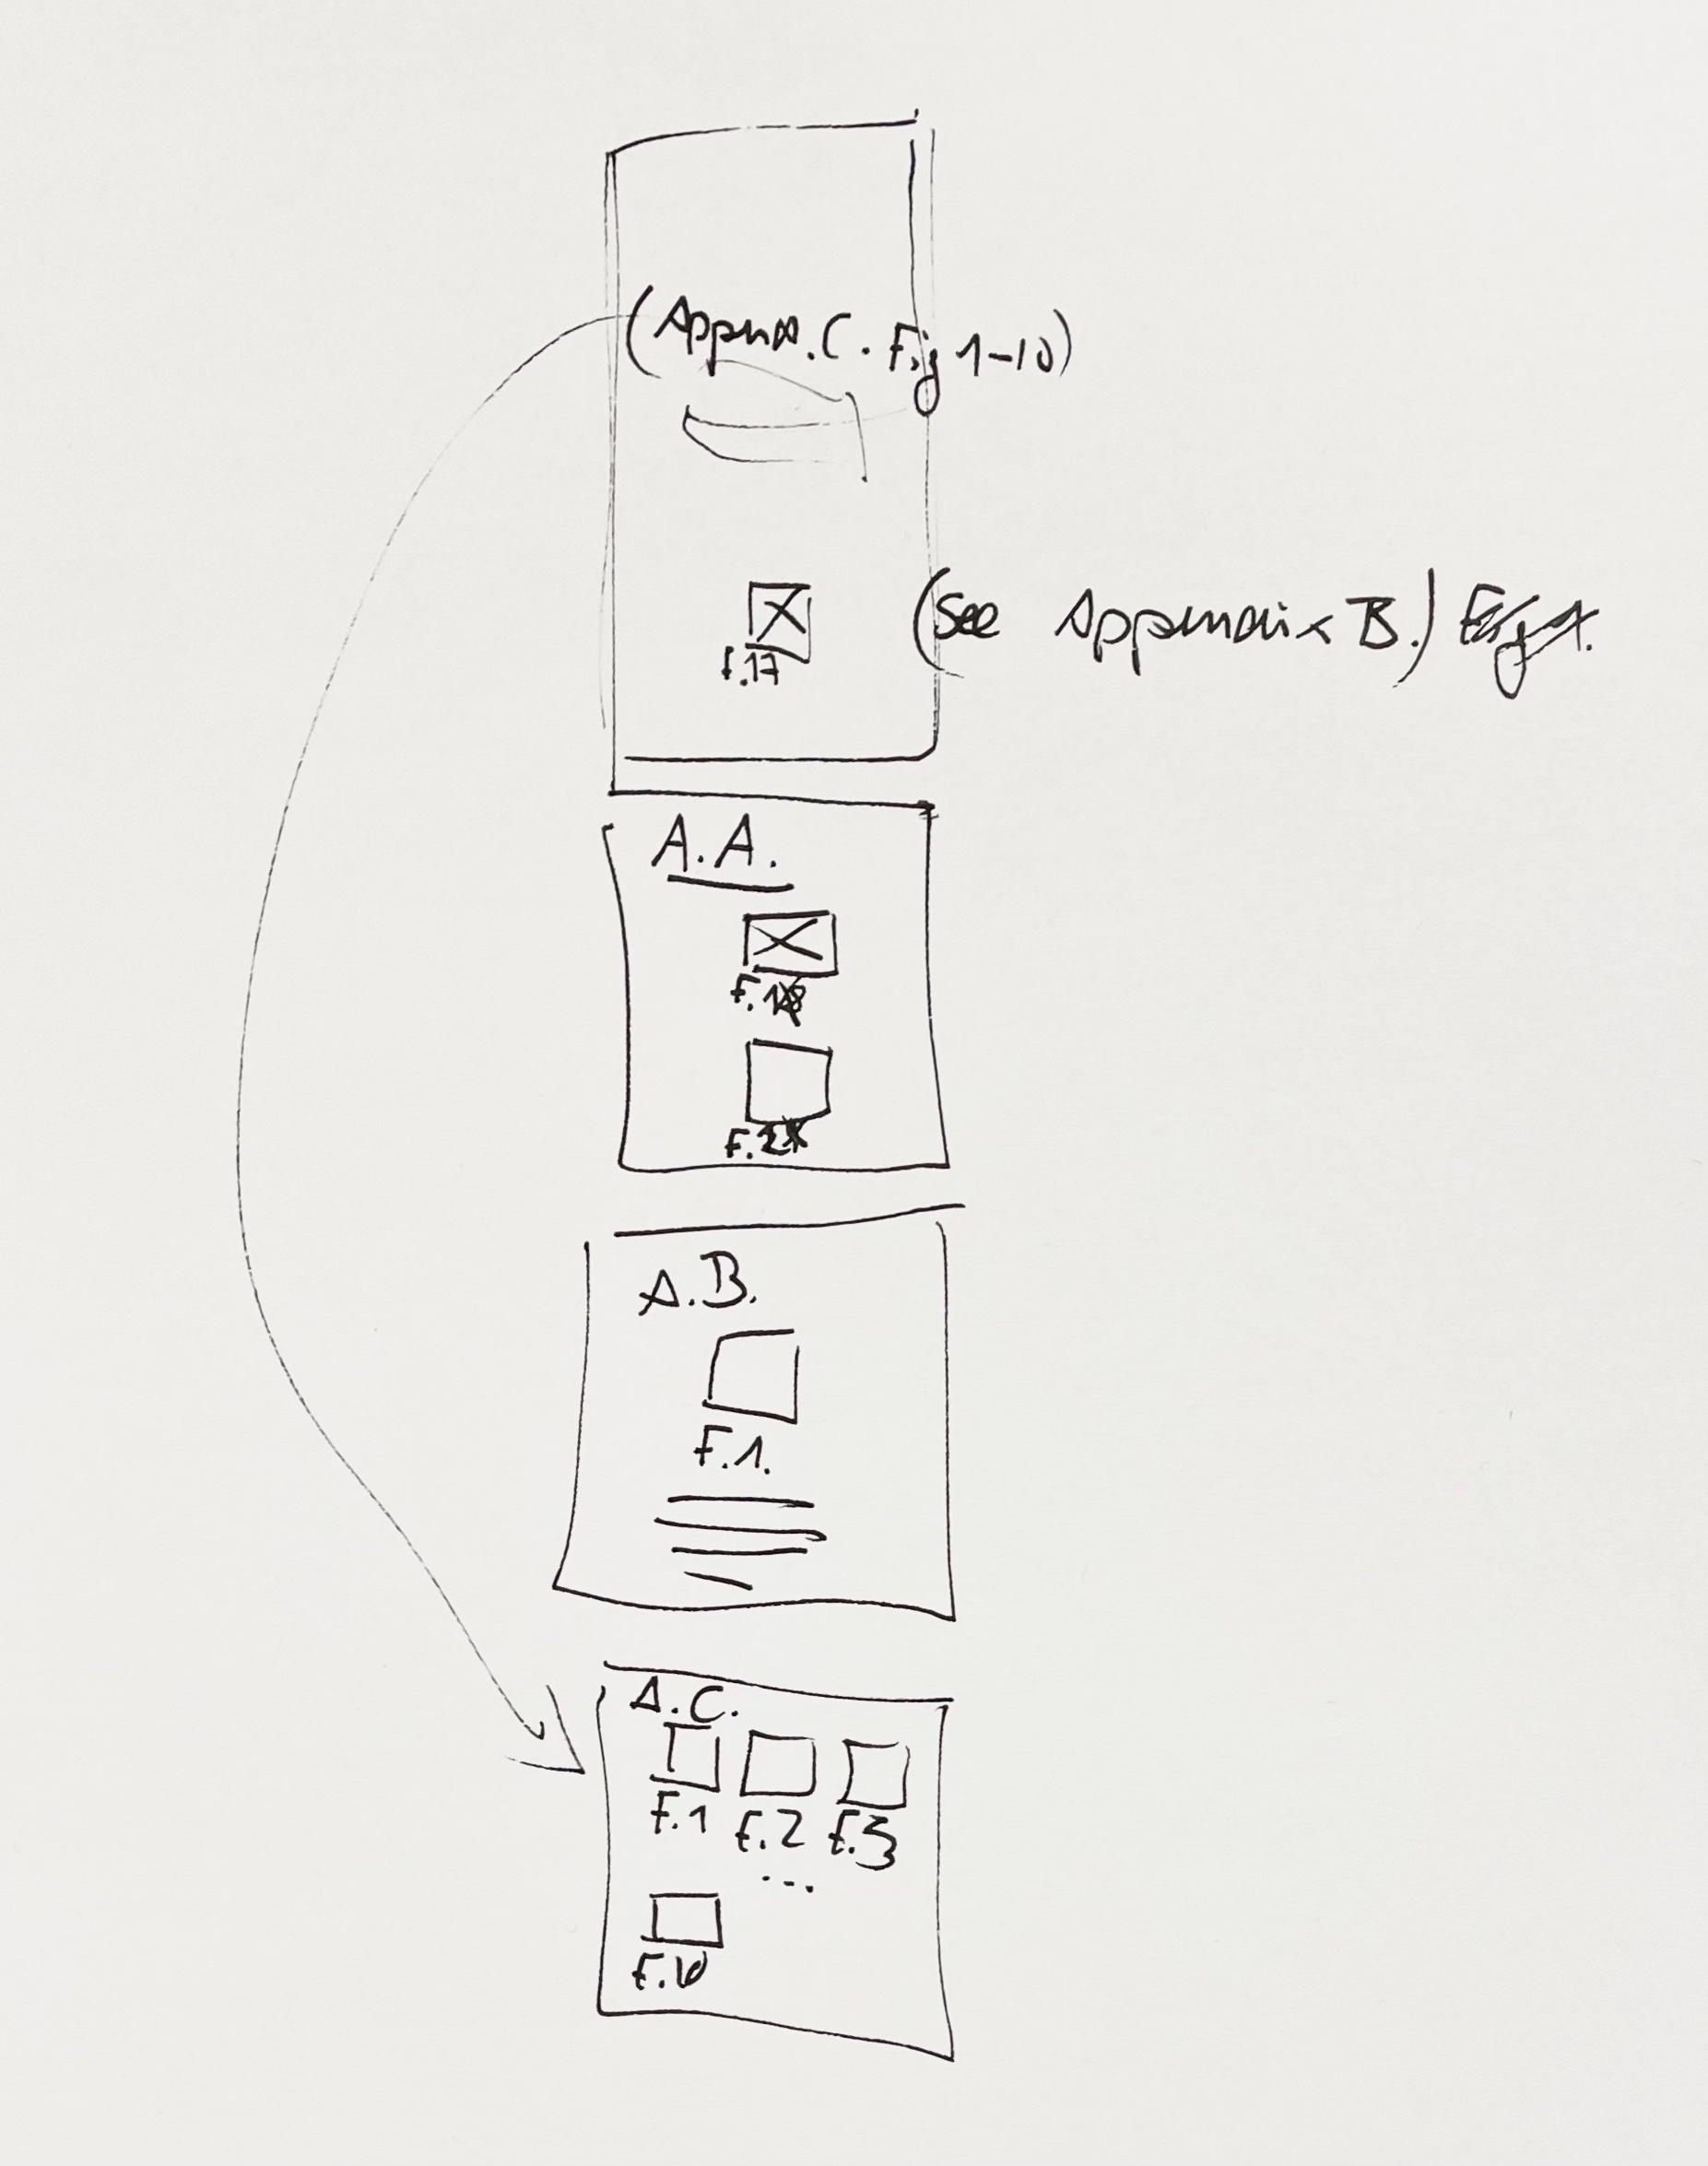
–The standard structure of the Appendix always starts from 1, e.g. Fig.1, Table. 1., it does not follow the numbering in the essay, but follows the structure in which the sections are being discussed
–You can create multiple Appendix to group your images and works together.
