1 / Identity Map Prototype Making
2 / 3D Printing
3 / Preparation For Open Studios
4 / Consultation
IDENTITY MAP PROTOTYPE MAKING
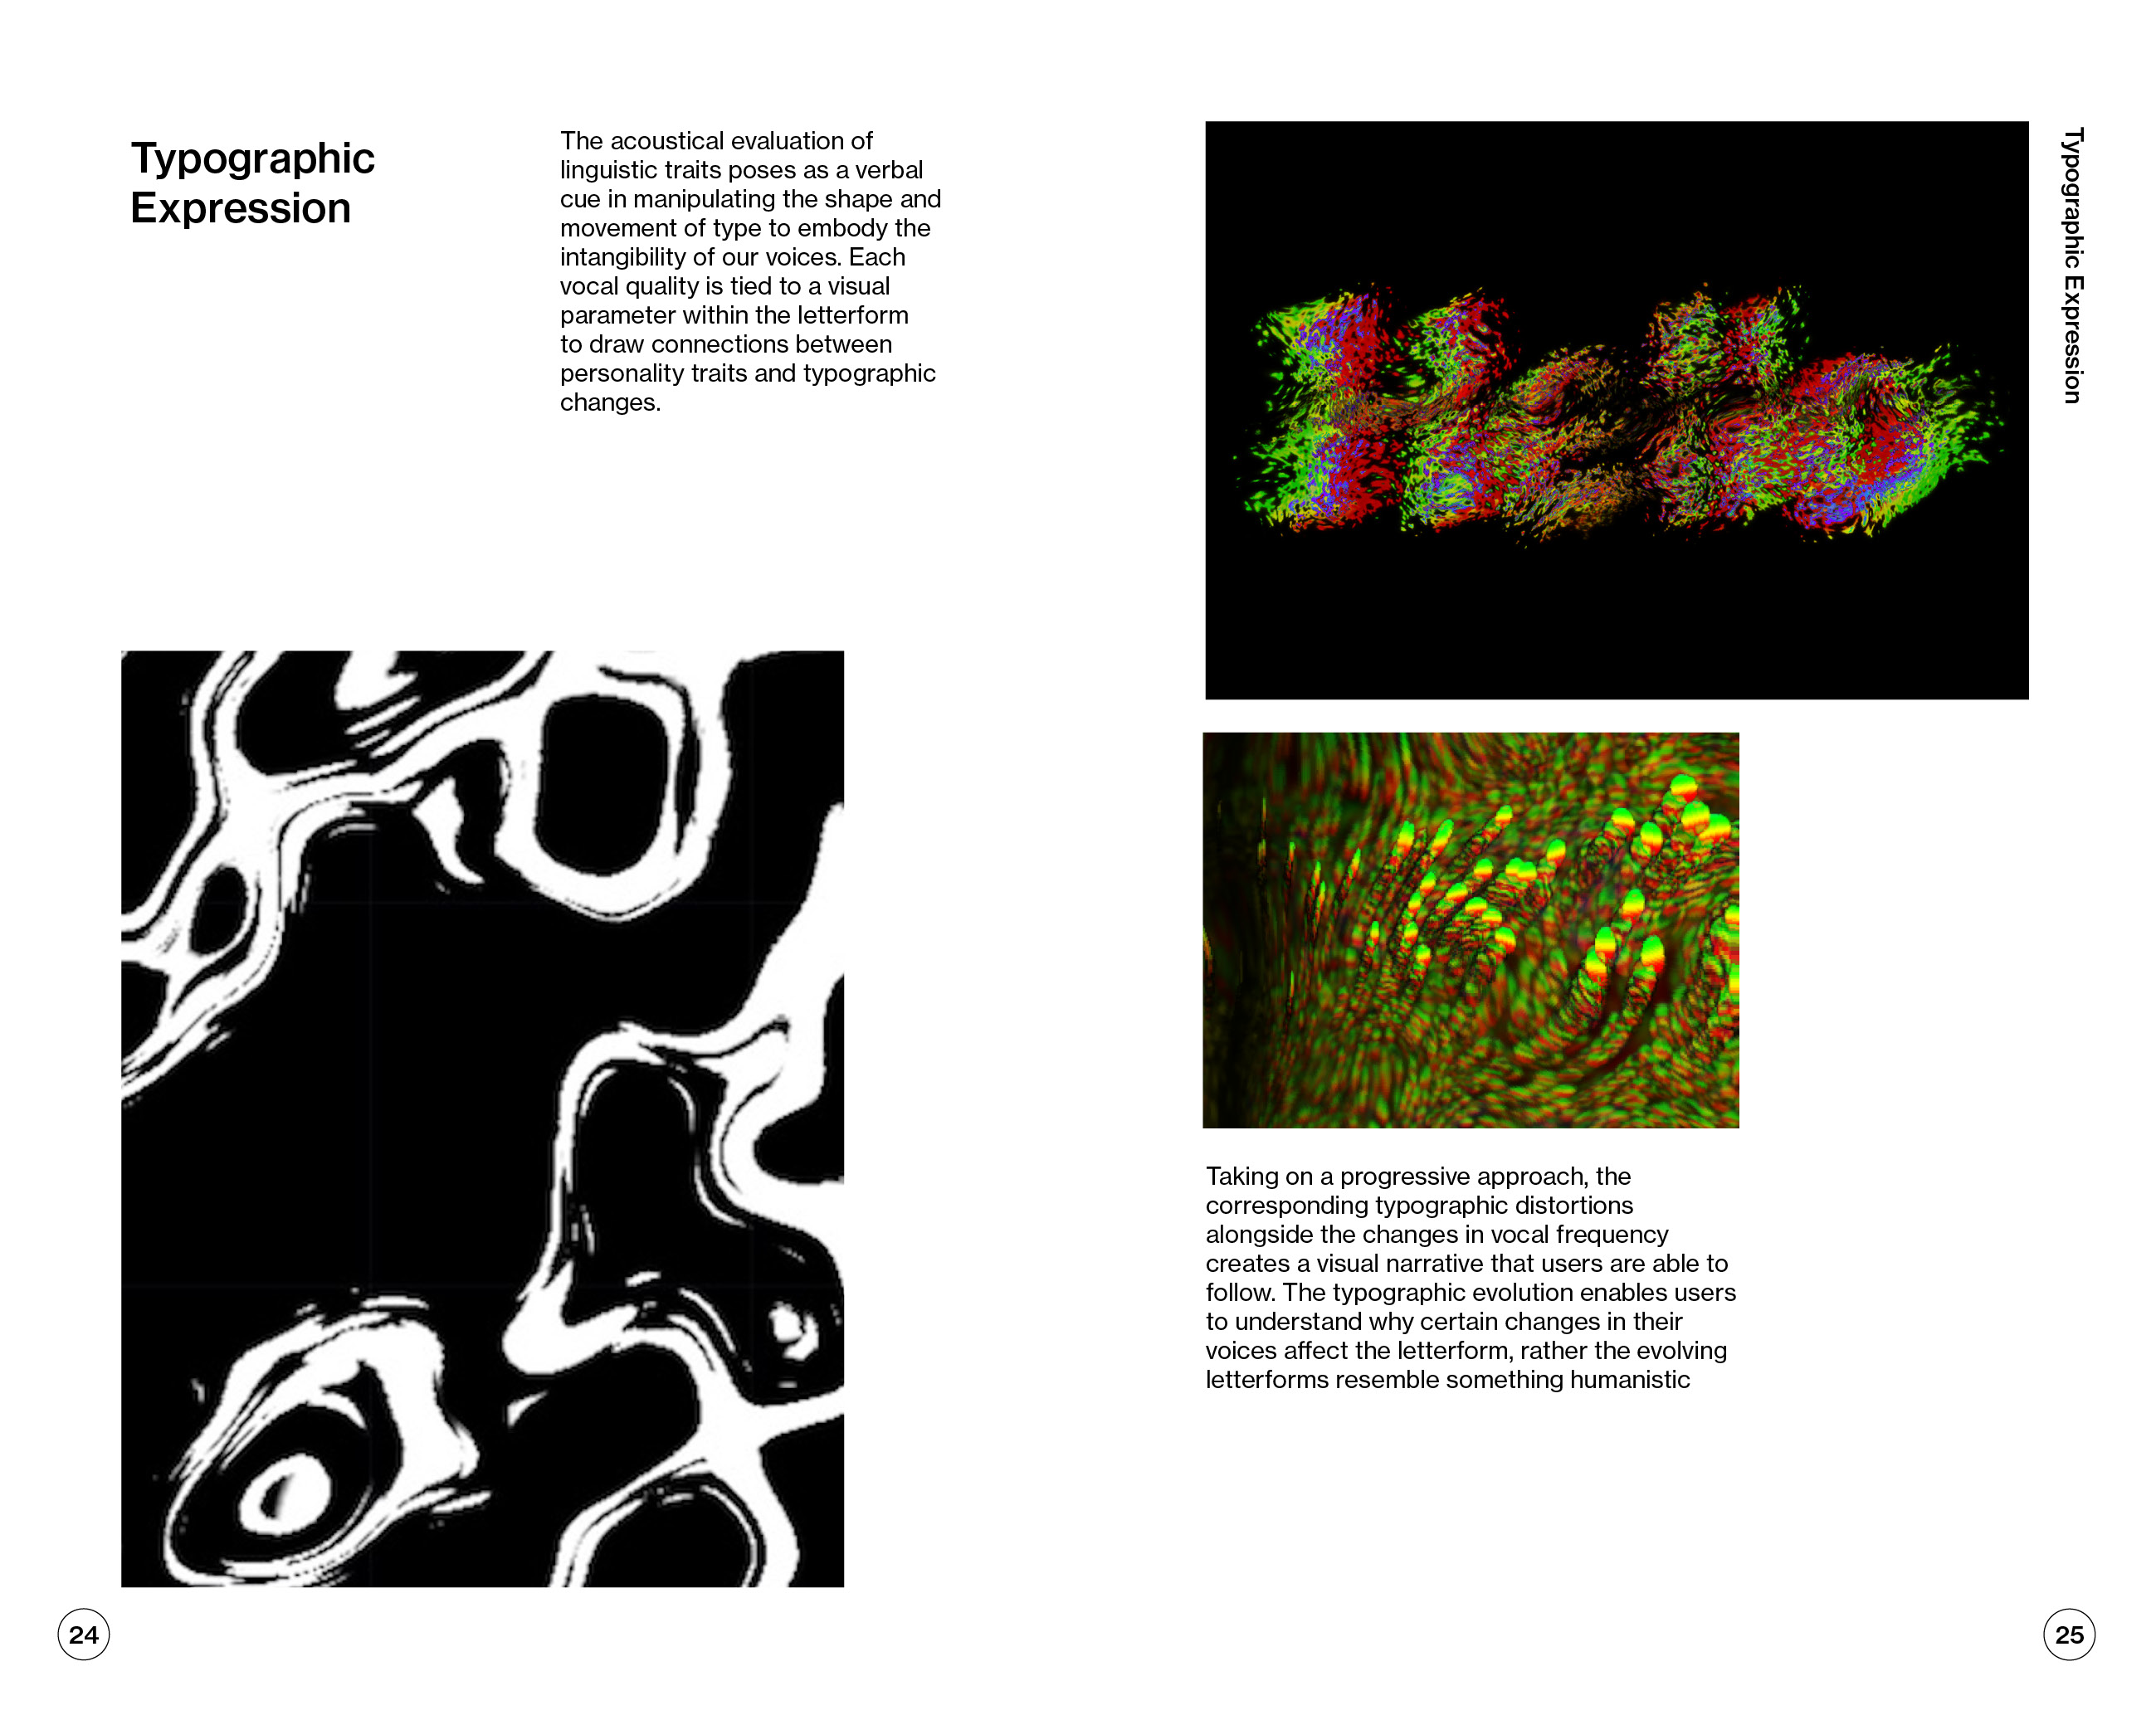
Initially, I was thinking of making an acryllic casing for the prototype (refer to the sketch on the right). But after the consultation, I thought that I should reconsider my plan to make an acryllic casing. I feel that the use of wood as a casing may add value to the touch and feel of the prototype.
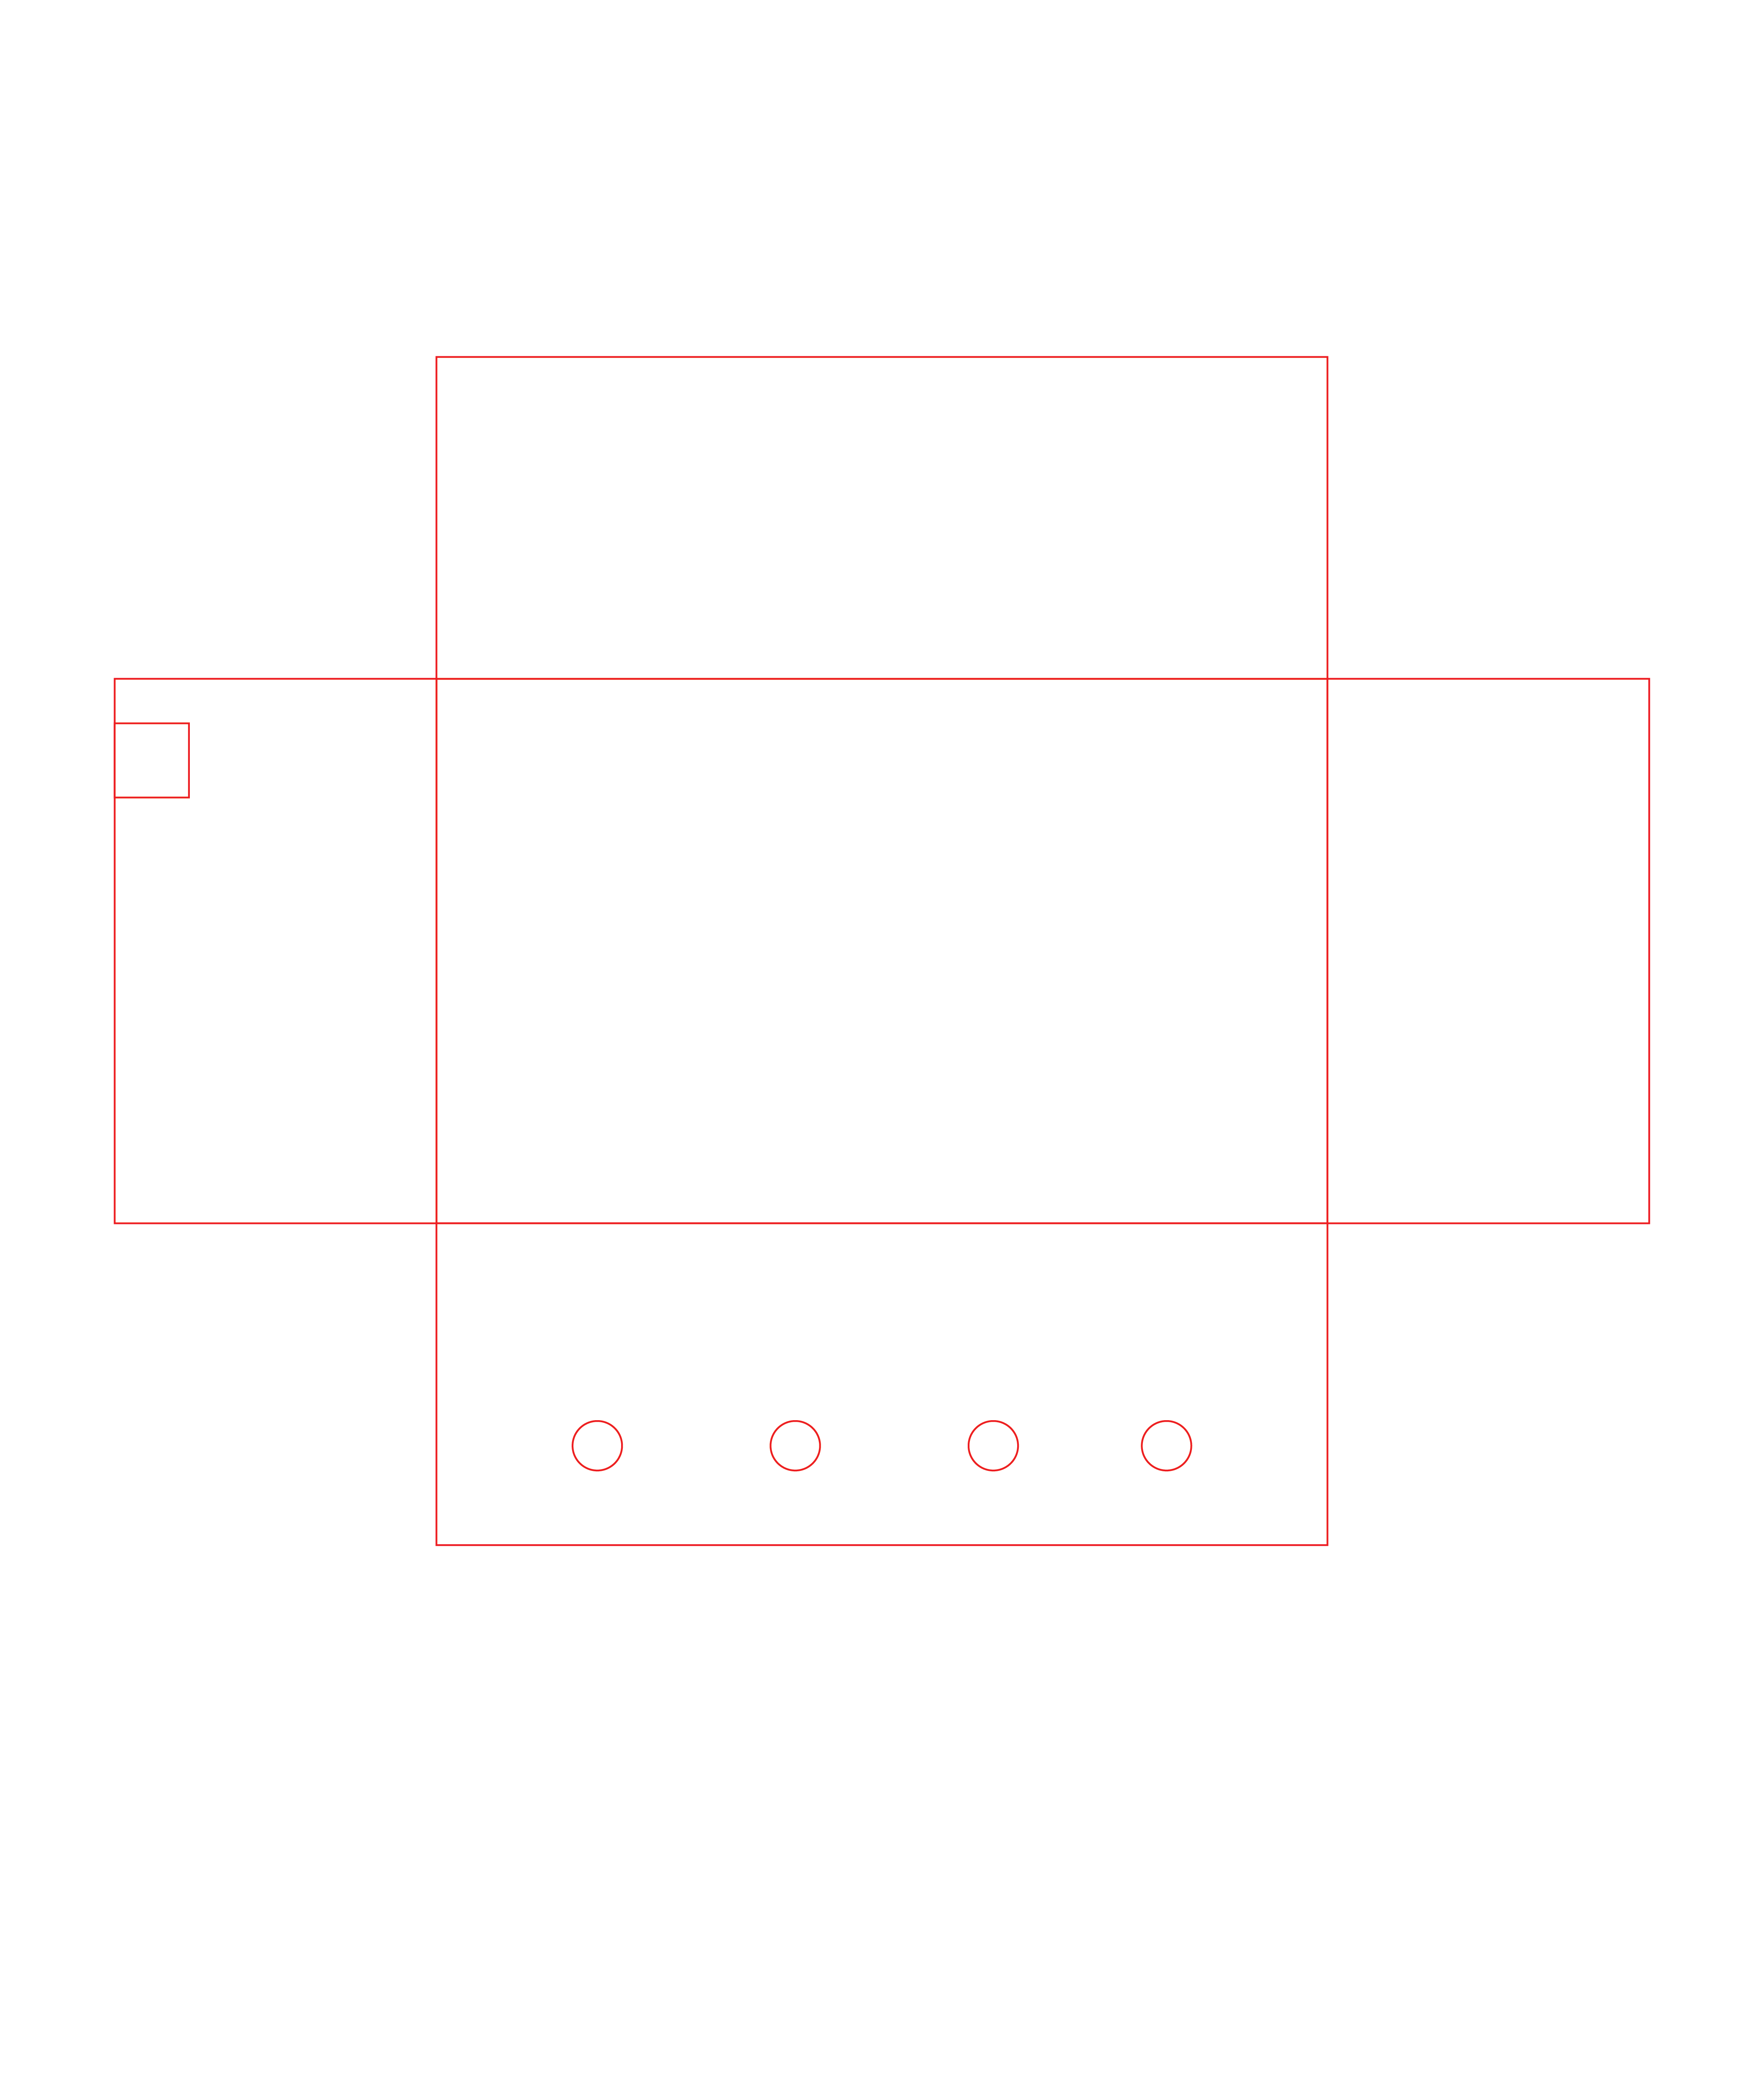
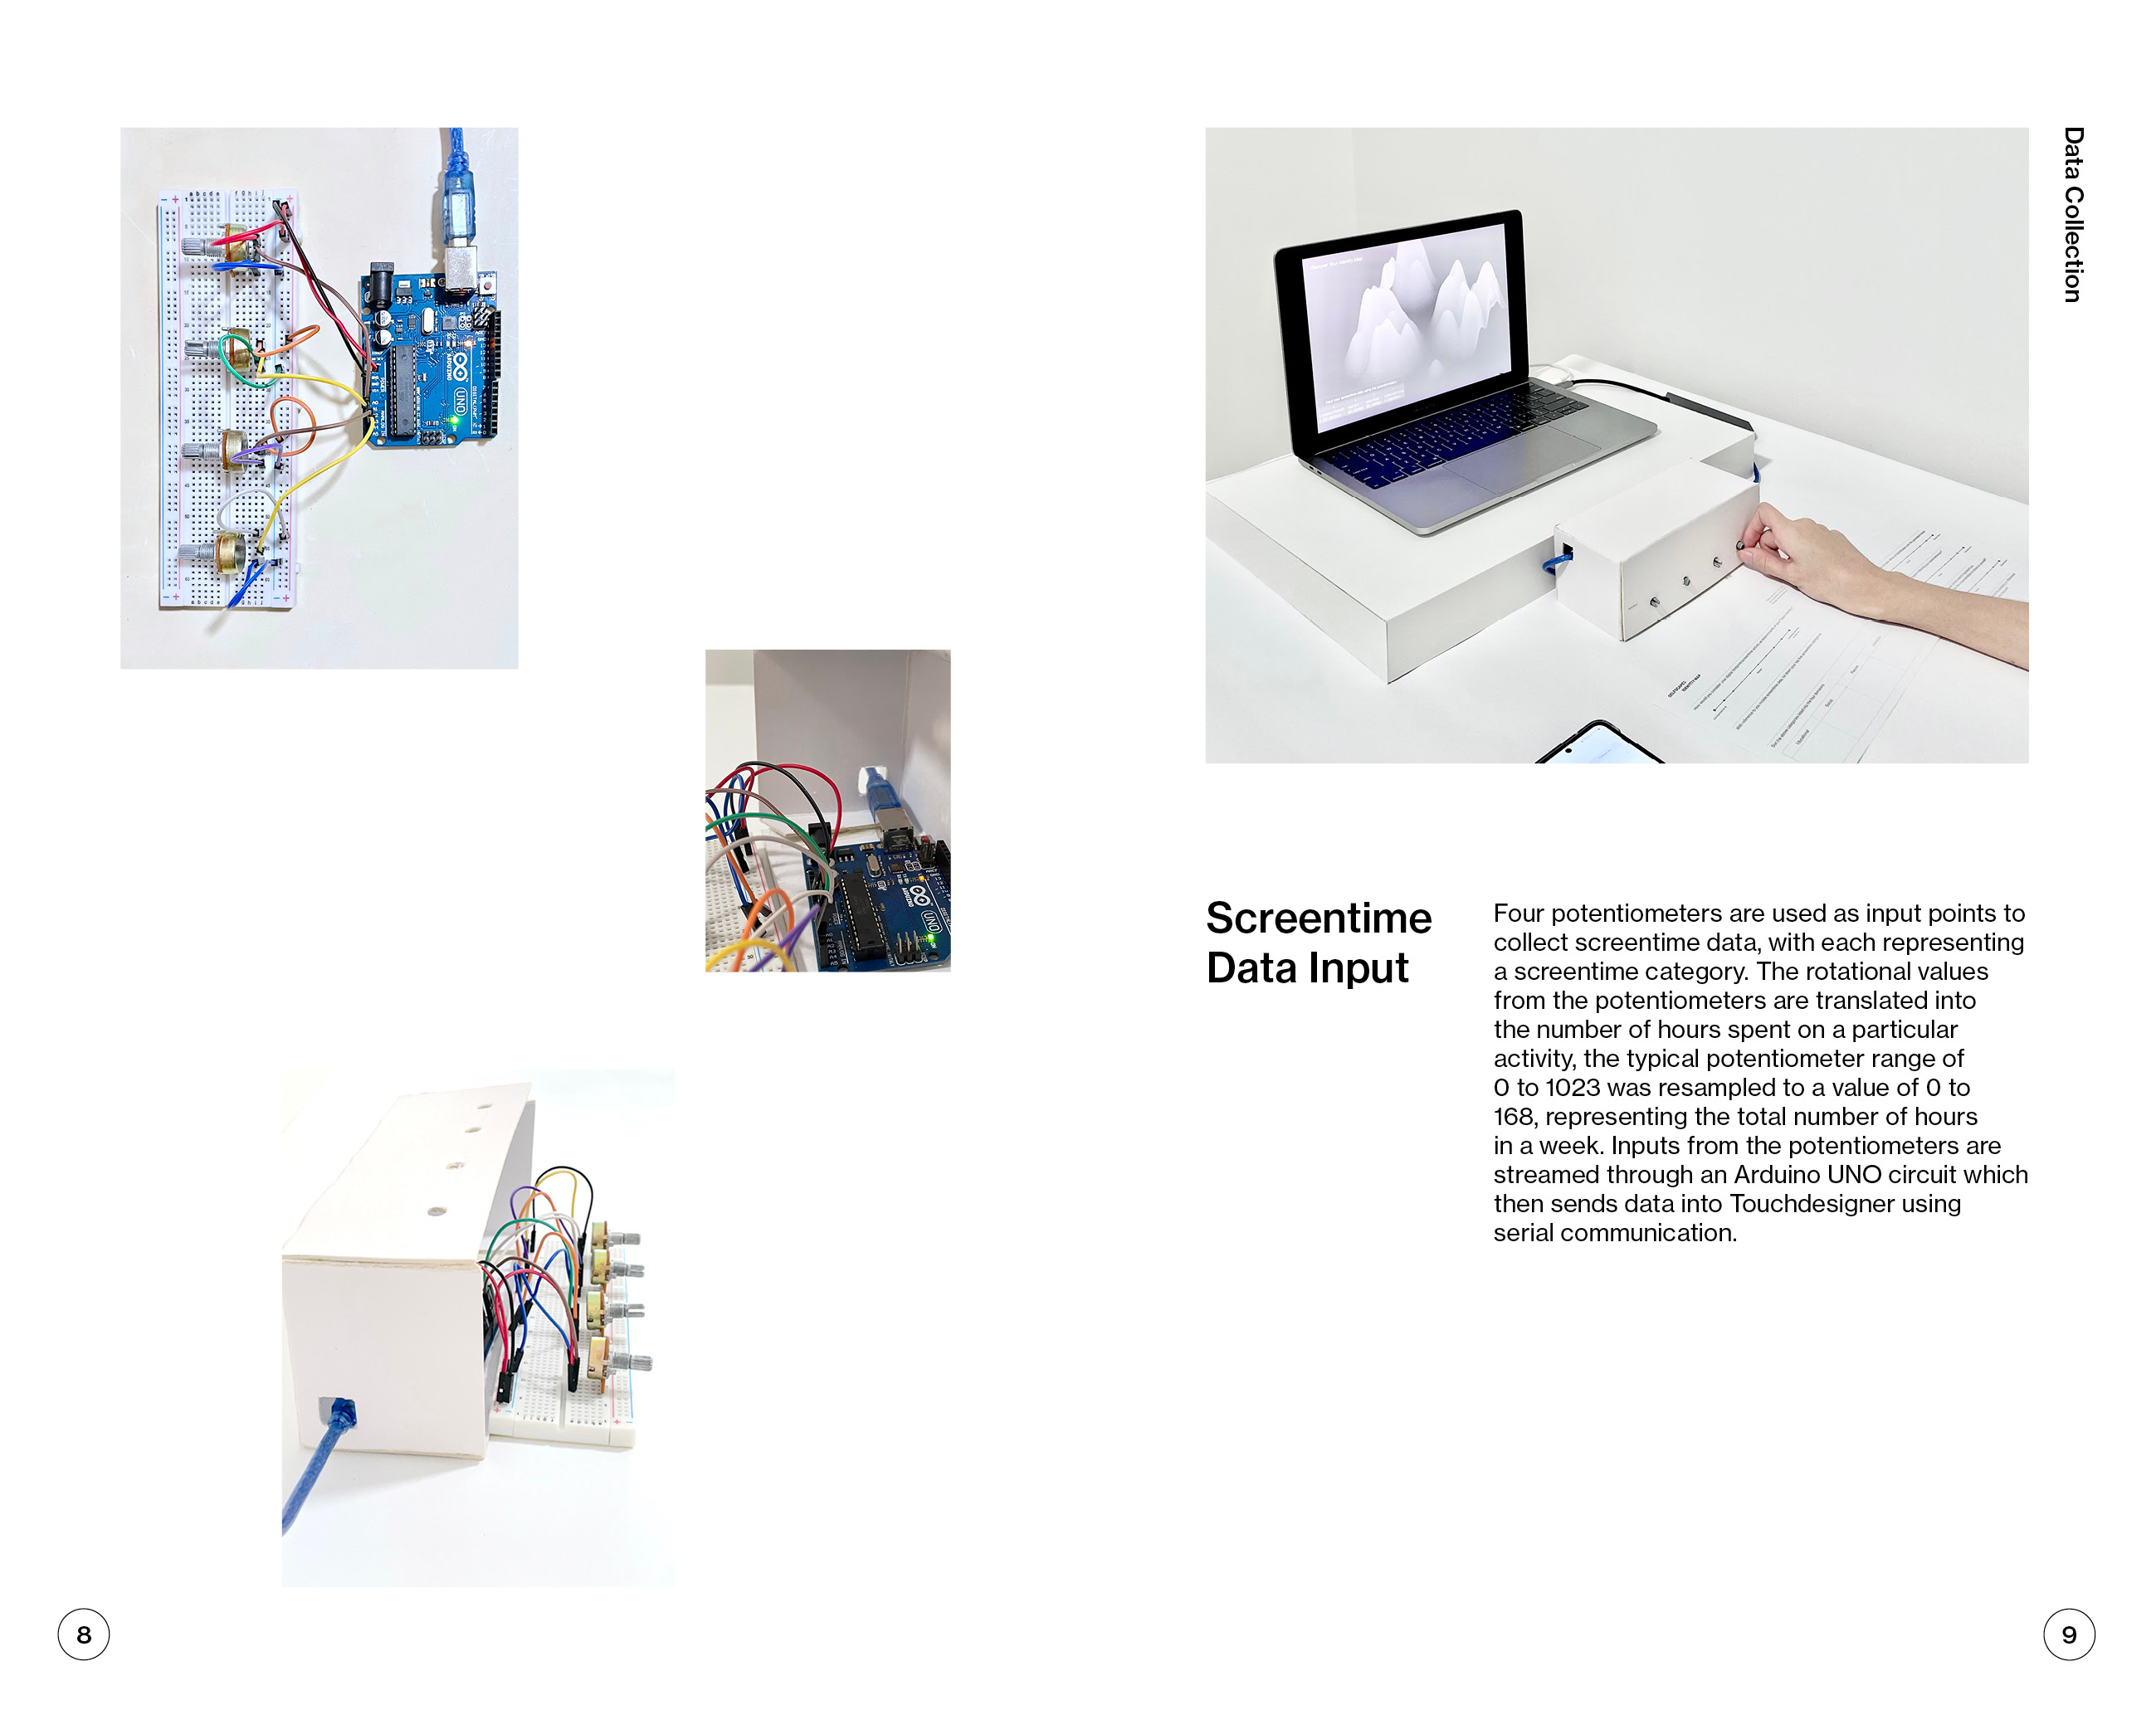
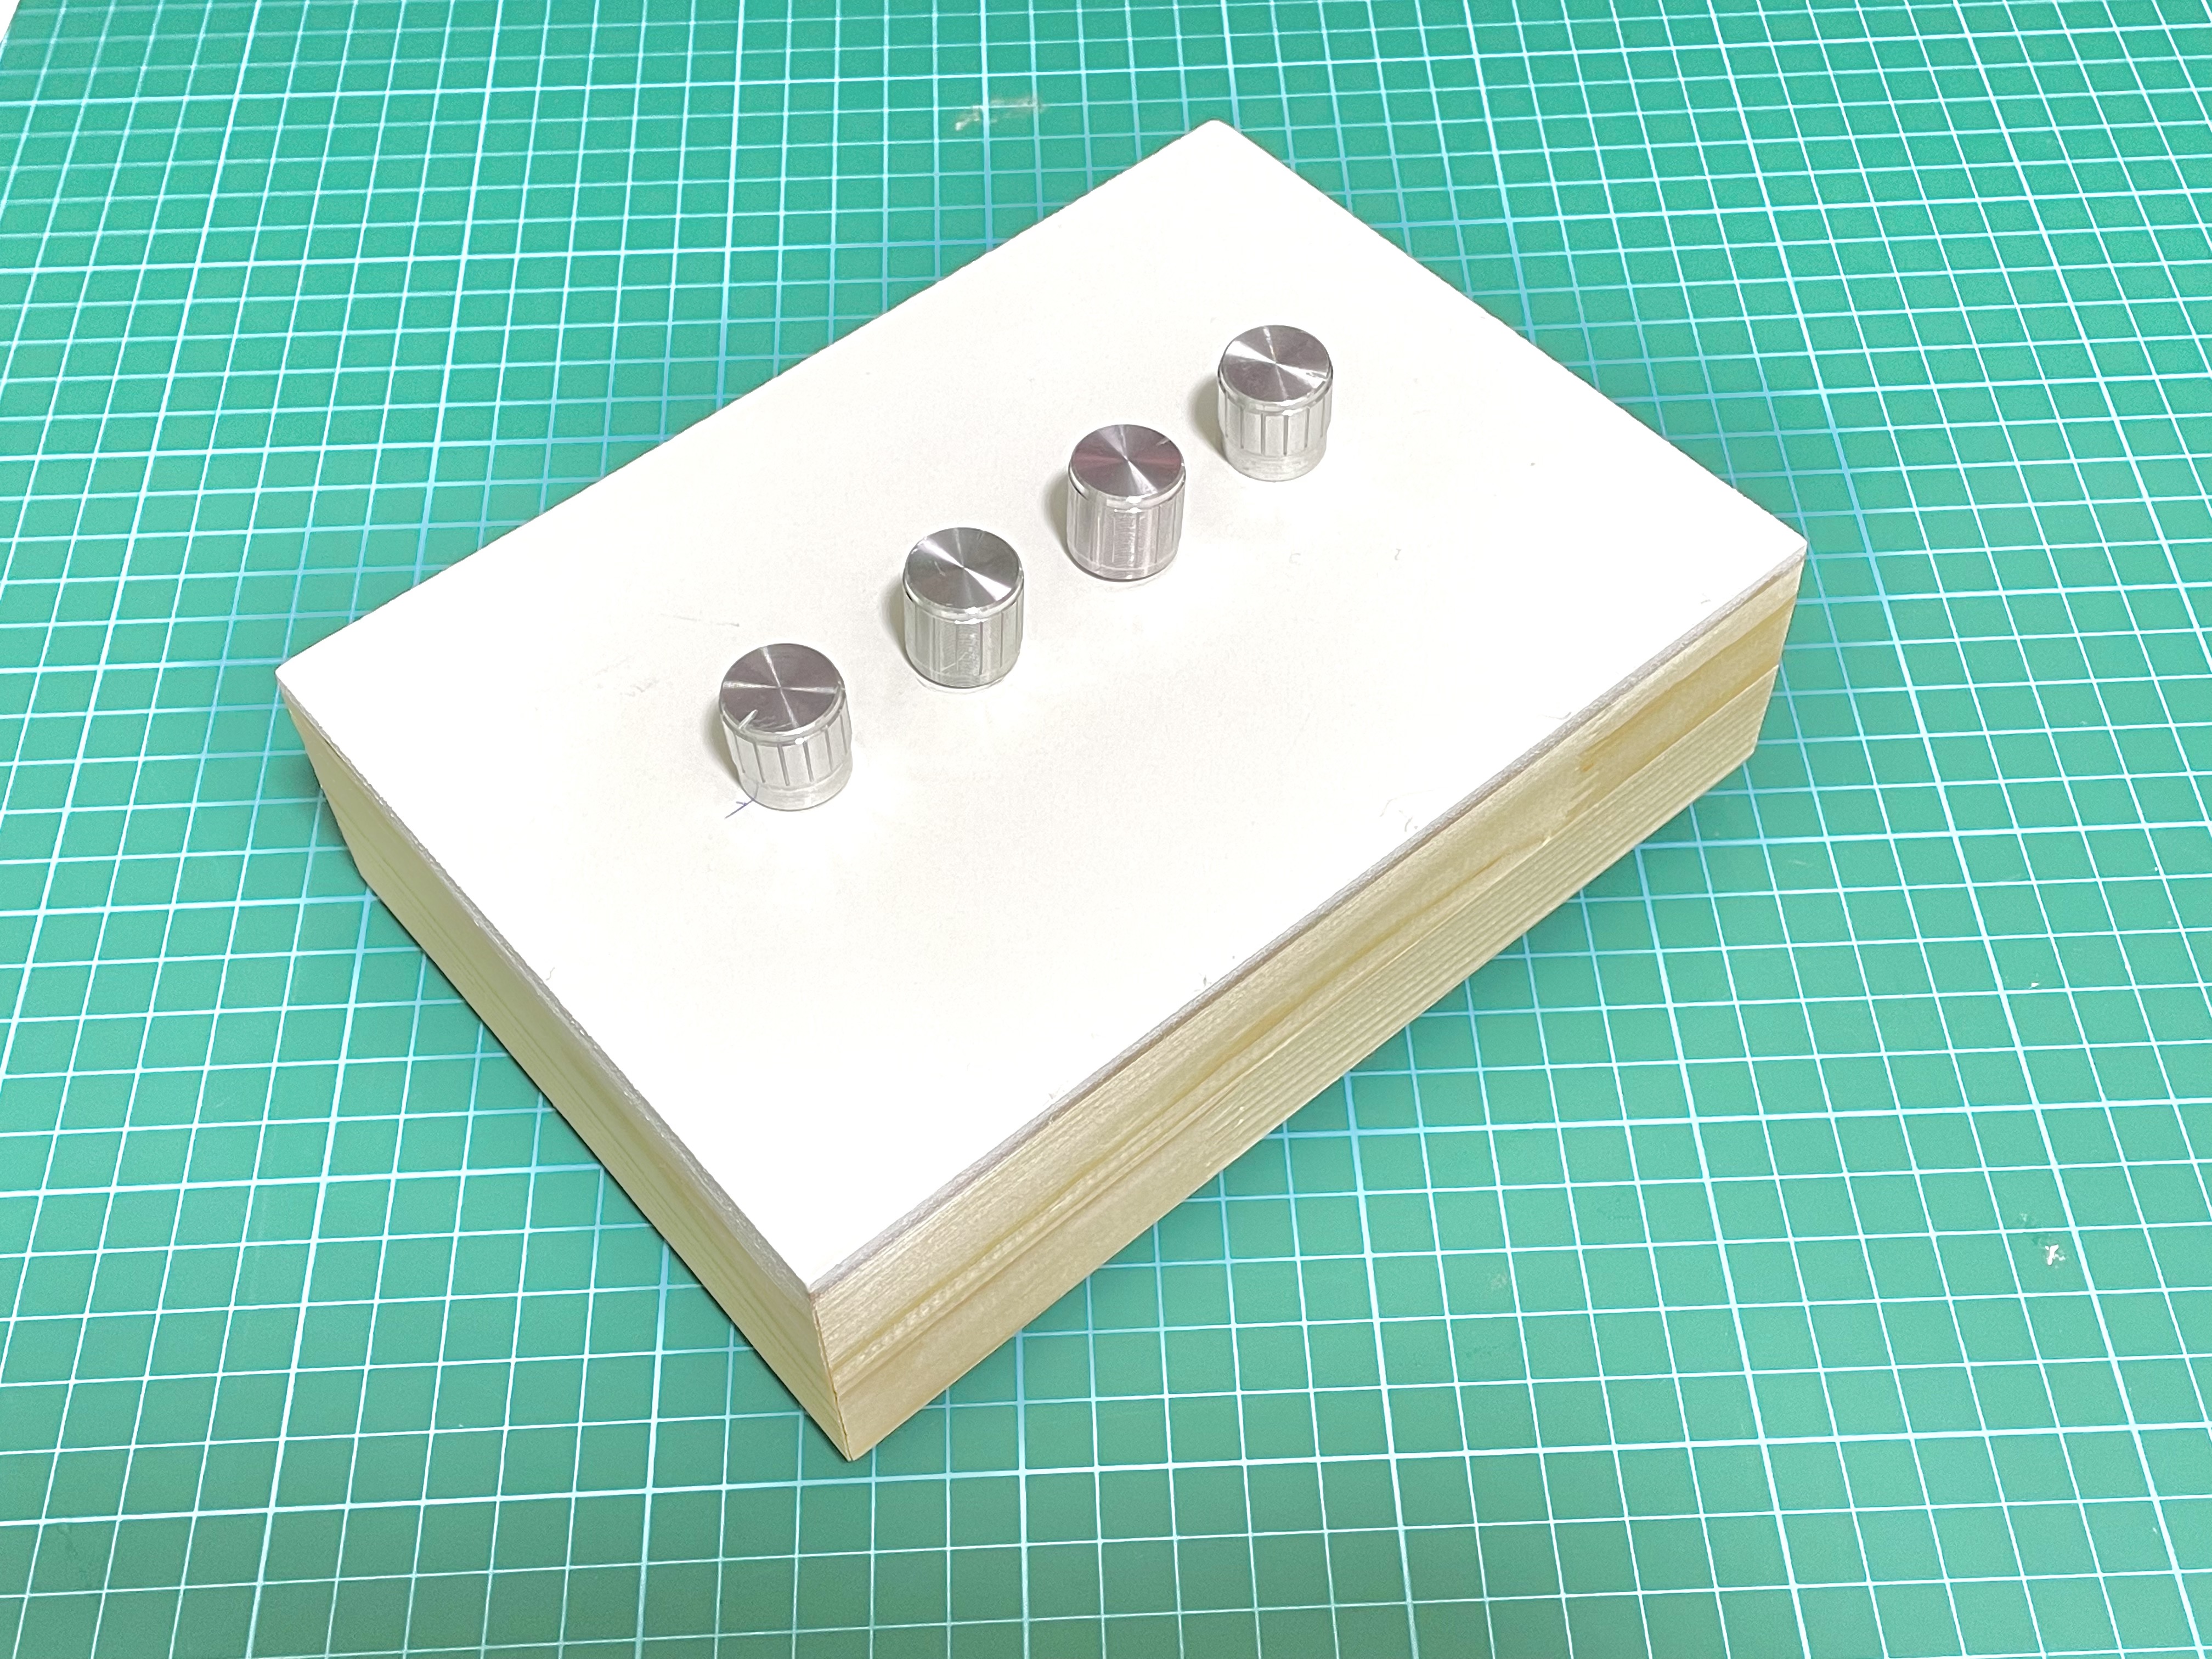
I went to Artfriend to look for wood pieces that I could use, and ended up using a gesso board similar to the one I used in my photoshoot set-up for the prototypes last term. This time I used a gesso board of a smaller size 5x7 inches as I wanted to line the potentiometers in a row. I also chose this as the wood is more polished as compared to wood pieces which would require extra work to refine the look of the casing. Taking the tight timeline we are left with before Open Studios, I decided to go with this option for now and make a better one after Open Studios.
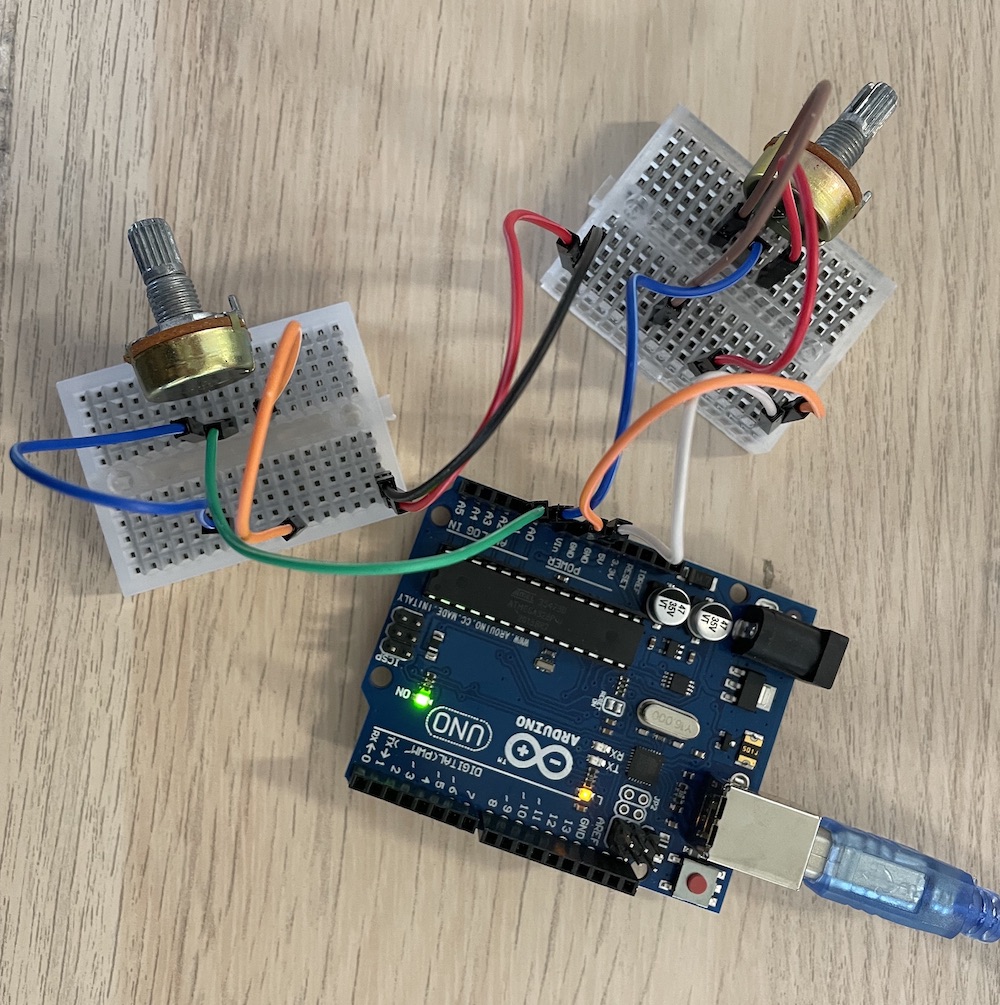
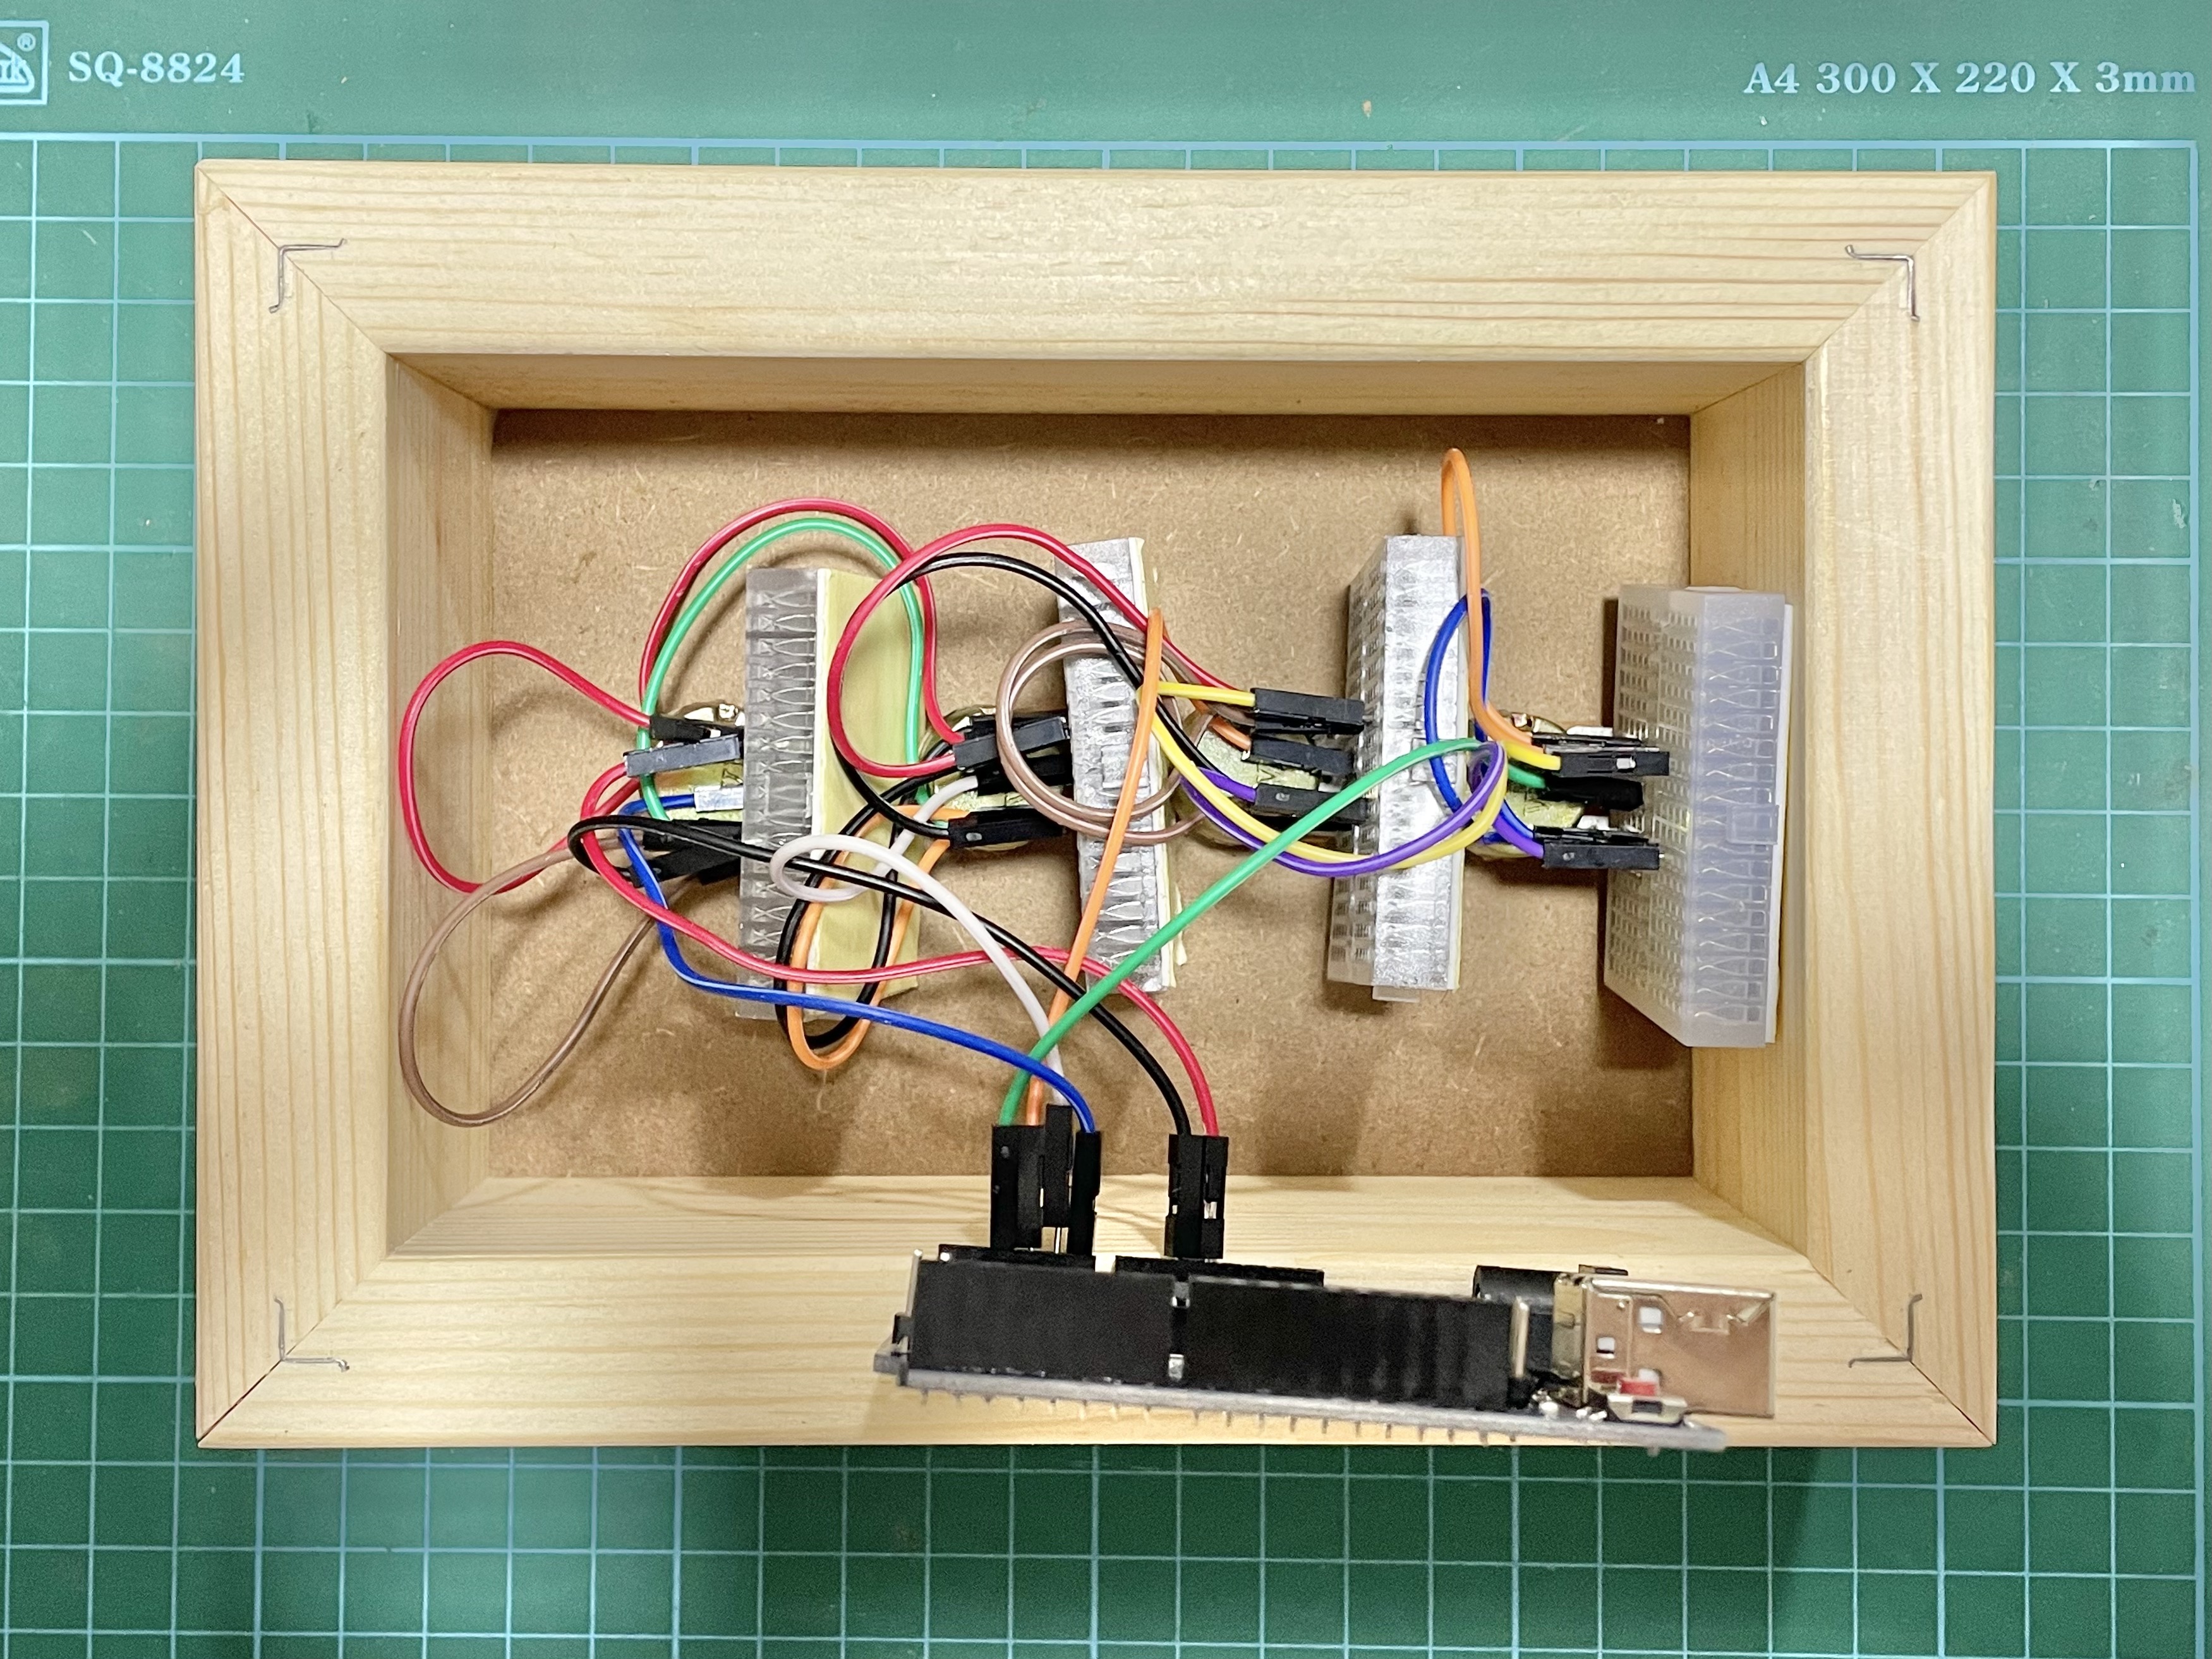
Also, due to the length of the gesso board, I wasn't able to fit the original breadboard in. I had to buy tiny breadboard for each potentiometer in order to have a more flexible layout of potentiometers and fit the spaace.
However, as the tiny breadboard do not have the '+' and '-' rows, the wiring of the circuit does not work the same as the original breadboard. Thus, I had some difficulty trying to rewire everything to make the circuit work again.
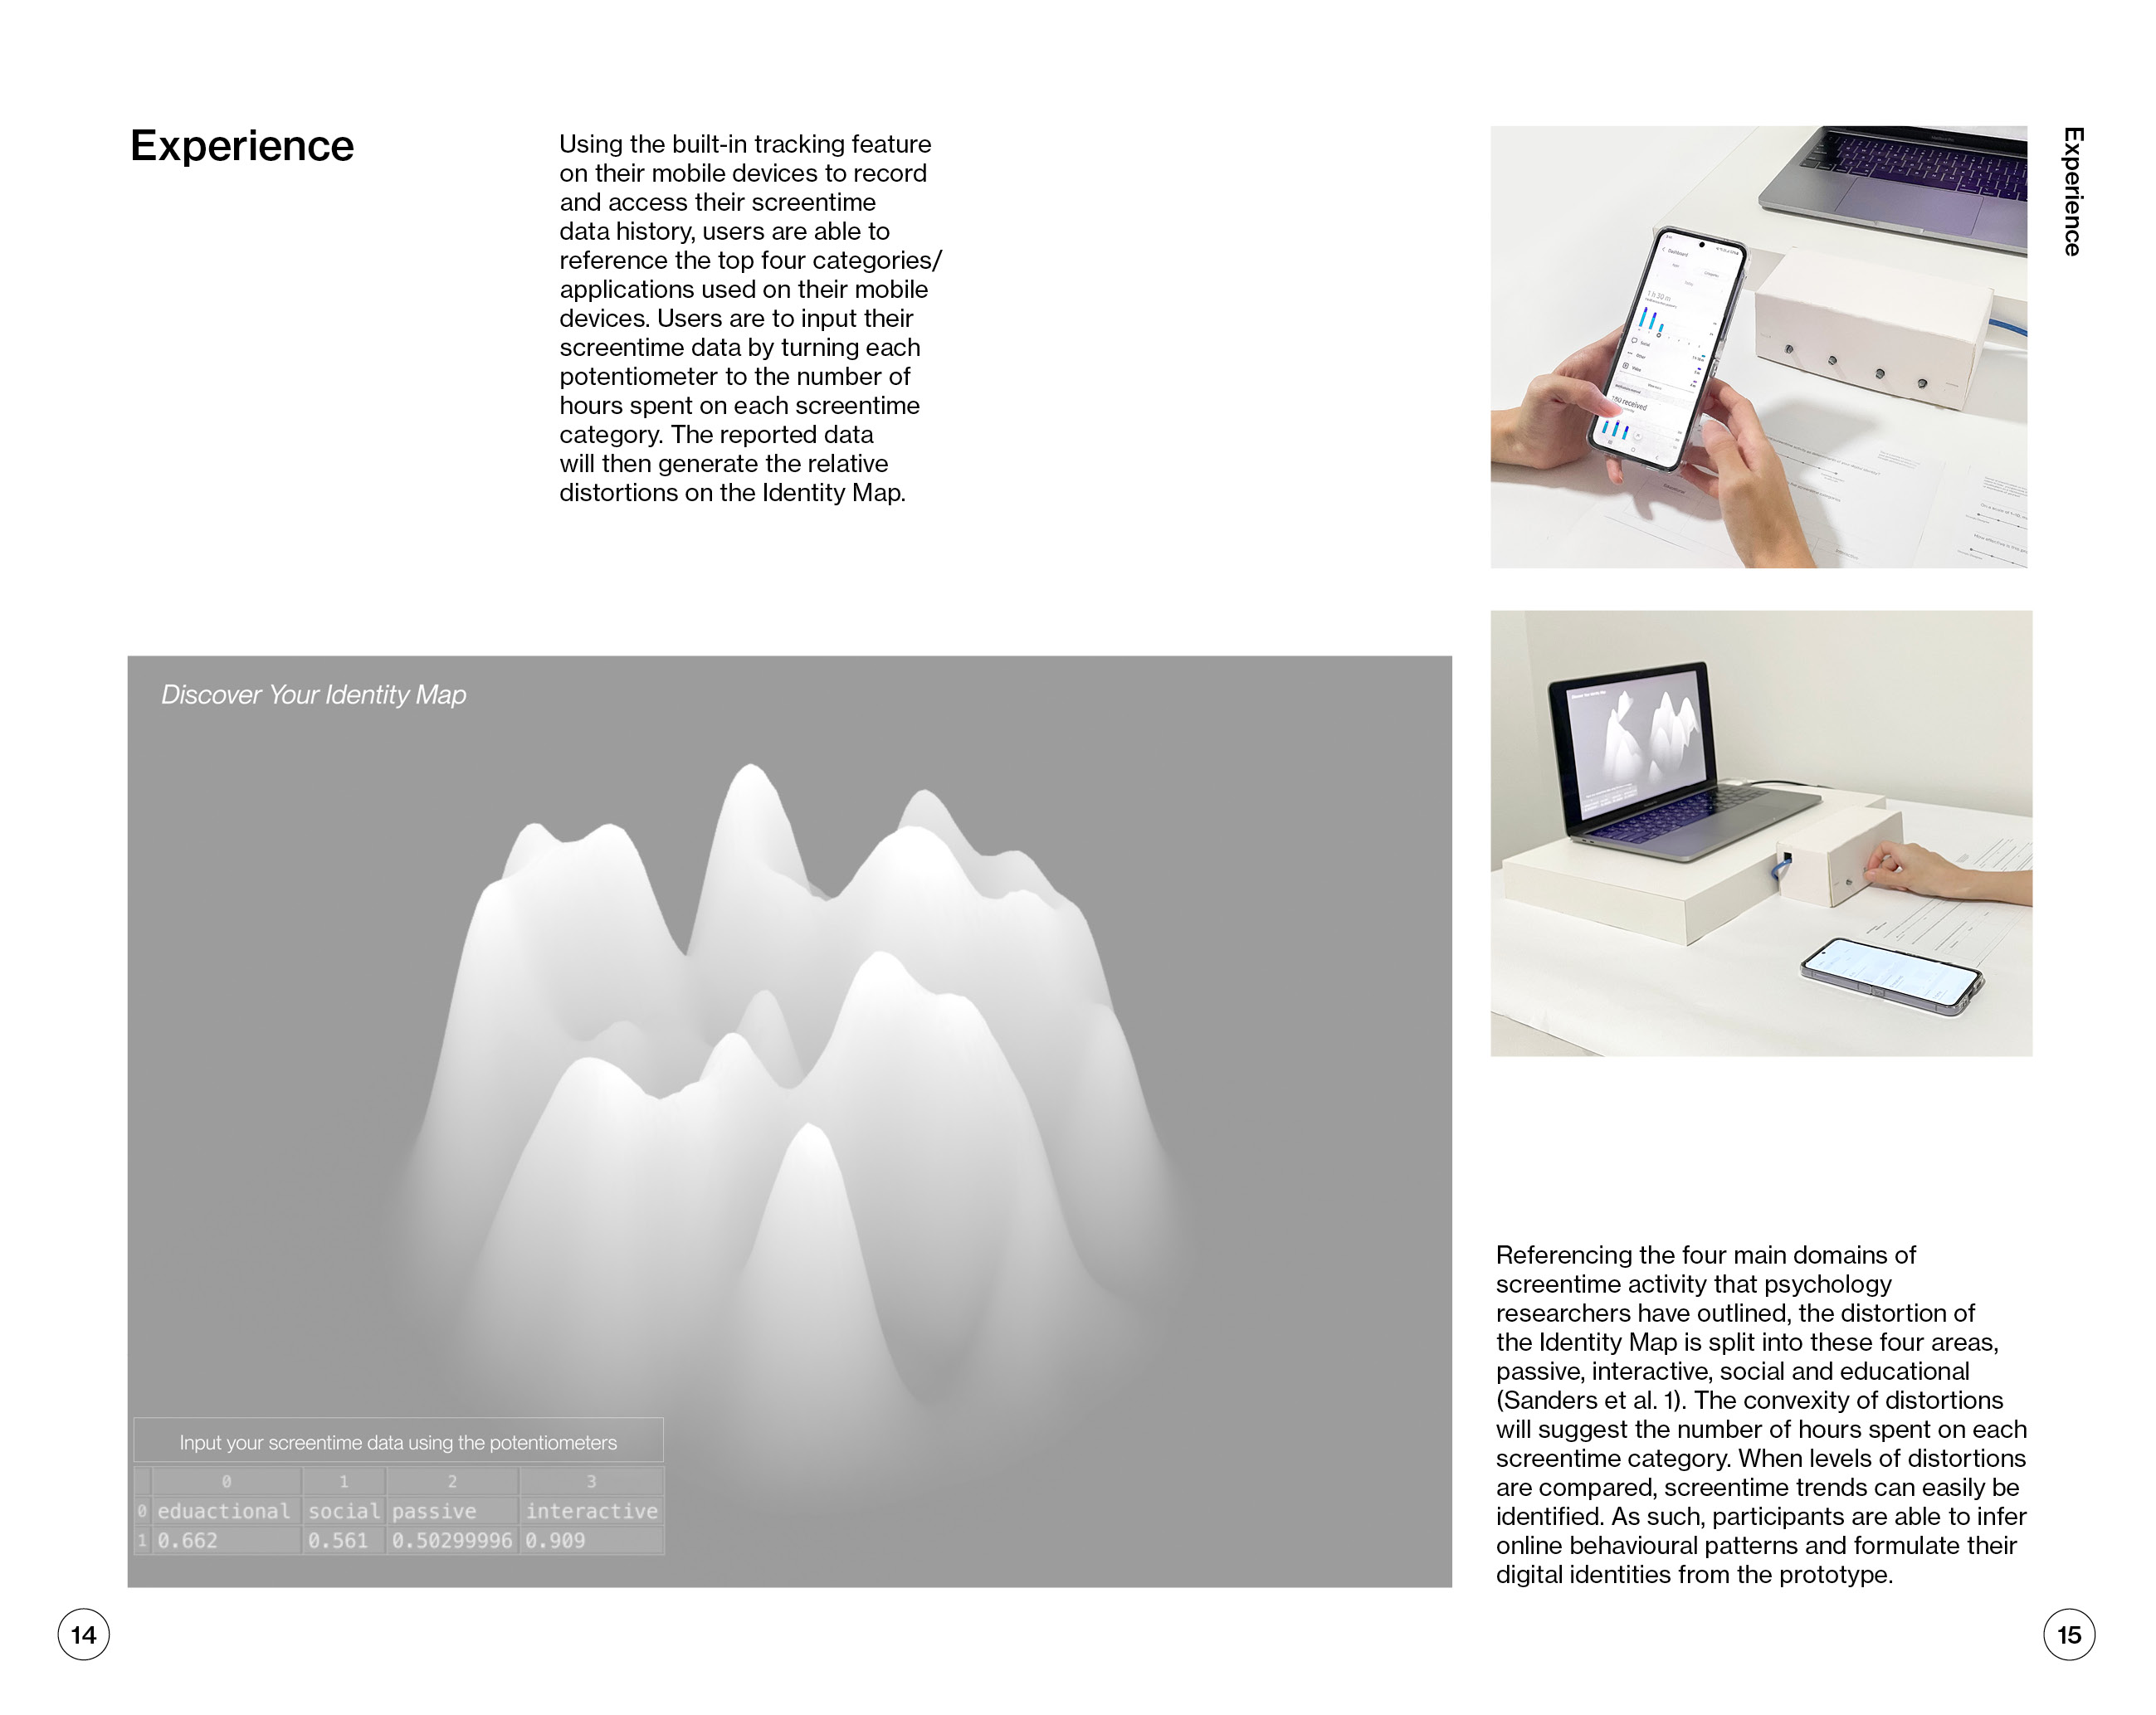
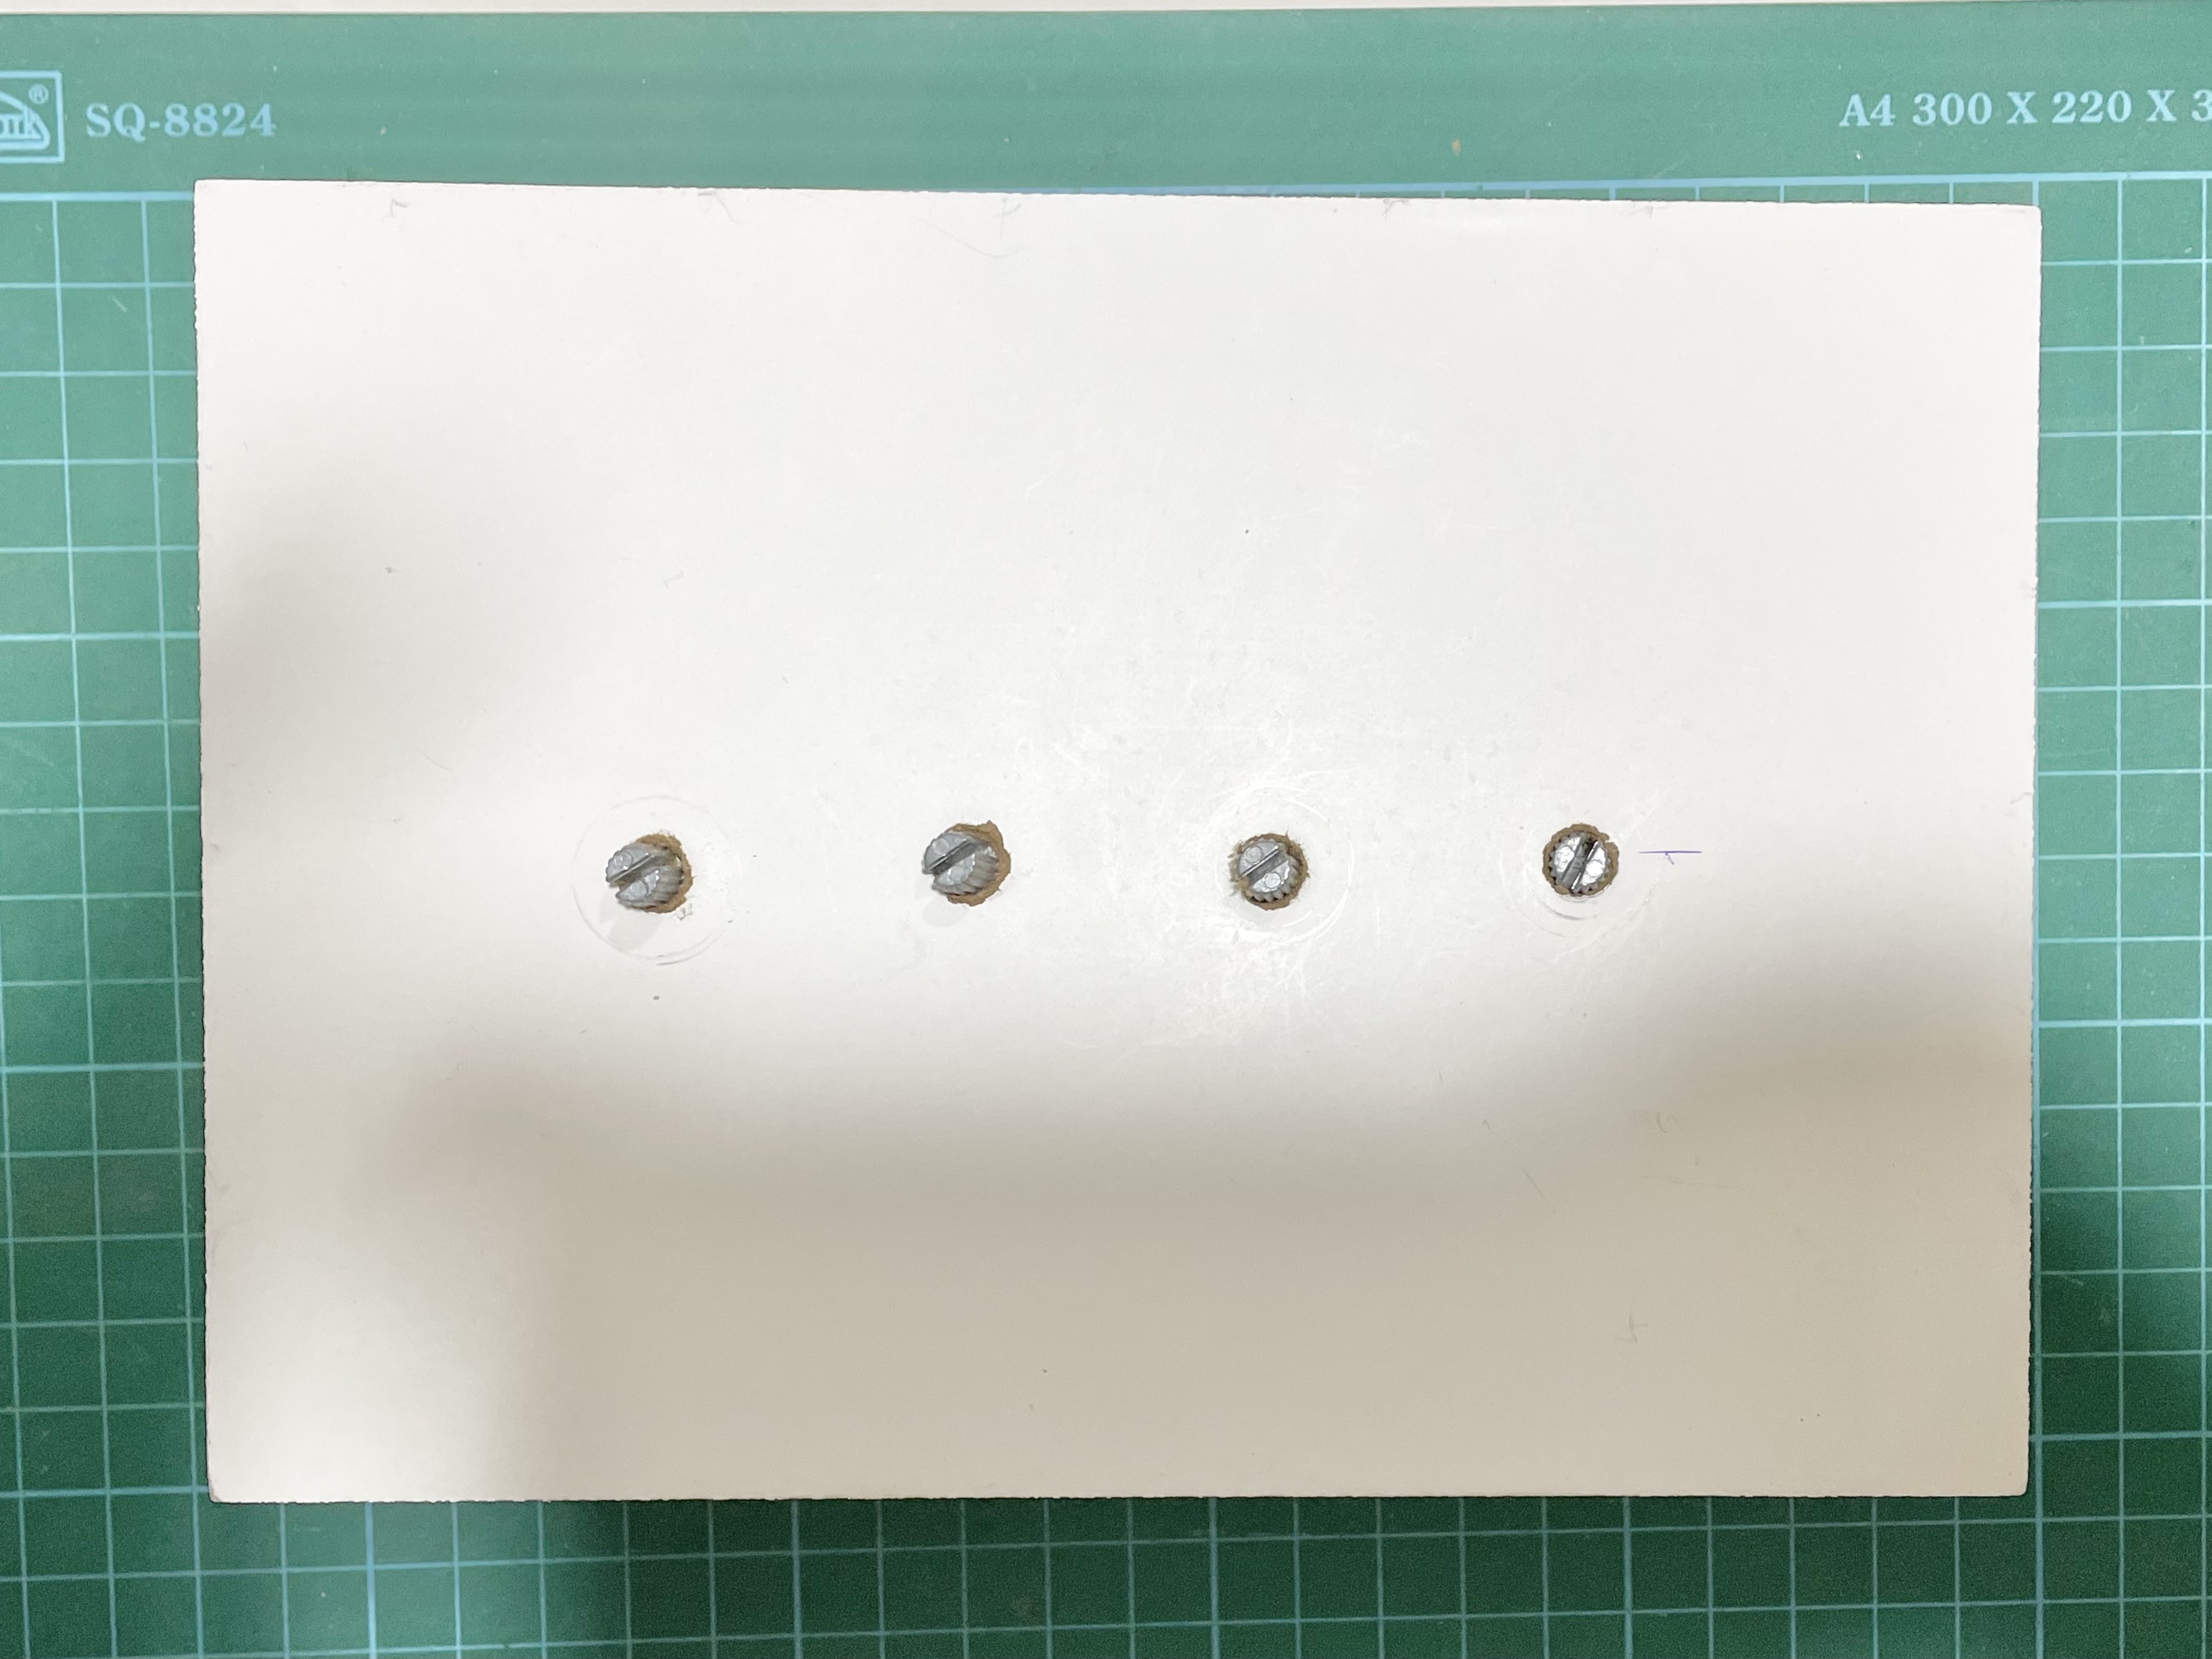
Using the gesso board as a casing to package and conceal the Arduino board + potentiometers, I needed to drill four holes on the surface of the gesso board for users to access the potentiometers. To do so, I got some help in the drilling portion, later on I used a larger screw to expand the holes by hand to ensure a better and tighter fit for the potentiometers.
I also purchased four knobs to put over the potentiometer handles as the original ones are too small and difficult for users to turn. One of the knobs was looser than the others, this may be because the knob itself is slightly bigger or that the drilled hole is too wide, which causes the knob and potentiometer to fall off frequently. I might use some bluetack or tape to hold it in place.
3D PRINTING
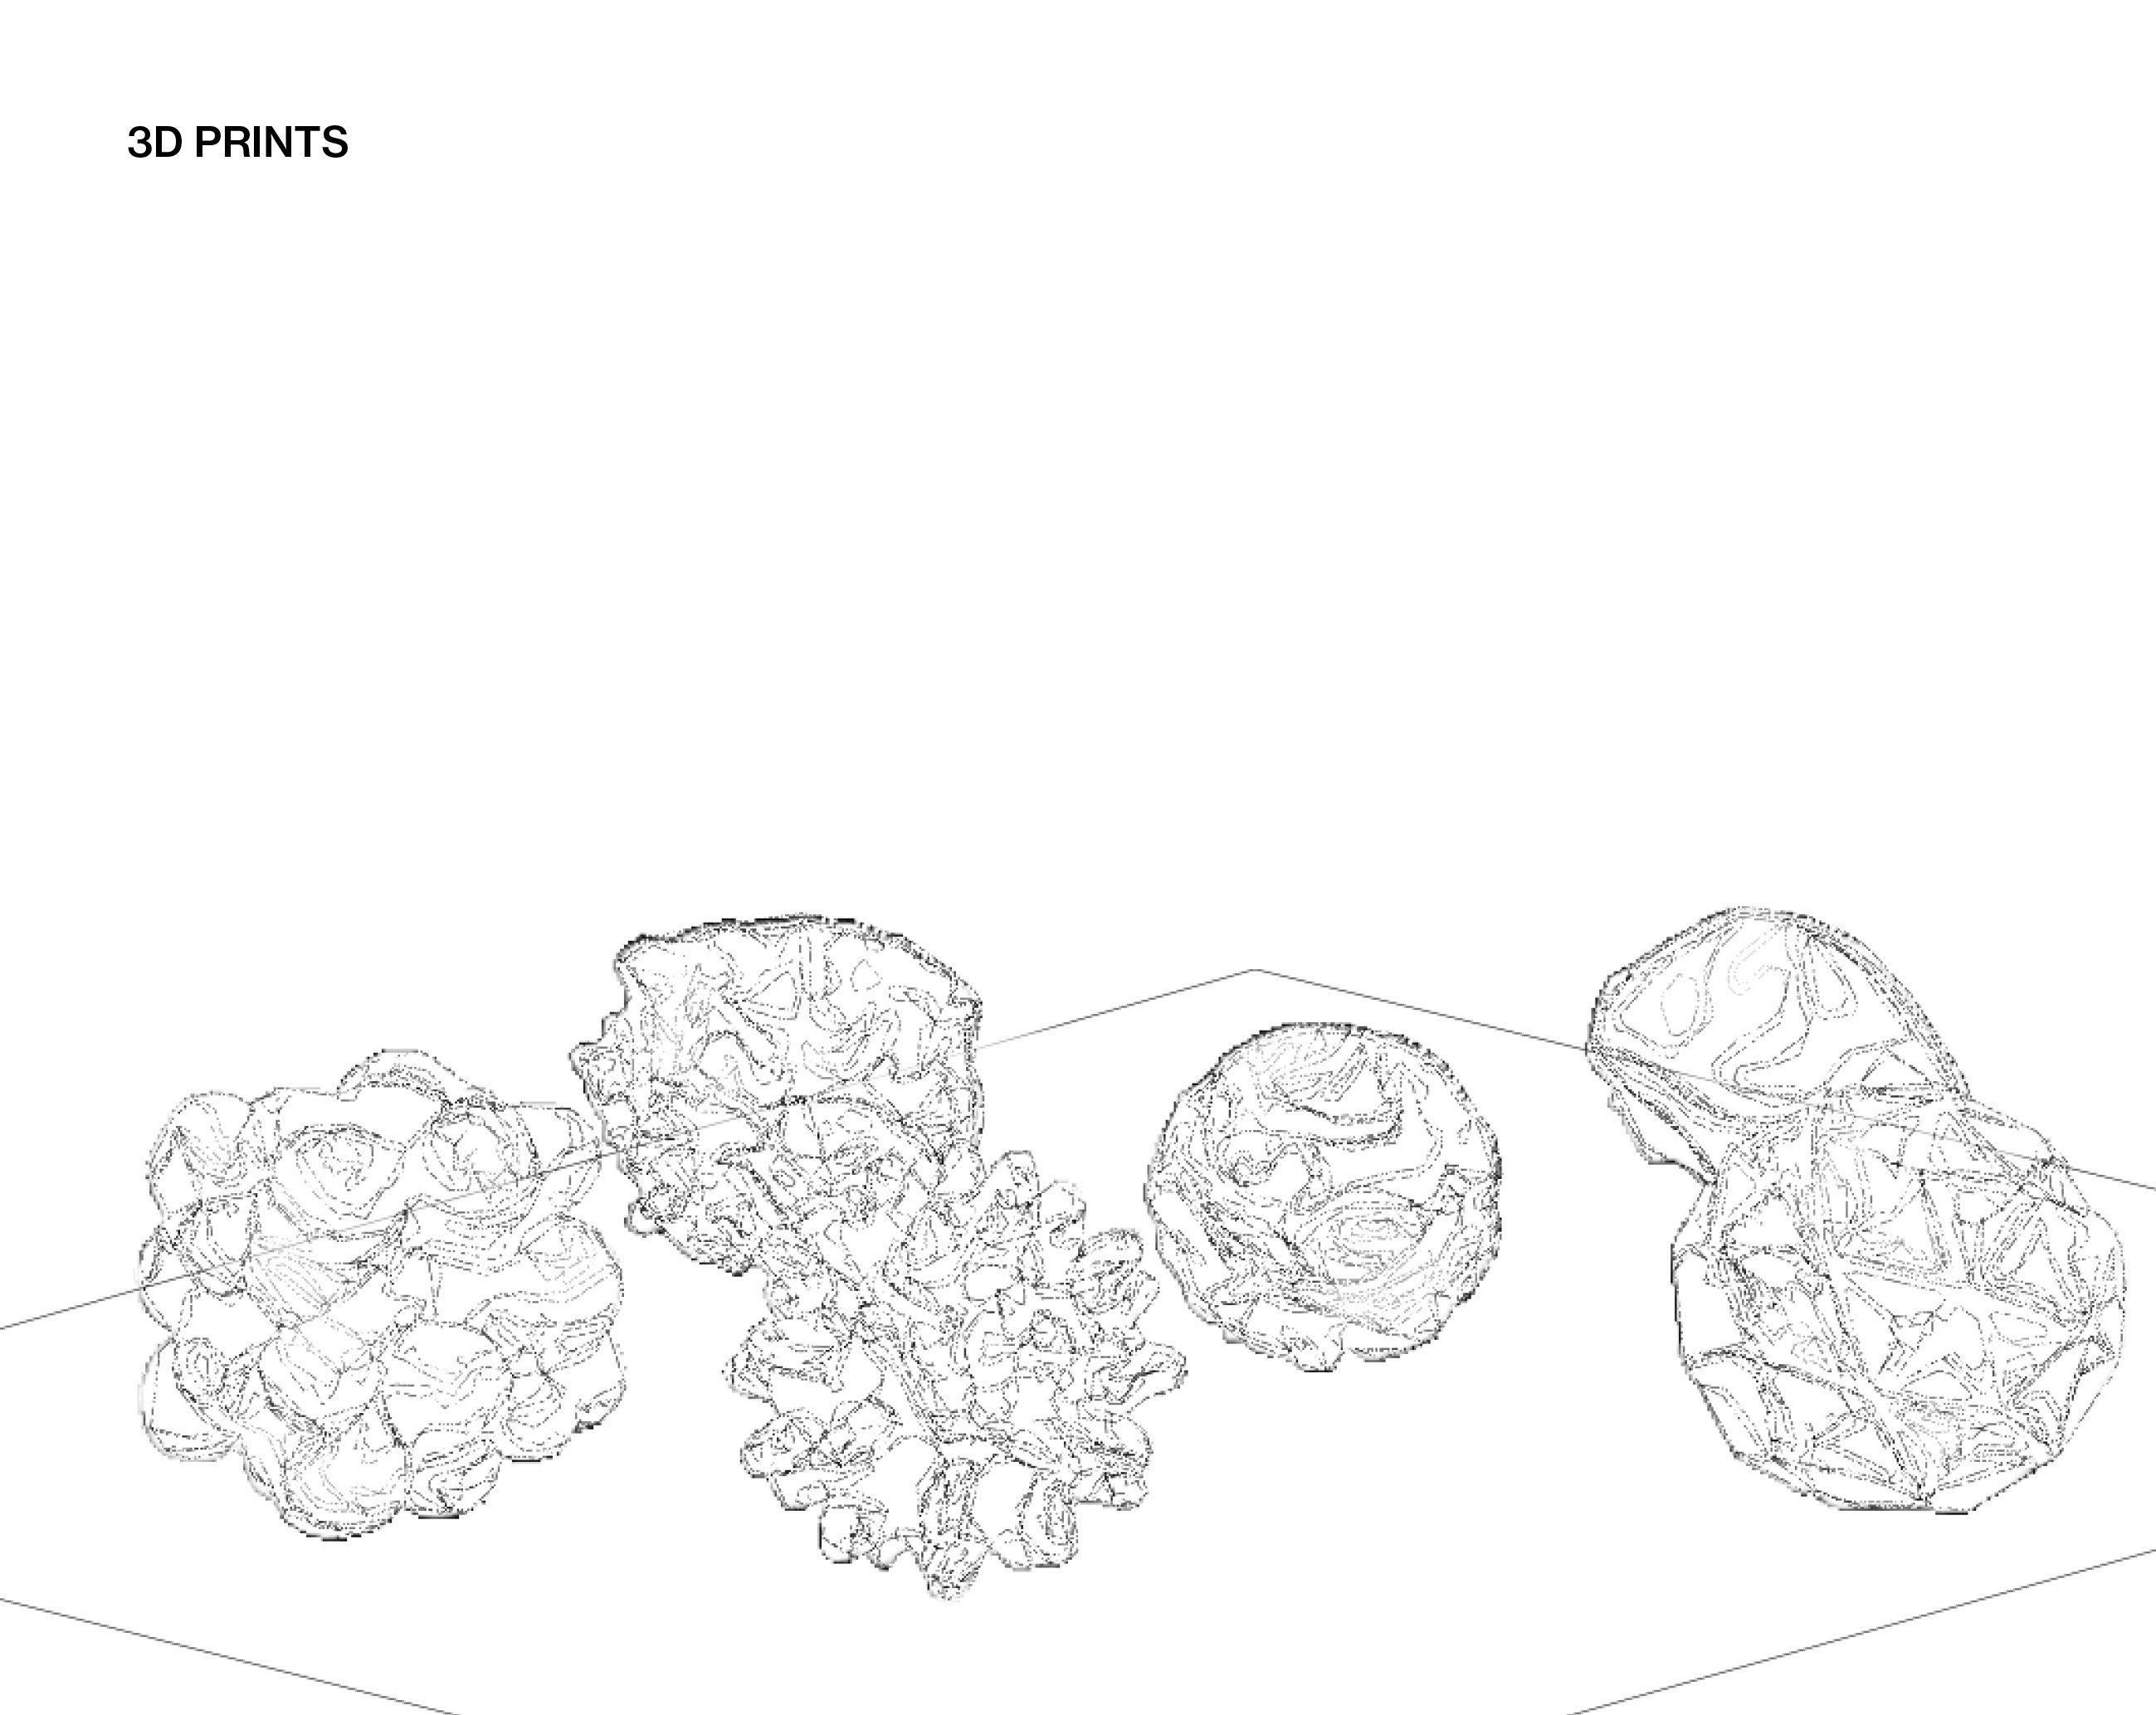
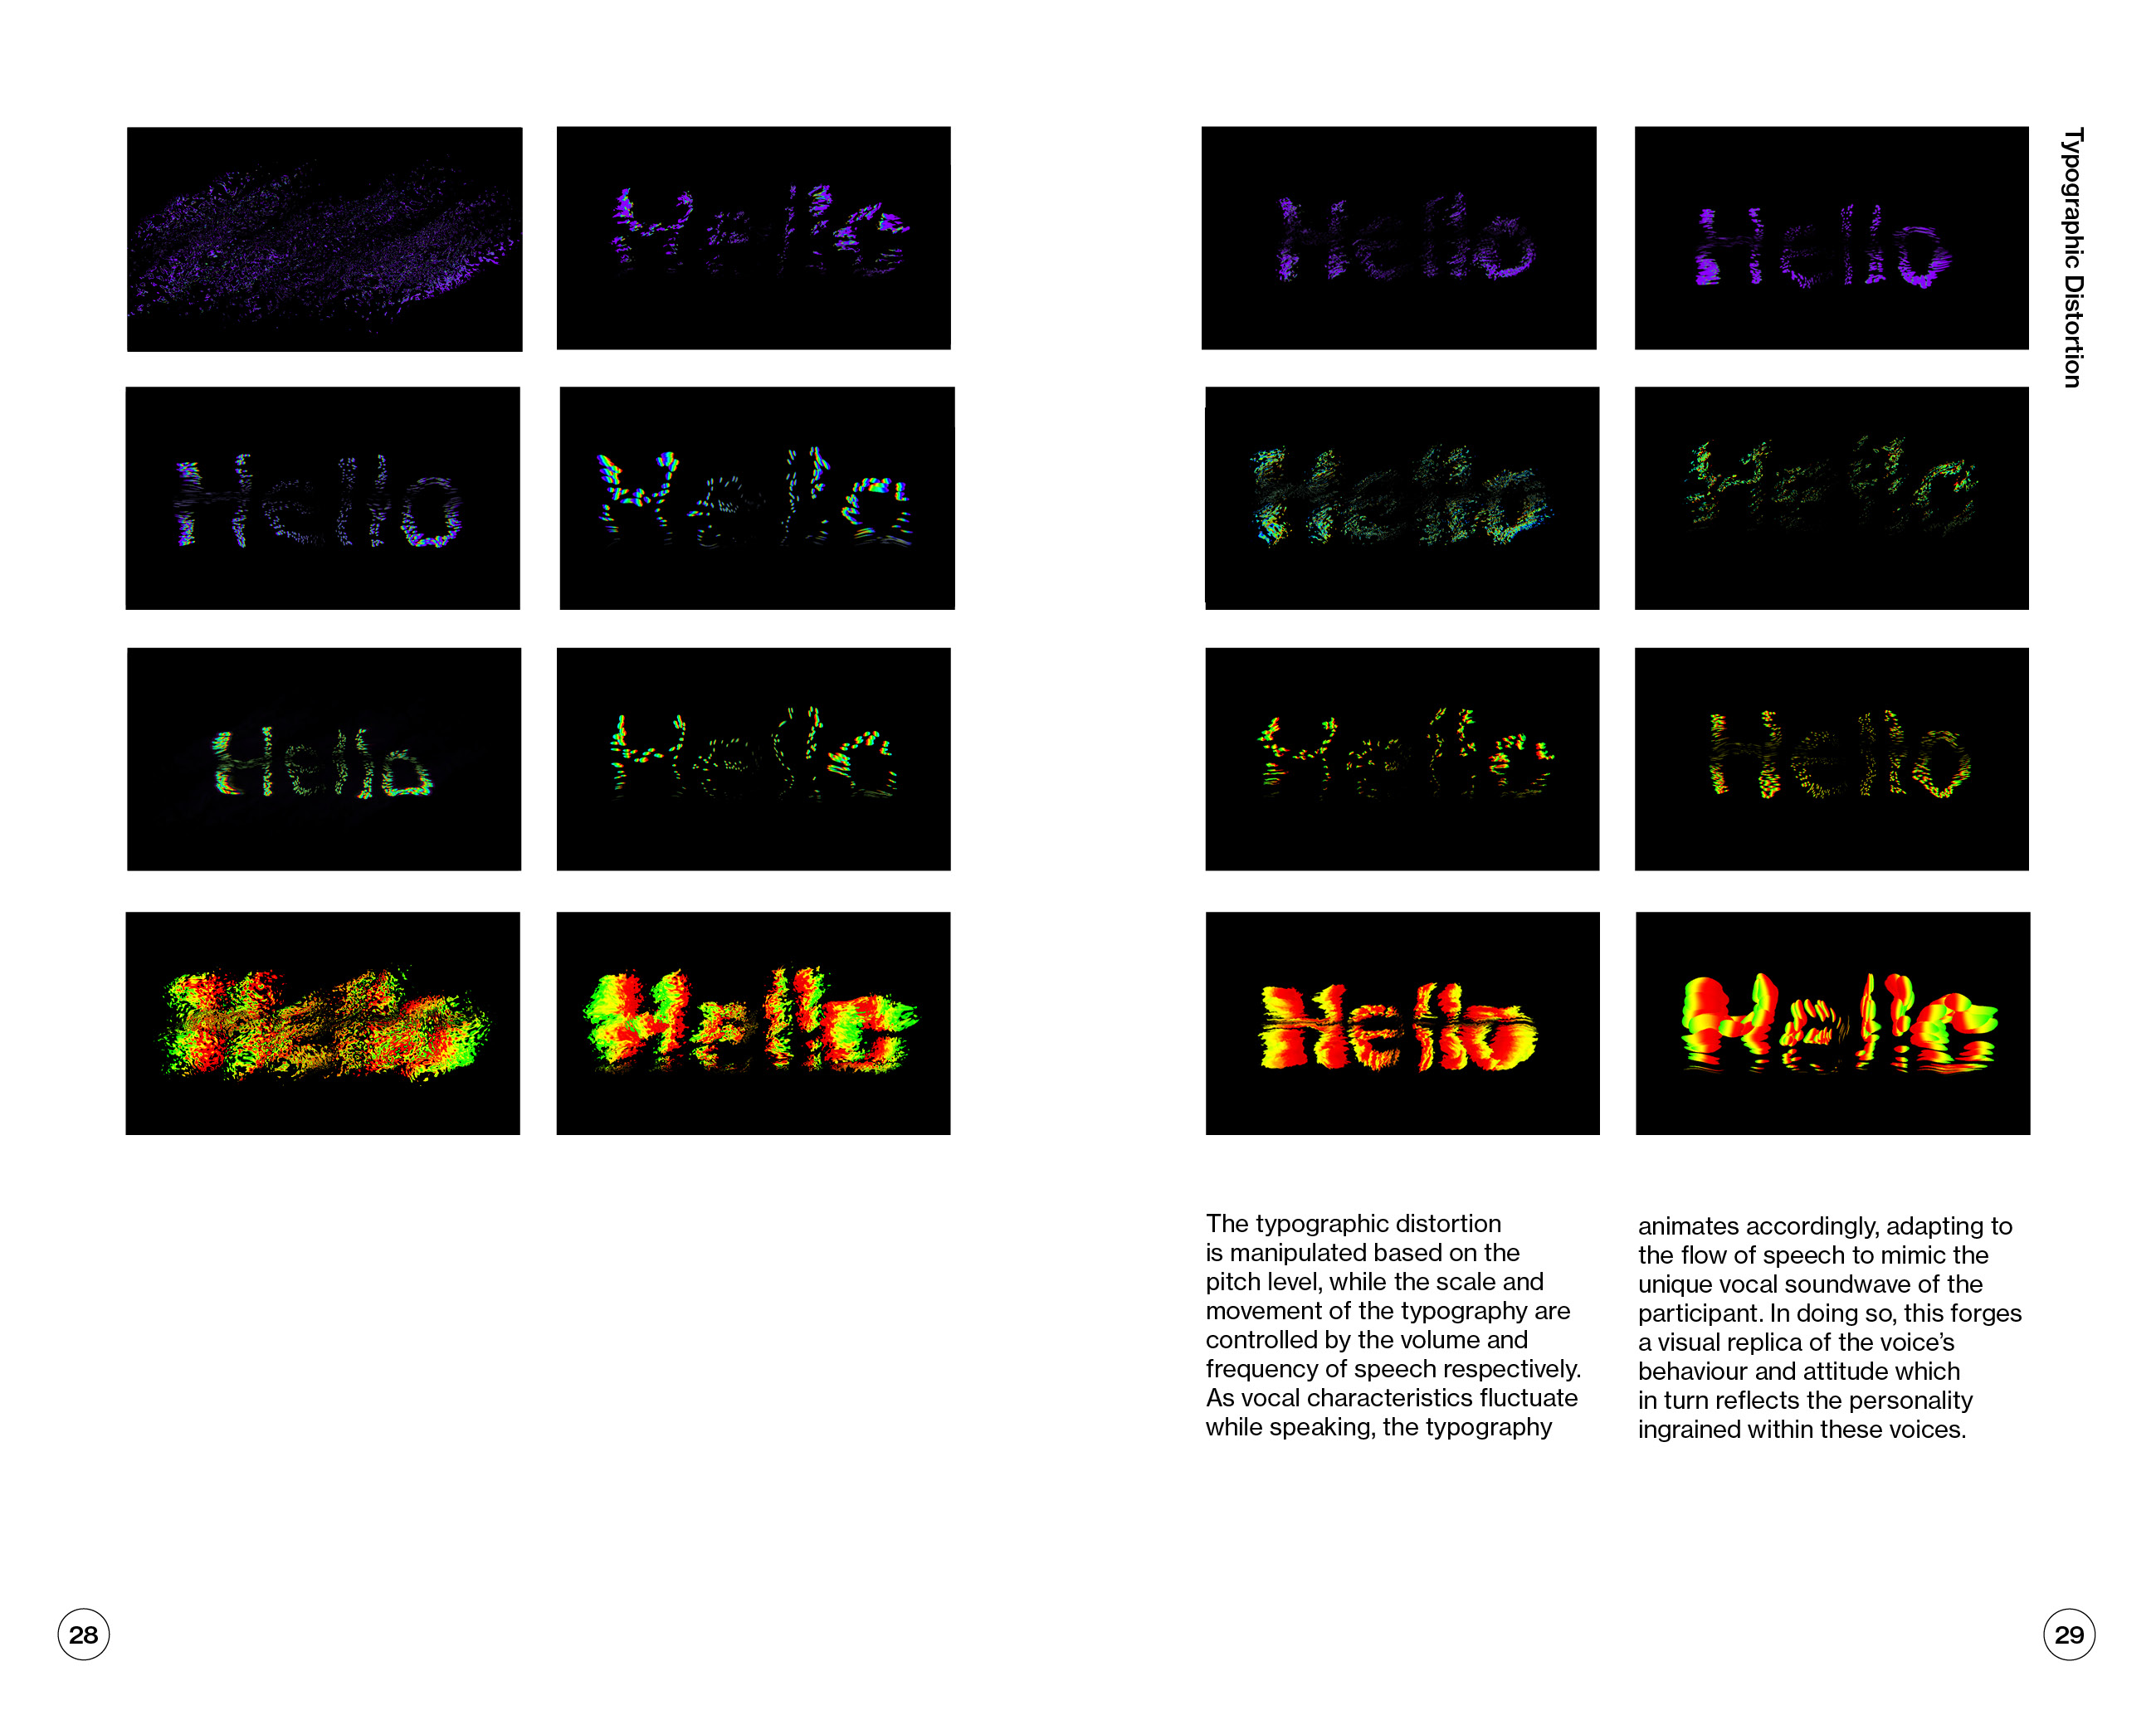
As I didn't manage to print all the new data objects in the previous printing session, I booked another 3D printing session in Jurong this time in hopes of having better printing outcomes there. Unfortunately, the Jurong library only had one printer with white extruder, hence I could only print one design at a time. Despite that, I was able to pick a better printing mats which really helpd to grip the object while printing to prevent any sliding during the print which happened in the Tampines library.
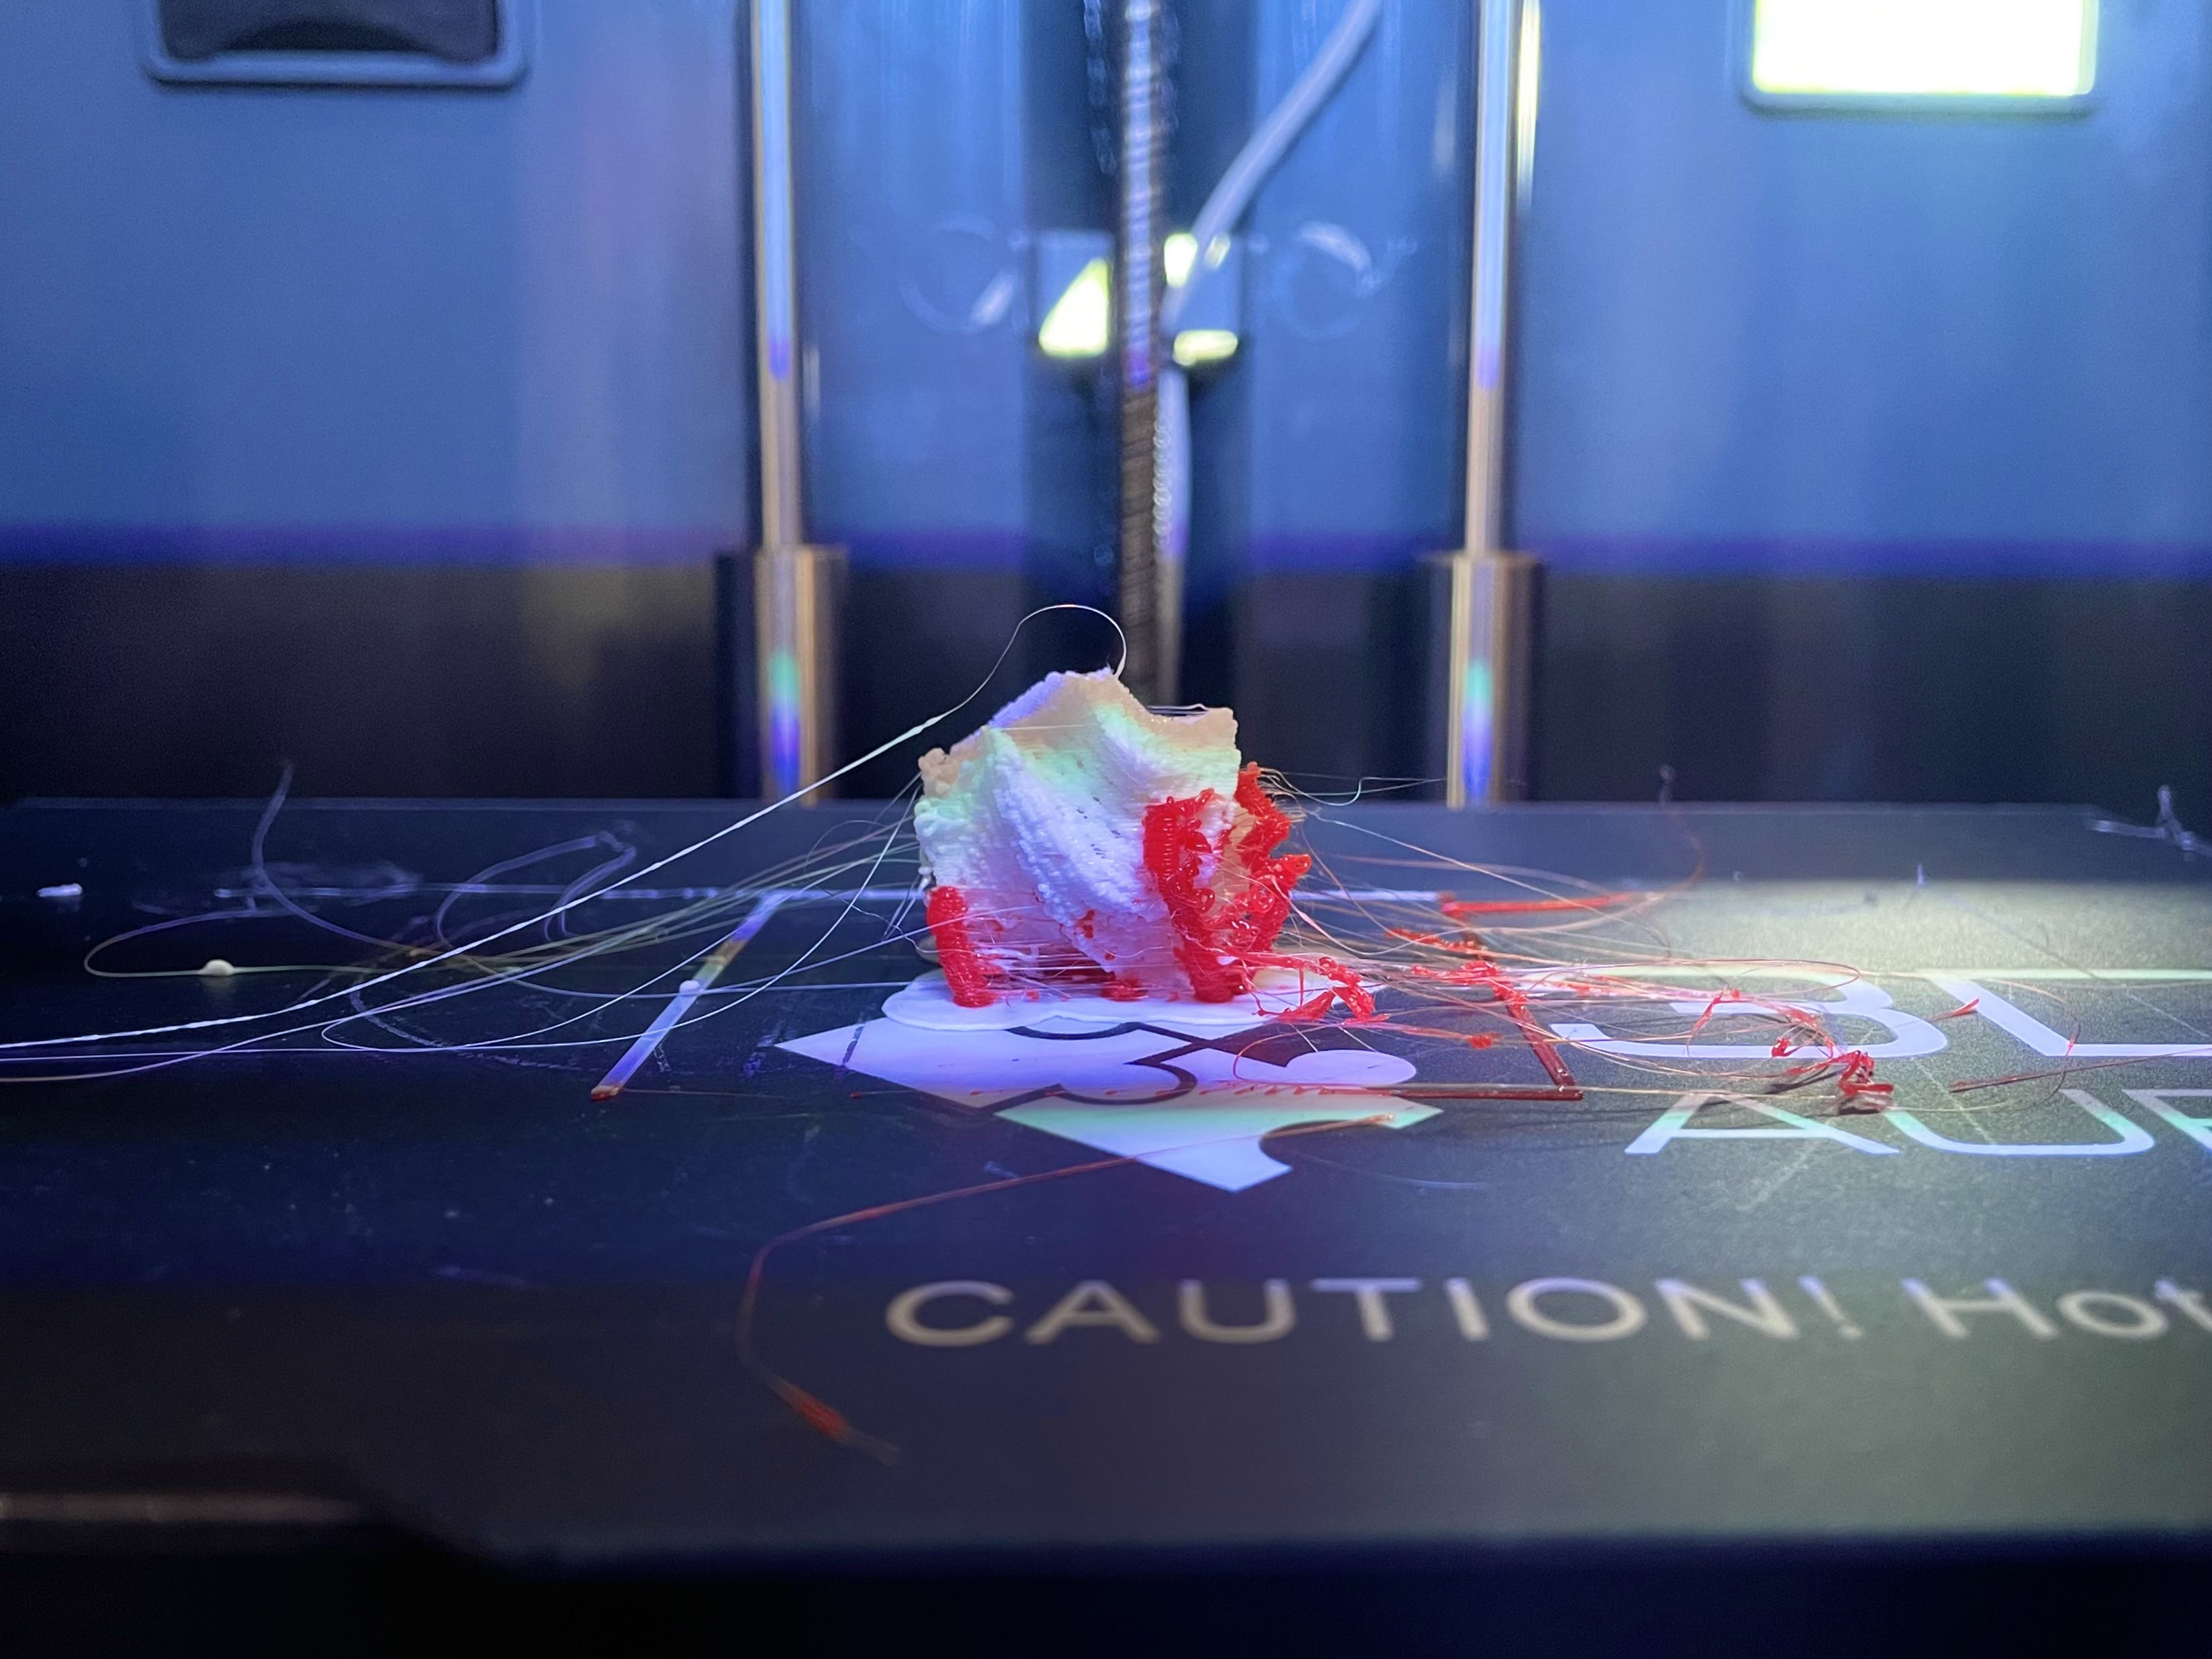
I tried to reprint the incomplete data object #15, this time as a whole but with the use of support beams. However, while printing, I noticed that the support beams are printed in the second extruder's colour which was red. I tried to stop the print and redo my settings to ensure all models are printed with the white extruder, but to no avail.
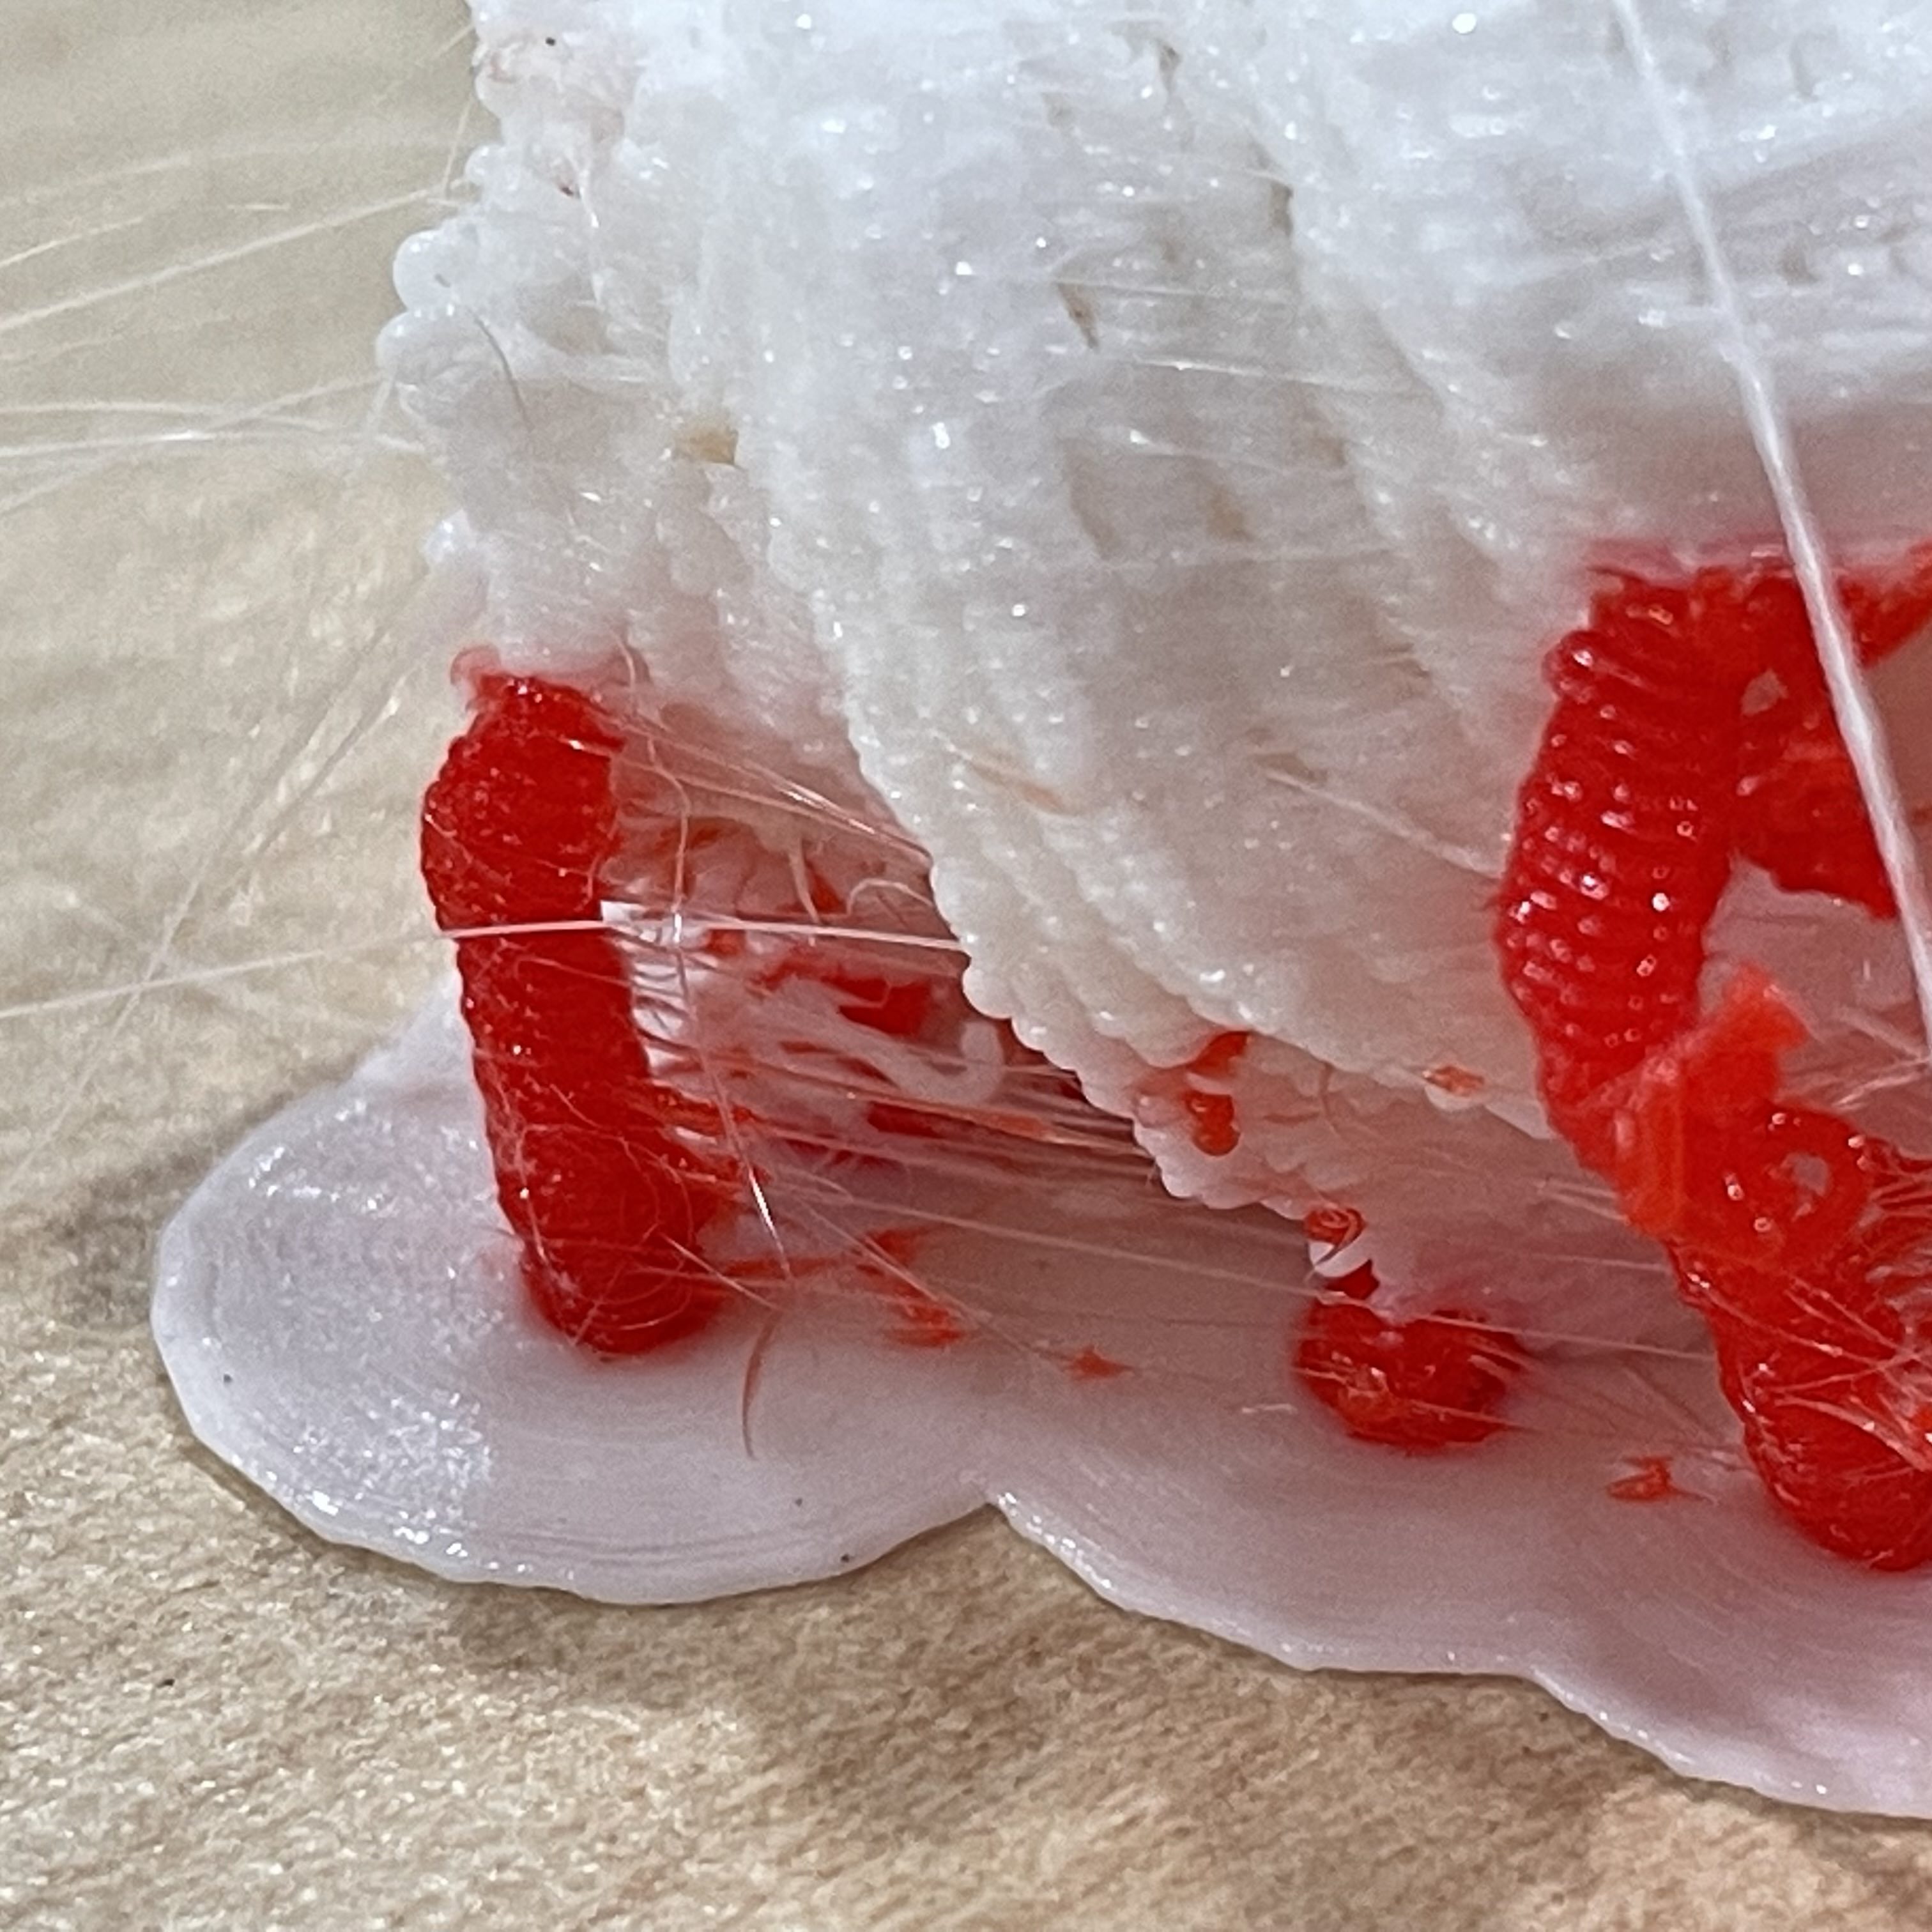
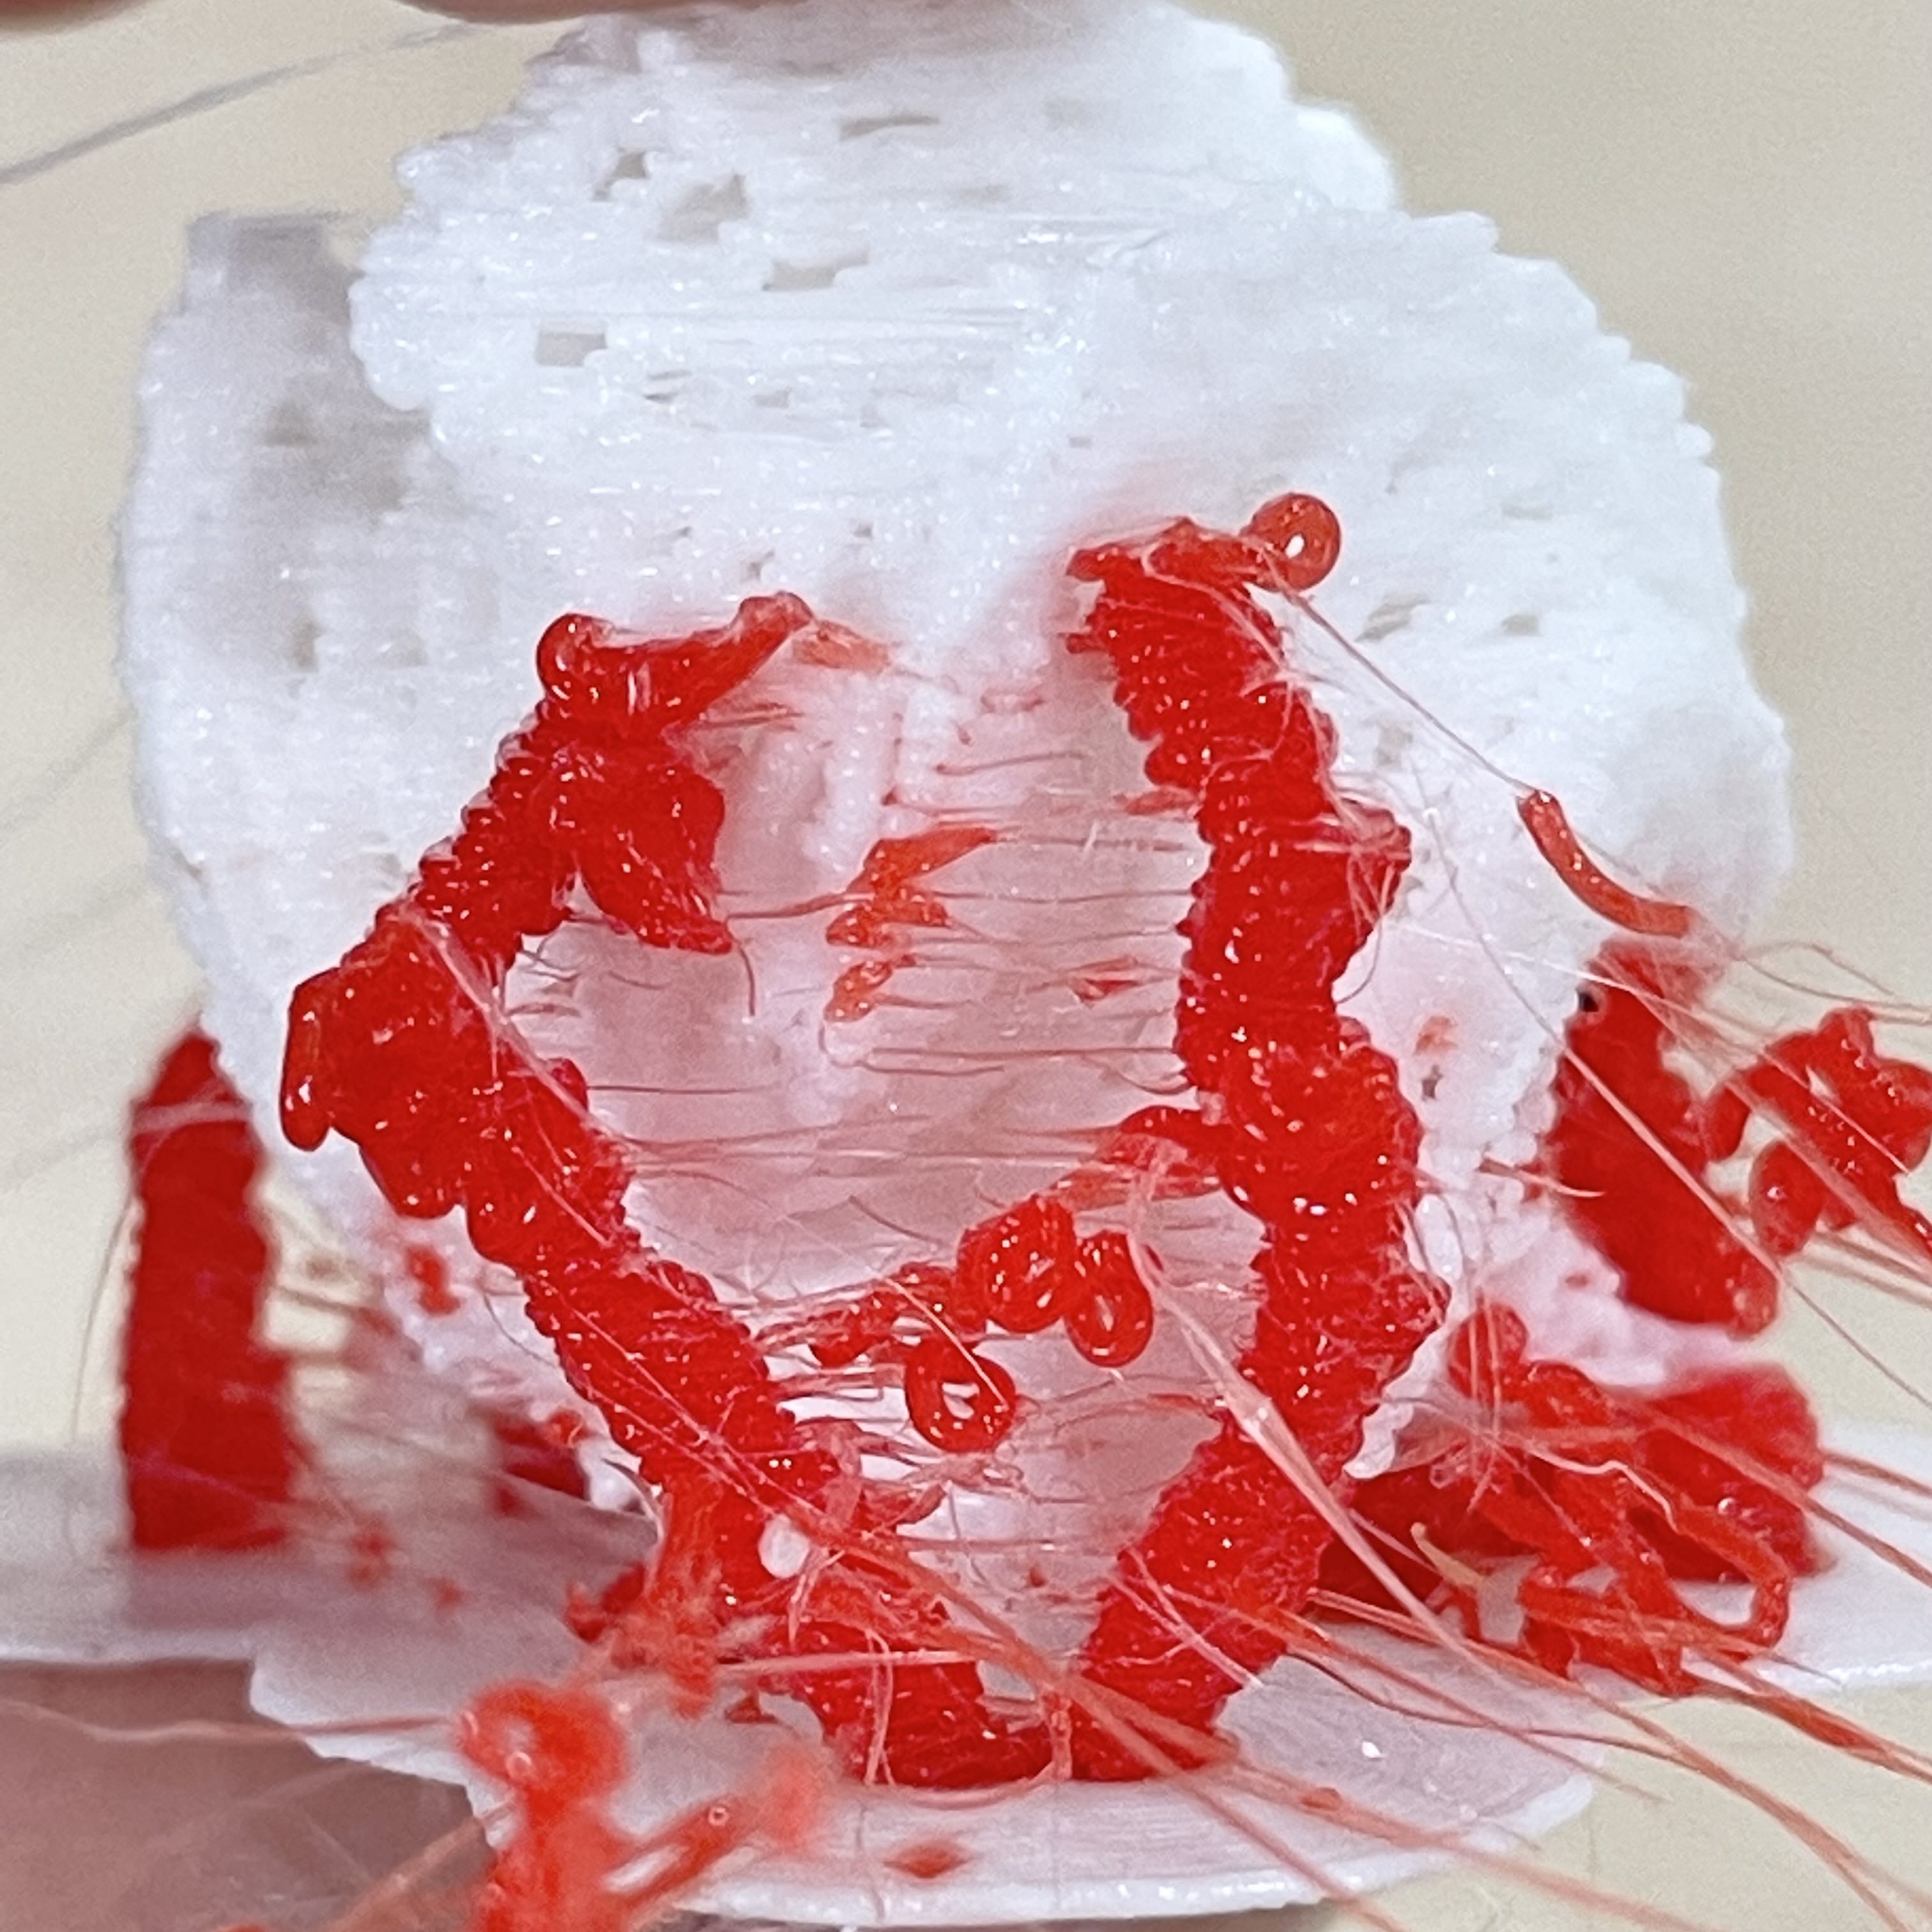
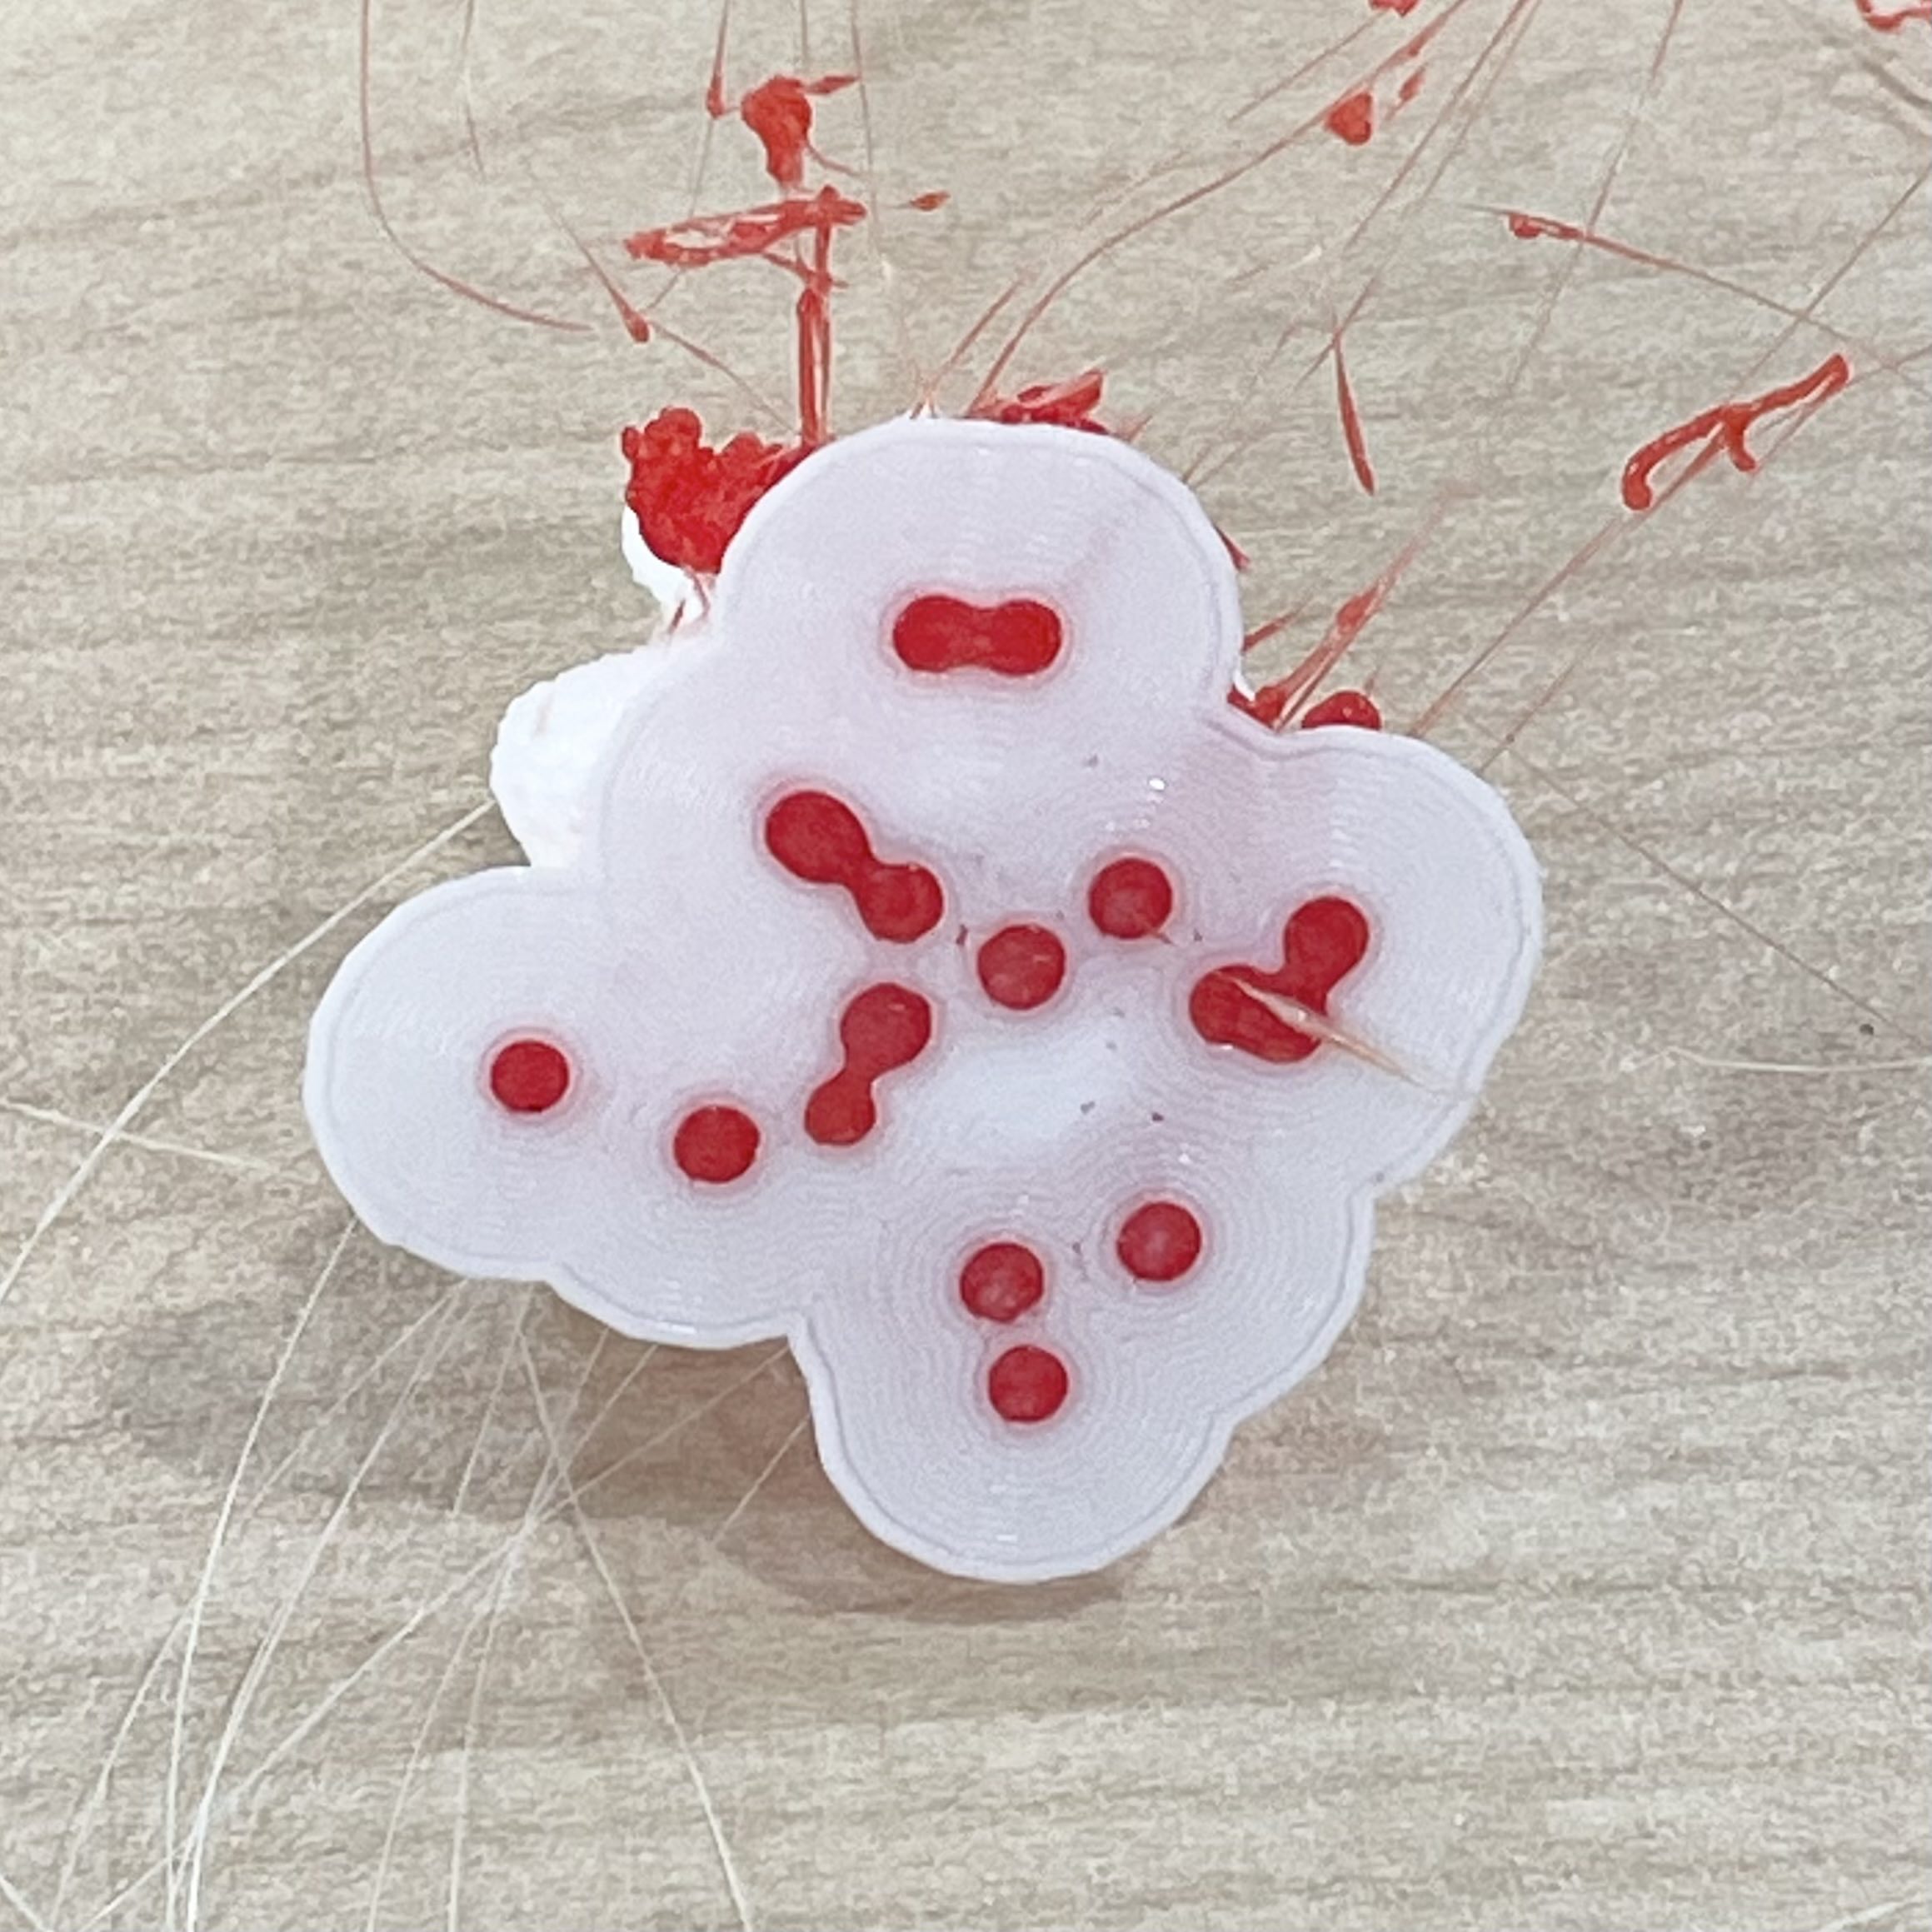
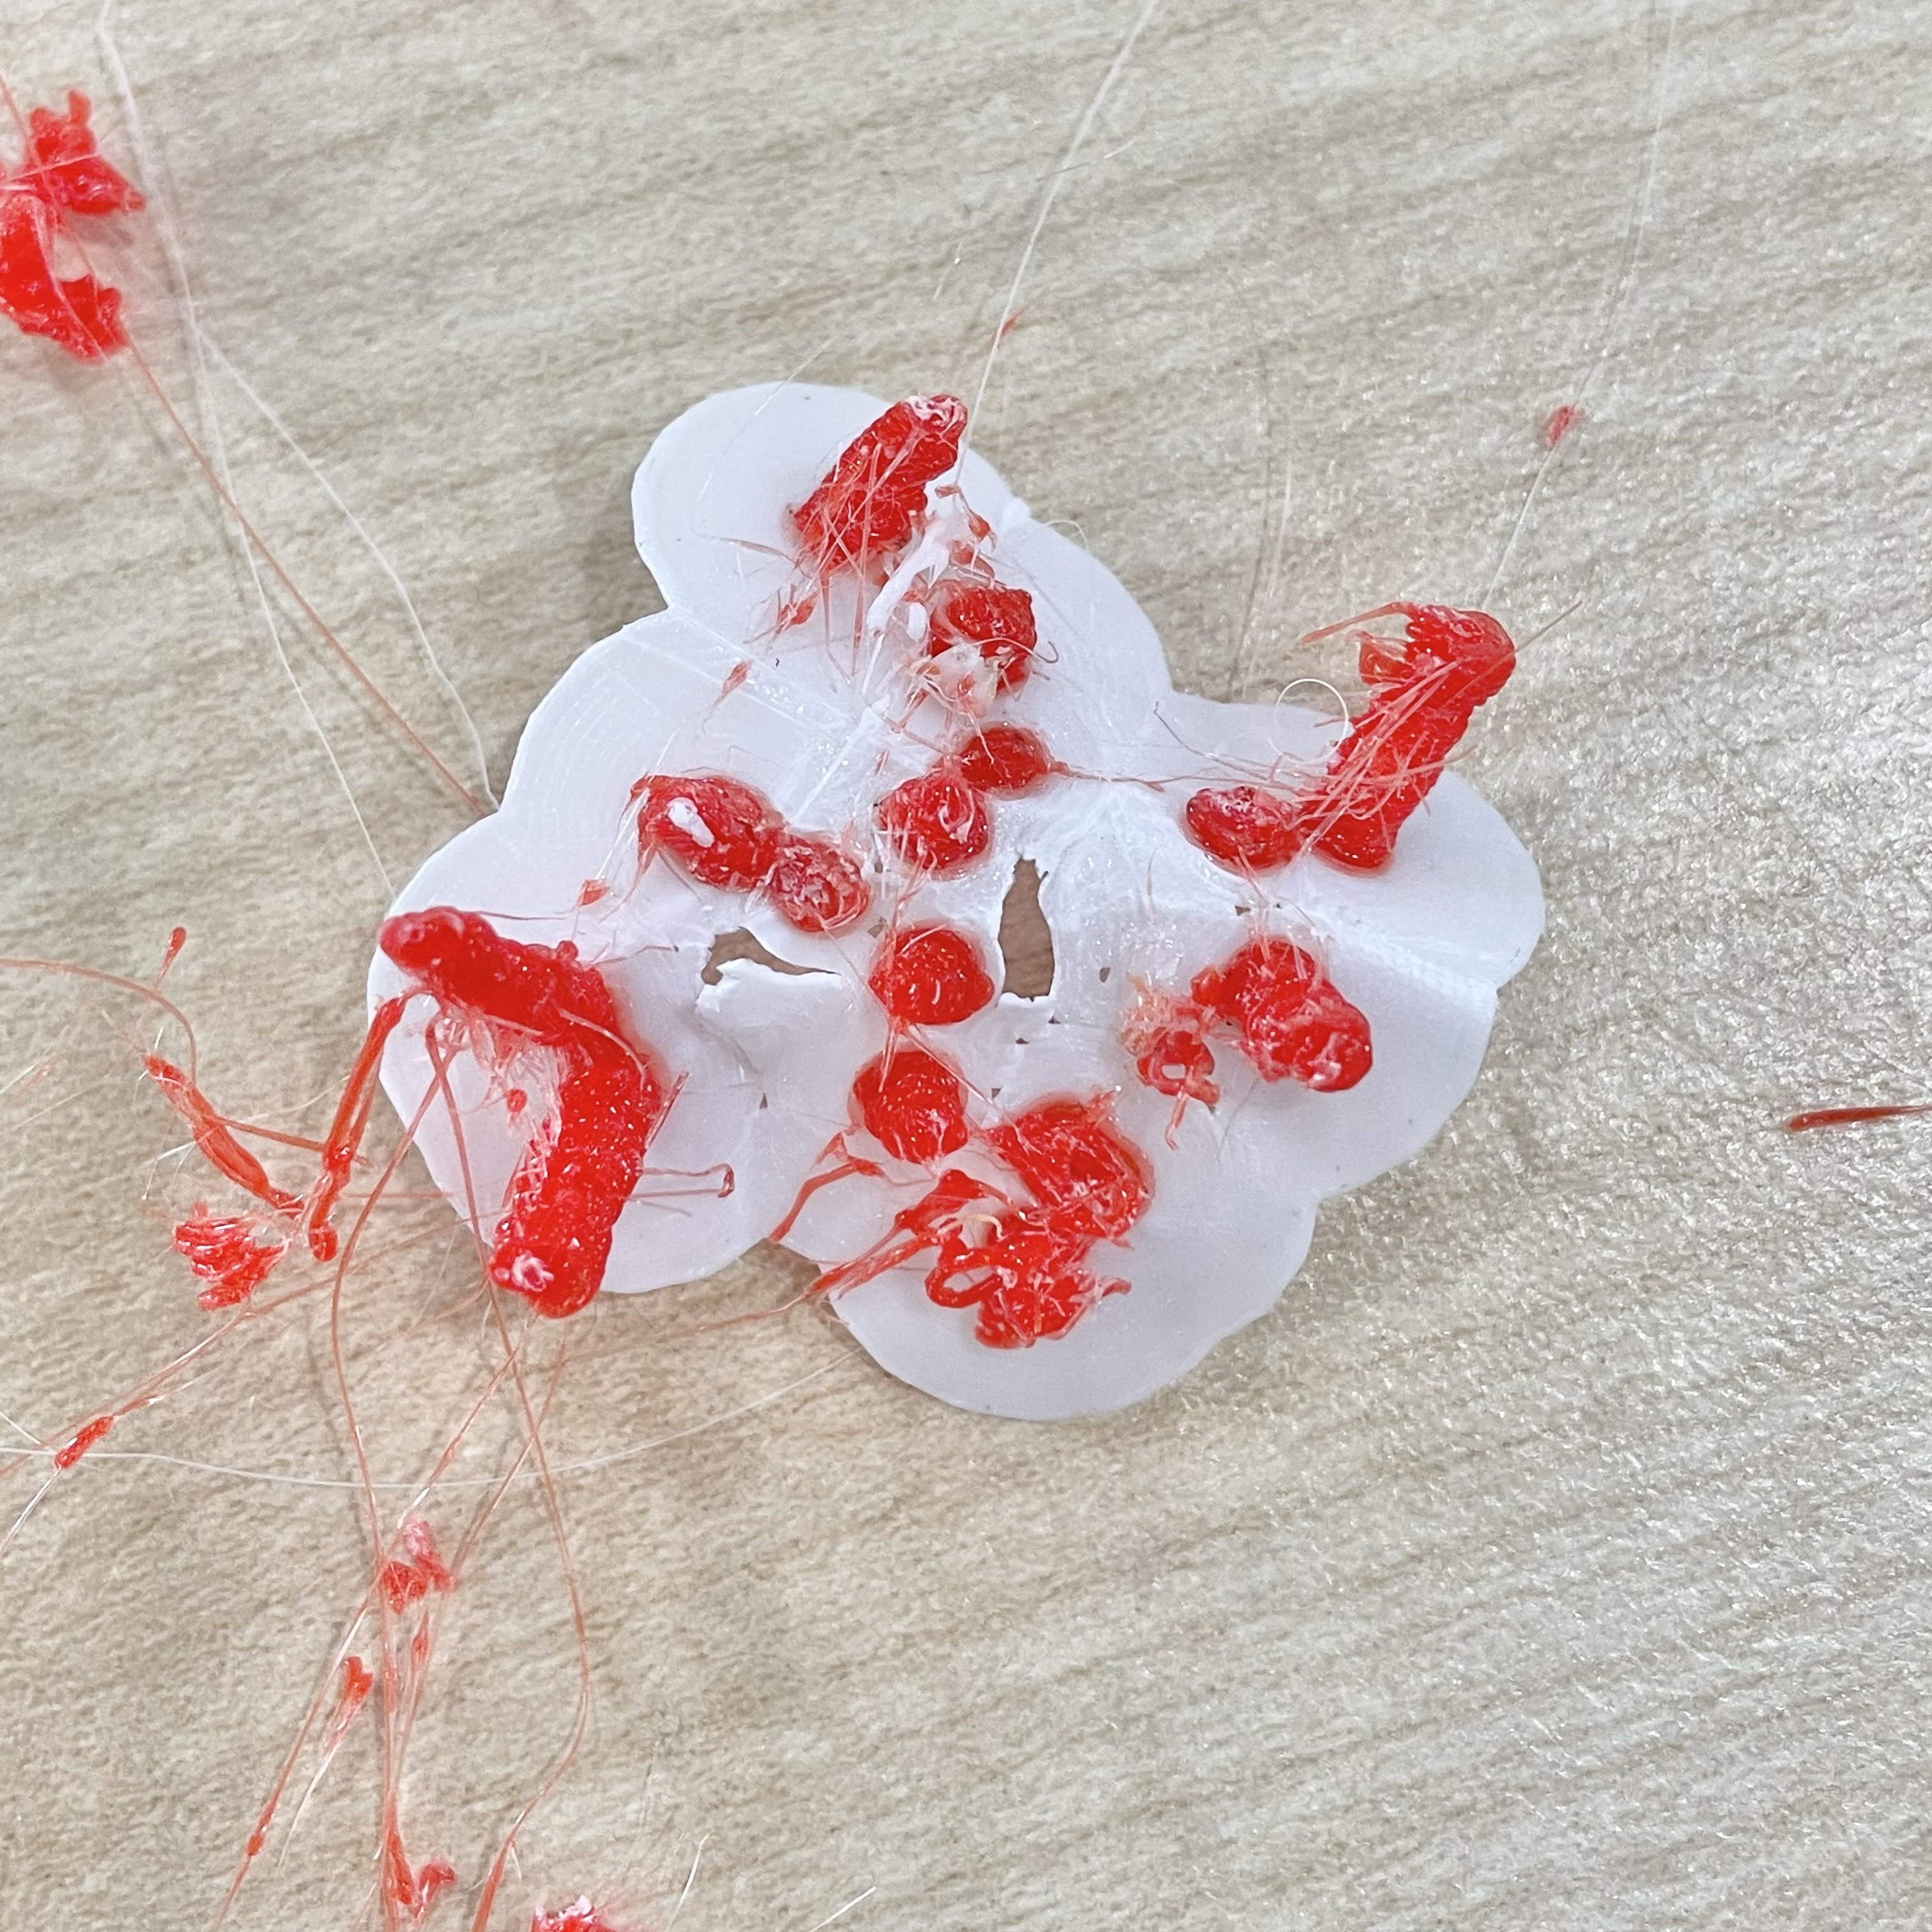
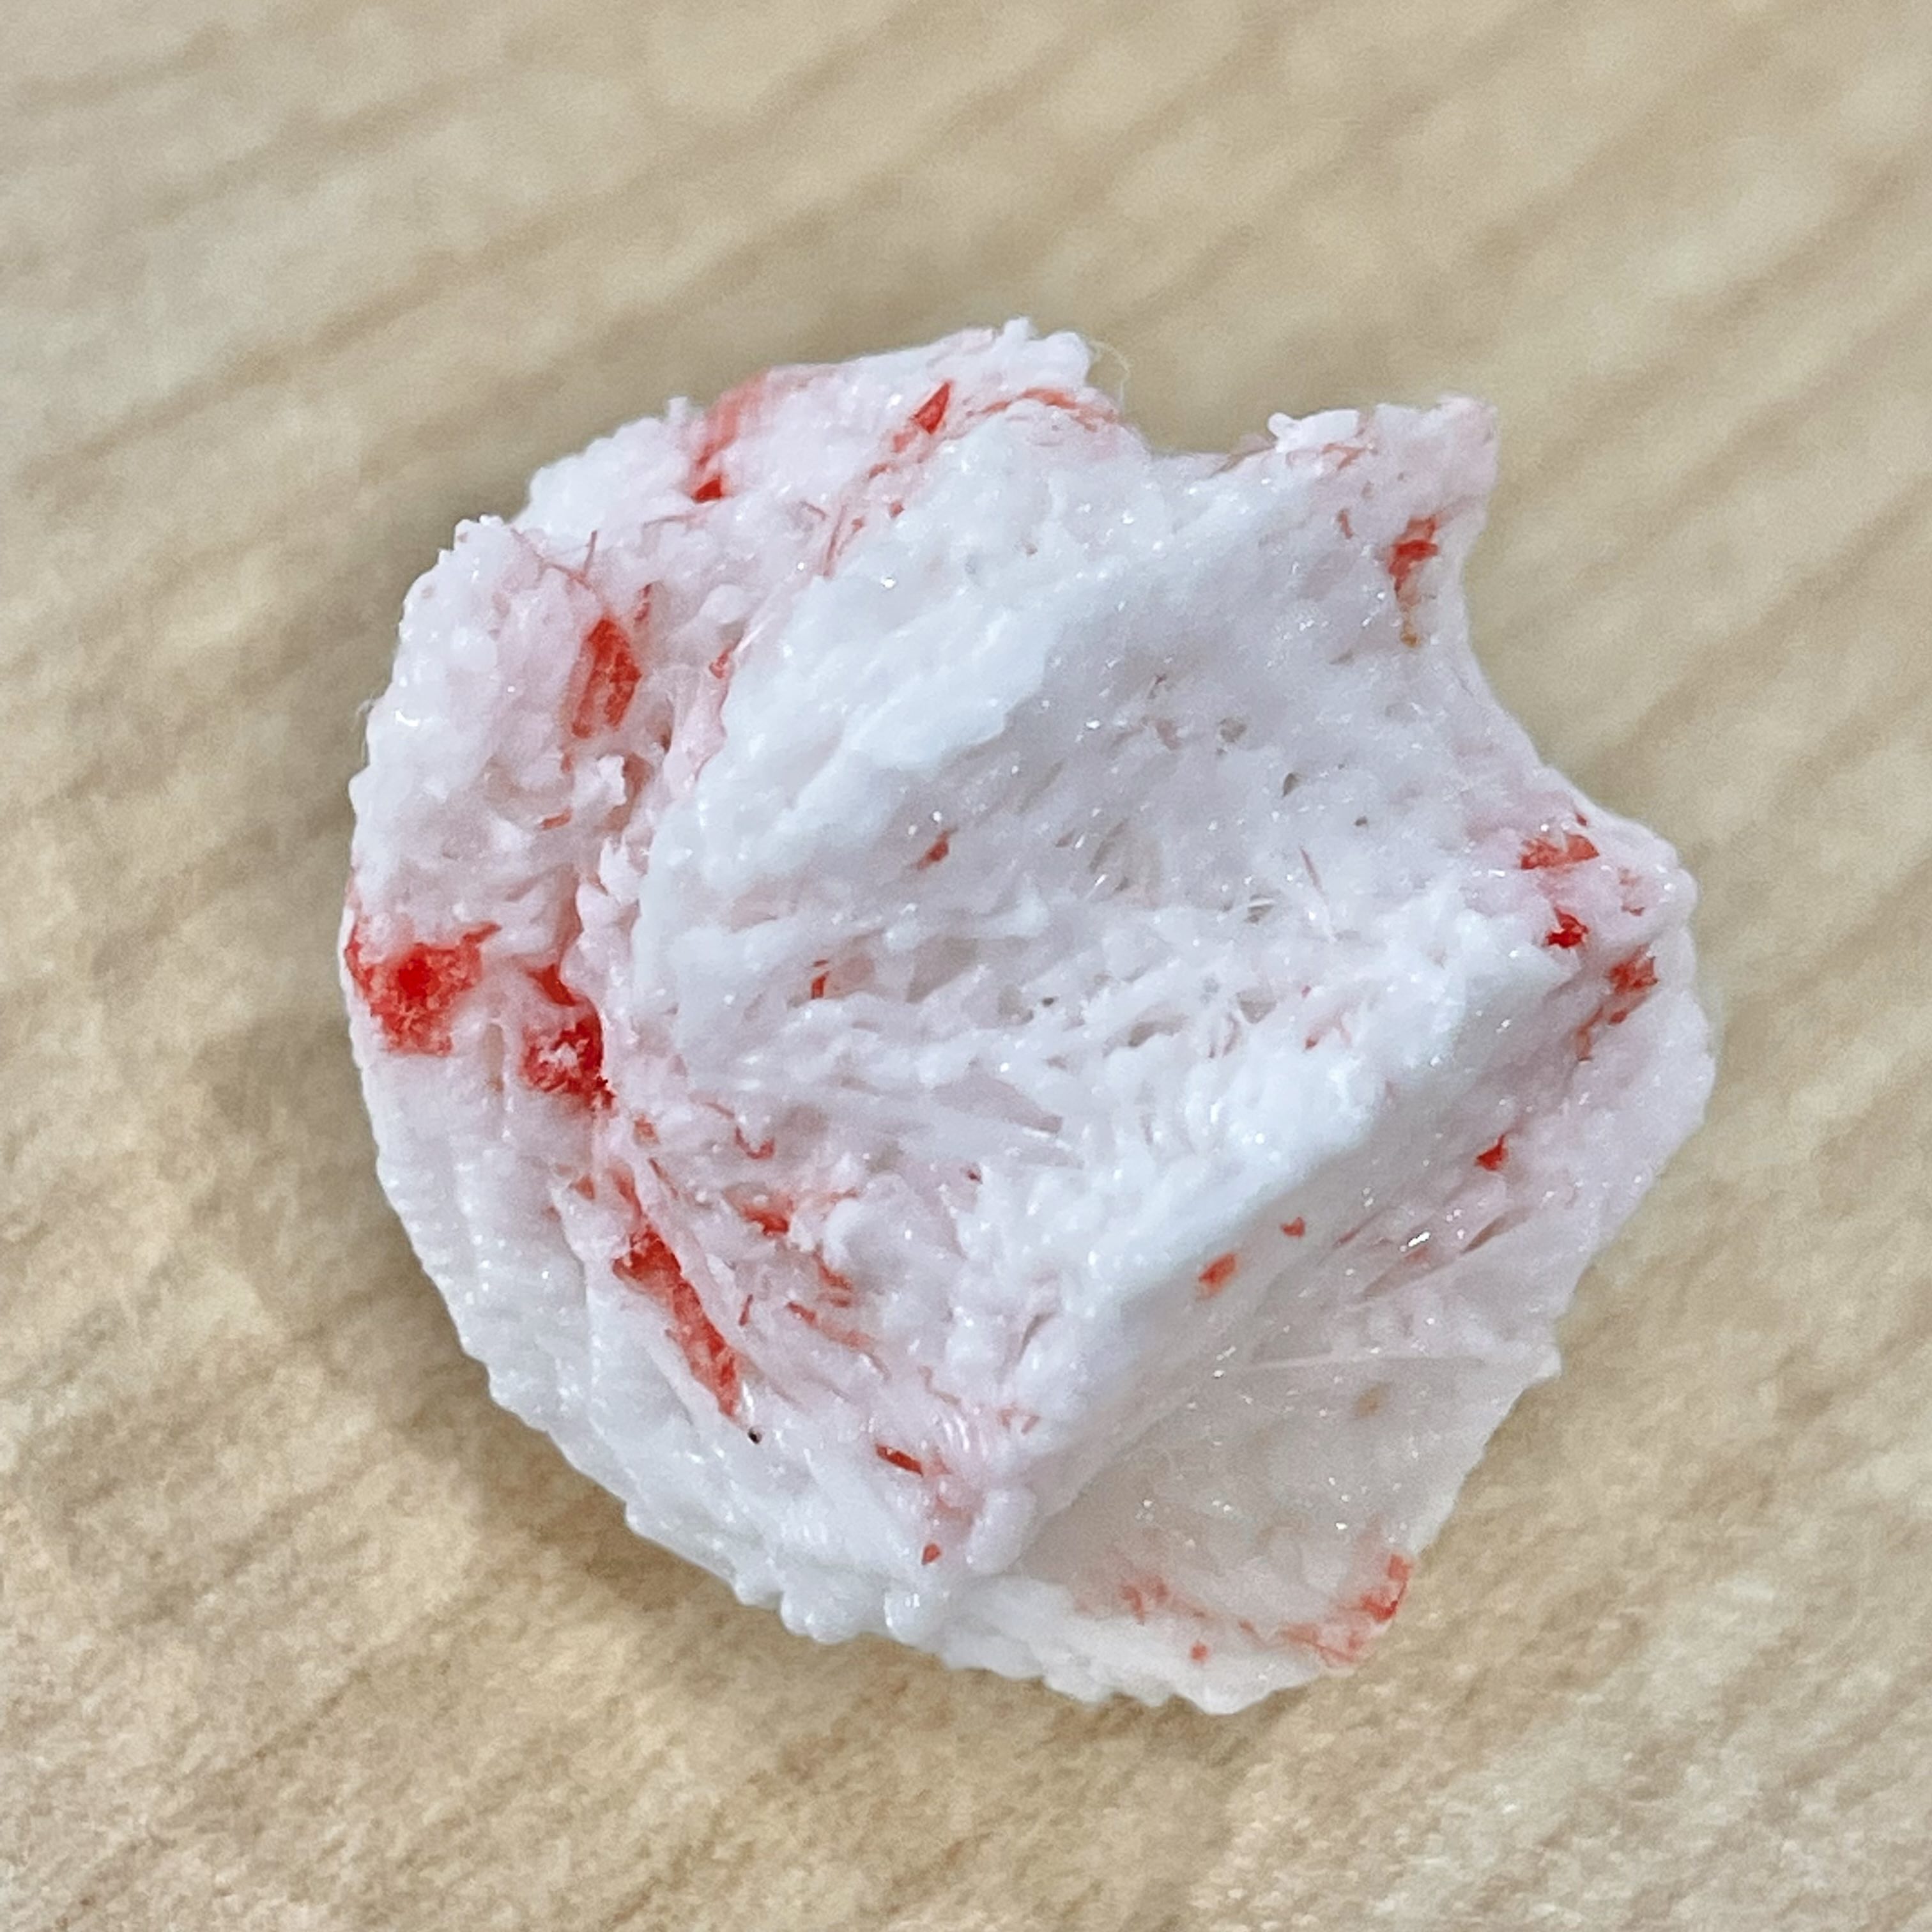
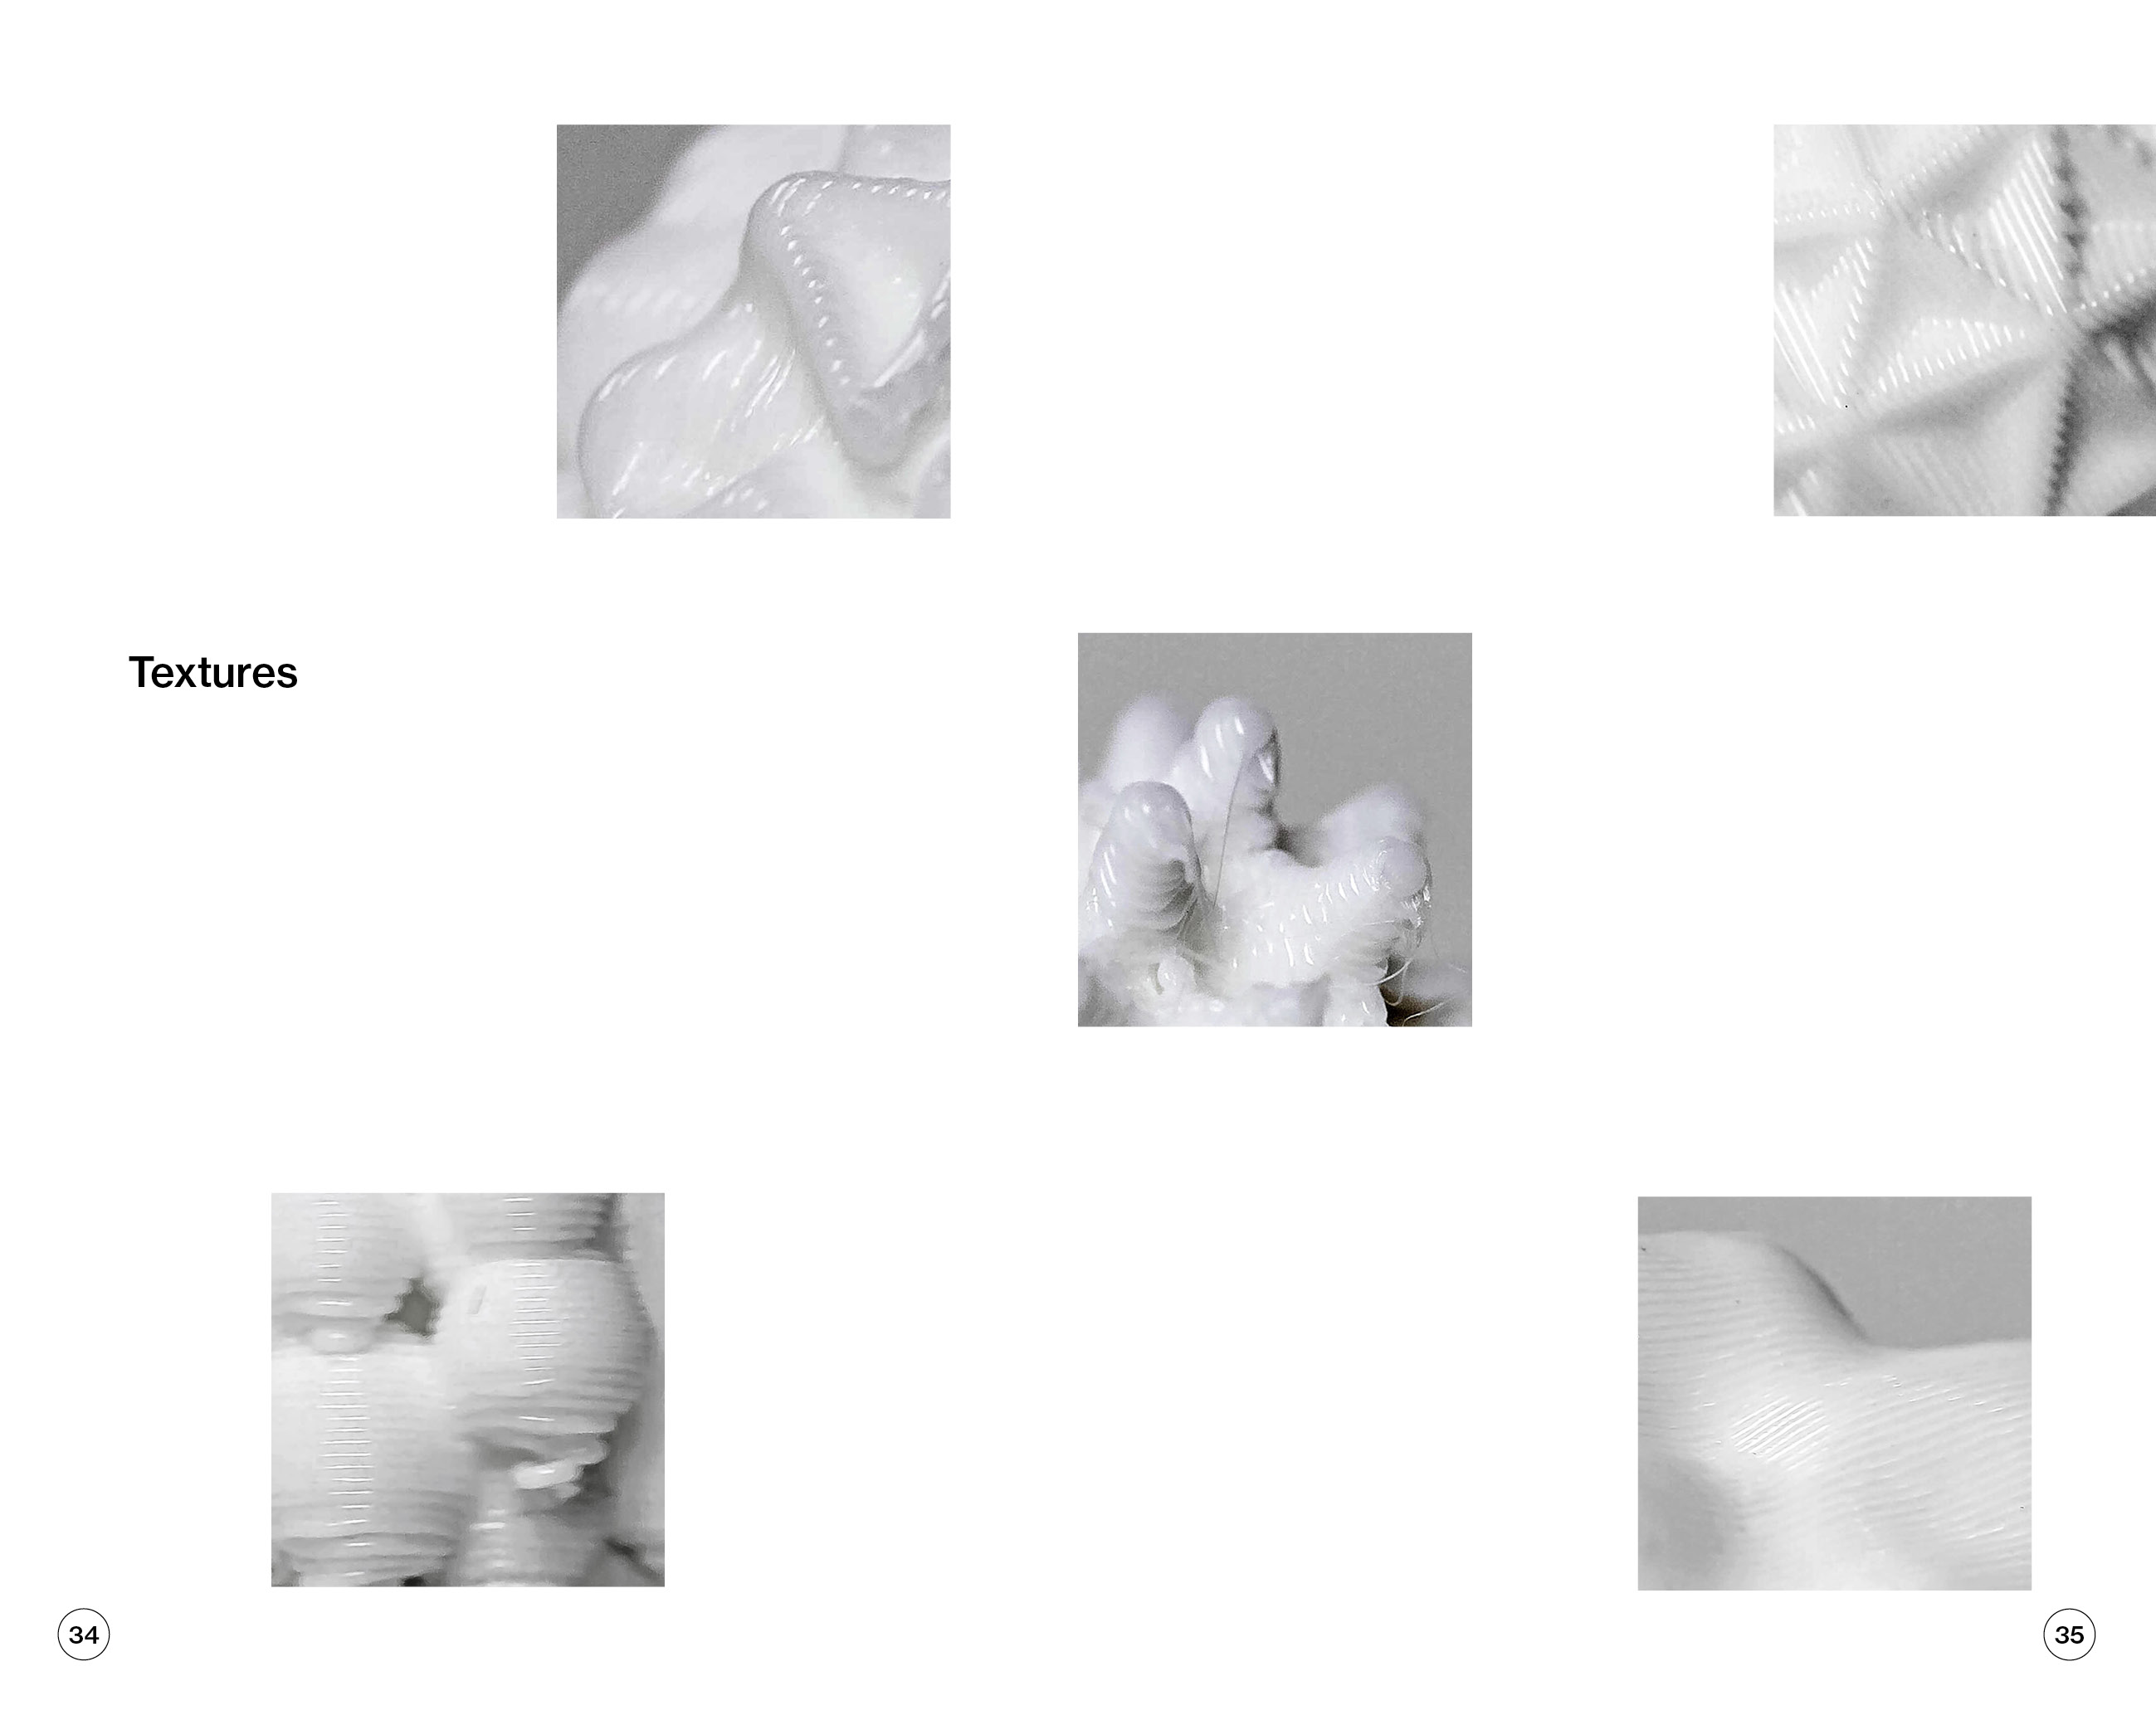
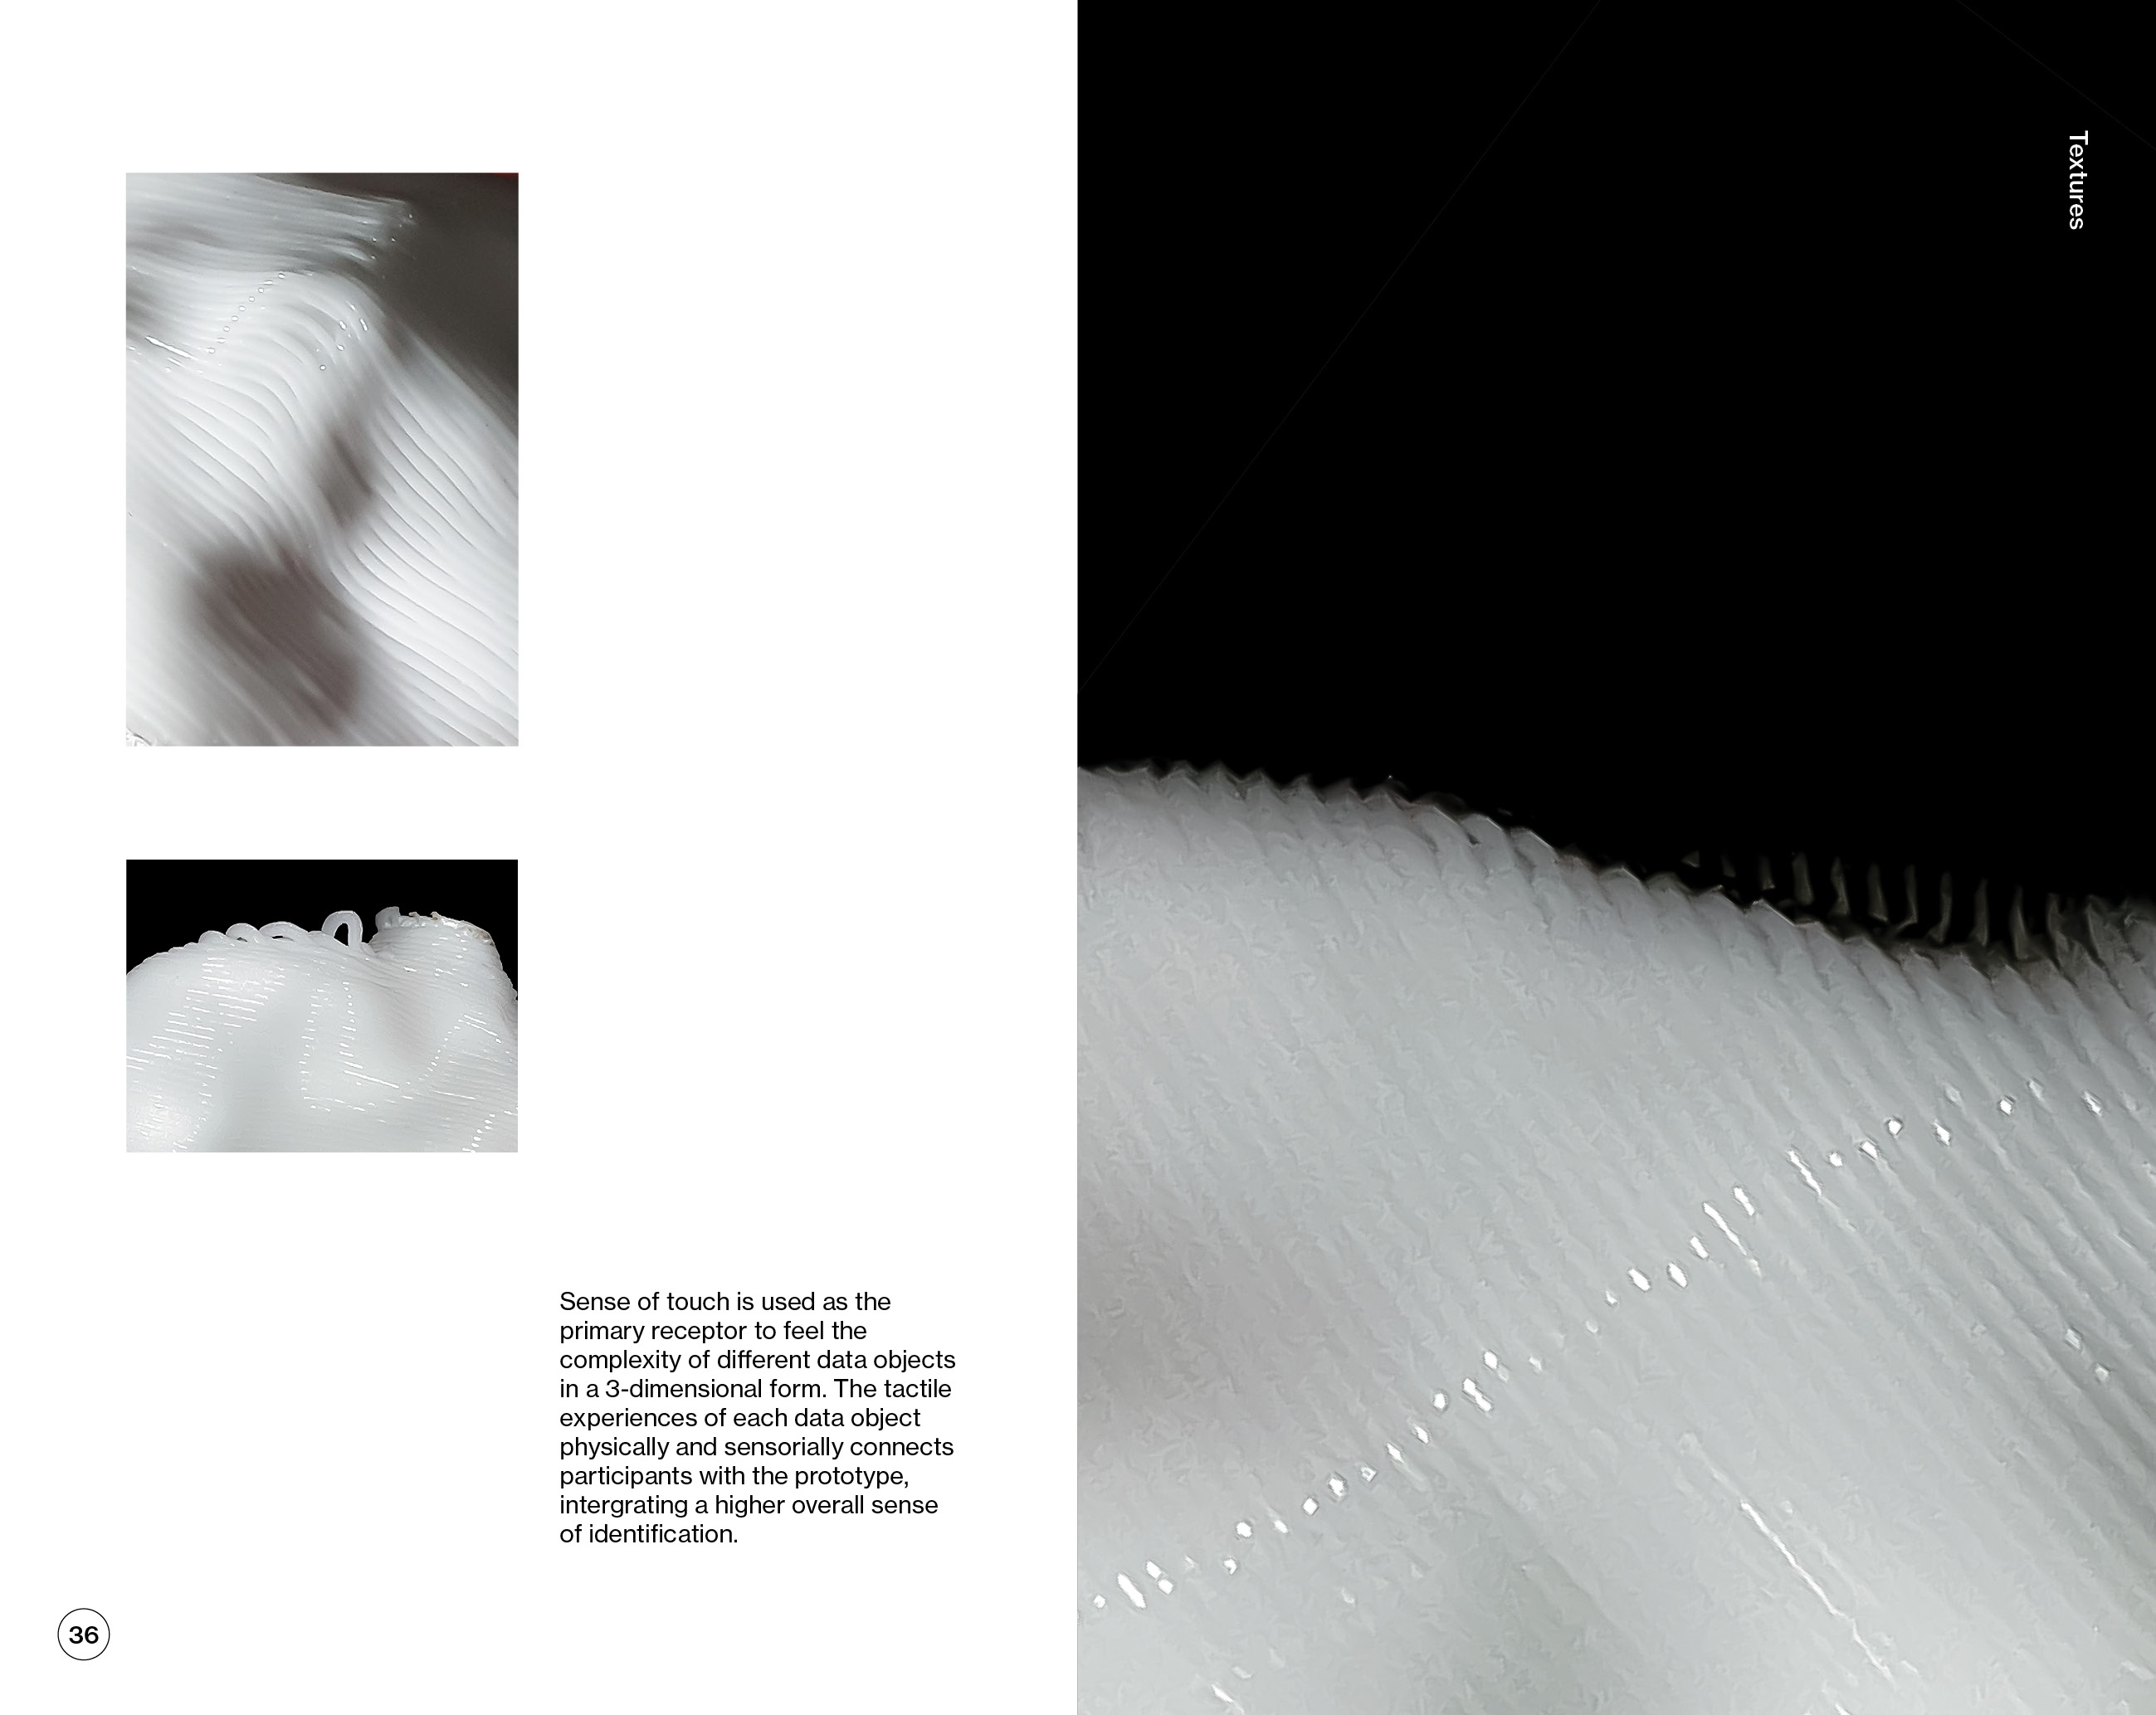
Once the print was finished, I quickly cut off the red supports before they cool down and completely harden. The supports were surprisingly easy to remove, but they do leave red marks at the points of contact with the design structure. I tried to sand the red markings away and used white marker to hide the colour. But it didn't really work as the white marker was more of a yellowish white which looked really obvious on the printed material. Plus, the white marker added a layer of texture that kind of created a new form and complexity to the data object which might become an issue and cause misinterpretations. Thus, I sanded the white marker layer off and tried to use other materials to cover the red marks.
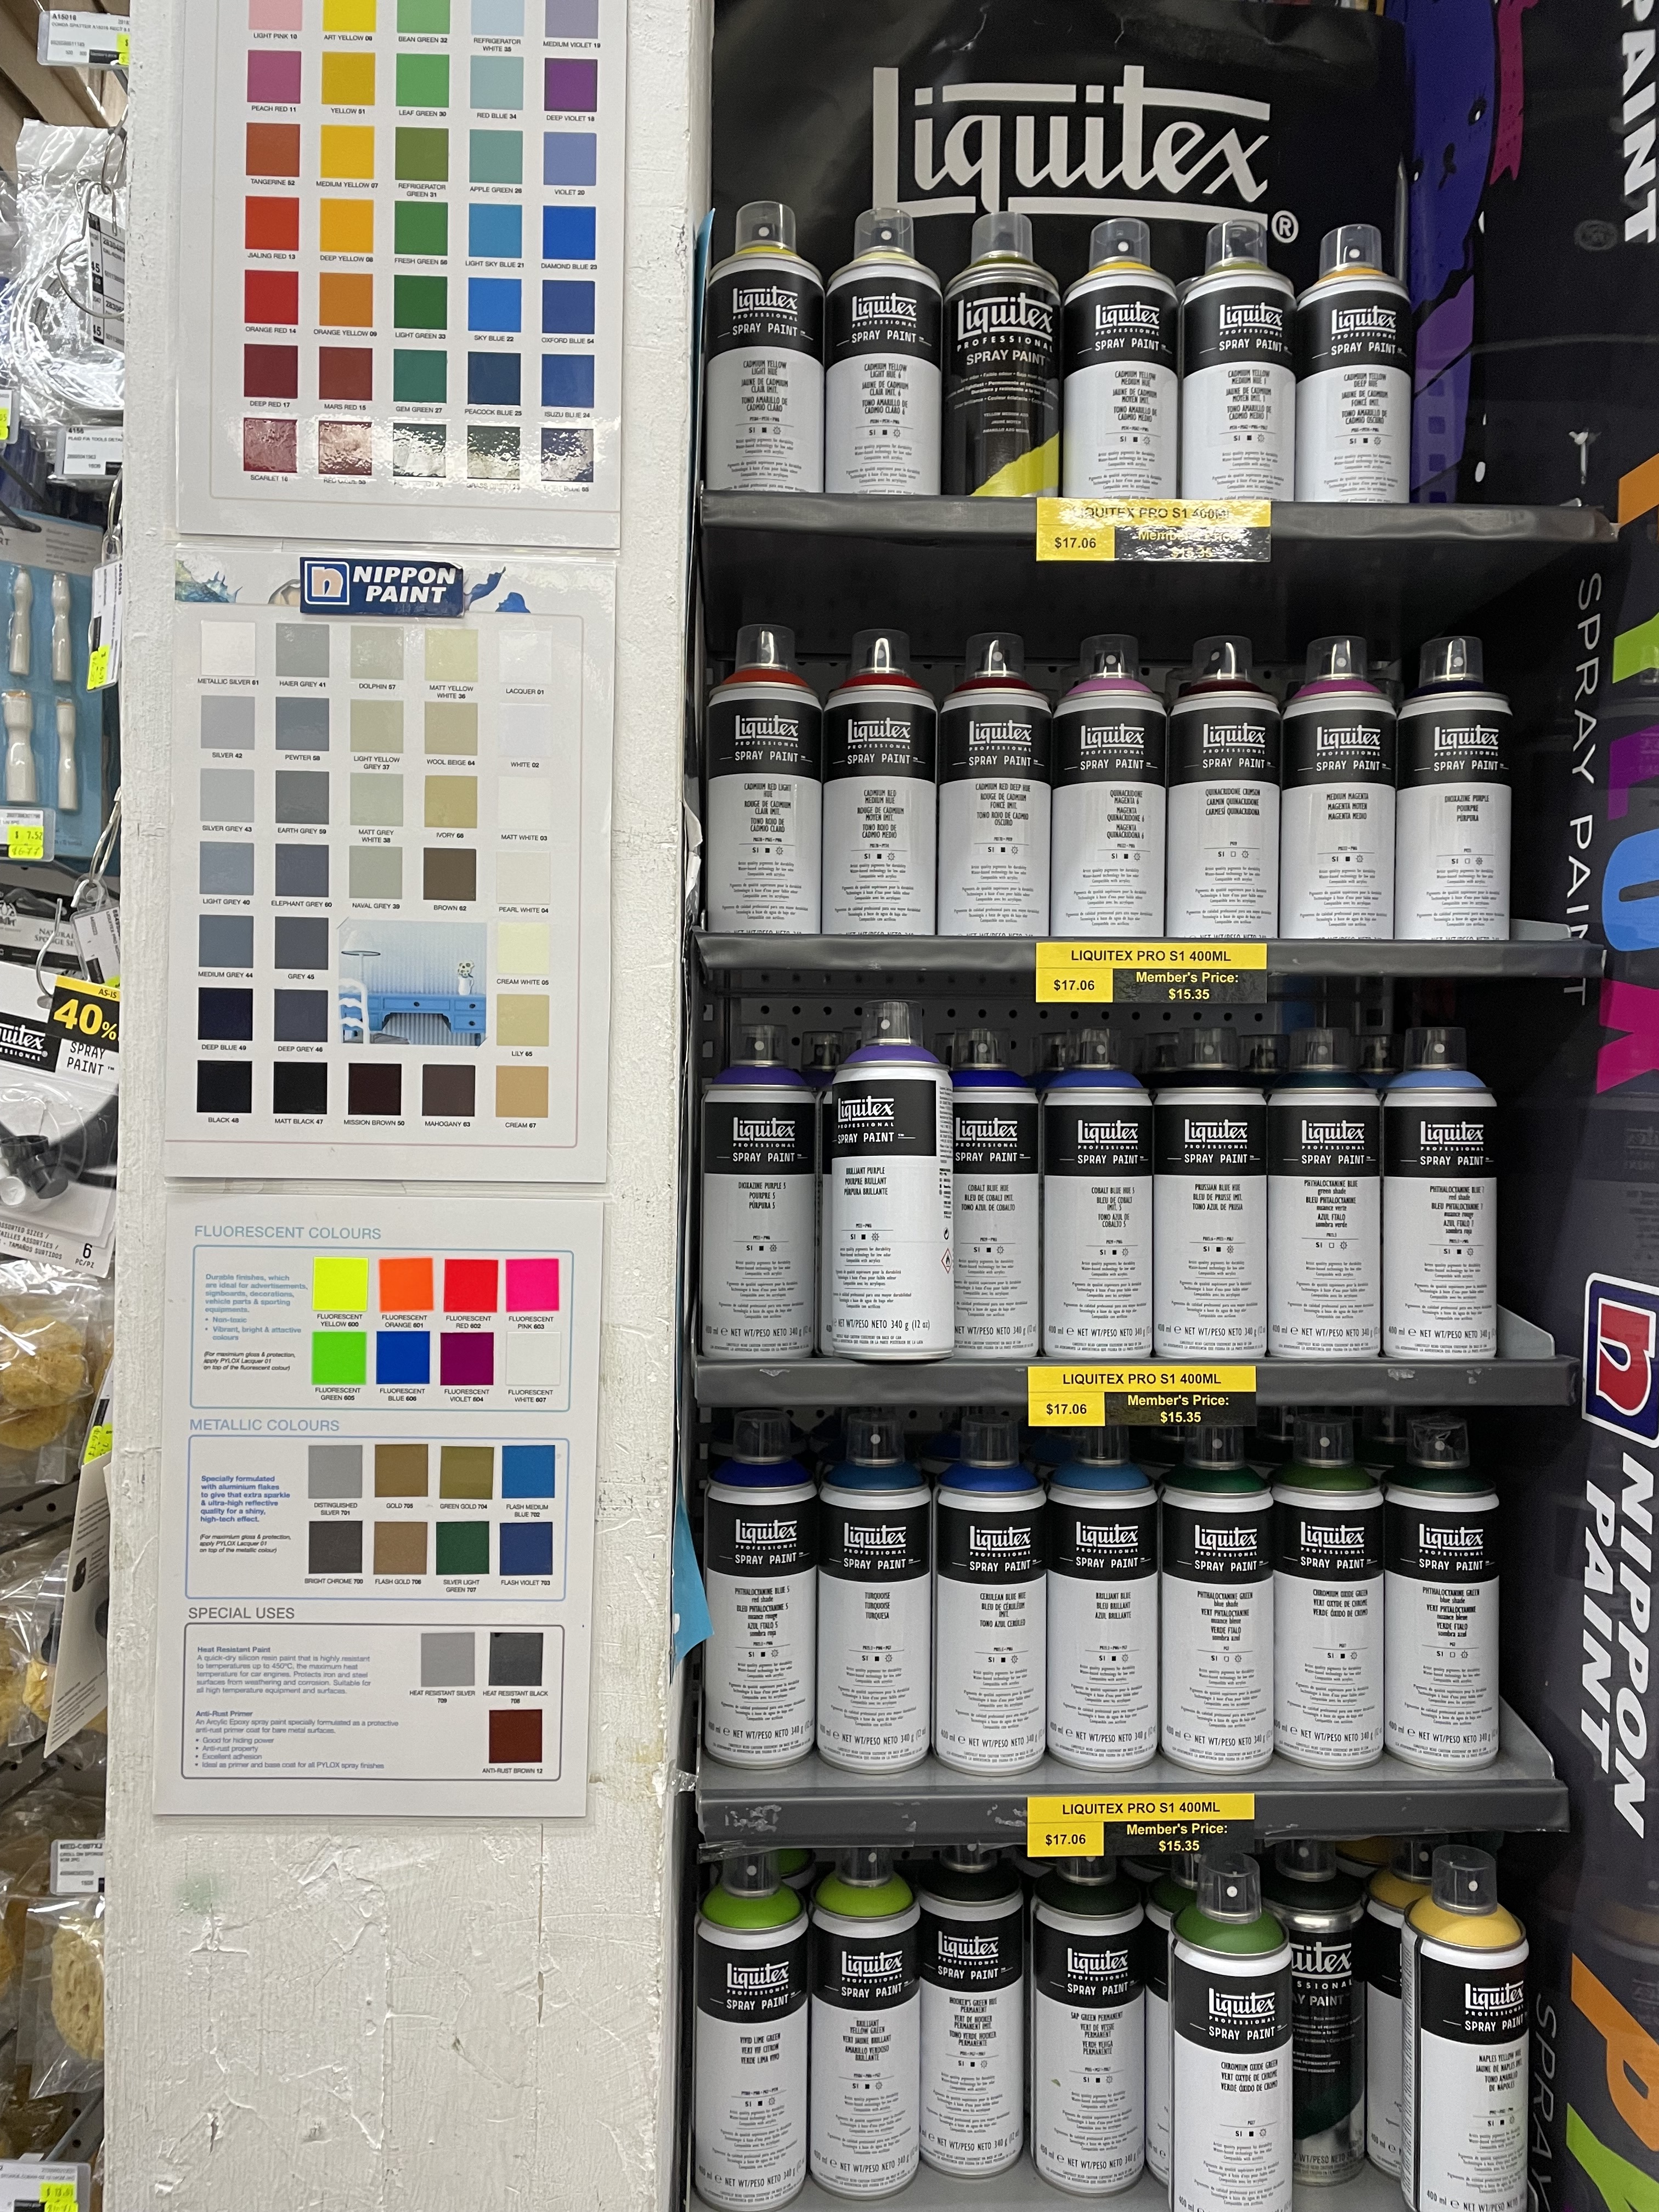
After consulting the Artfriend staff, they recommended white spray paint for 3D prints. However, it will cover a huge portion of the print as it is difficult to control the scale of the spray. An alternative option was to use acryllic paint. I think this white was the most similar to the 3D print material, especially after it dries down to a matte finish.
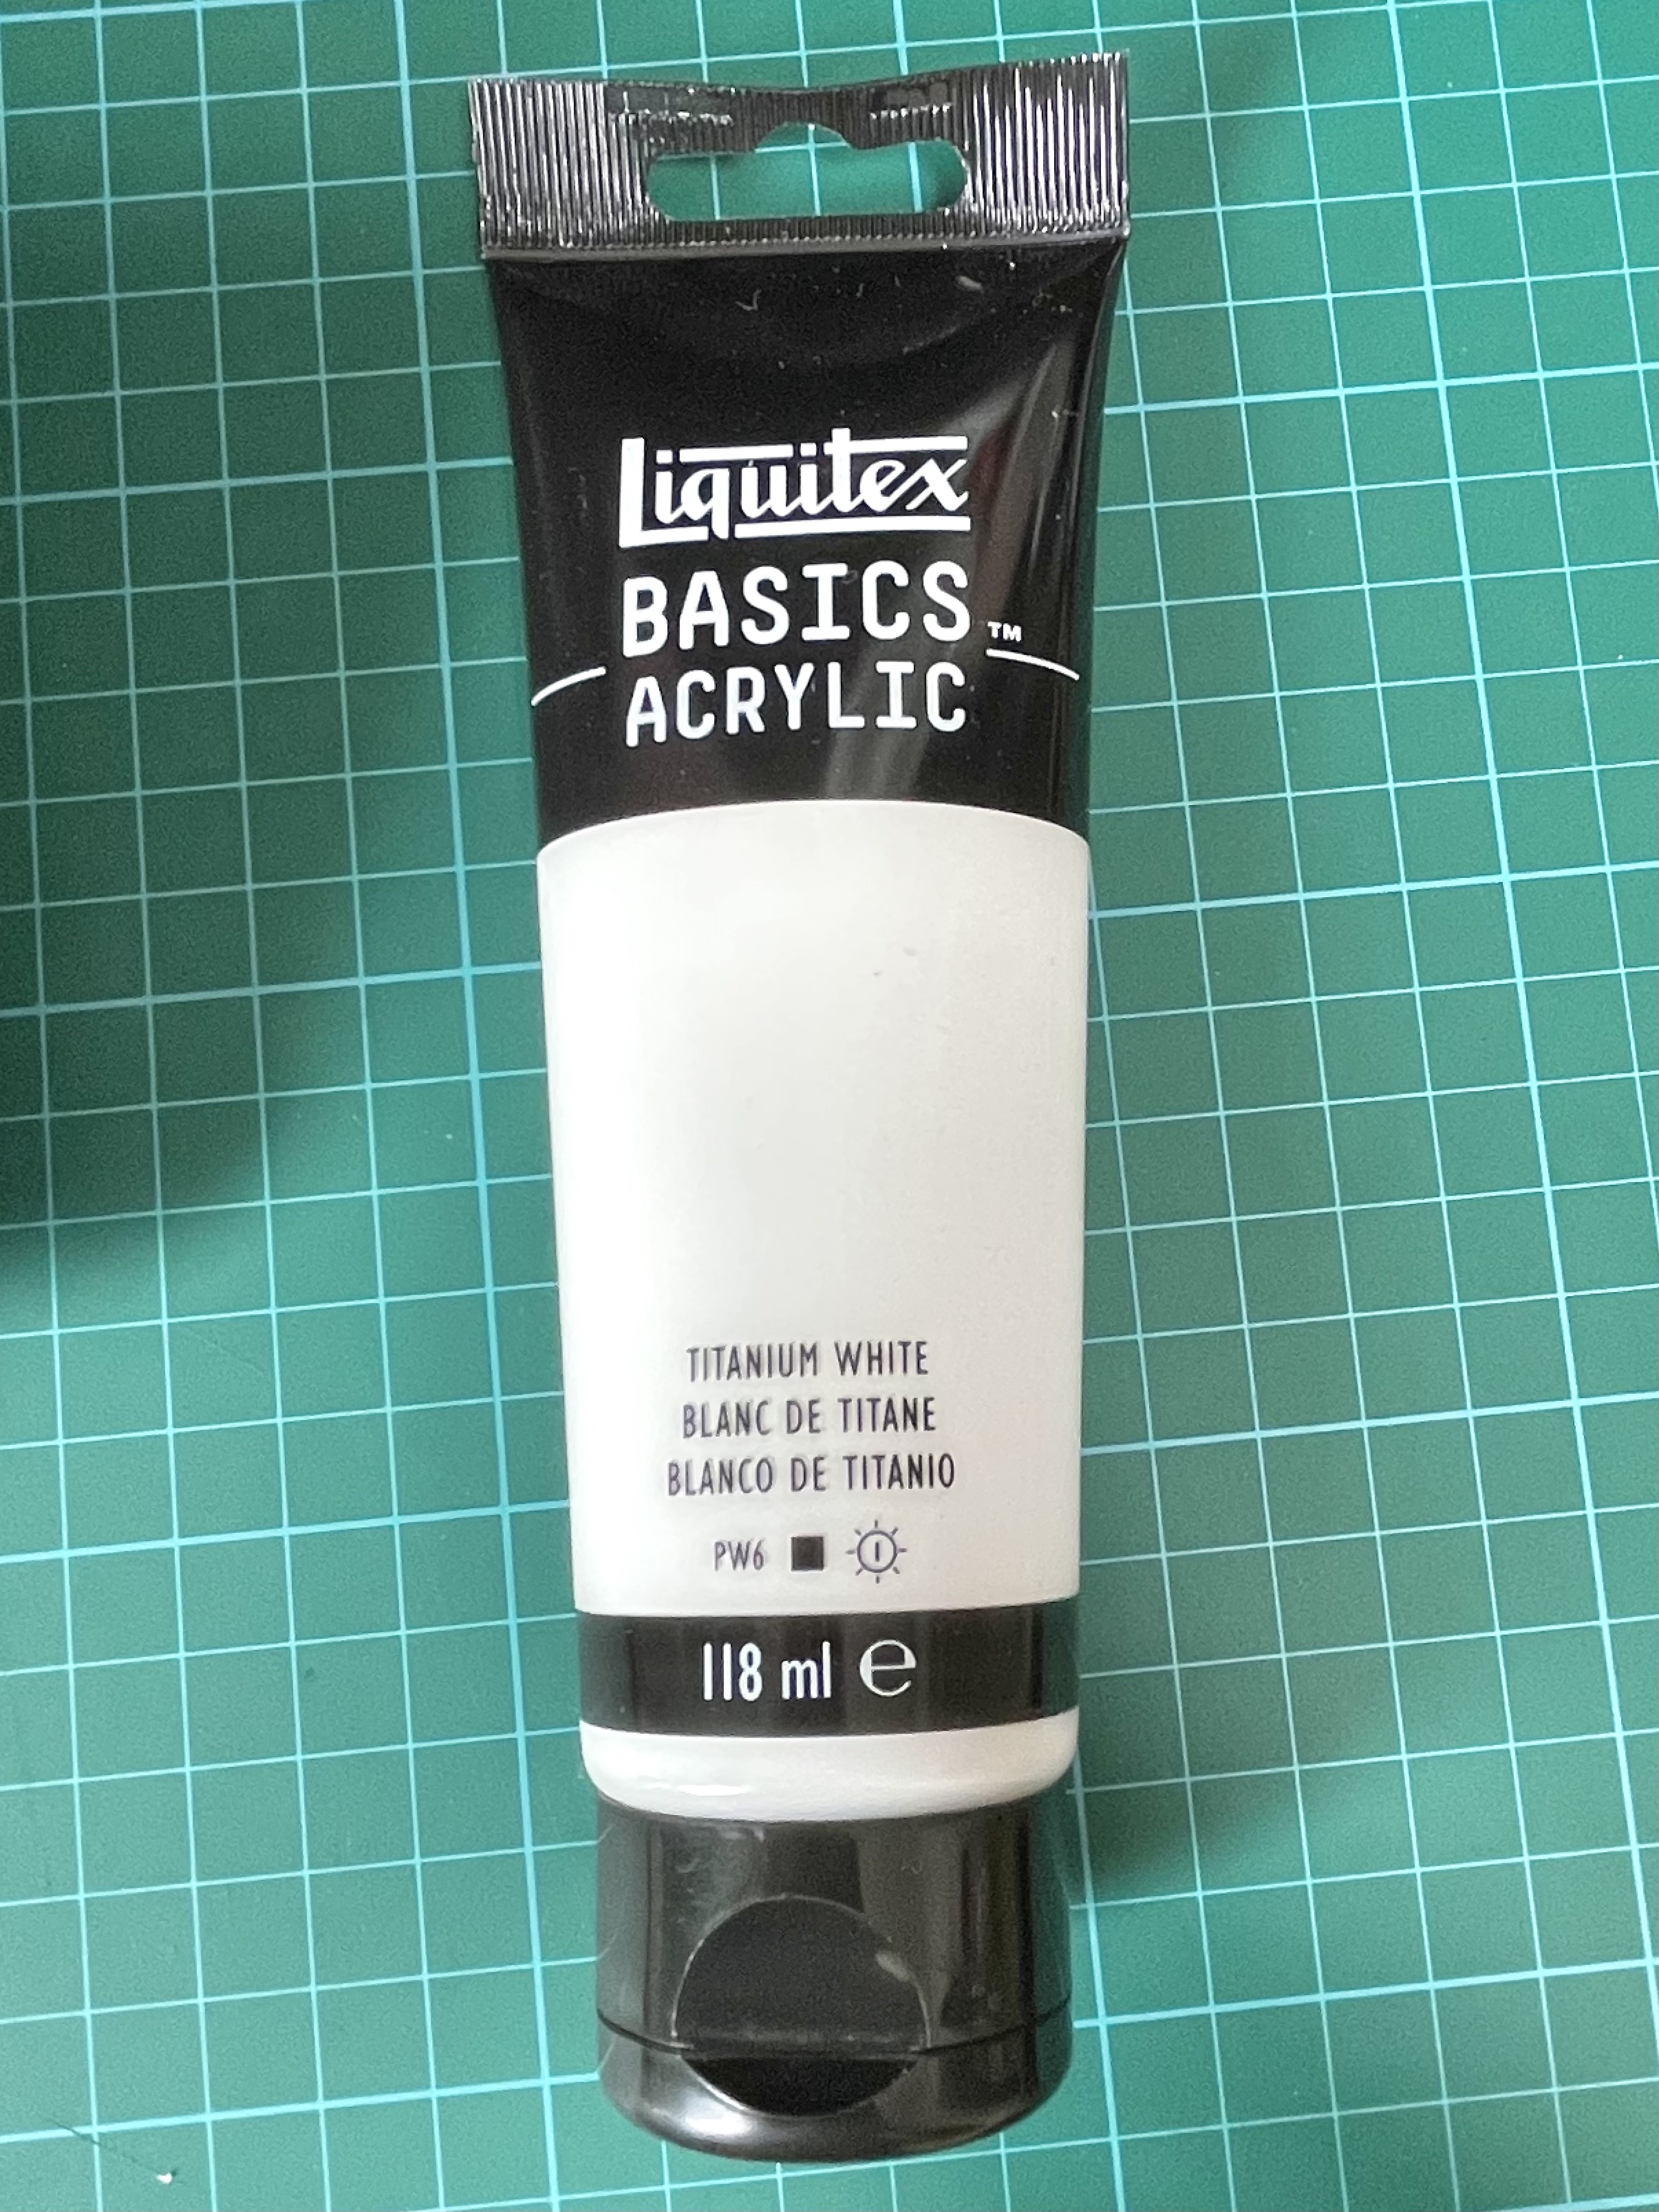
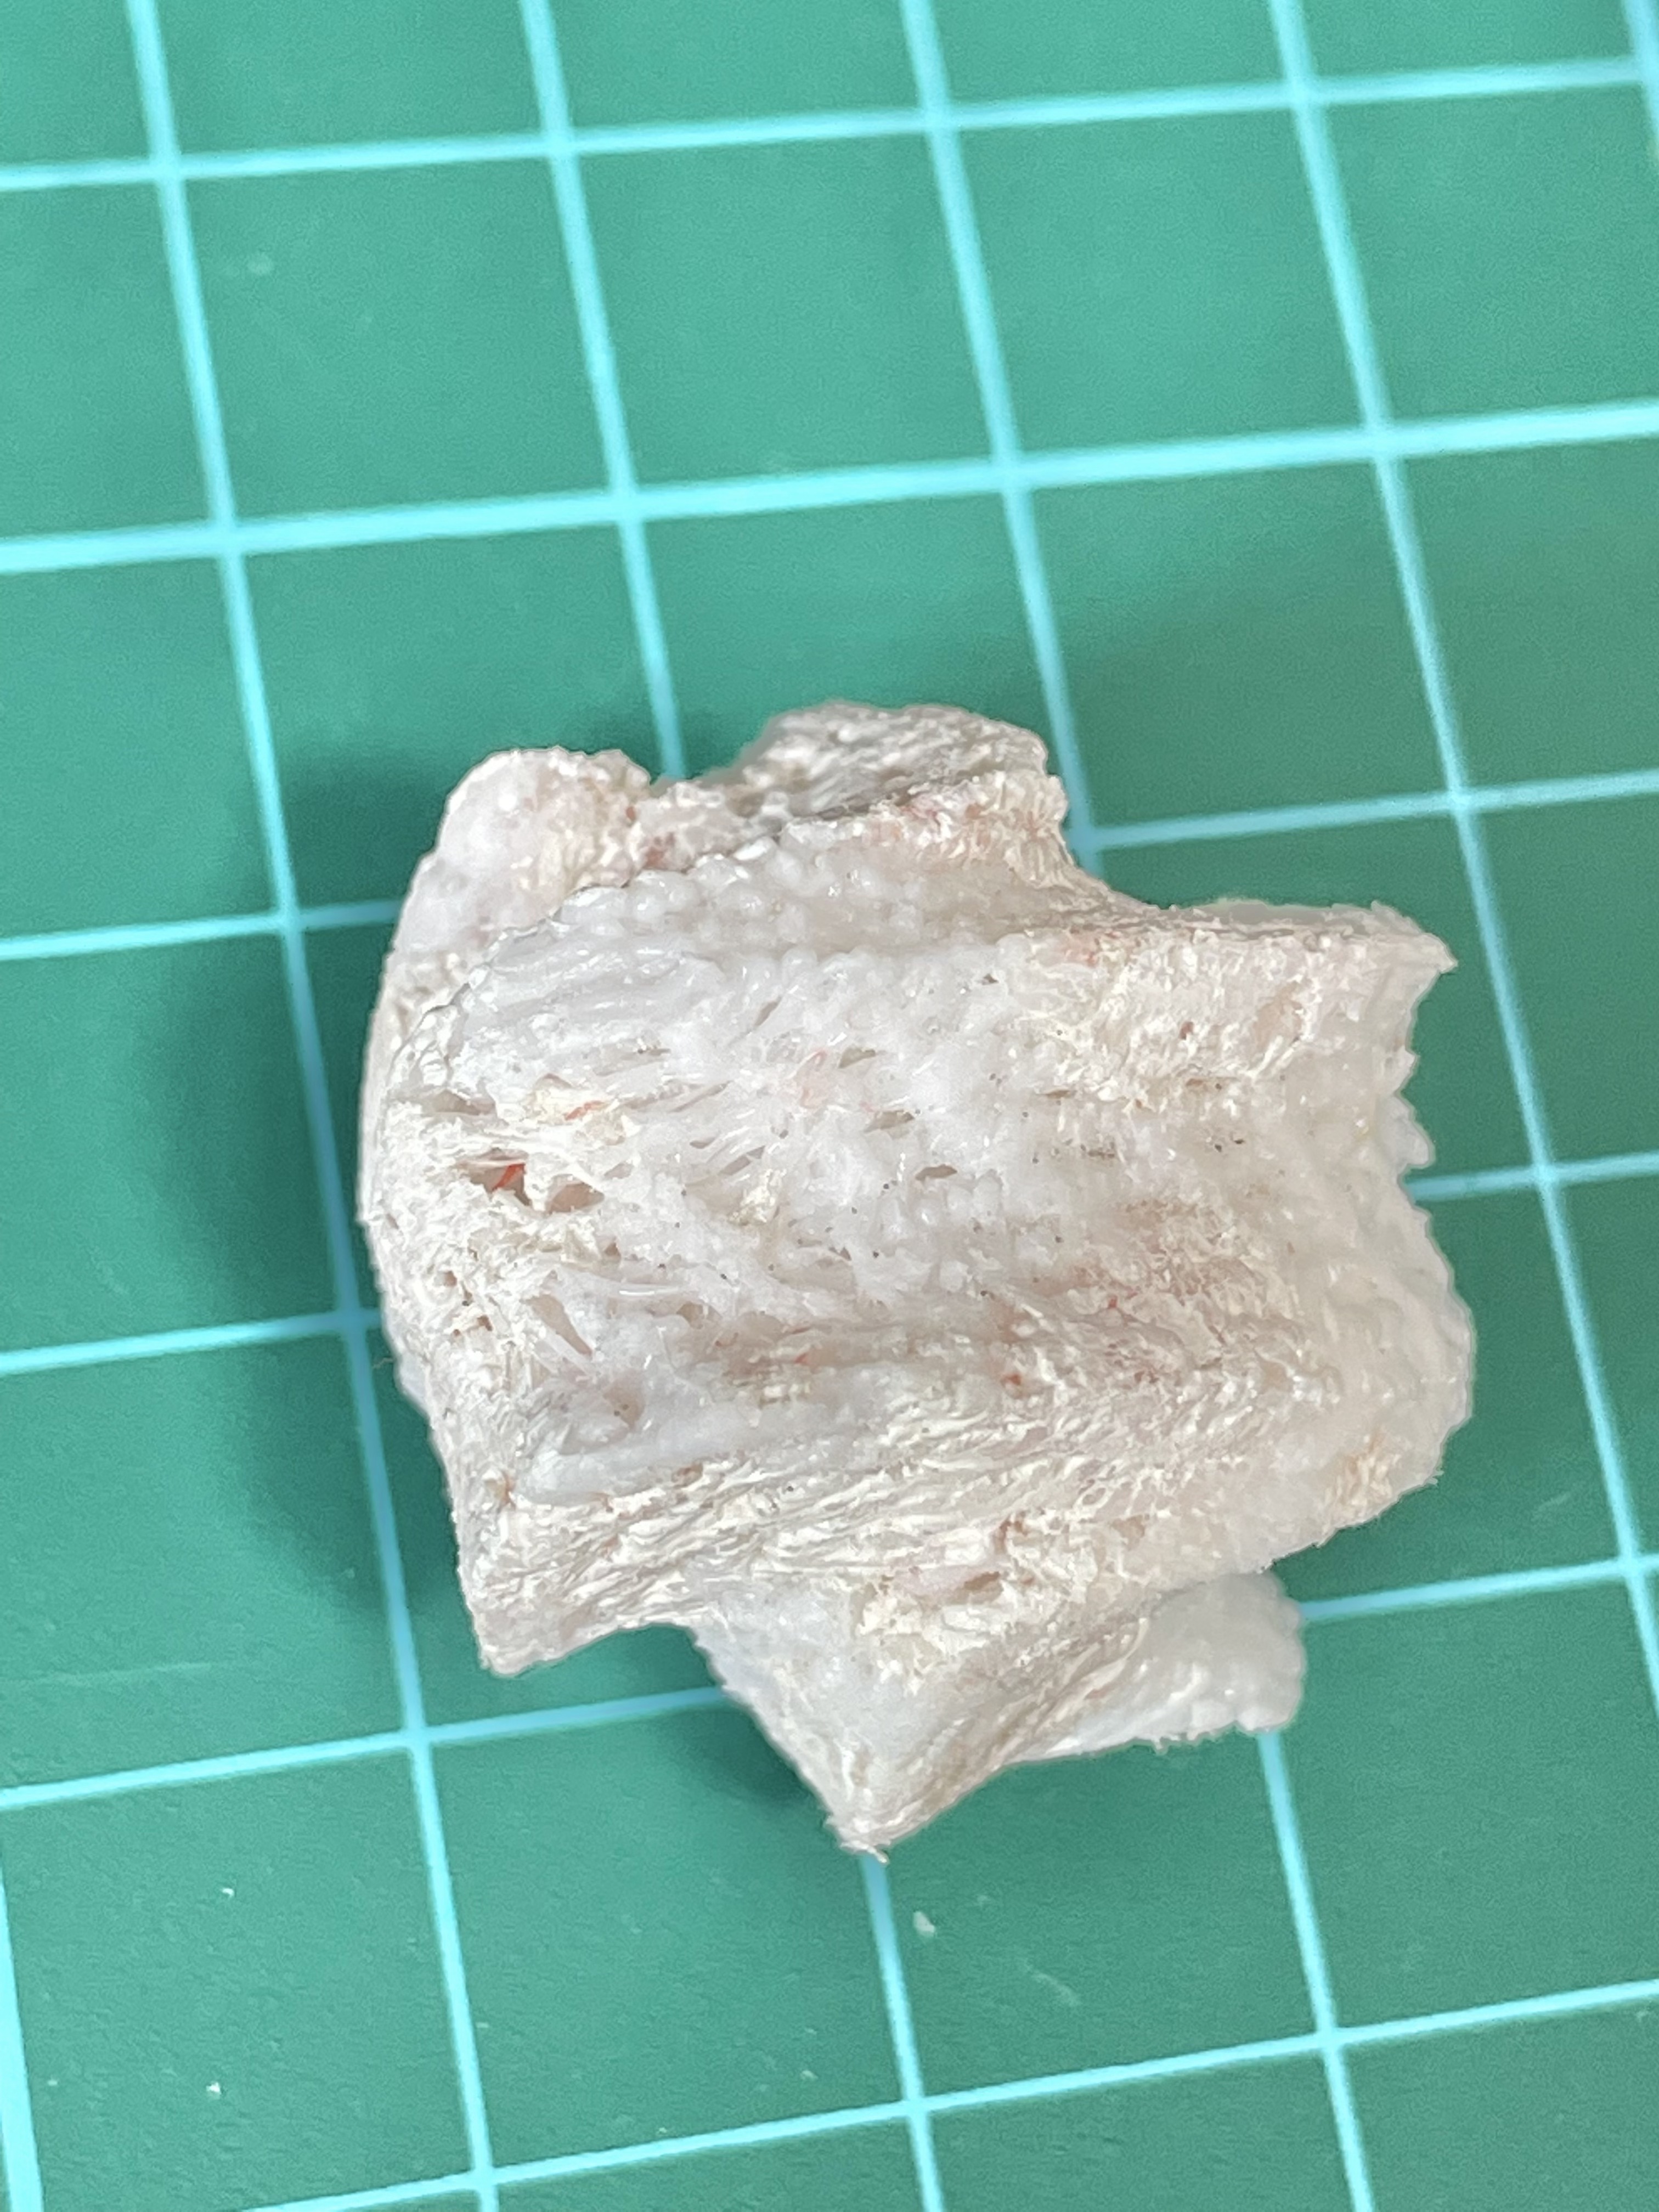
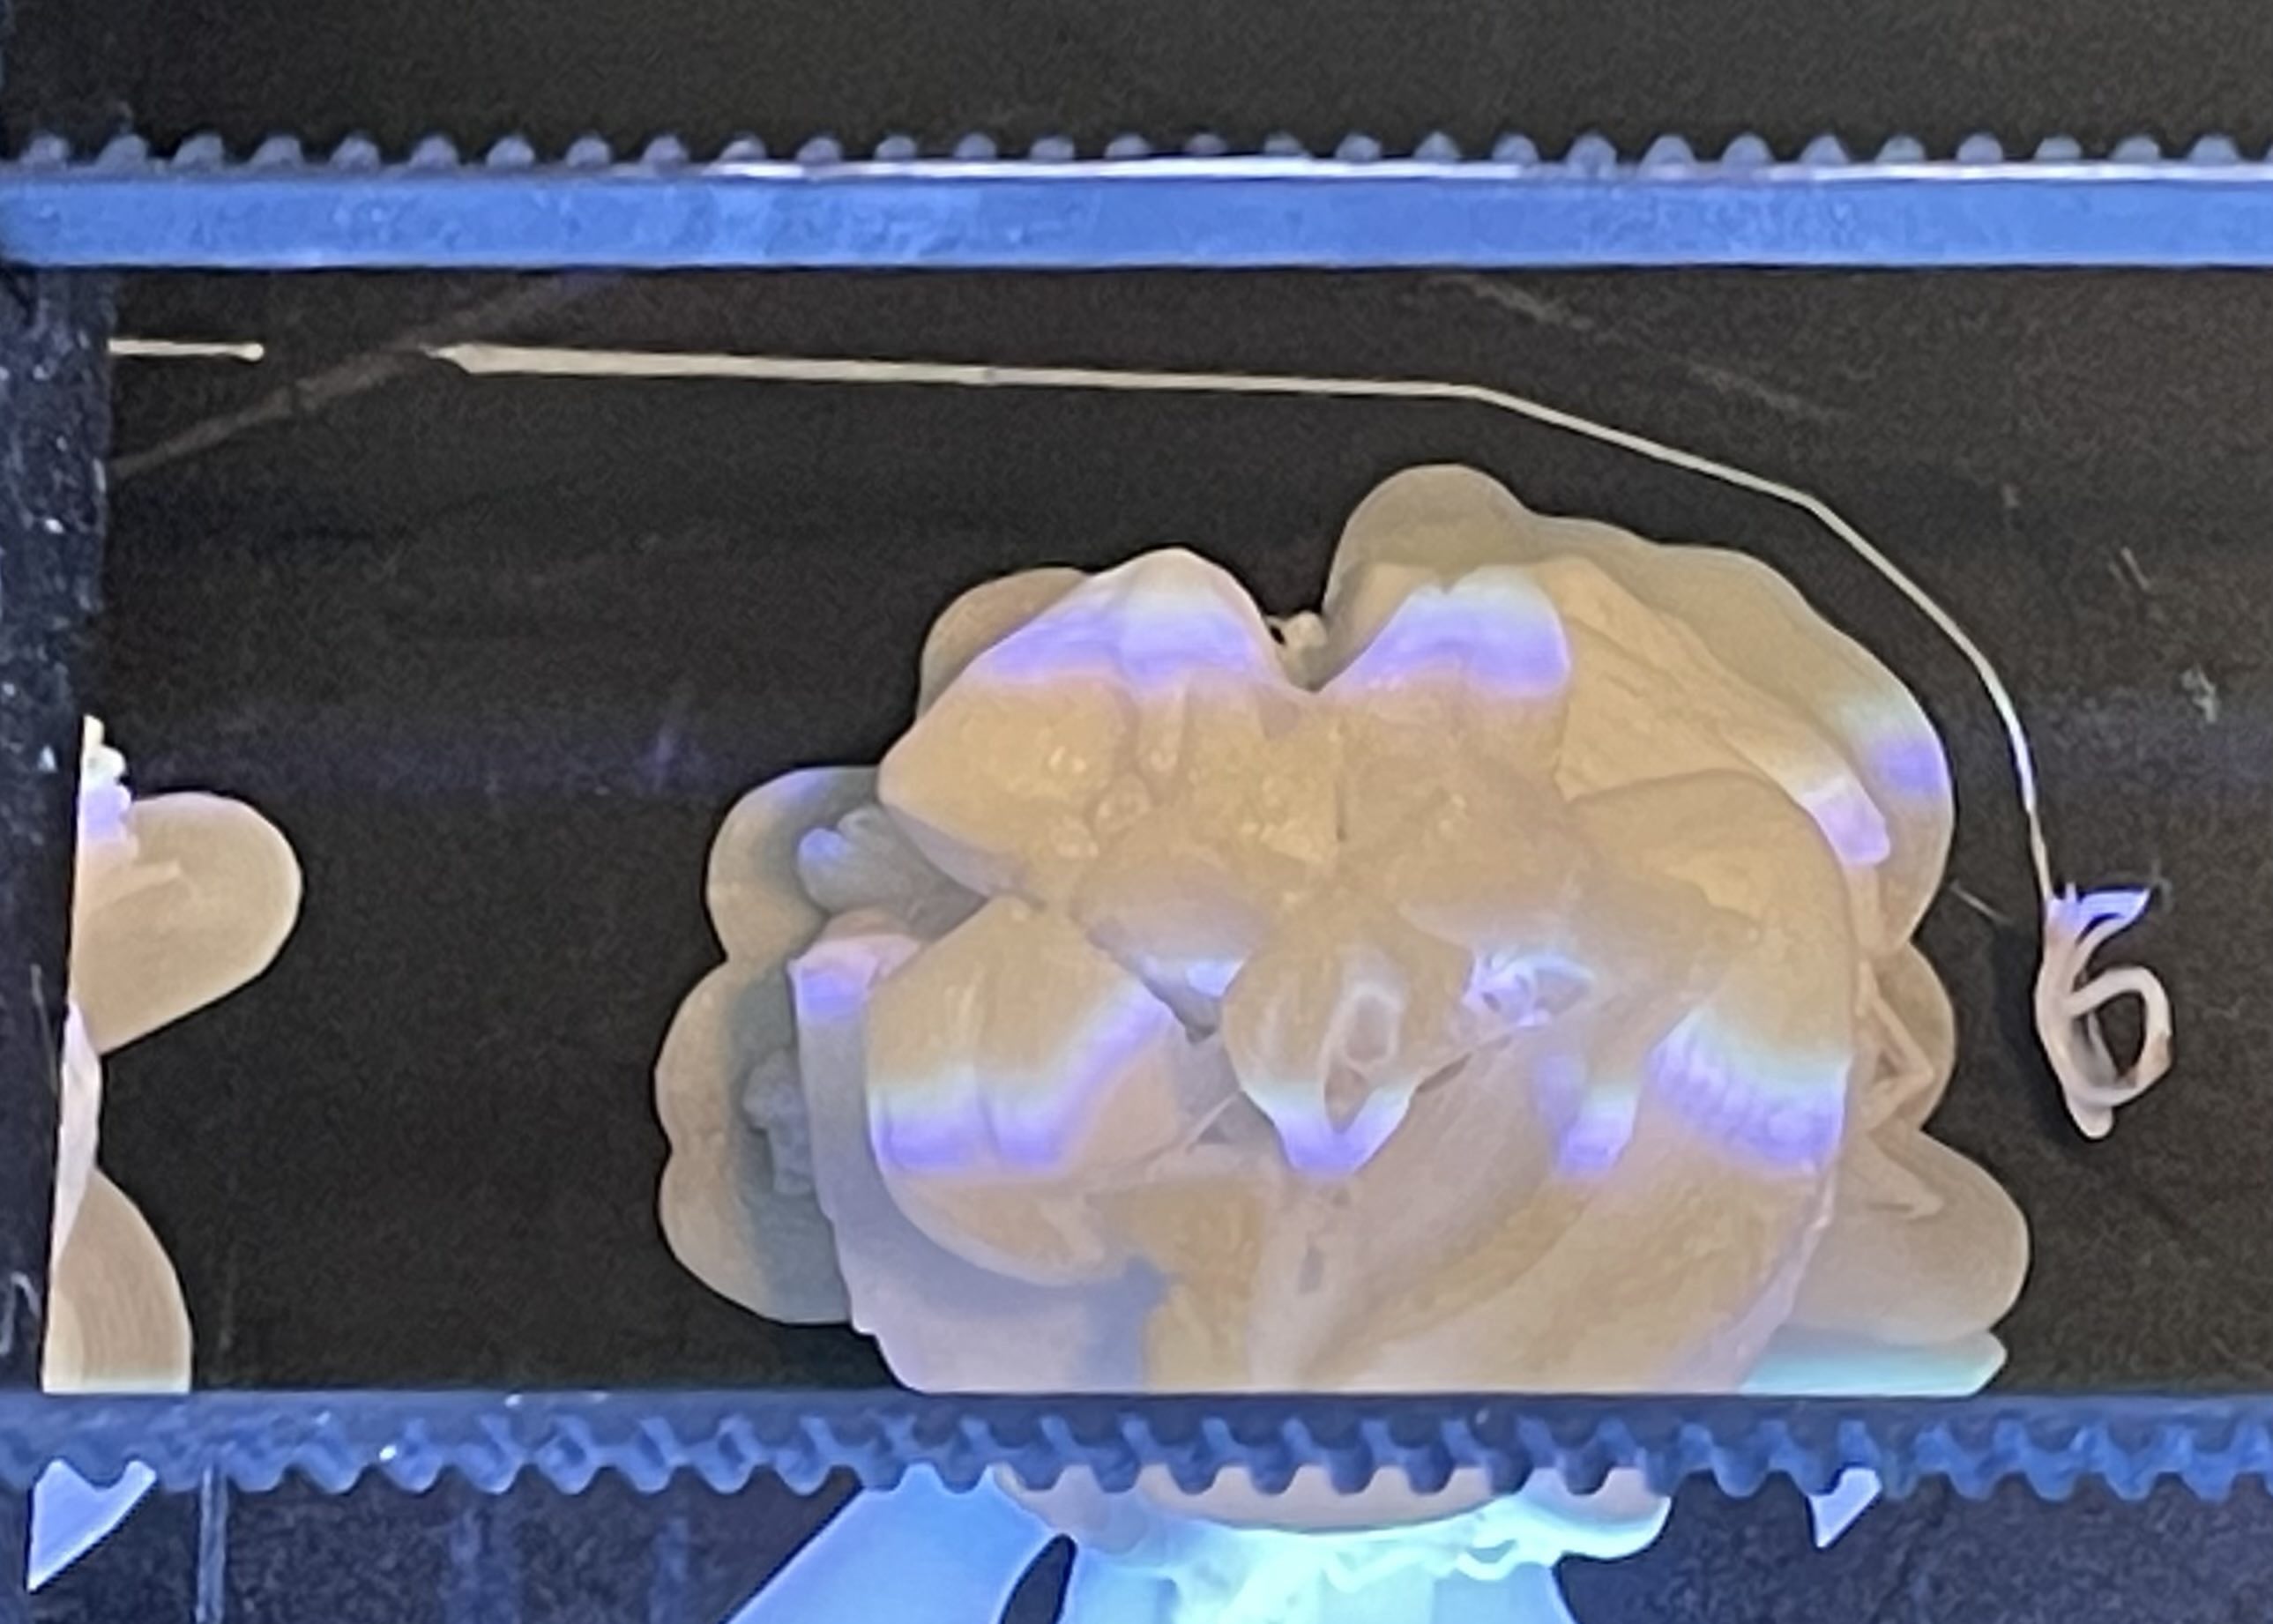
For the other prints, I used the previous method of printing the objects in halfs. After design #15 was done, I only had enough time left to print #14.
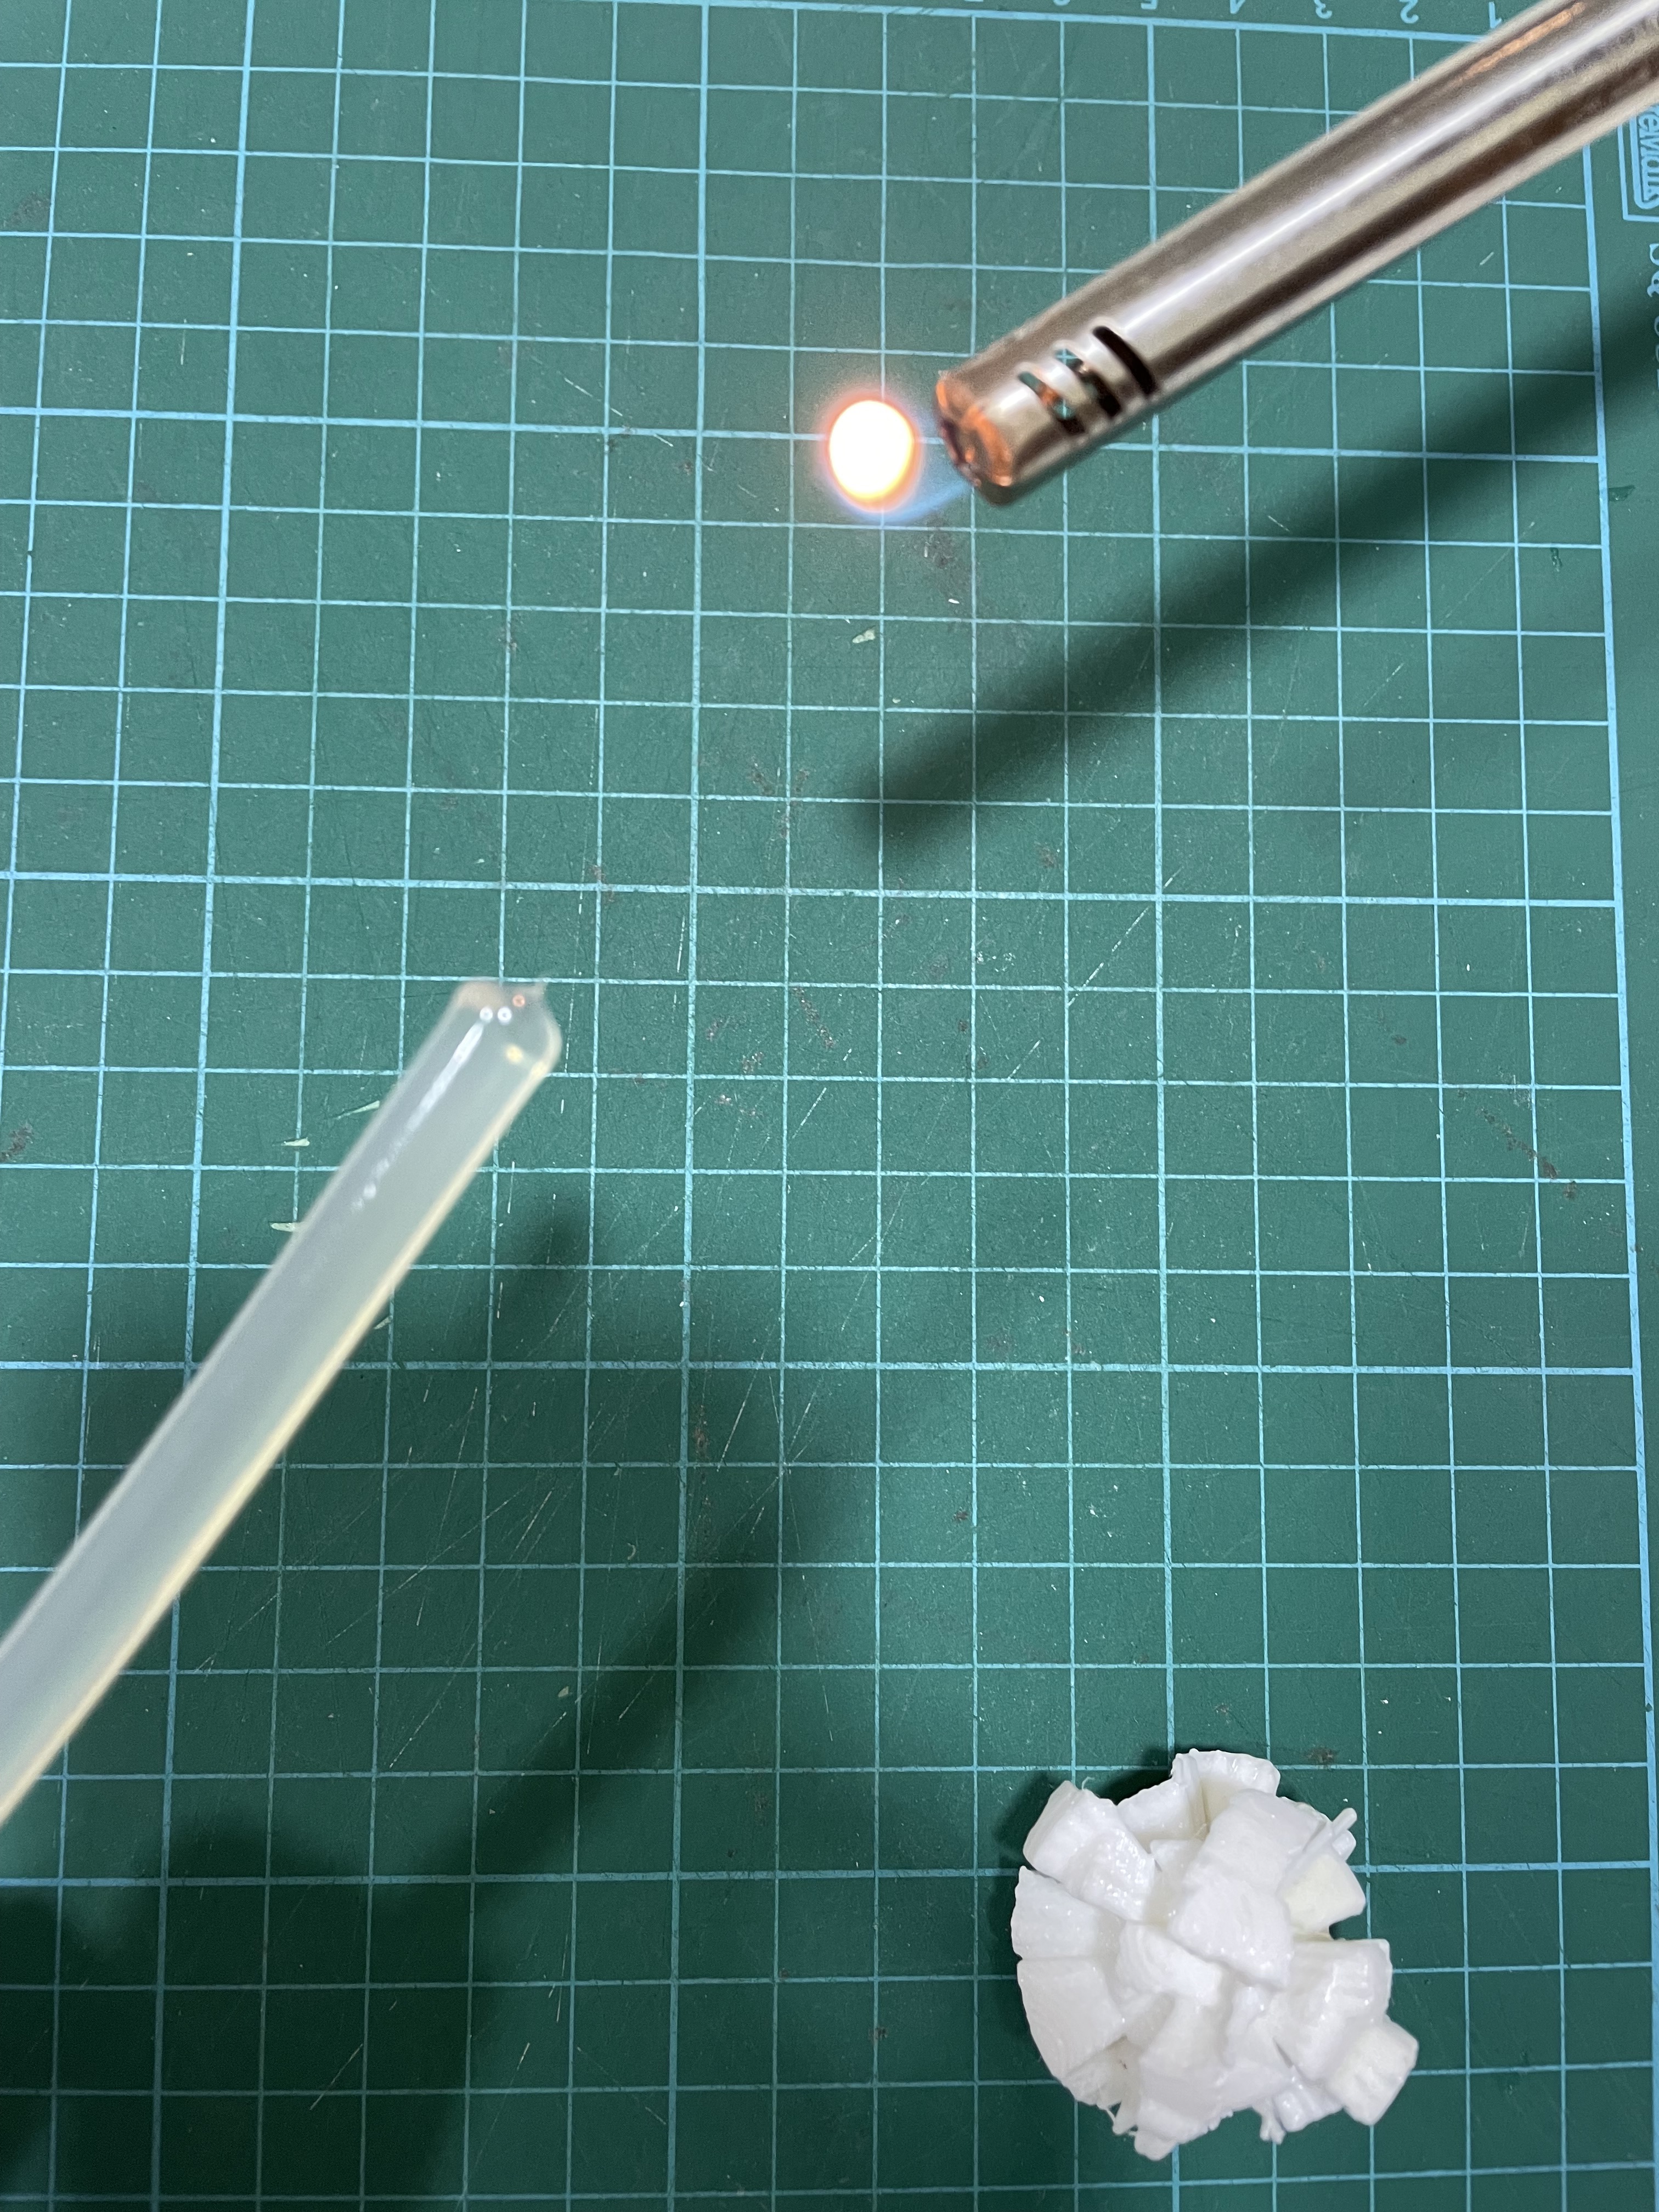
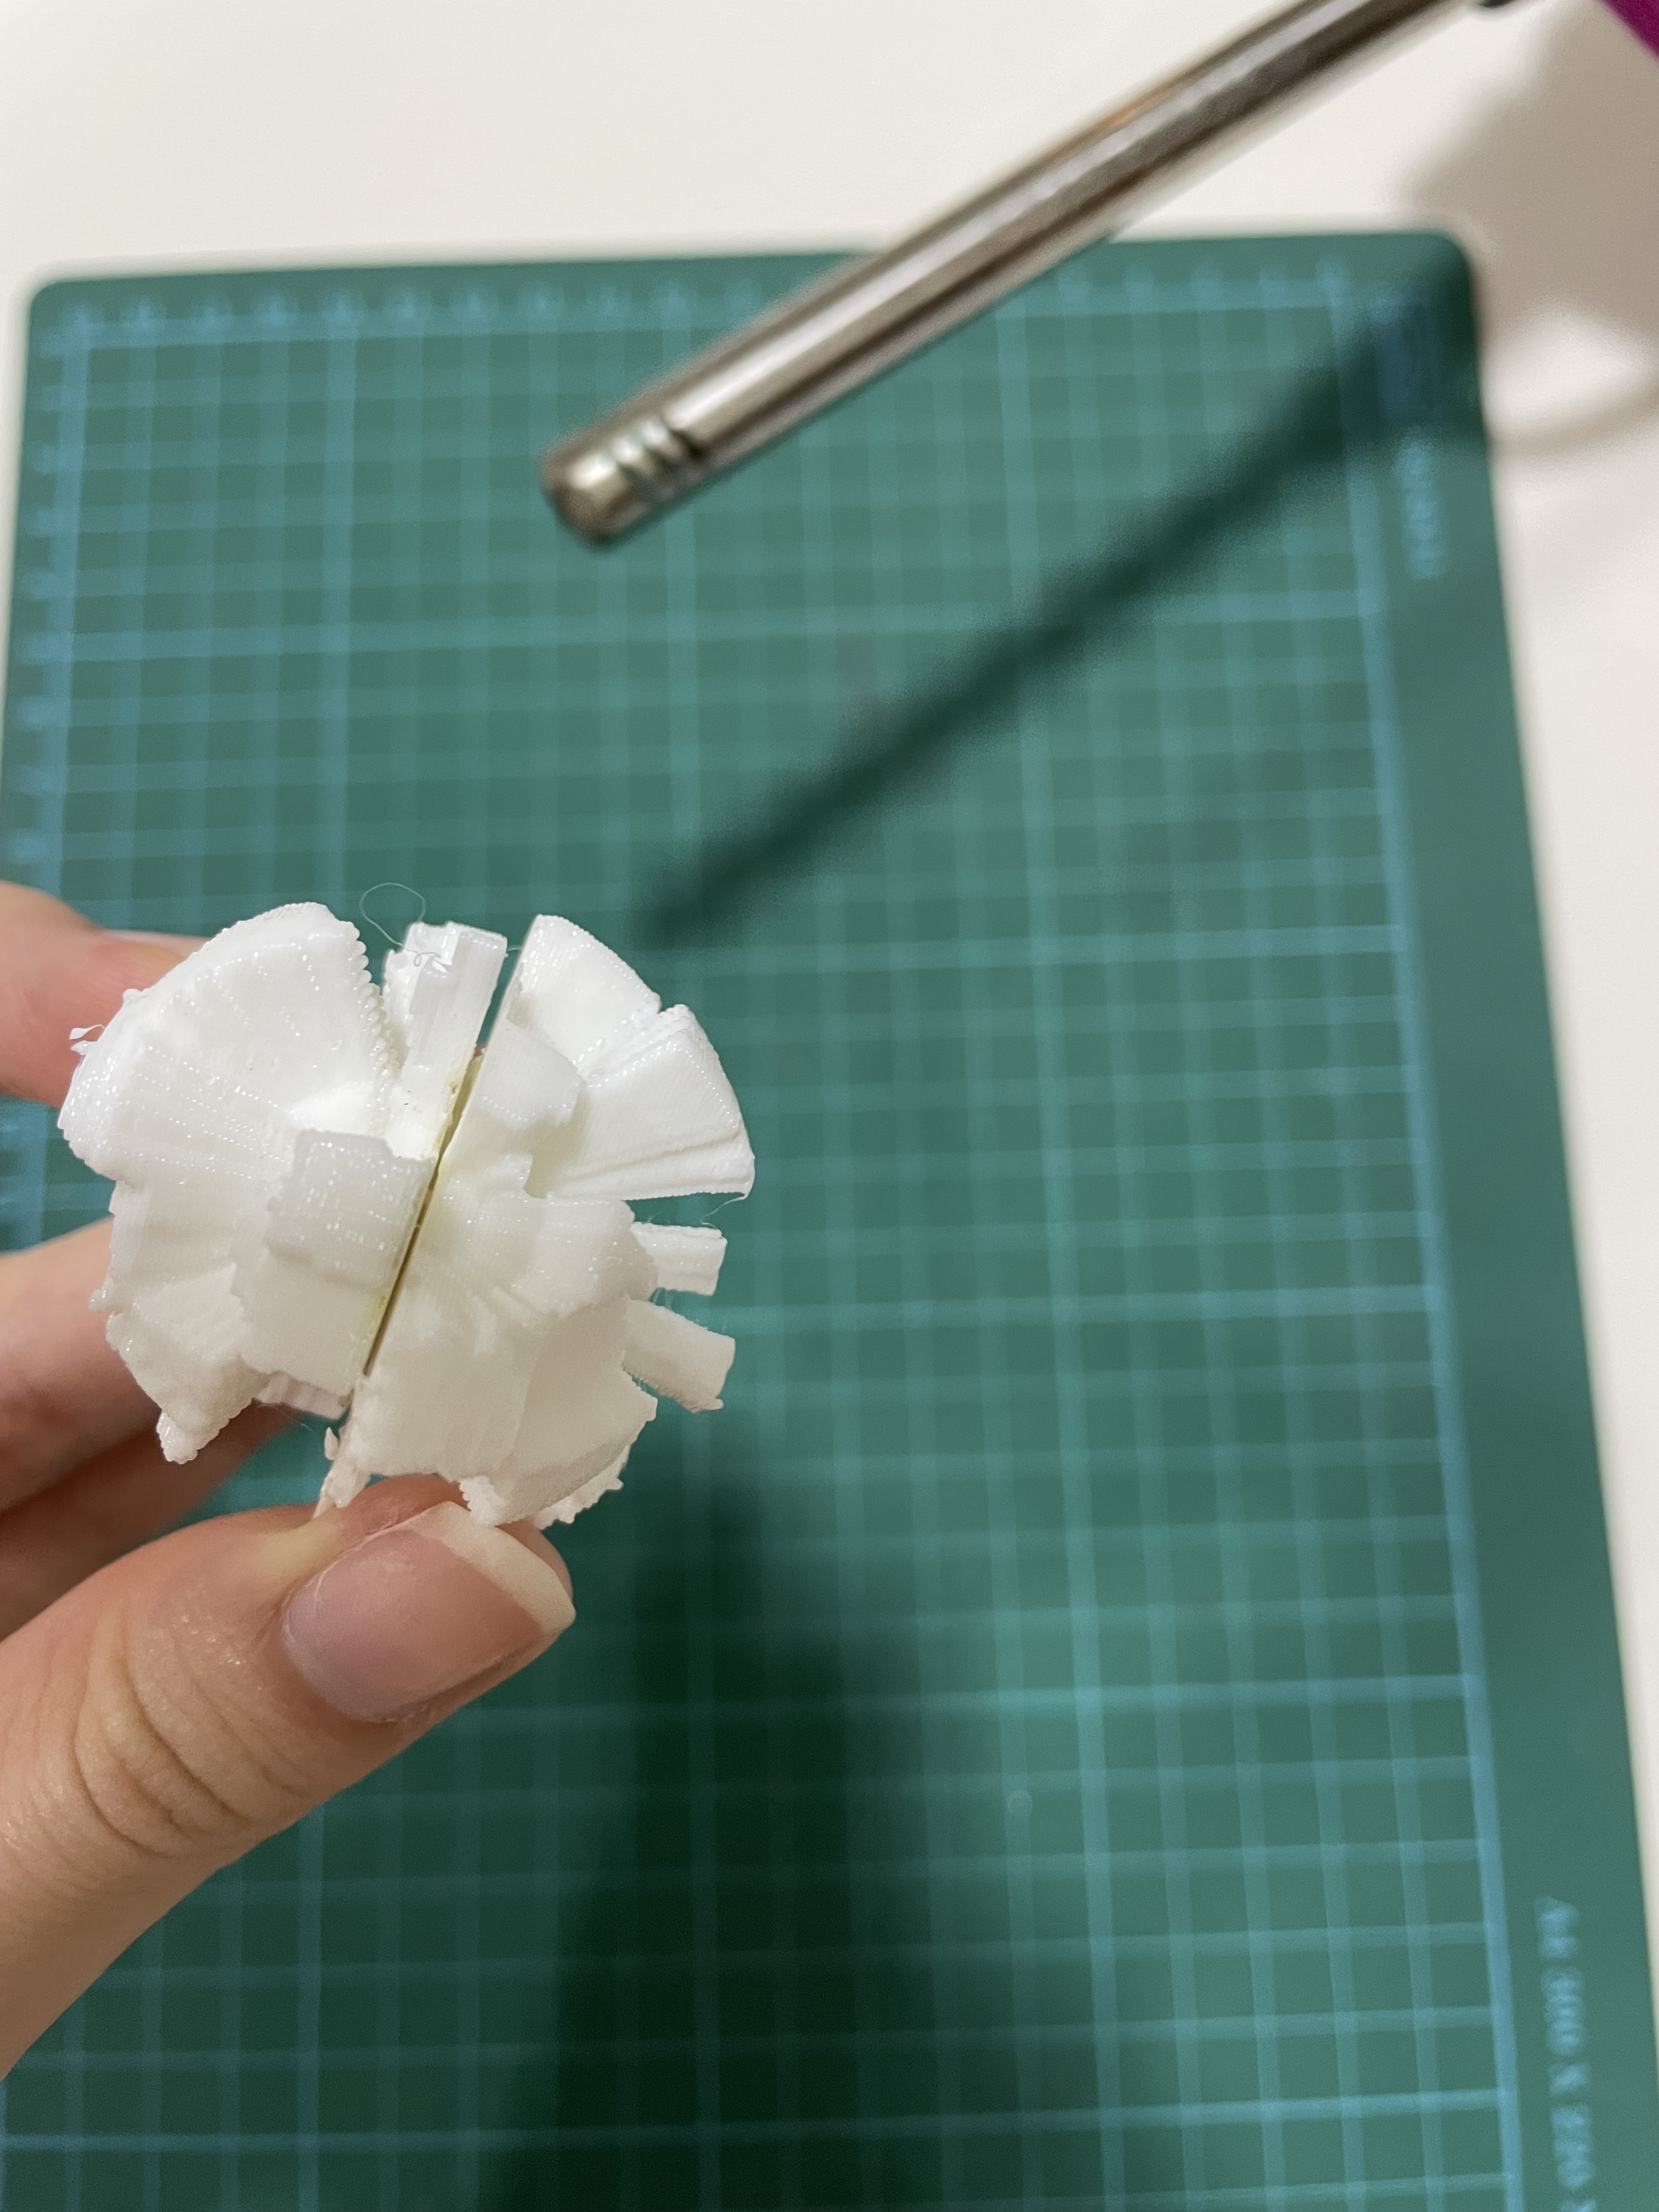
For data objects #12, #13, #14, I used hot glue sticks to paste the halfs together. On my first try with #13, I made the mistake of spreading the glue over the surface of the object. By spreading the glue, the act of reheating the glue stick, applying it and spreading it out took too much time, which caused the glue to dry up before I am able to stick the other half on. Hence, in this first try, the blend isn't very seamless as the dried up glue created a gap between the halfs.
PUBLICATIONS
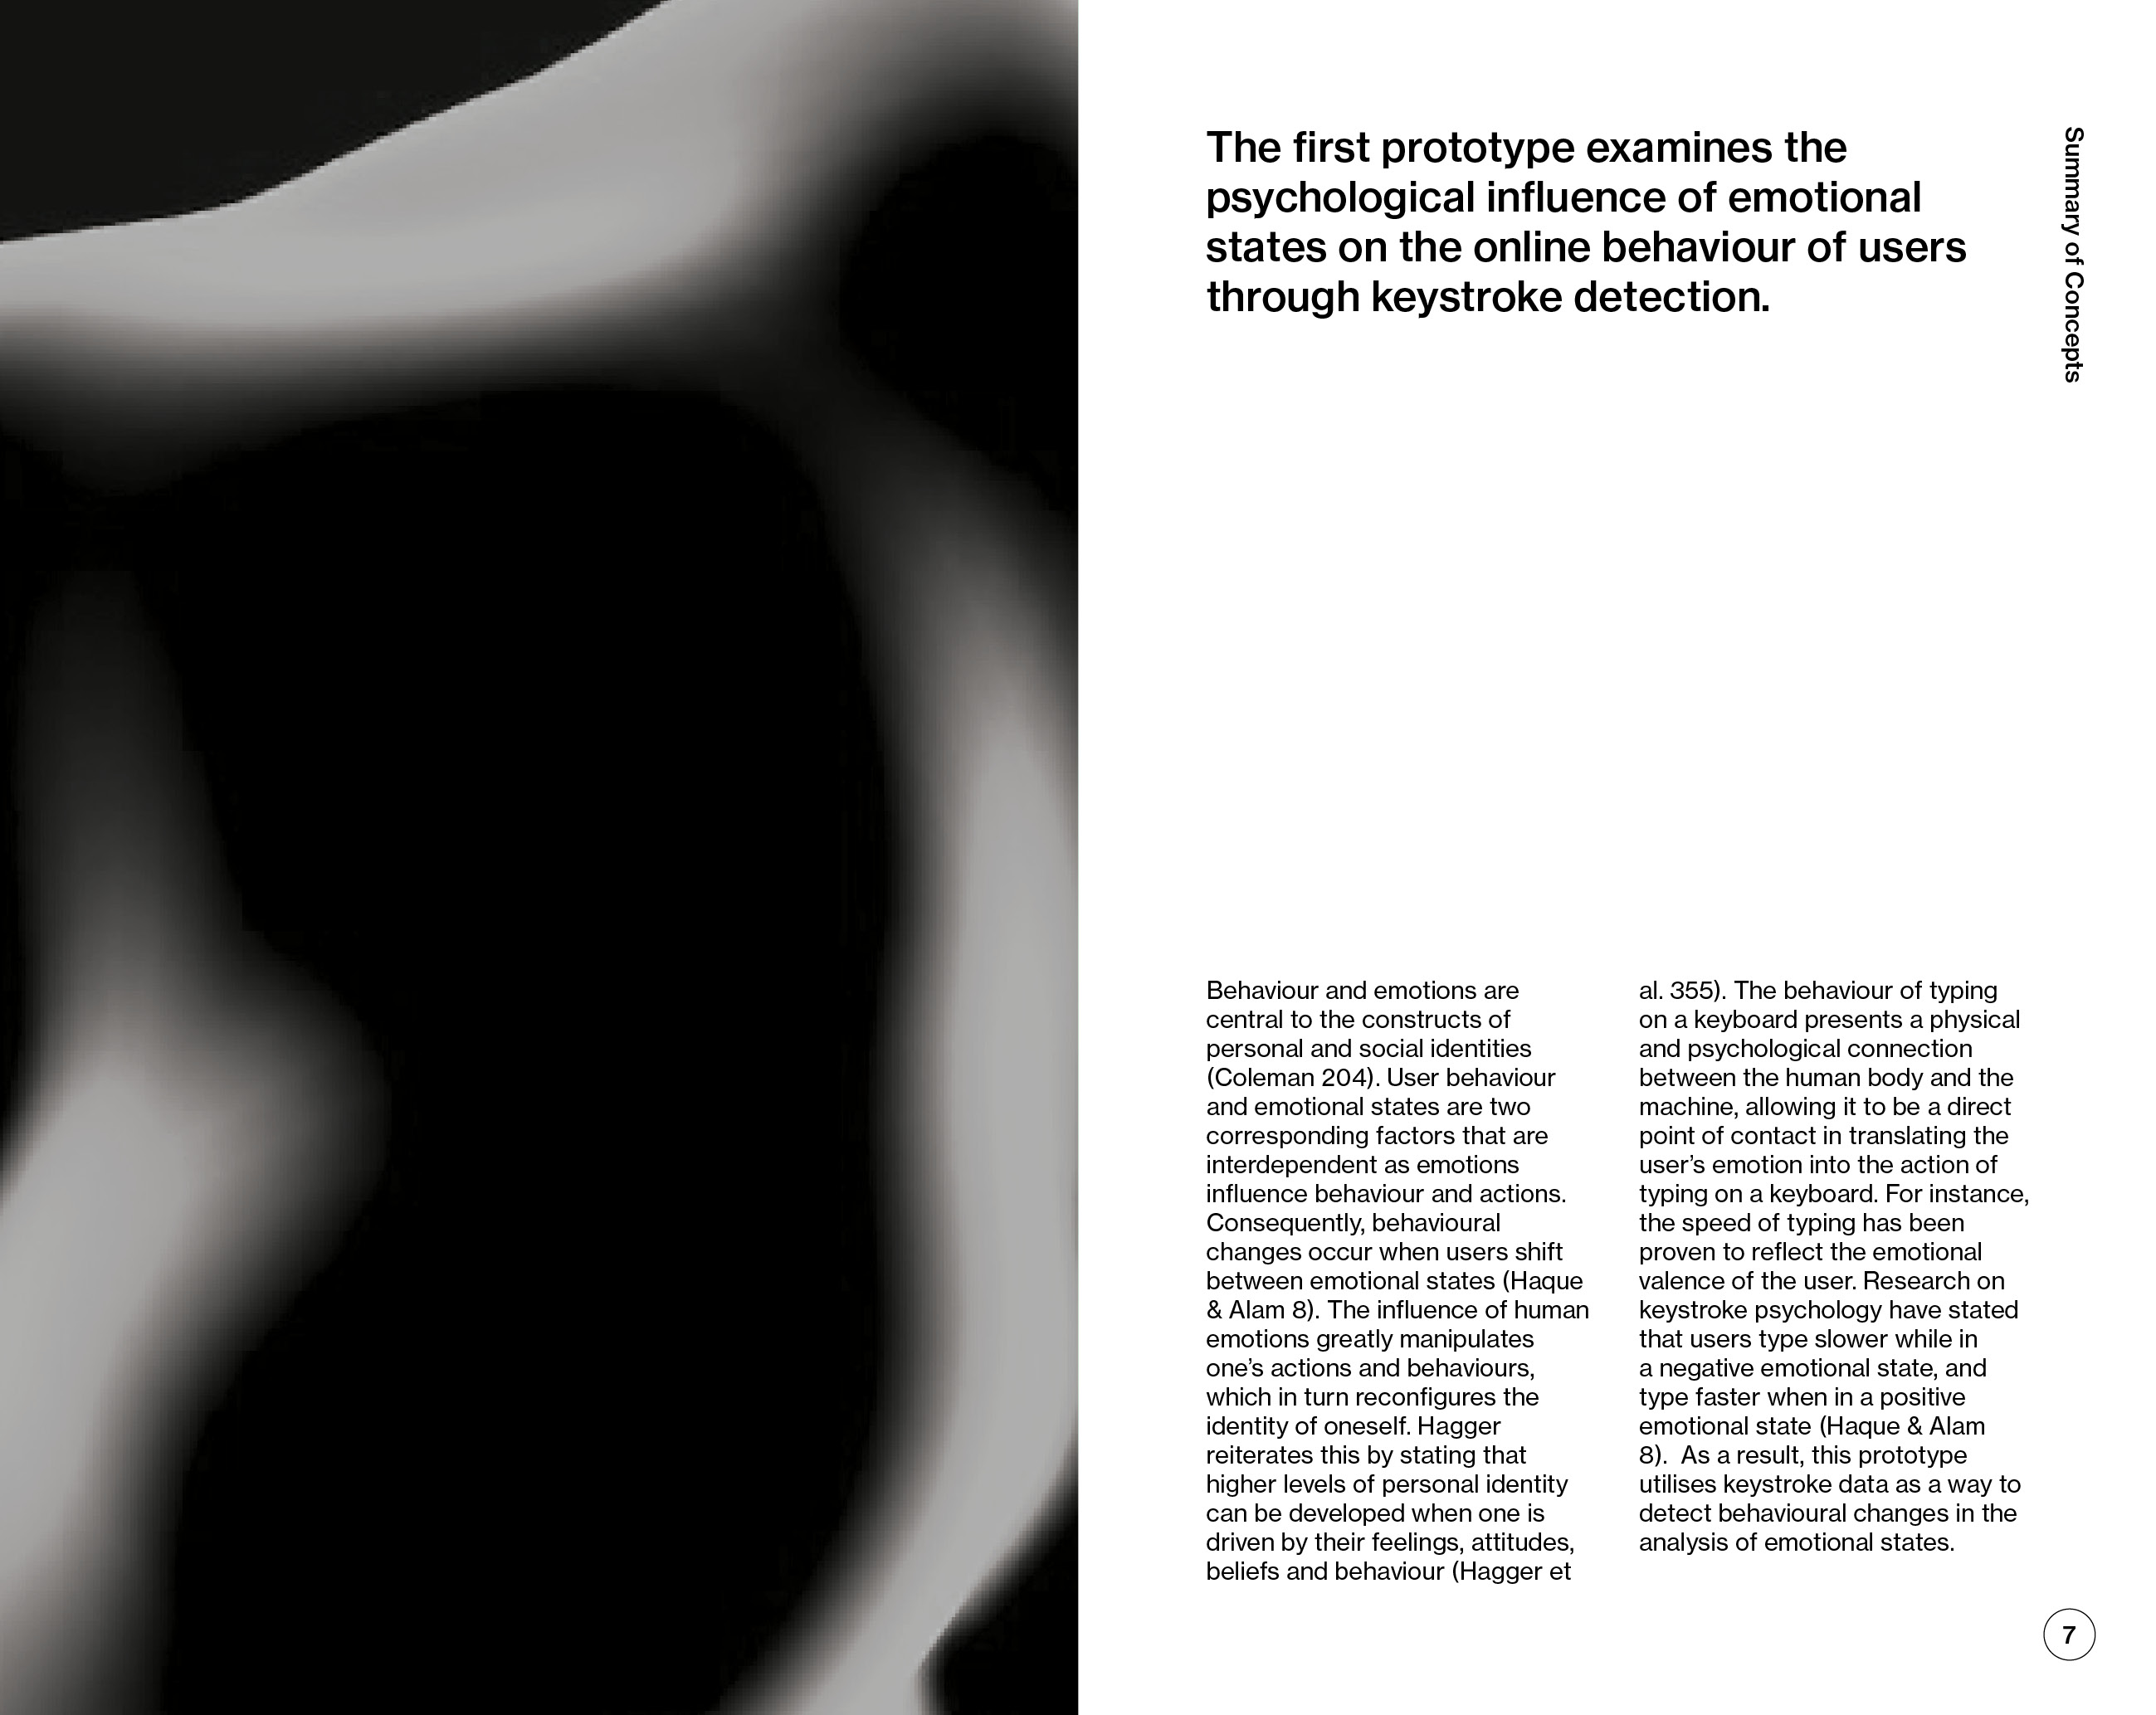
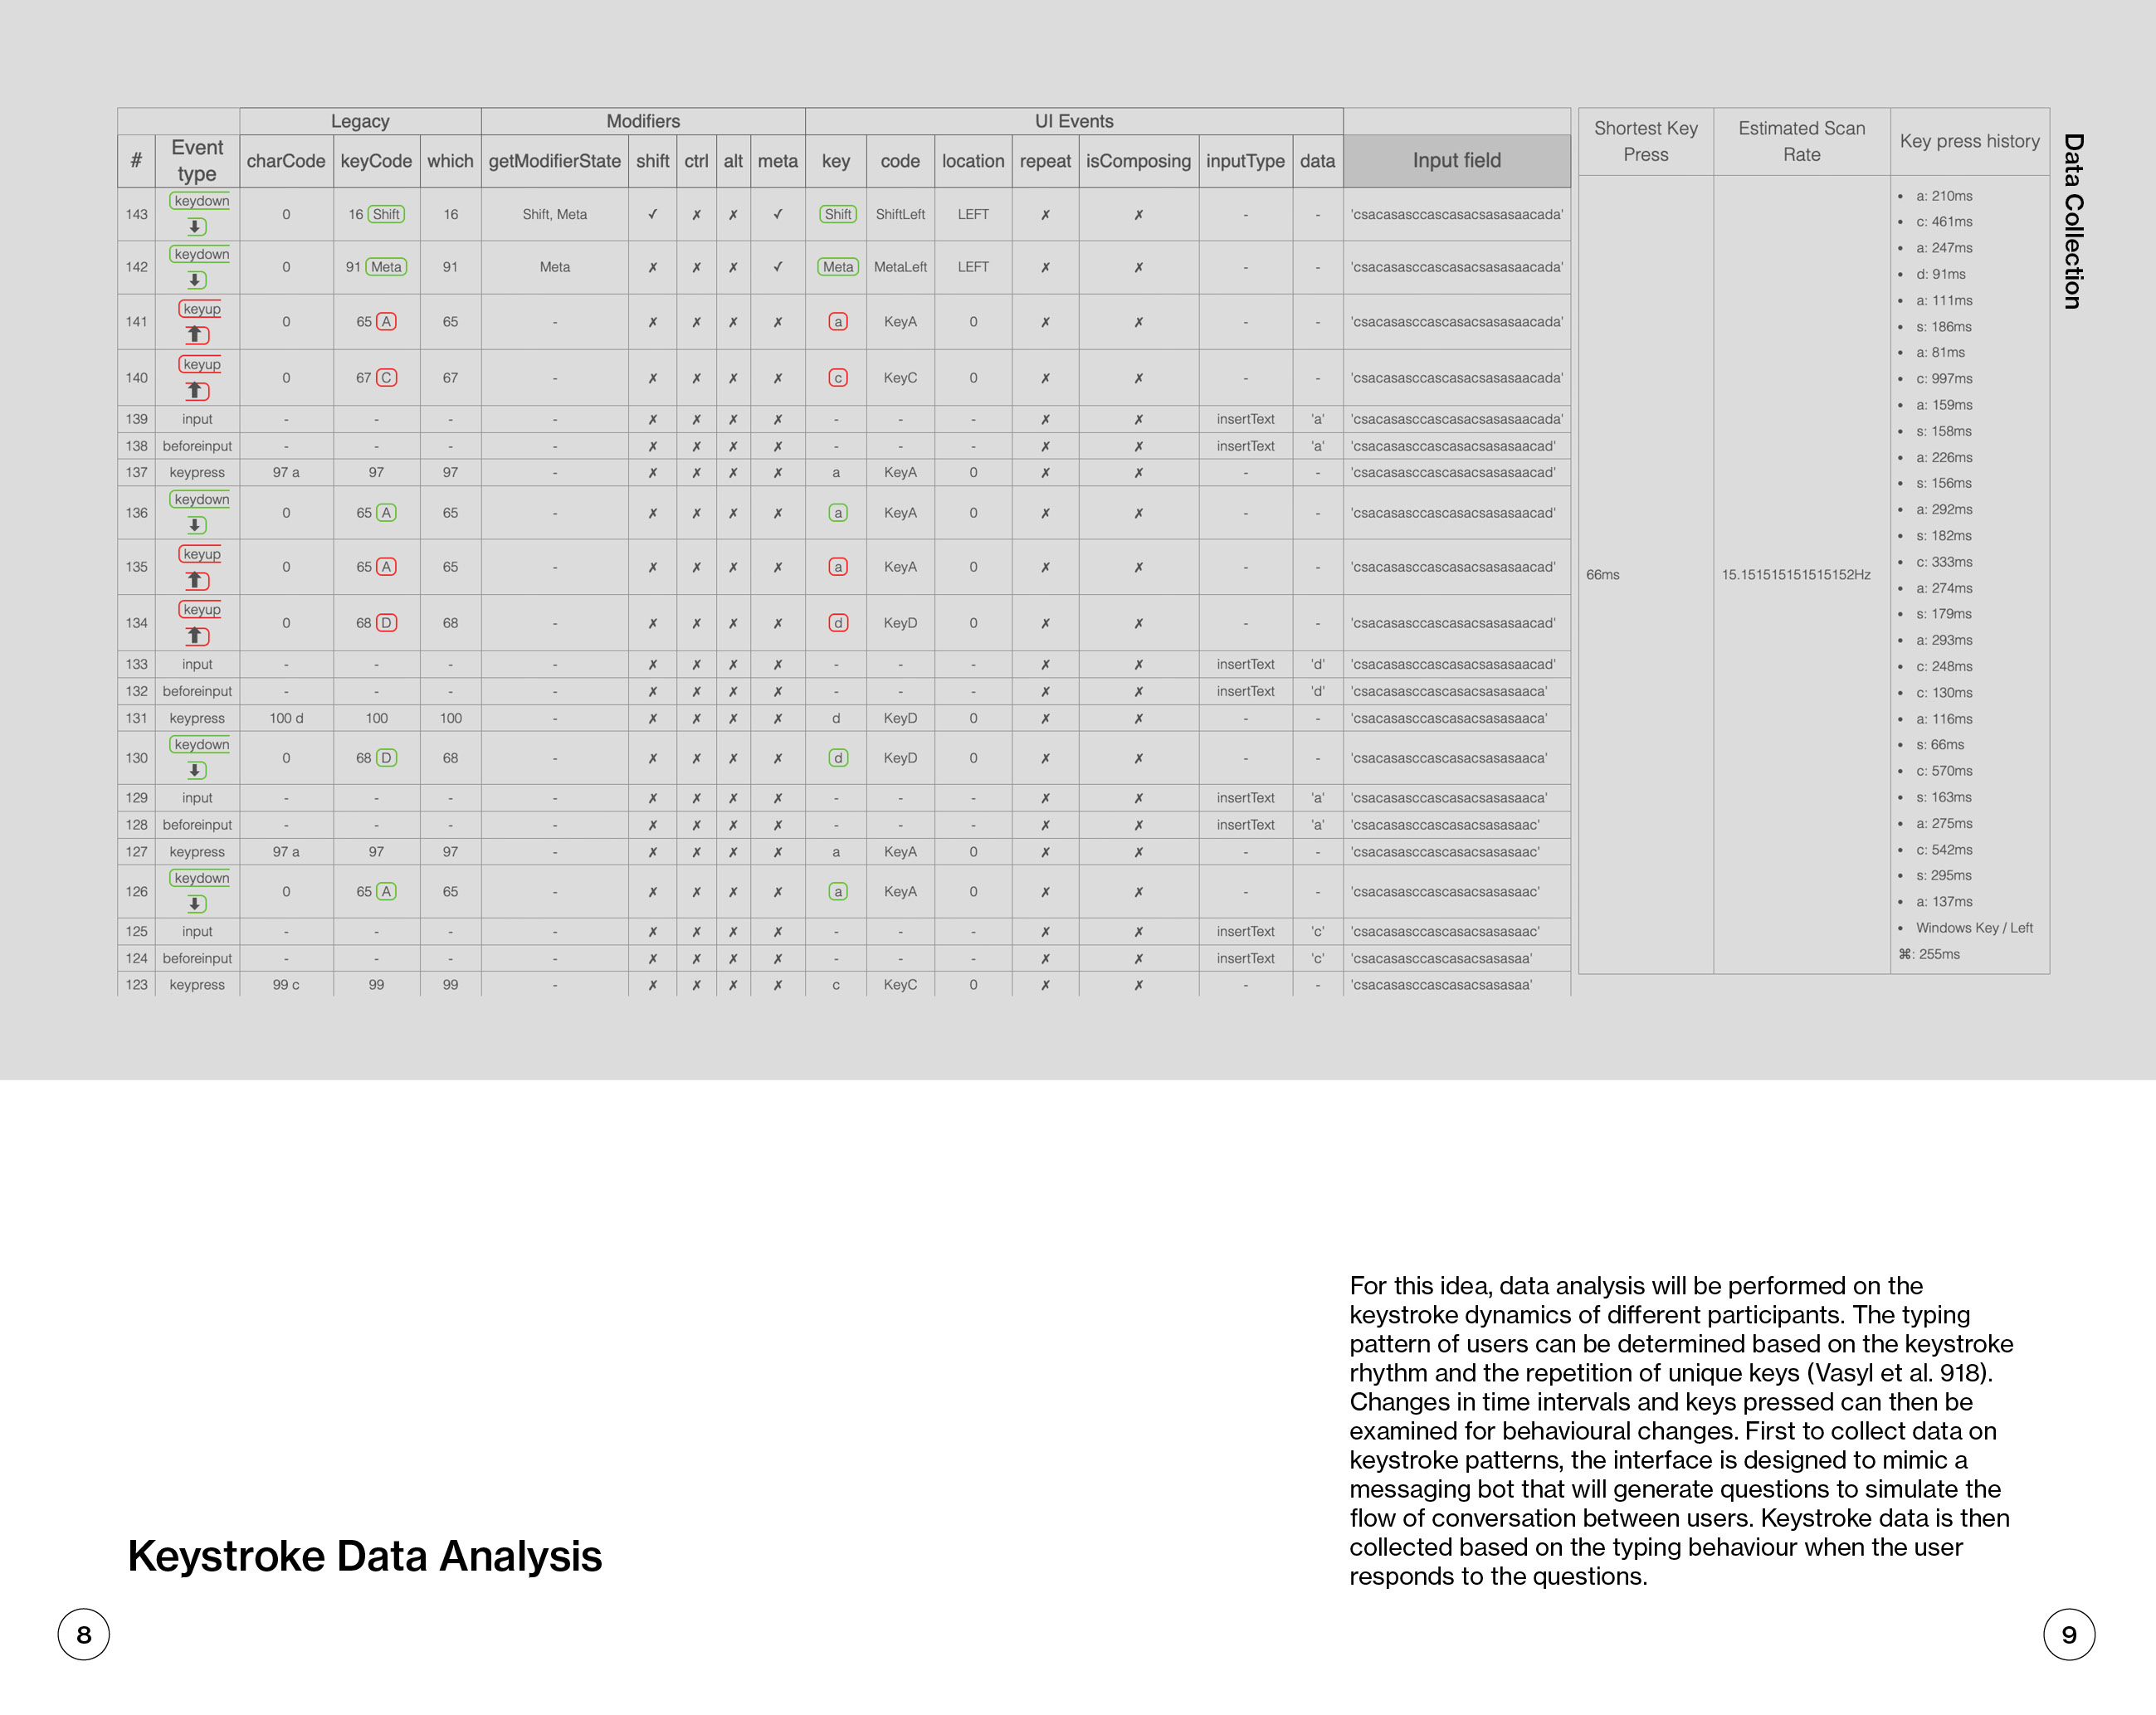
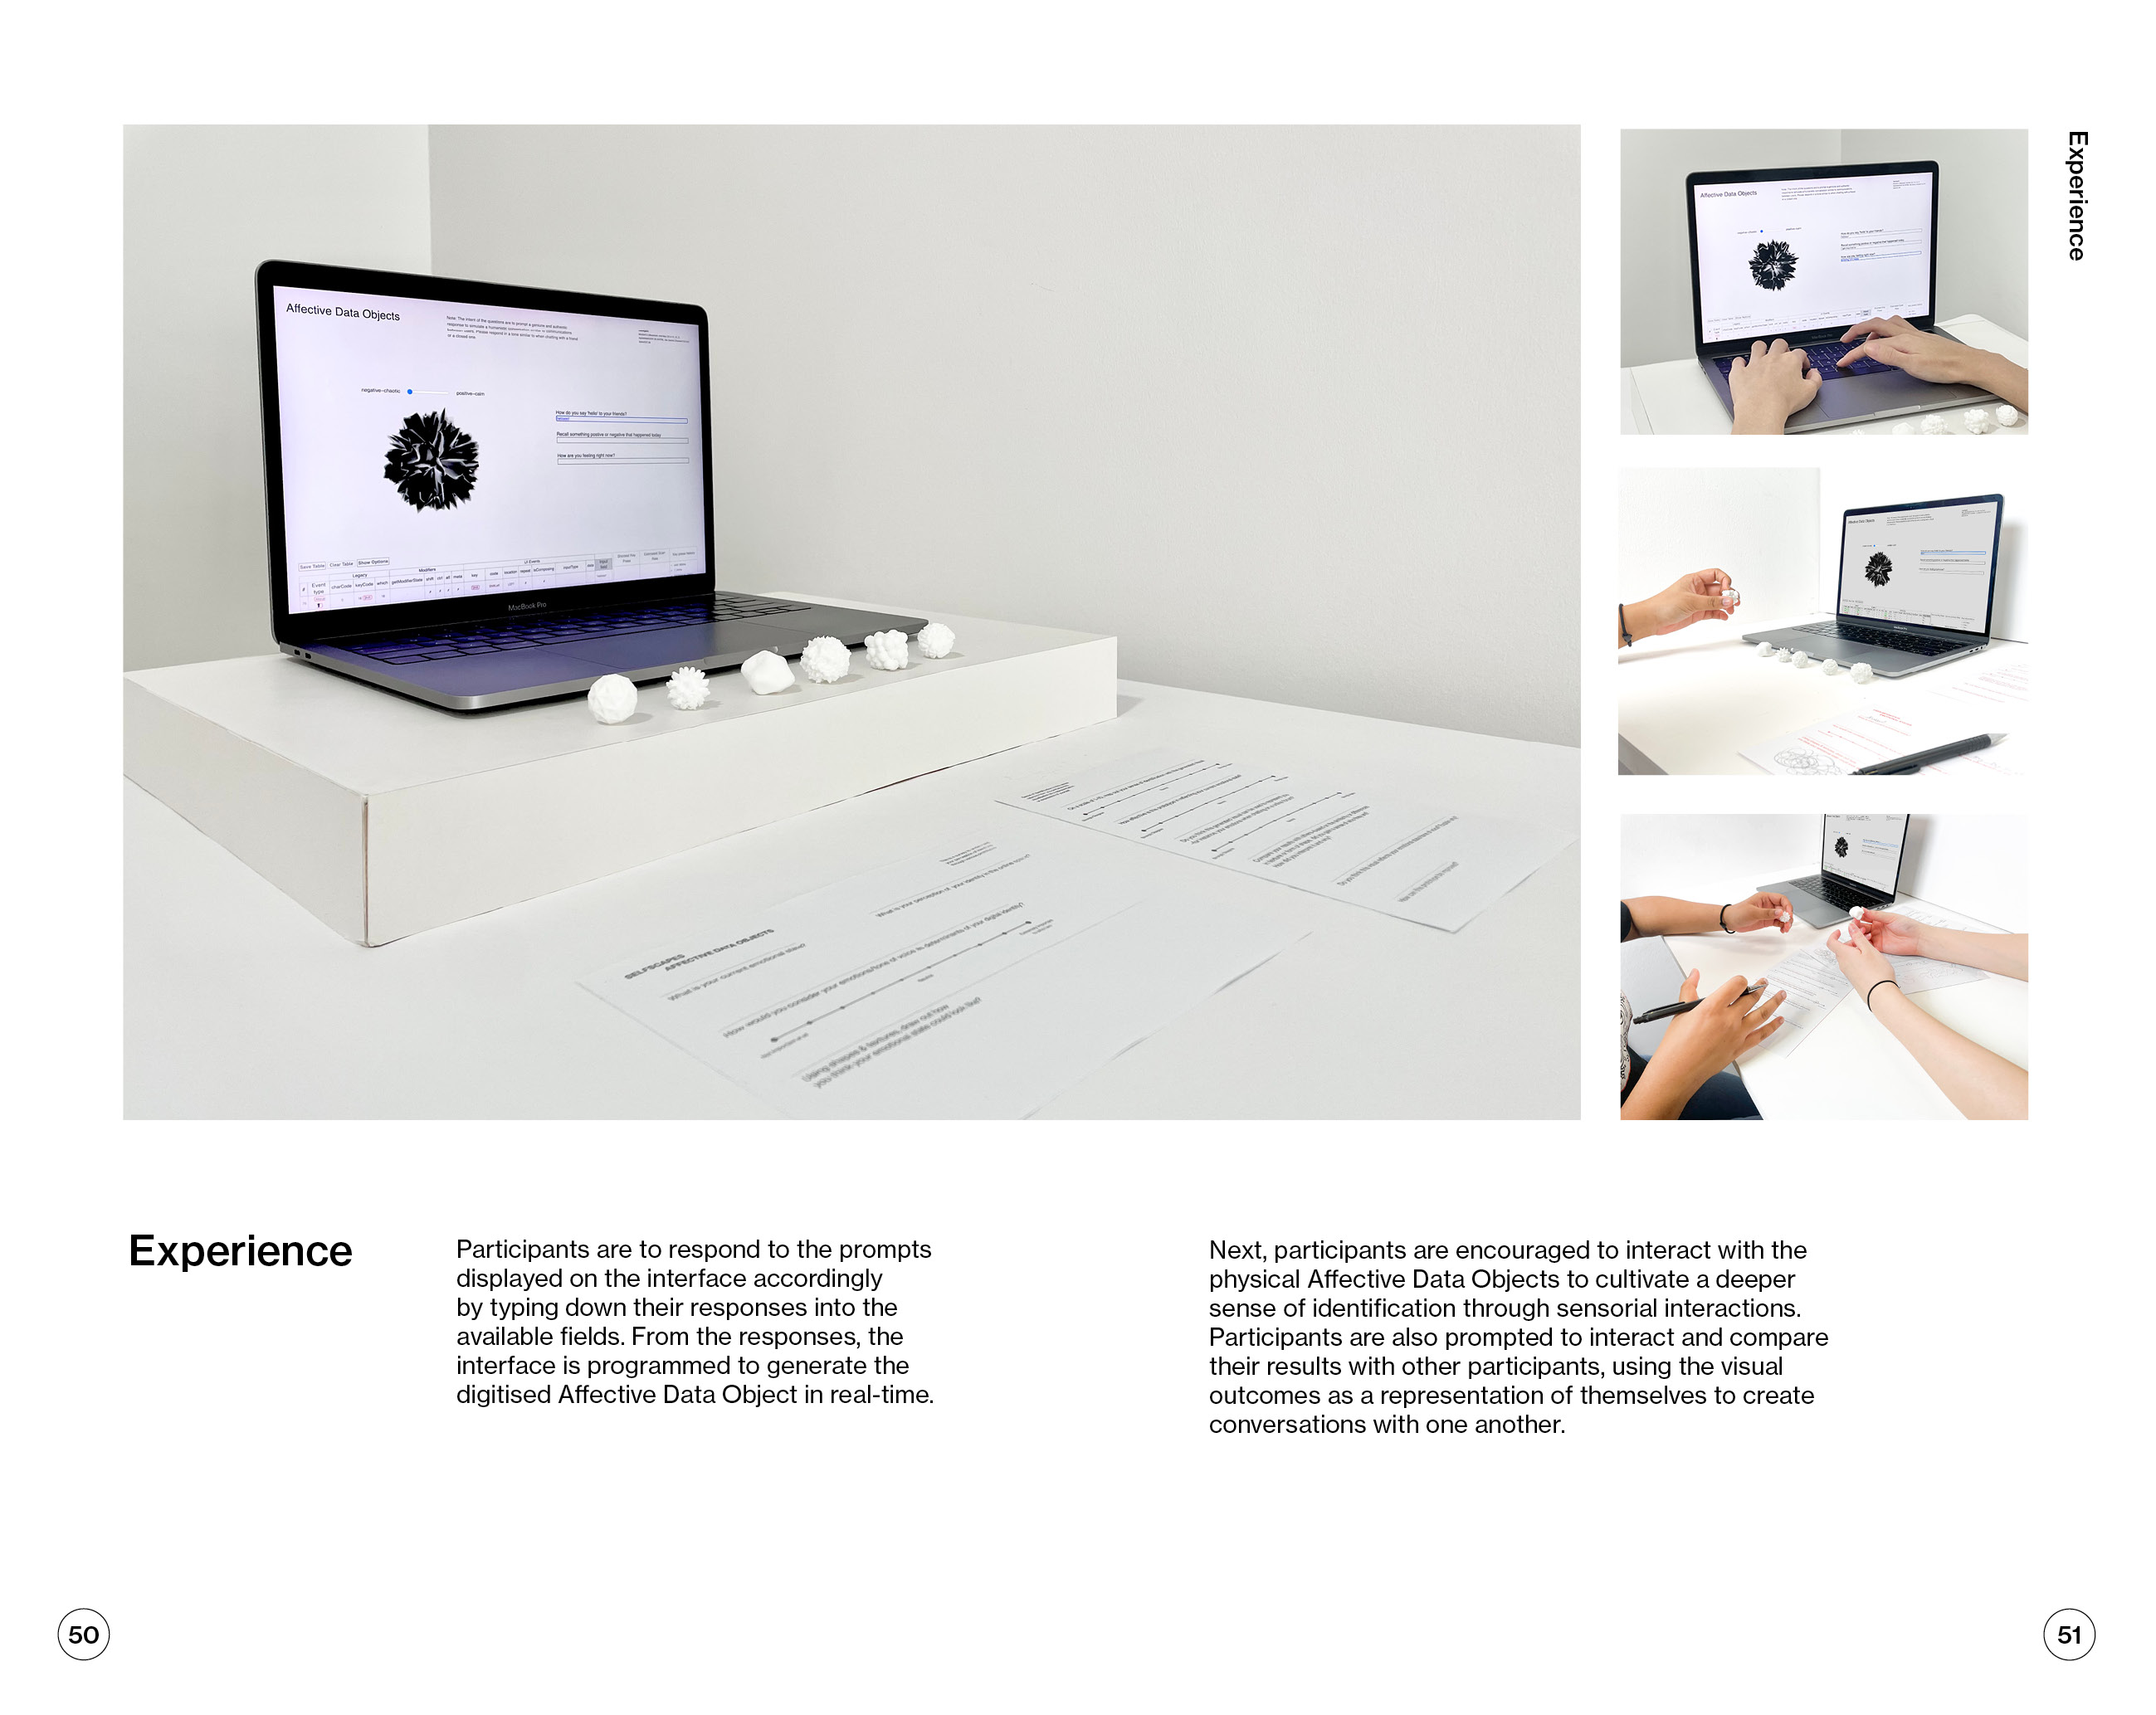
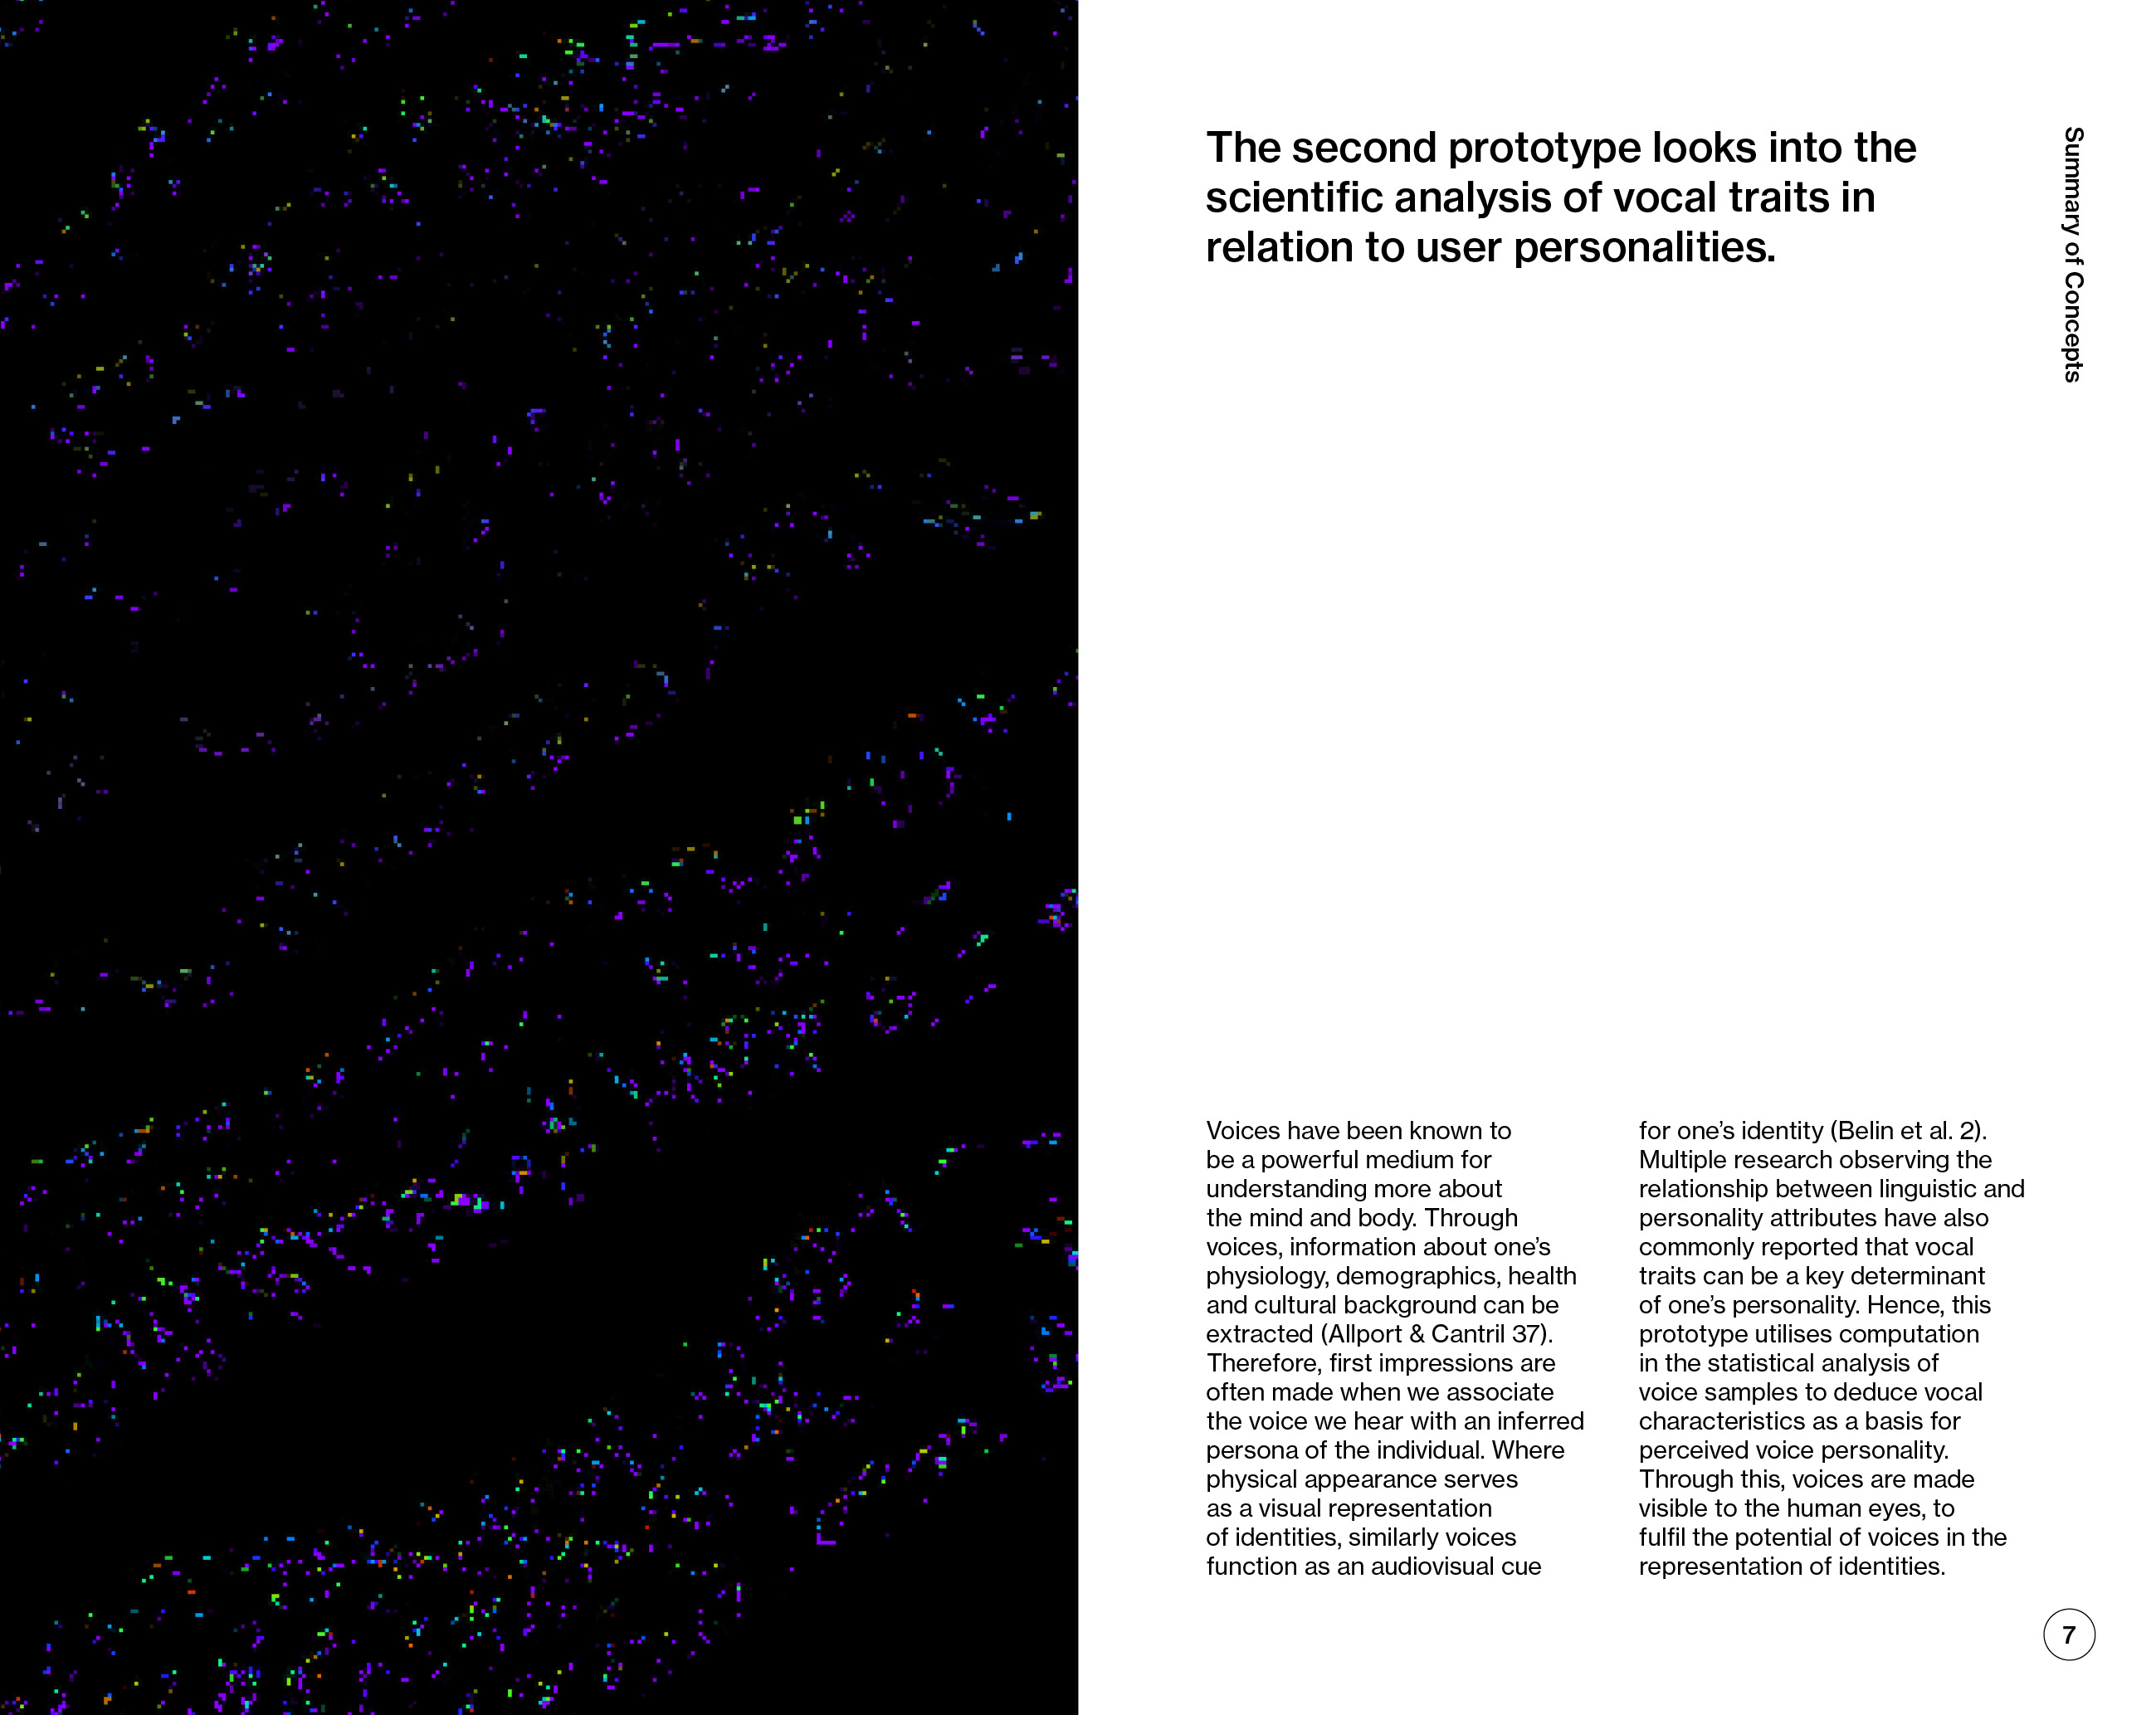
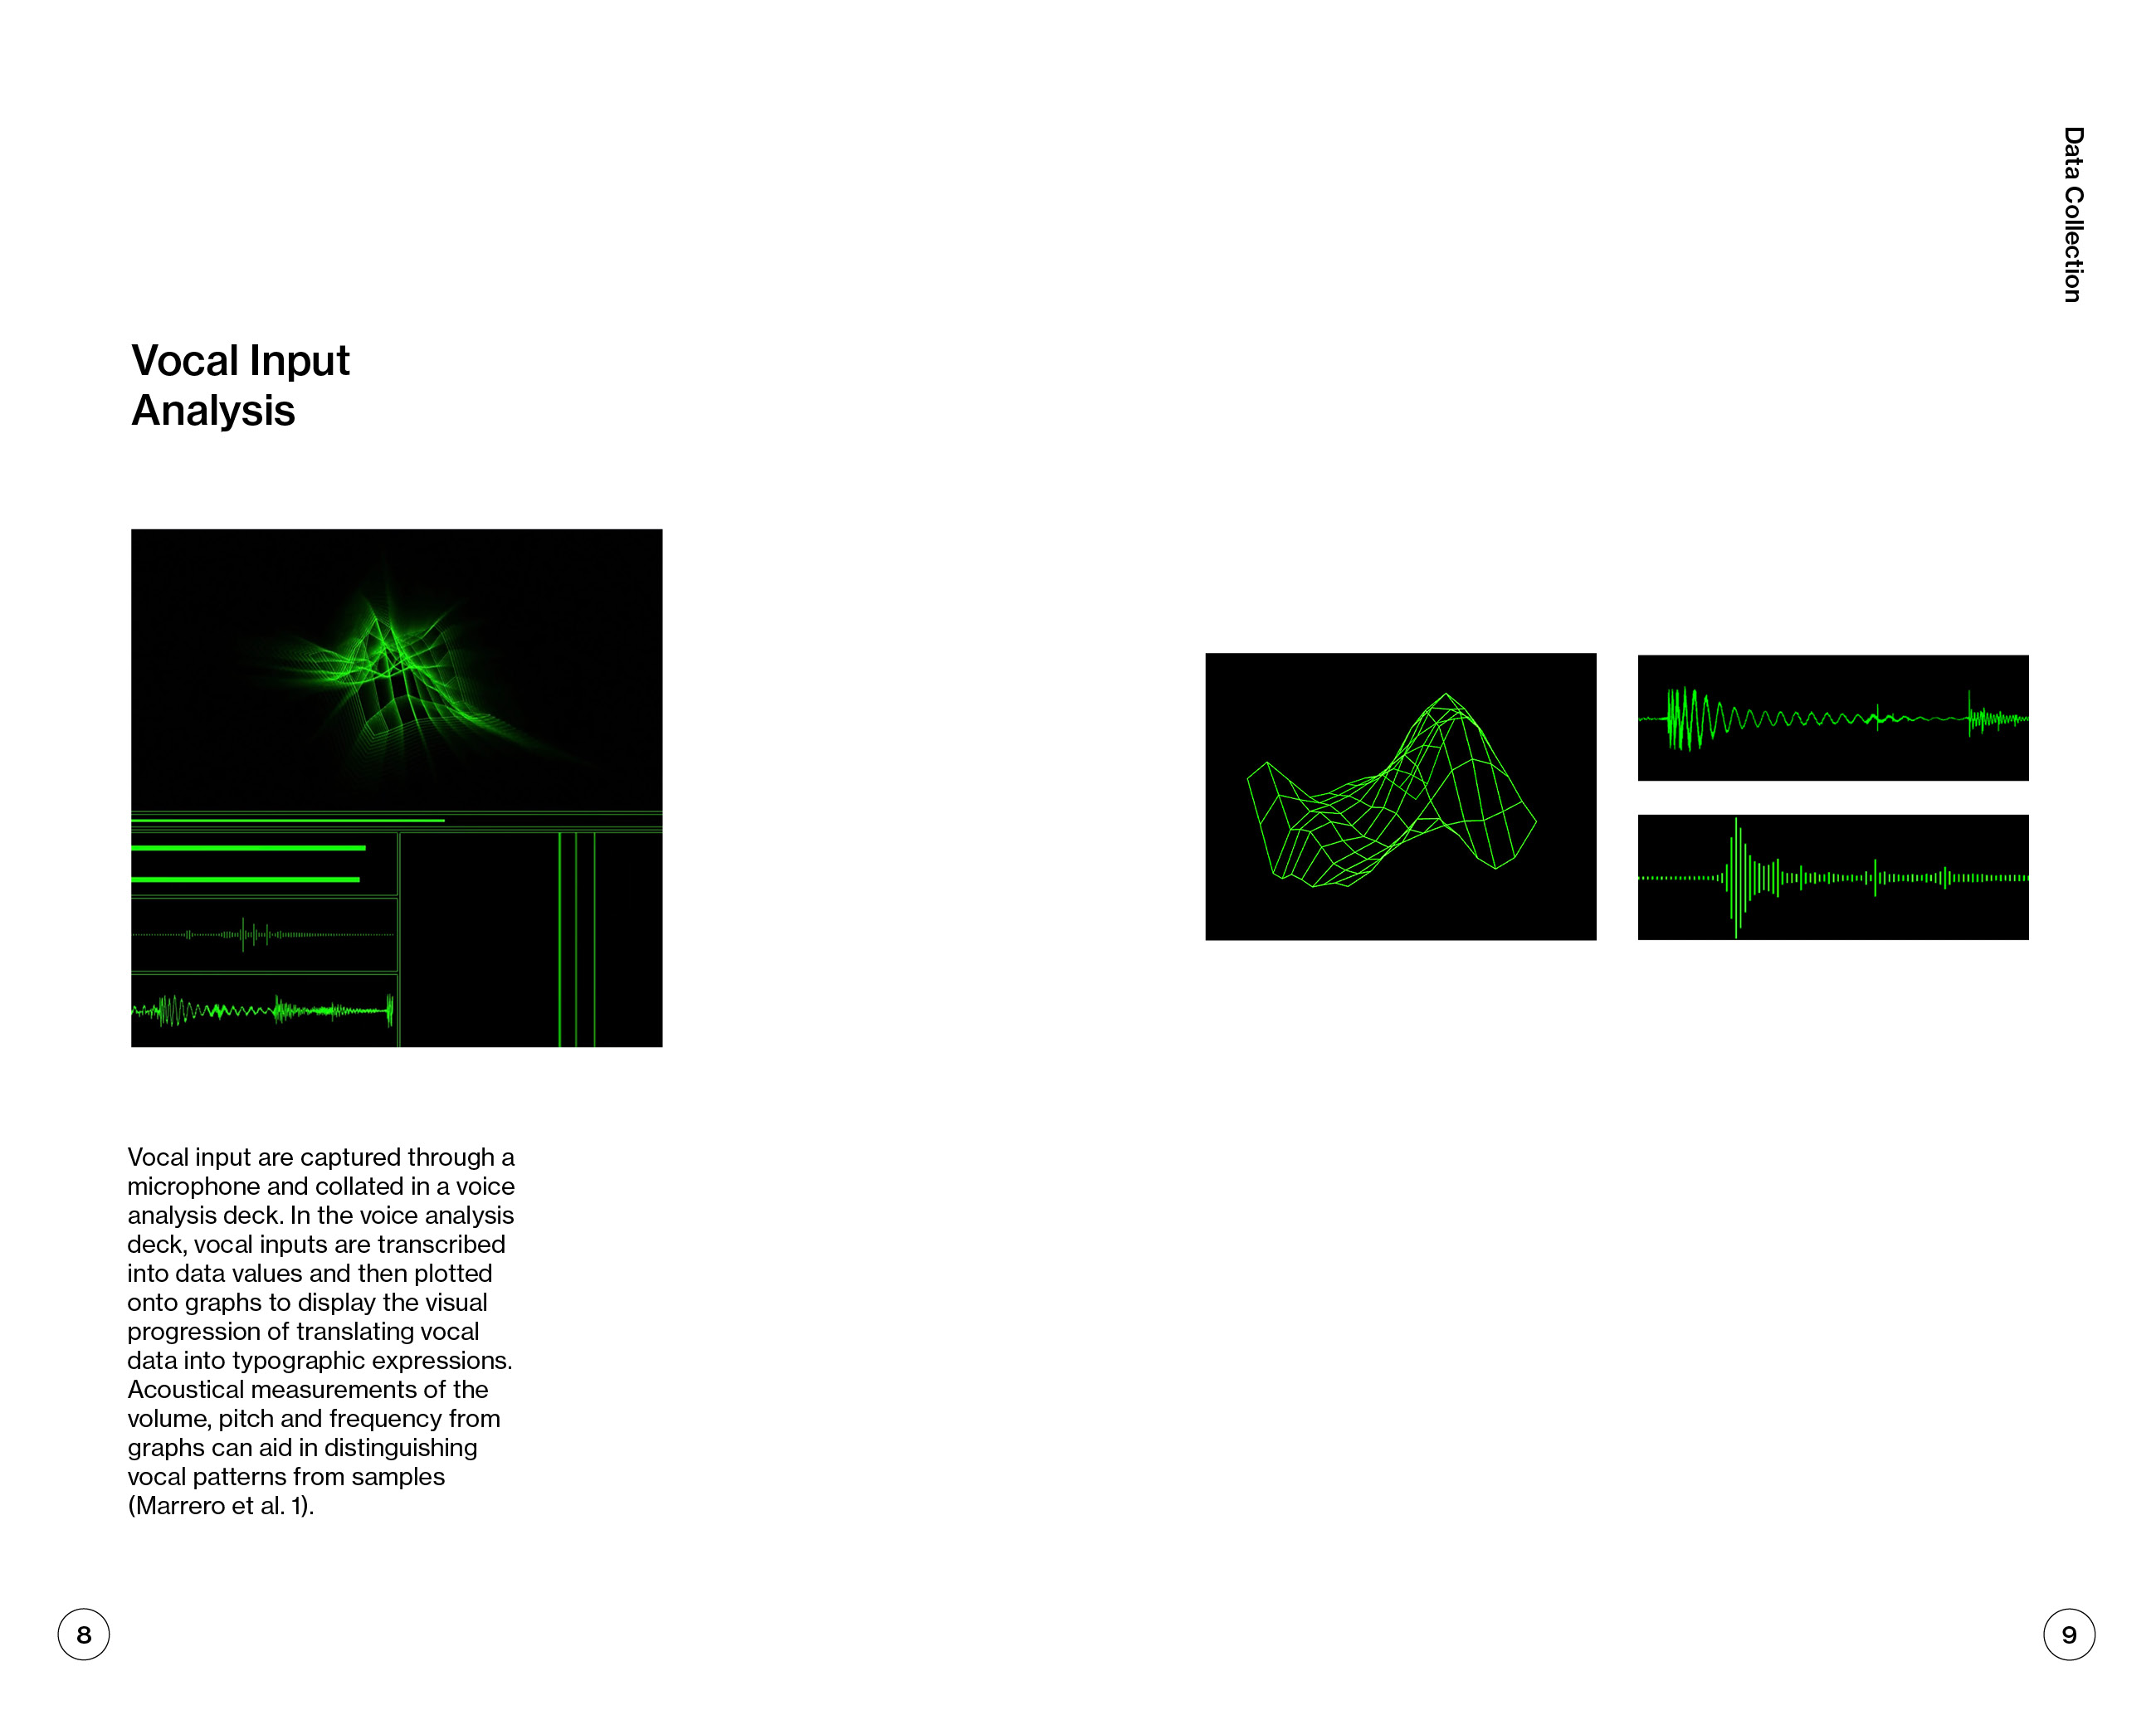
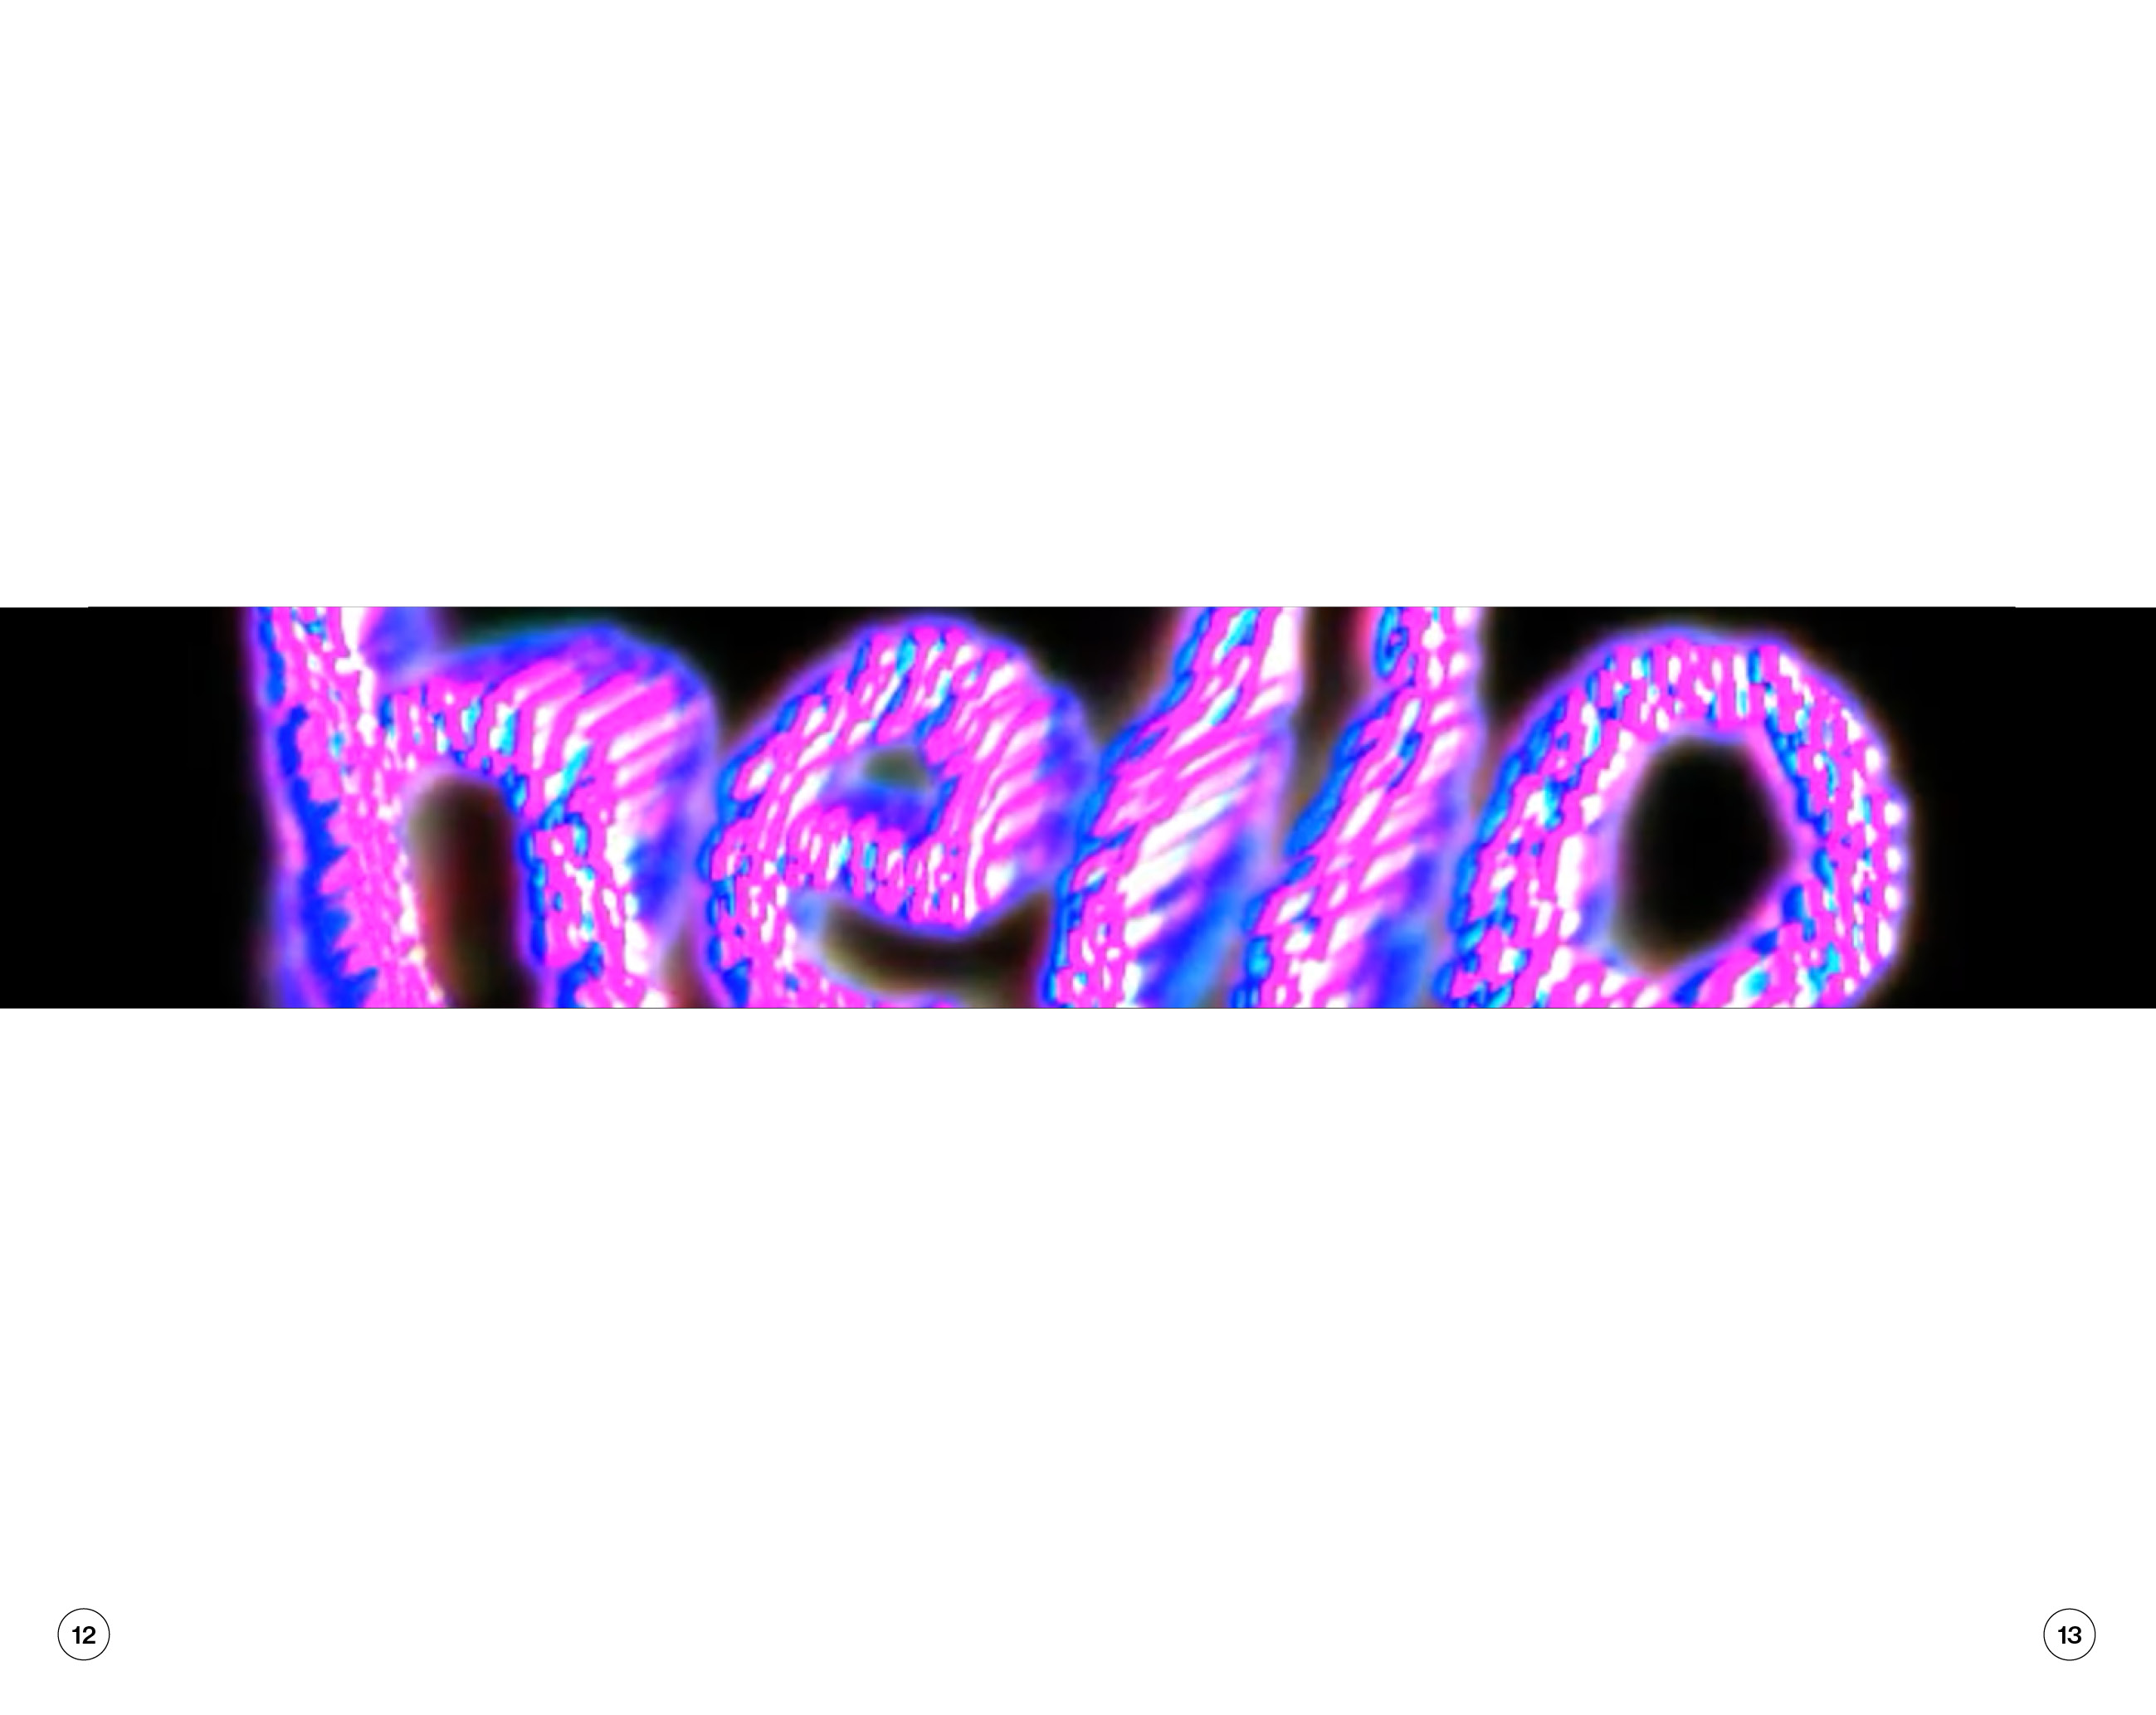
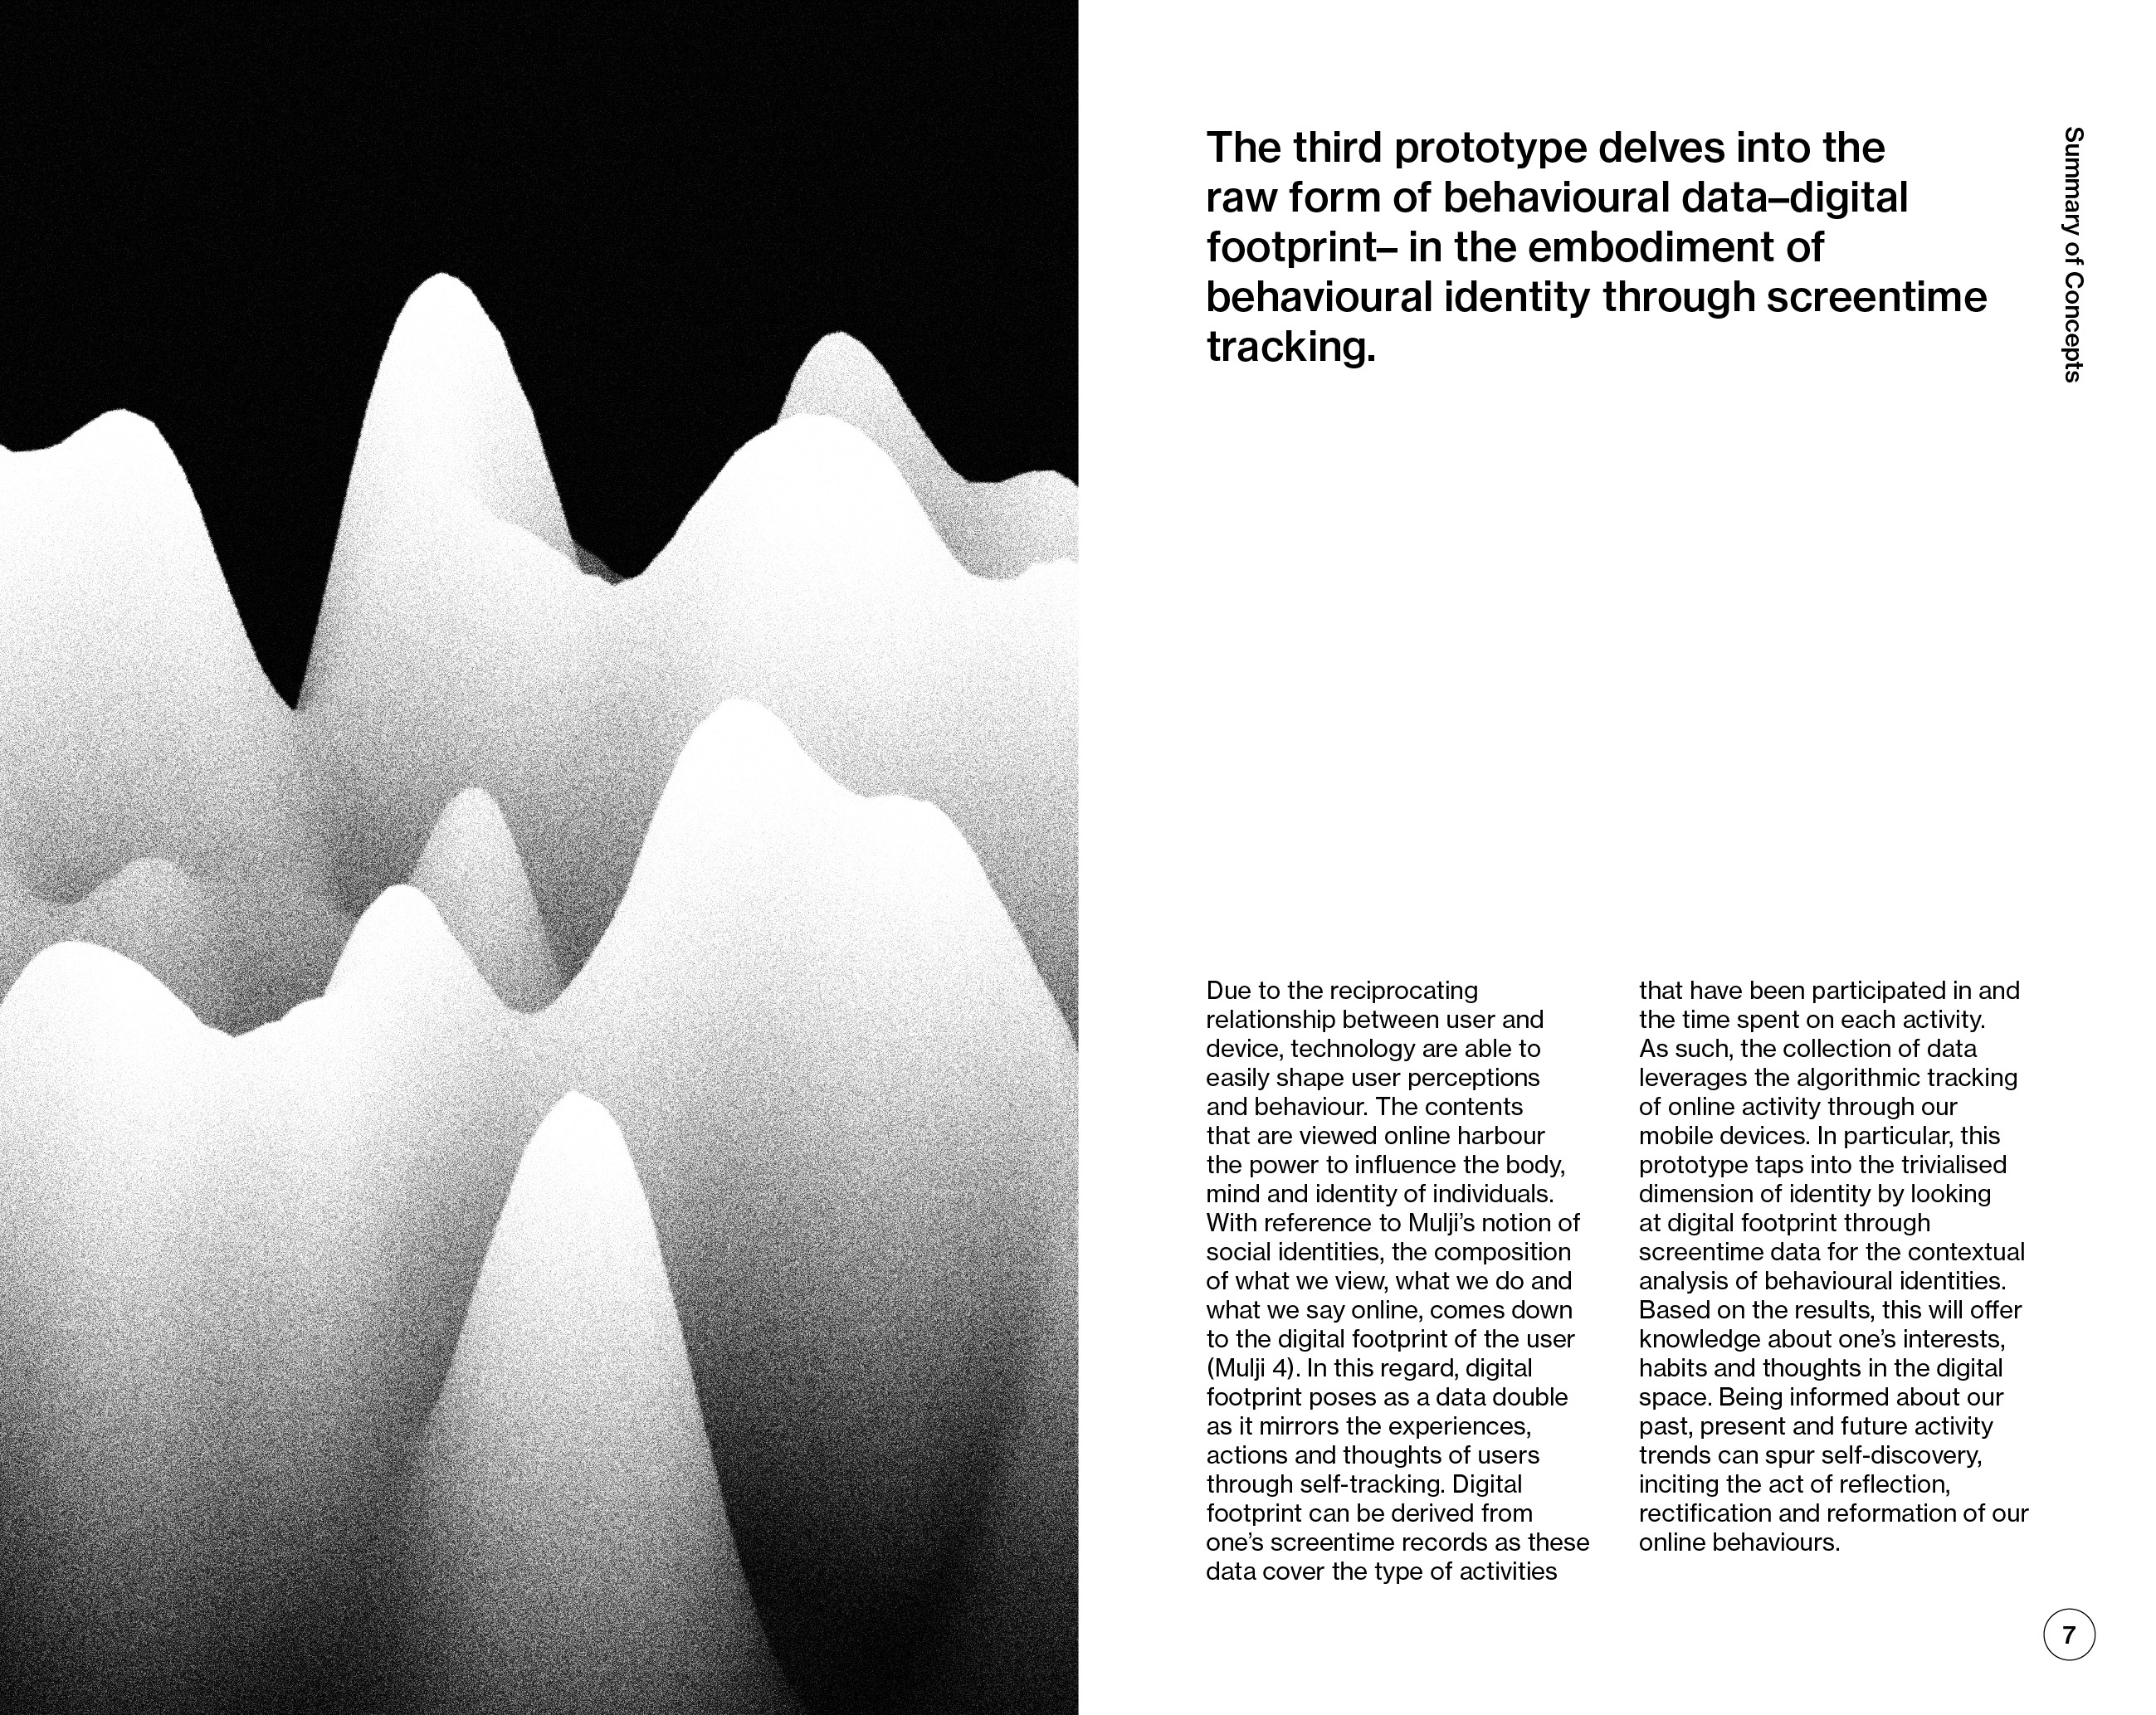
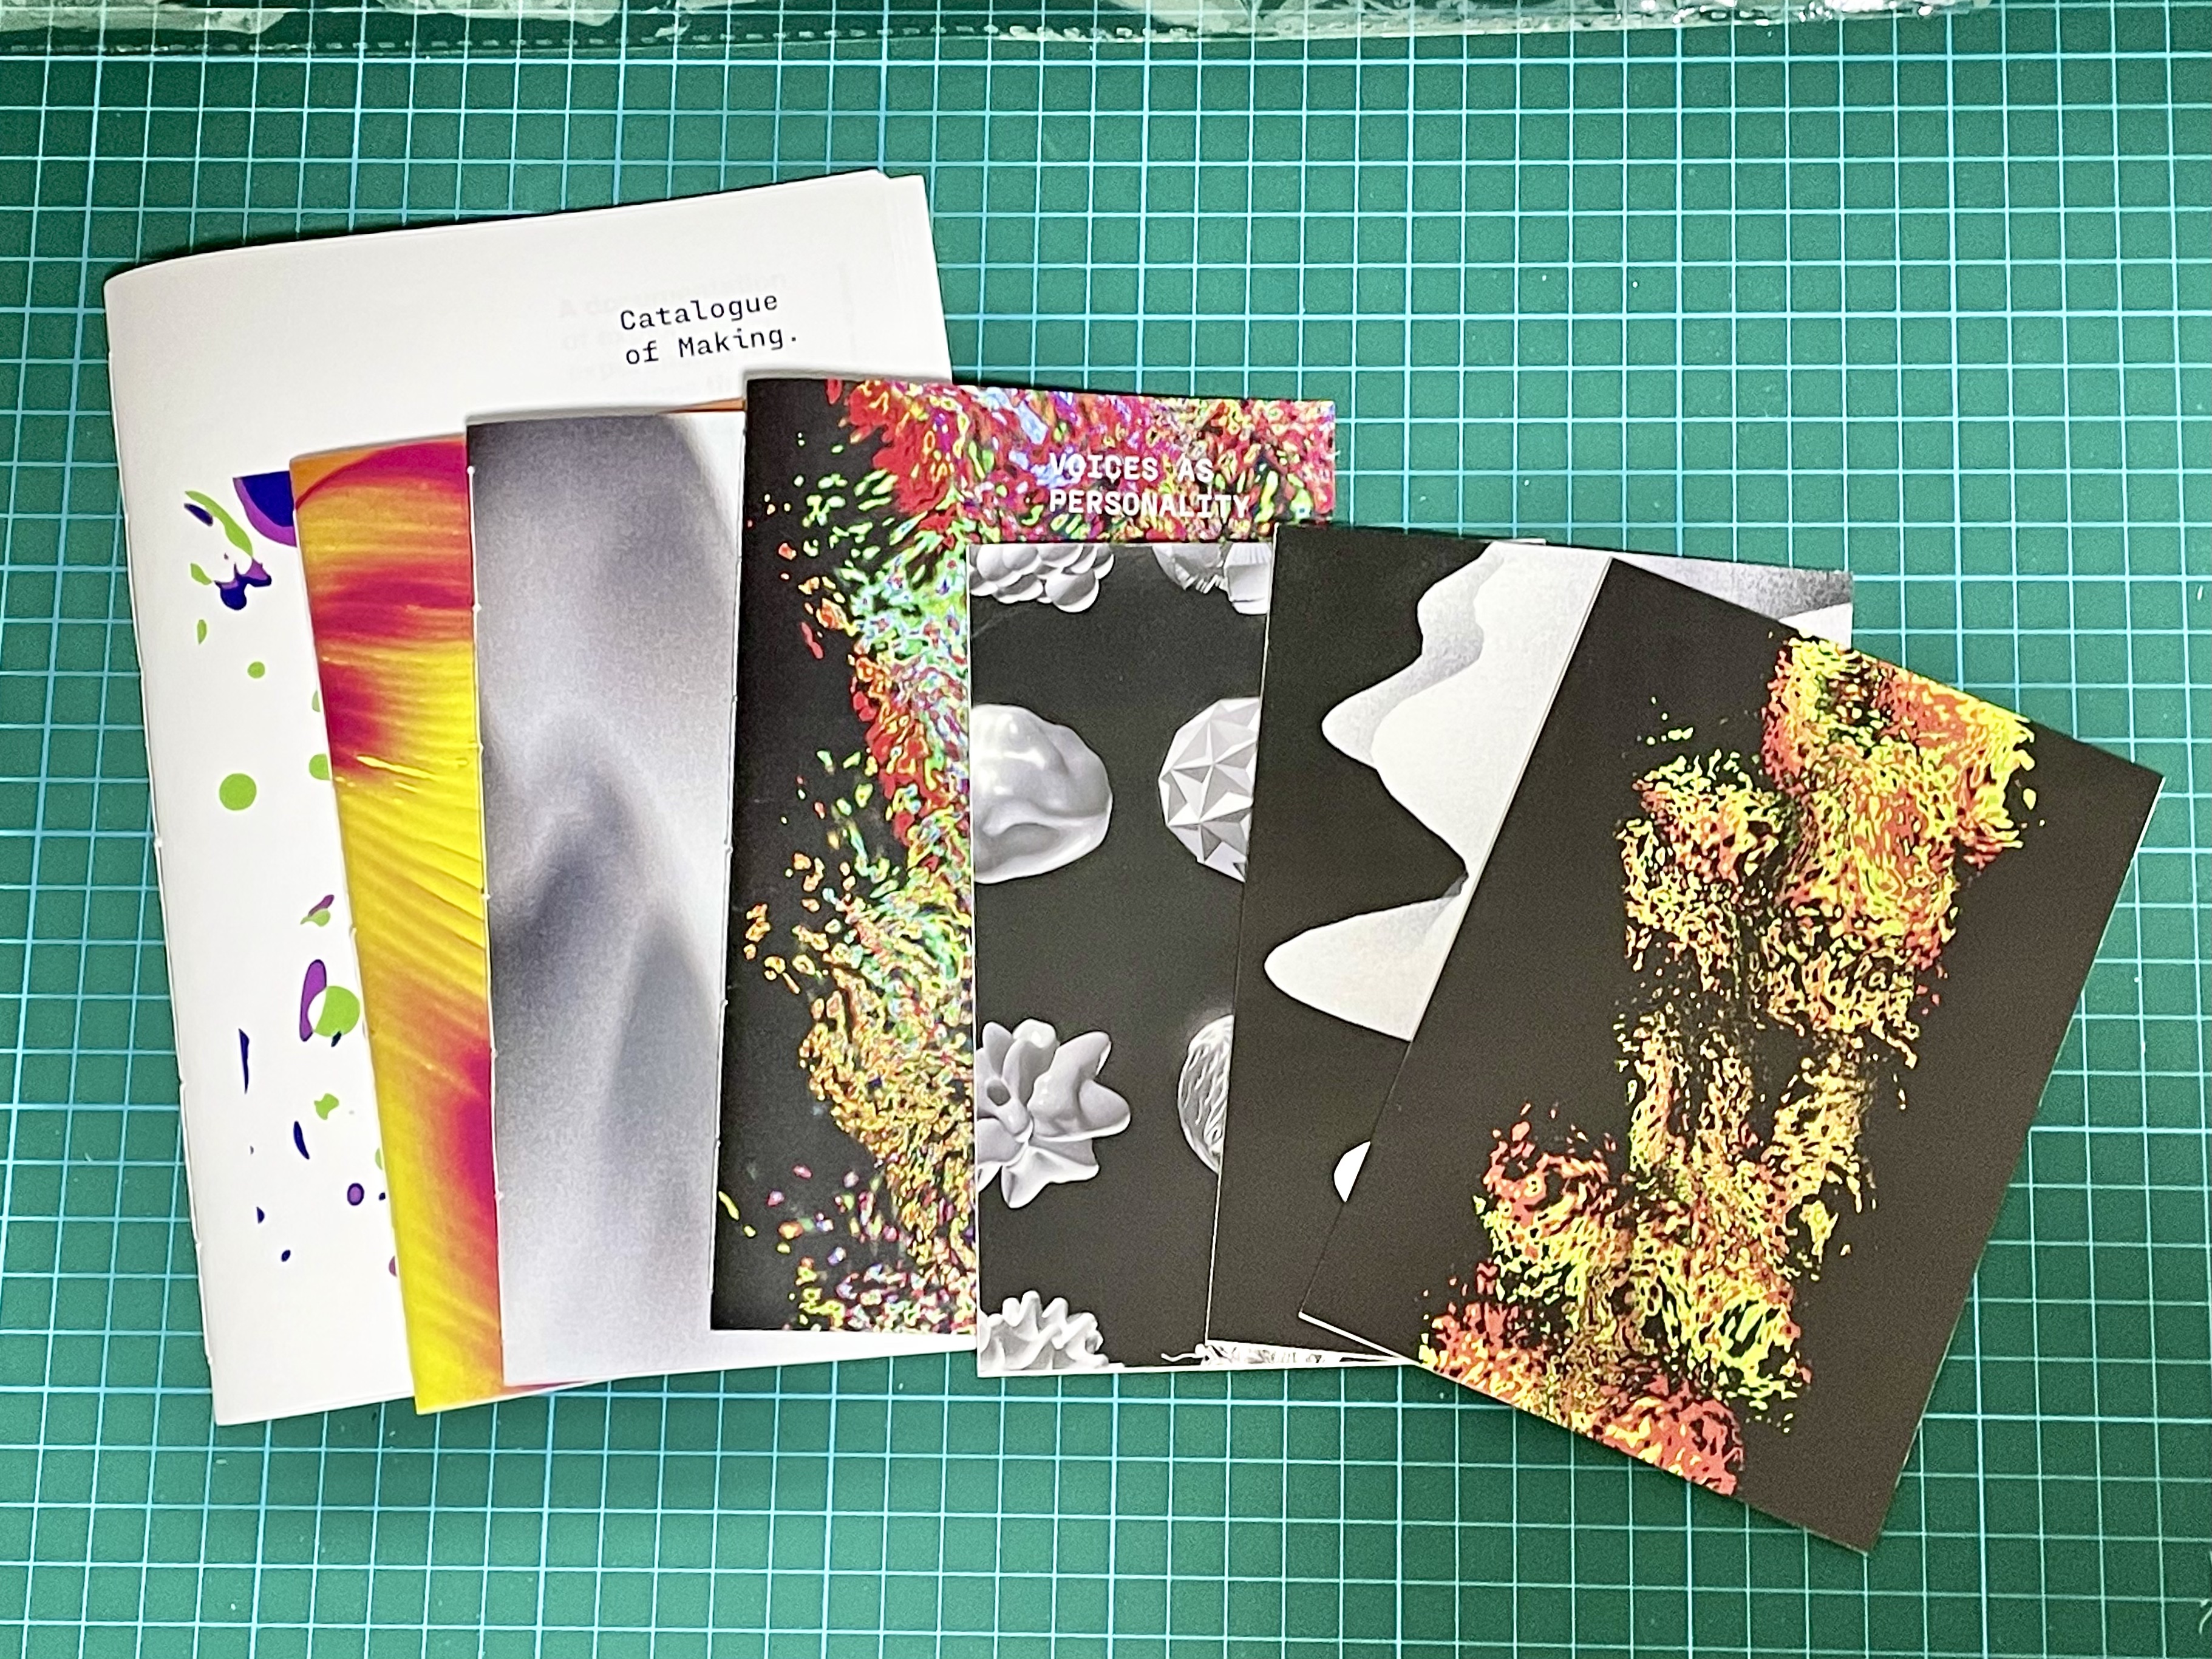
For printed materials, I decided to produce three publications, one for each prototype. I kept the contents of the publications similar to maintain some consistency. Every publication will start with a short introduction on Selfscapes, followed by the table of contents, then the summary of concepts, visual explorations, visualisation approaches and lastly the experience of the prototype.
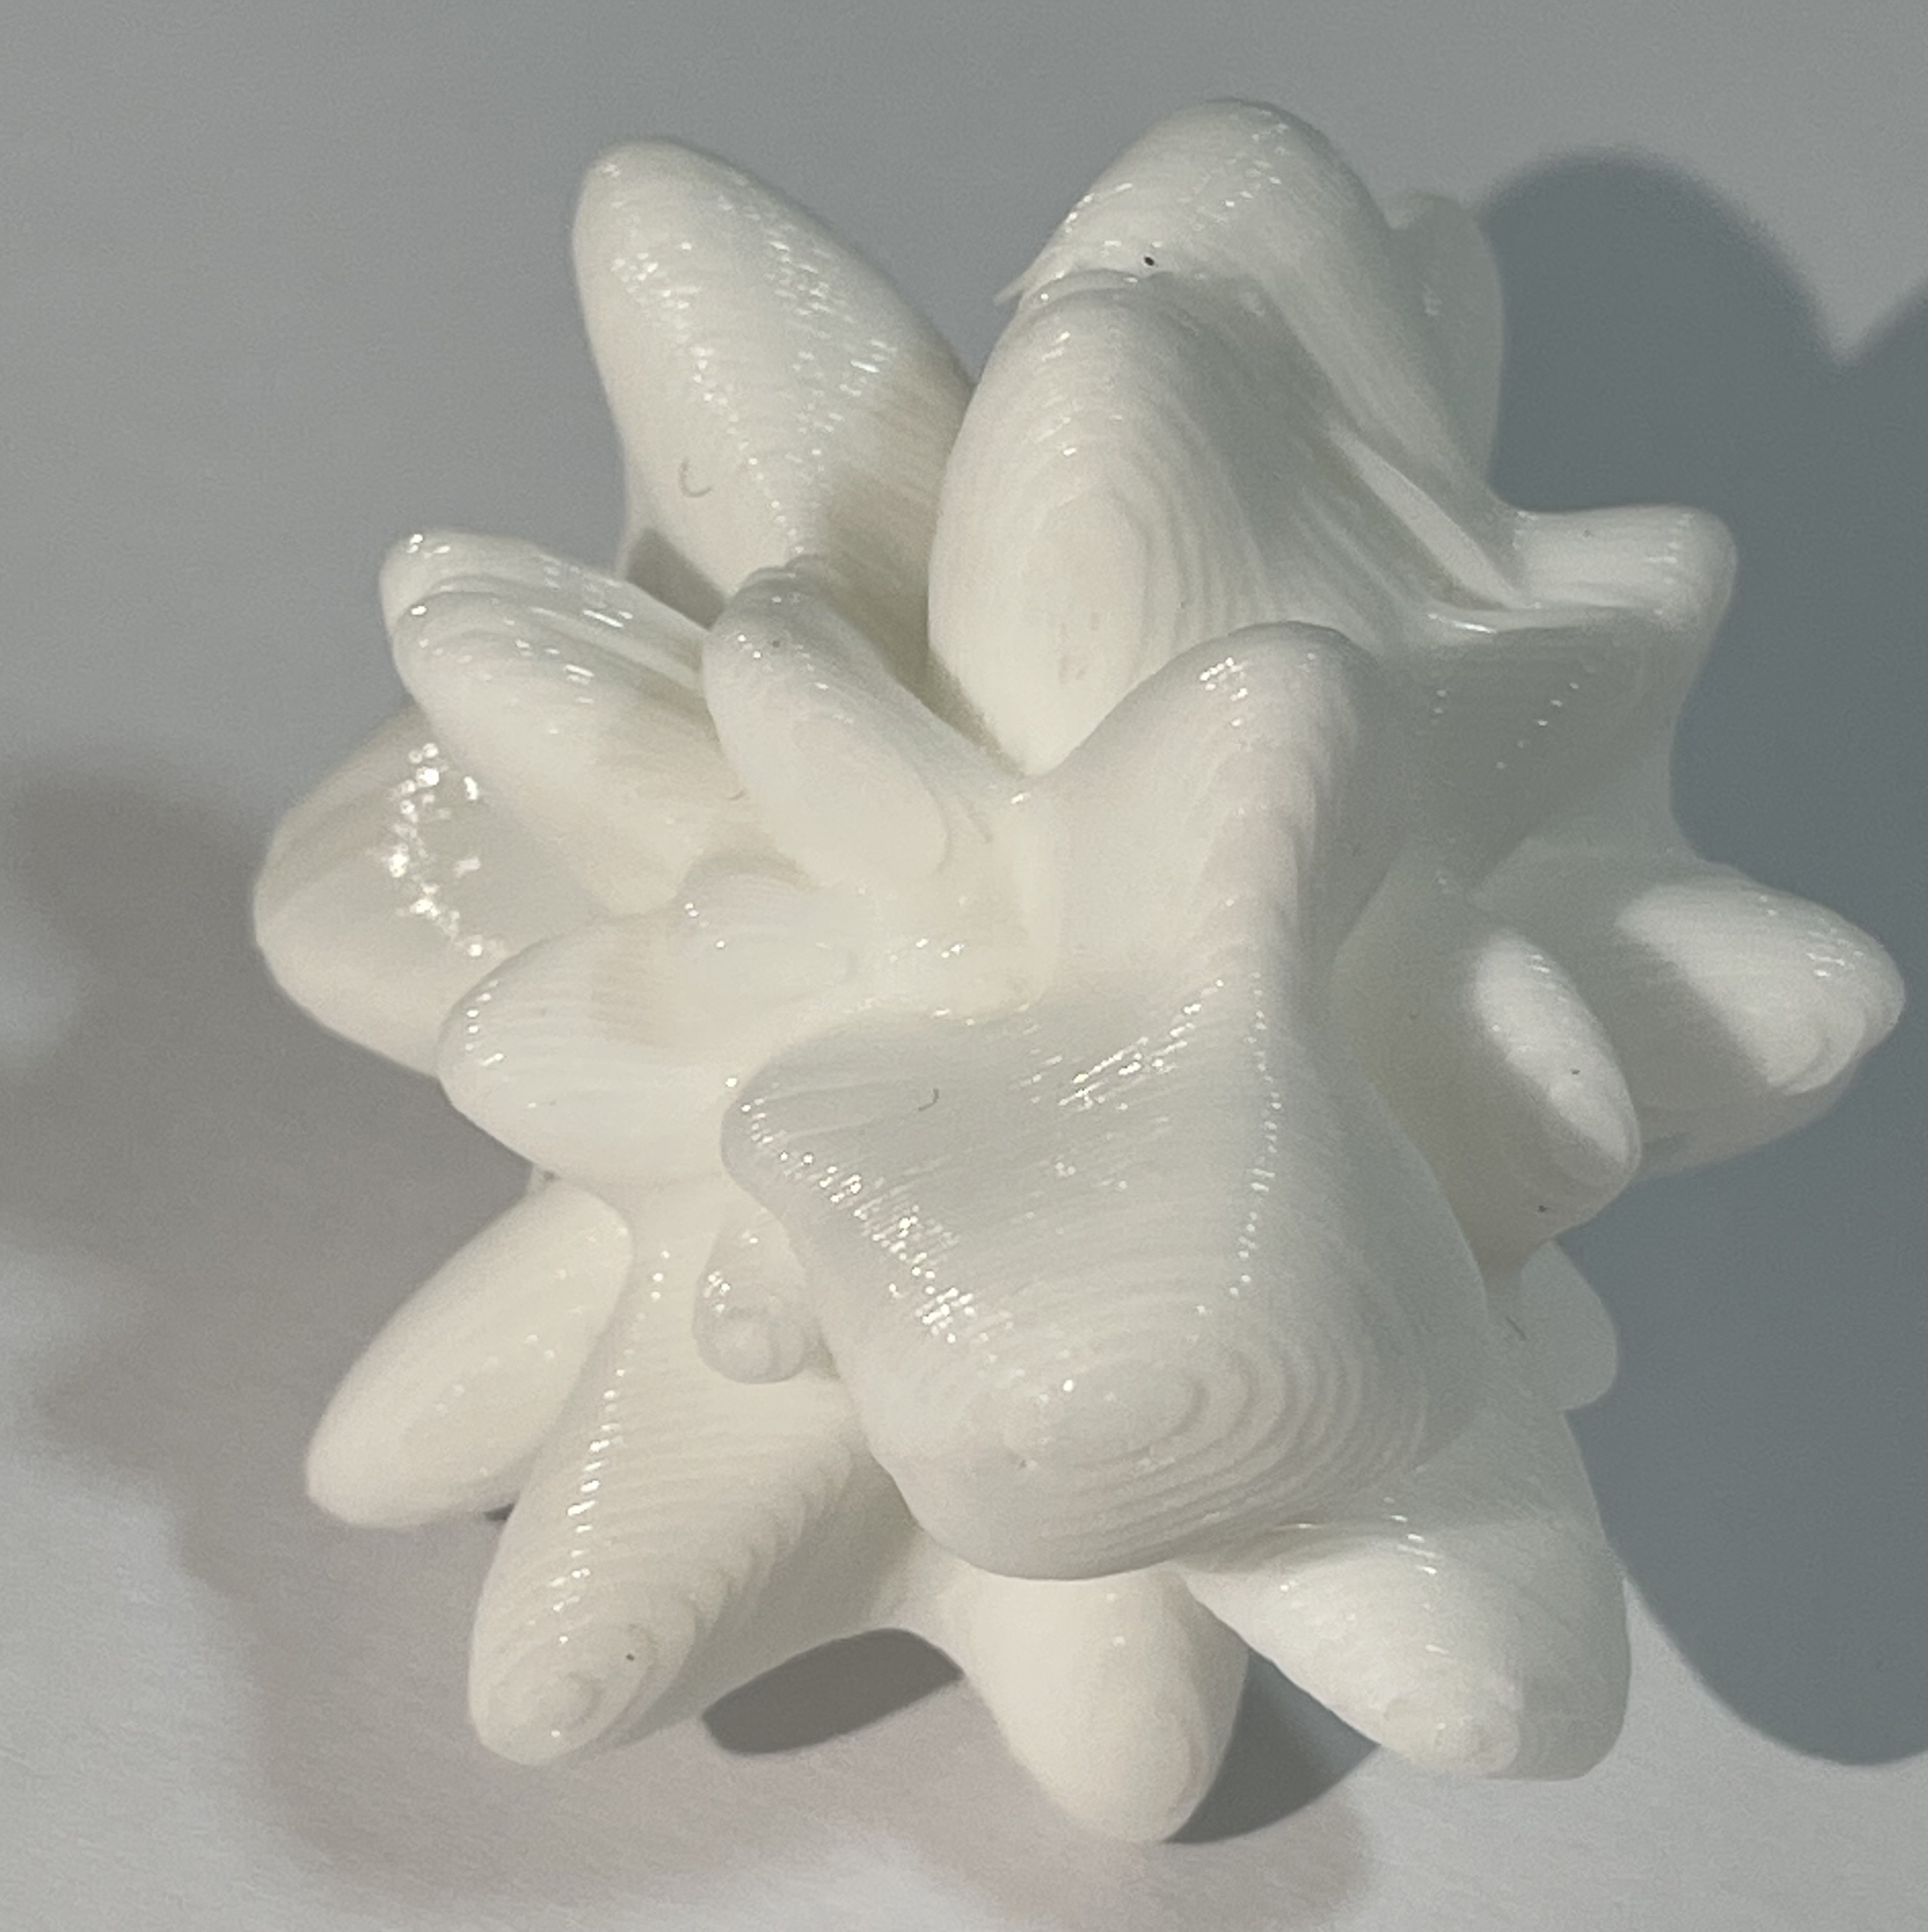
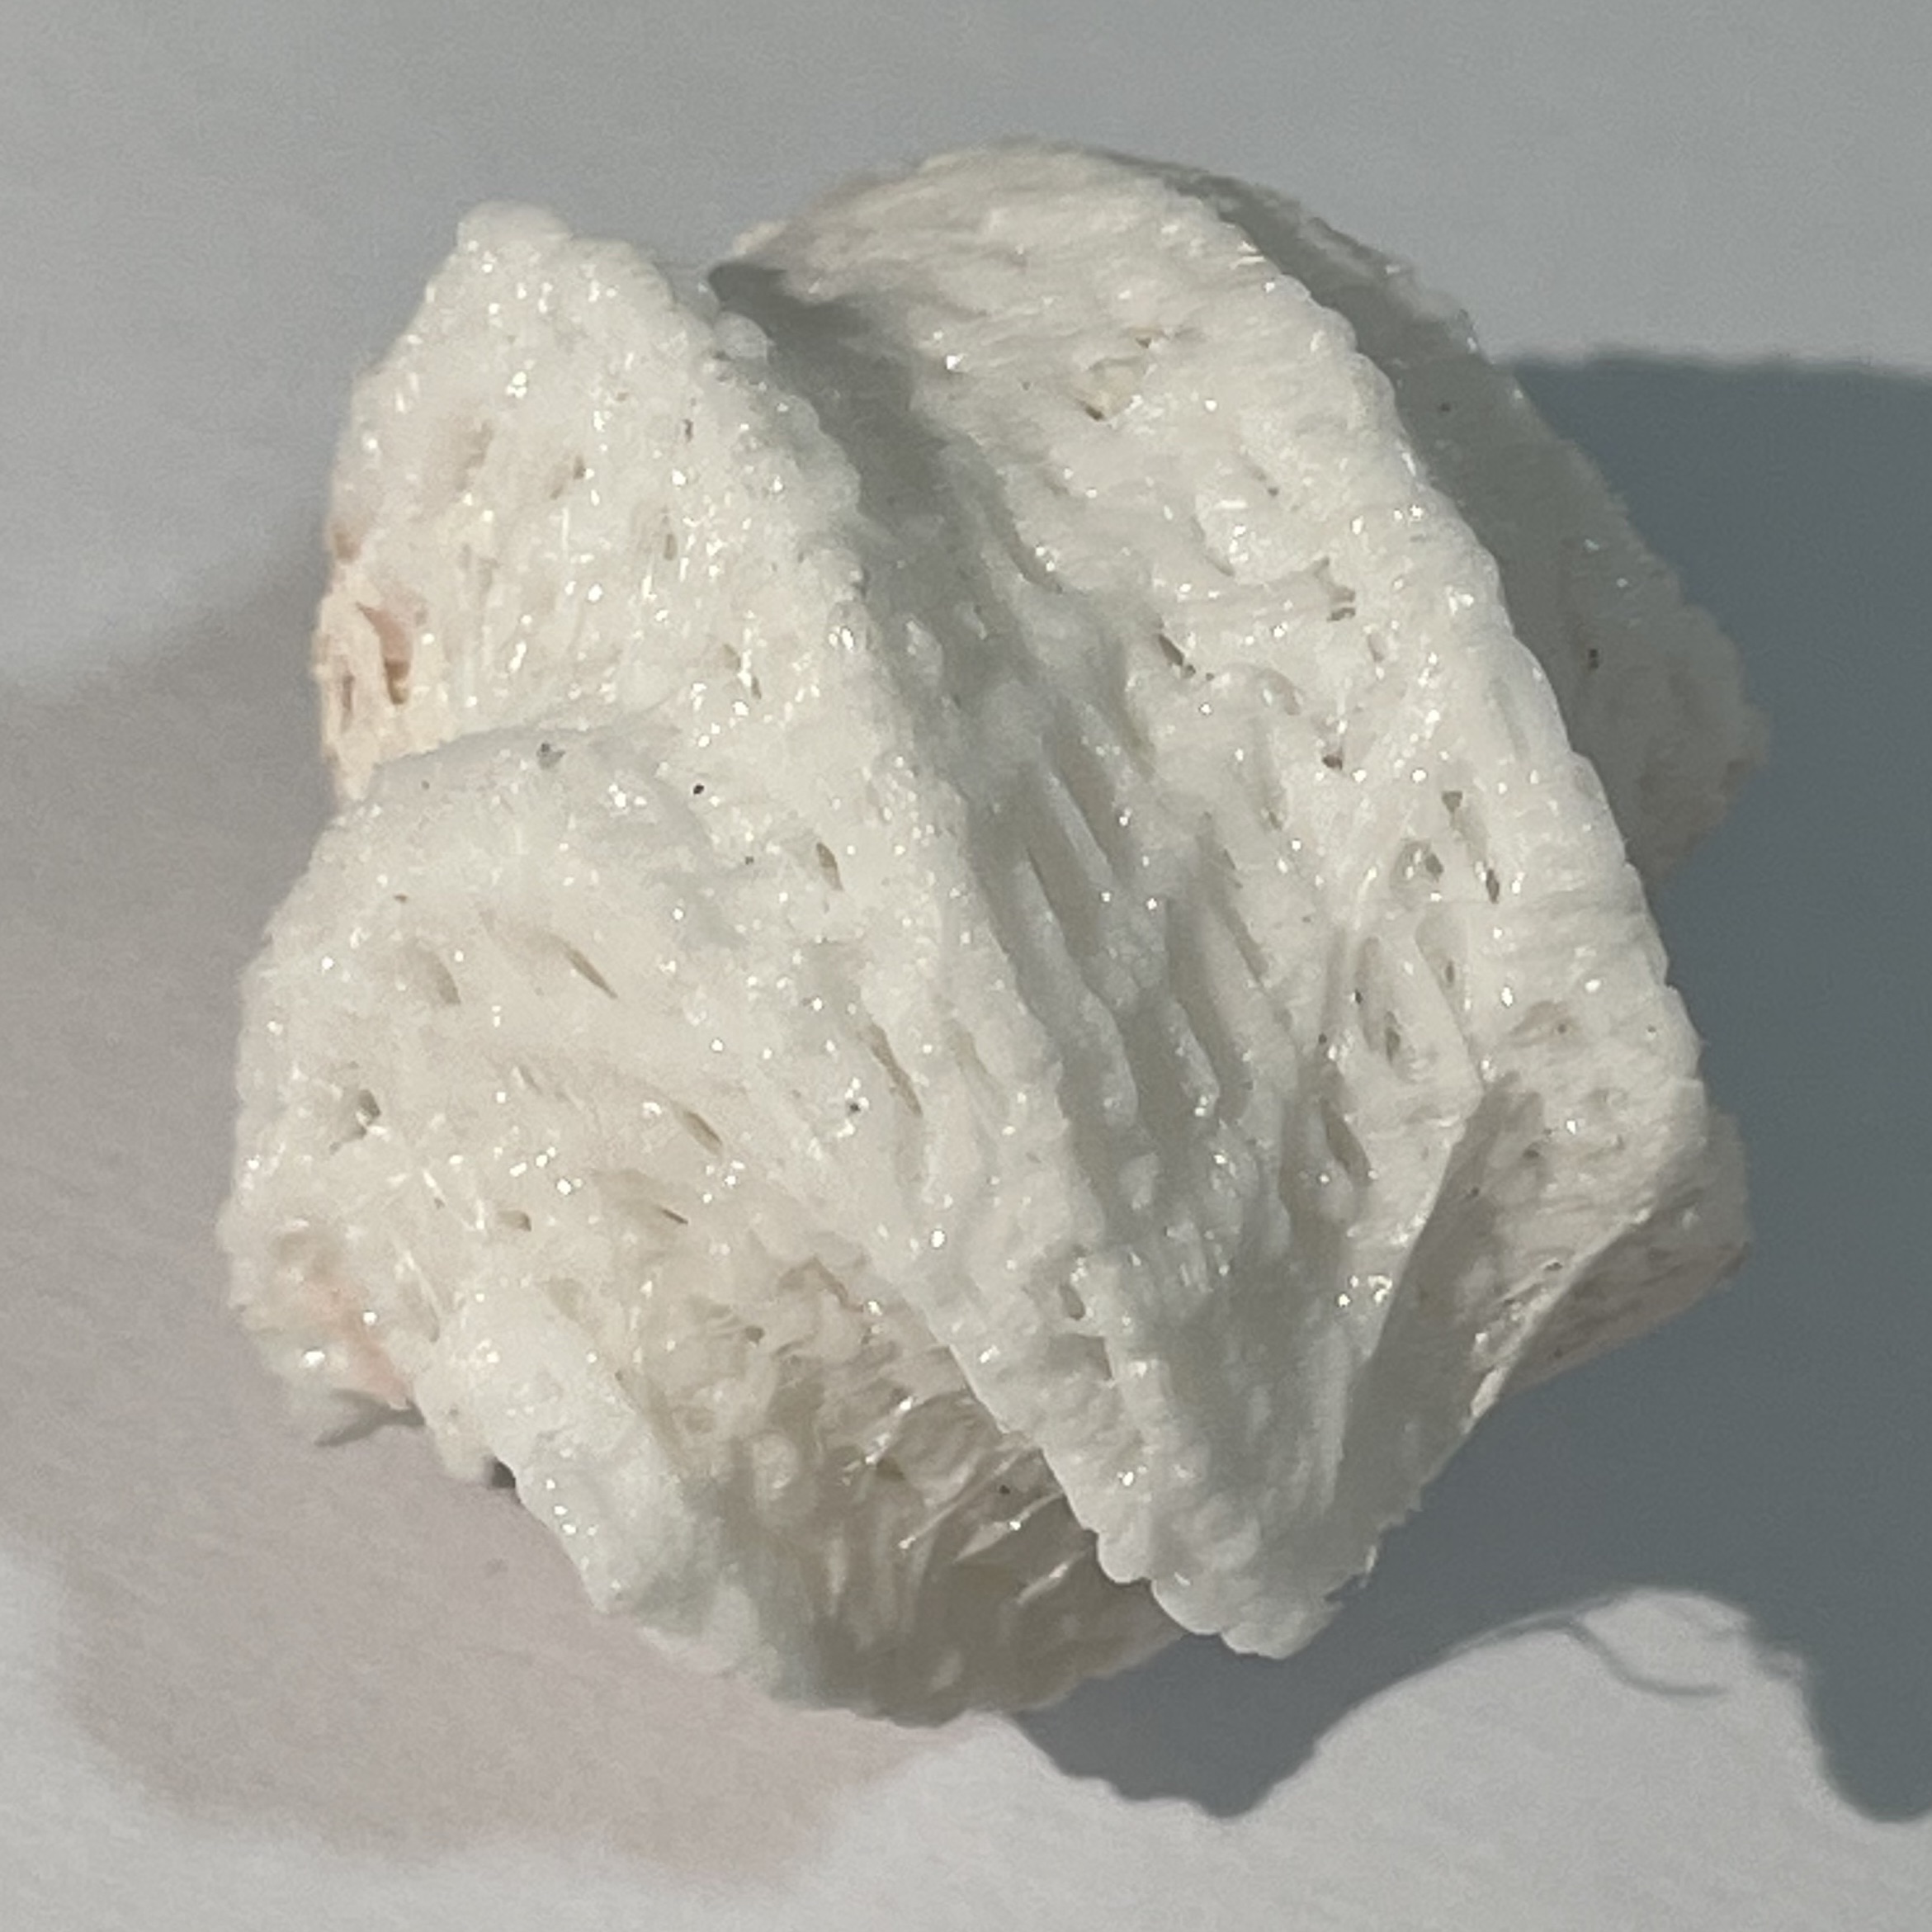
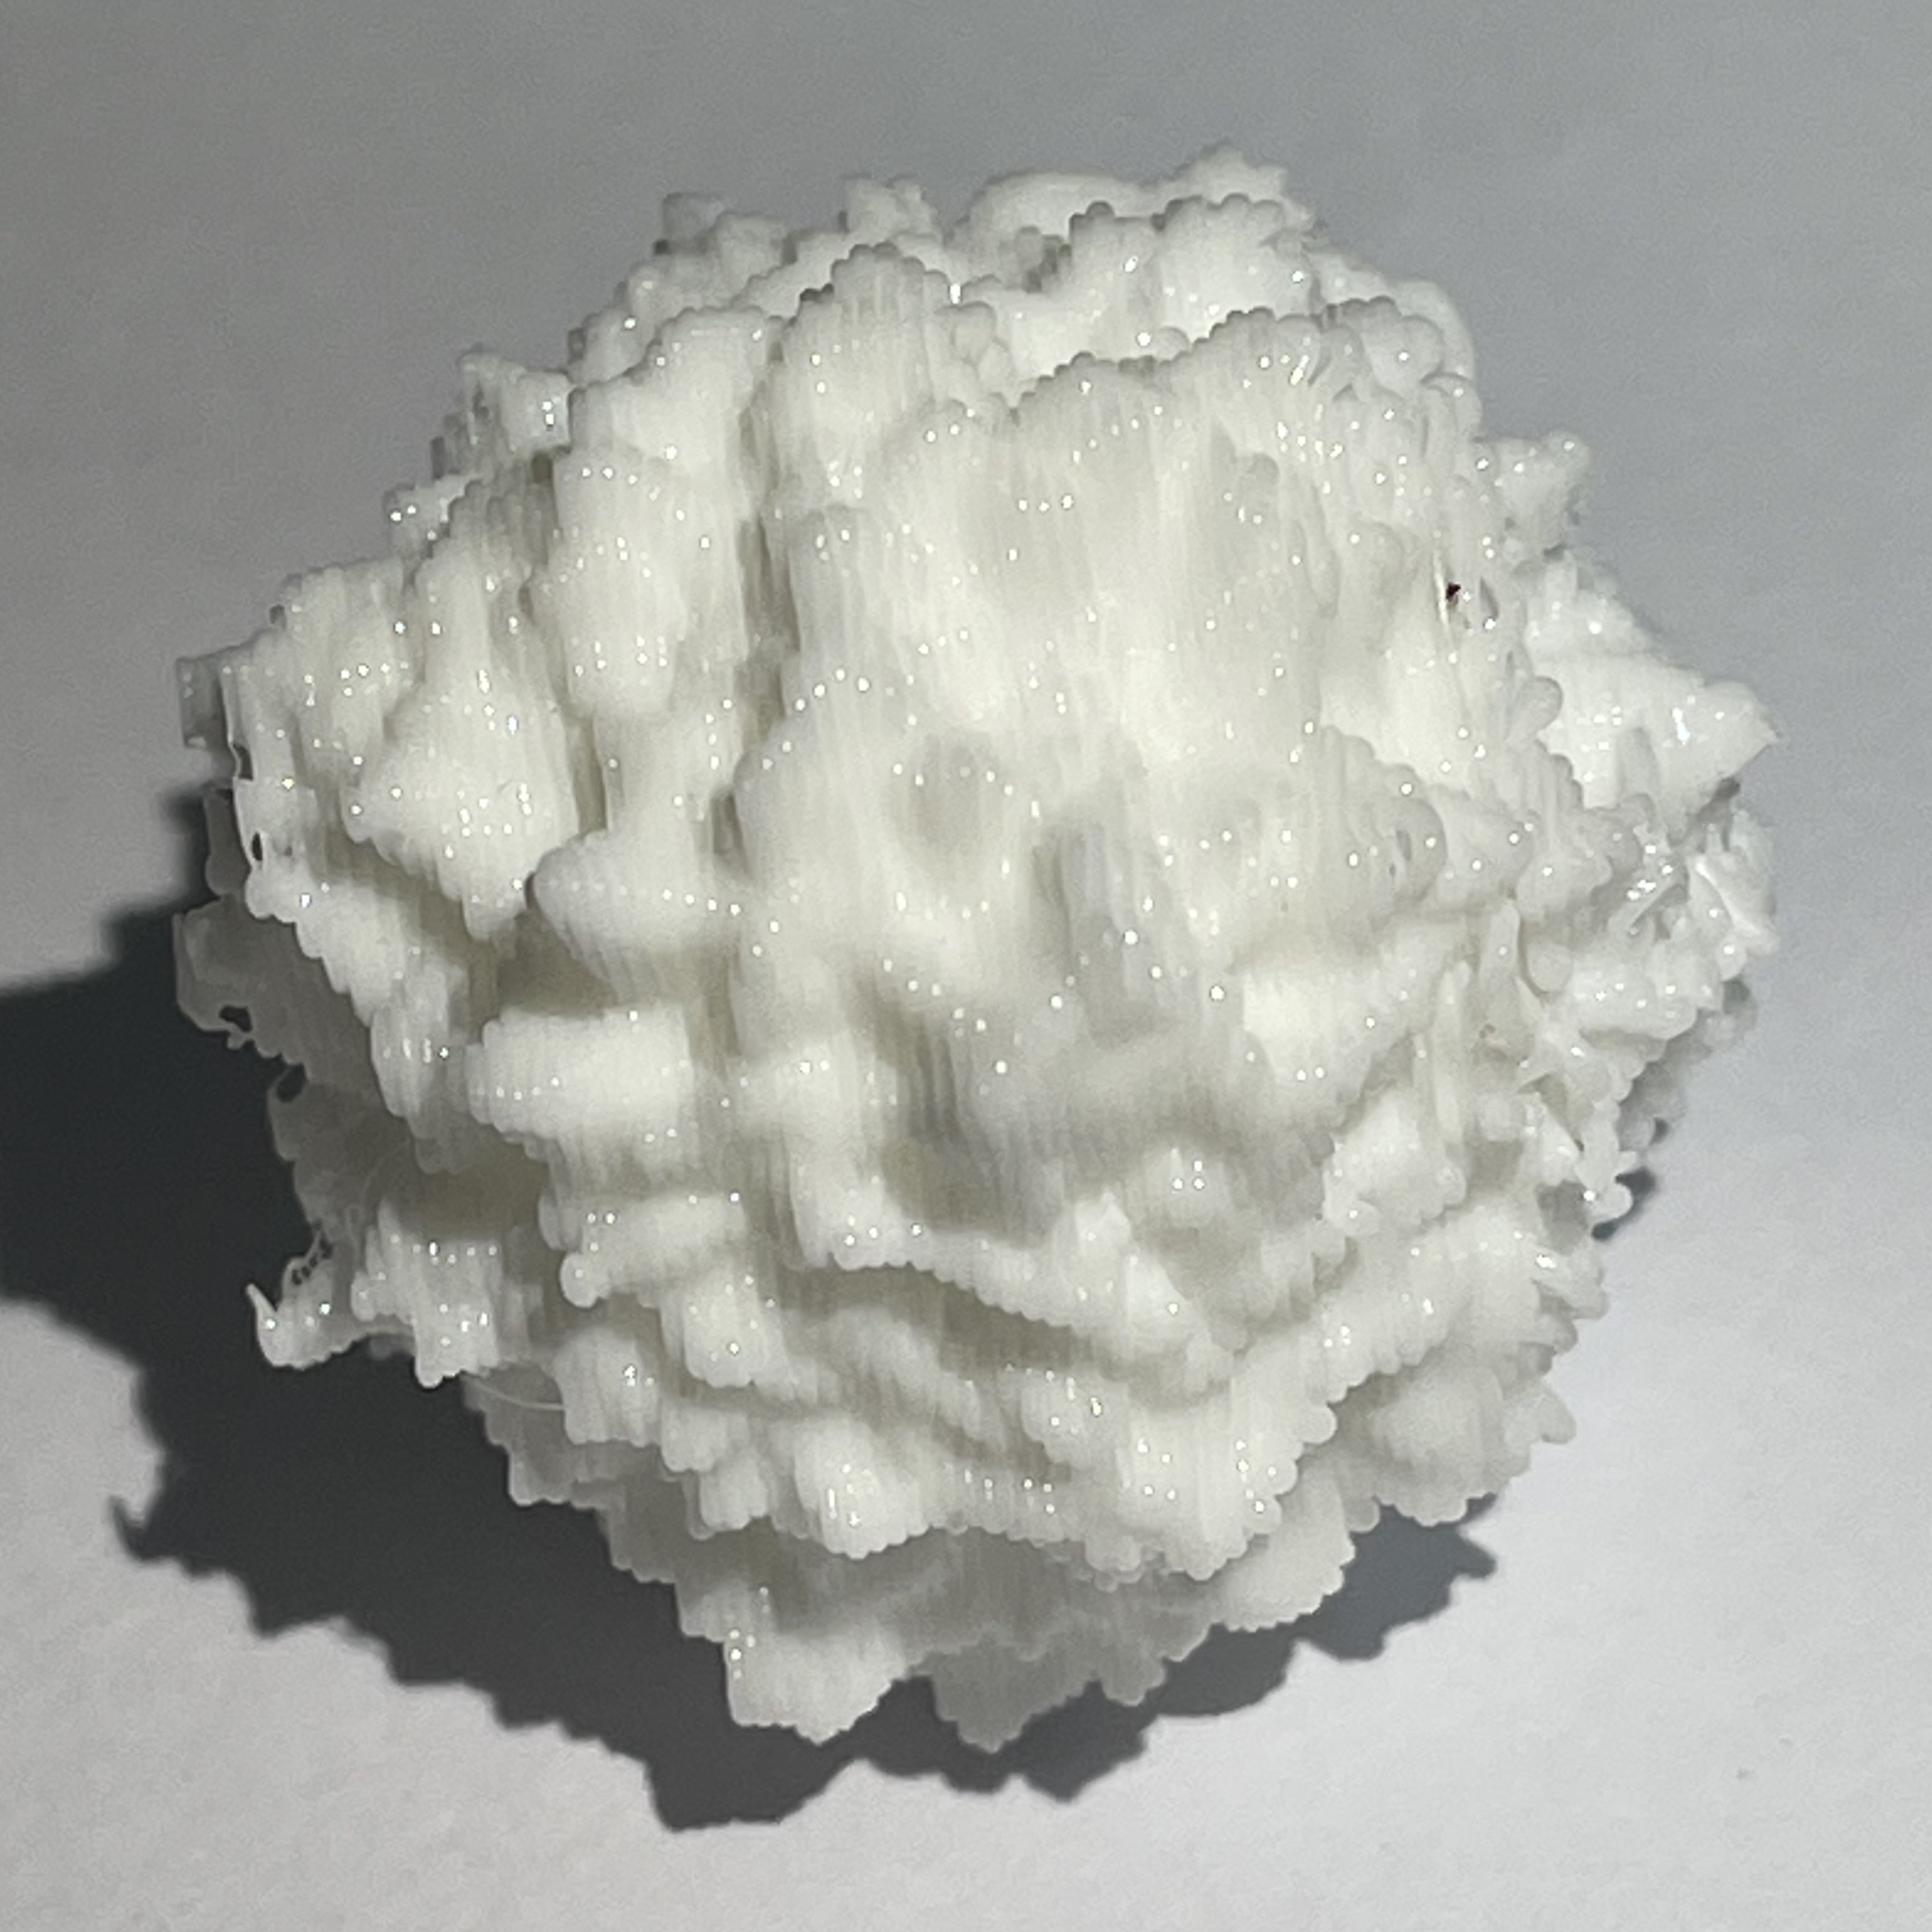
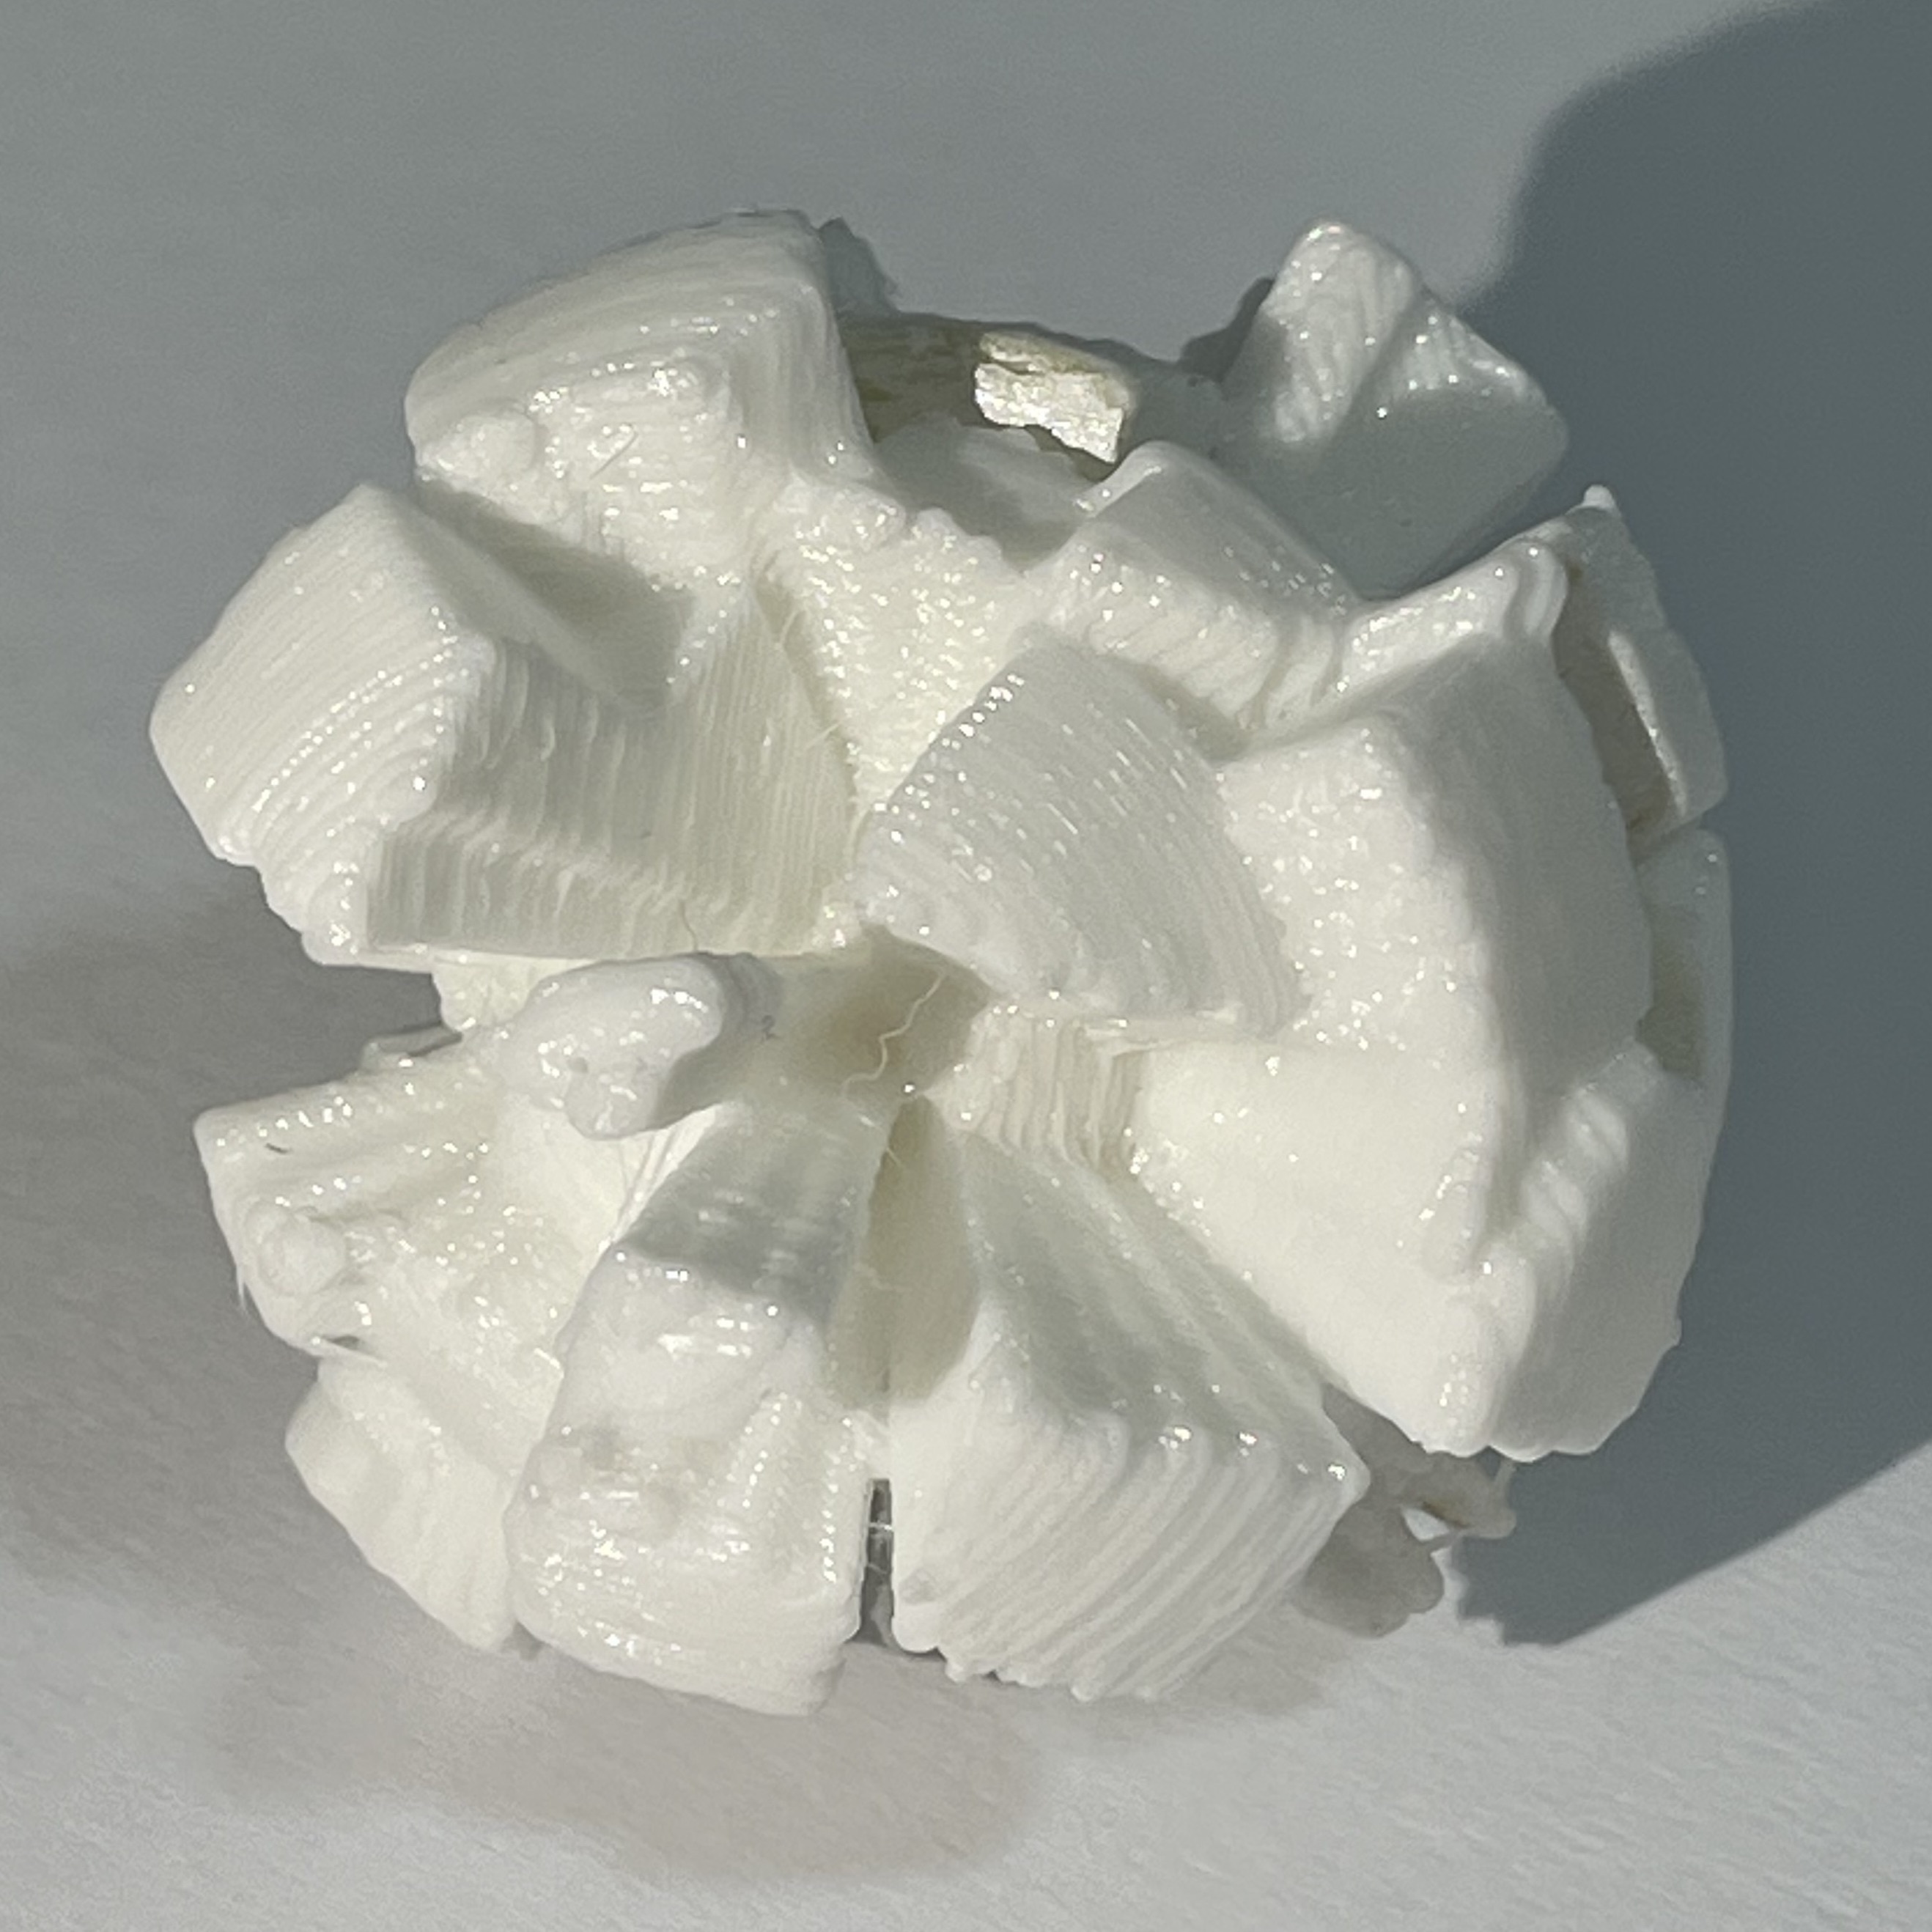
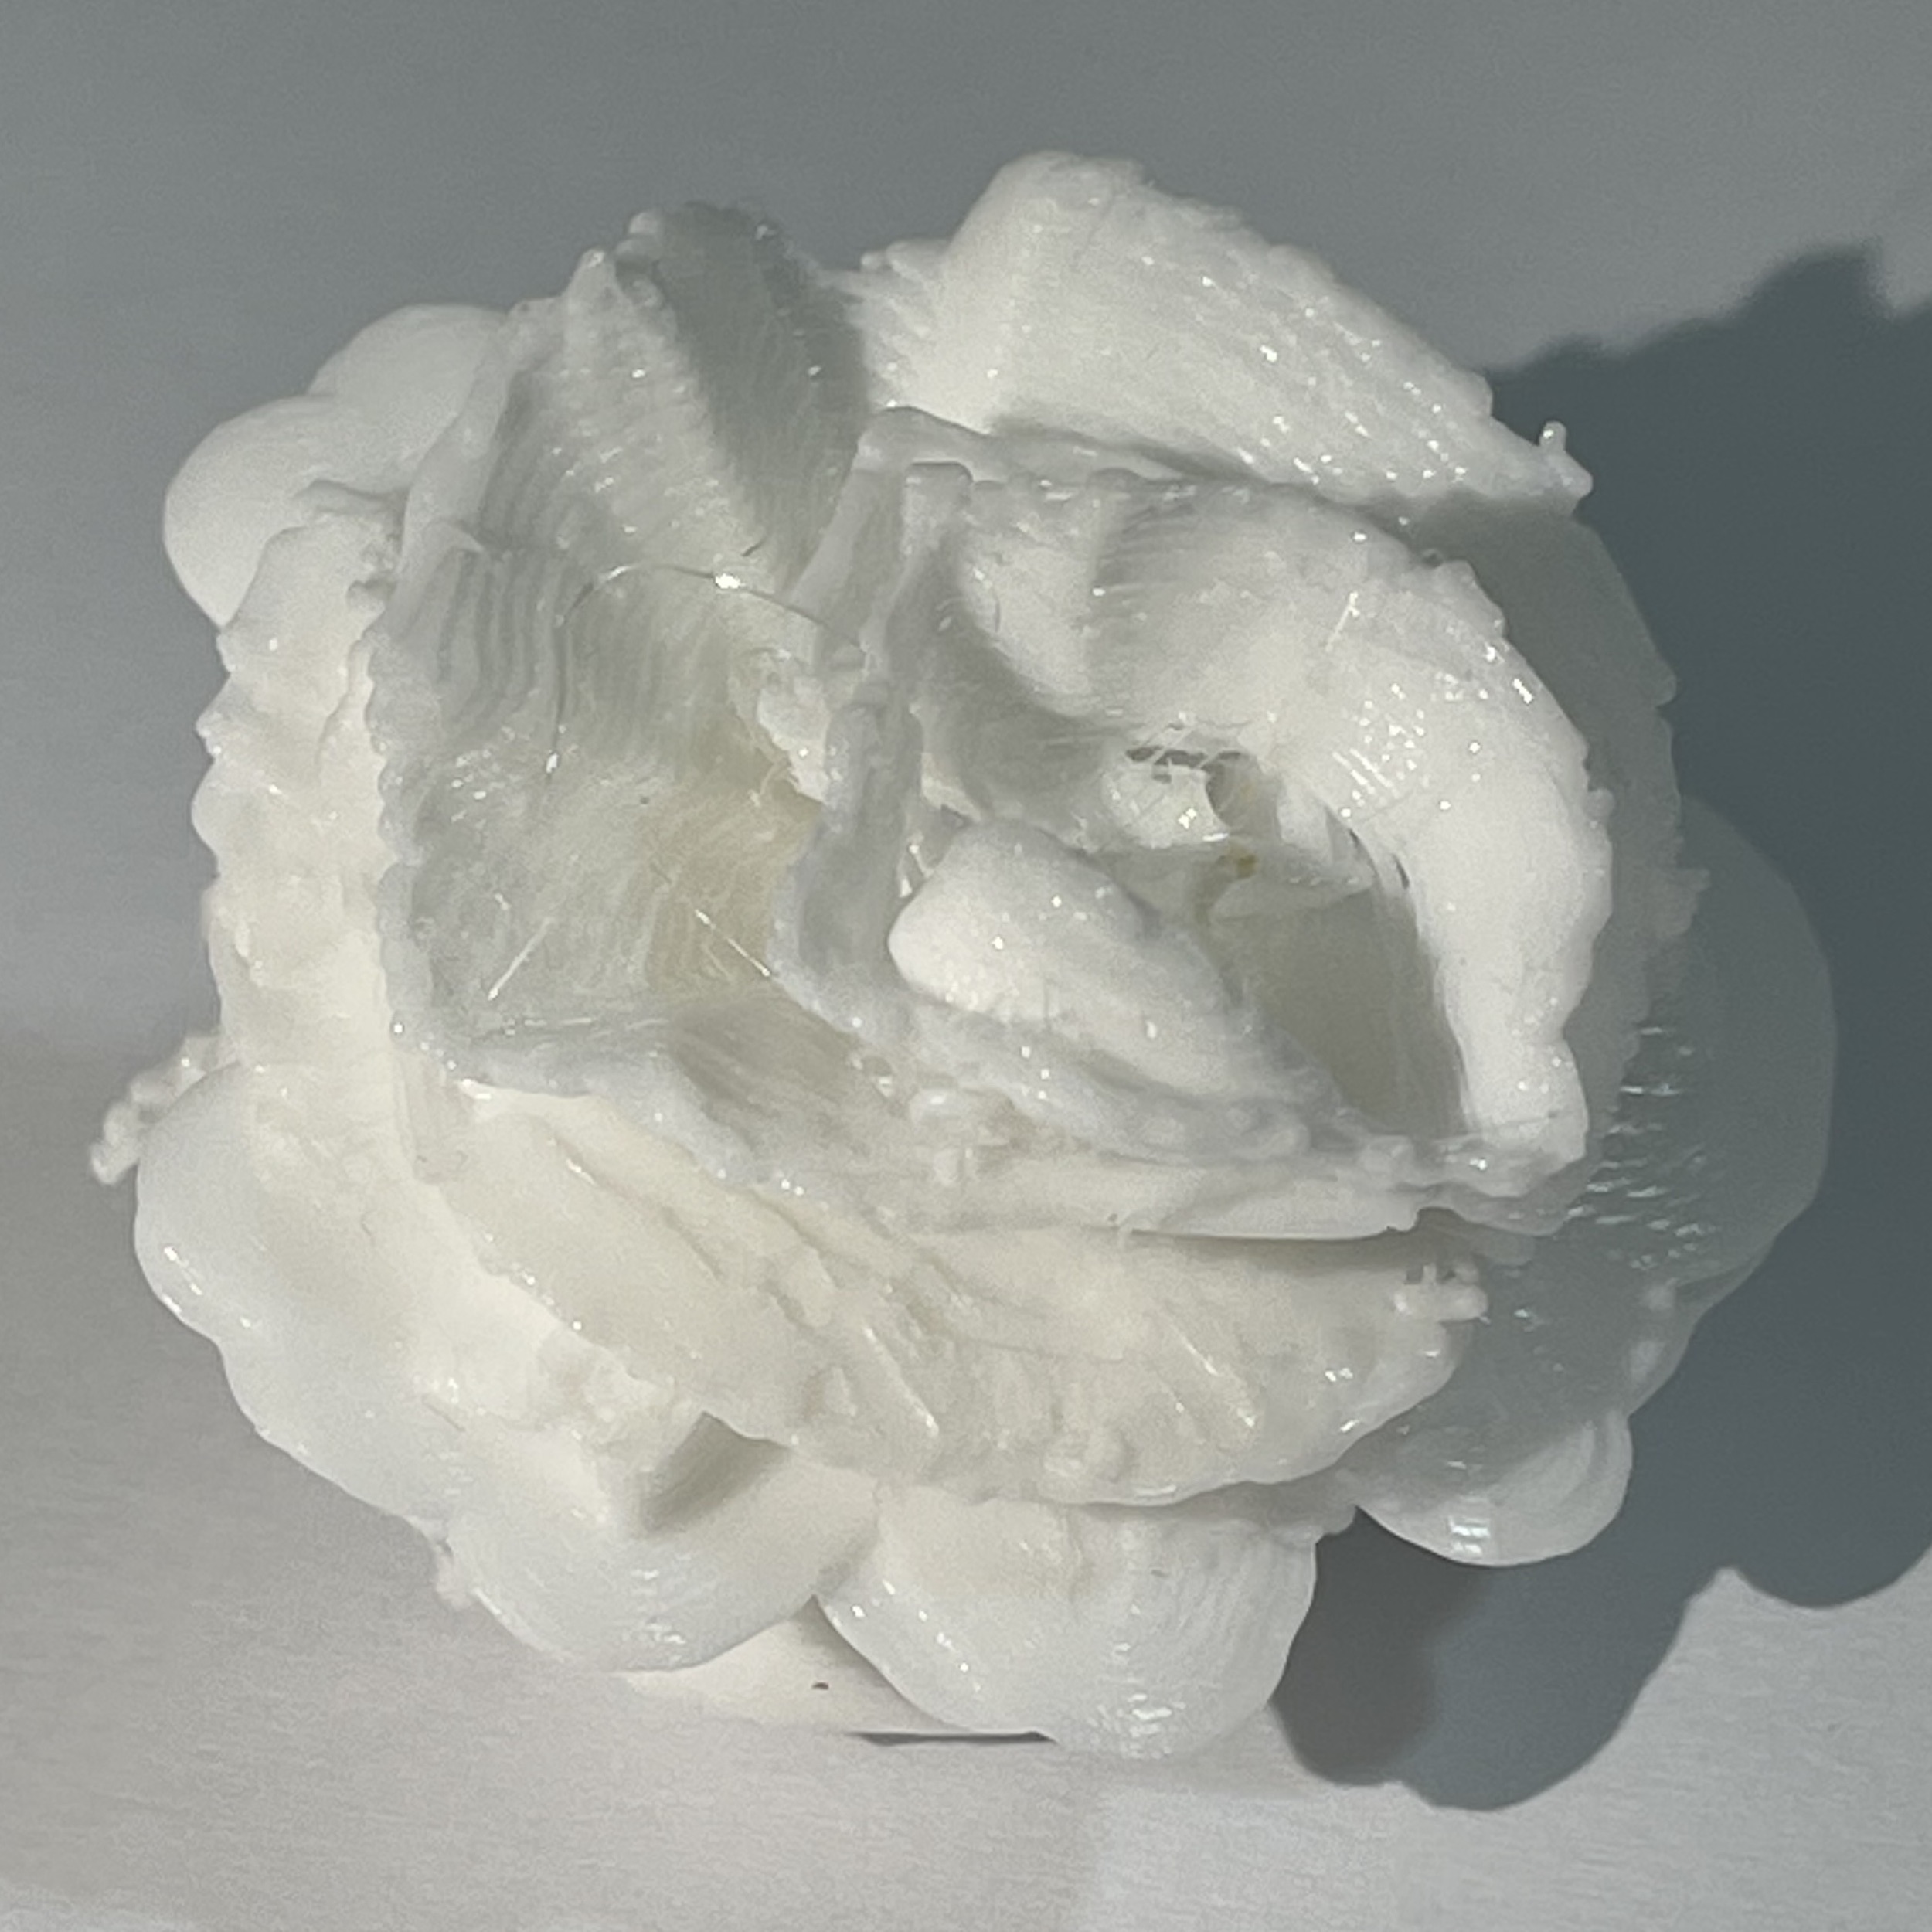
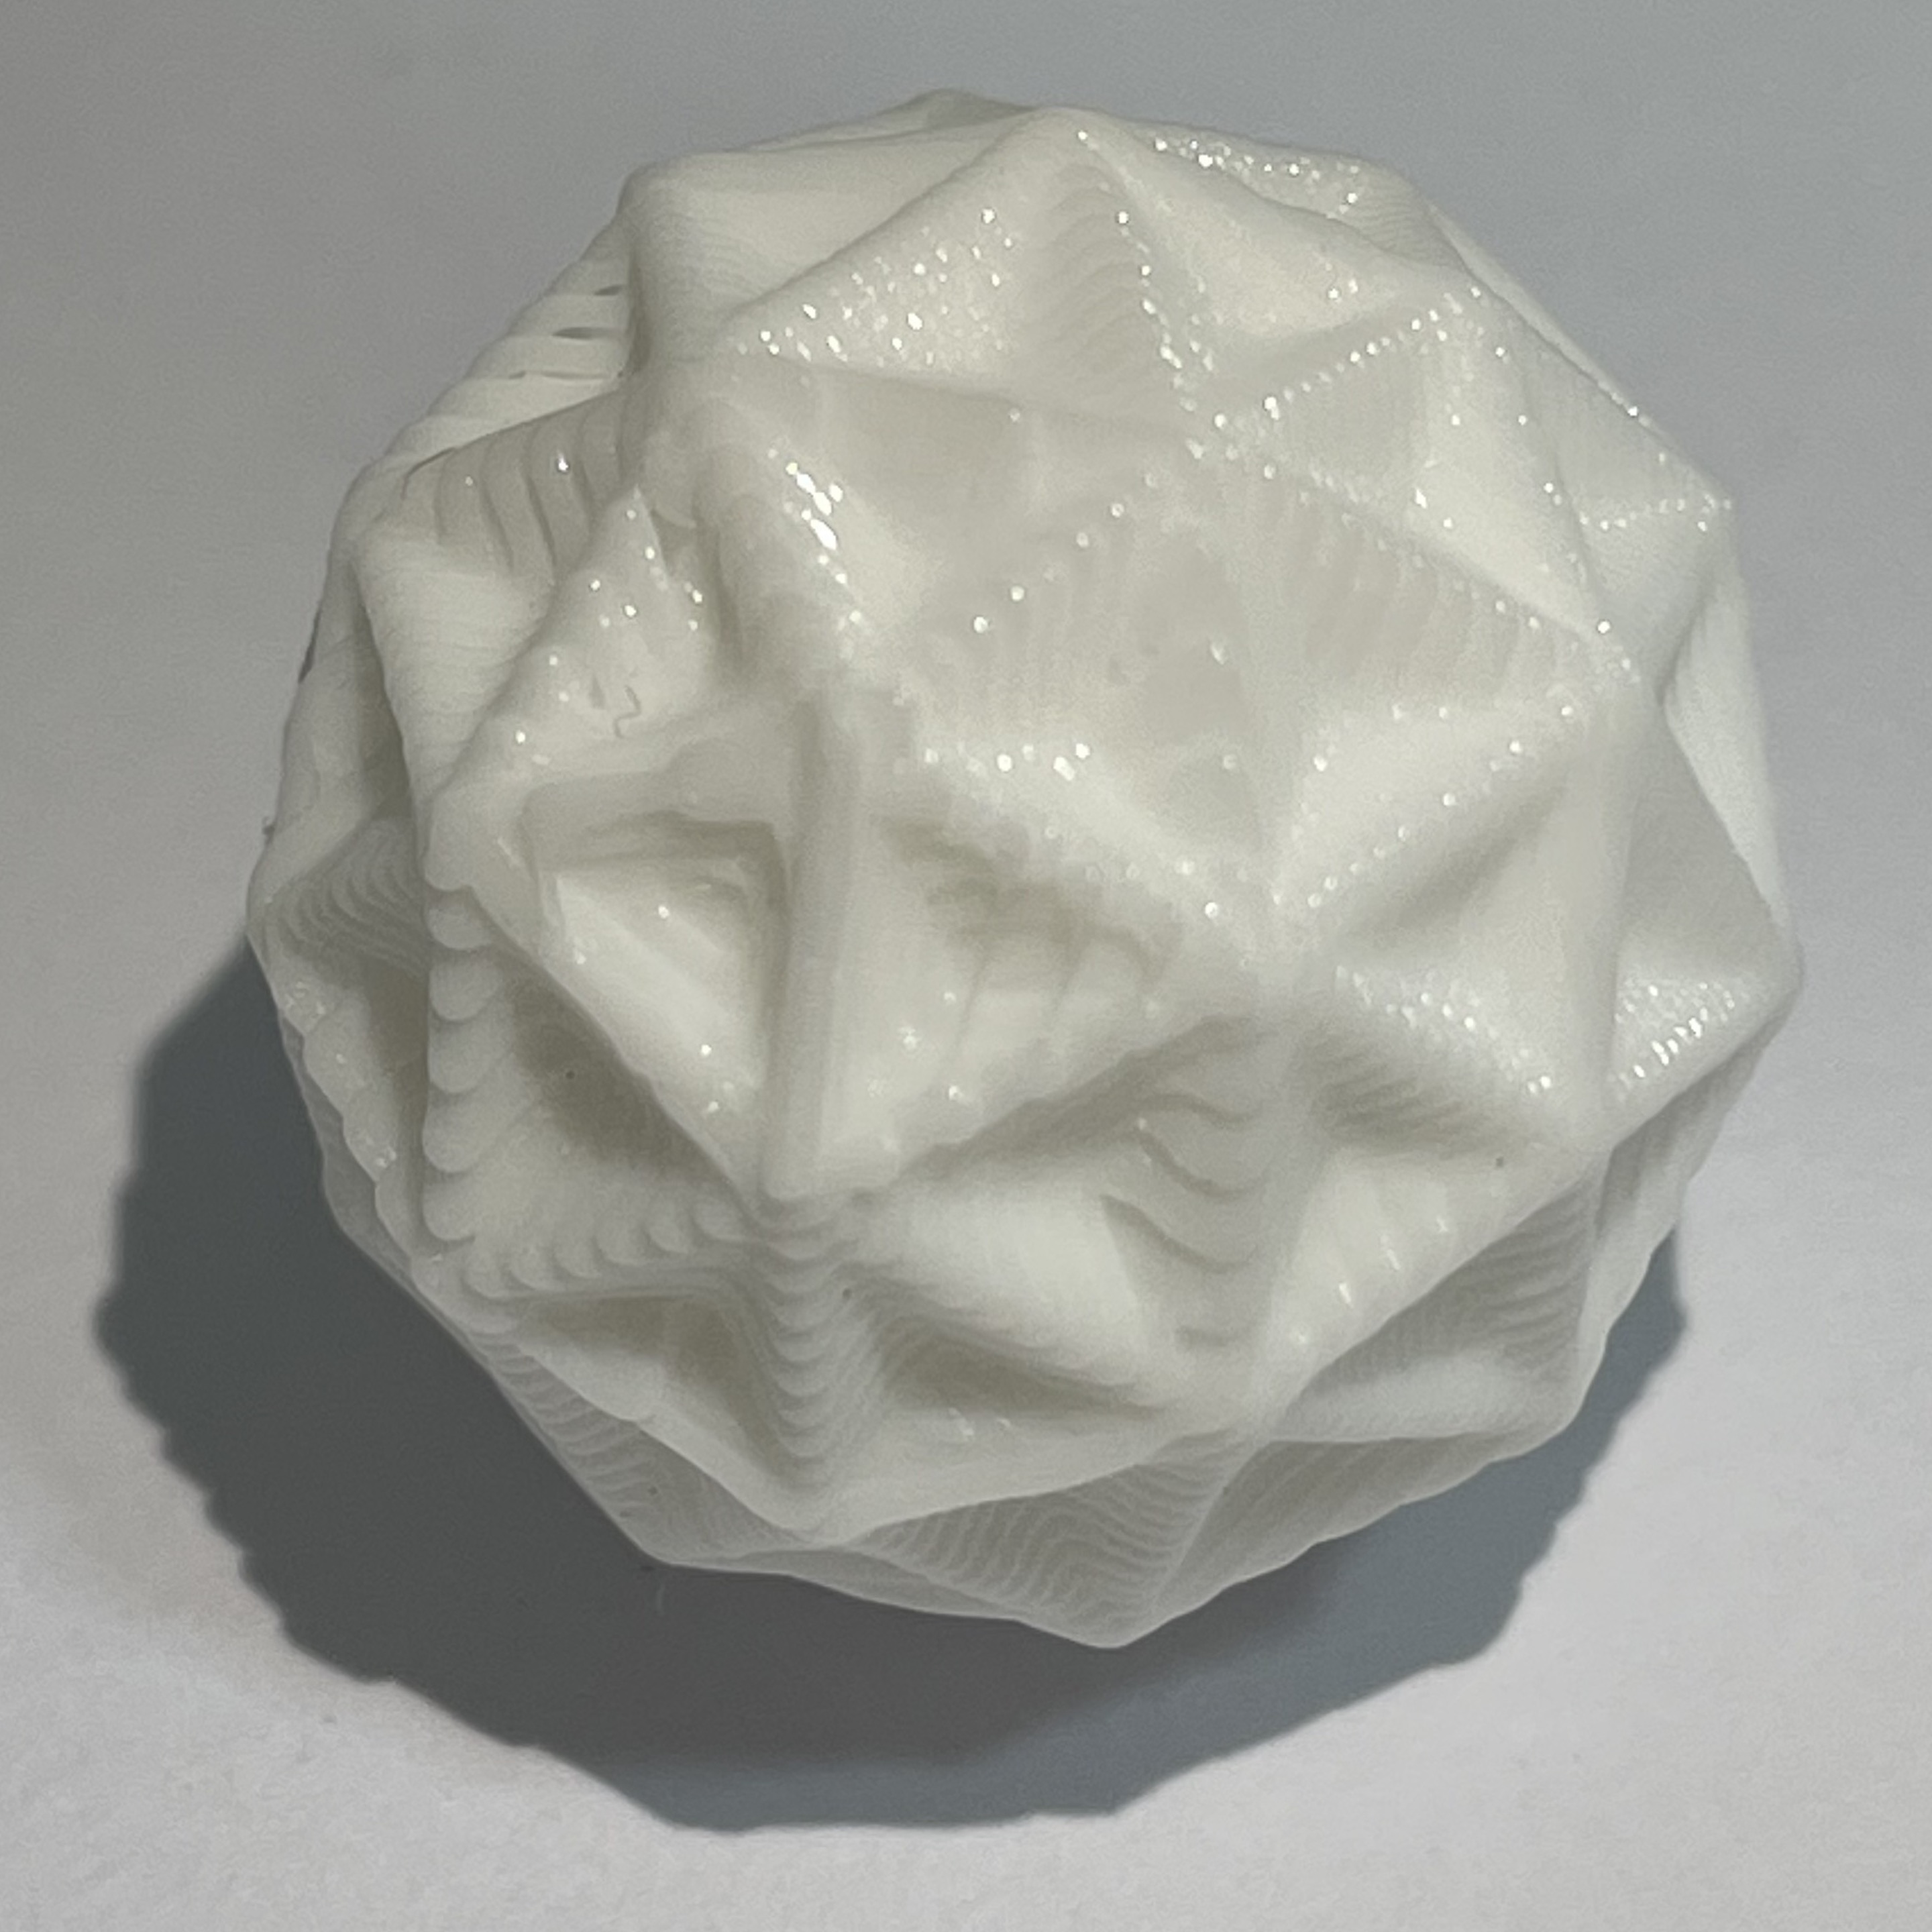
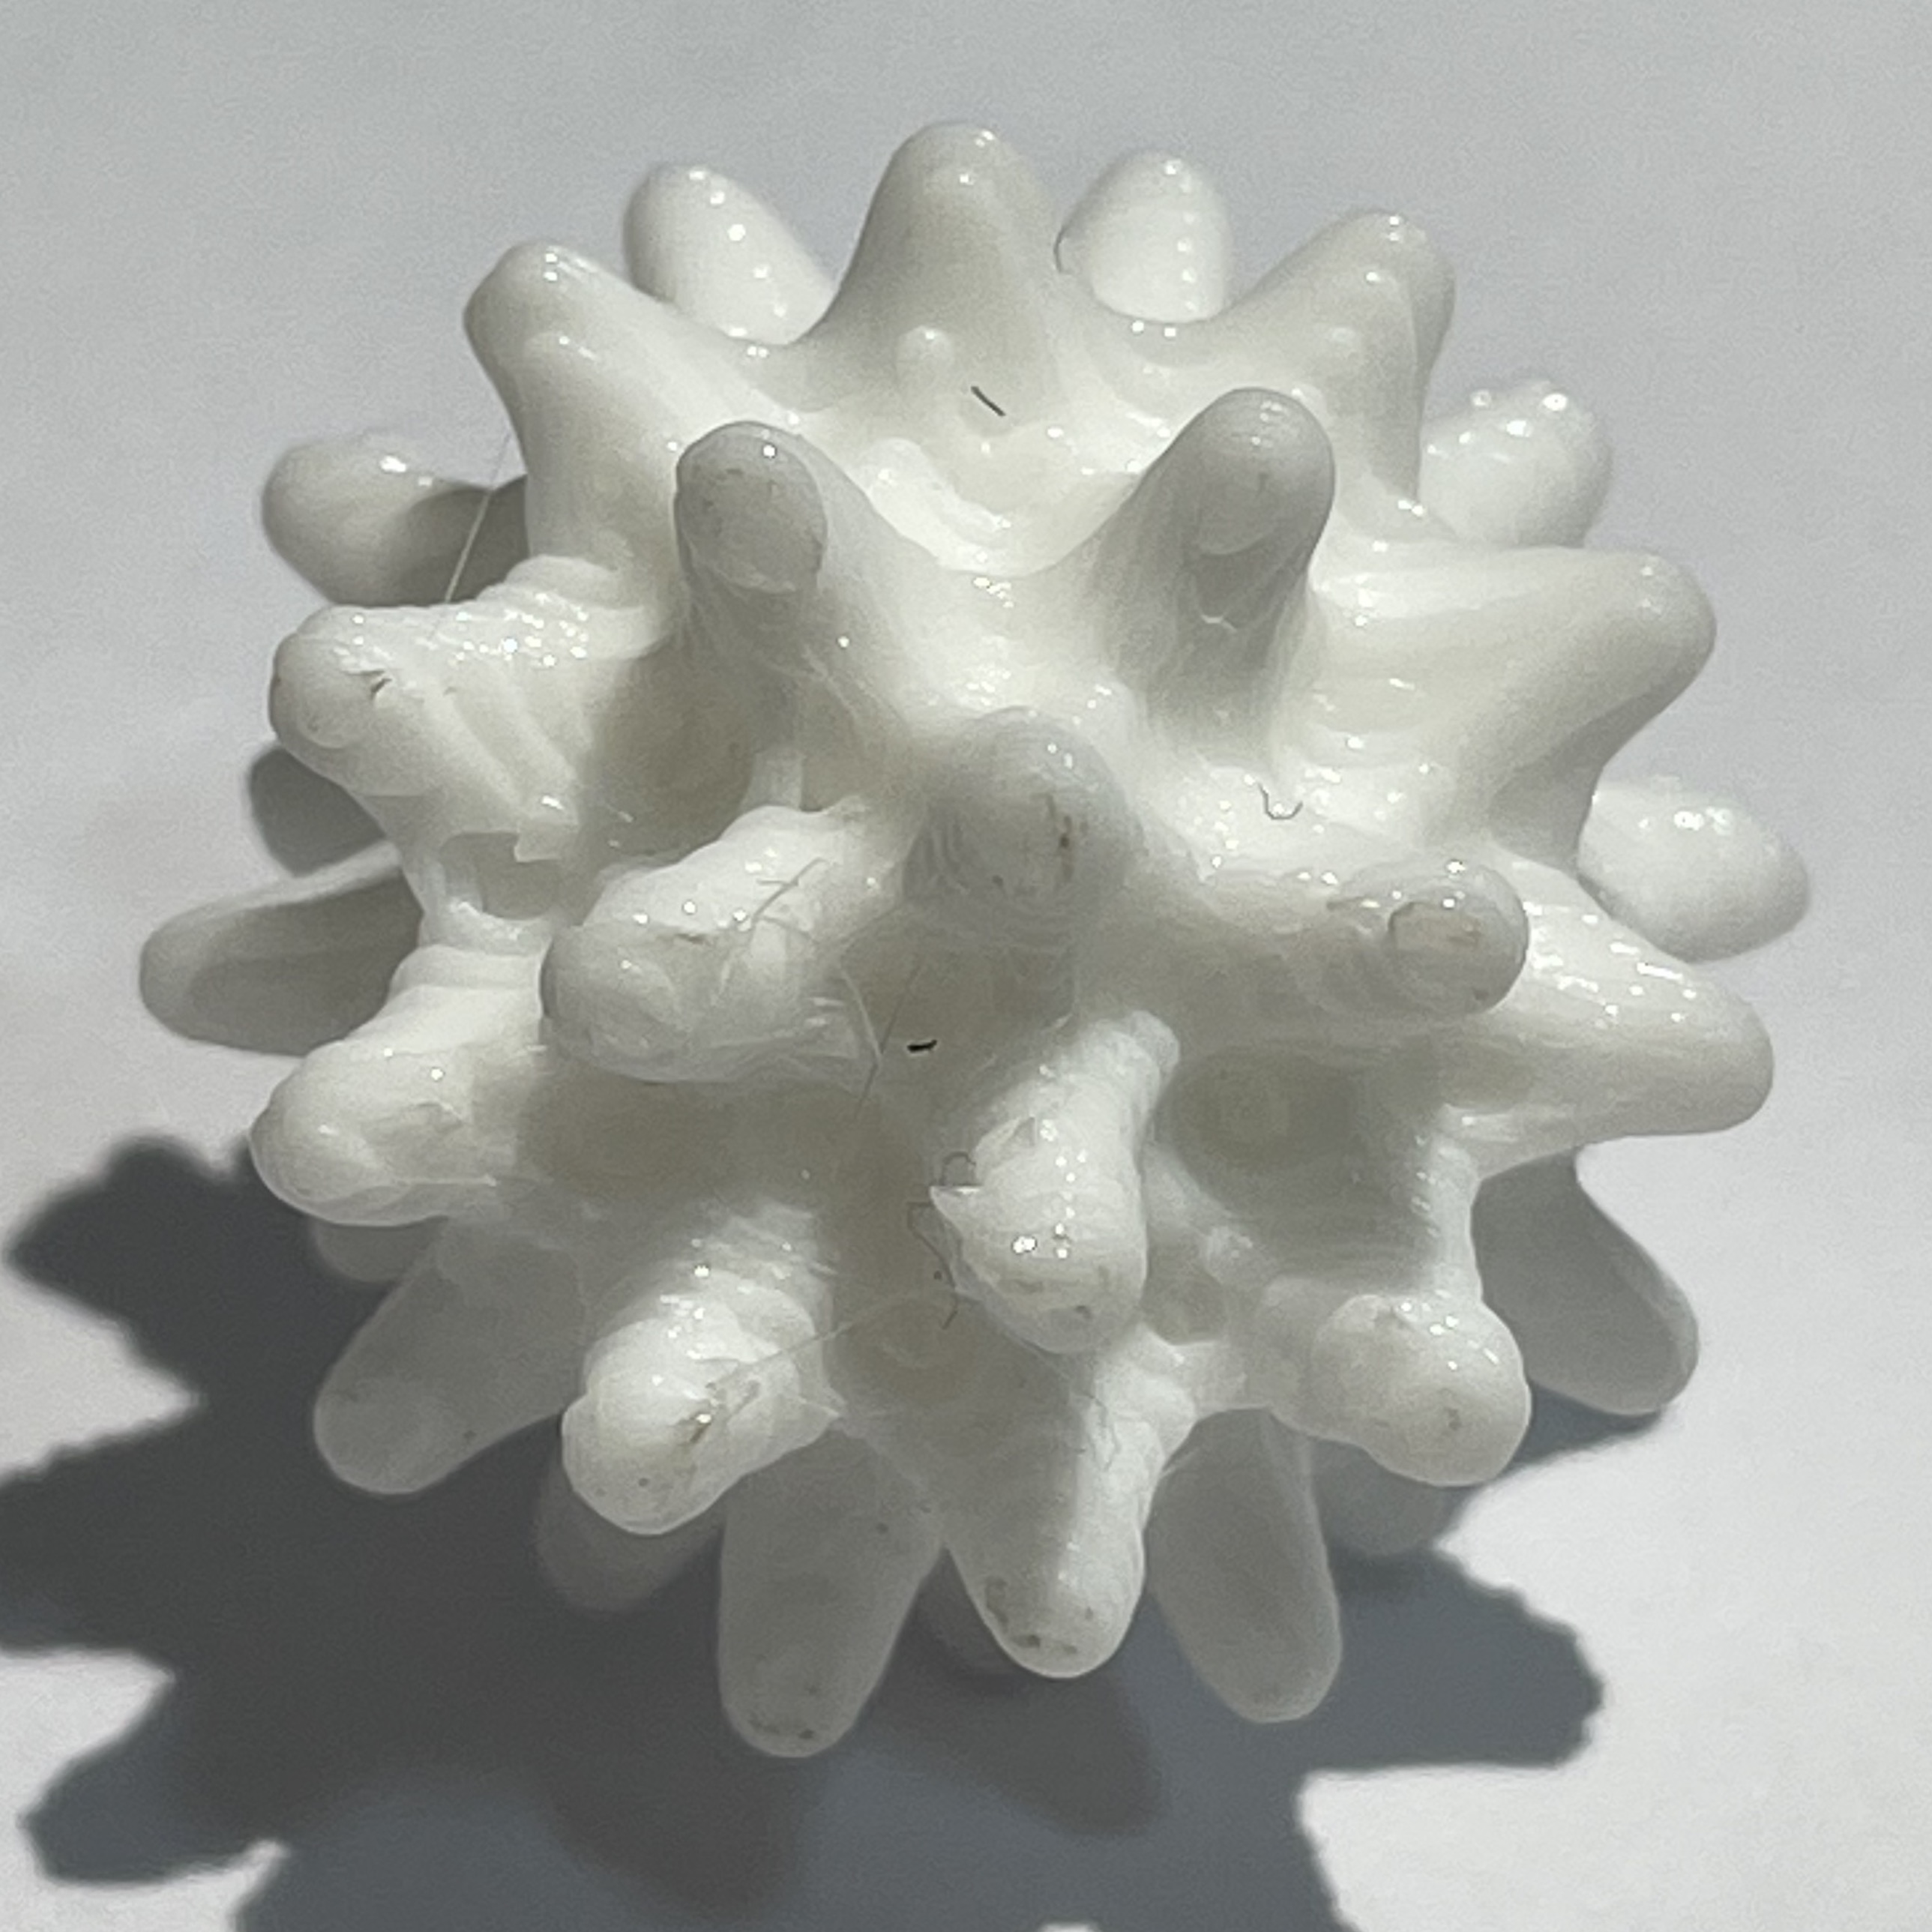
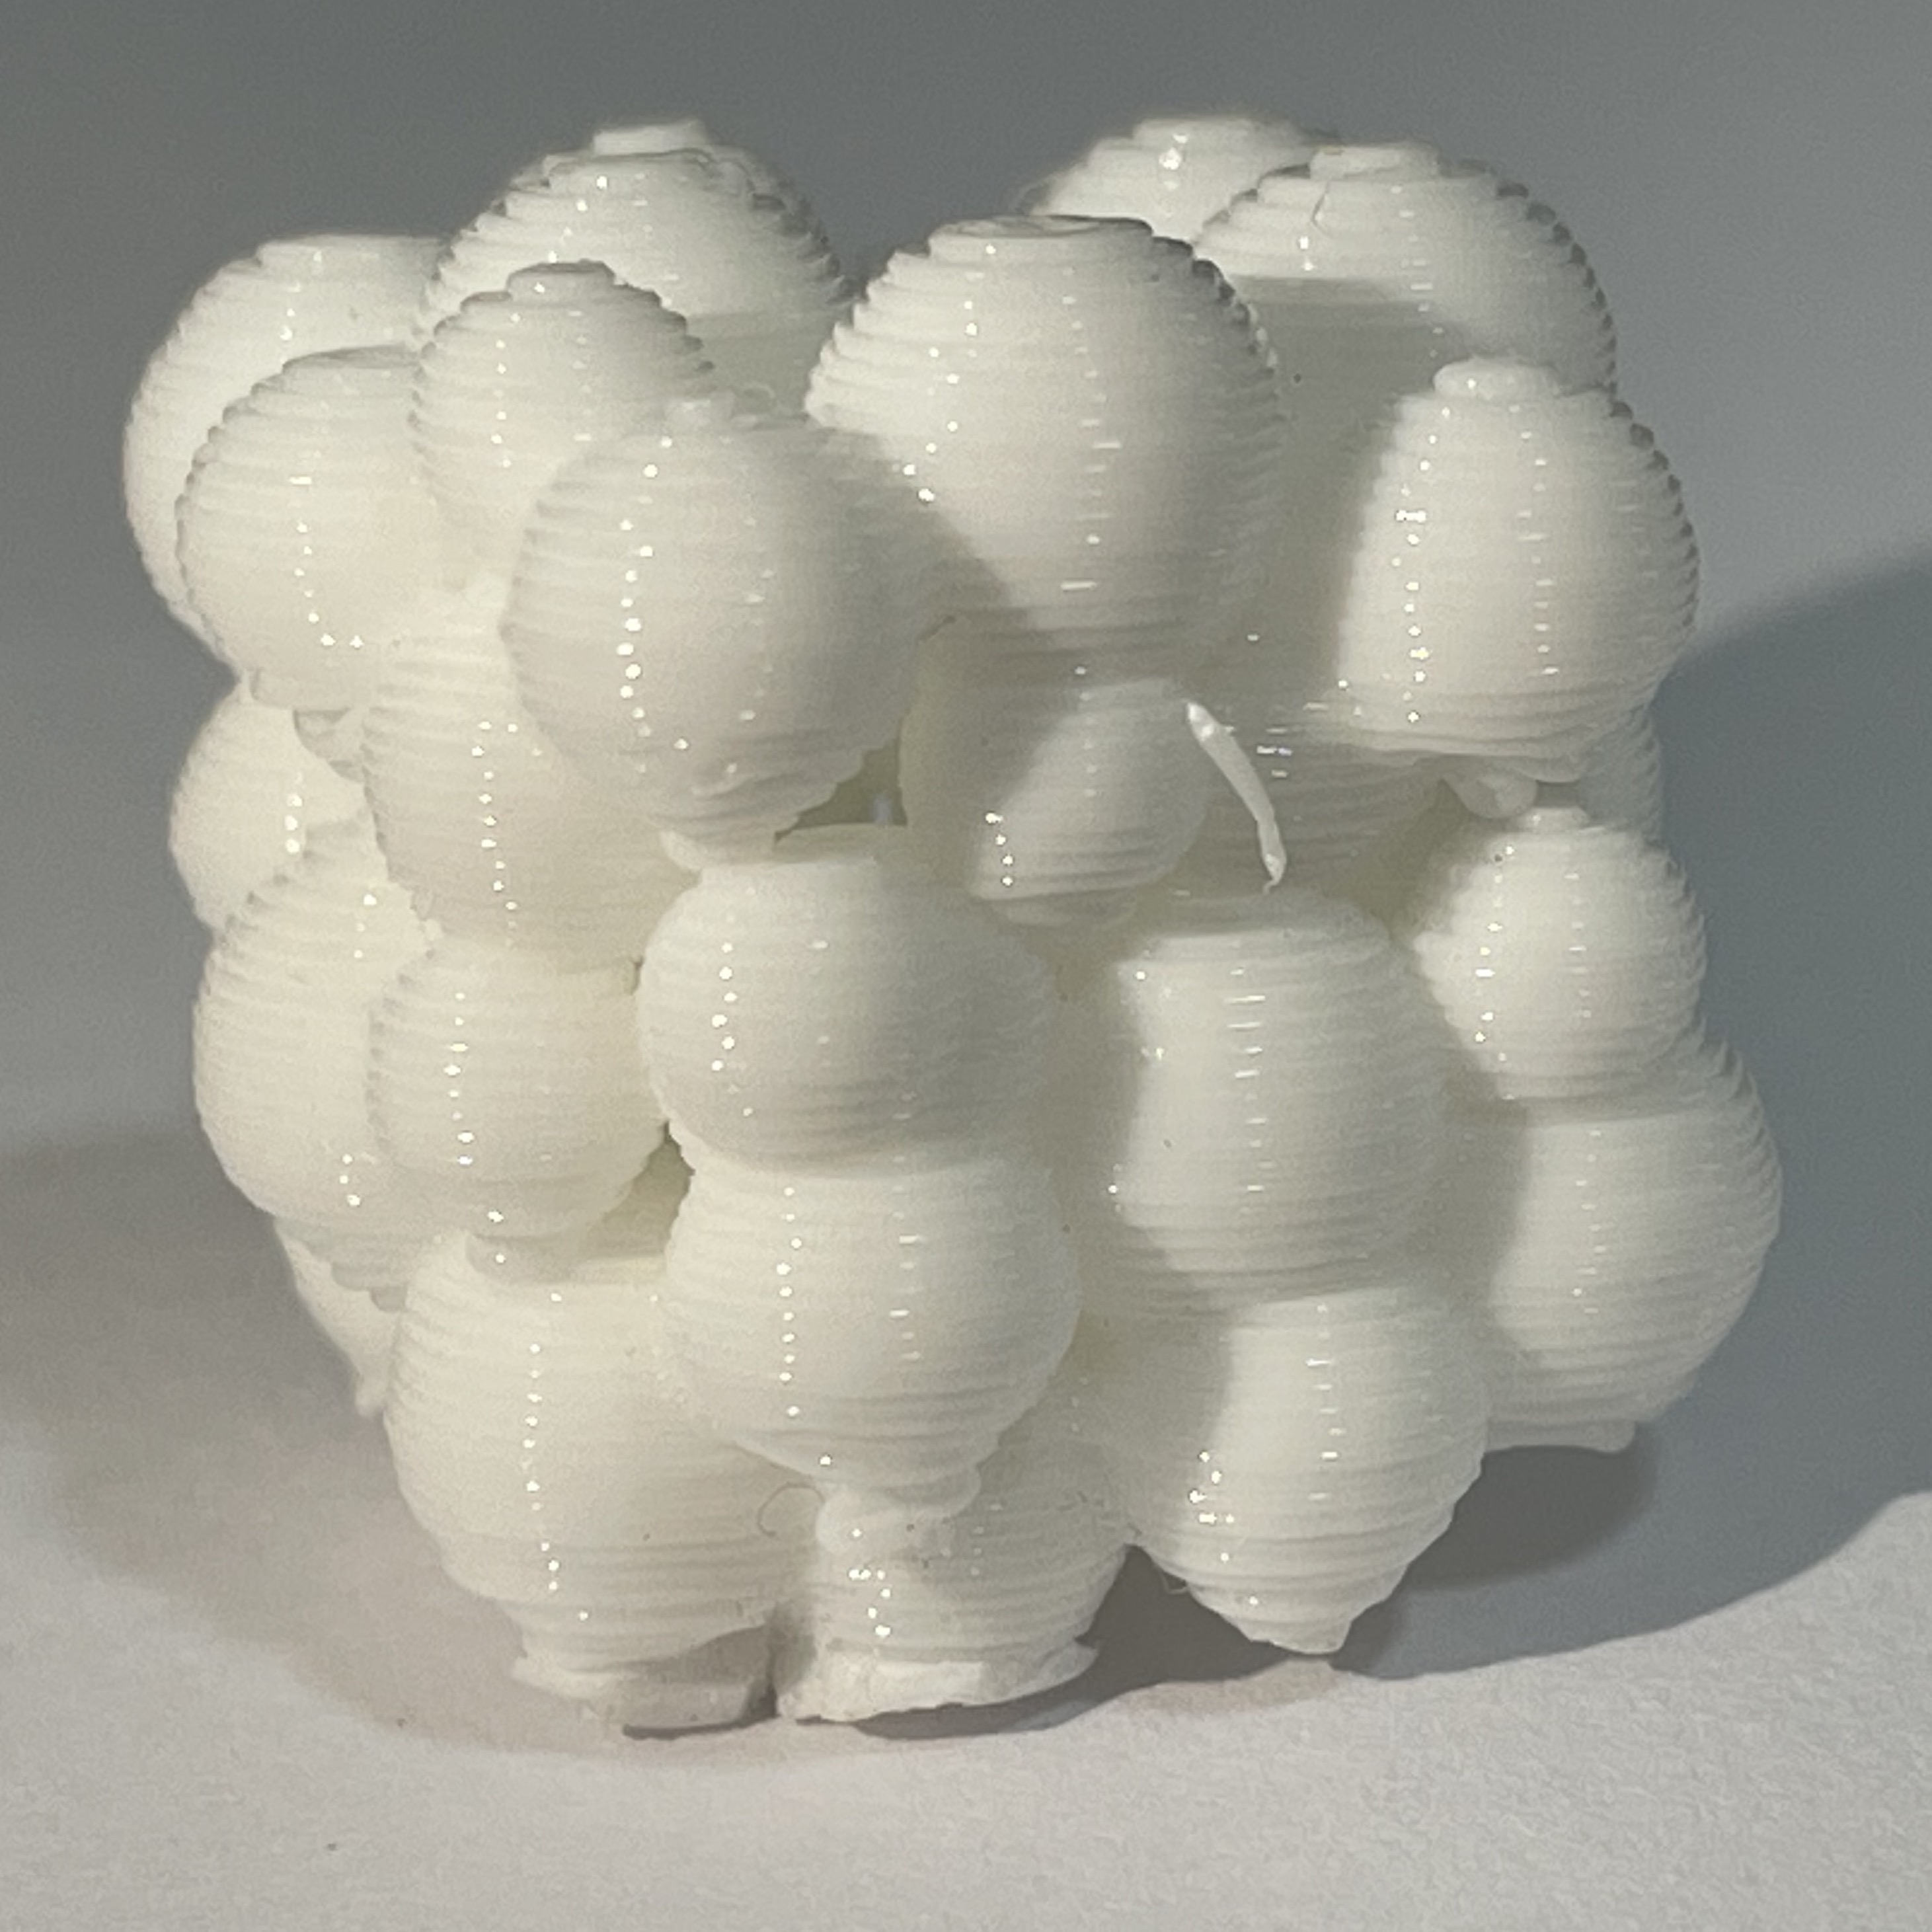
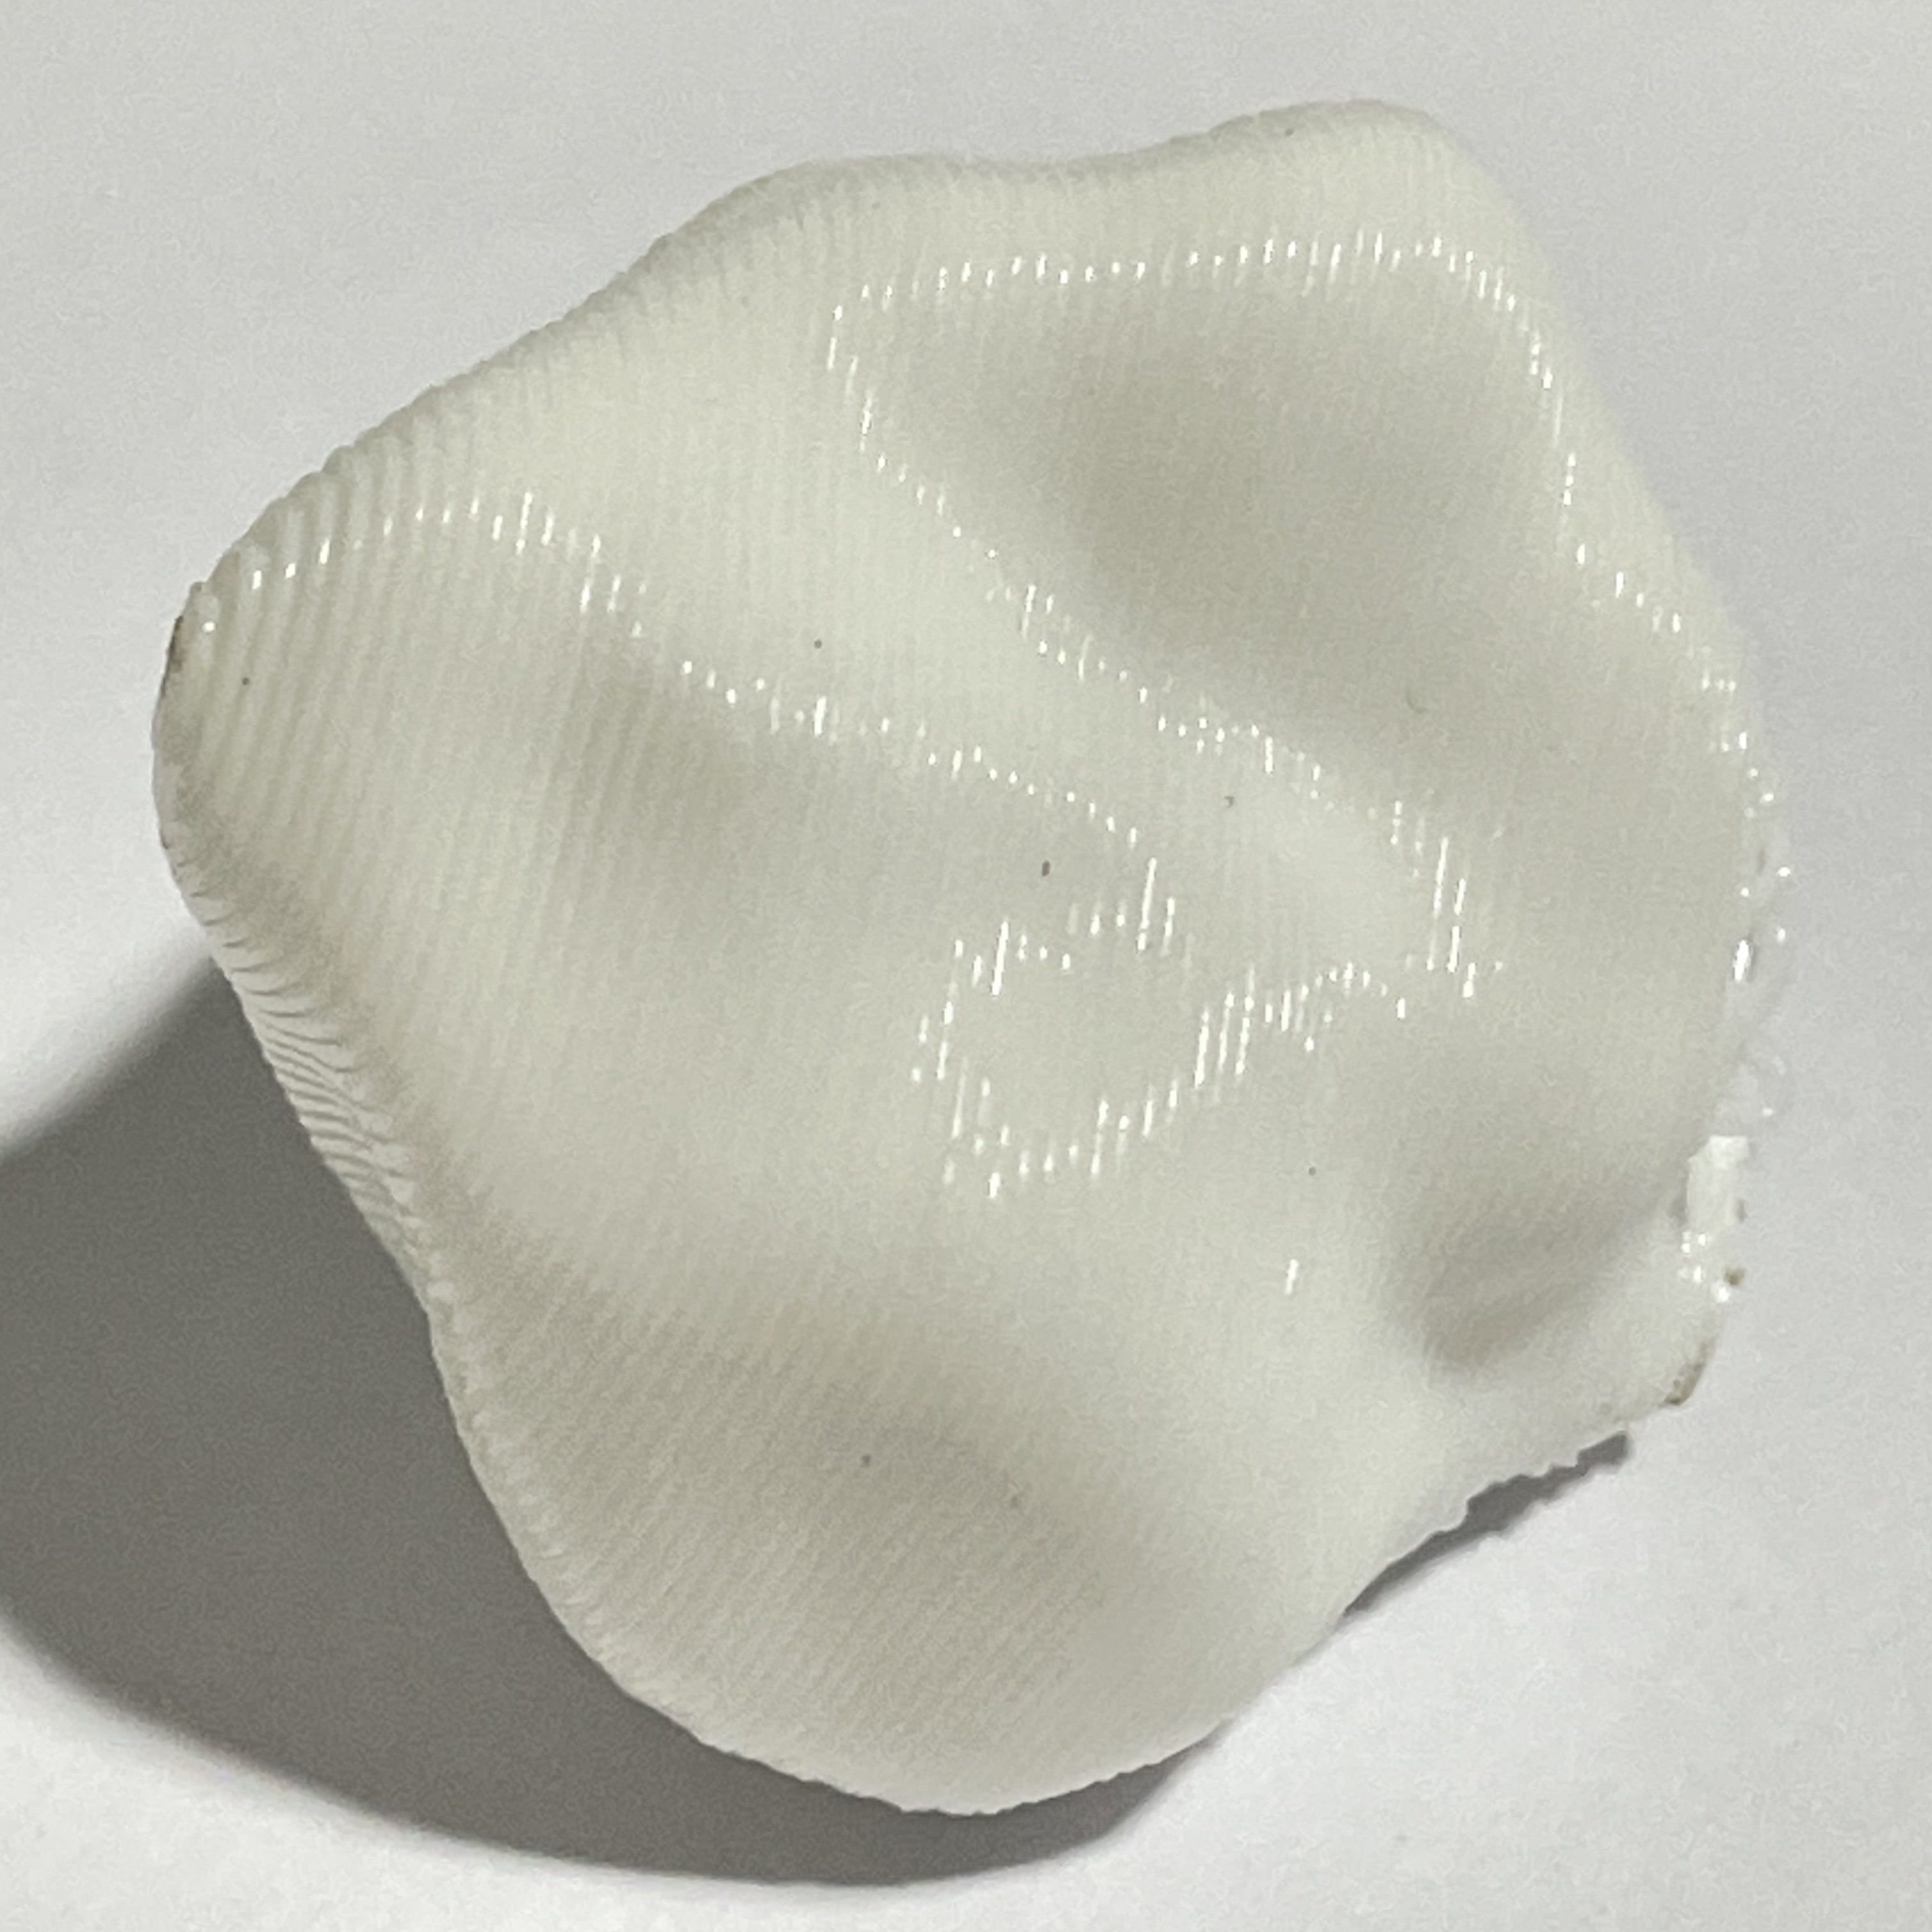
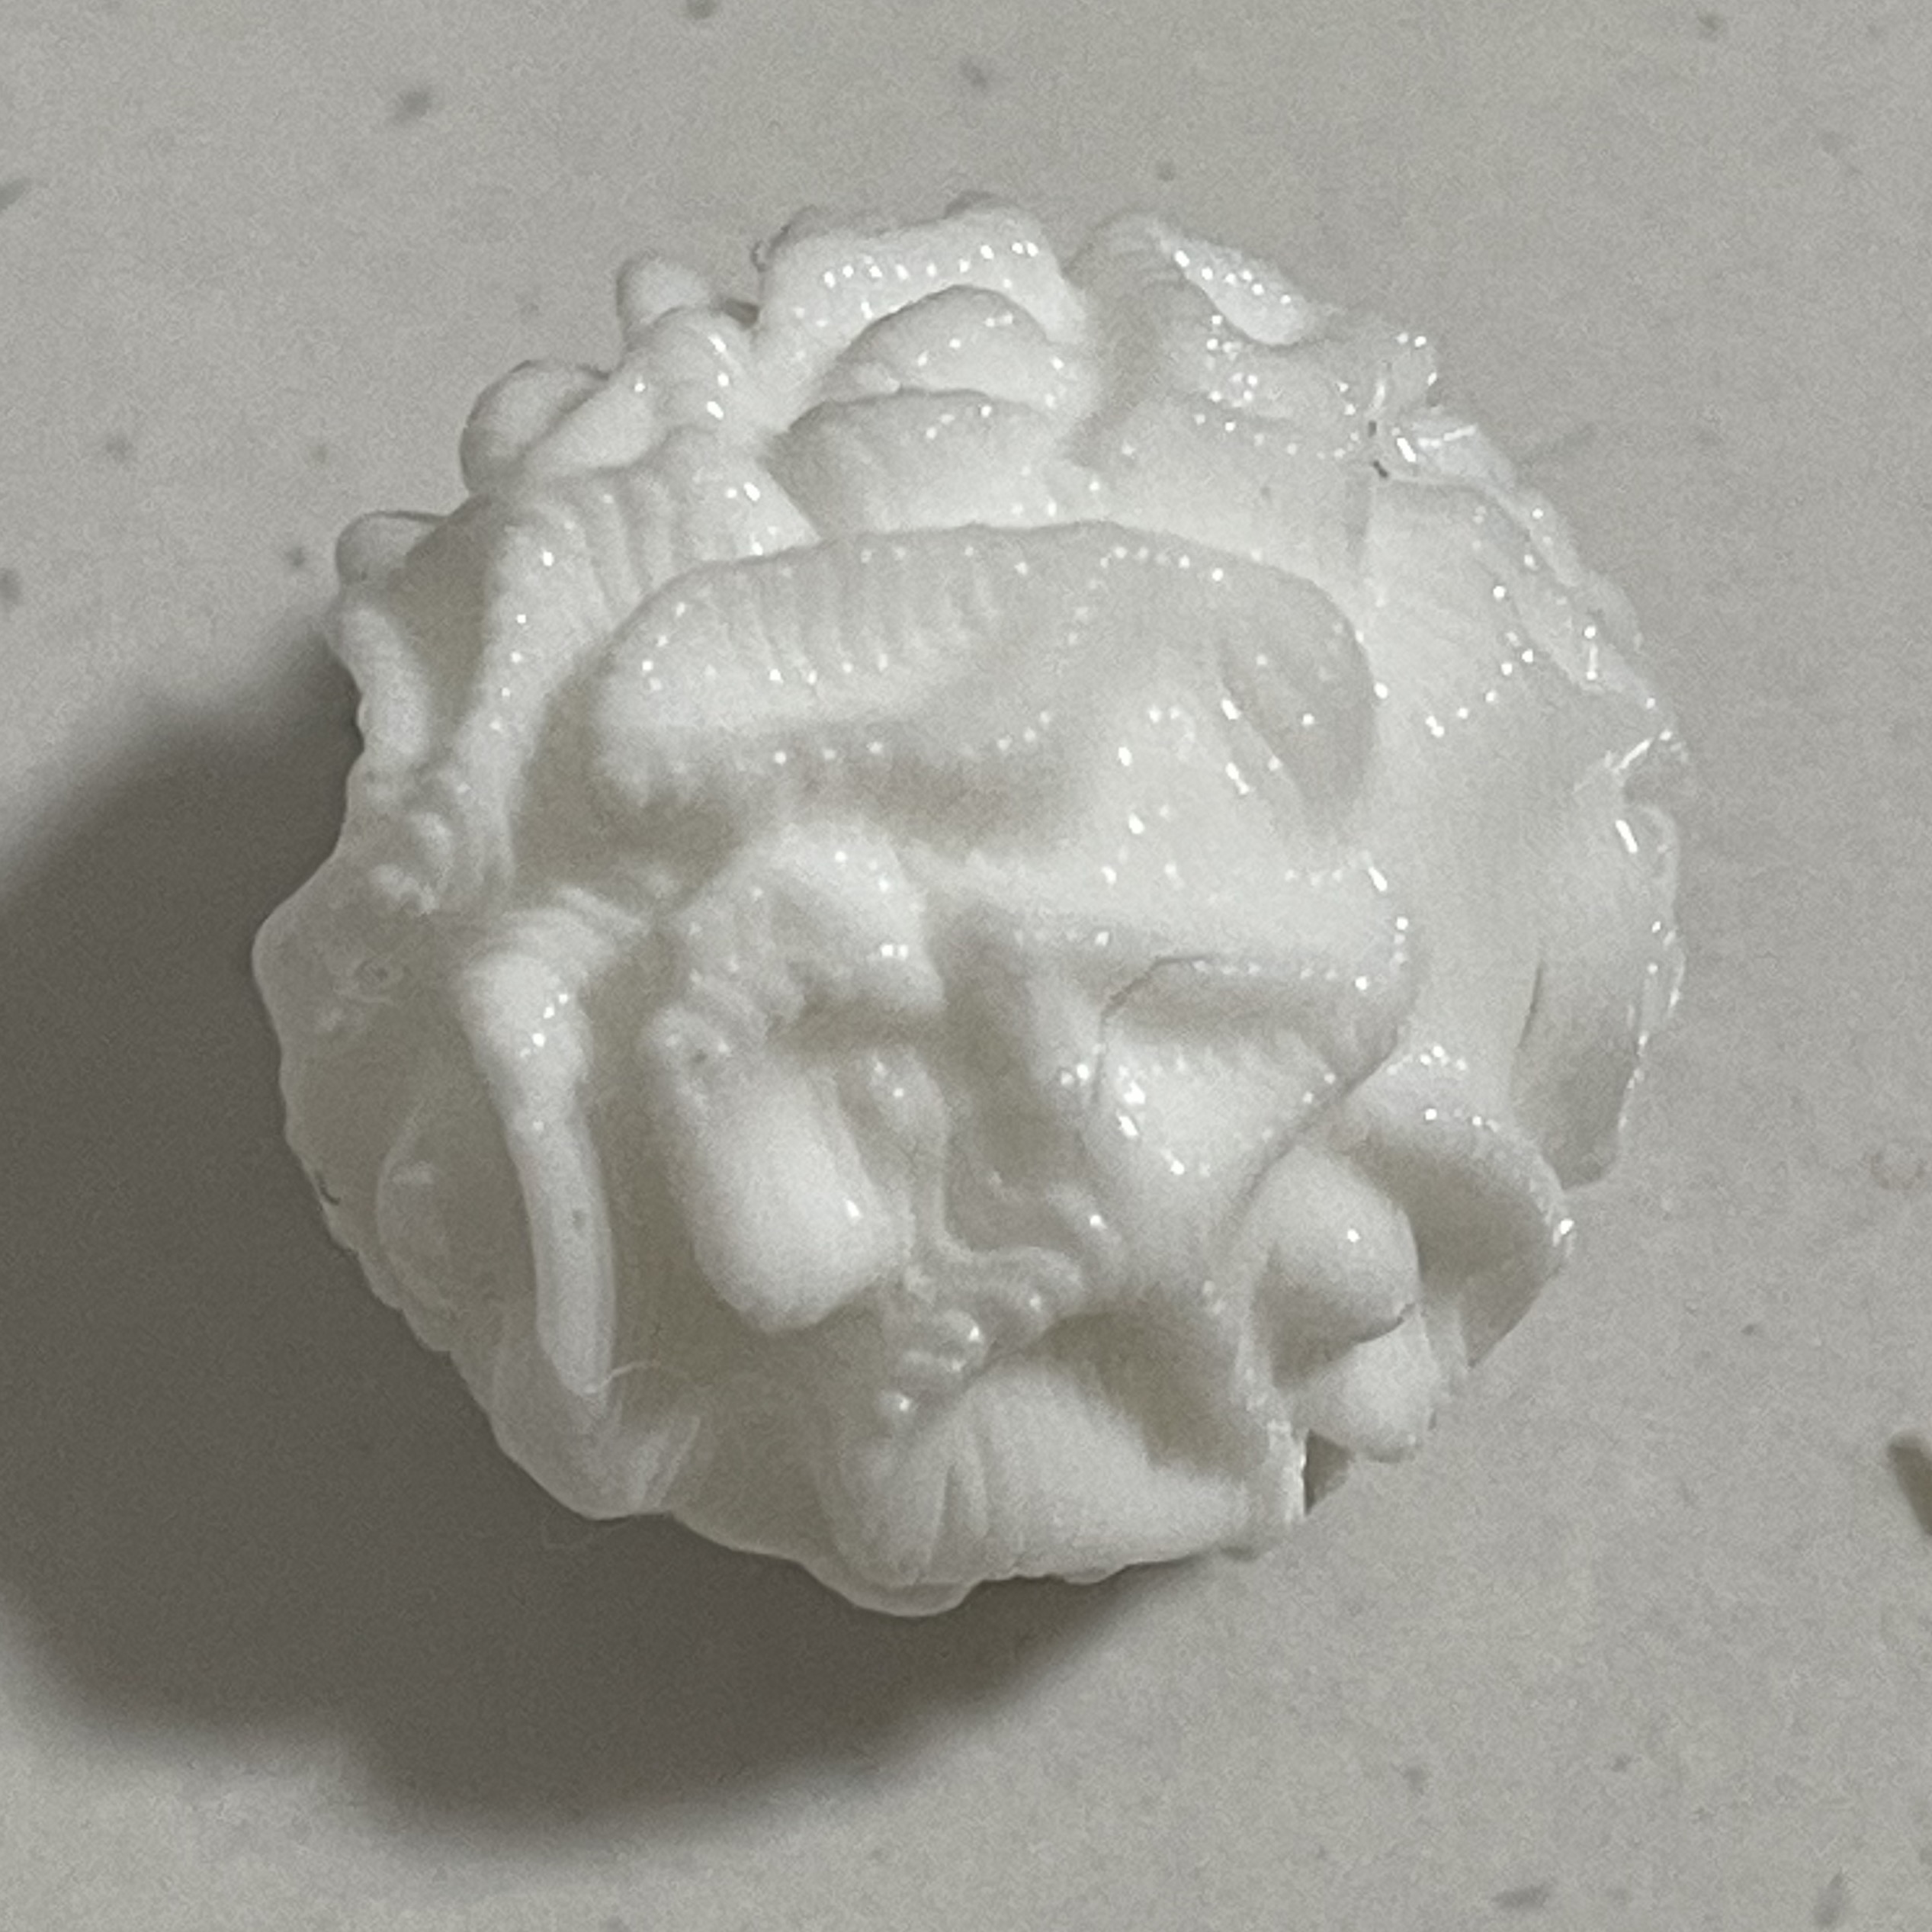
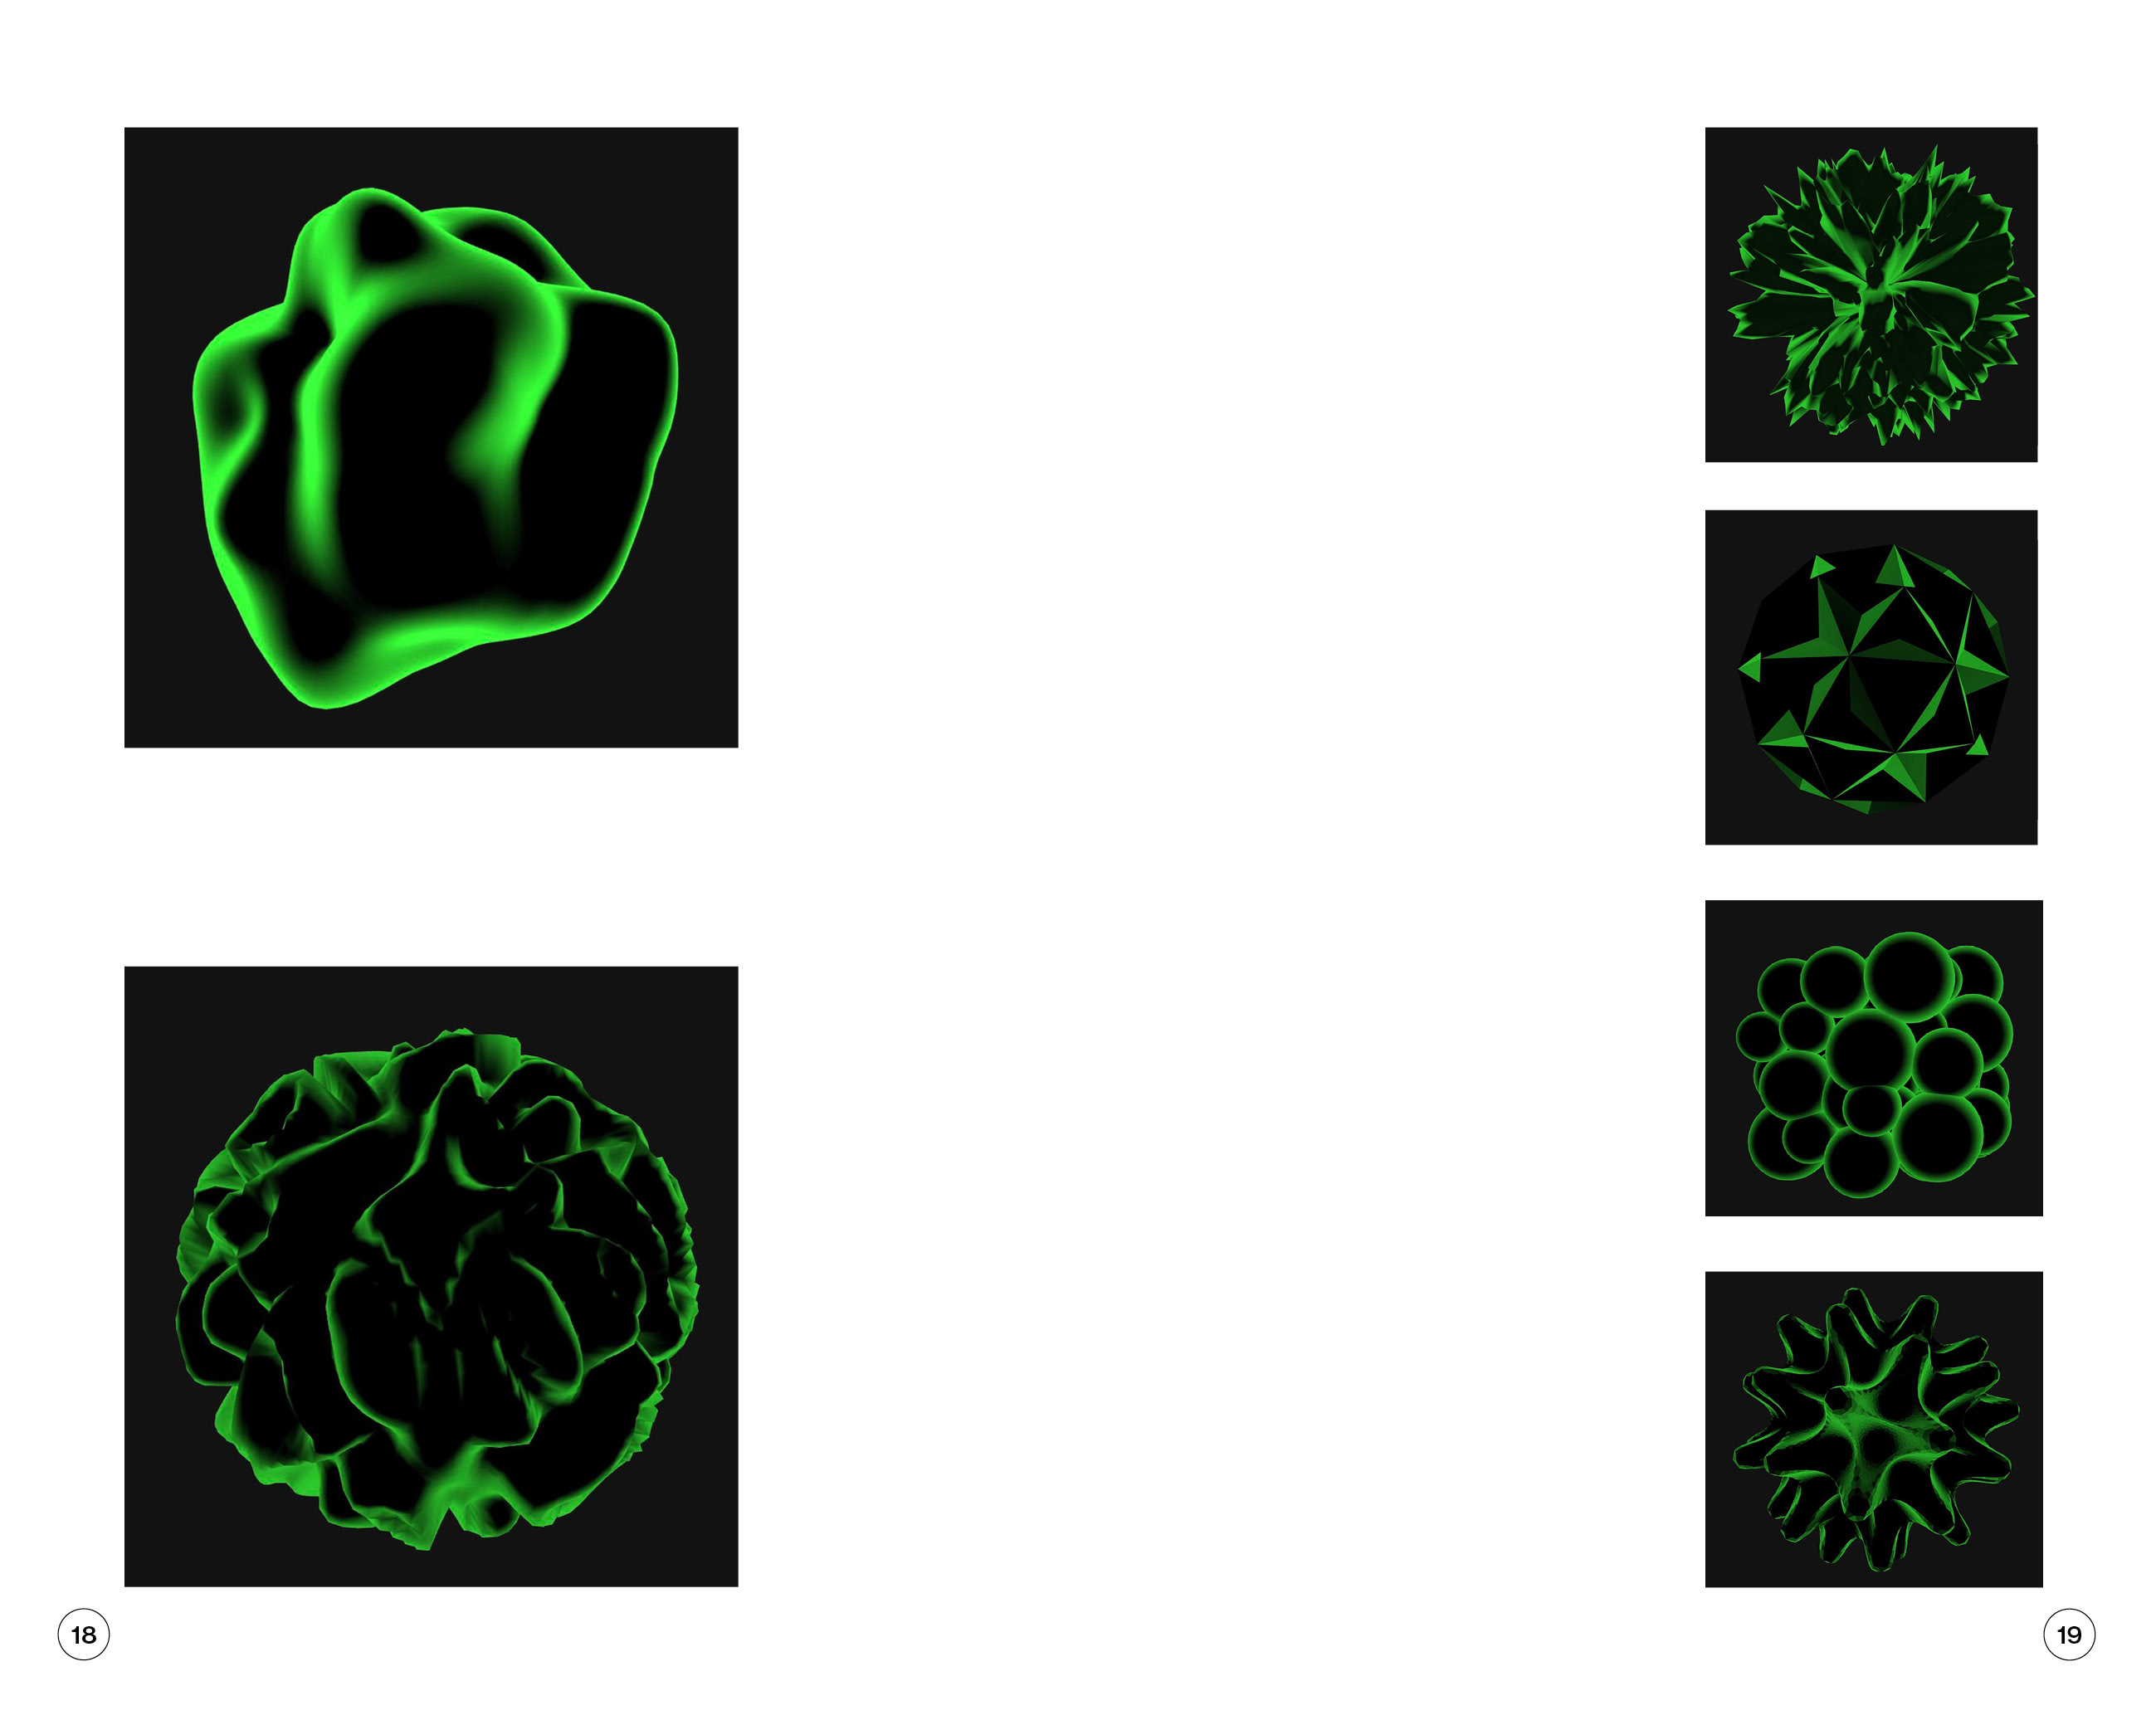
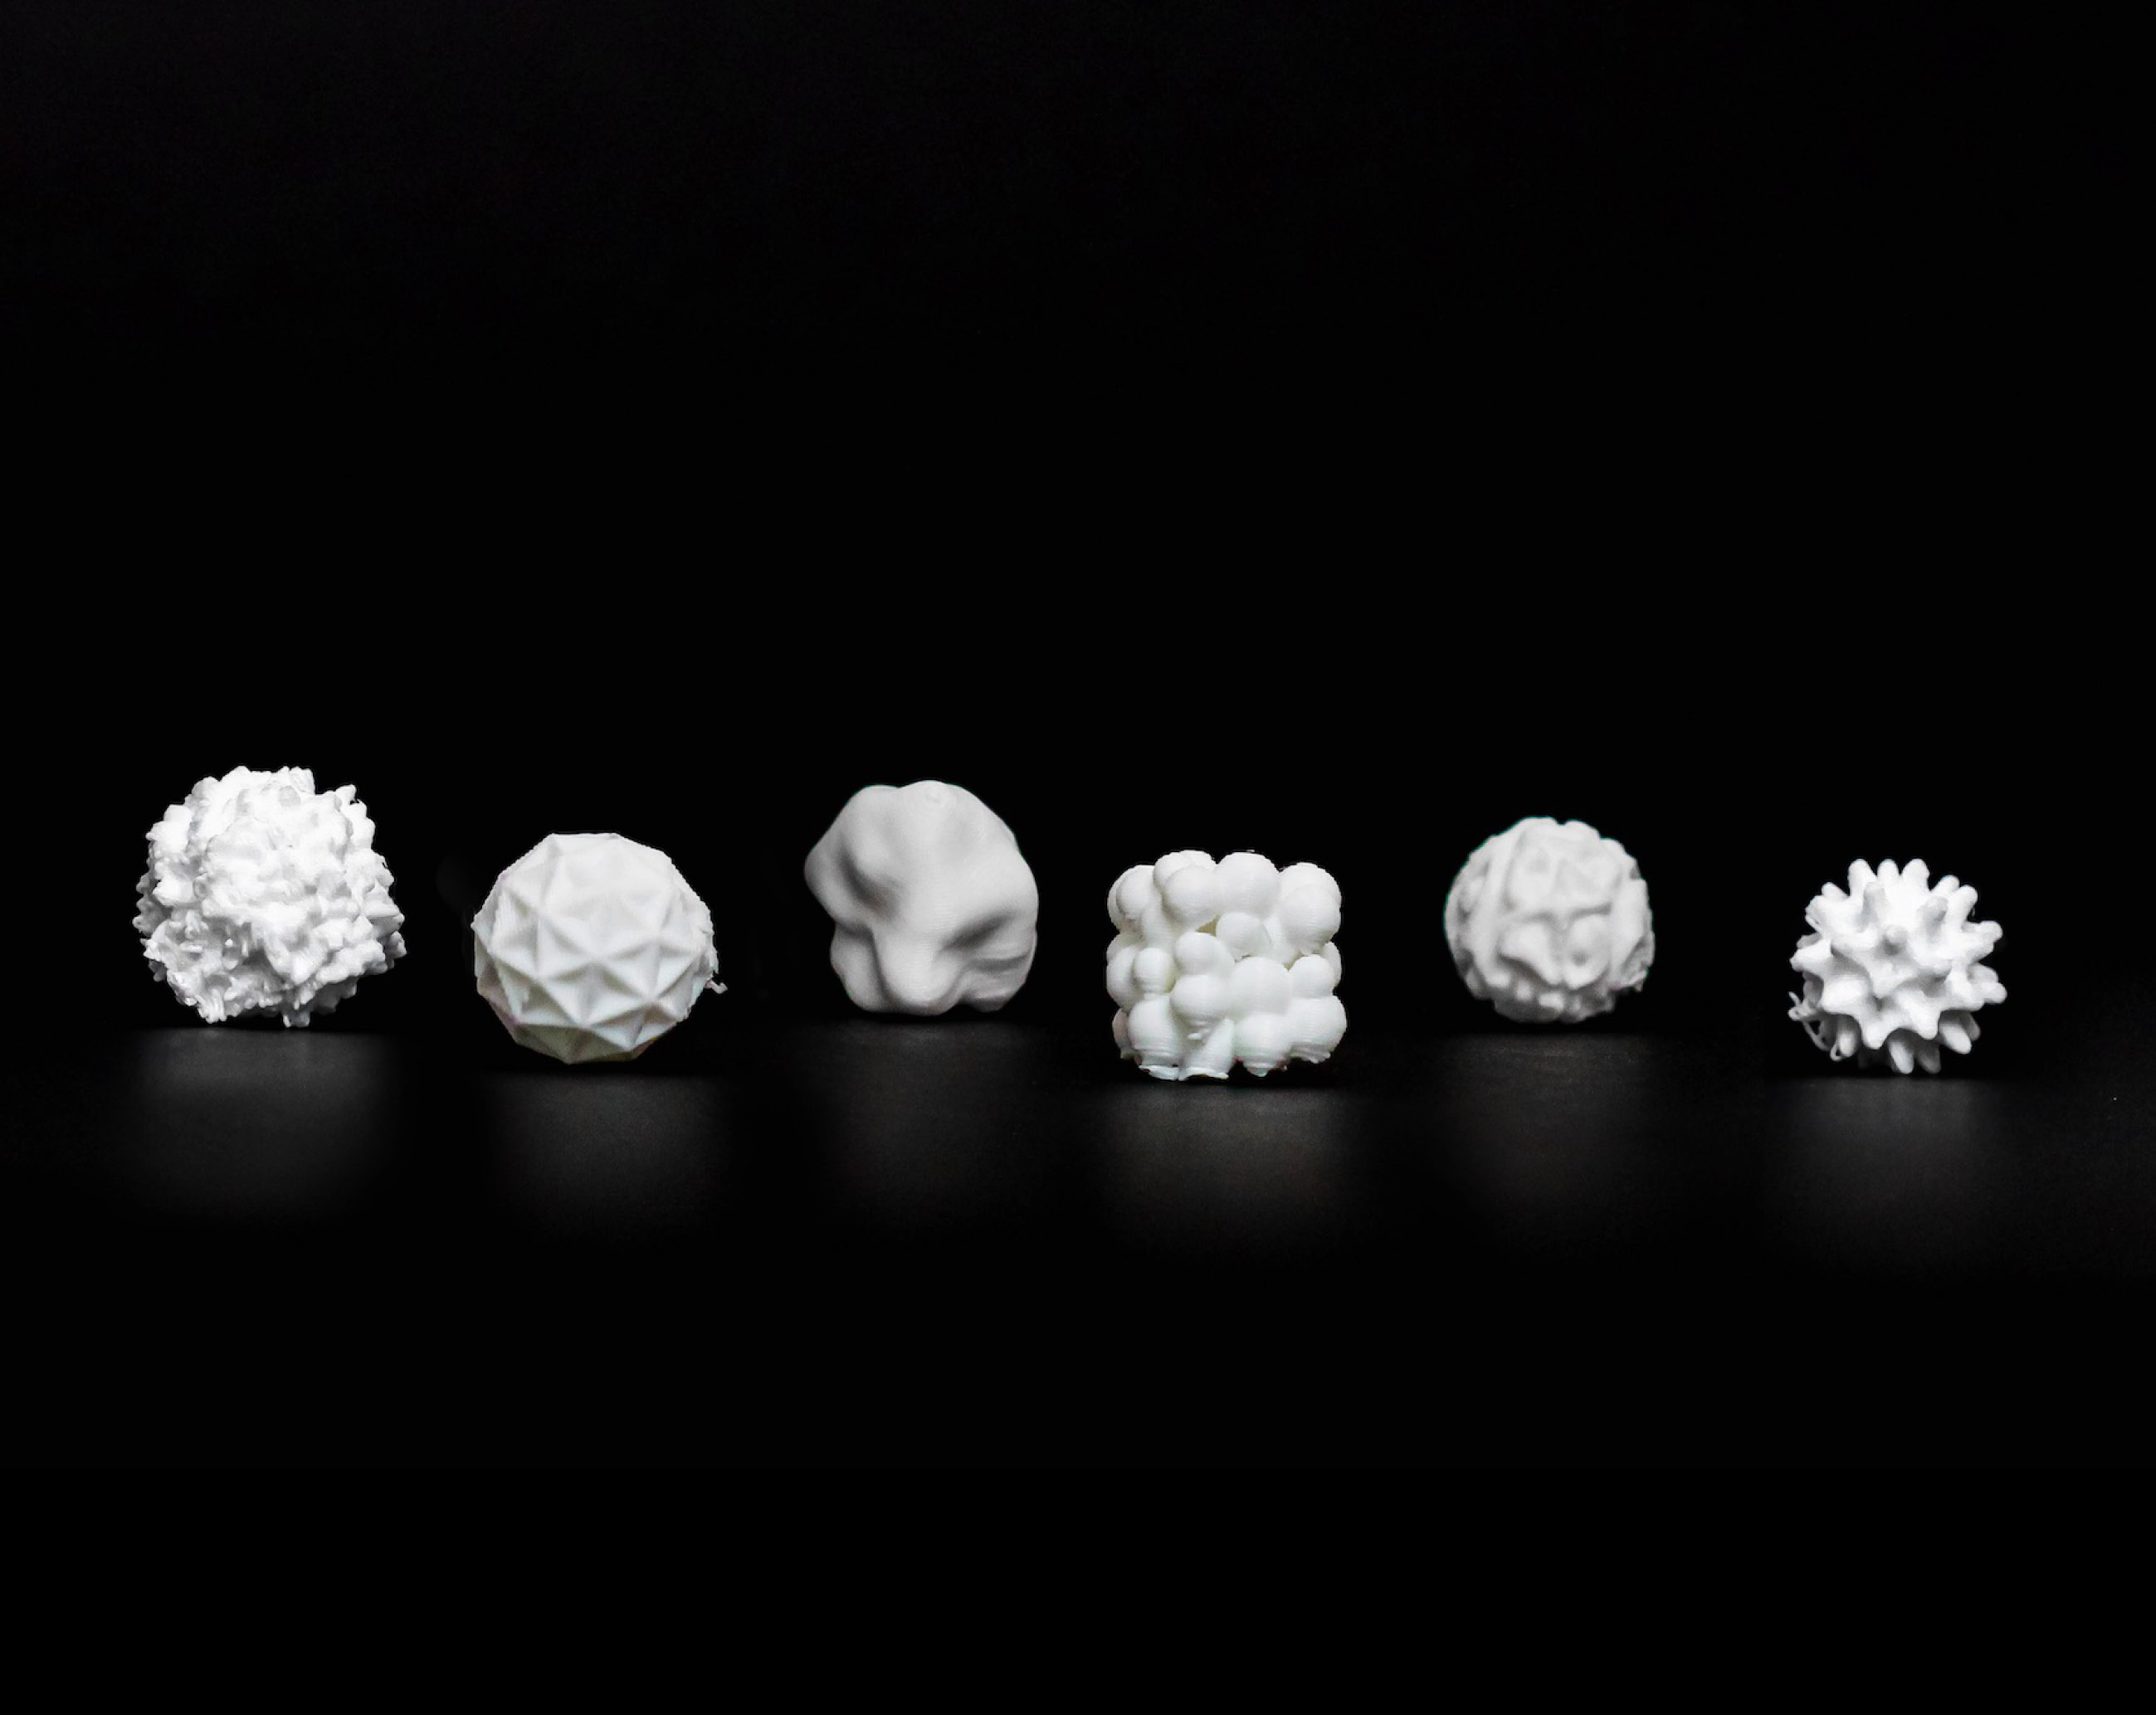
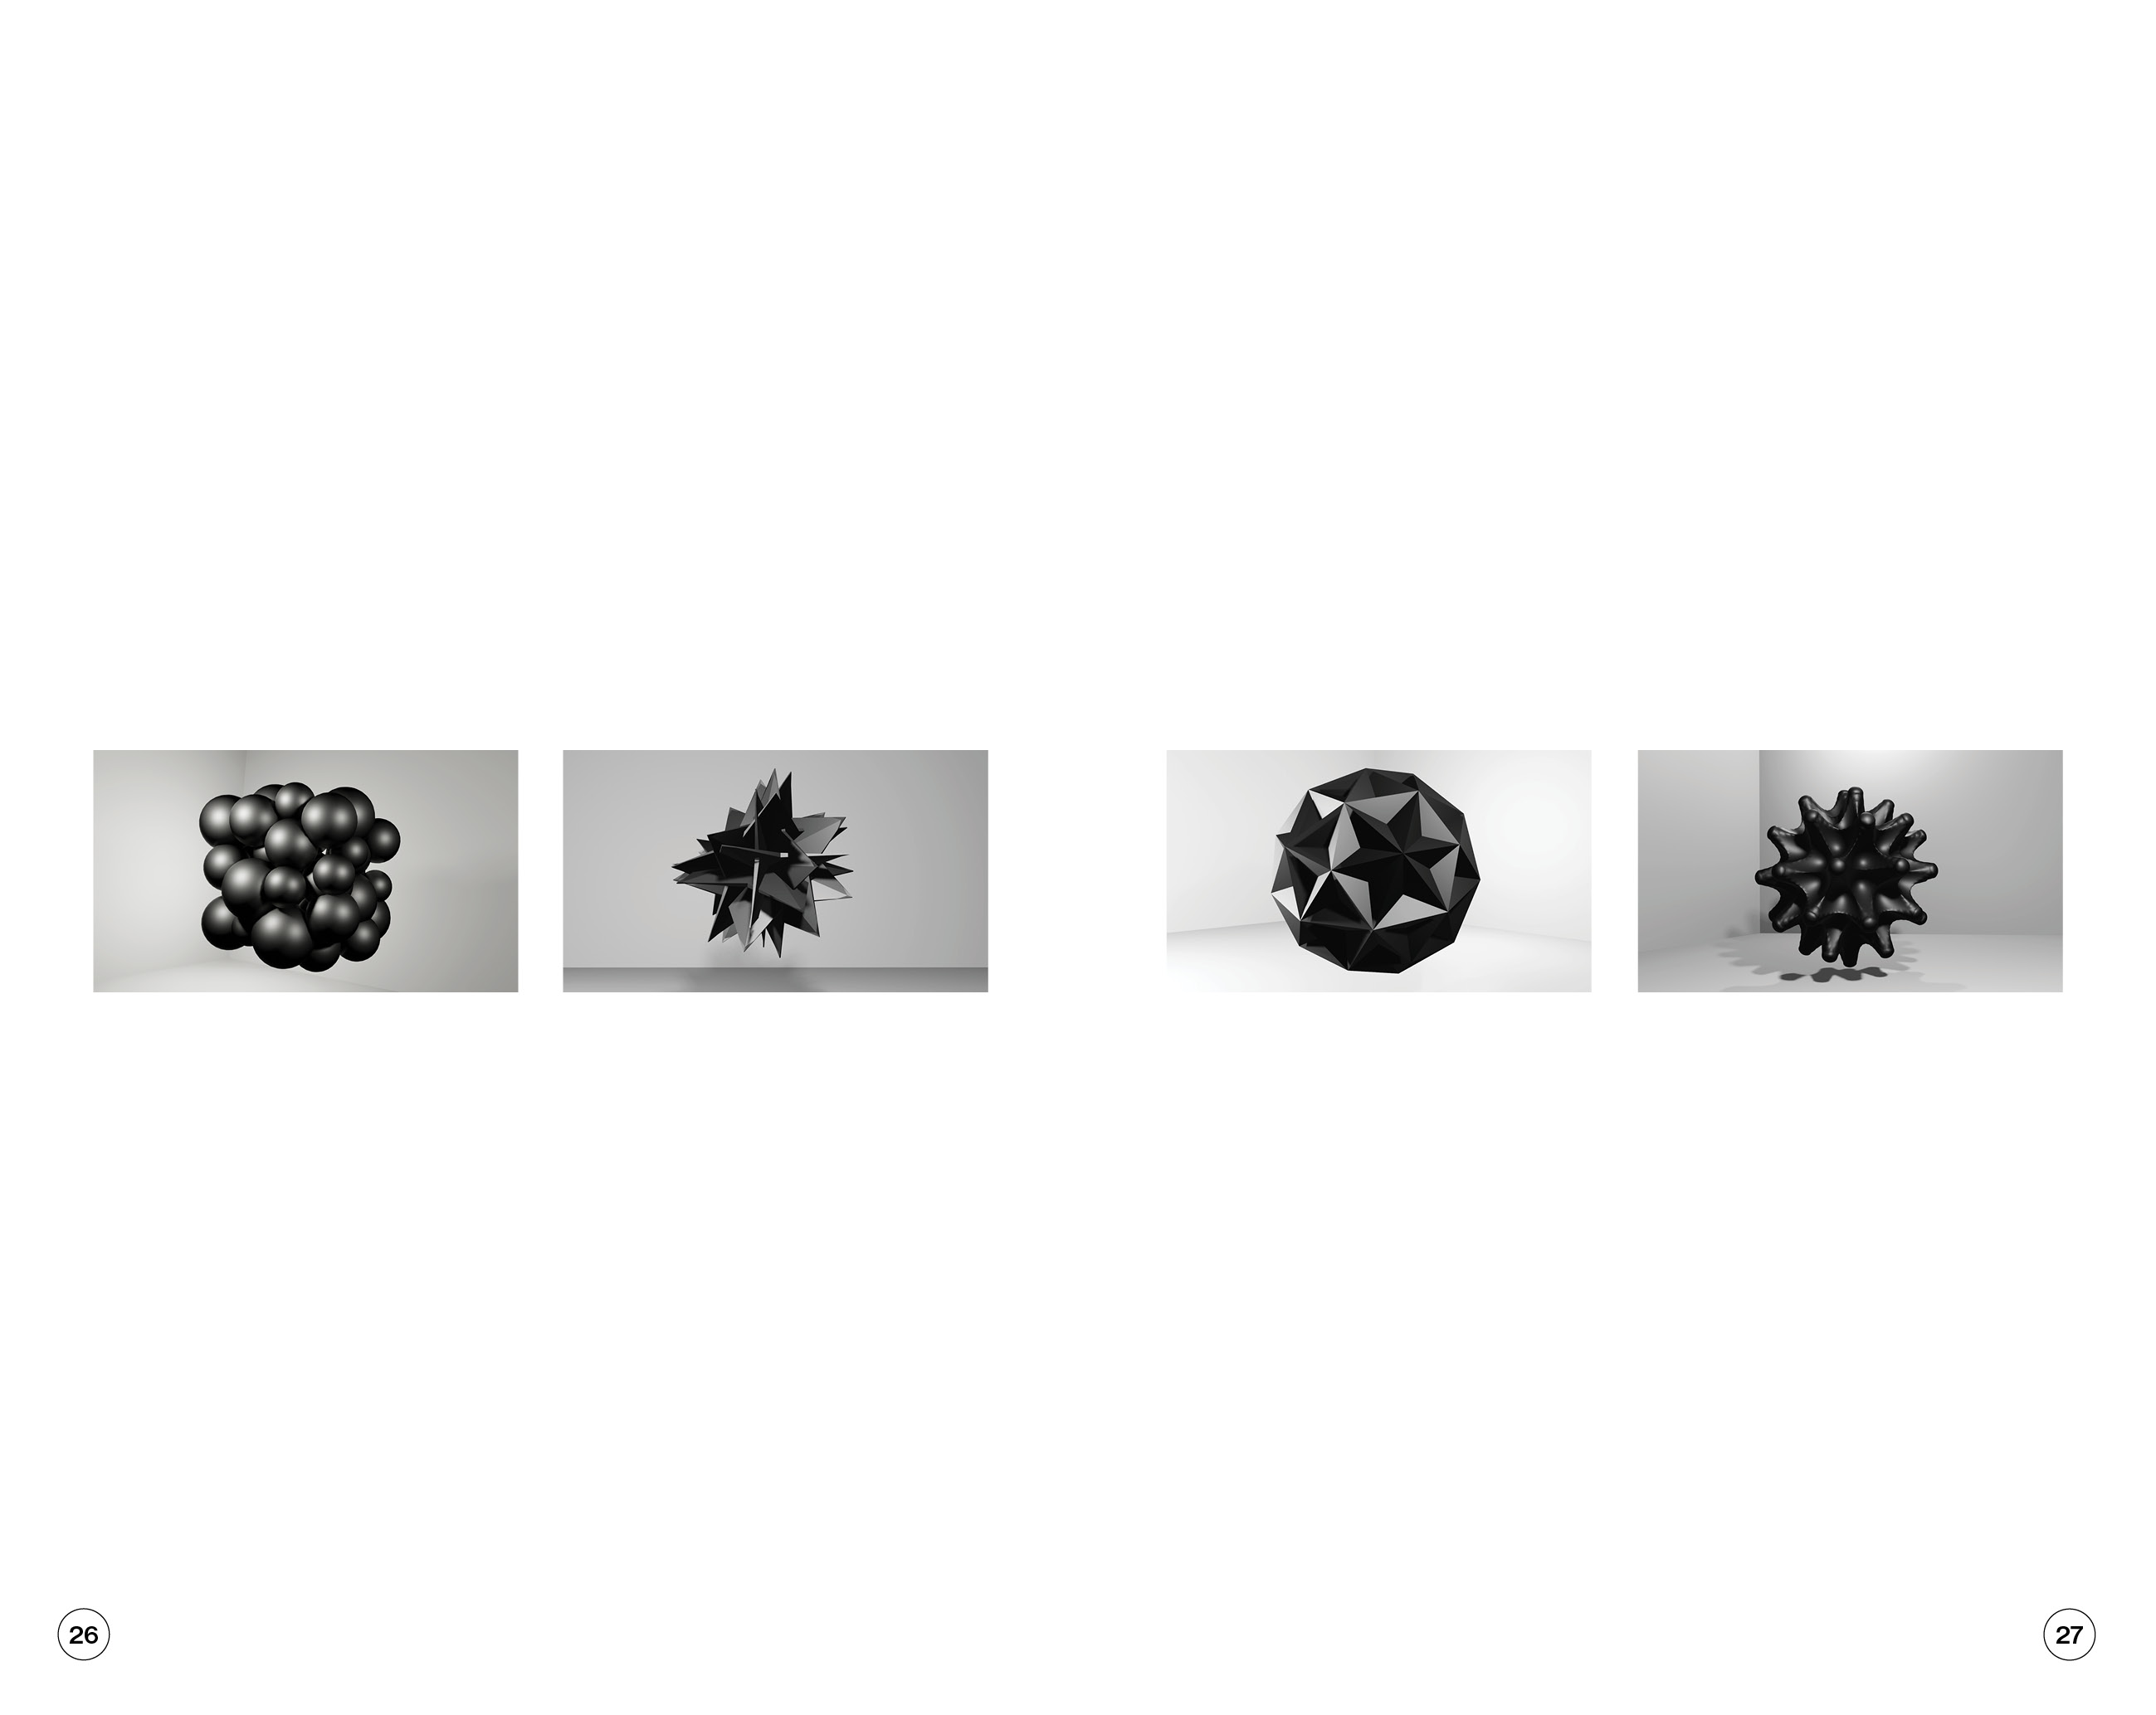
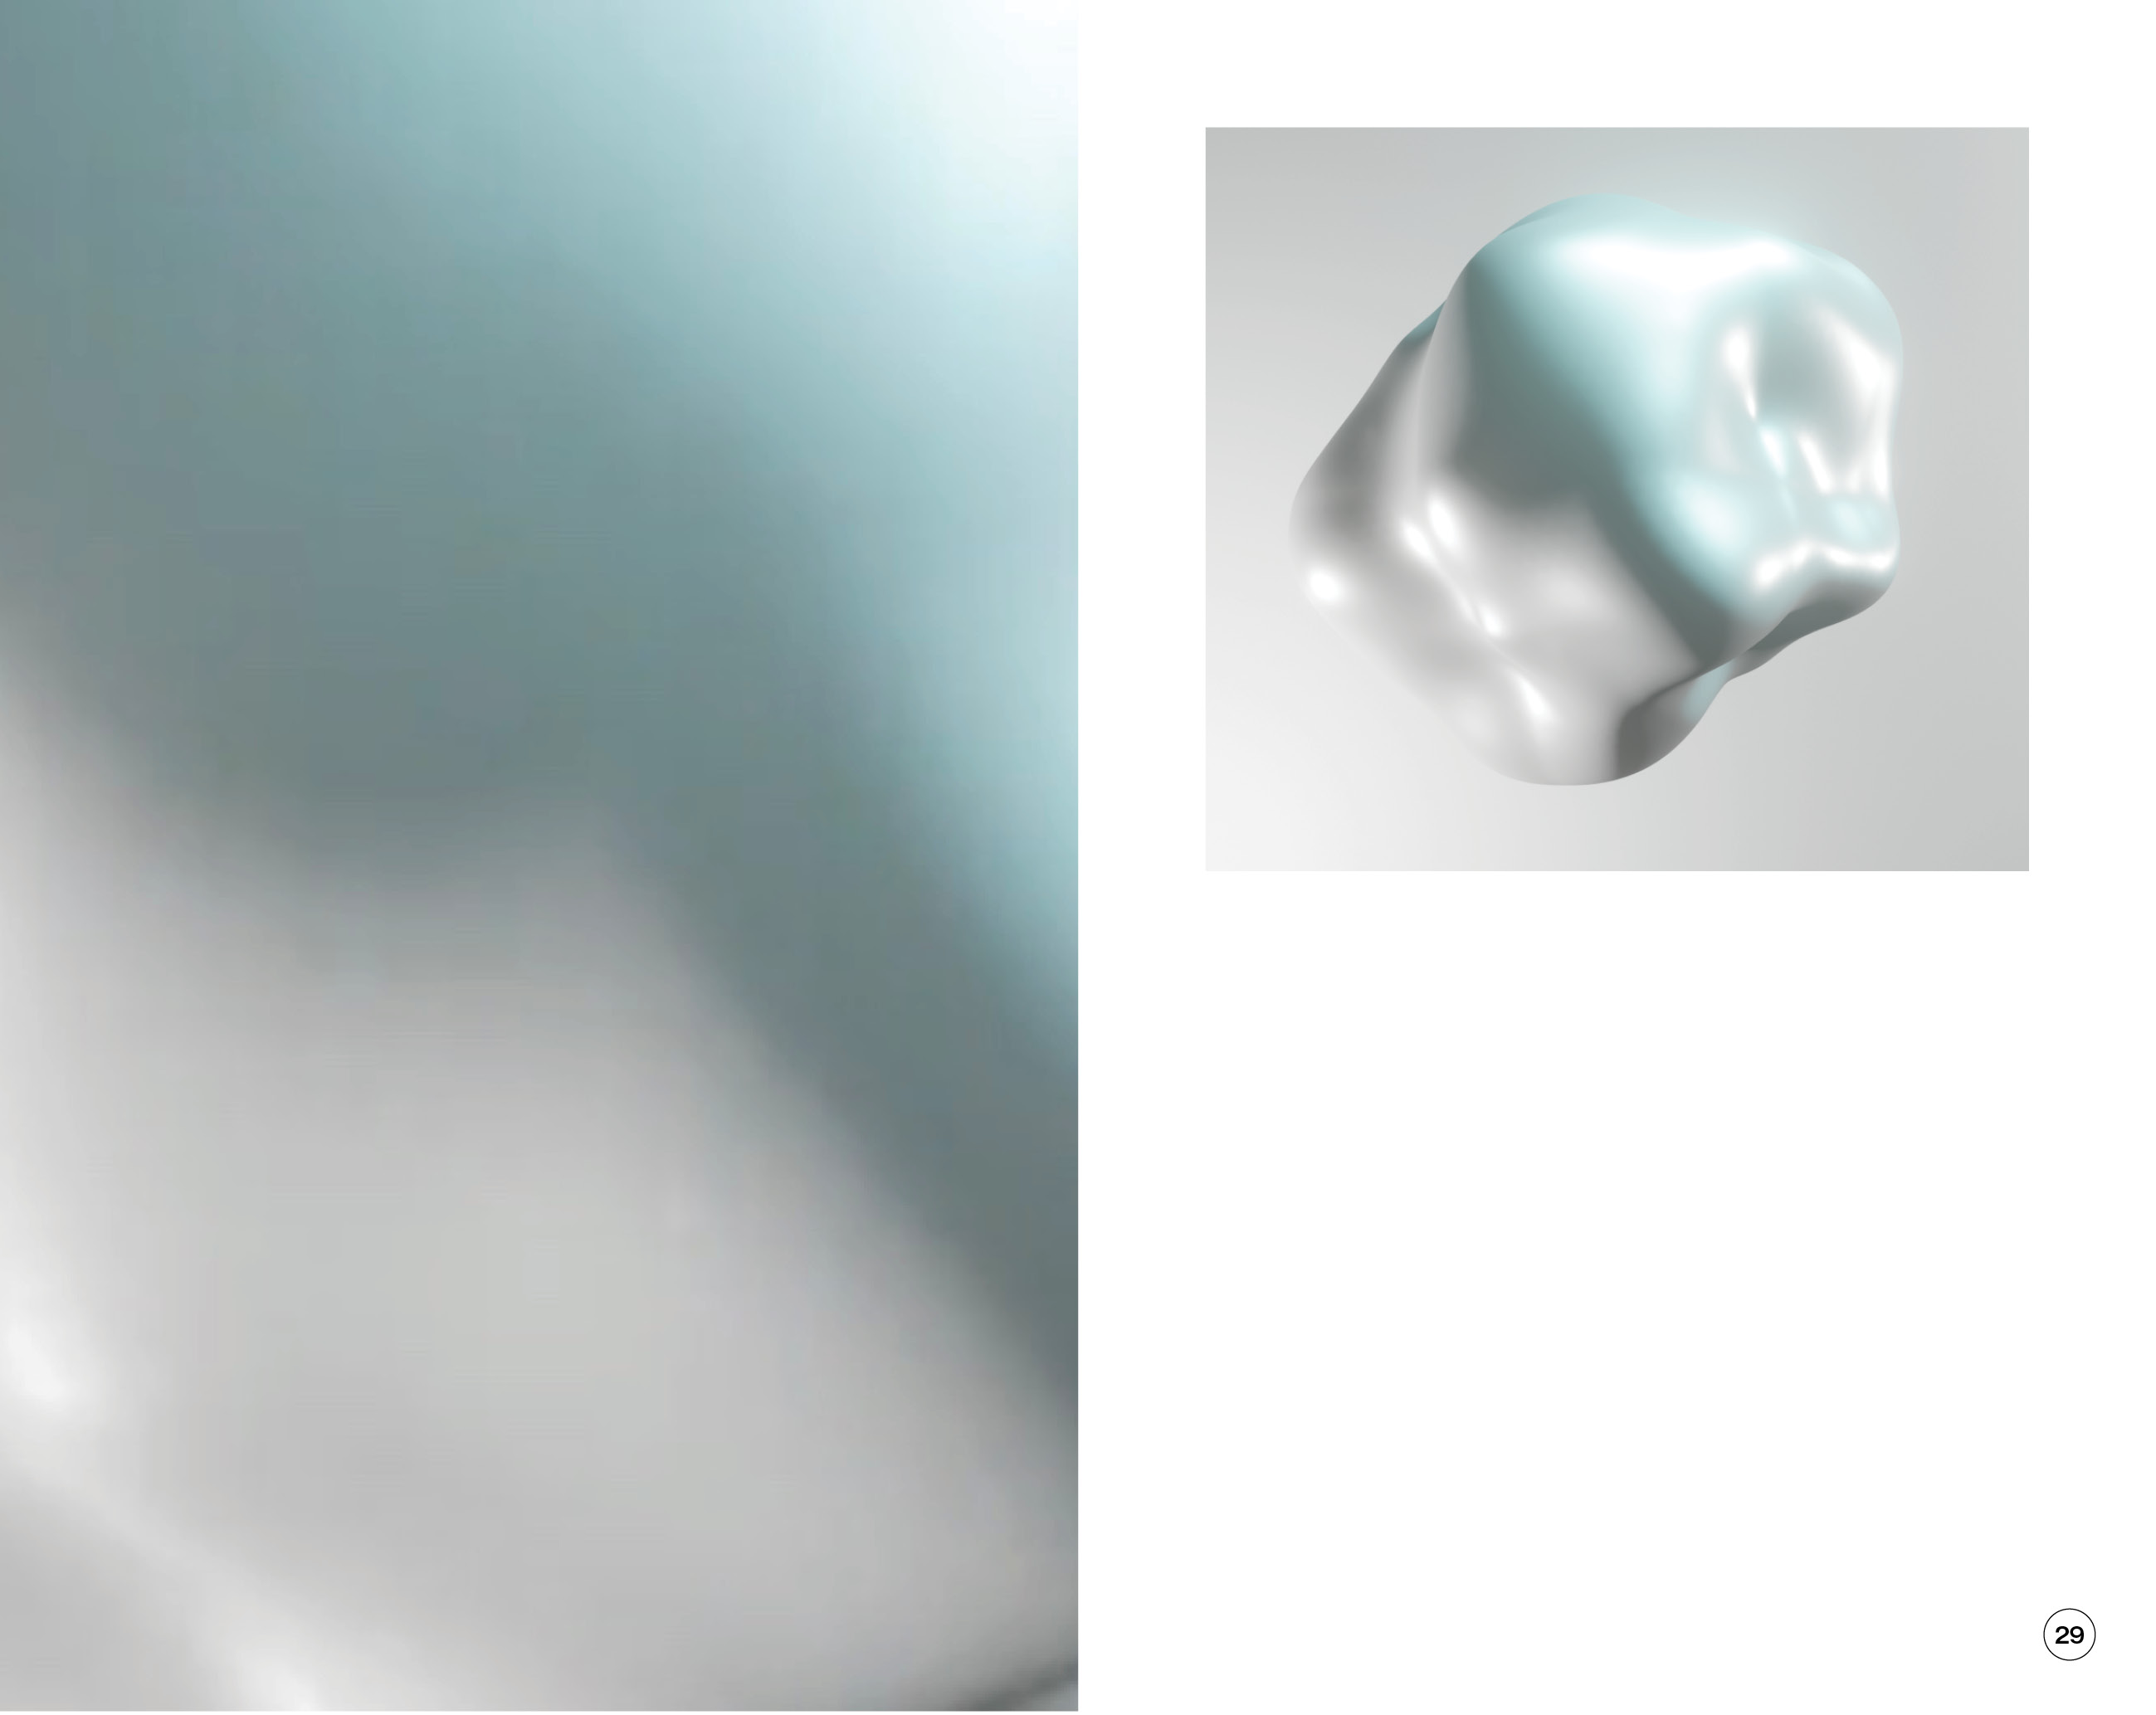
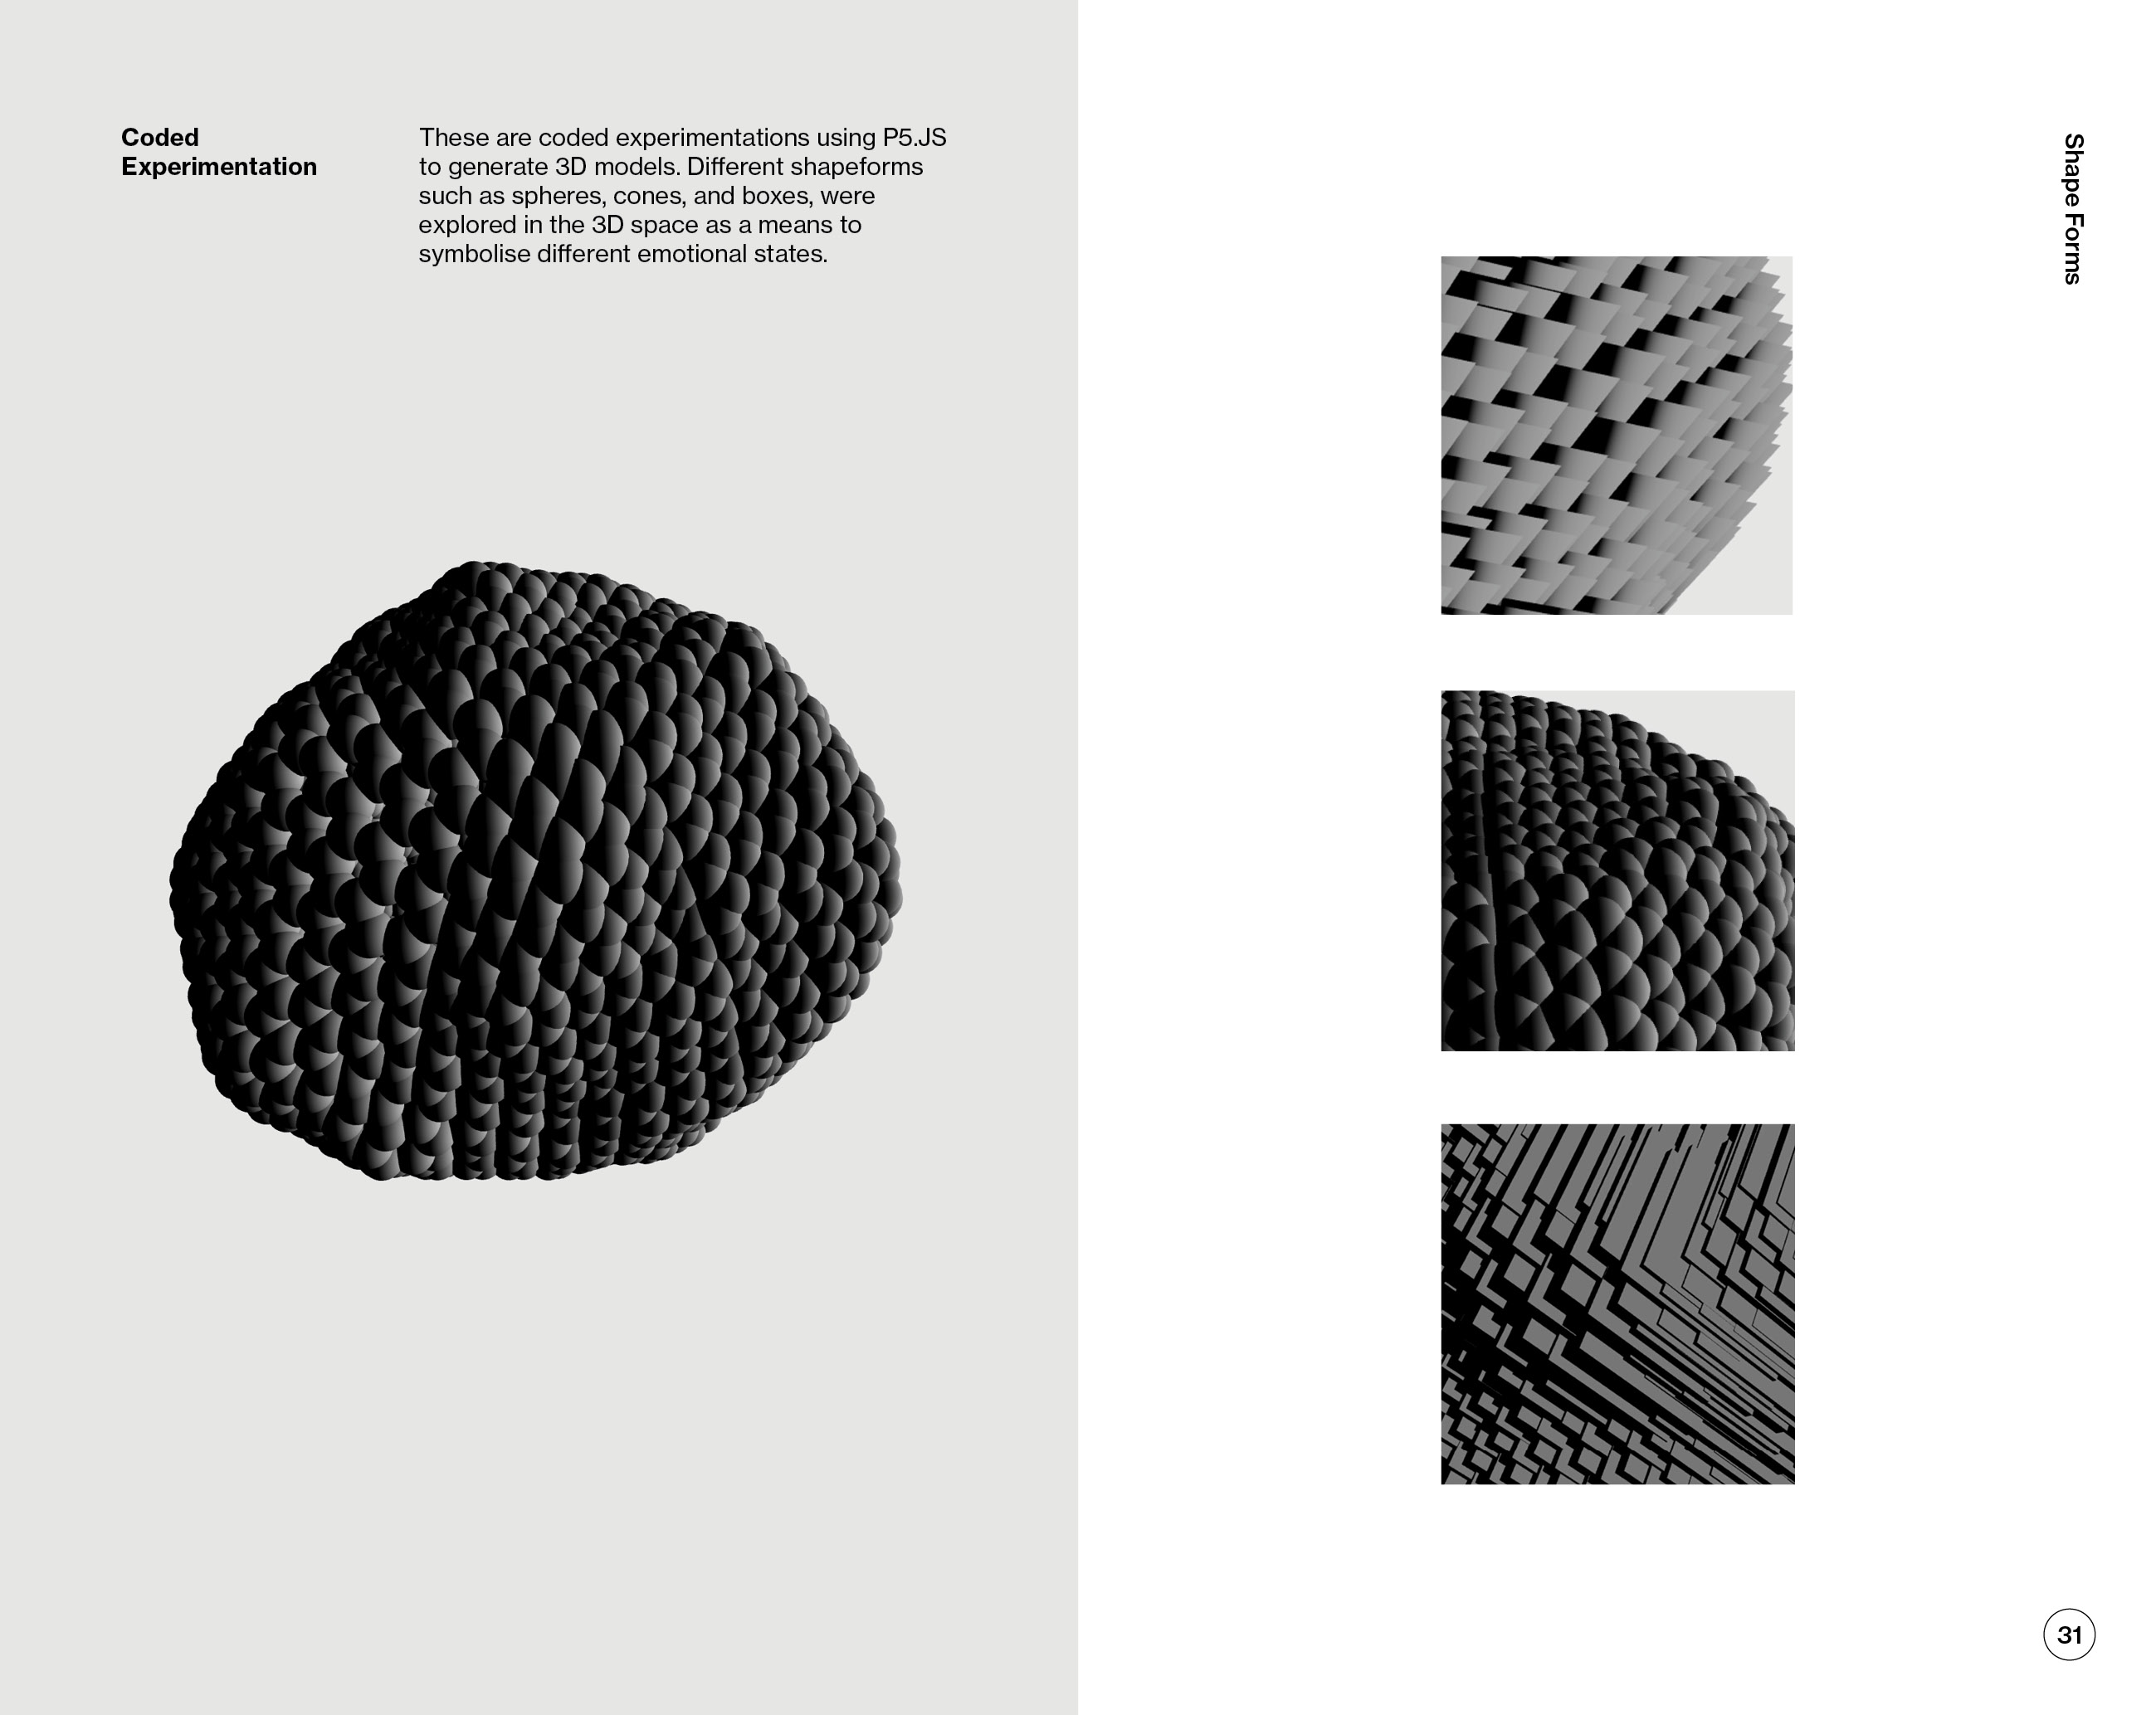
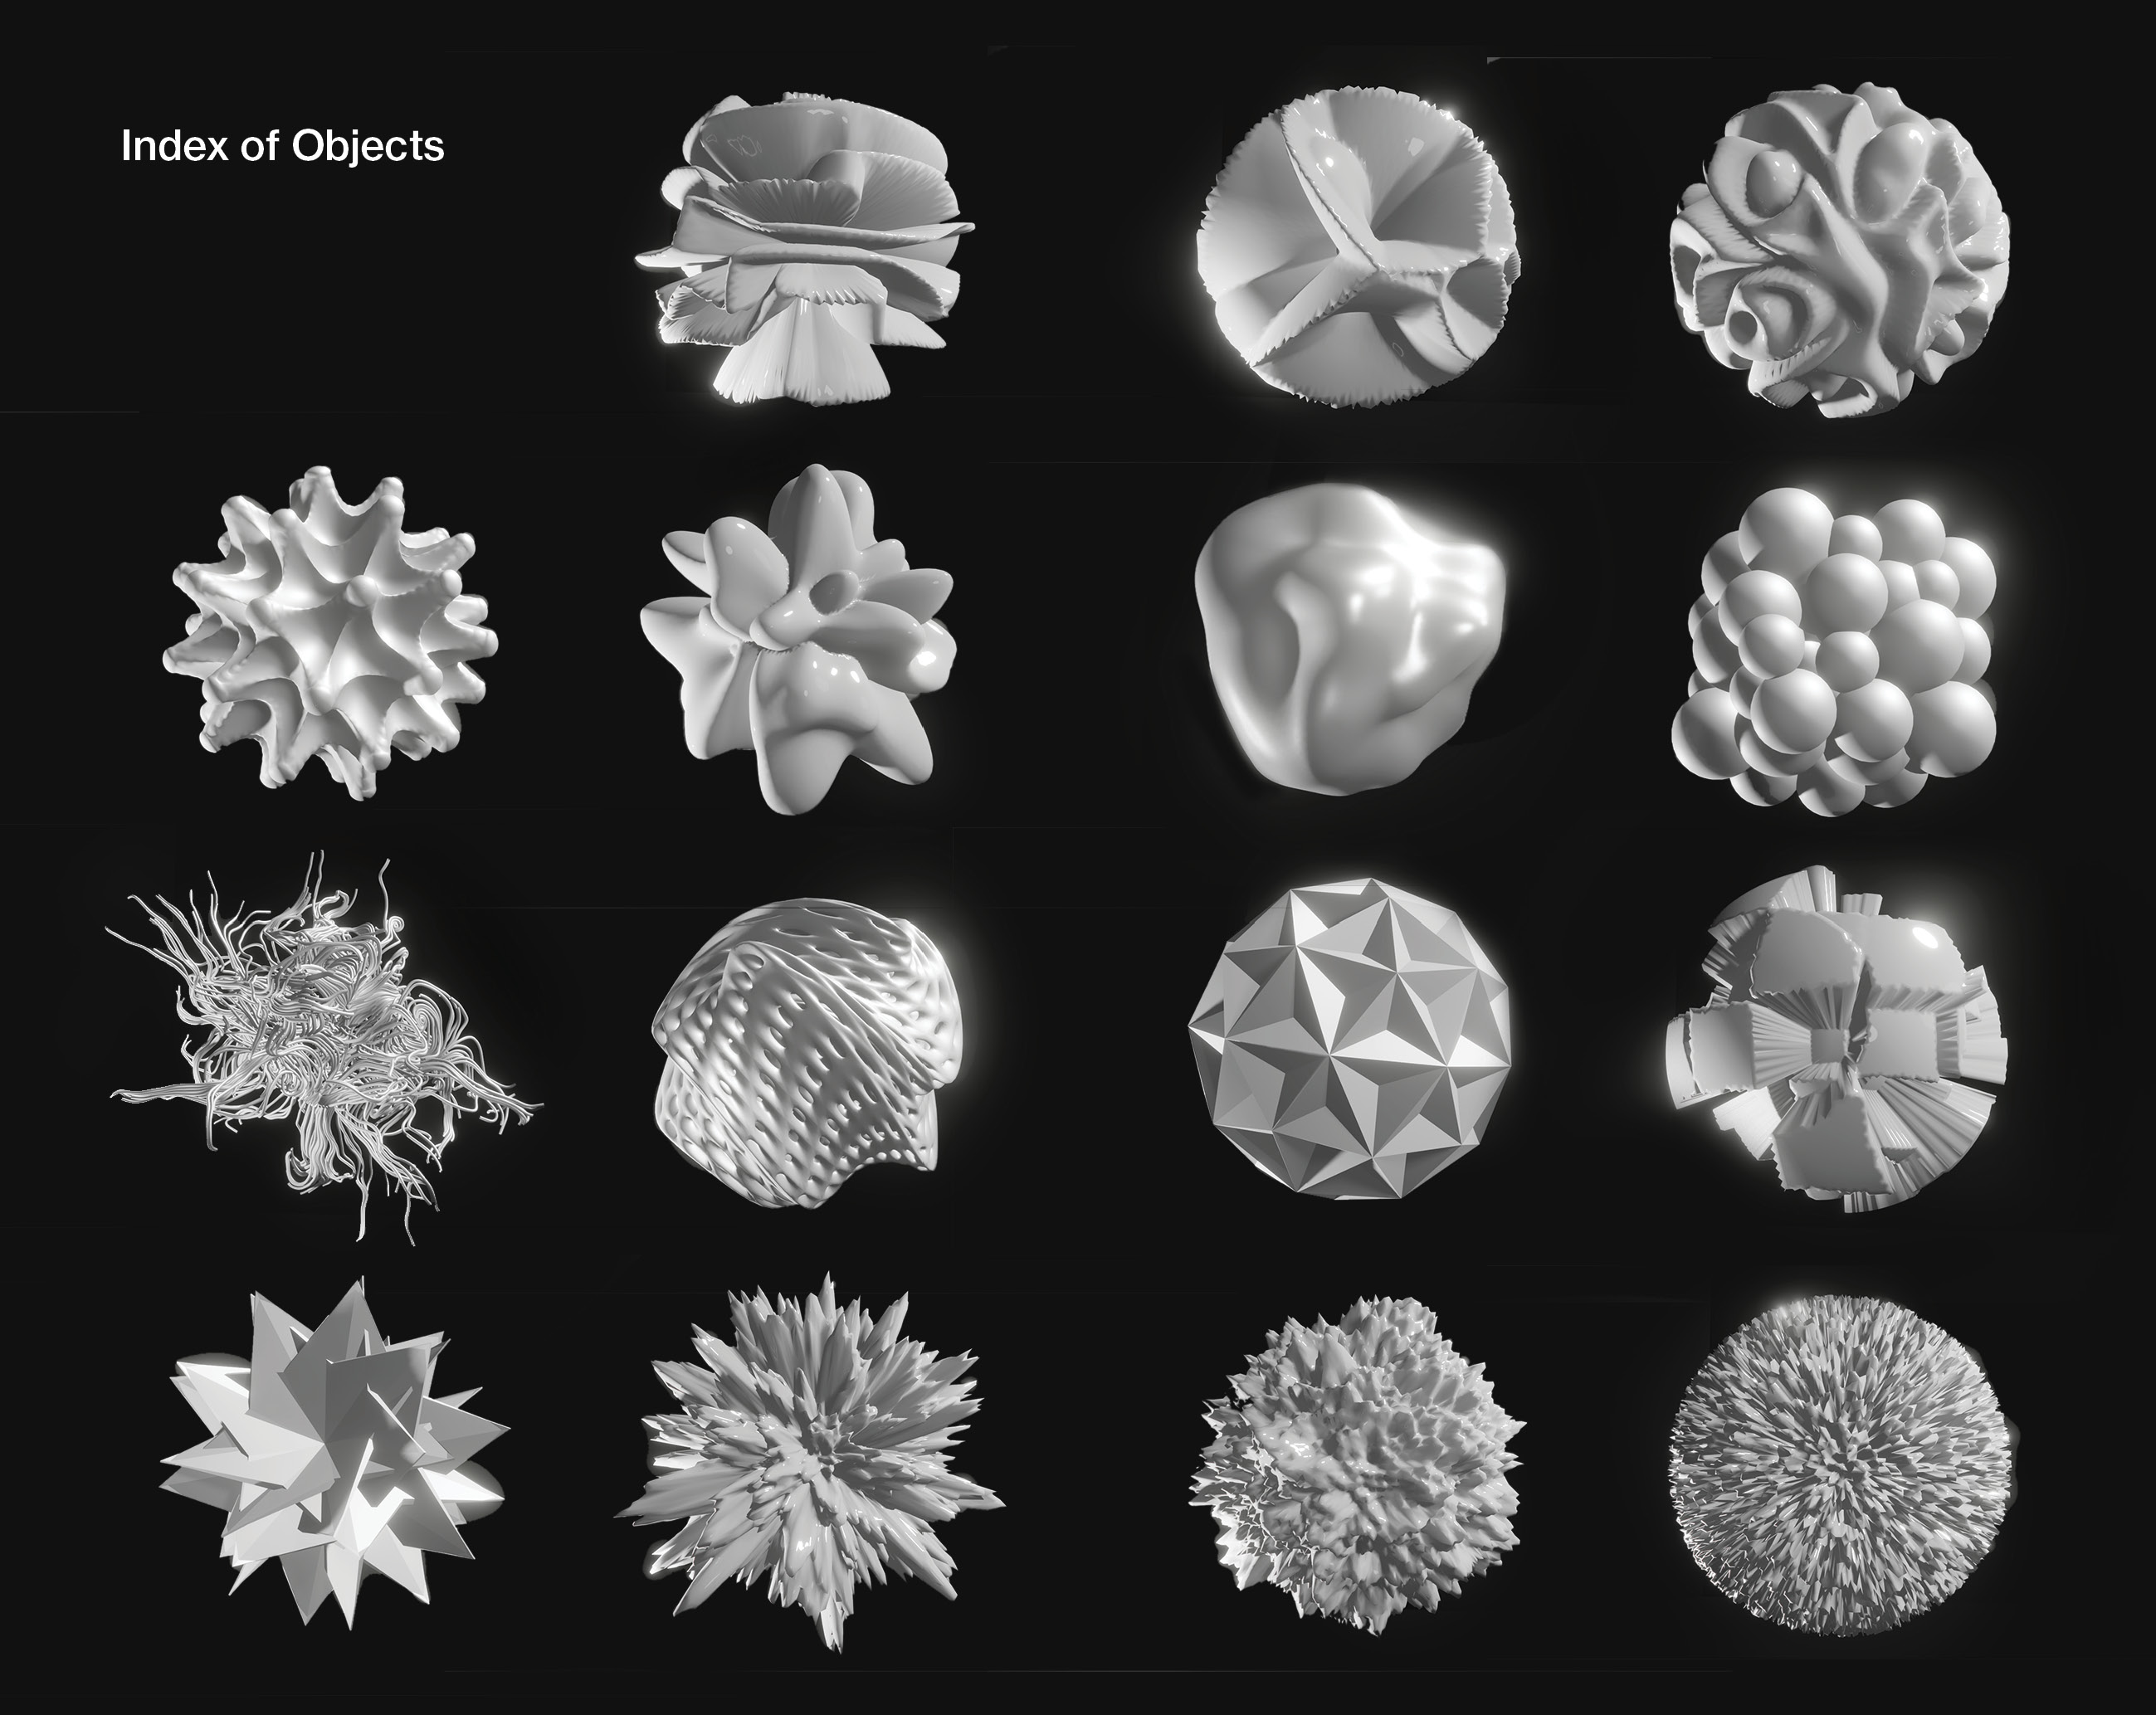
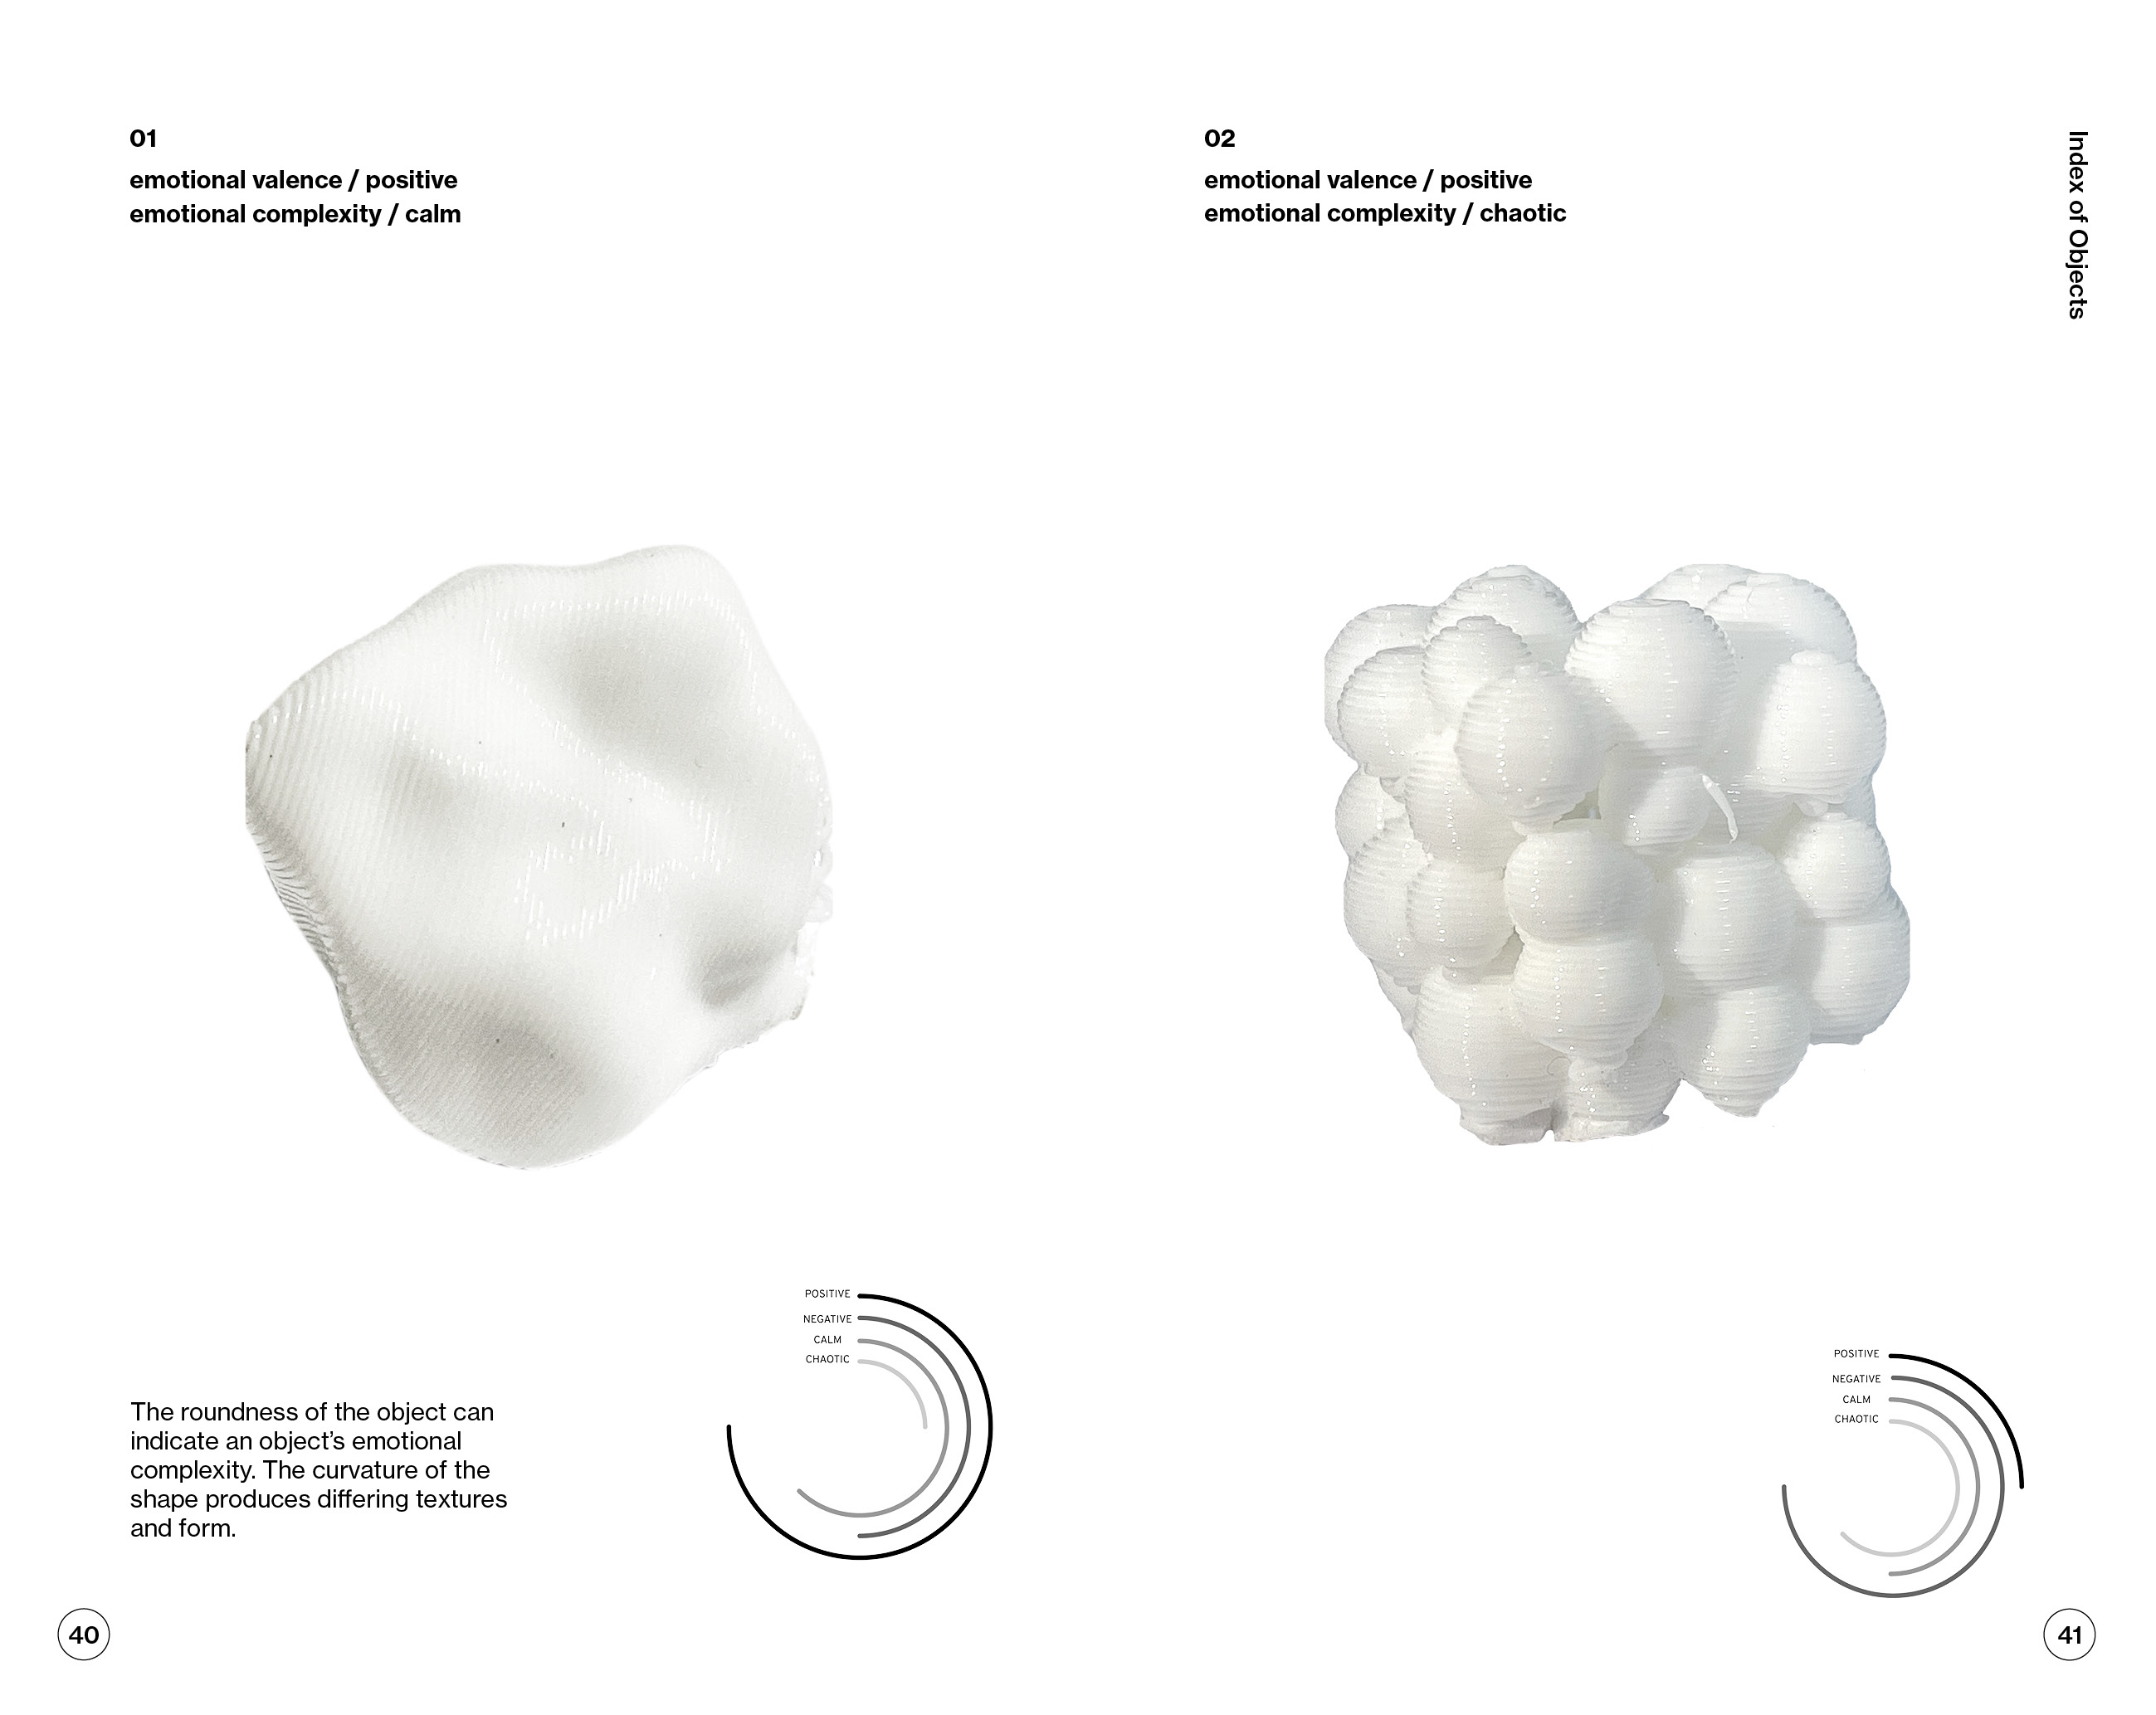
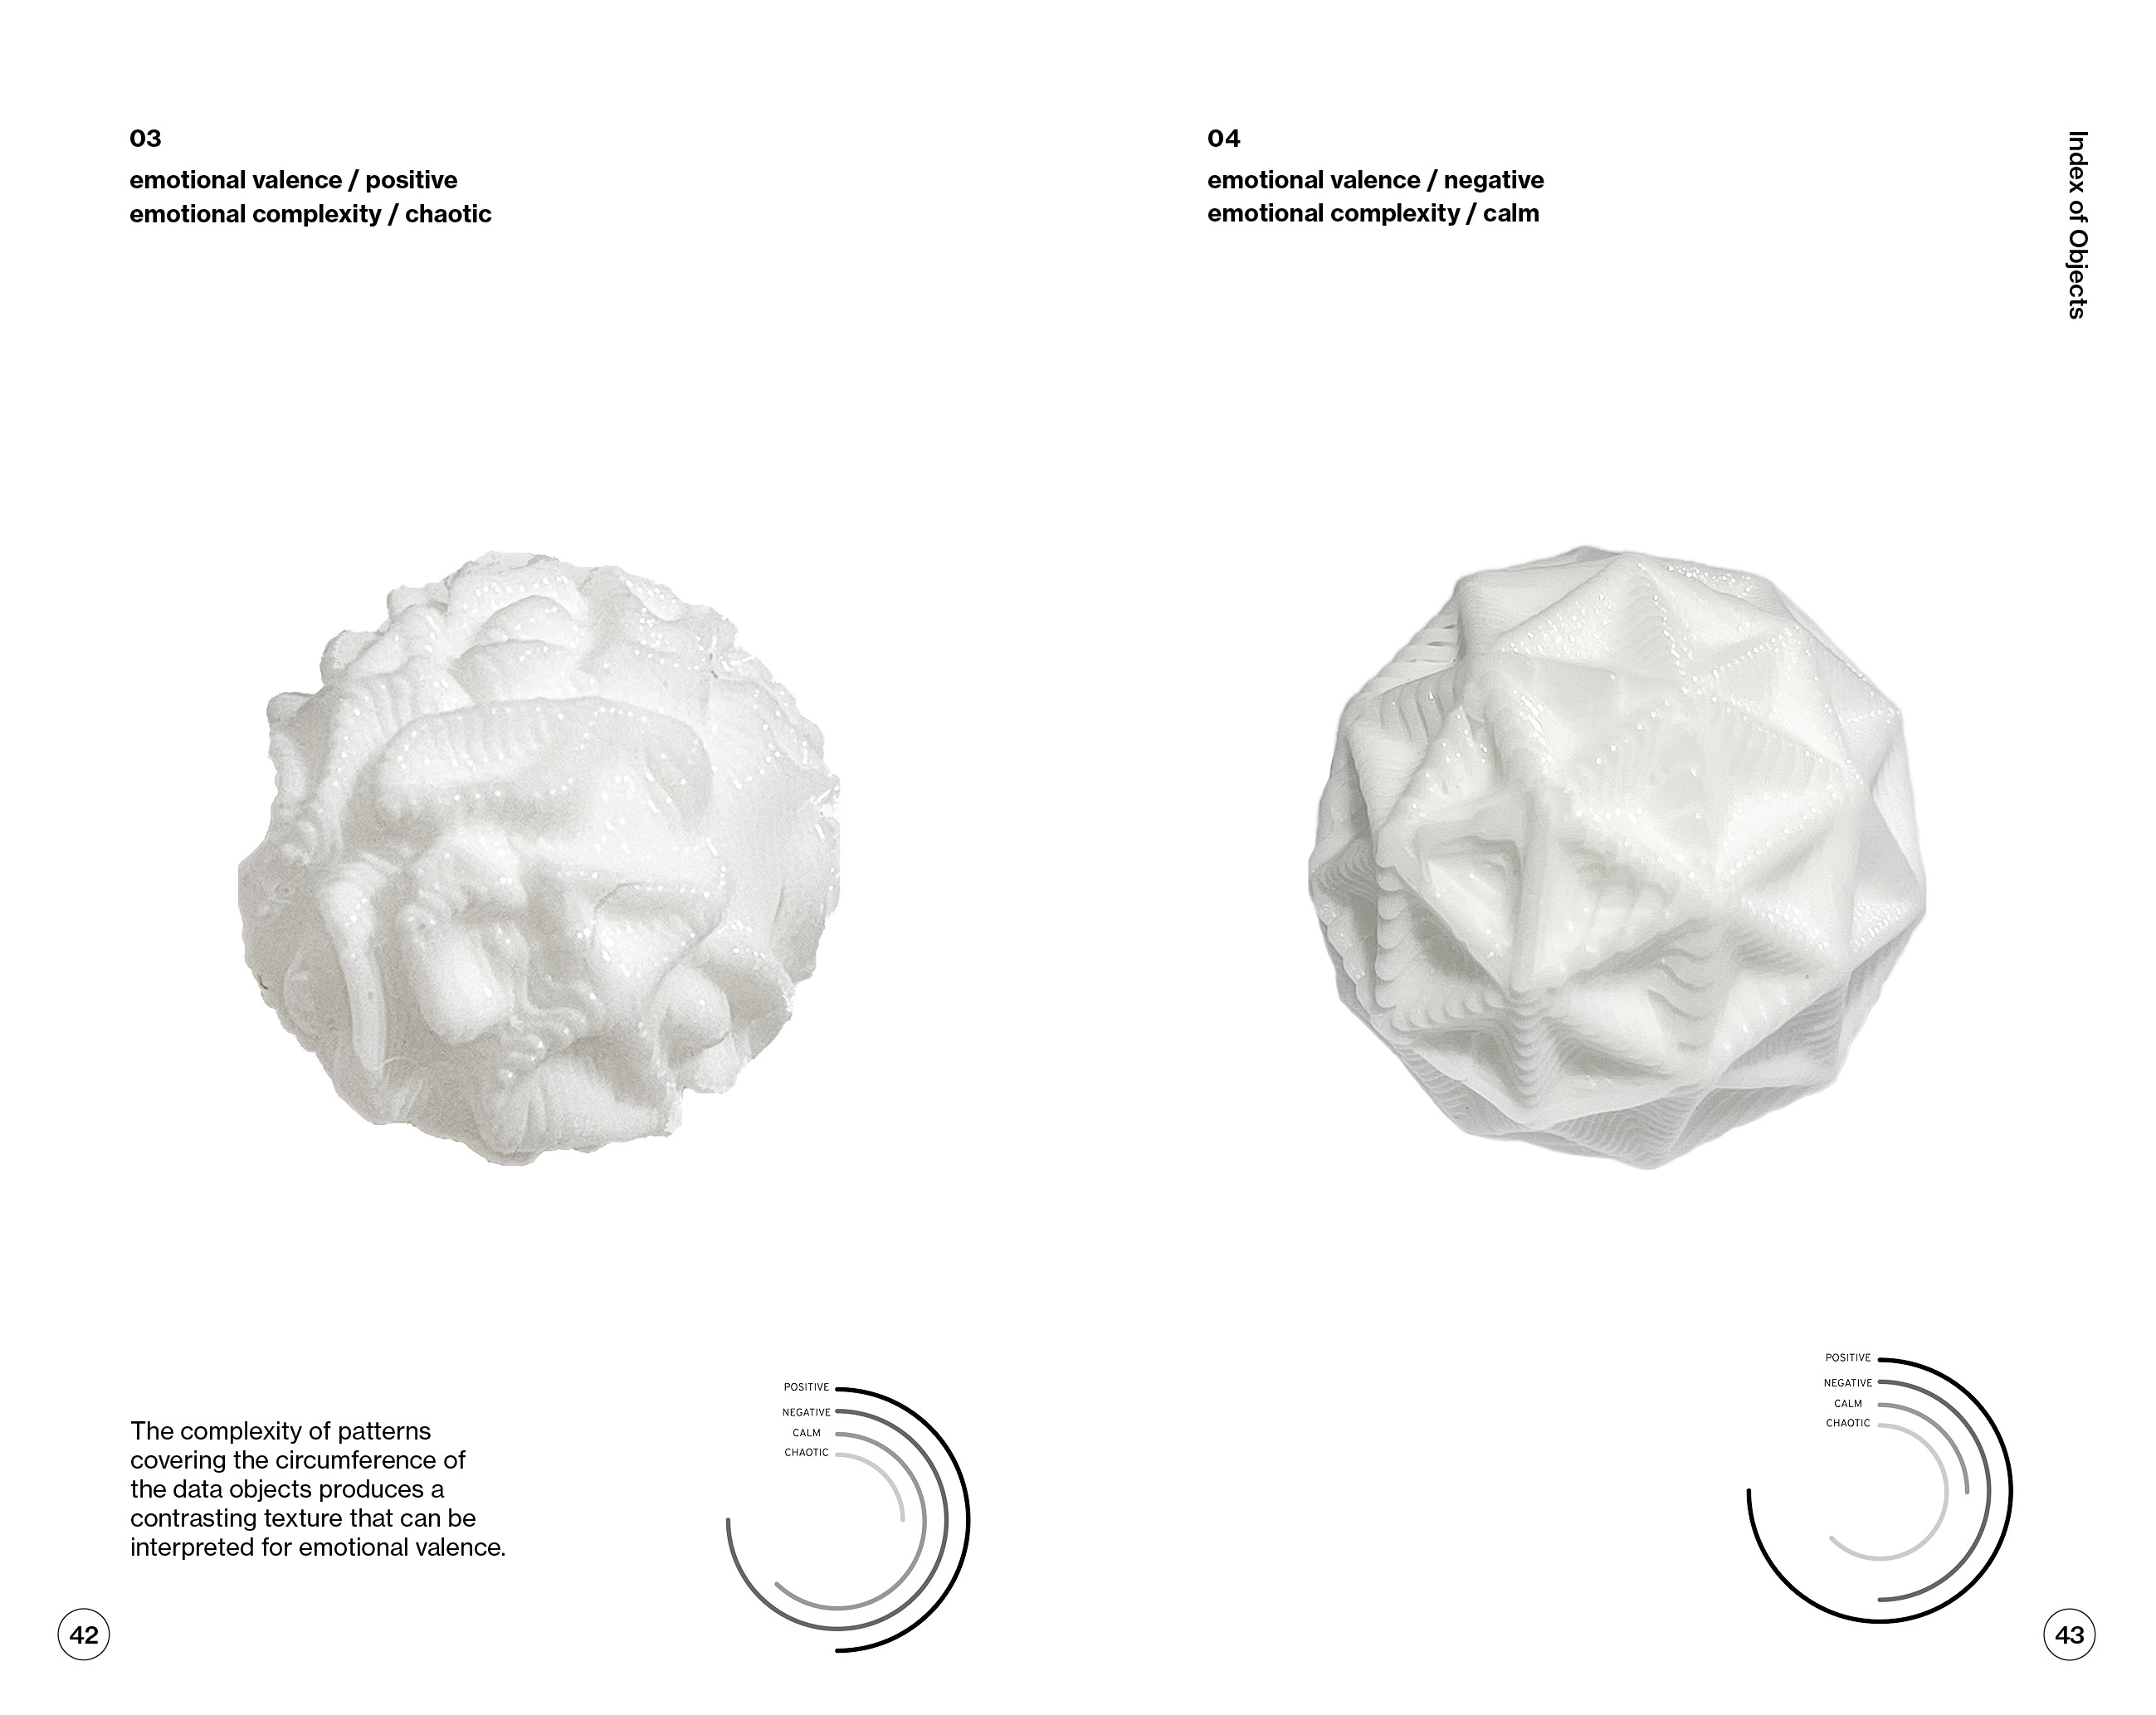
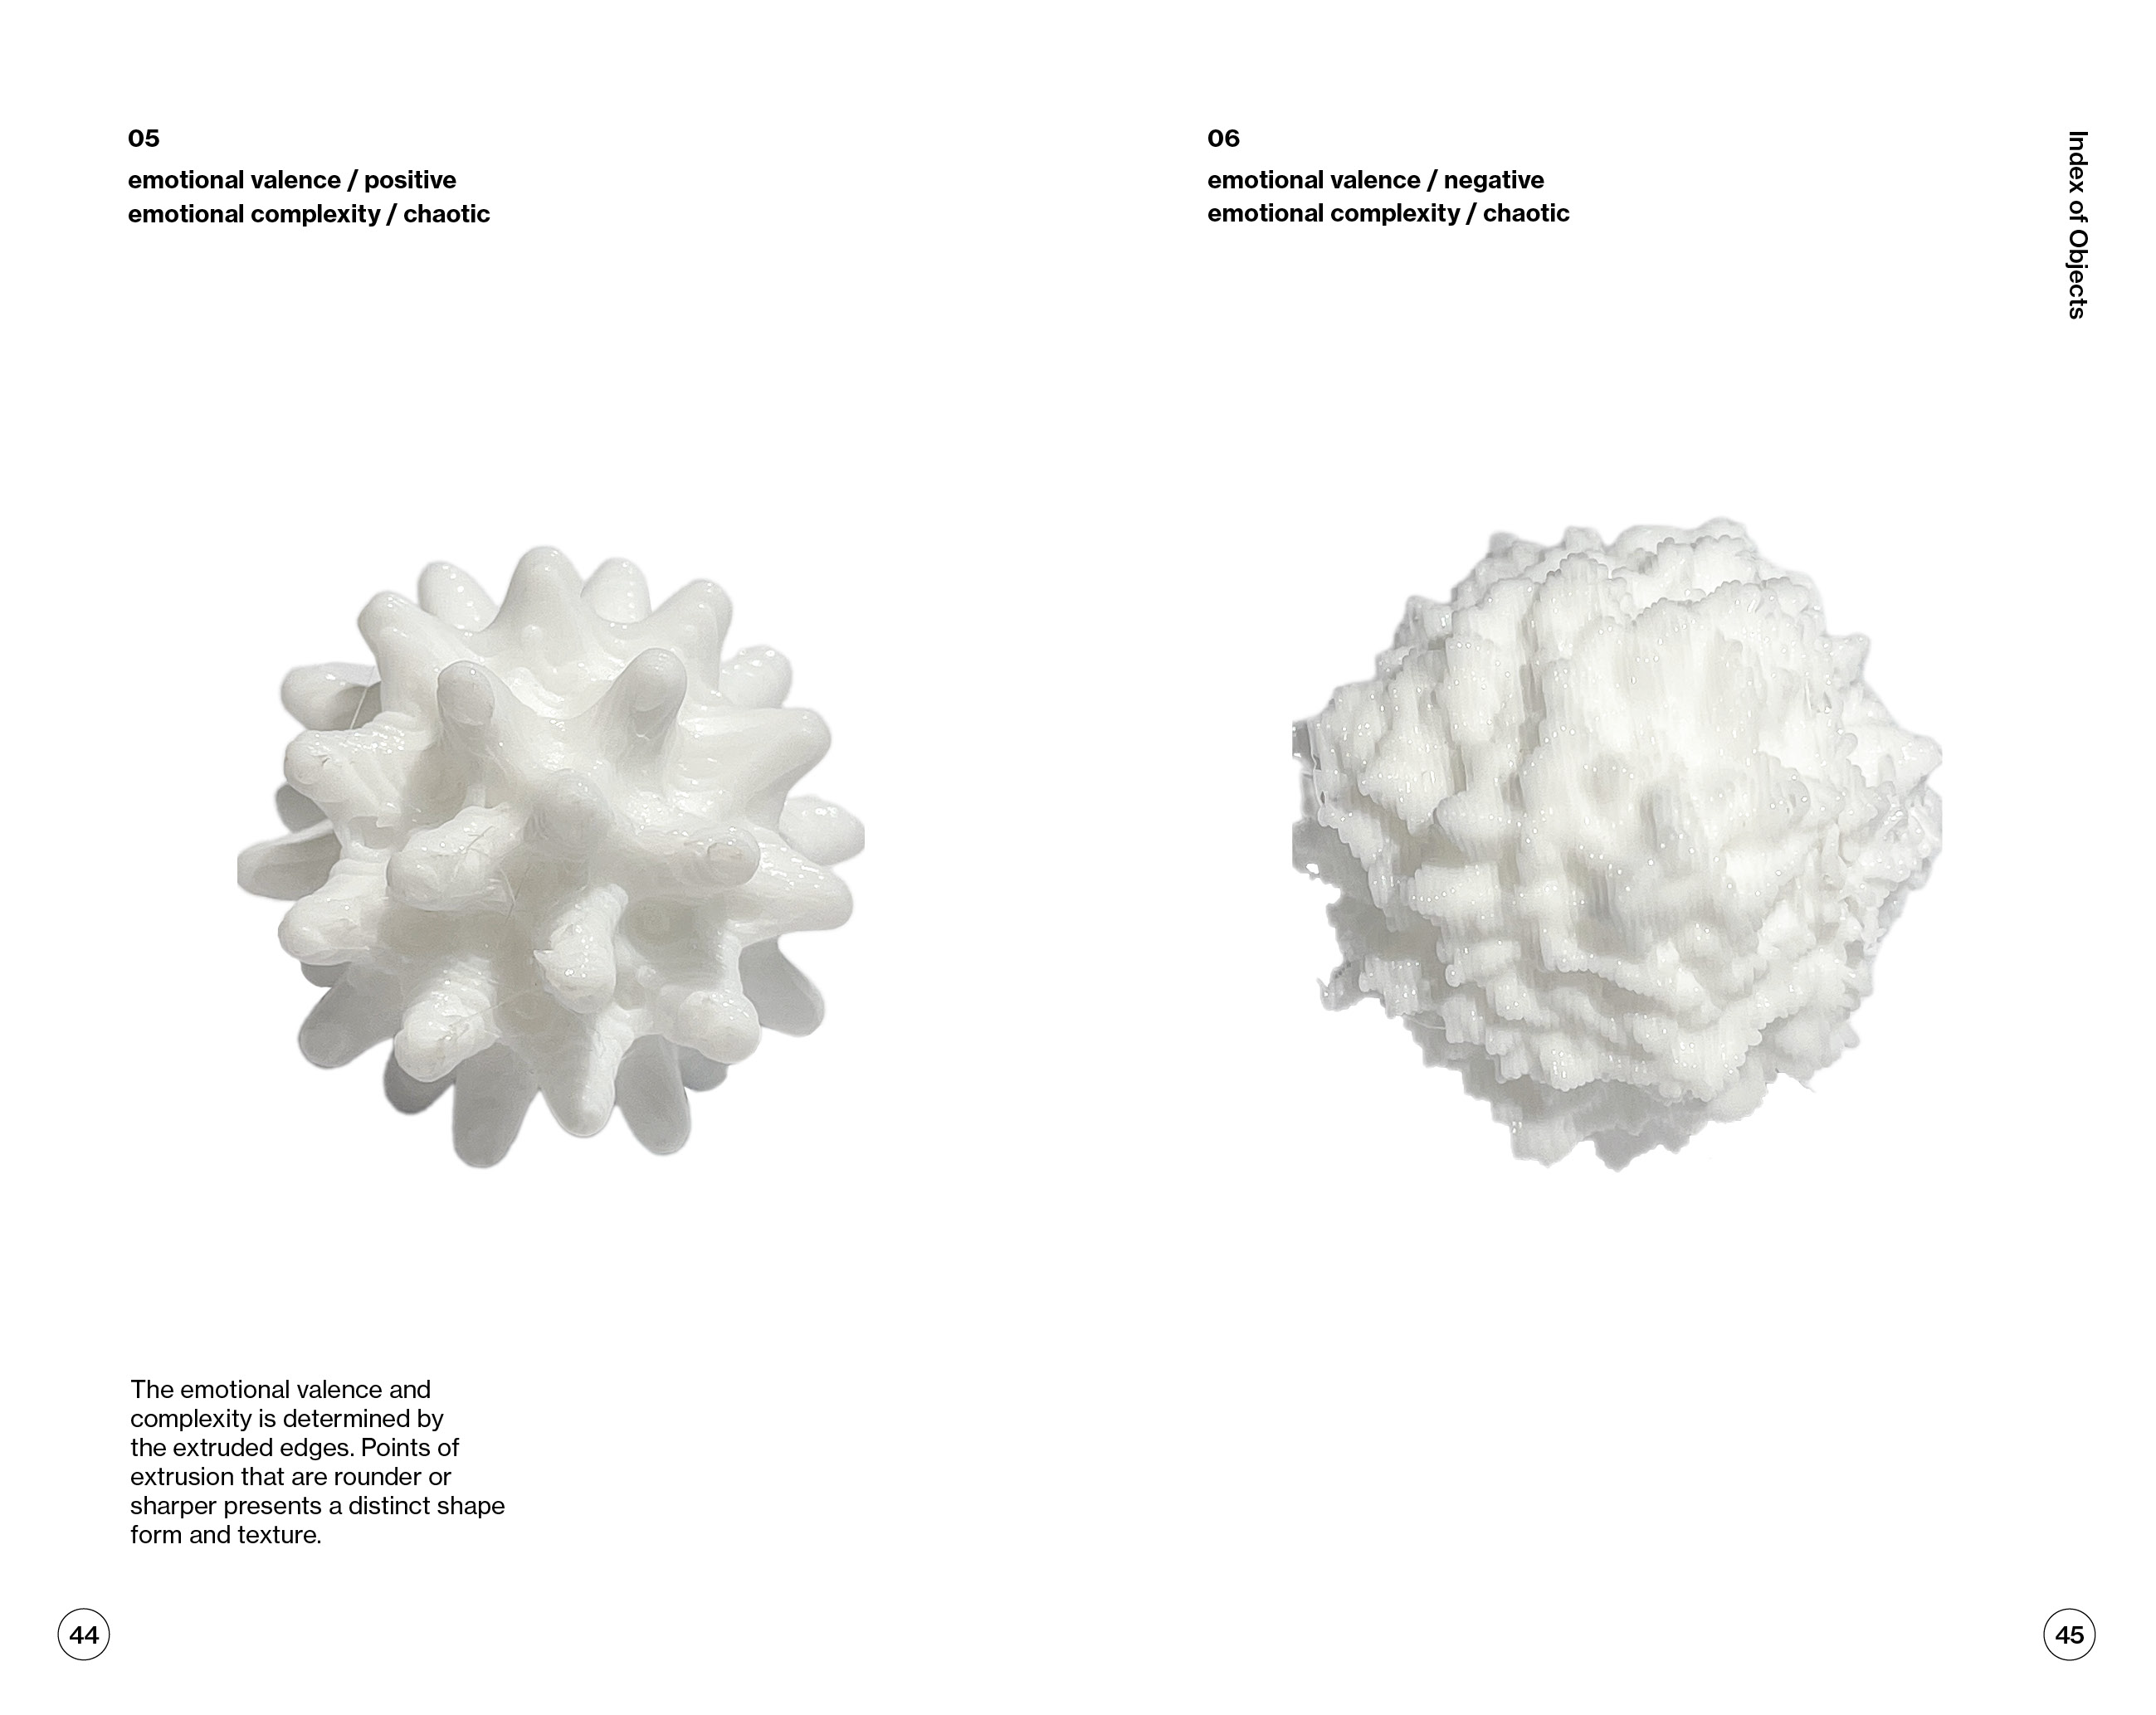
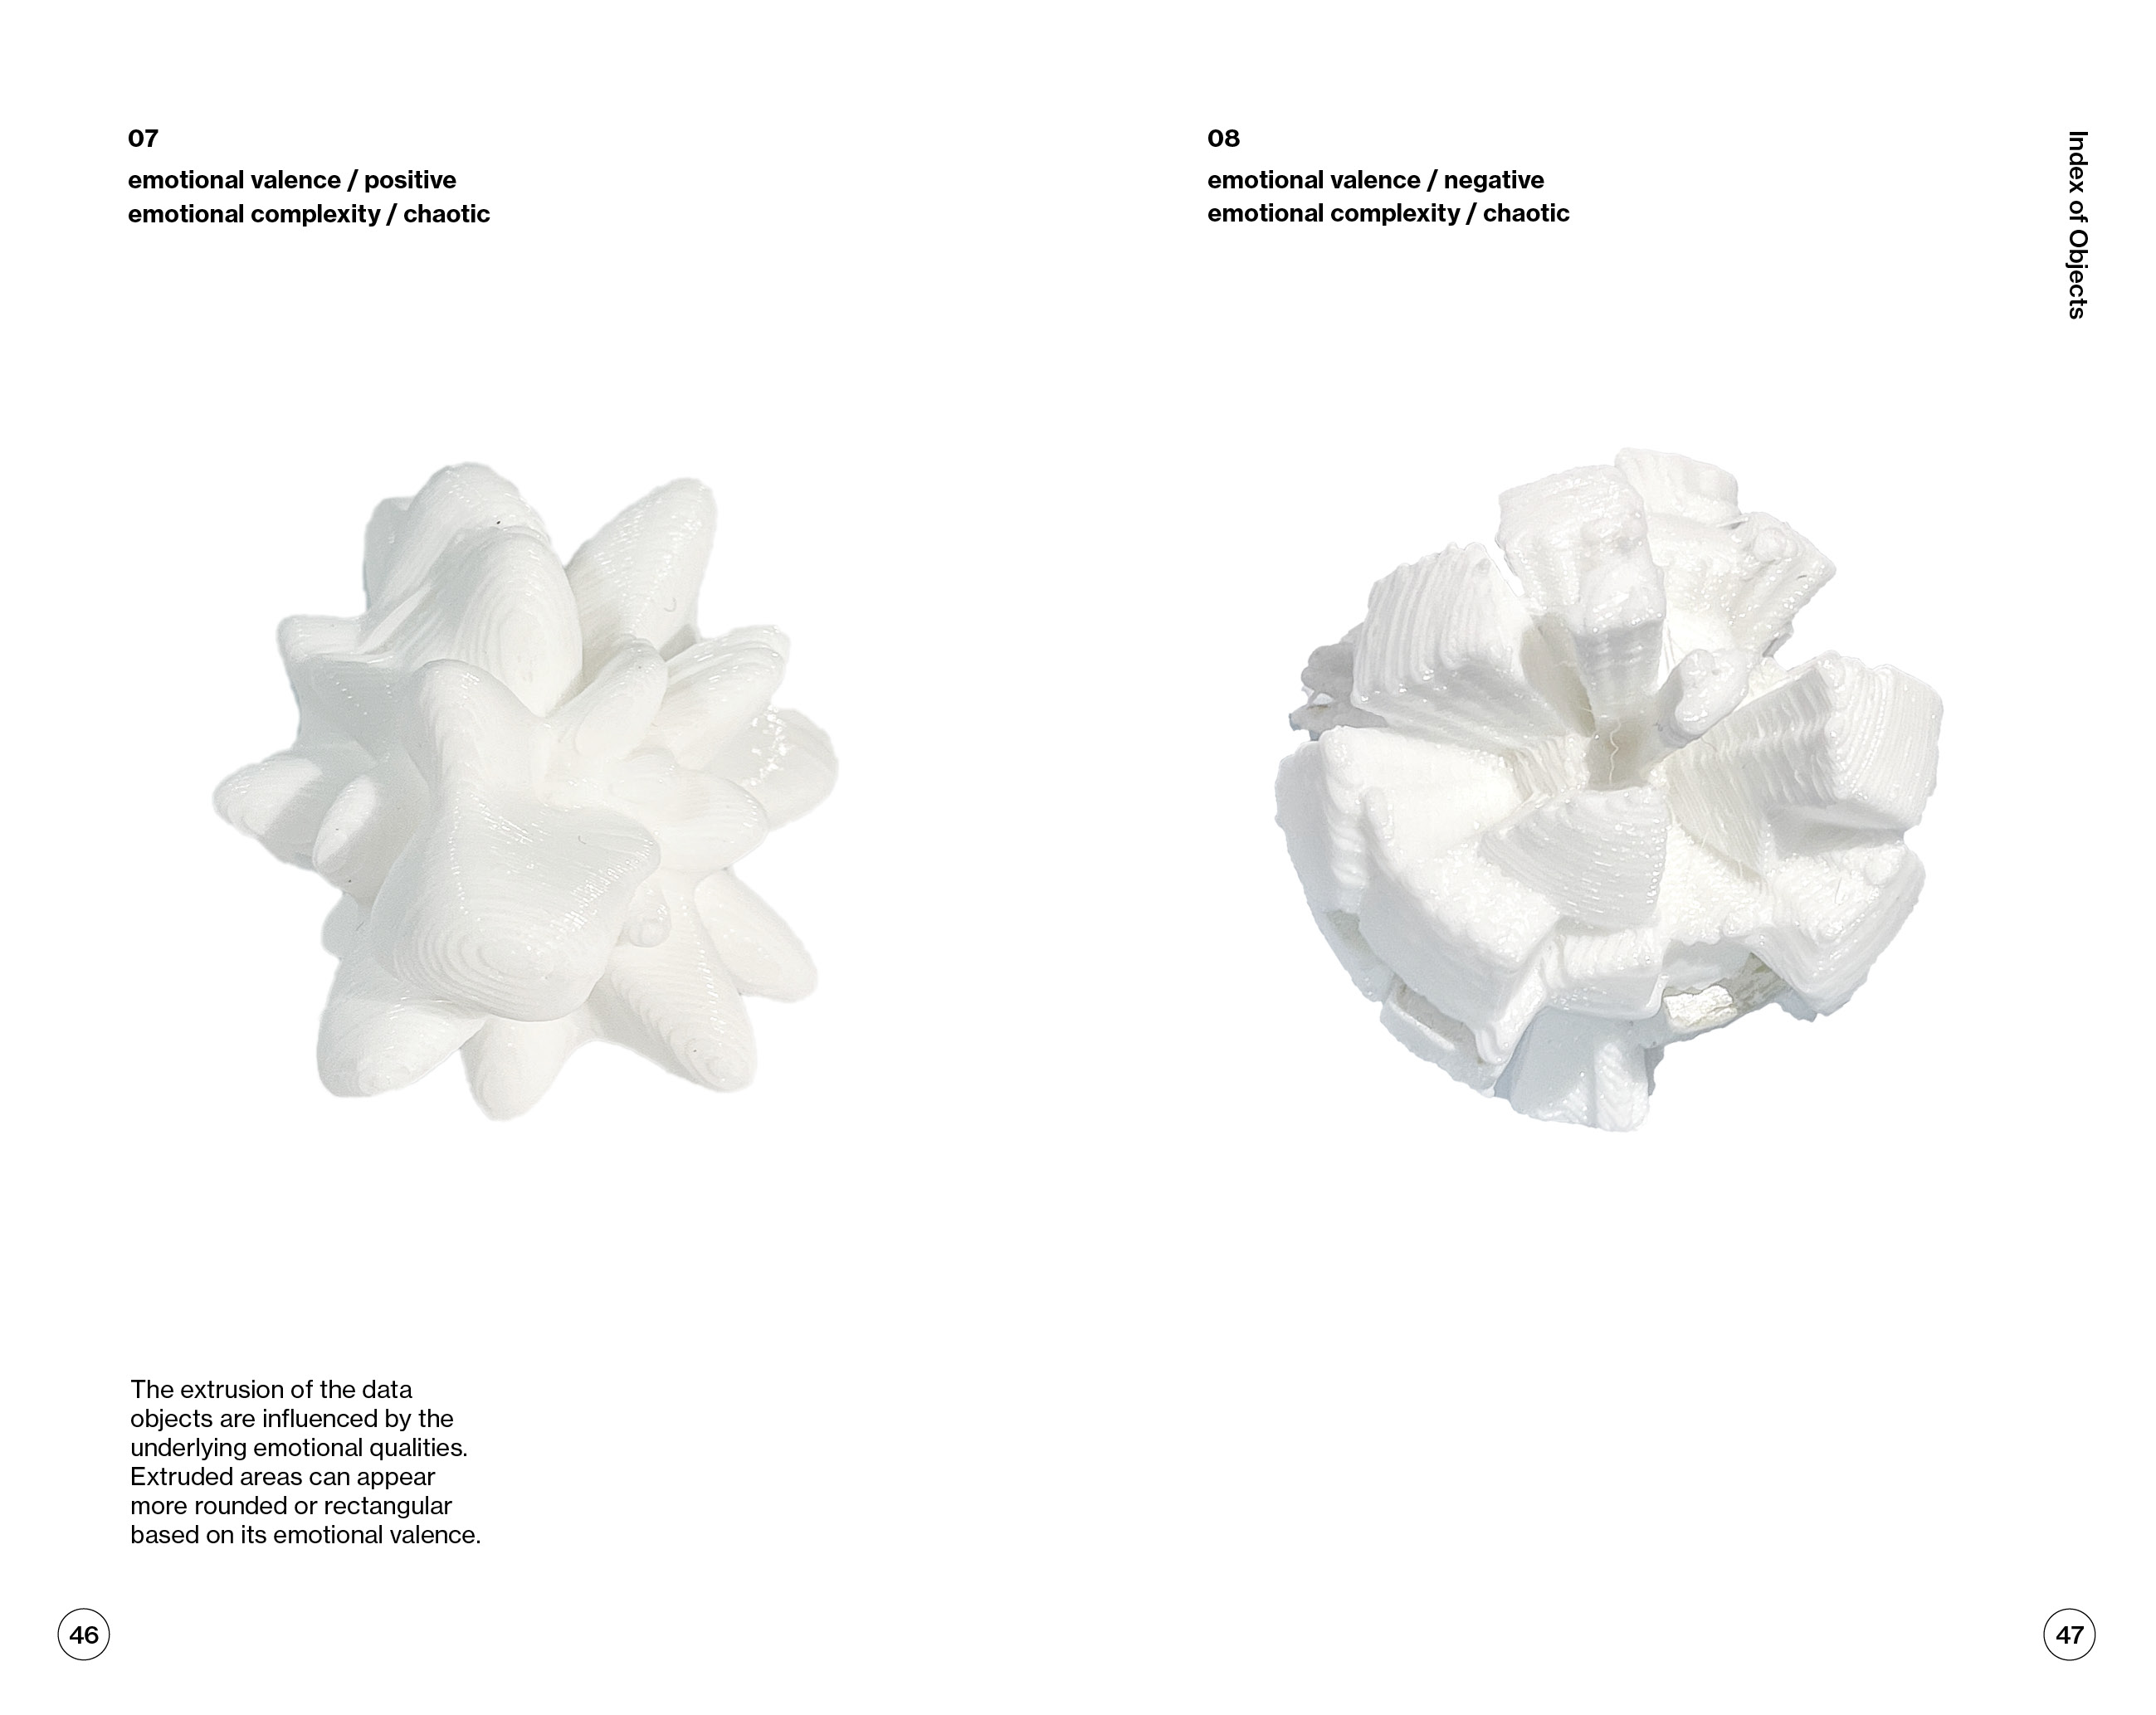
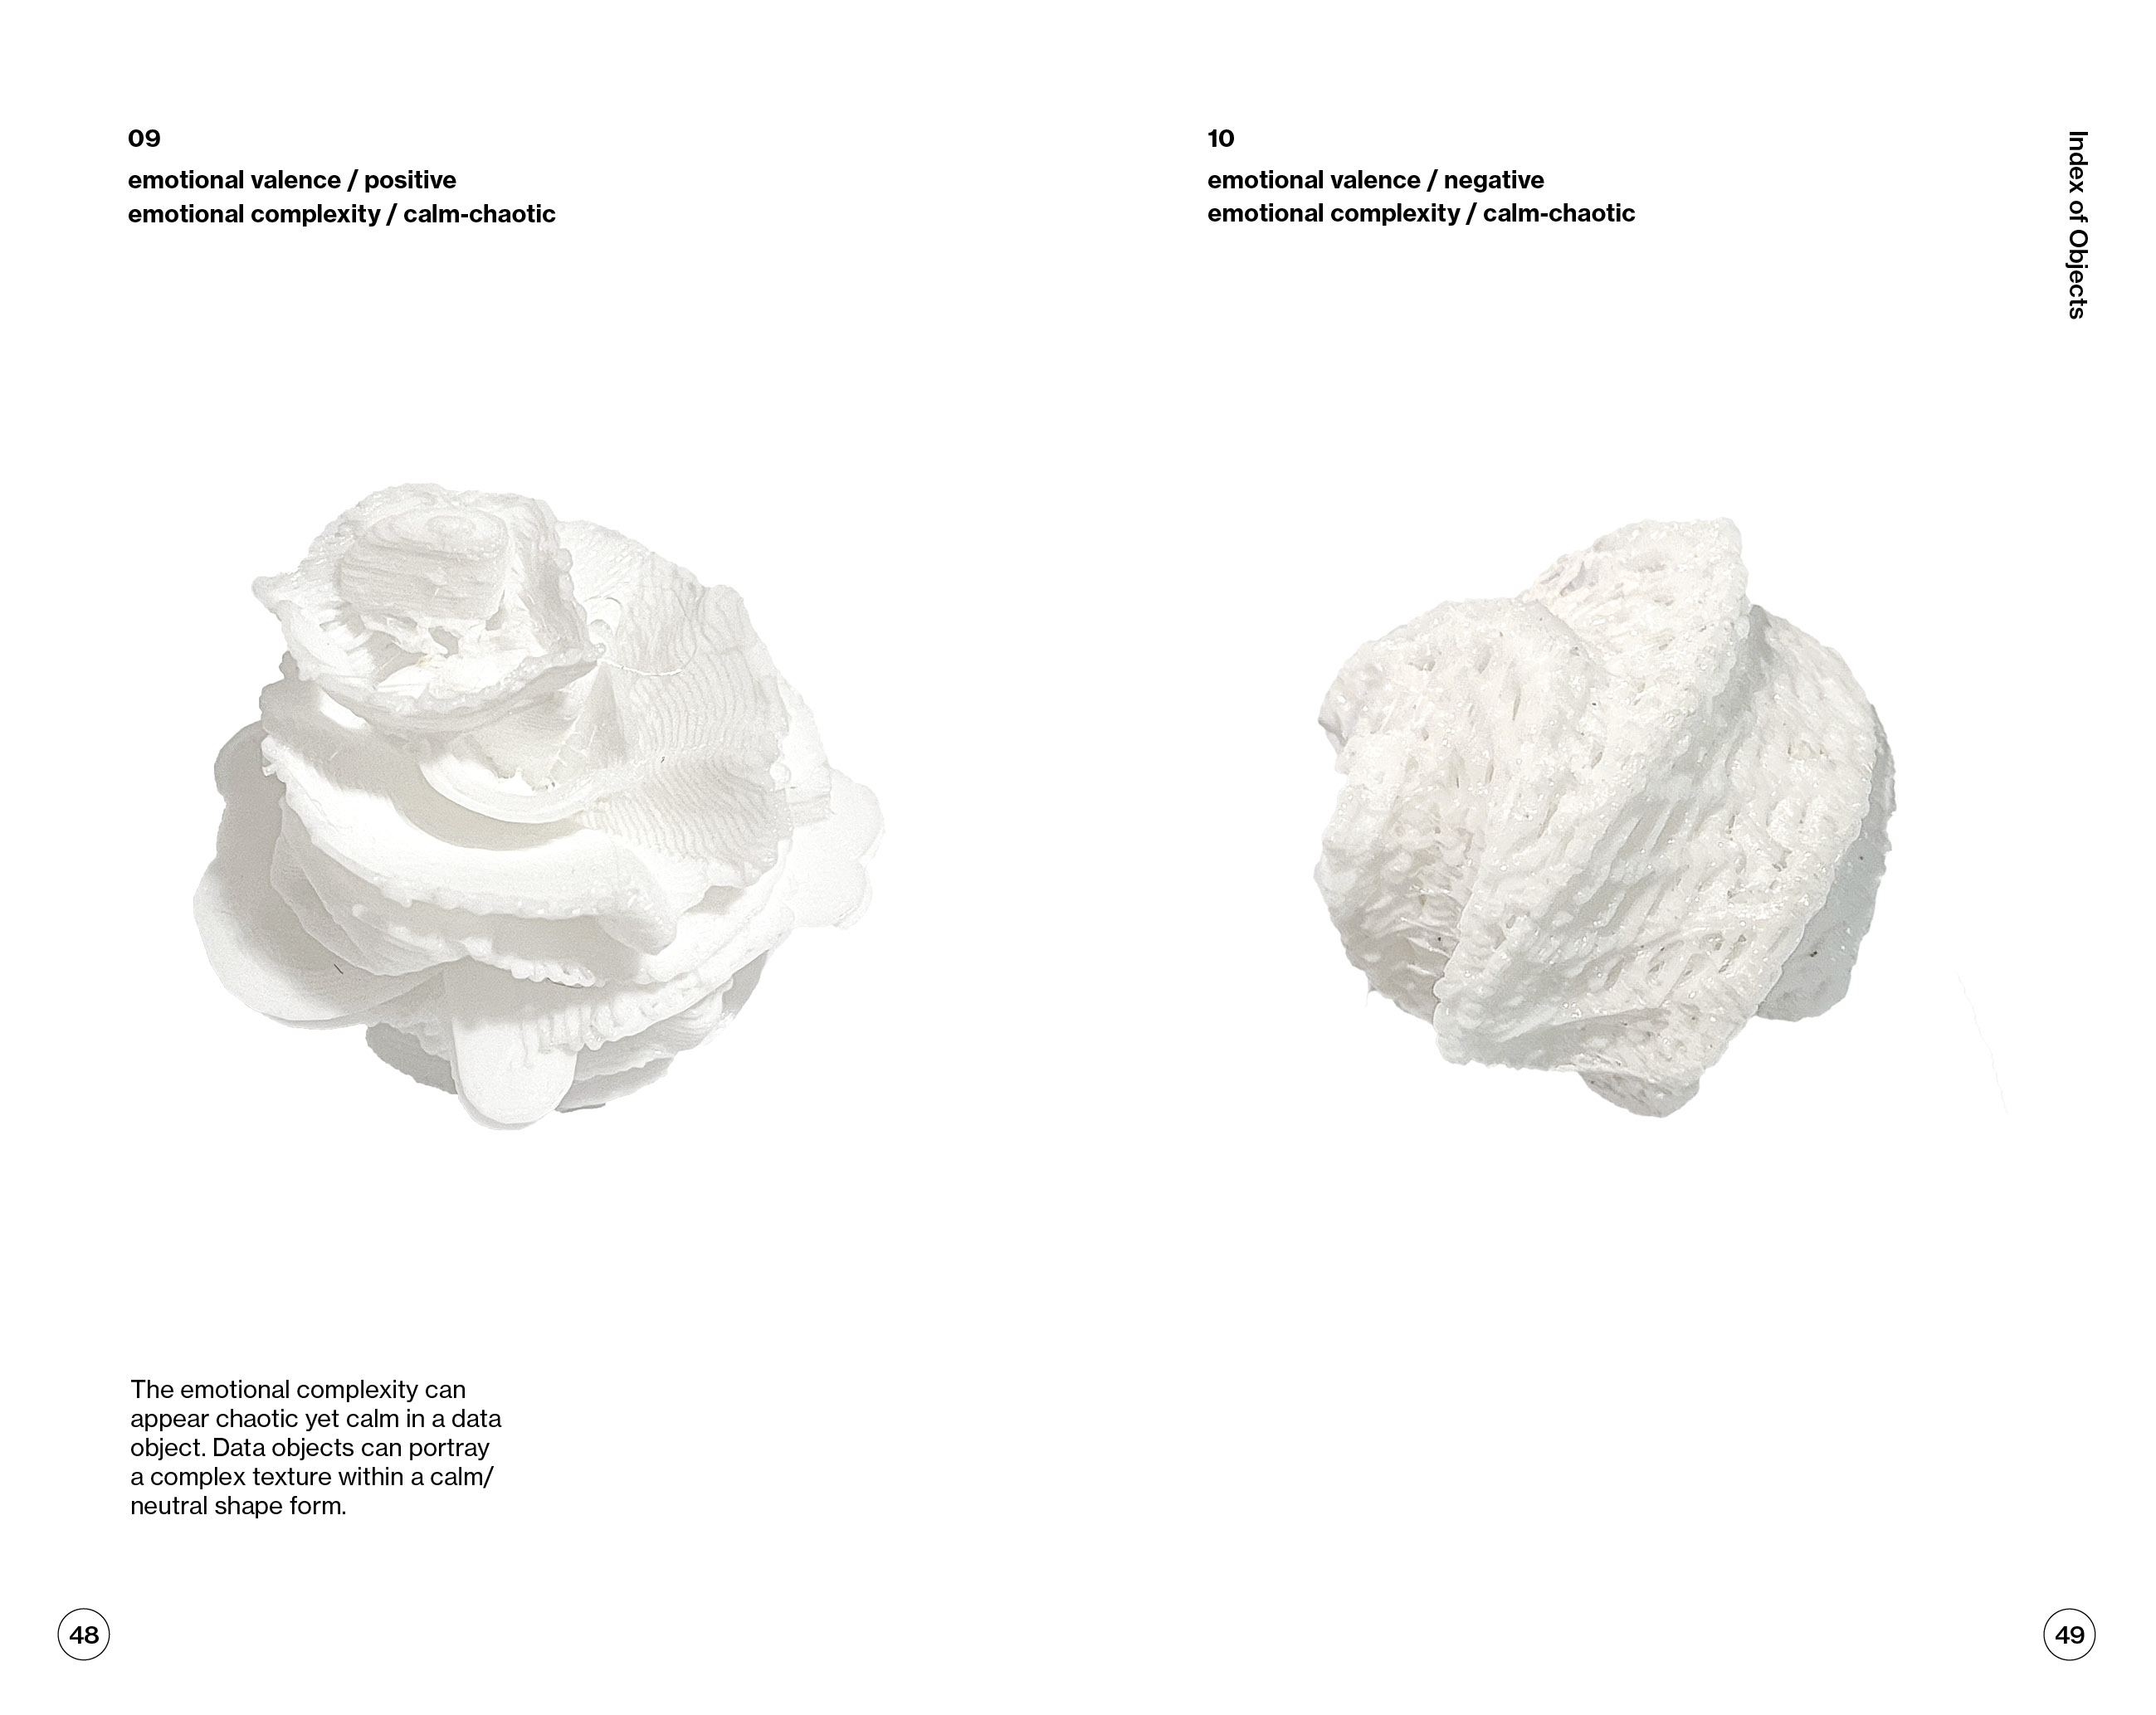
For the Affective Data Objebjcts publication, I intend to include a section titled 'Index of Objects', which is a compilation of the 3D printed objects to compare two differing data objects in the various emotional qualities. Thus, I've taken some upclose shots of the individual printed data objects to populate this segment.
Process
Some mistakes made while making the publications–I found out that if the indesign file included interactive elements such as videos, the frame would not be visible in pdf format. Also, when laser priinting, I had to take note when printing an image with black background on a black rectangle. The difference in tone can be quite obvious in certain lightings.
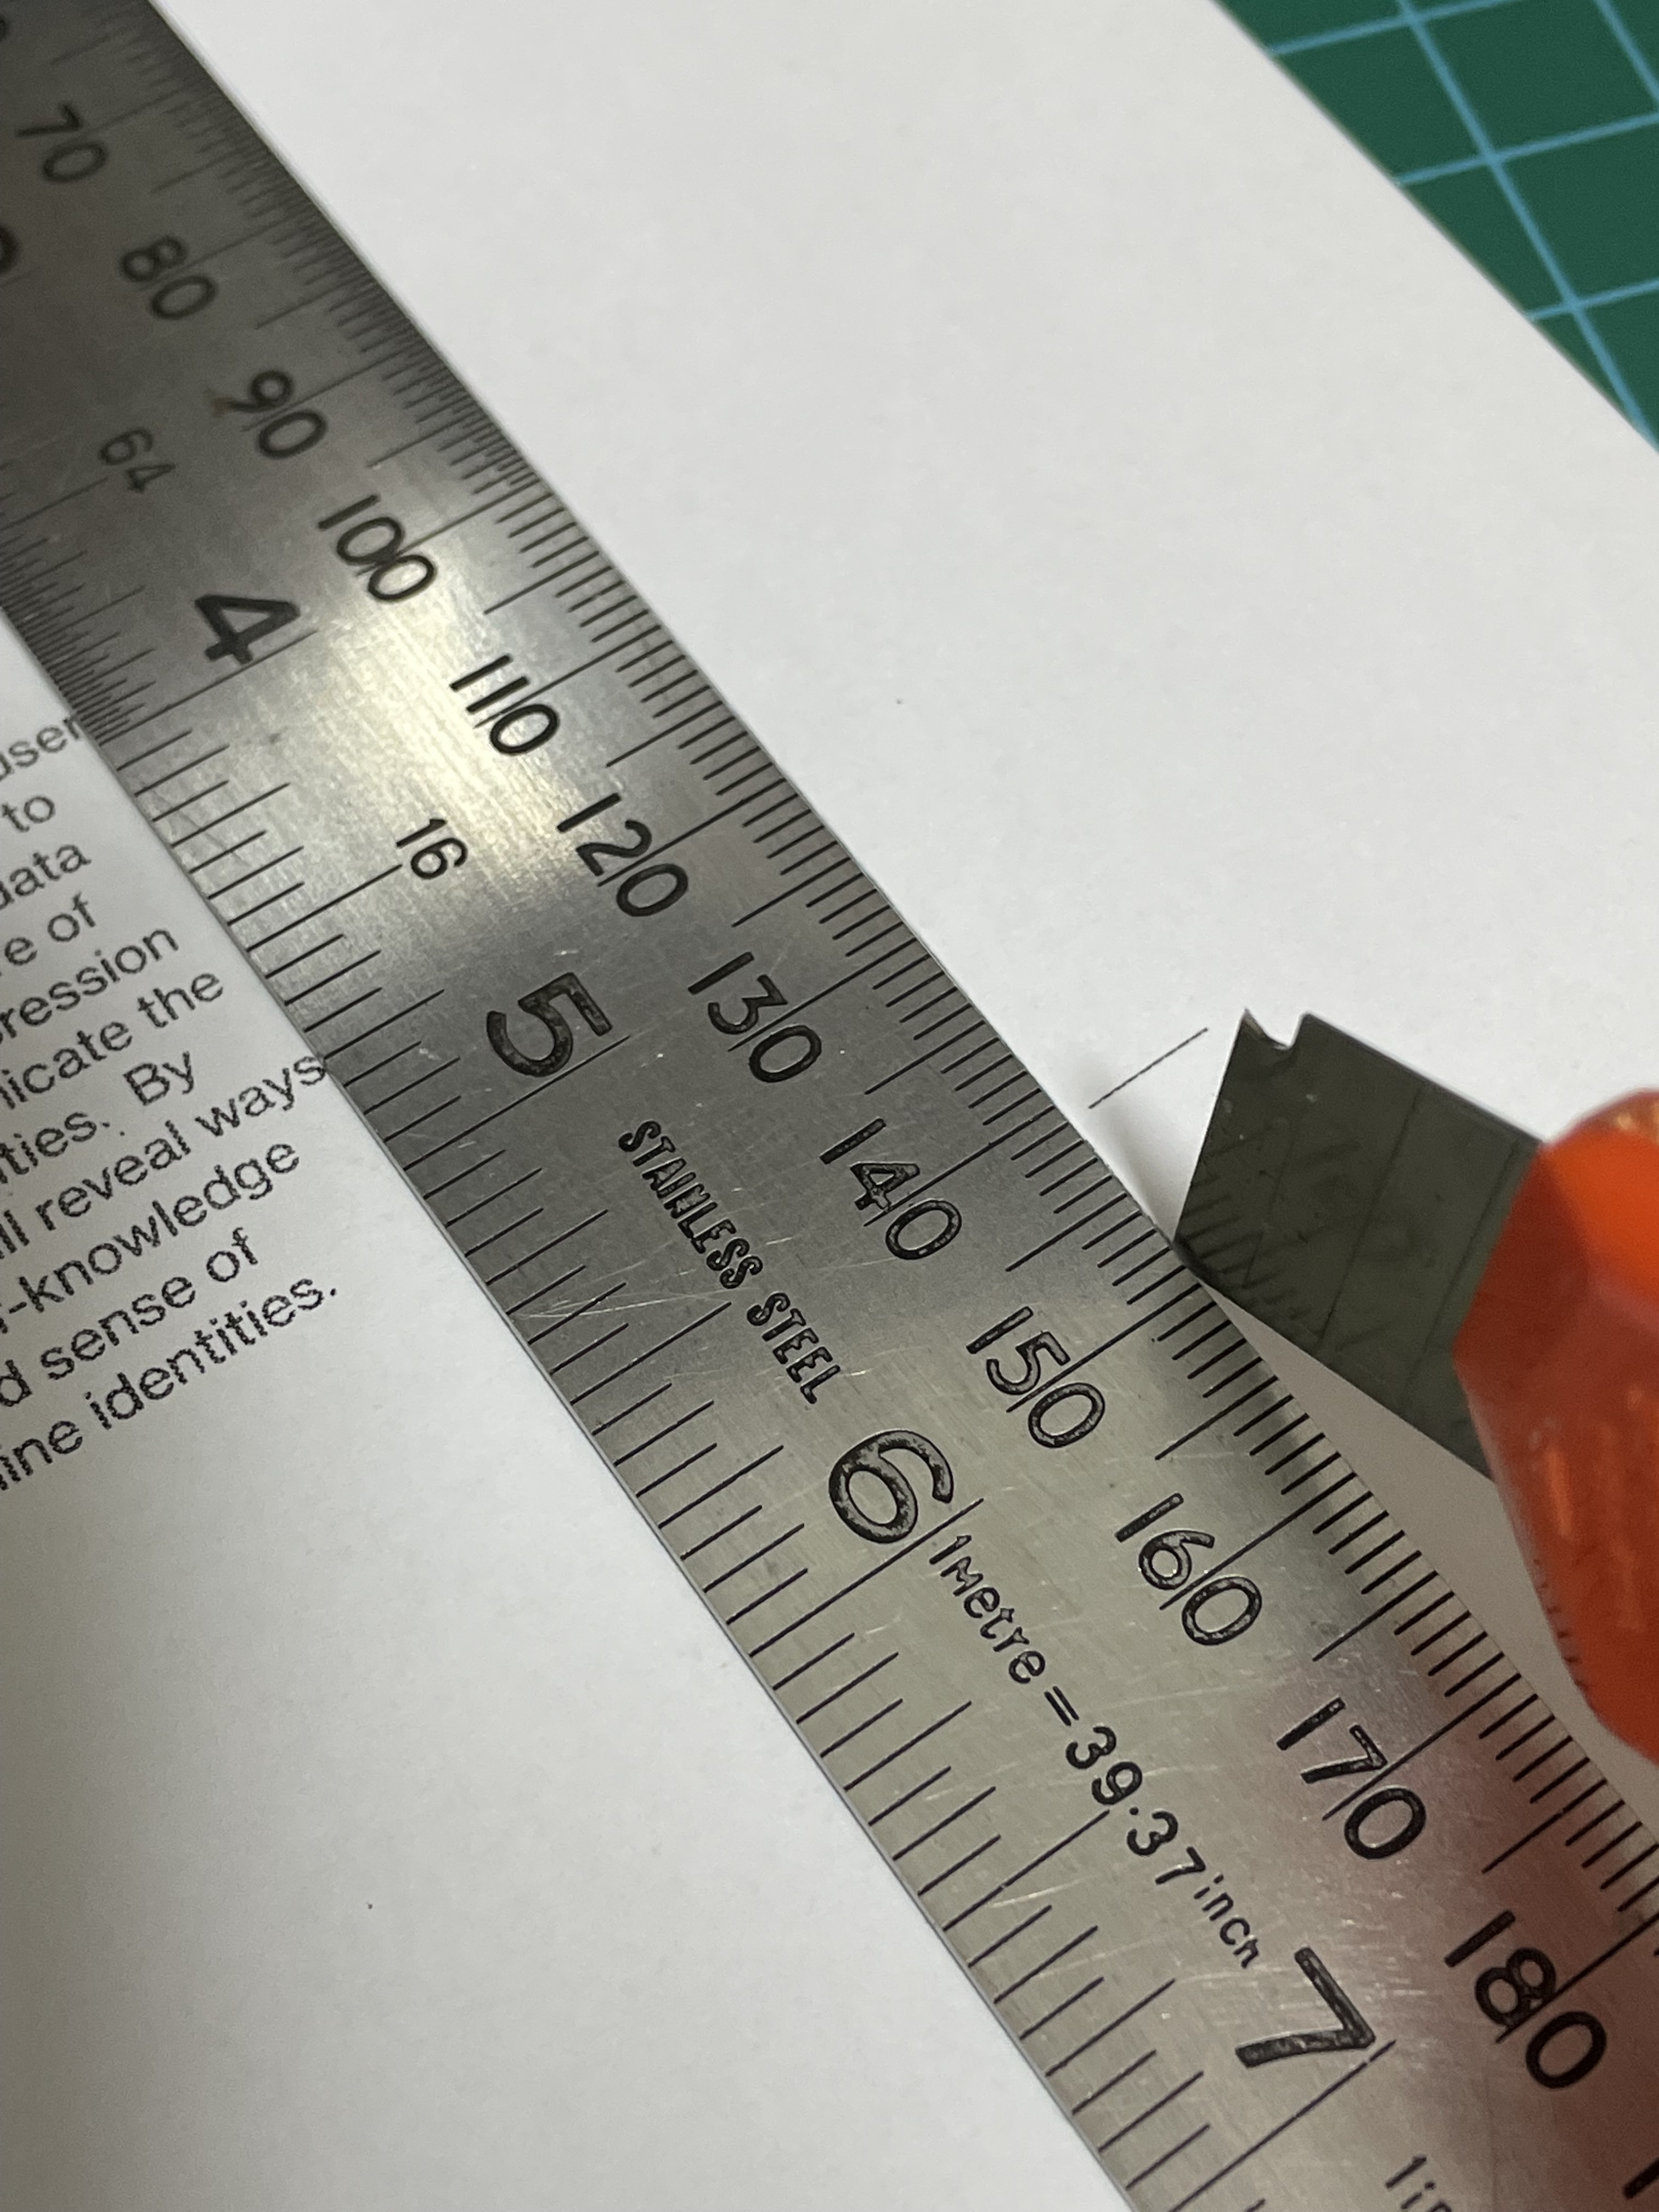
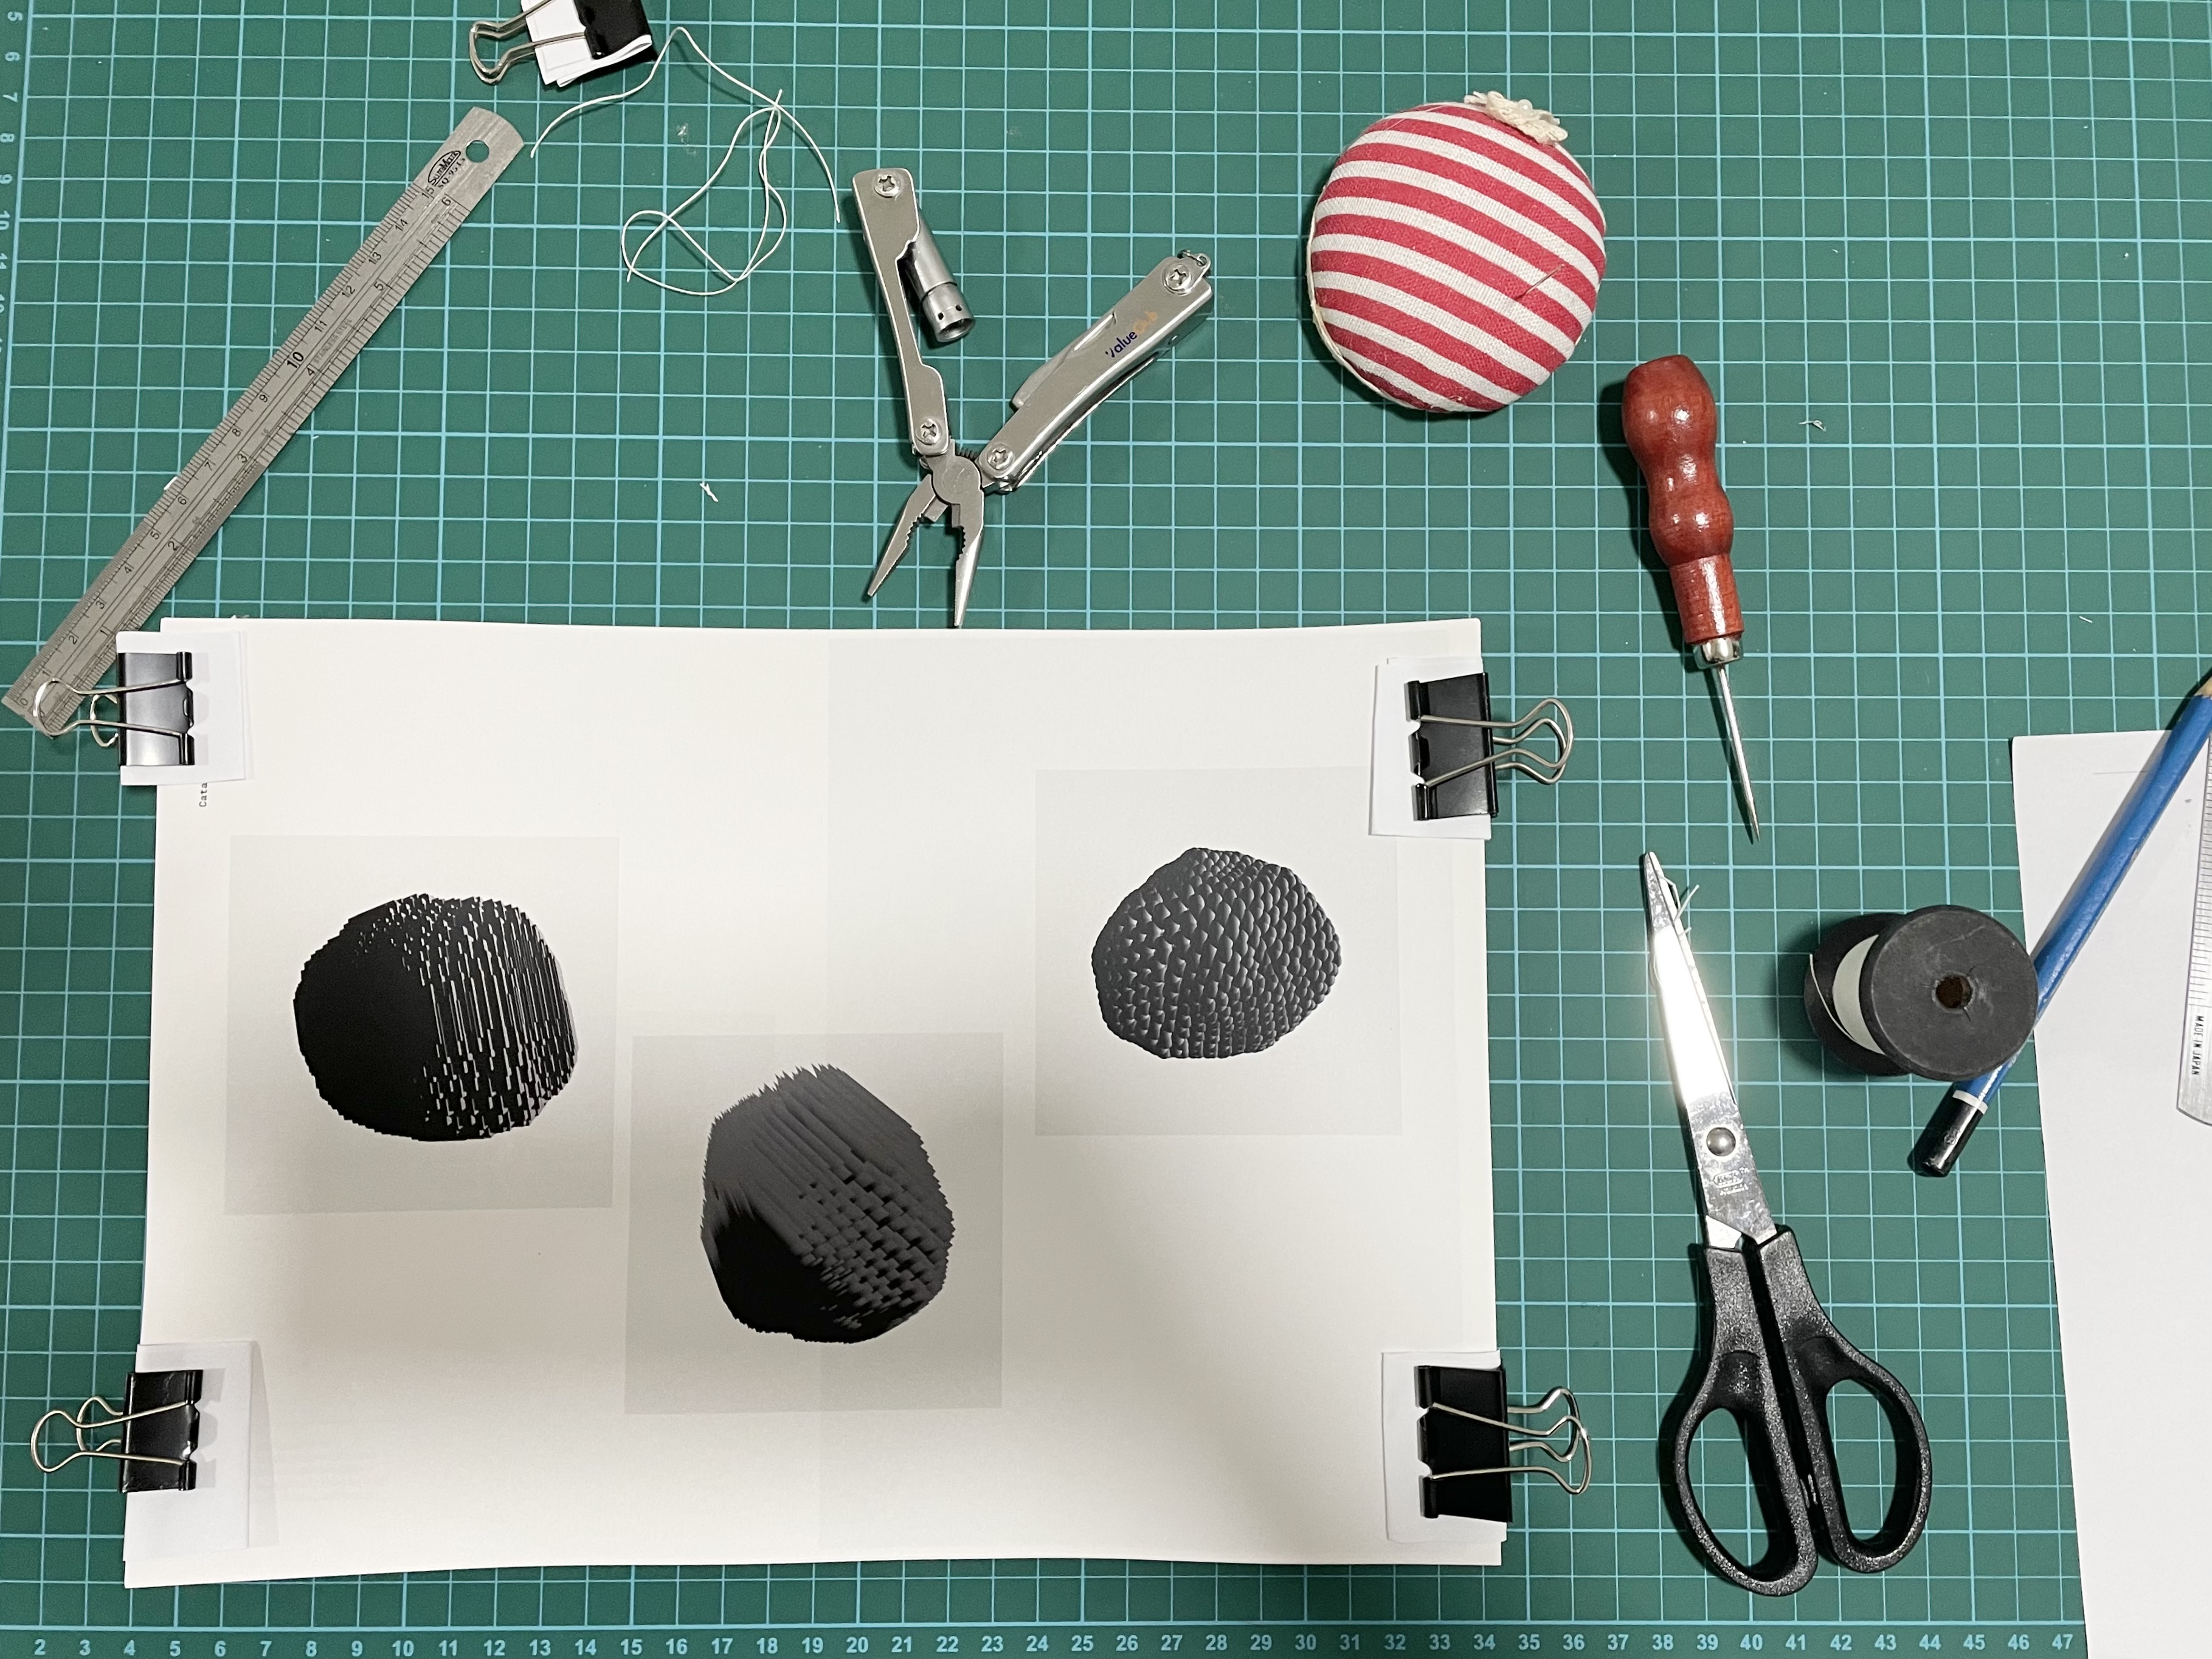
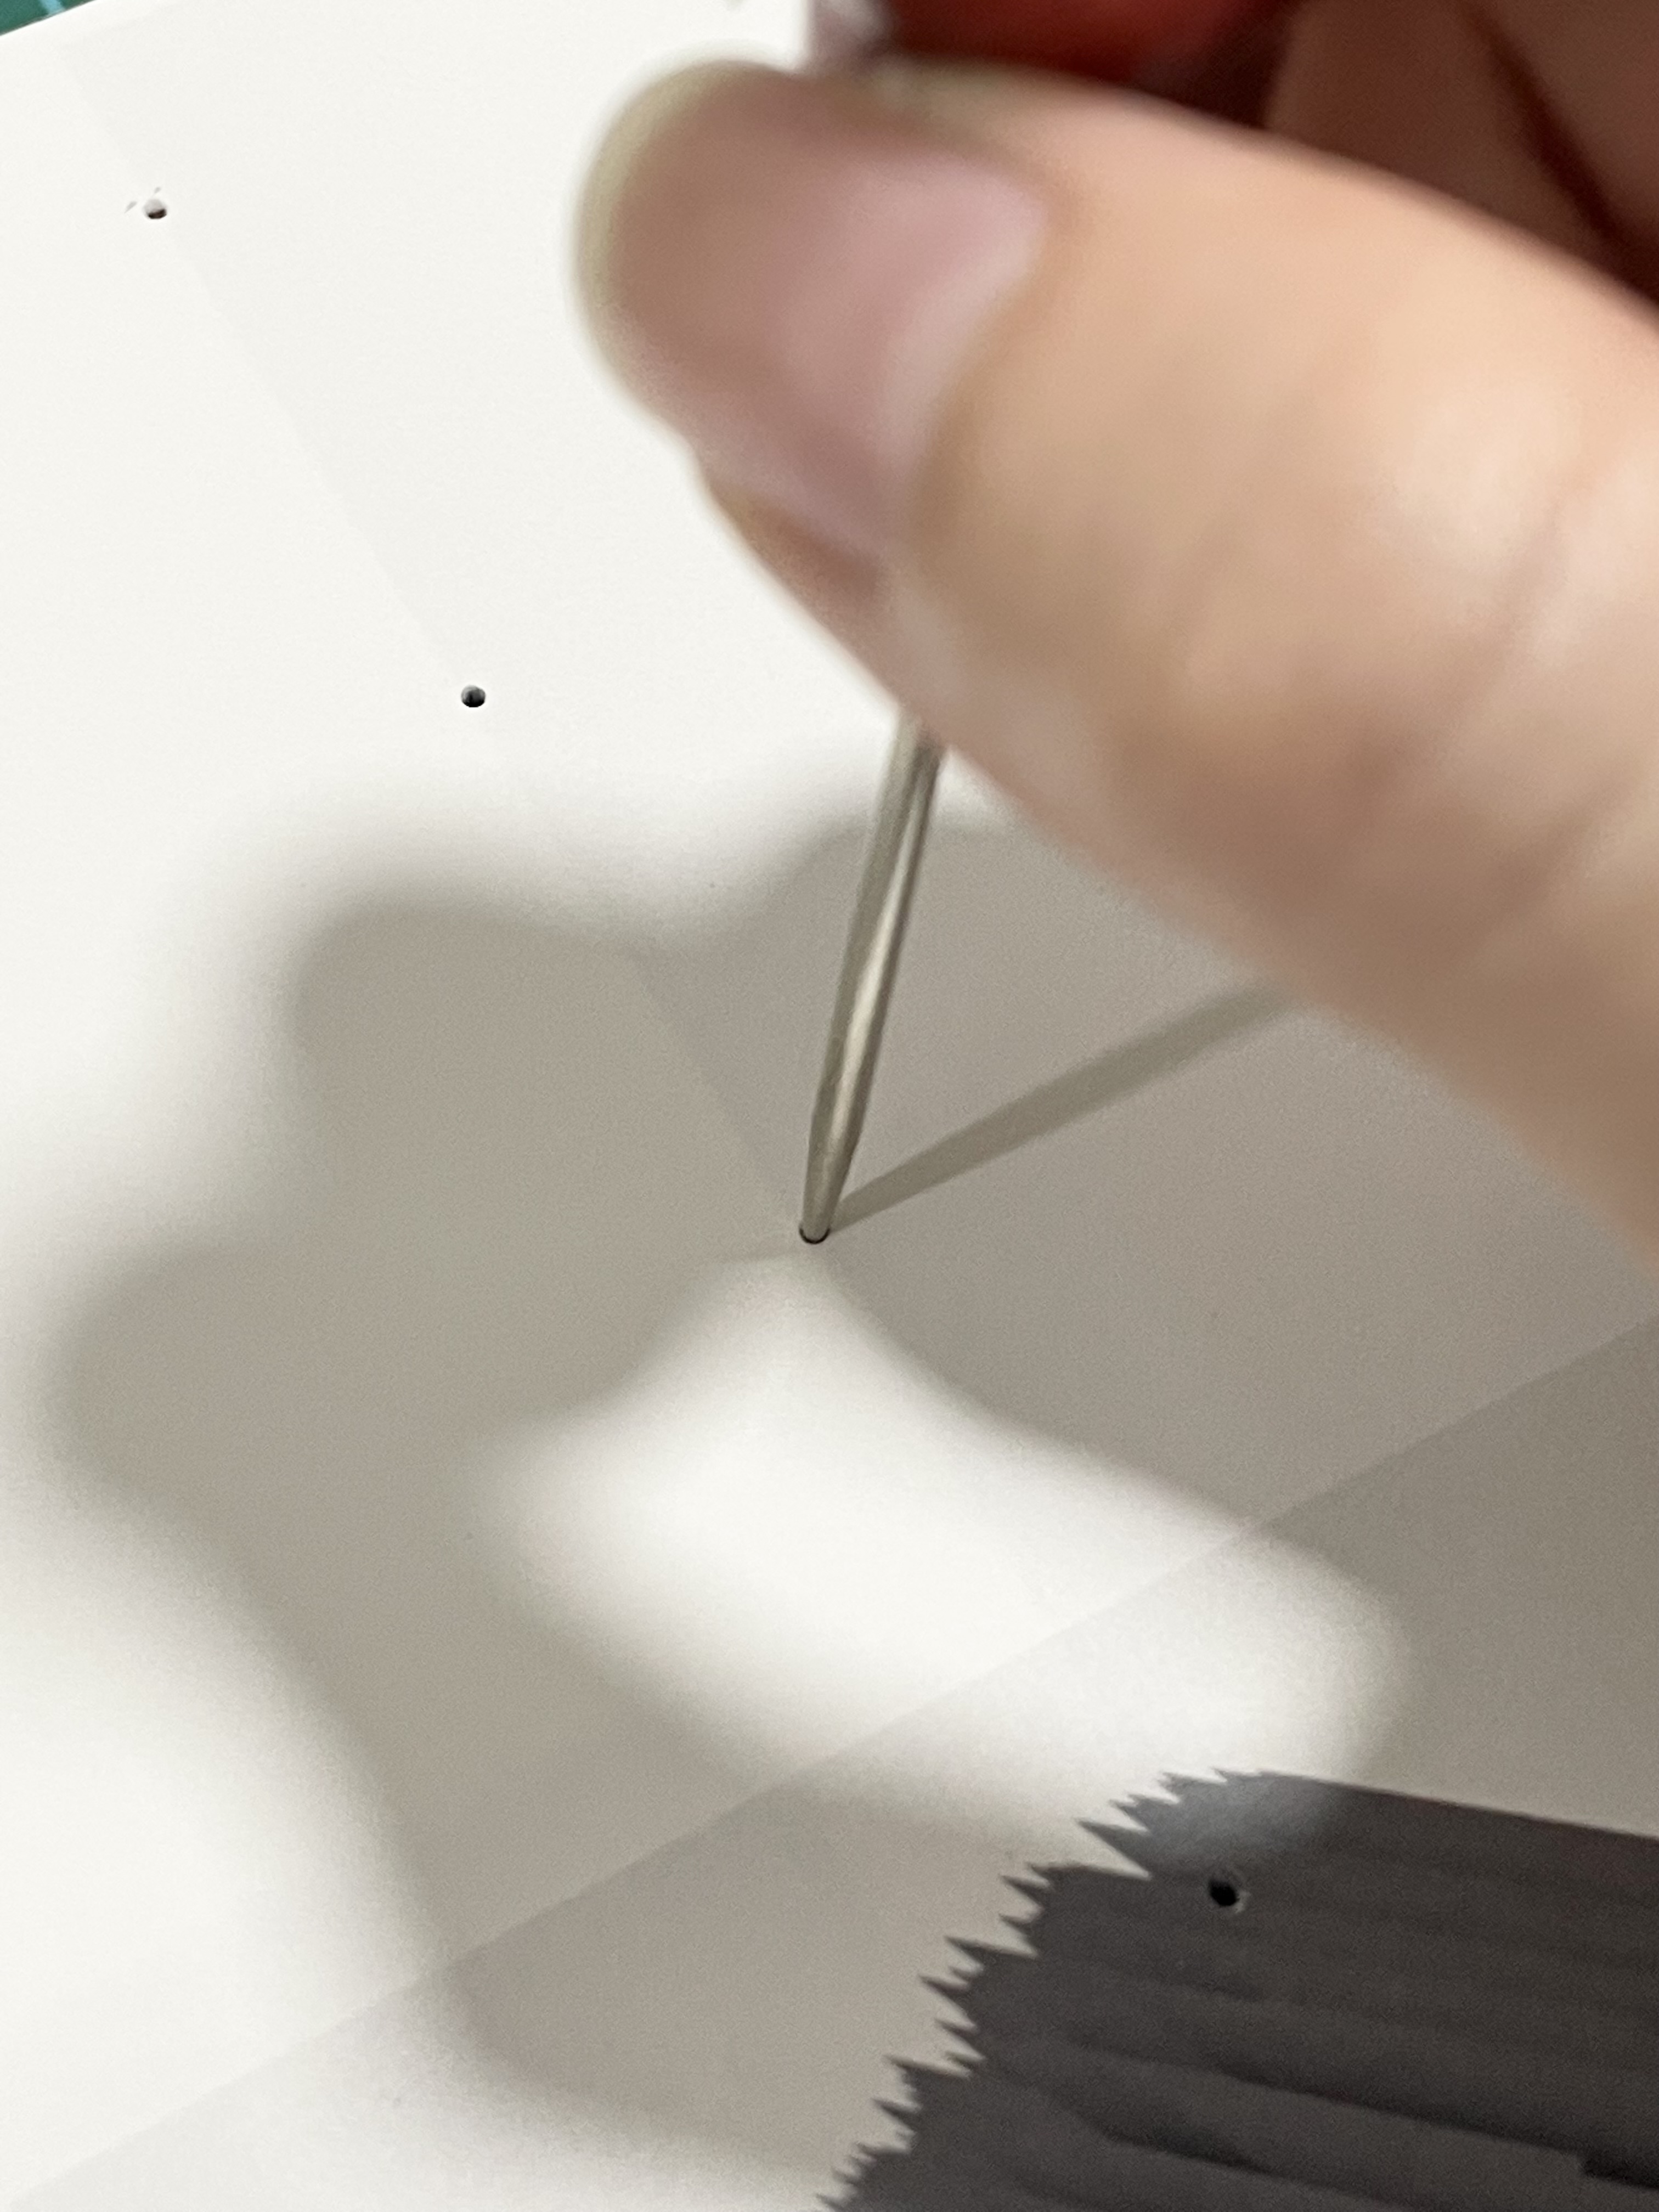
I decided to do saddle stitch as the bookbinding technique for the publications due to time constraints, that was the easiest and most efficient way of binding four books in one day. I used a slightly thicker thread as compared to my previous experiences in binding booklets to hopefully provide more structure and support for the spine of the book. Some other tools I used for bookbinding include a wooden handle awl to make the holes, and a grip piler to pull the needles through the holes.
PREPARATION FOR OPEN STUDIOS
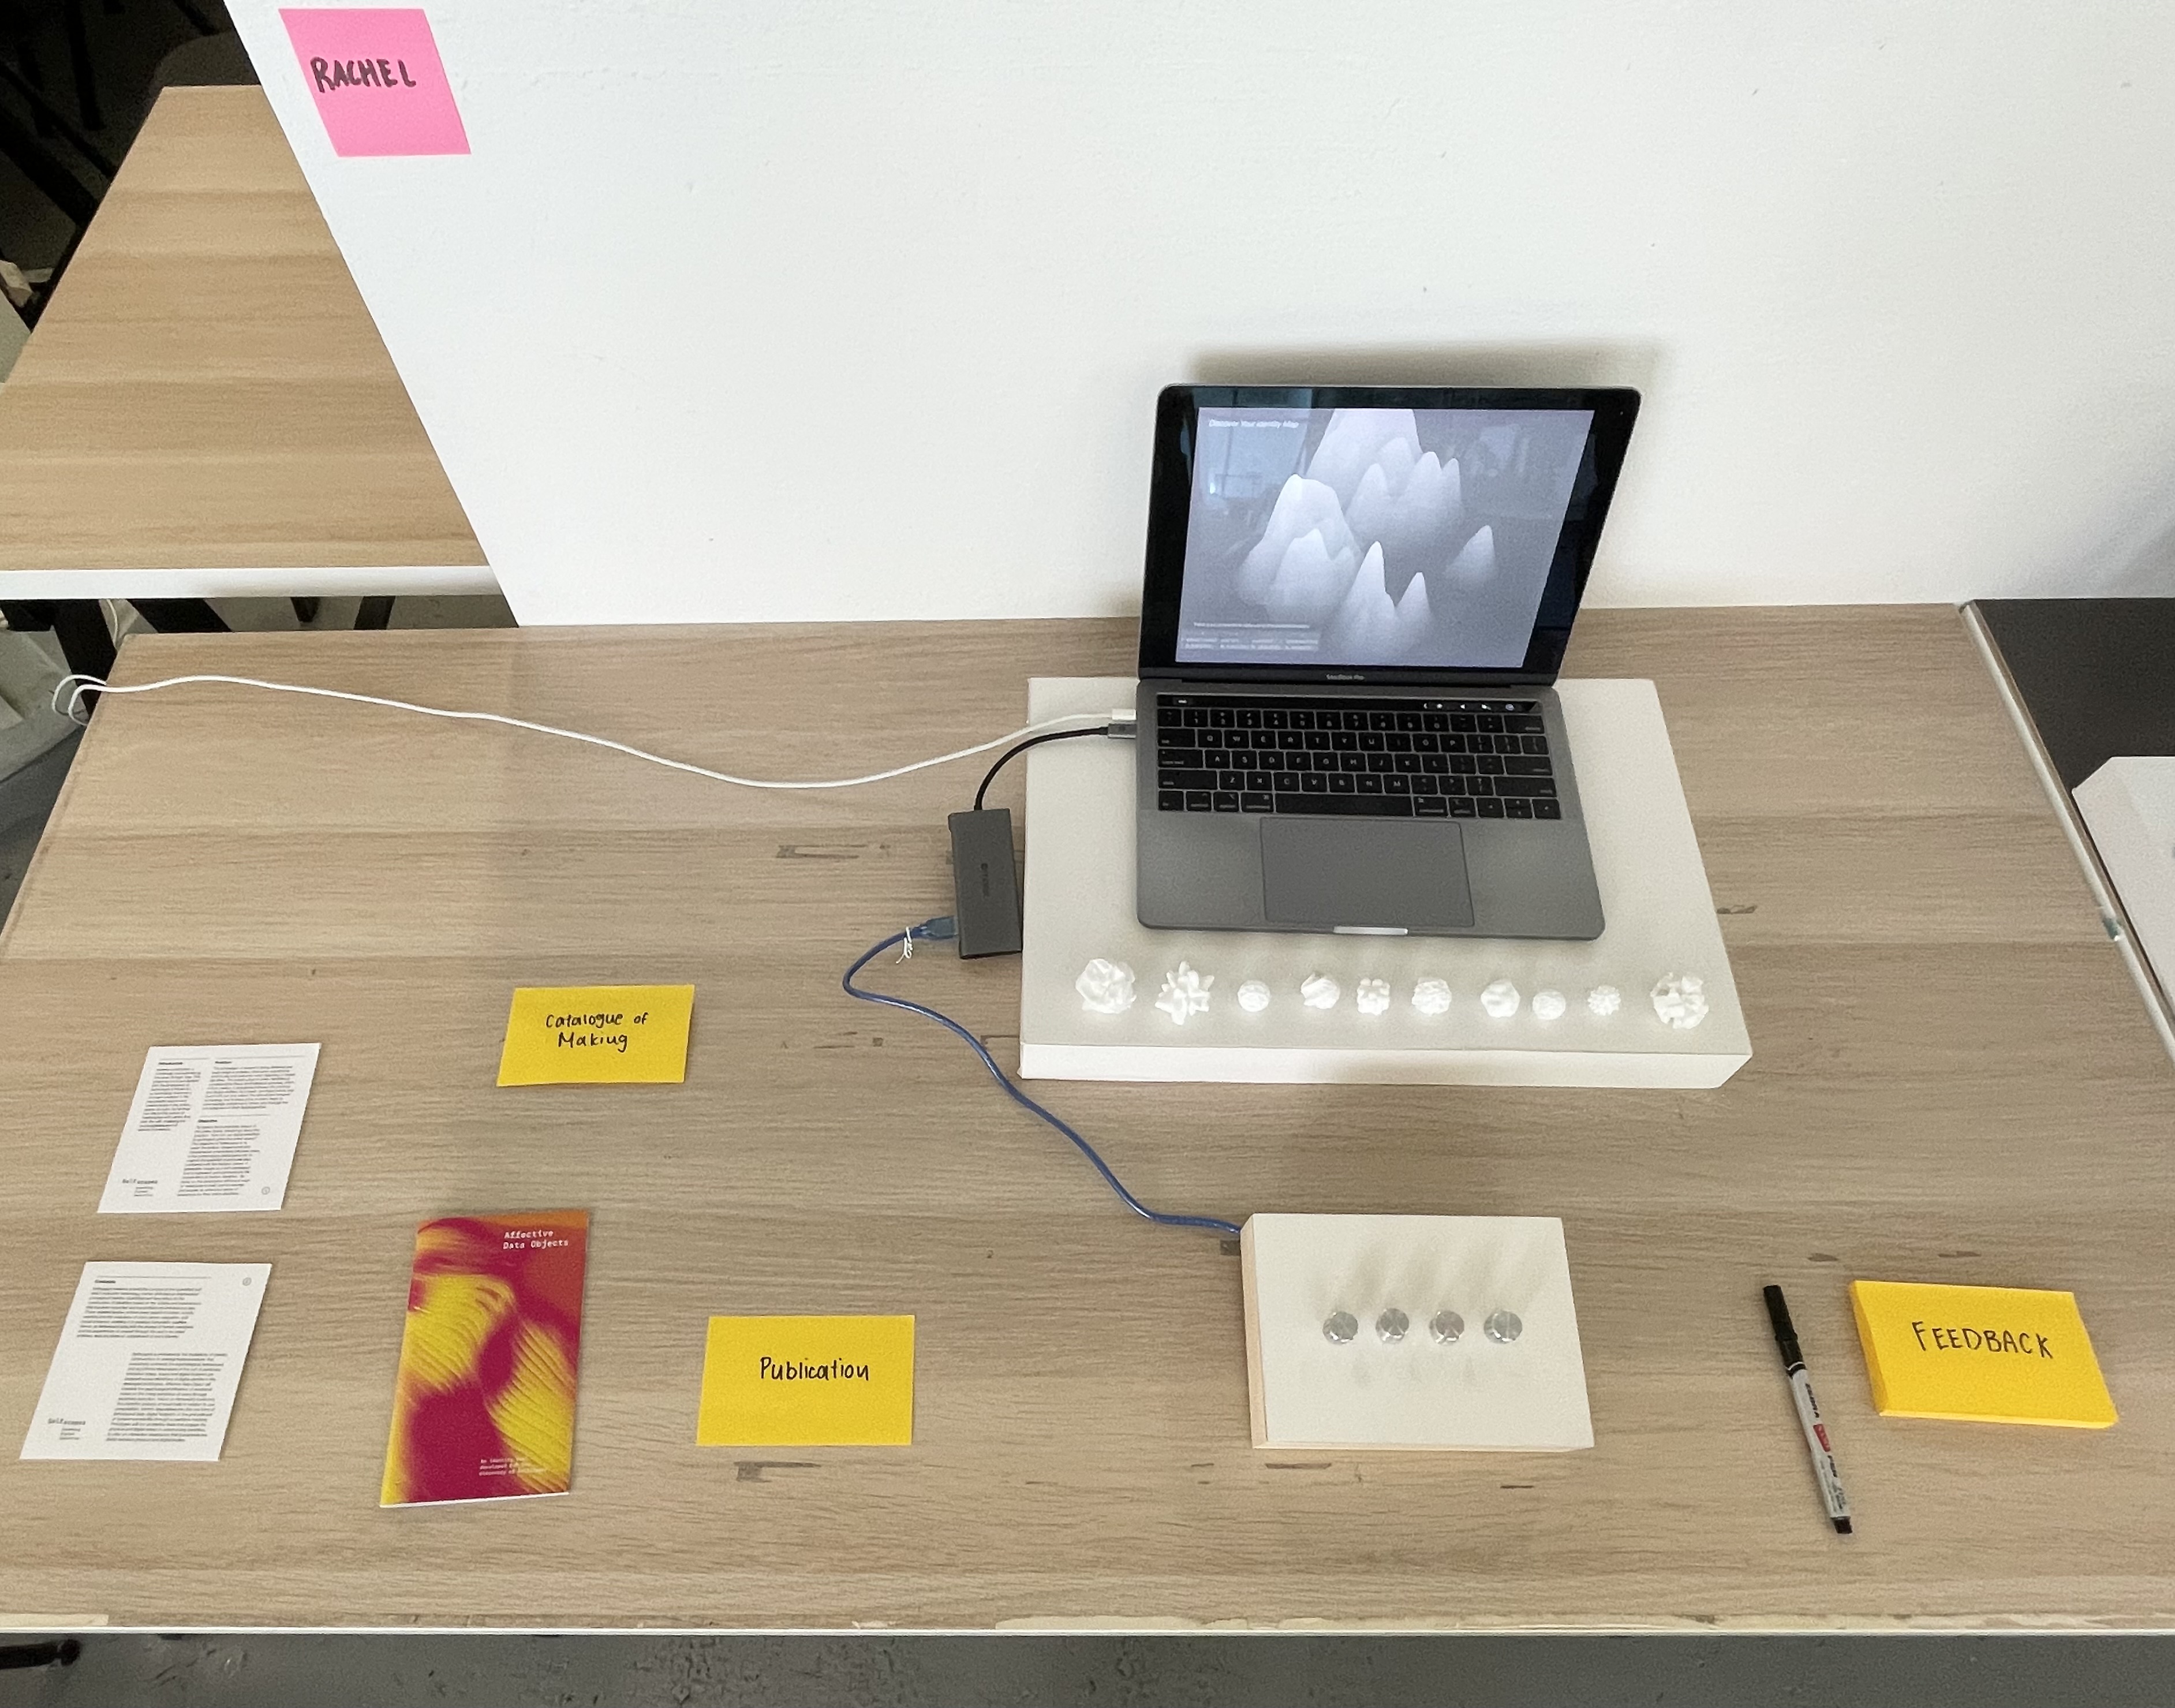
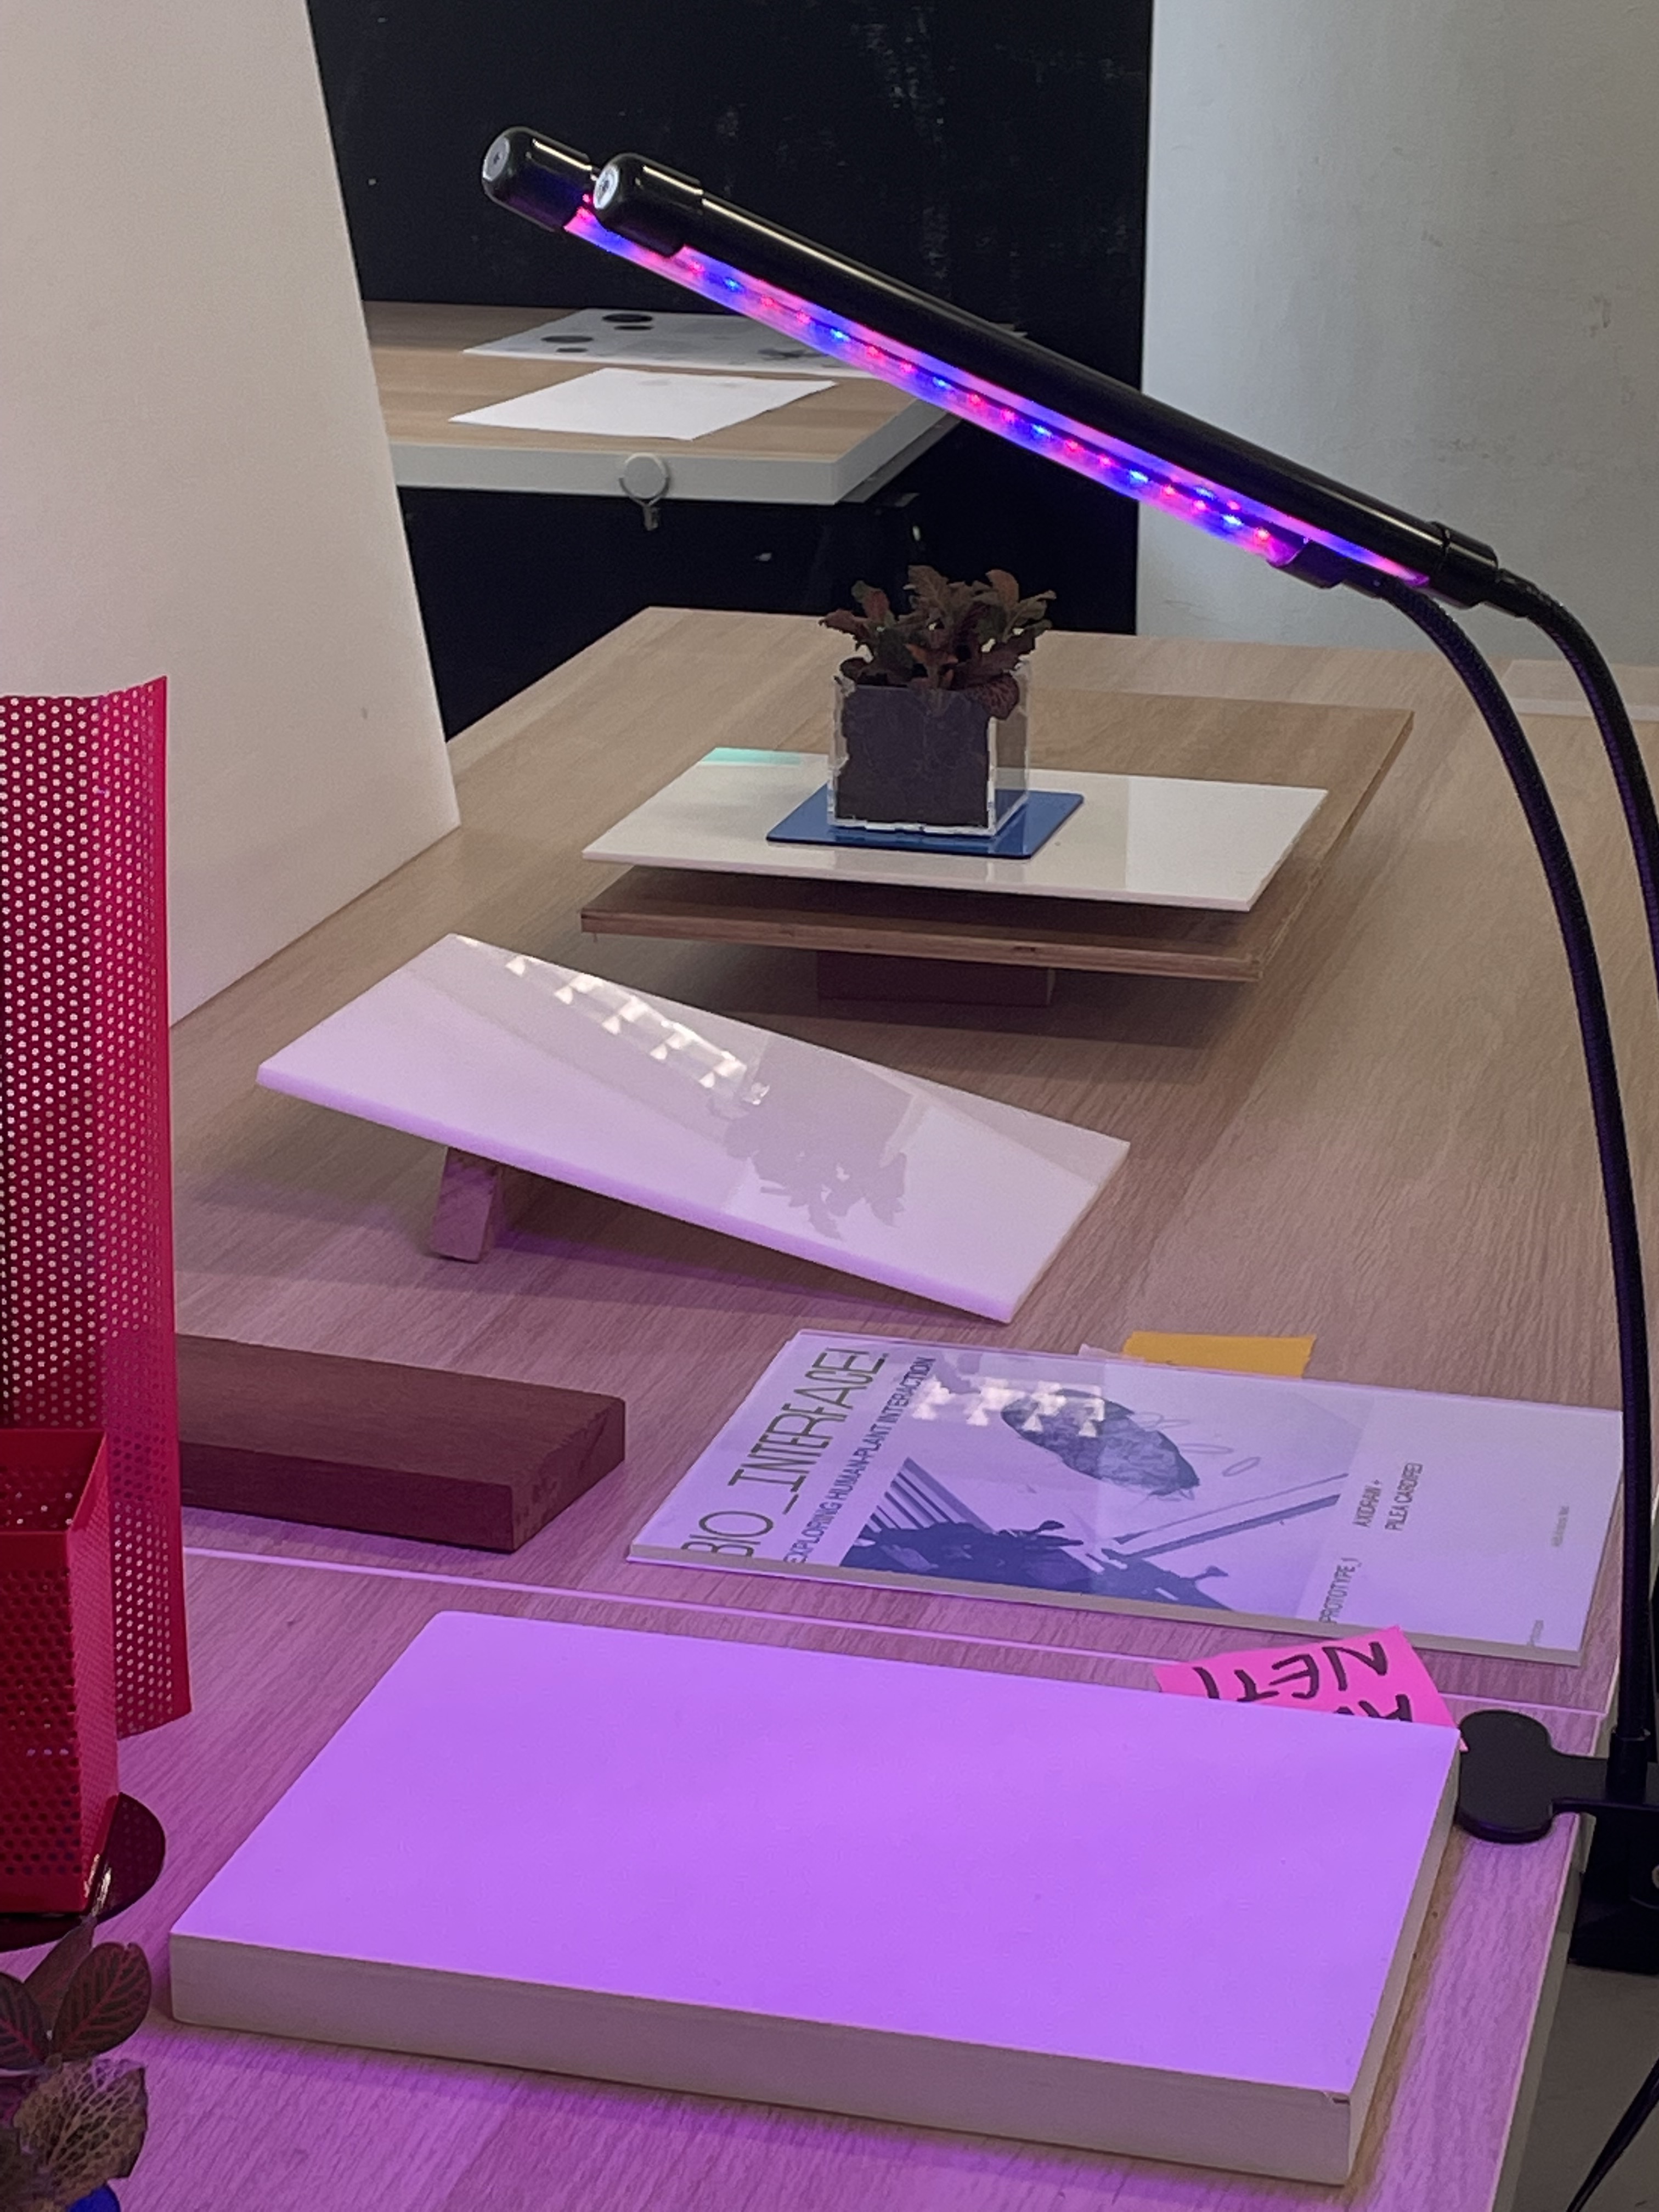
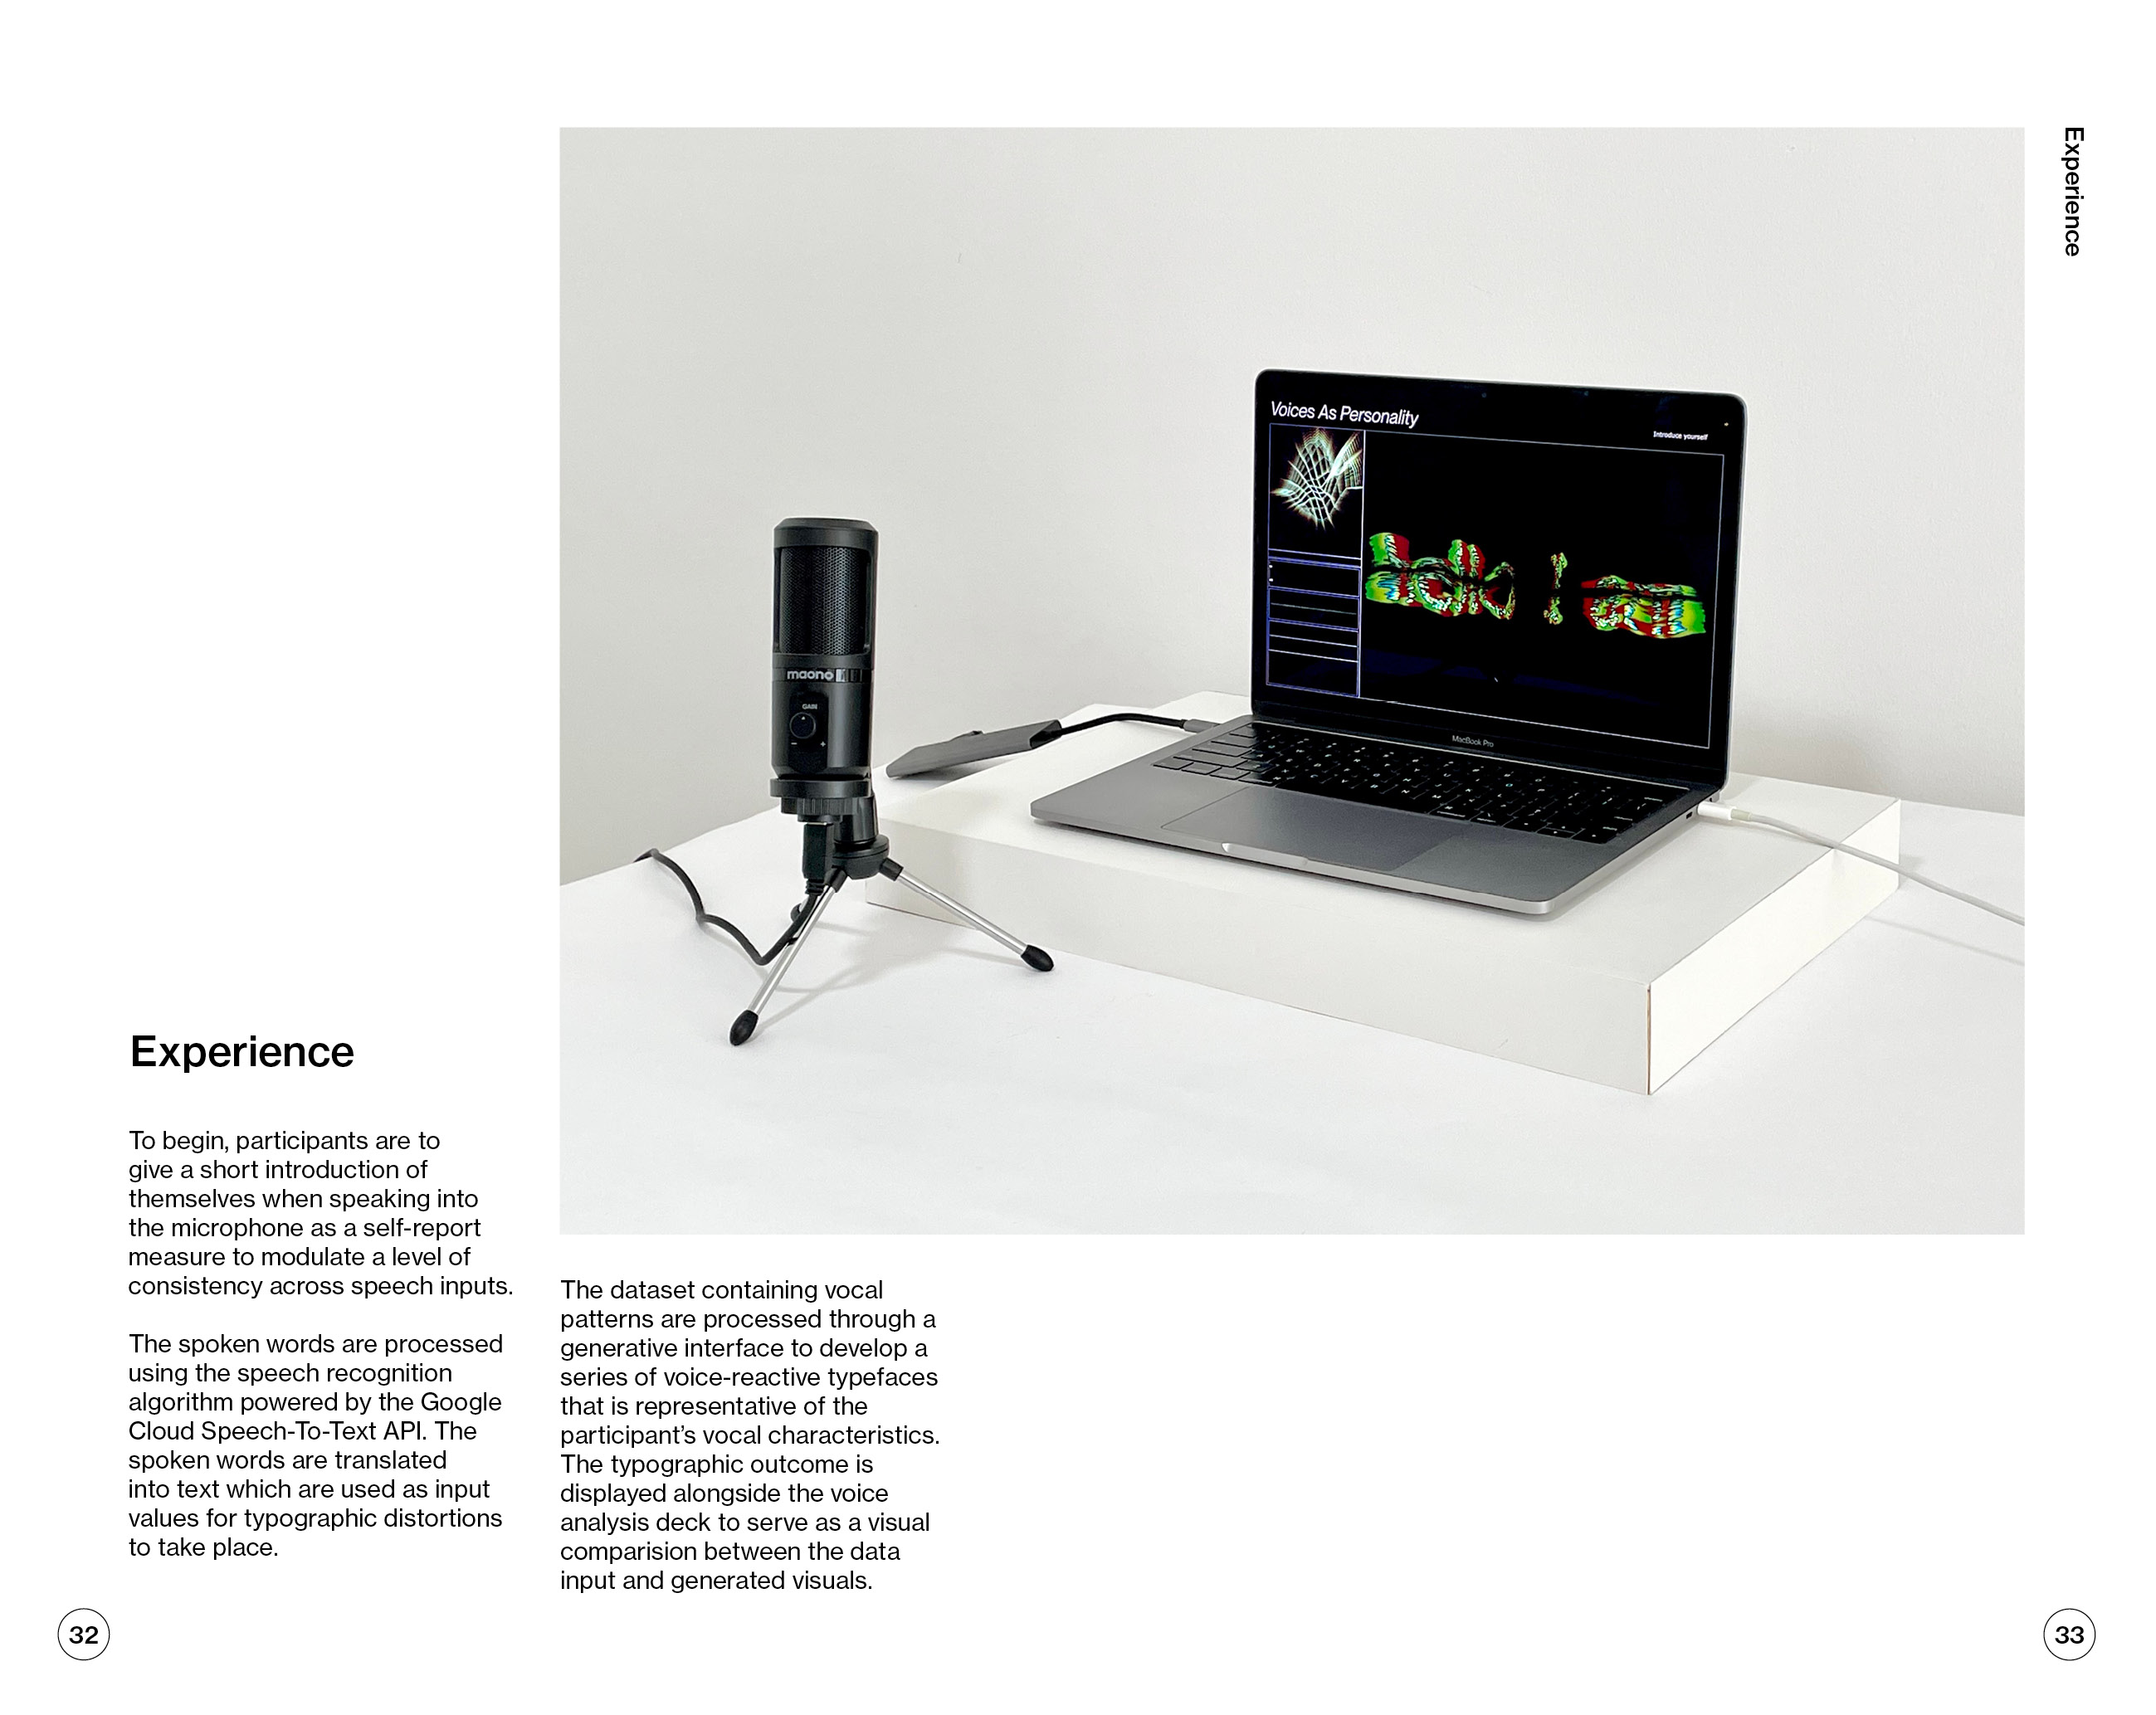
The layout of wood and acryllic surfaces that were demonstrated during class really inspired and taught me how to deal with material display and presentation of artefacts. Another important pointer that I learnt from the demonstration was the use of materials to elevate your artefacts. This made a huge difference to presentation of objects, especially in a space where there is so much to look at. I also liked the way that acryllics can be used to draw focal points to printed materials.
CONSULTATION
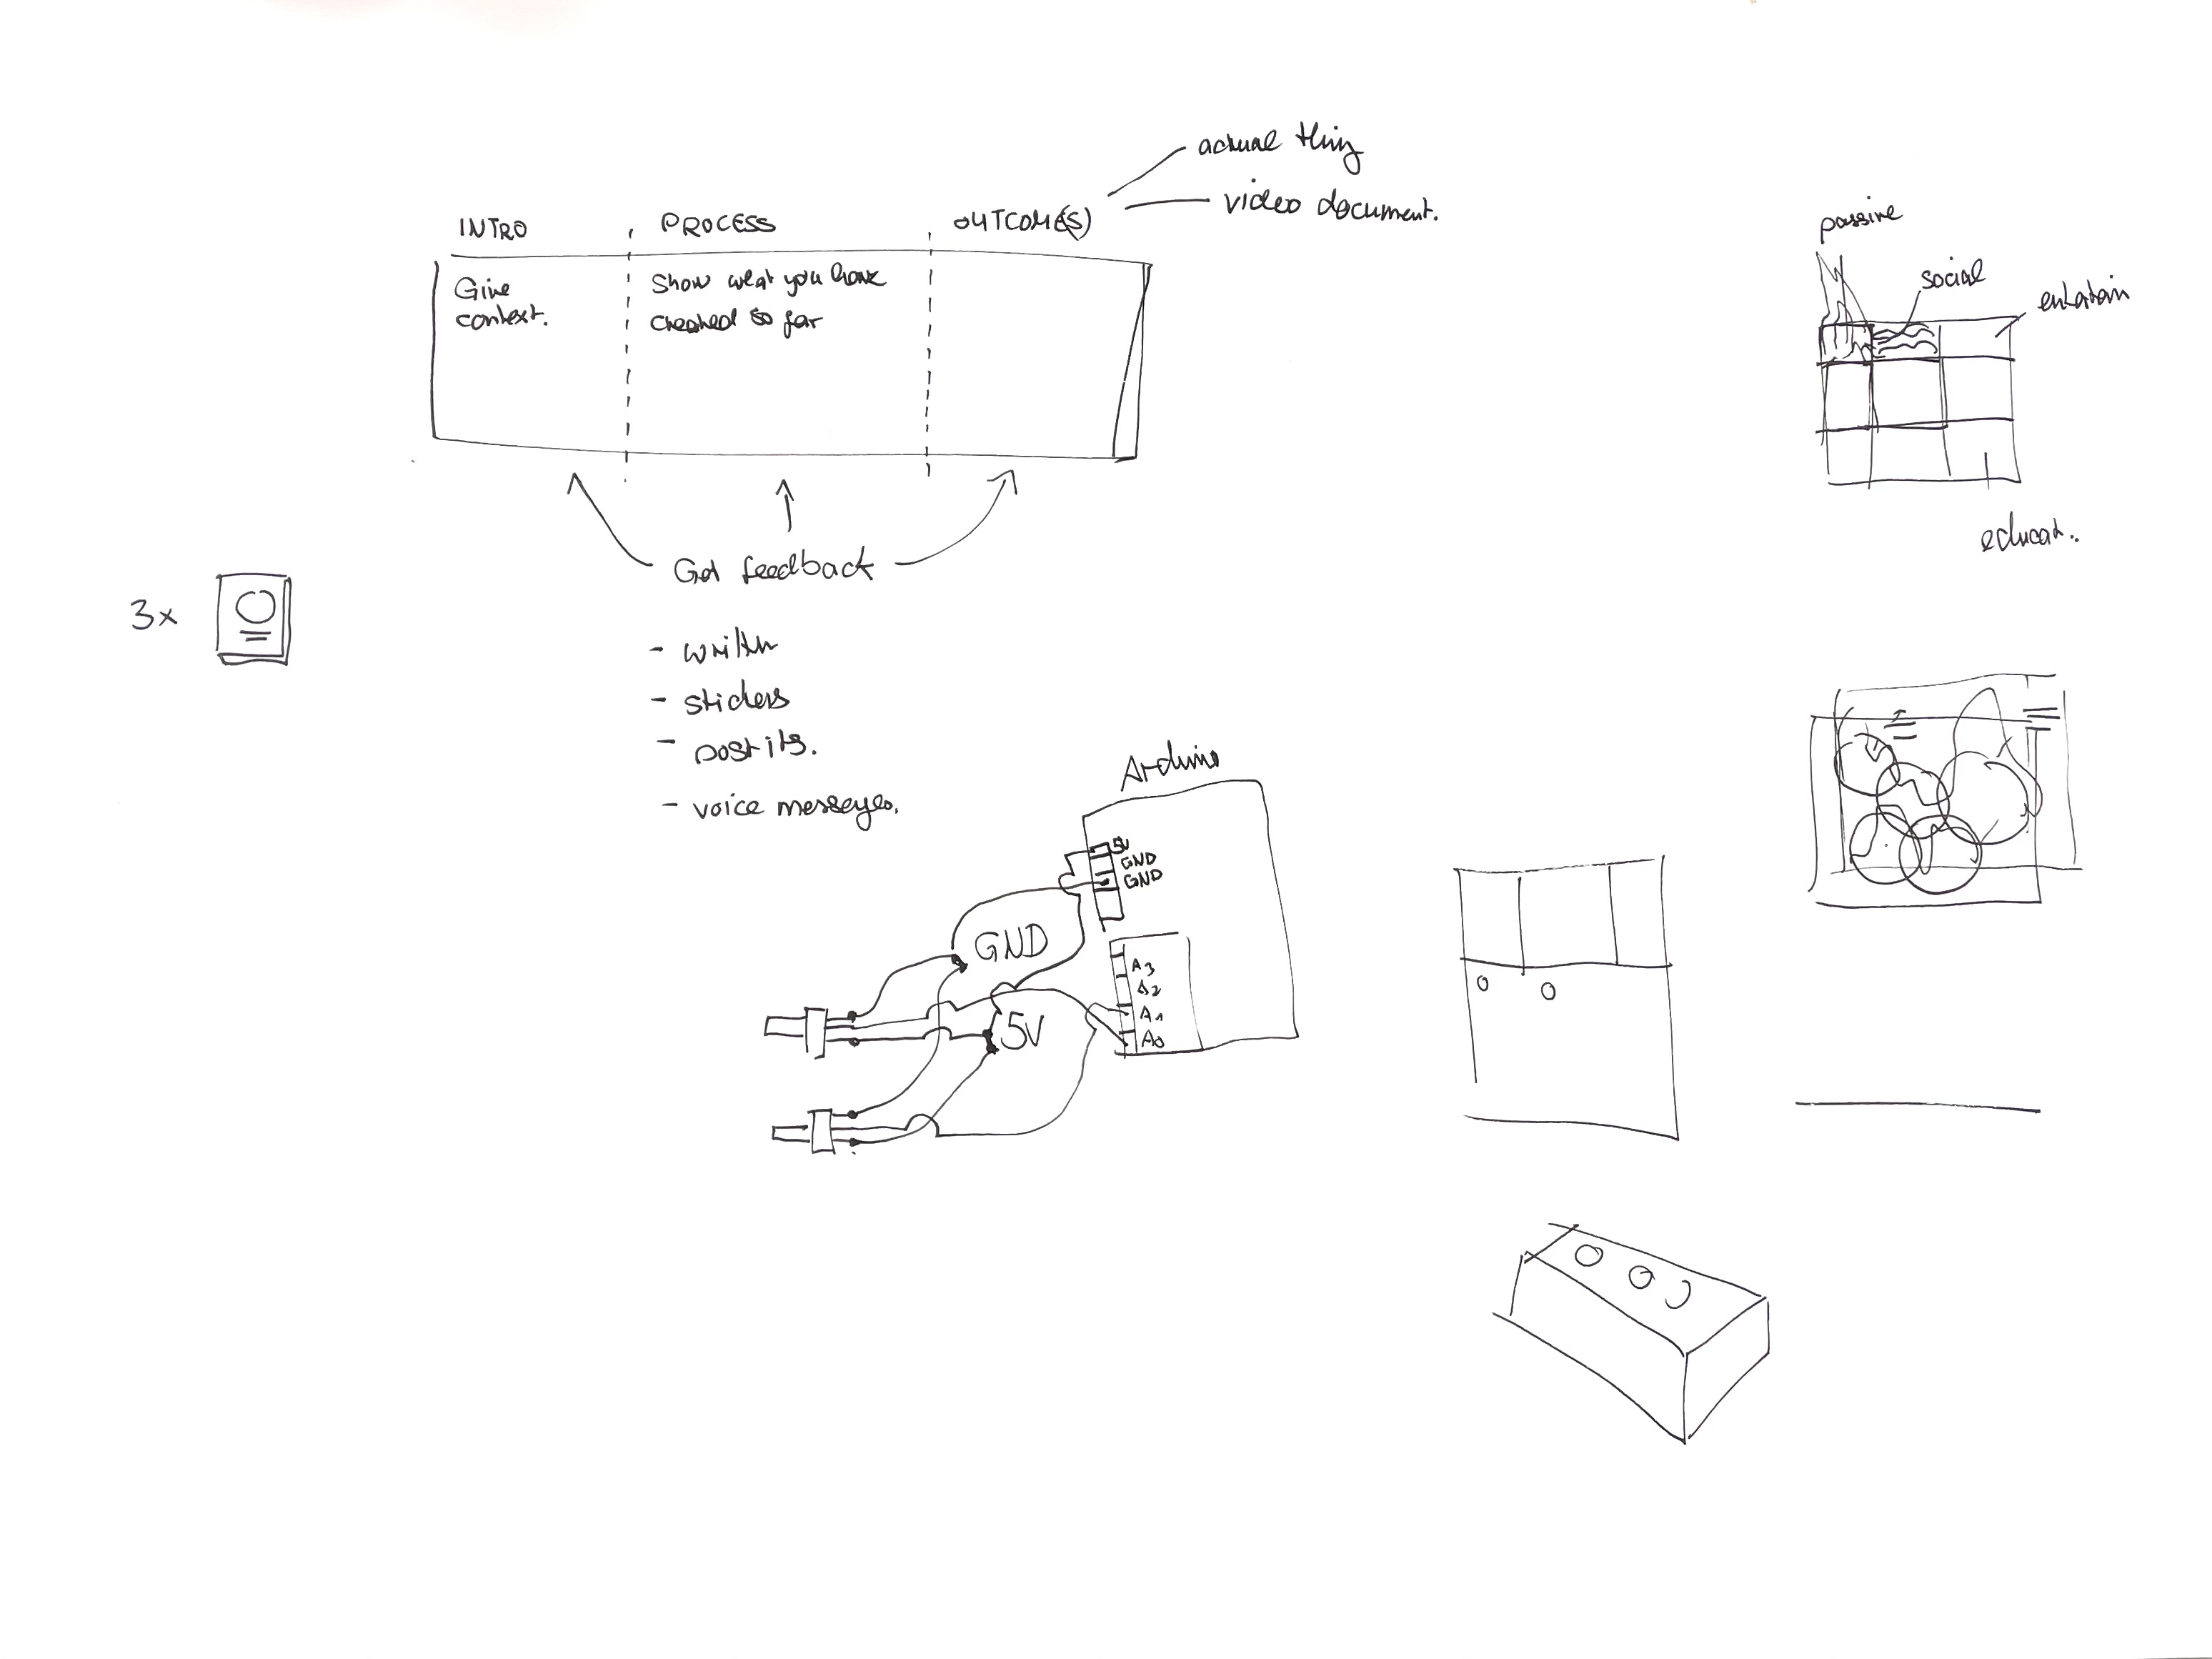
Identity Grid:
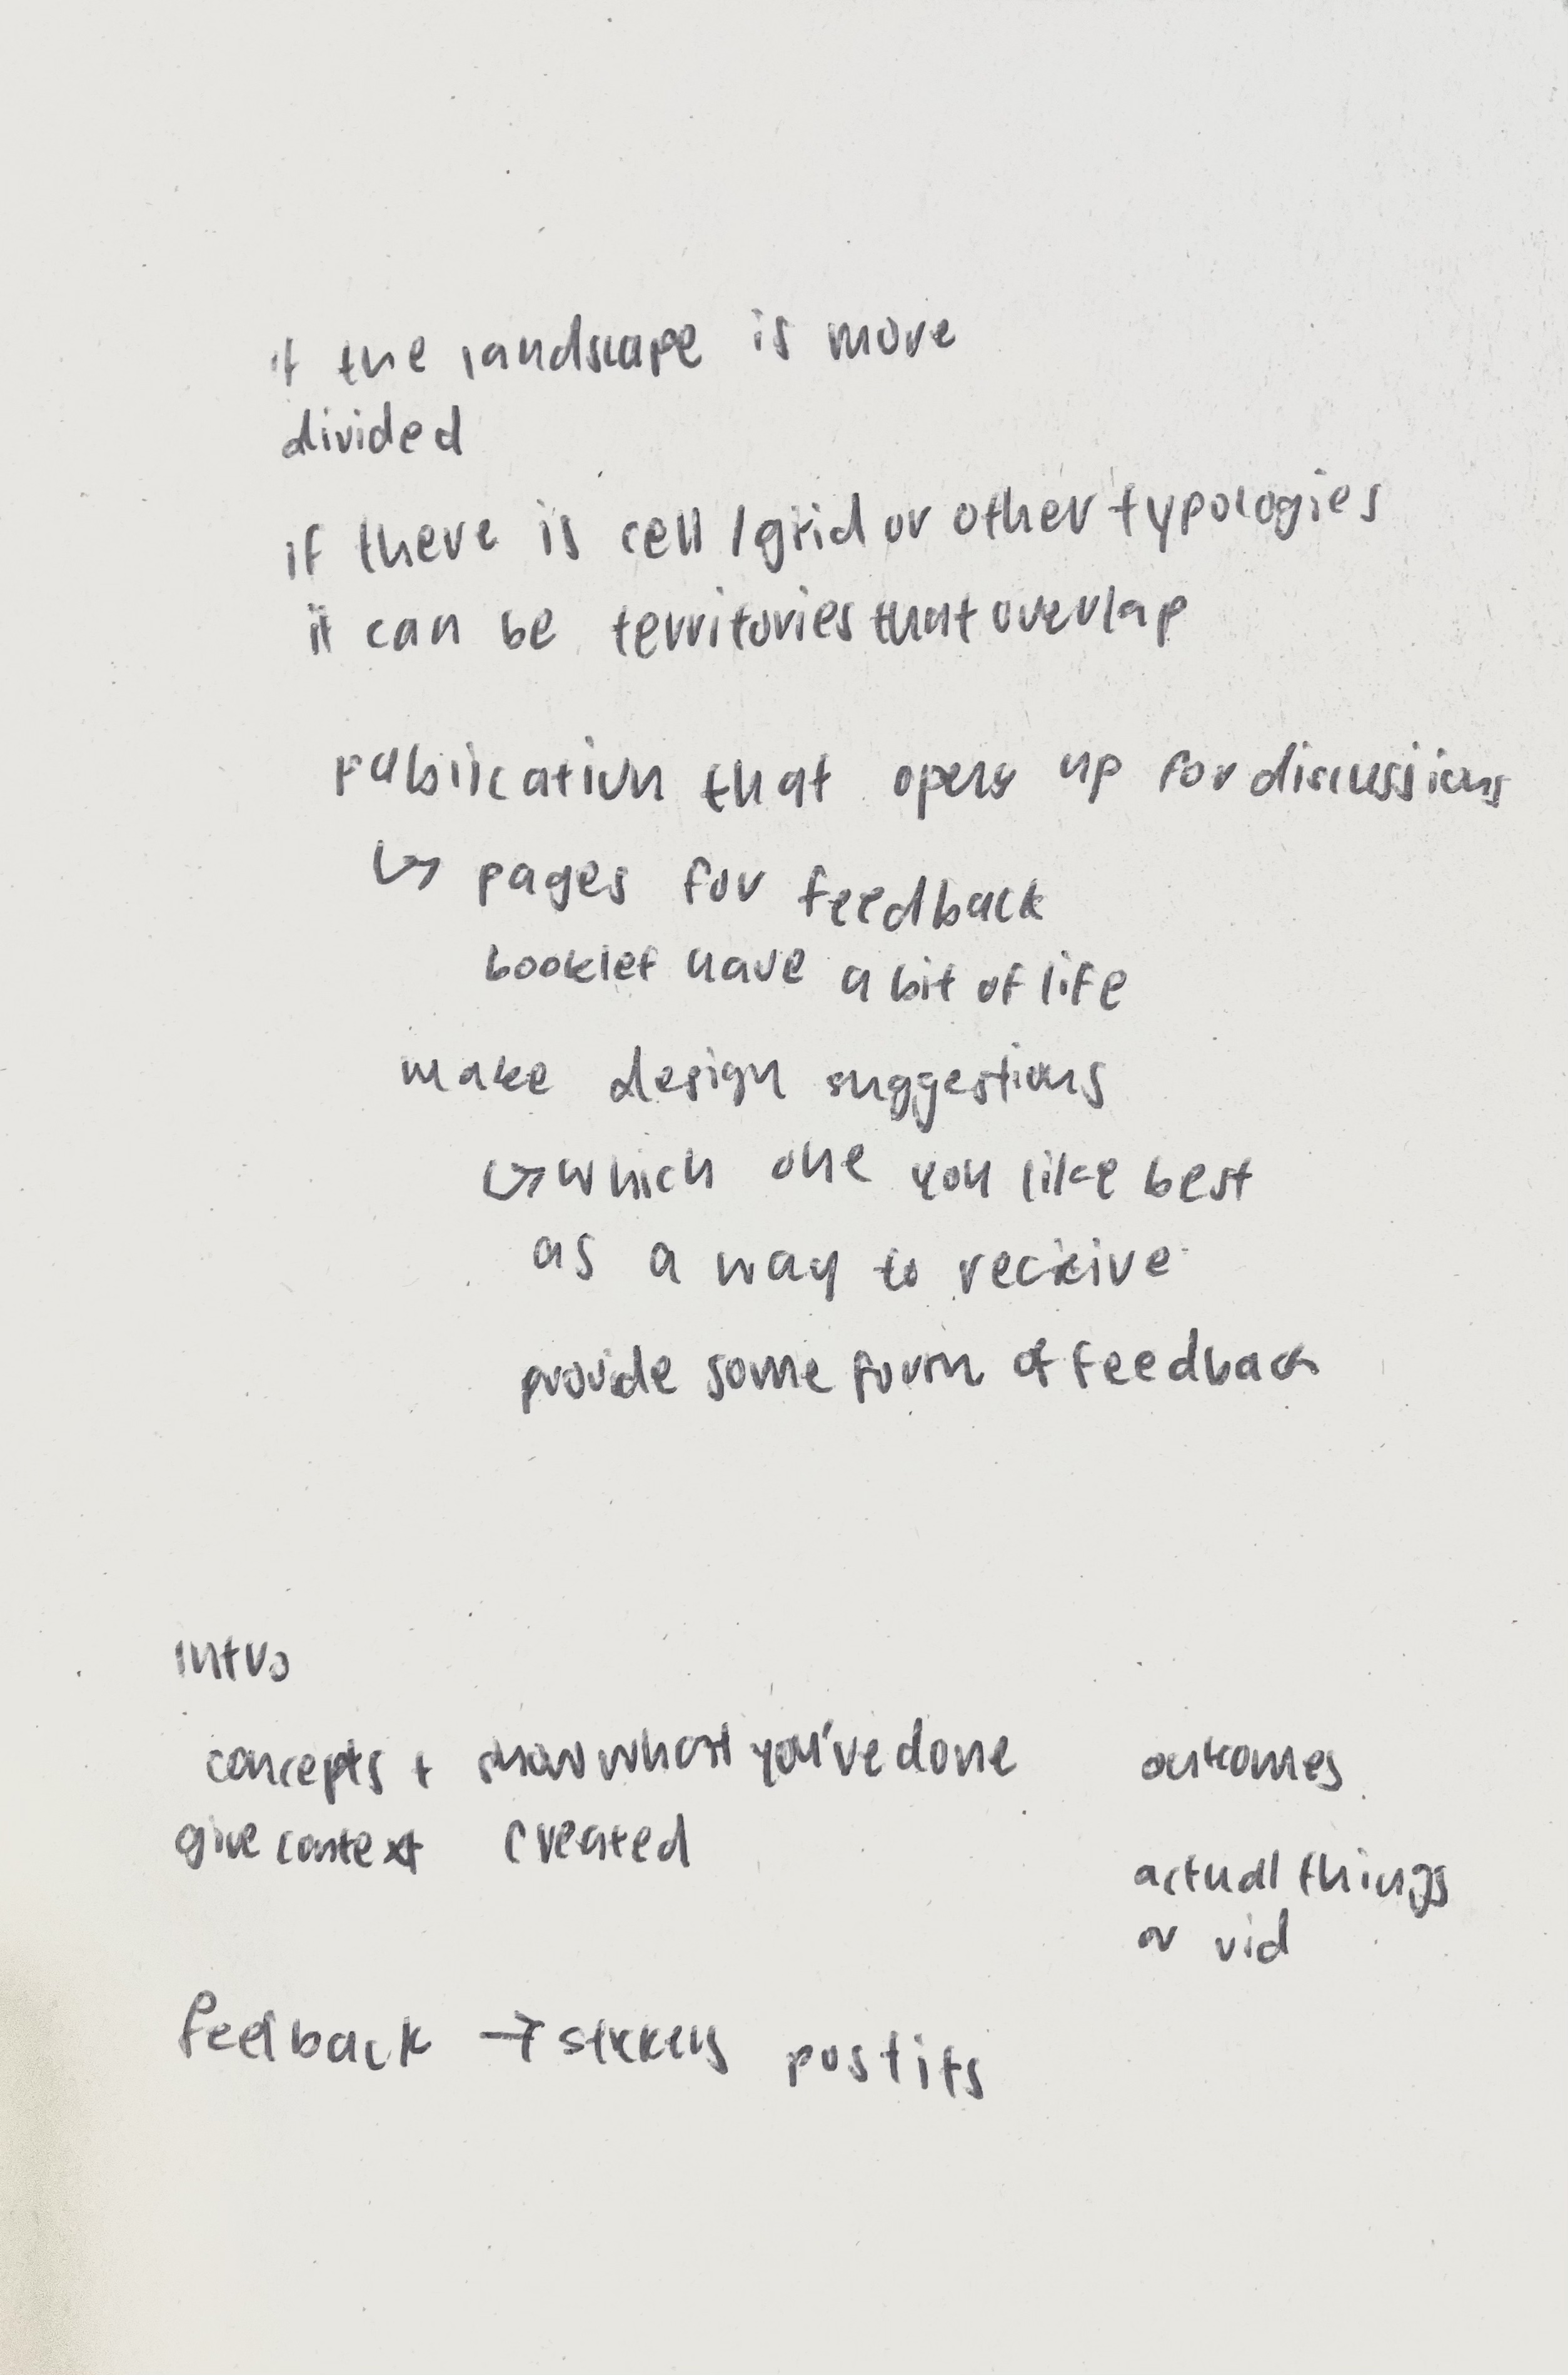
–If the landscape is more divided, or if there is a cell/grid or other typologies, this can help to make the visualisation more clear and informative
–It can even be territories that overlap
Publications:
The publications can be used to open up for discussions, such as using pages for feedbacl to make a bookklet have a little bit of life
–Can also make design suggestions like giving design options for users to choose from and asking them which one do you like best?
–These can be ways of receiving some form of feedback
Artefacts Layout:
–the introduction can start from the left of the table. The intro should cover the concepts to give context to the work.
–In the middle, you can also show what you've done or created in the developmental stages
–Lastly, on the right side of the table, it should consists of all the outcomes, you can either present the actual things or videos of them
–At the end, you can receive feedback (if you want to get people to choose a design, it can be in the form of stickers) (or you can receive written feedback using potits or even voice messages)
