1 / Roundtable Session
2 / Affective Data Object–Interface Developpment
3 / 3D Printing 2nd Session
4 / Keystroke Detection Interface
ROUNDTABLE SESSION
For this week. I decided to sign up for the Rountable session on Tuesday to get some feedback from lecturers of different ateliers amd gain new perspectives on my project. As this week only consisted of a small group of studemts, we decided to do the Roundtable as a whole, with us presenting our works to all the lecturers.
Notes for presentation:
–Should include a section with table or flowcharts to map out the input and what is being visualised to help the audience understand better
–As you compile the presentation for the front bit, keep in mind to make the explanation of processes simpler–don't keep all the concepts in the read up
–Include the main meaning about the use of screens for the prototypes
Notes for prototypes:
–It is good that the three themes are not overlapping, one is more object based, the second is typography while the last one is a map
–However, it is weird to name it a map as it doesn't reflect the terrain, it is more of a mental model/diagram that has some terrain features
–In terms of exploration, there are attempts to digitalise or actualise and it is good that it is not fixated on an app like what most people would associate digitised work with
–This can sit nicely as a micro site/online publication that can be shared and viewed instantly
–Currently the visuals are very electronic, there is potential to make the information more relatable to integrate identity into
–What if symbols and signs that are natural to the natural world can define the identity–more rivers or vegetation which can tell something more about one's digital footprint? There is potential to translate it through generative electronic landscapes
–Data Objects need to highlight the part about what is being recorded, is it the speed of typing and how does that translate into the data obect needs to be communicated more
–For Voices as Personality, the way frequency affects the distortion. you need to think about how form translates in relation to the person–does having a higher frequency voice represent a more distorted personality?
–To present the part about user-testing, you can put up the portraits of the outcomes to show a collective picture that draw the link to social identities and re-presents these information to those that are not in the user-testing
–A major part that was missing was the idea of digital identity–find a story to tell it, is it designers with alot of emotions?
–Another aspect is the humanistic value that is kind of lost, digital tools are sometimes abstracted too much. Hence, the part about individual is very removed, so you have to go beyond the mapping to see what representation fulfills this by understanding people and their own trajectory
–Go back to the initial on how do they bring digital and physical into the concepts, right now the prototype only uses individualism, but not collectivisim–can this be done through the portrayal of user-testing or is there a need to reframe the initial parts of the introduction and objective.
In sum, I thought the Roundtable was really helpfu! This Roundtable provided fresh outlooks into what my project currently is, what the issues are, and what it can be. From this session, I managed to gather various perceptions and interpretations of my visual outcomes from the lecturers. For instance, Gideon's view on the Voices as Personality prototype–where the way the letterform is being distorted can also become a literal translation for one's personality–which was an area I haven't thought about. This made me rethink the methods in which I could improve my way of representation, be more careful in my visual mappings, consider the implications of in accurate represetation and refine the information presented to communicate the concept in a more direct manner. In addition I also agree with the lecturers on the visual treatment of the Identity Map and the lack of humananistic value across the prototypes. This is something I'd really like to focus on moving forward as I think the humanistic value is crucial to the meaning-making of the identity tools.
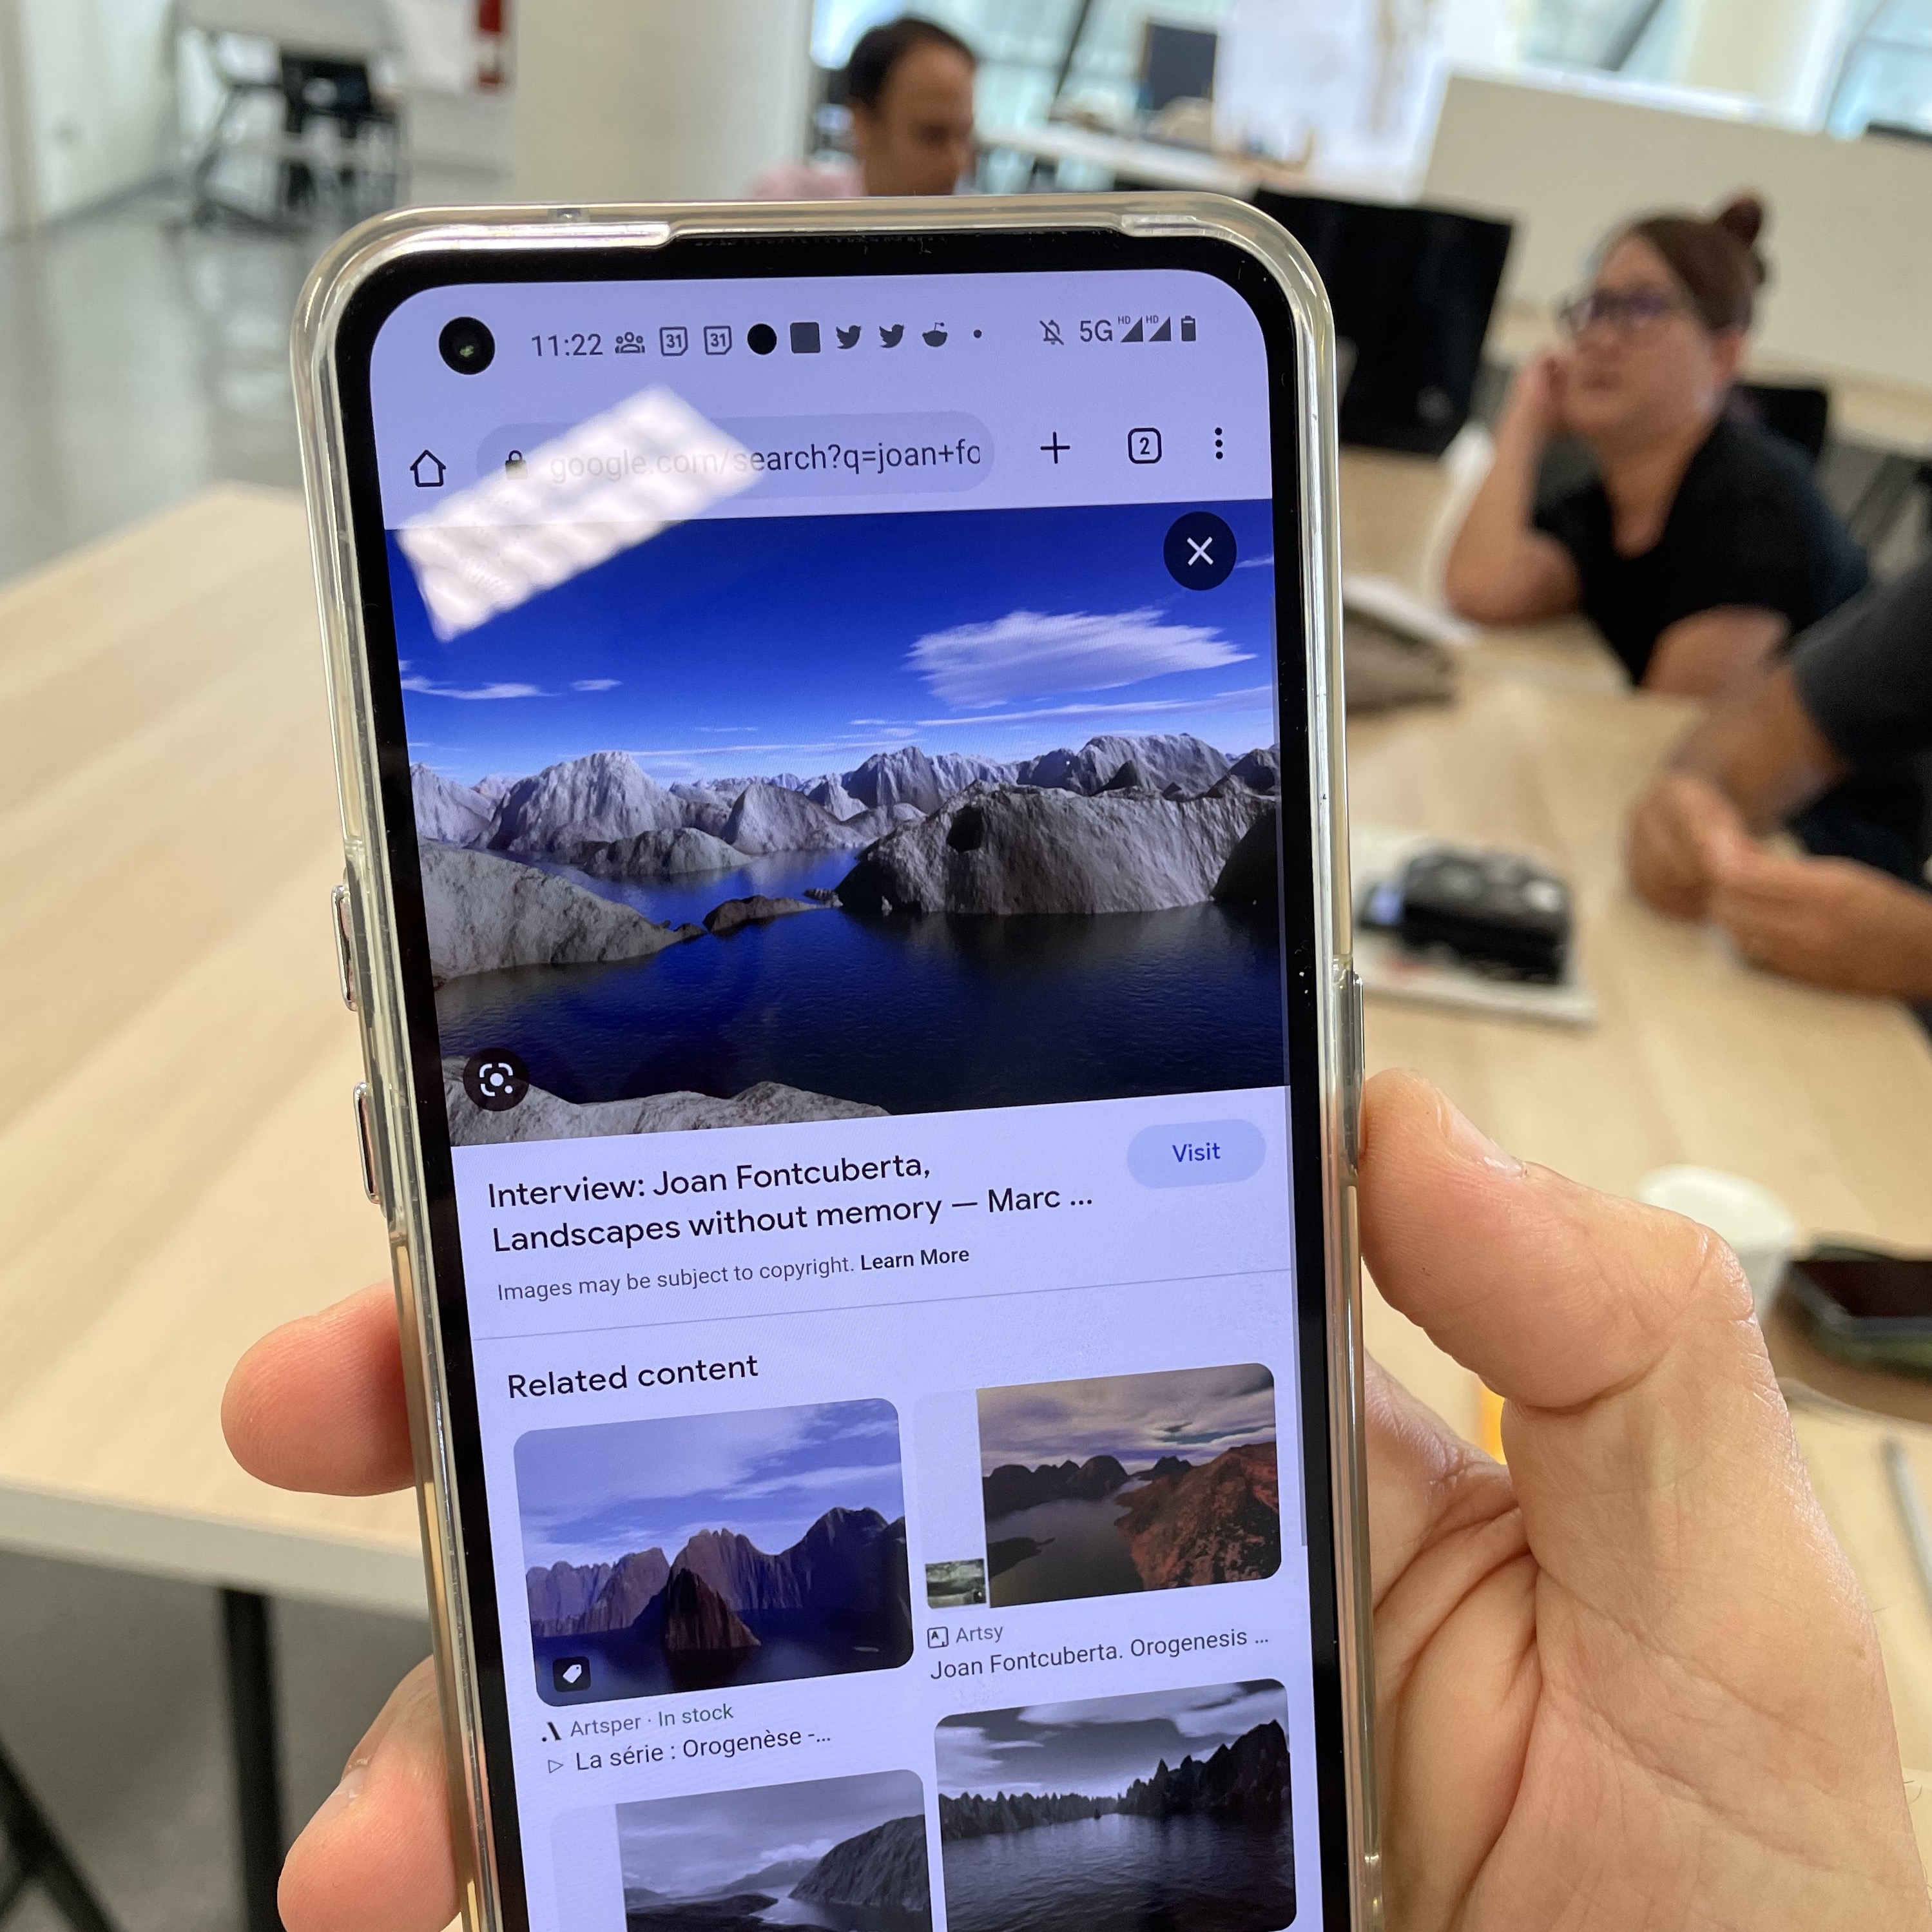
Isidro also mentioned works by Joan fontcuberta called Generative Landscapes, where he uses computation as technique to generate natural landscapes. I was surprised by the level of realism shown in his works. This was something worth exploring if I were to retain the concept of using a 'map' in the prototype.
Roundtable Sharing:
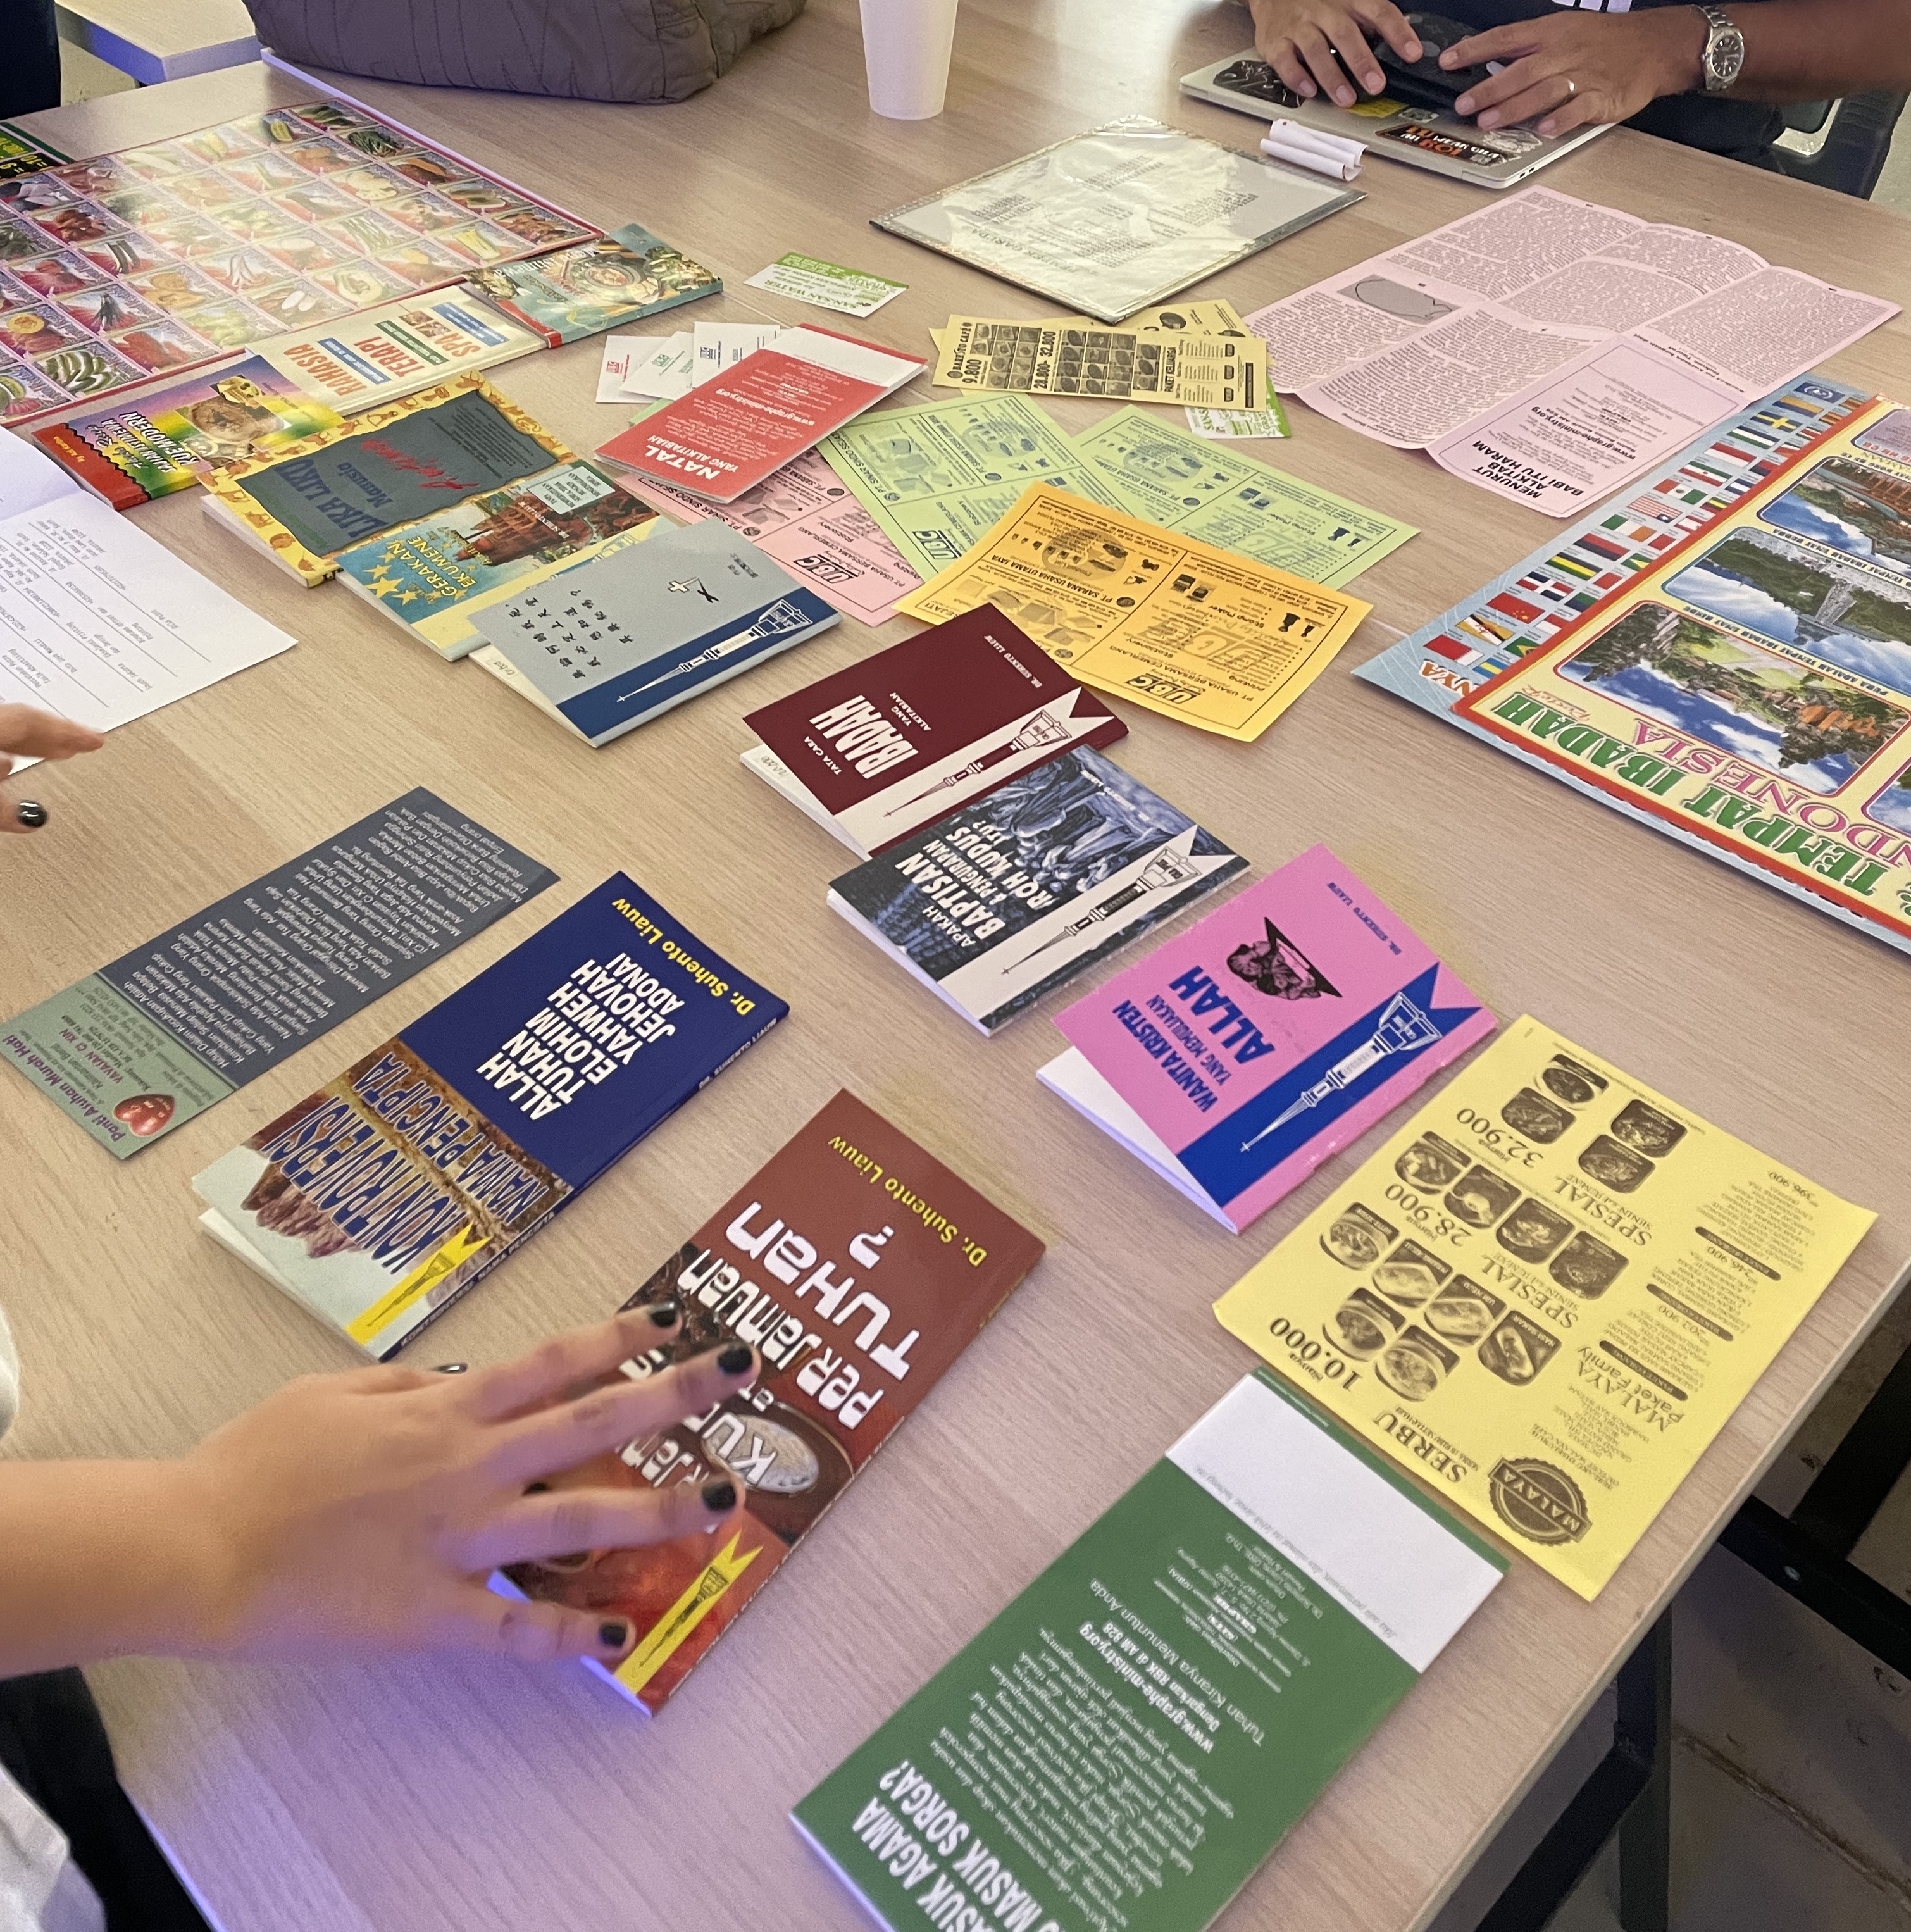
From the Roundtable session, I found Anna's project particularly interesting and inspiring. The extensive amount of visual research she has done shows how such material can be used as a means to pick out similar patterns and styles for creating a visual language. I also thoroughly enjoyed flipping through the spread of visual material that she has collected from Batam.
AFFECTIVE DATA OBJECT–INTERFACE DEVELOPPMENT
This week I revisited my Affective Data Objects prototype interface, specifically the generativity of visuals within the interface. This was an area that required reprogramming as the data objects are to generated based on keystroke events. Thus, when keystroke scan rate reaches a certain value range, together with the detection of unique keys being pressed, this will enable the data object to be generated accordingly. I plan to use the shortest key time through the keypress event listener to determine the calmness or chaotic factor of the data object. The unique keys pressed will be used to control the positiviy or negativity of the data object.
Here are the references I used to write the code that displays dfferent gif files of the 3D animated obejcts in the form of images to simulate the look of dat aobjects being generated.
Alongside the above I also searched up how to link the td values to change the image file being displayed. To do so, I also referenced how to gather the td values through the use of the id names. This is because the keystroke data are stored with tables. Thus unlike the use of input values as its source of event listener, I'm using the event listener on the td value instead.
Above is a work-in-progress of my interface development where I managed to get the images to chnage when a certain keystroke rate range is being achieved. The kyestroke rate can be seen on the right in the console.
3D PRINTING 2ND SESSION


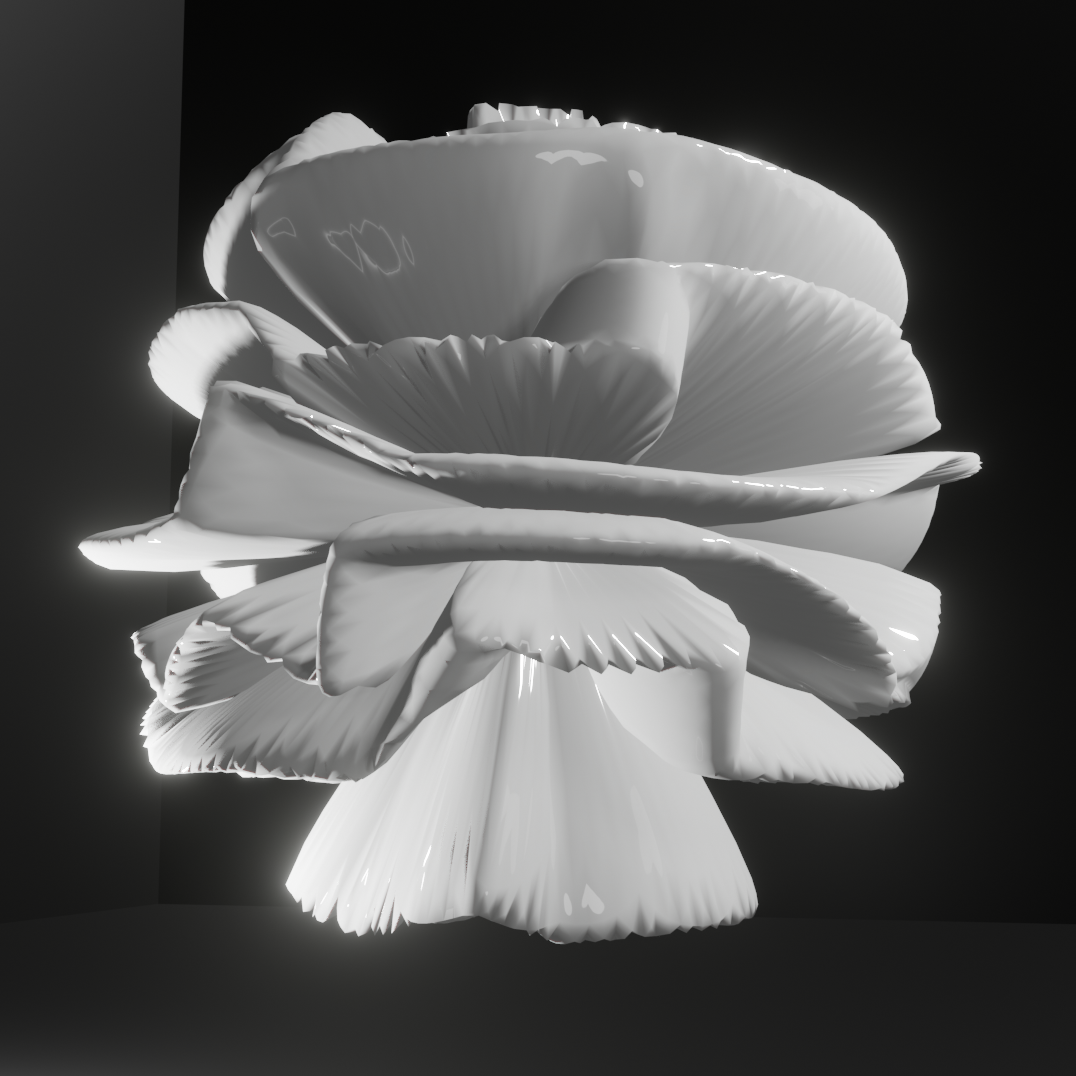

This week was the second session for 3D printing which I've booked to produce the new 3D data objects that were designed in week 9. In particular, I planned to print designs #12–#15 within the 3hrs session. Upon arriving, the first data object I decided to start with was #12. However, 5mins into printing I noticed that there were some issues right from the start, so I quickly cancelled the print and asked the instructor for advice.
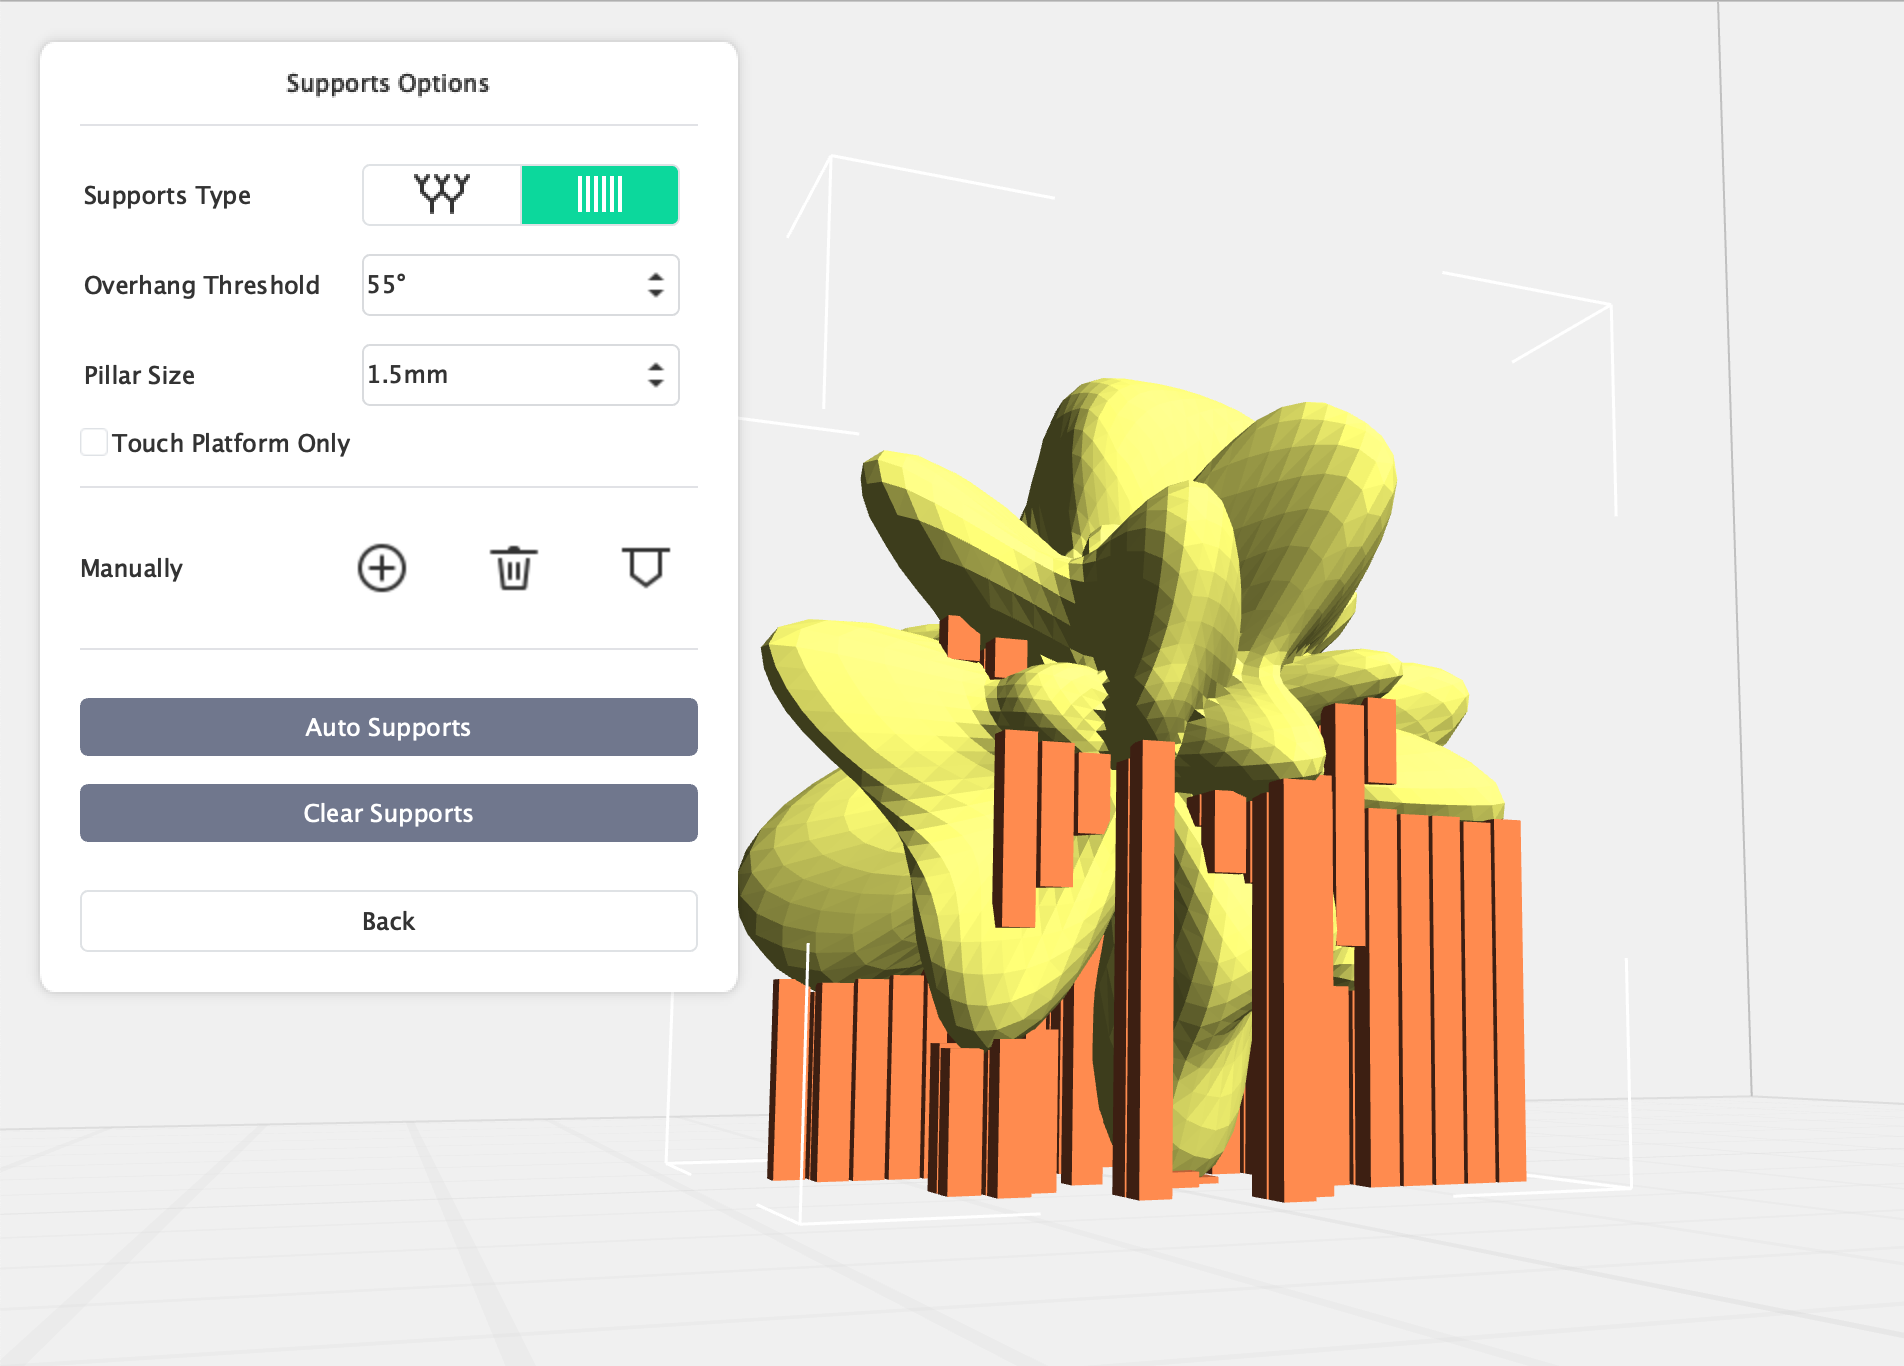
Looking at my data object designs, the instructor suggested to add supports to the structure as well since the usual brim setting like in the last session did not provide enough surface area for the extruder to print on. But I was quite hesitant to try this method as the support (even after trimming off the data object when its printed) will change the exterior of the data object which greatly affects the visual and texture of the object. In addition, the support pierces through the data object itself in spaces that have gaps, which makes it extra harder to ensure a clean and proper trim with the cutters in those areas.
Thus, I did not try this method, instead I did continue to try the brim method with other data object designs (but unfortunately this didn't work either). Below is a series of failed attempts.
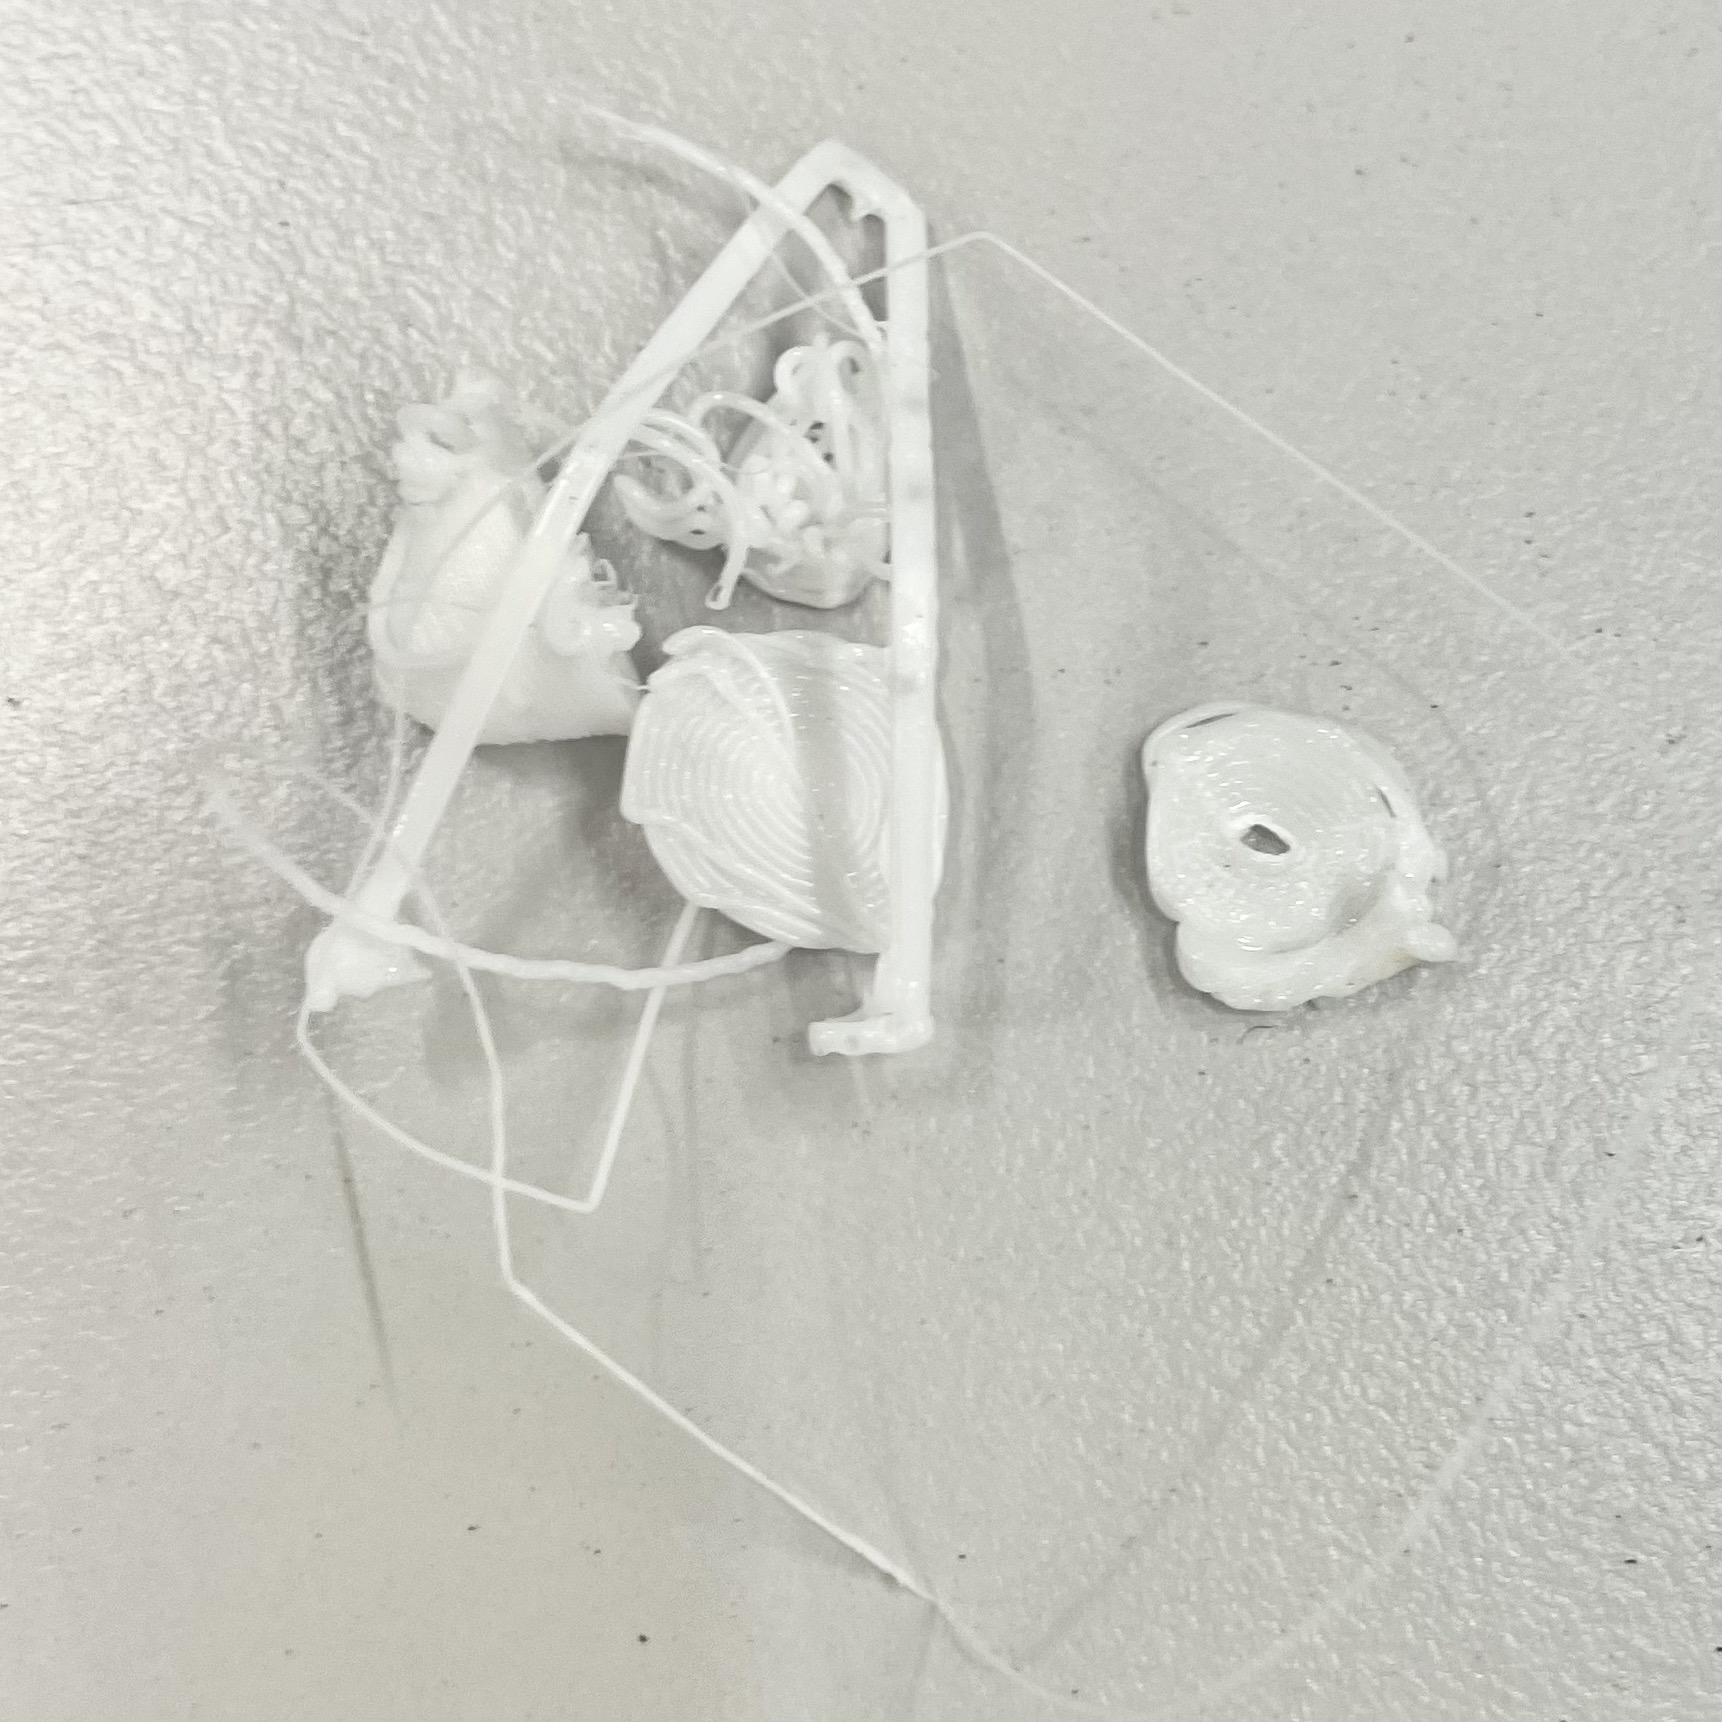
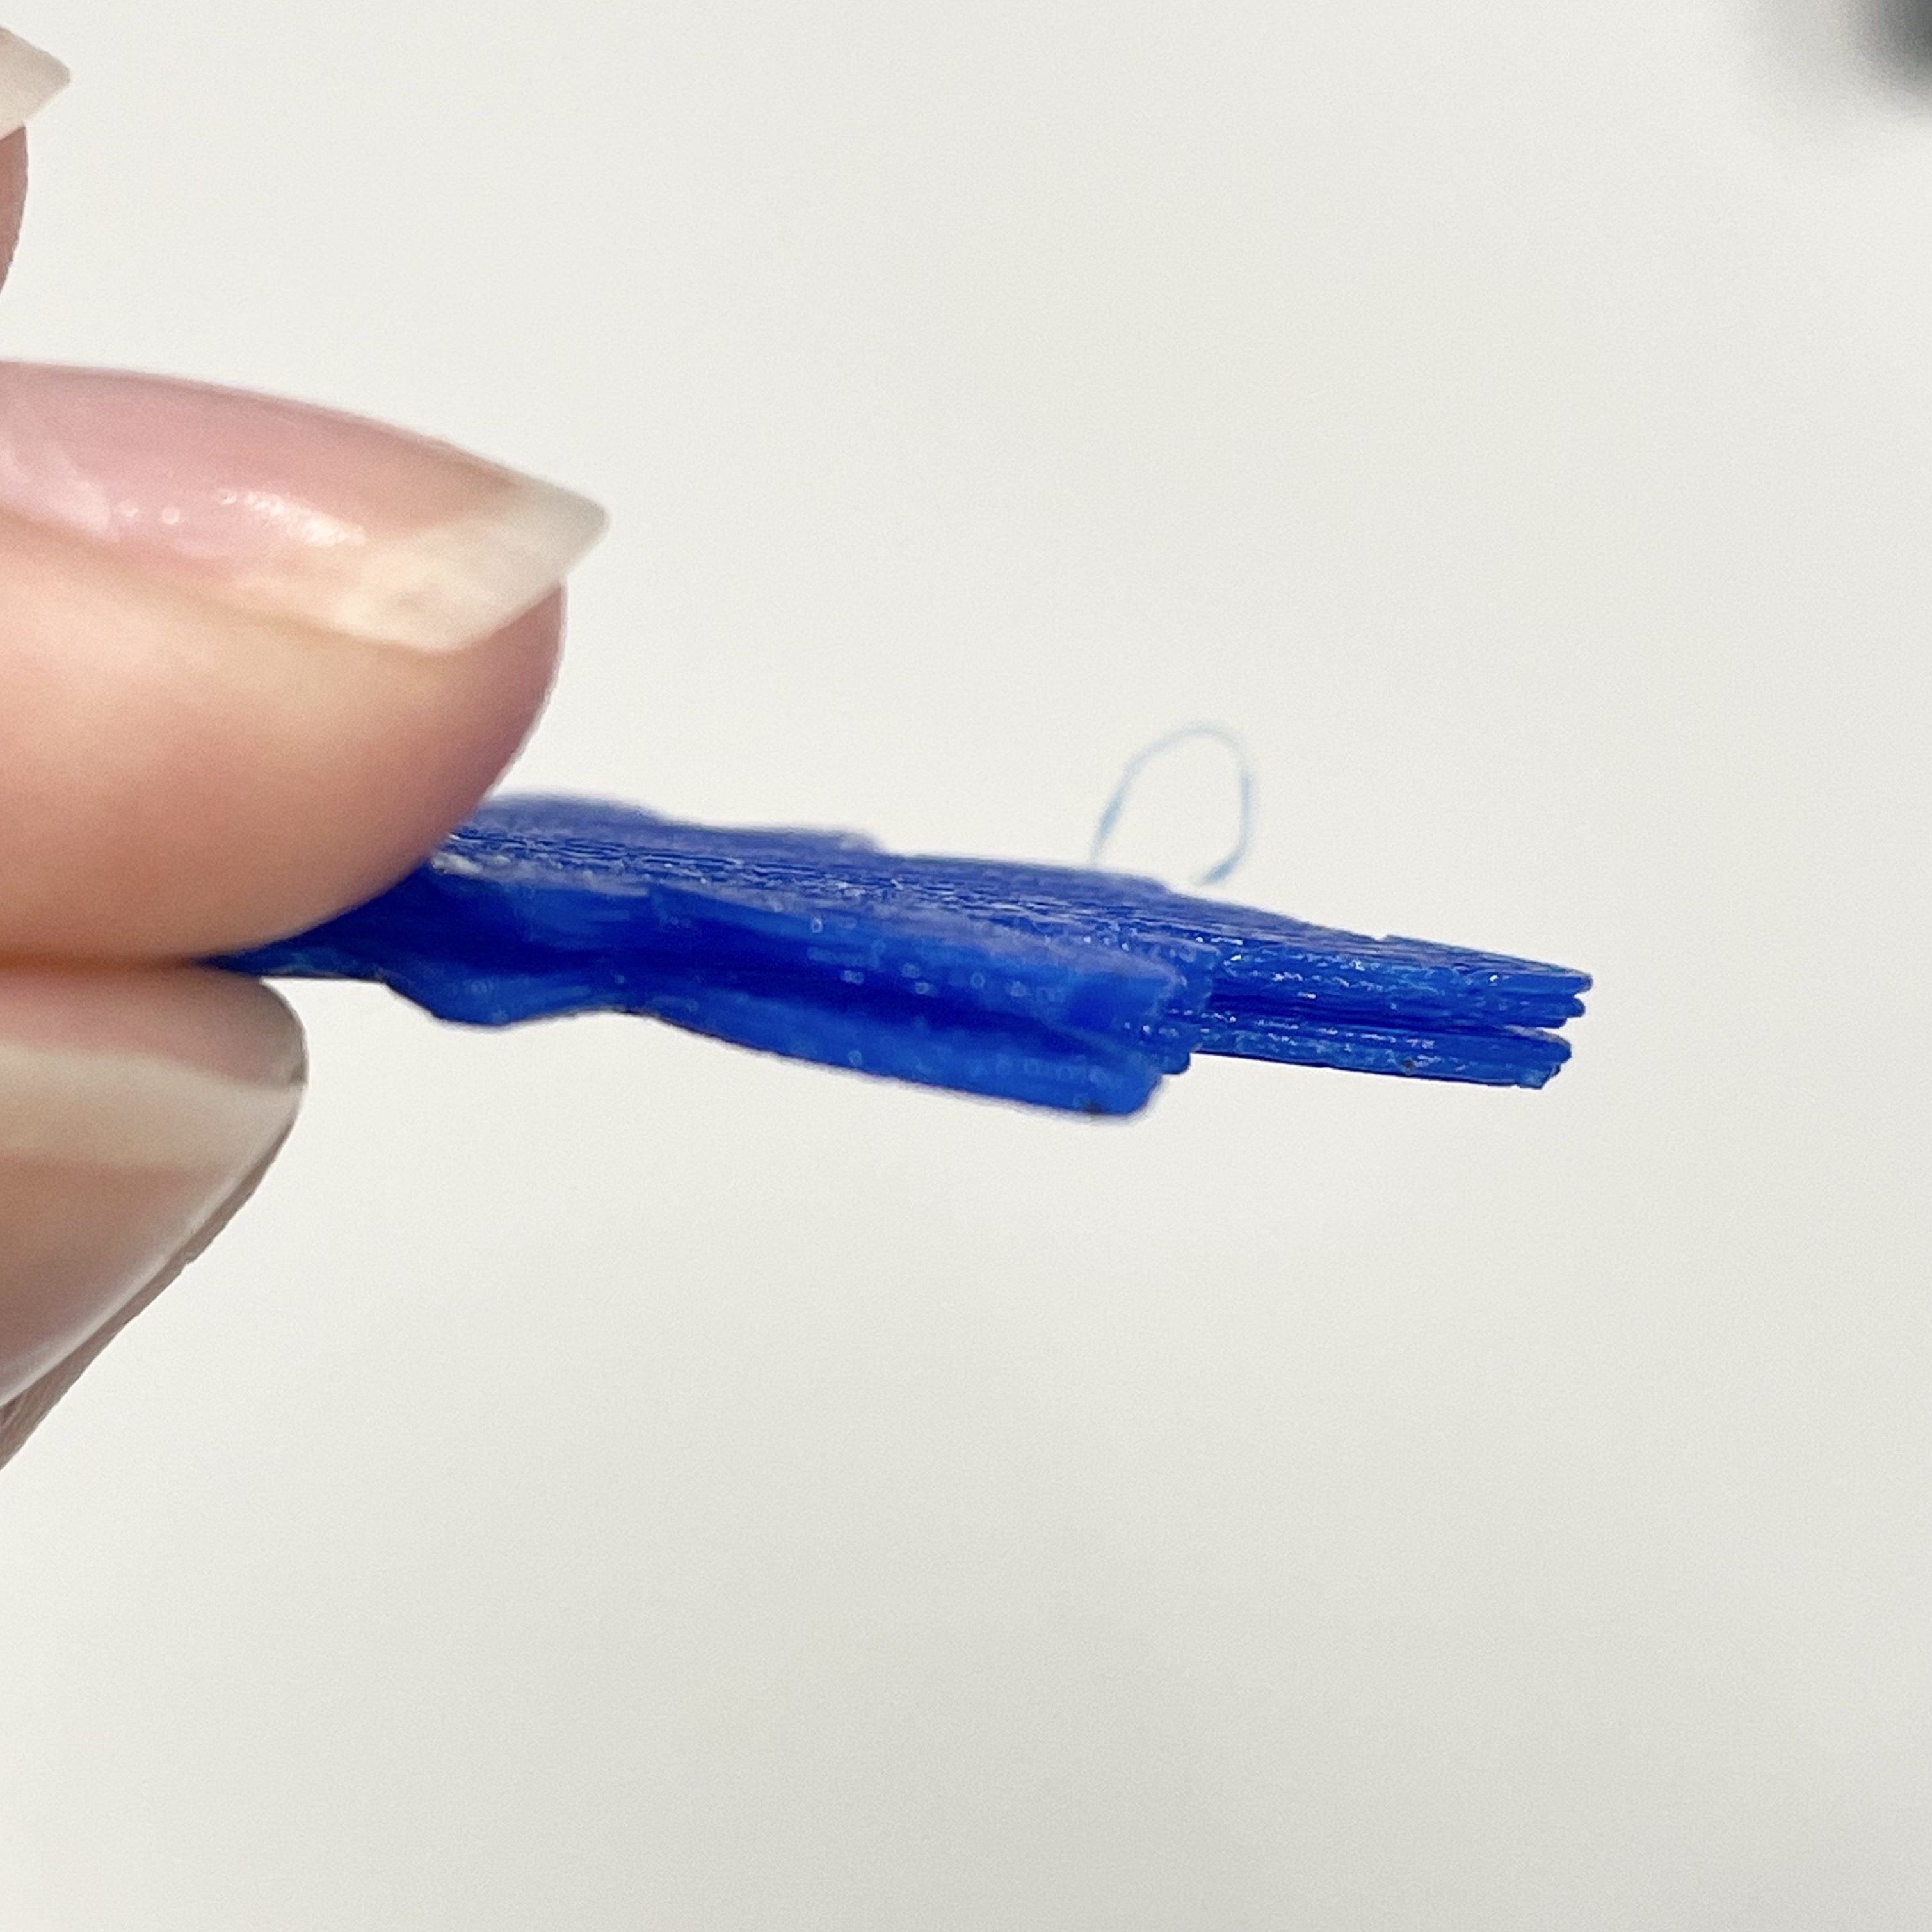
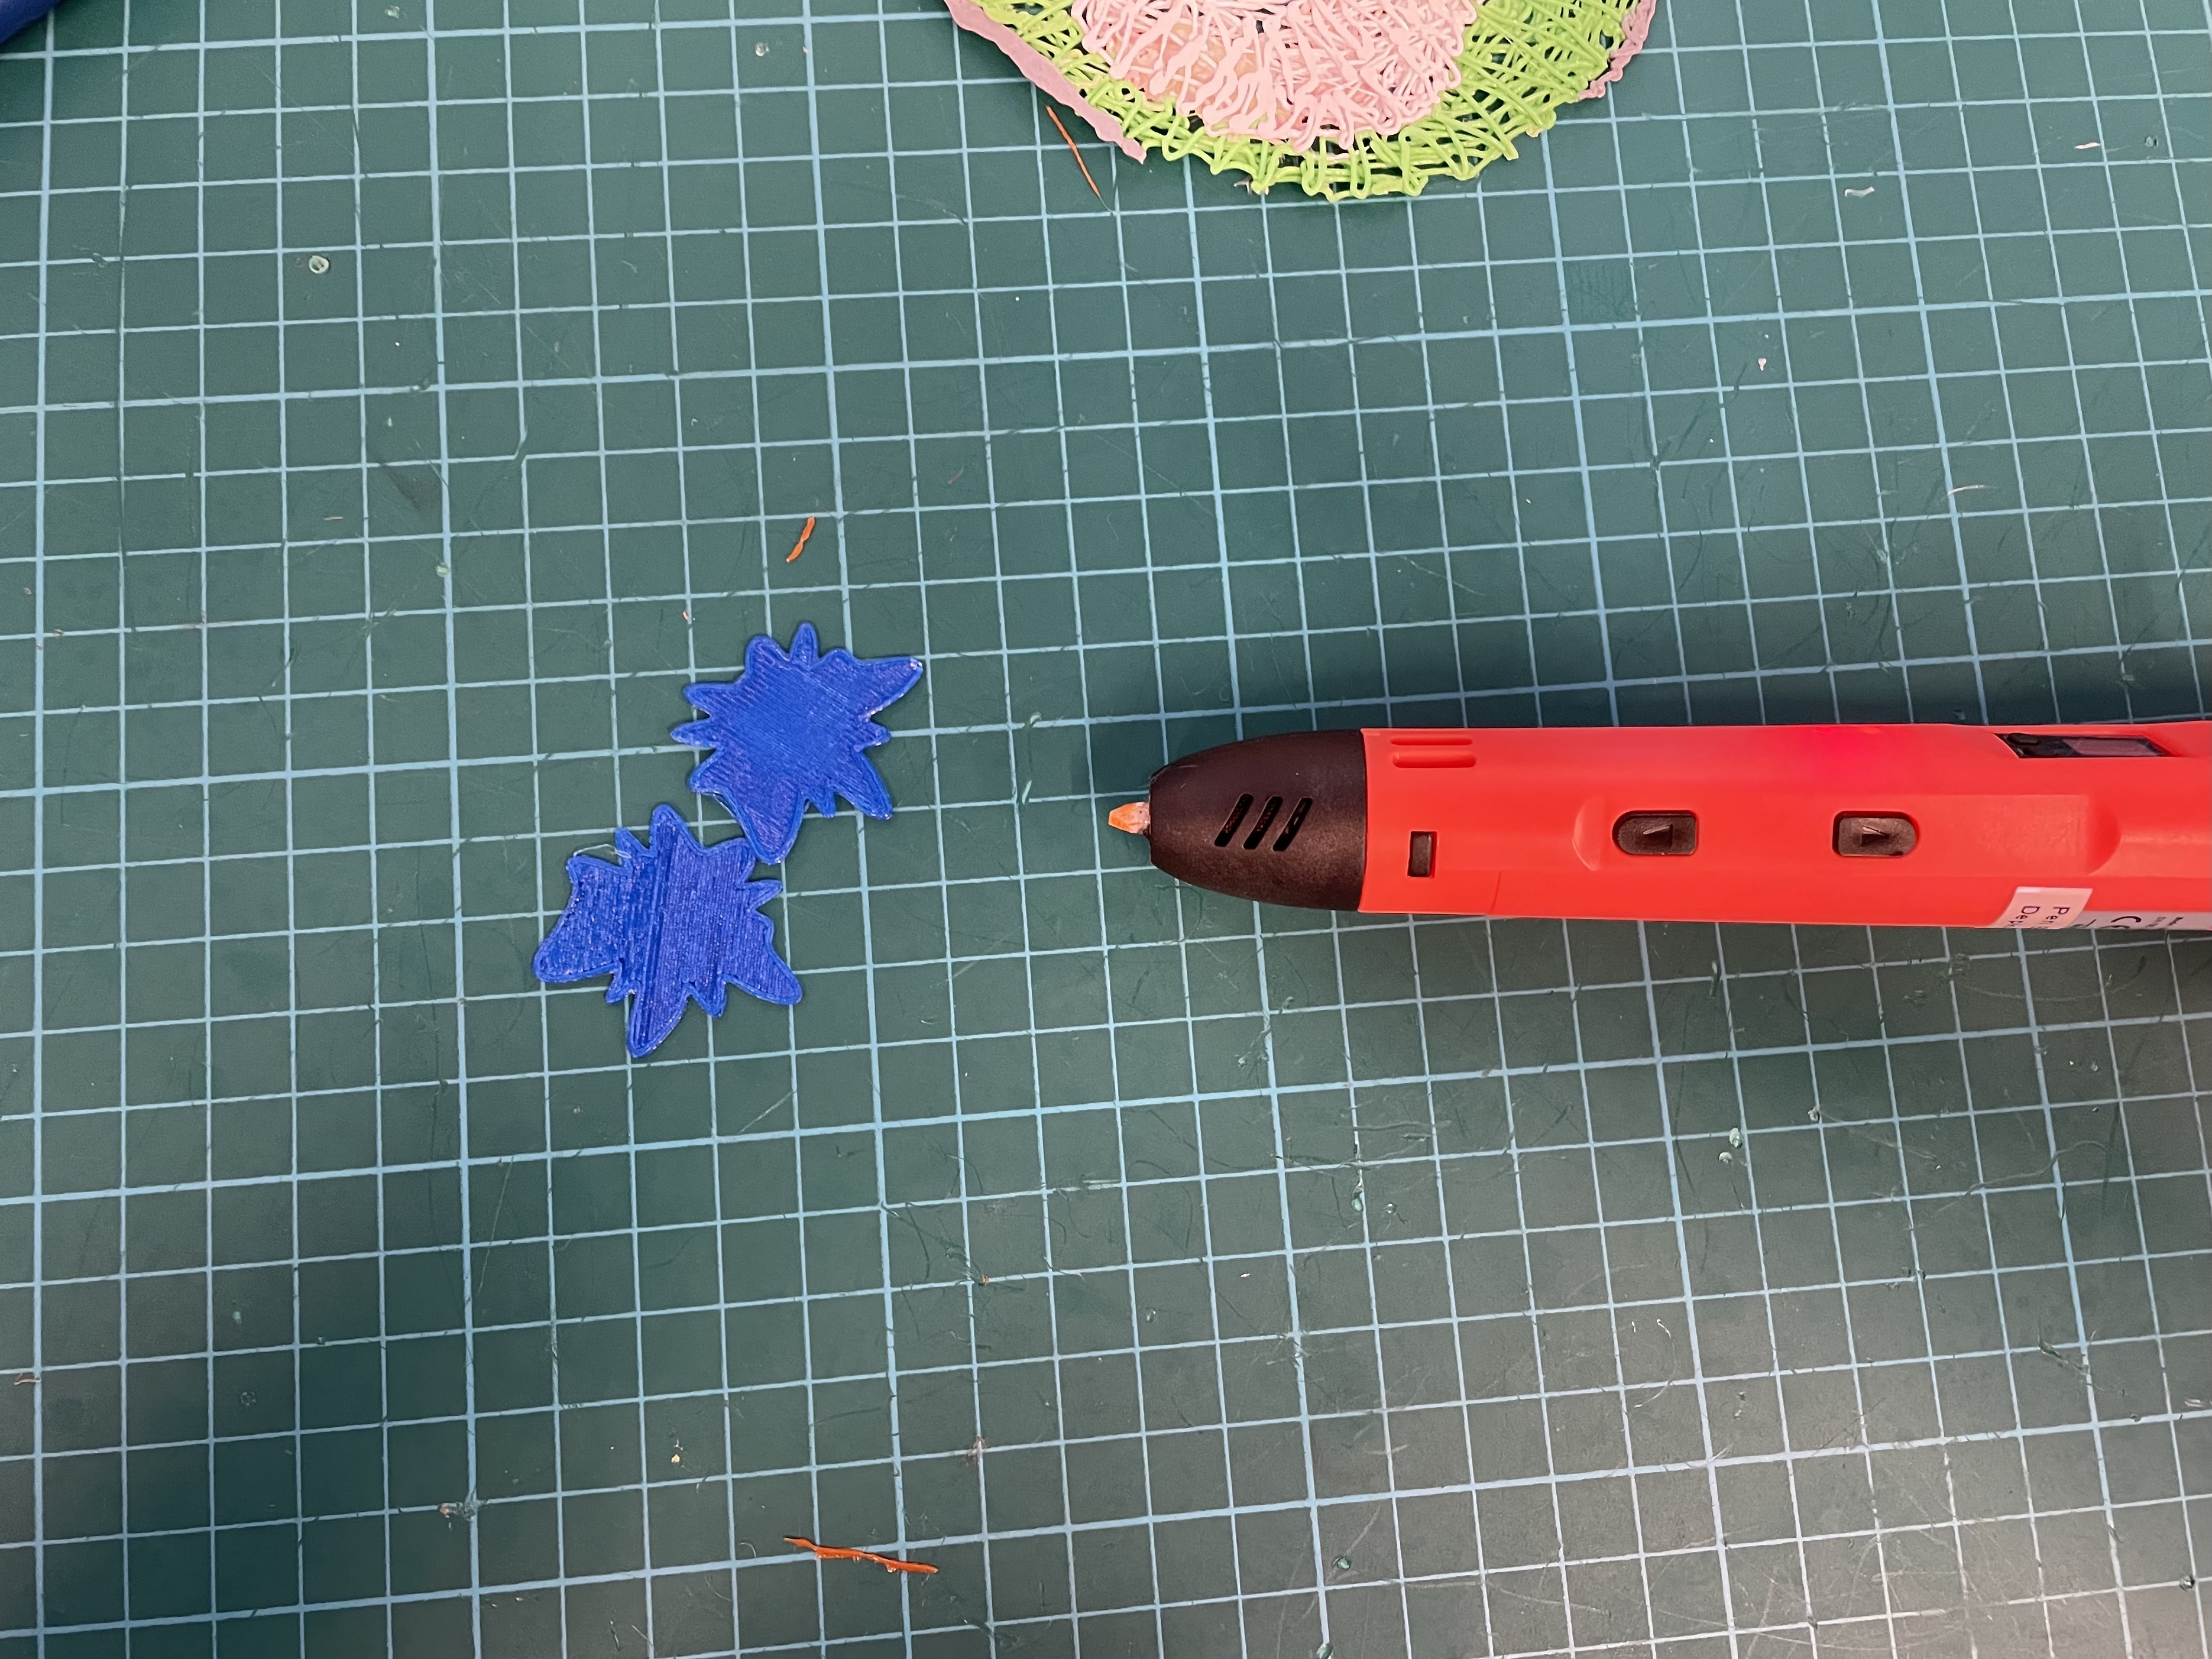
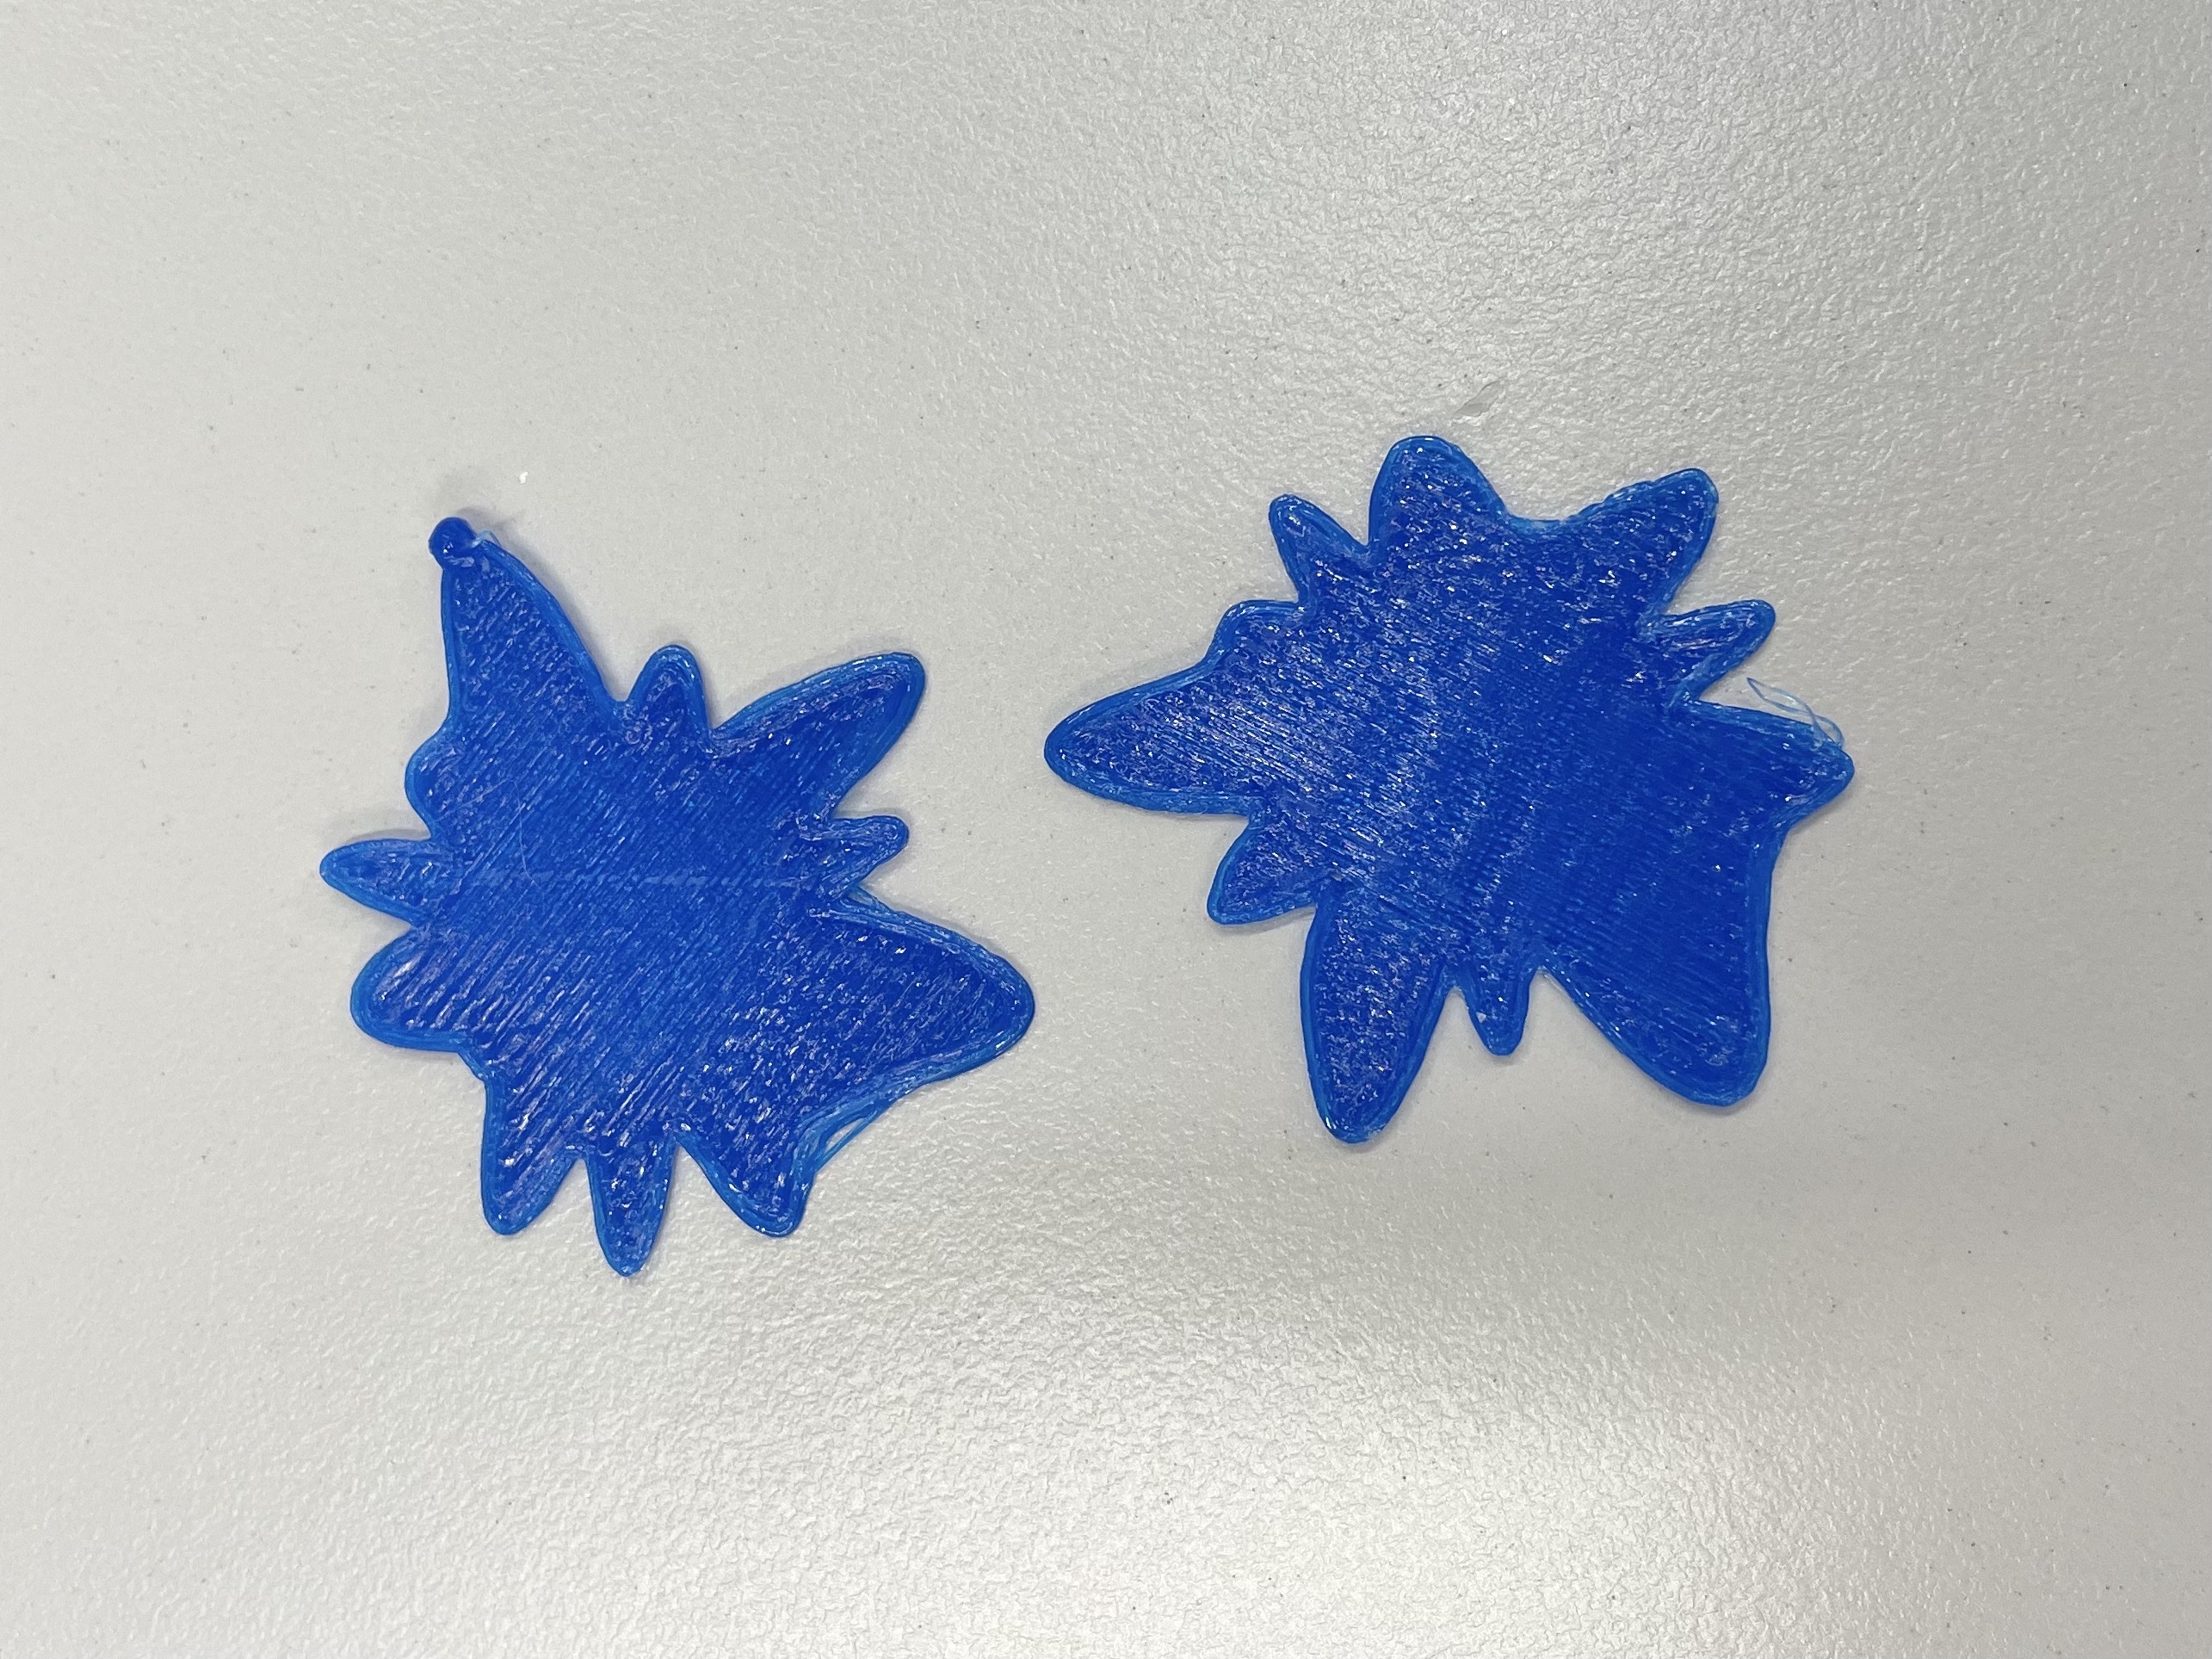
The last suggestion was to slice the data object into half and print them separately so there is a larger surface area. After it's printed, I'll have to glue them together. This wasn't an ideal plan but since all the other methods didn't work out, I decided to give it a try. Using blue filament for test prints, I printed out a thin layer of the design to ensure the mat and extruder were working fine for this method. To stick them together, I also thought of using the 3D pen that was available at the MakeIt Space as a way to use heated filament to blend the seams. However, it didn't work as the filament cools down way too fast for me to stick the two halfs together.
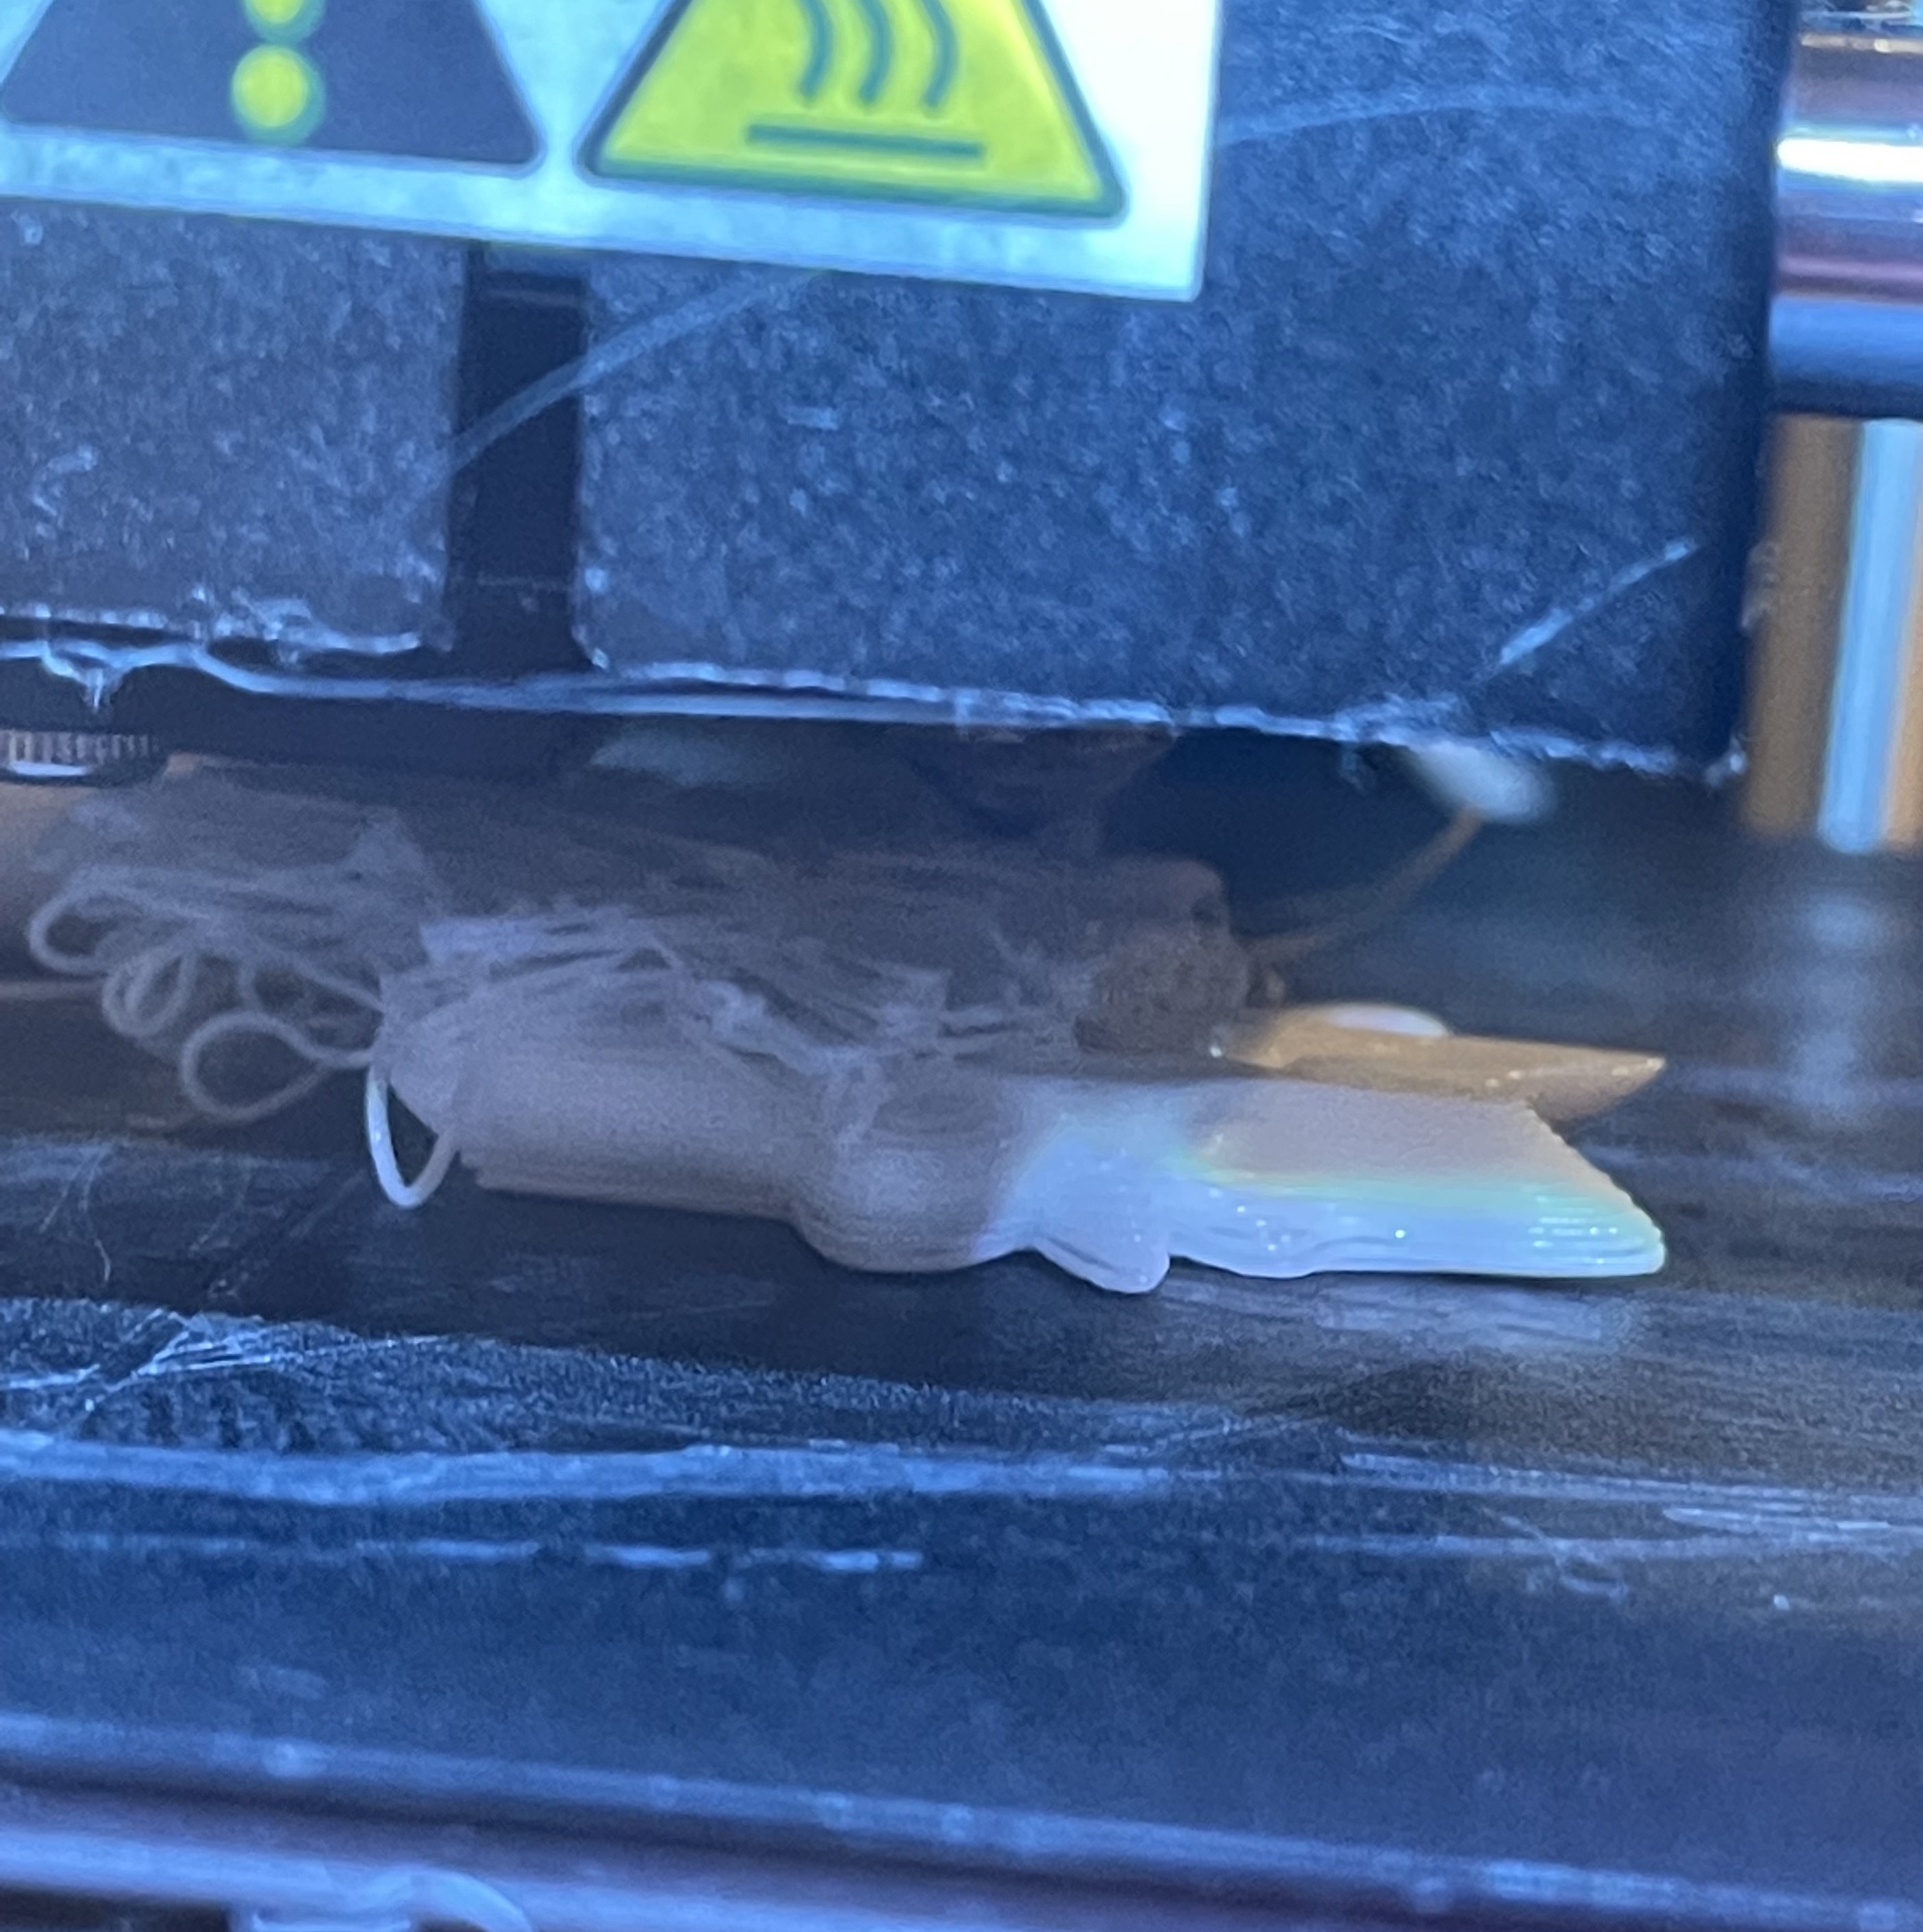
While testing the sticking techniques, the printing cropped up again as the filament slid off the mat which destroyed the halfway done extruded object. I thought of using a different printing mat as this can be a reason why the filament keeps sliding off the matt resulting in the printing errors, to which the instructor adviced to position the designs along the edges of the file so that the object is printed at the edges of the mat where its less worn off as compared to the center.
At least one half of the data object came out well, so I decided to reprint the other half that got messed up, this time with another set of design cut into half.
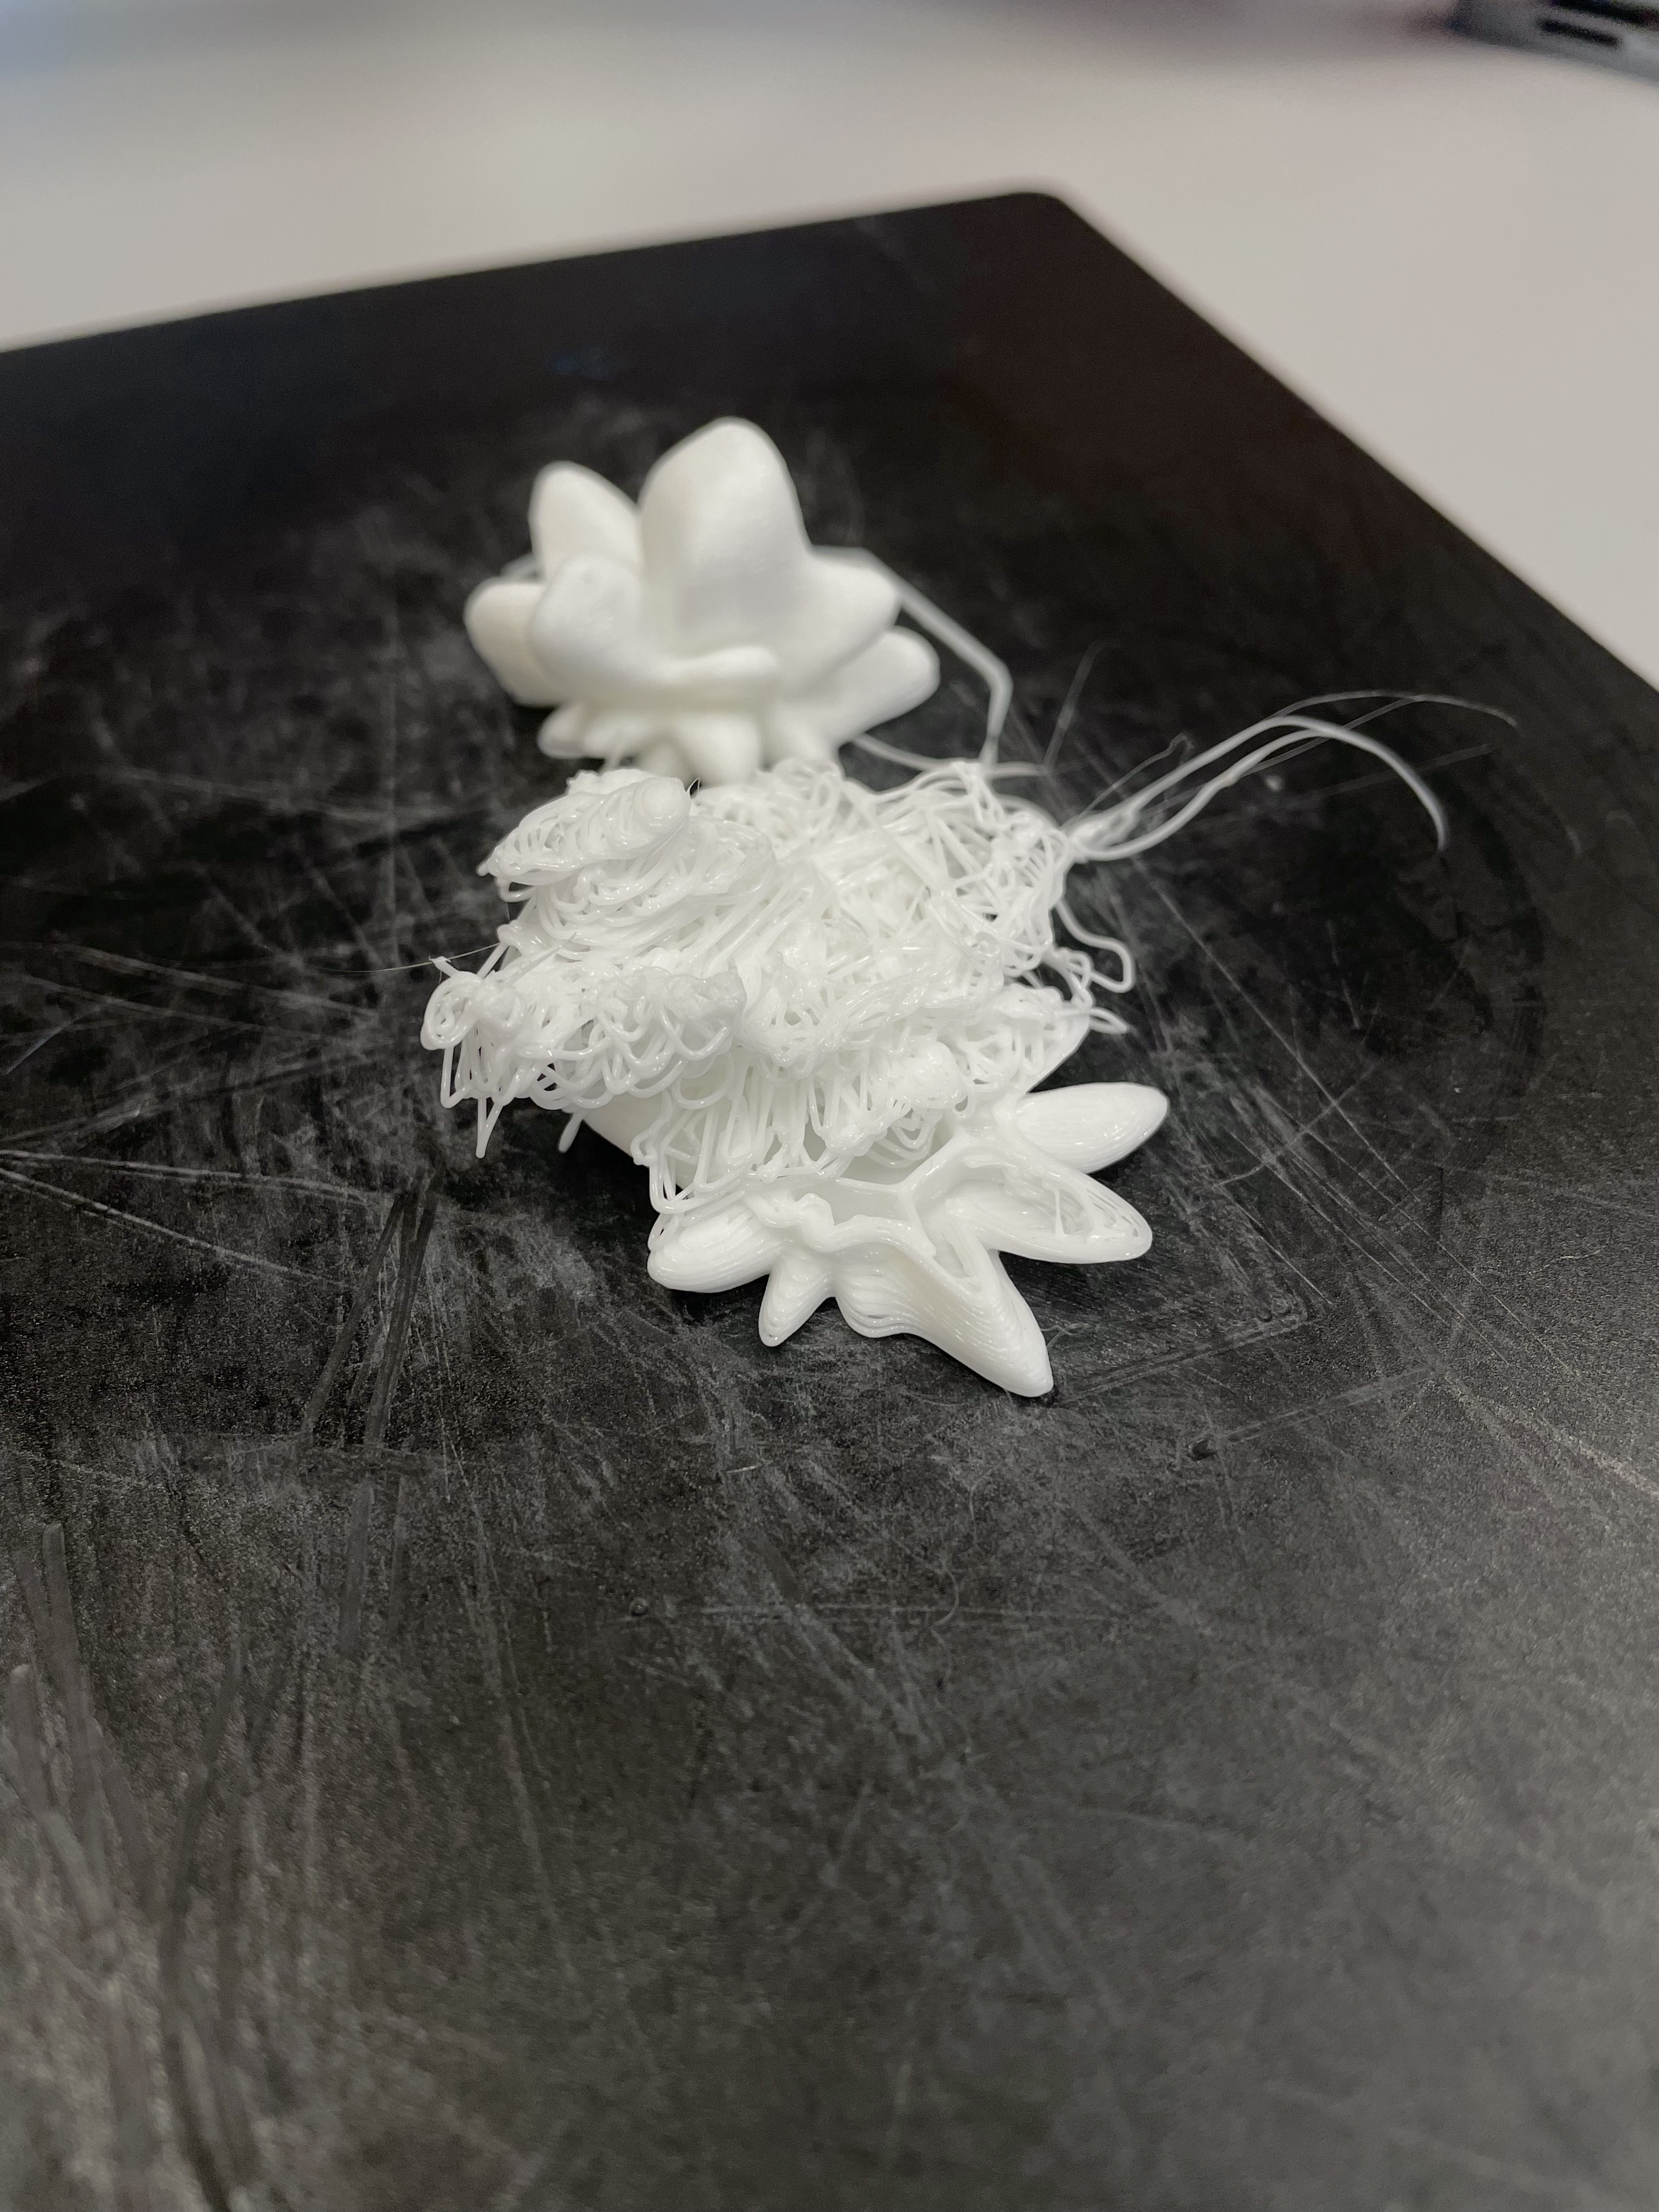
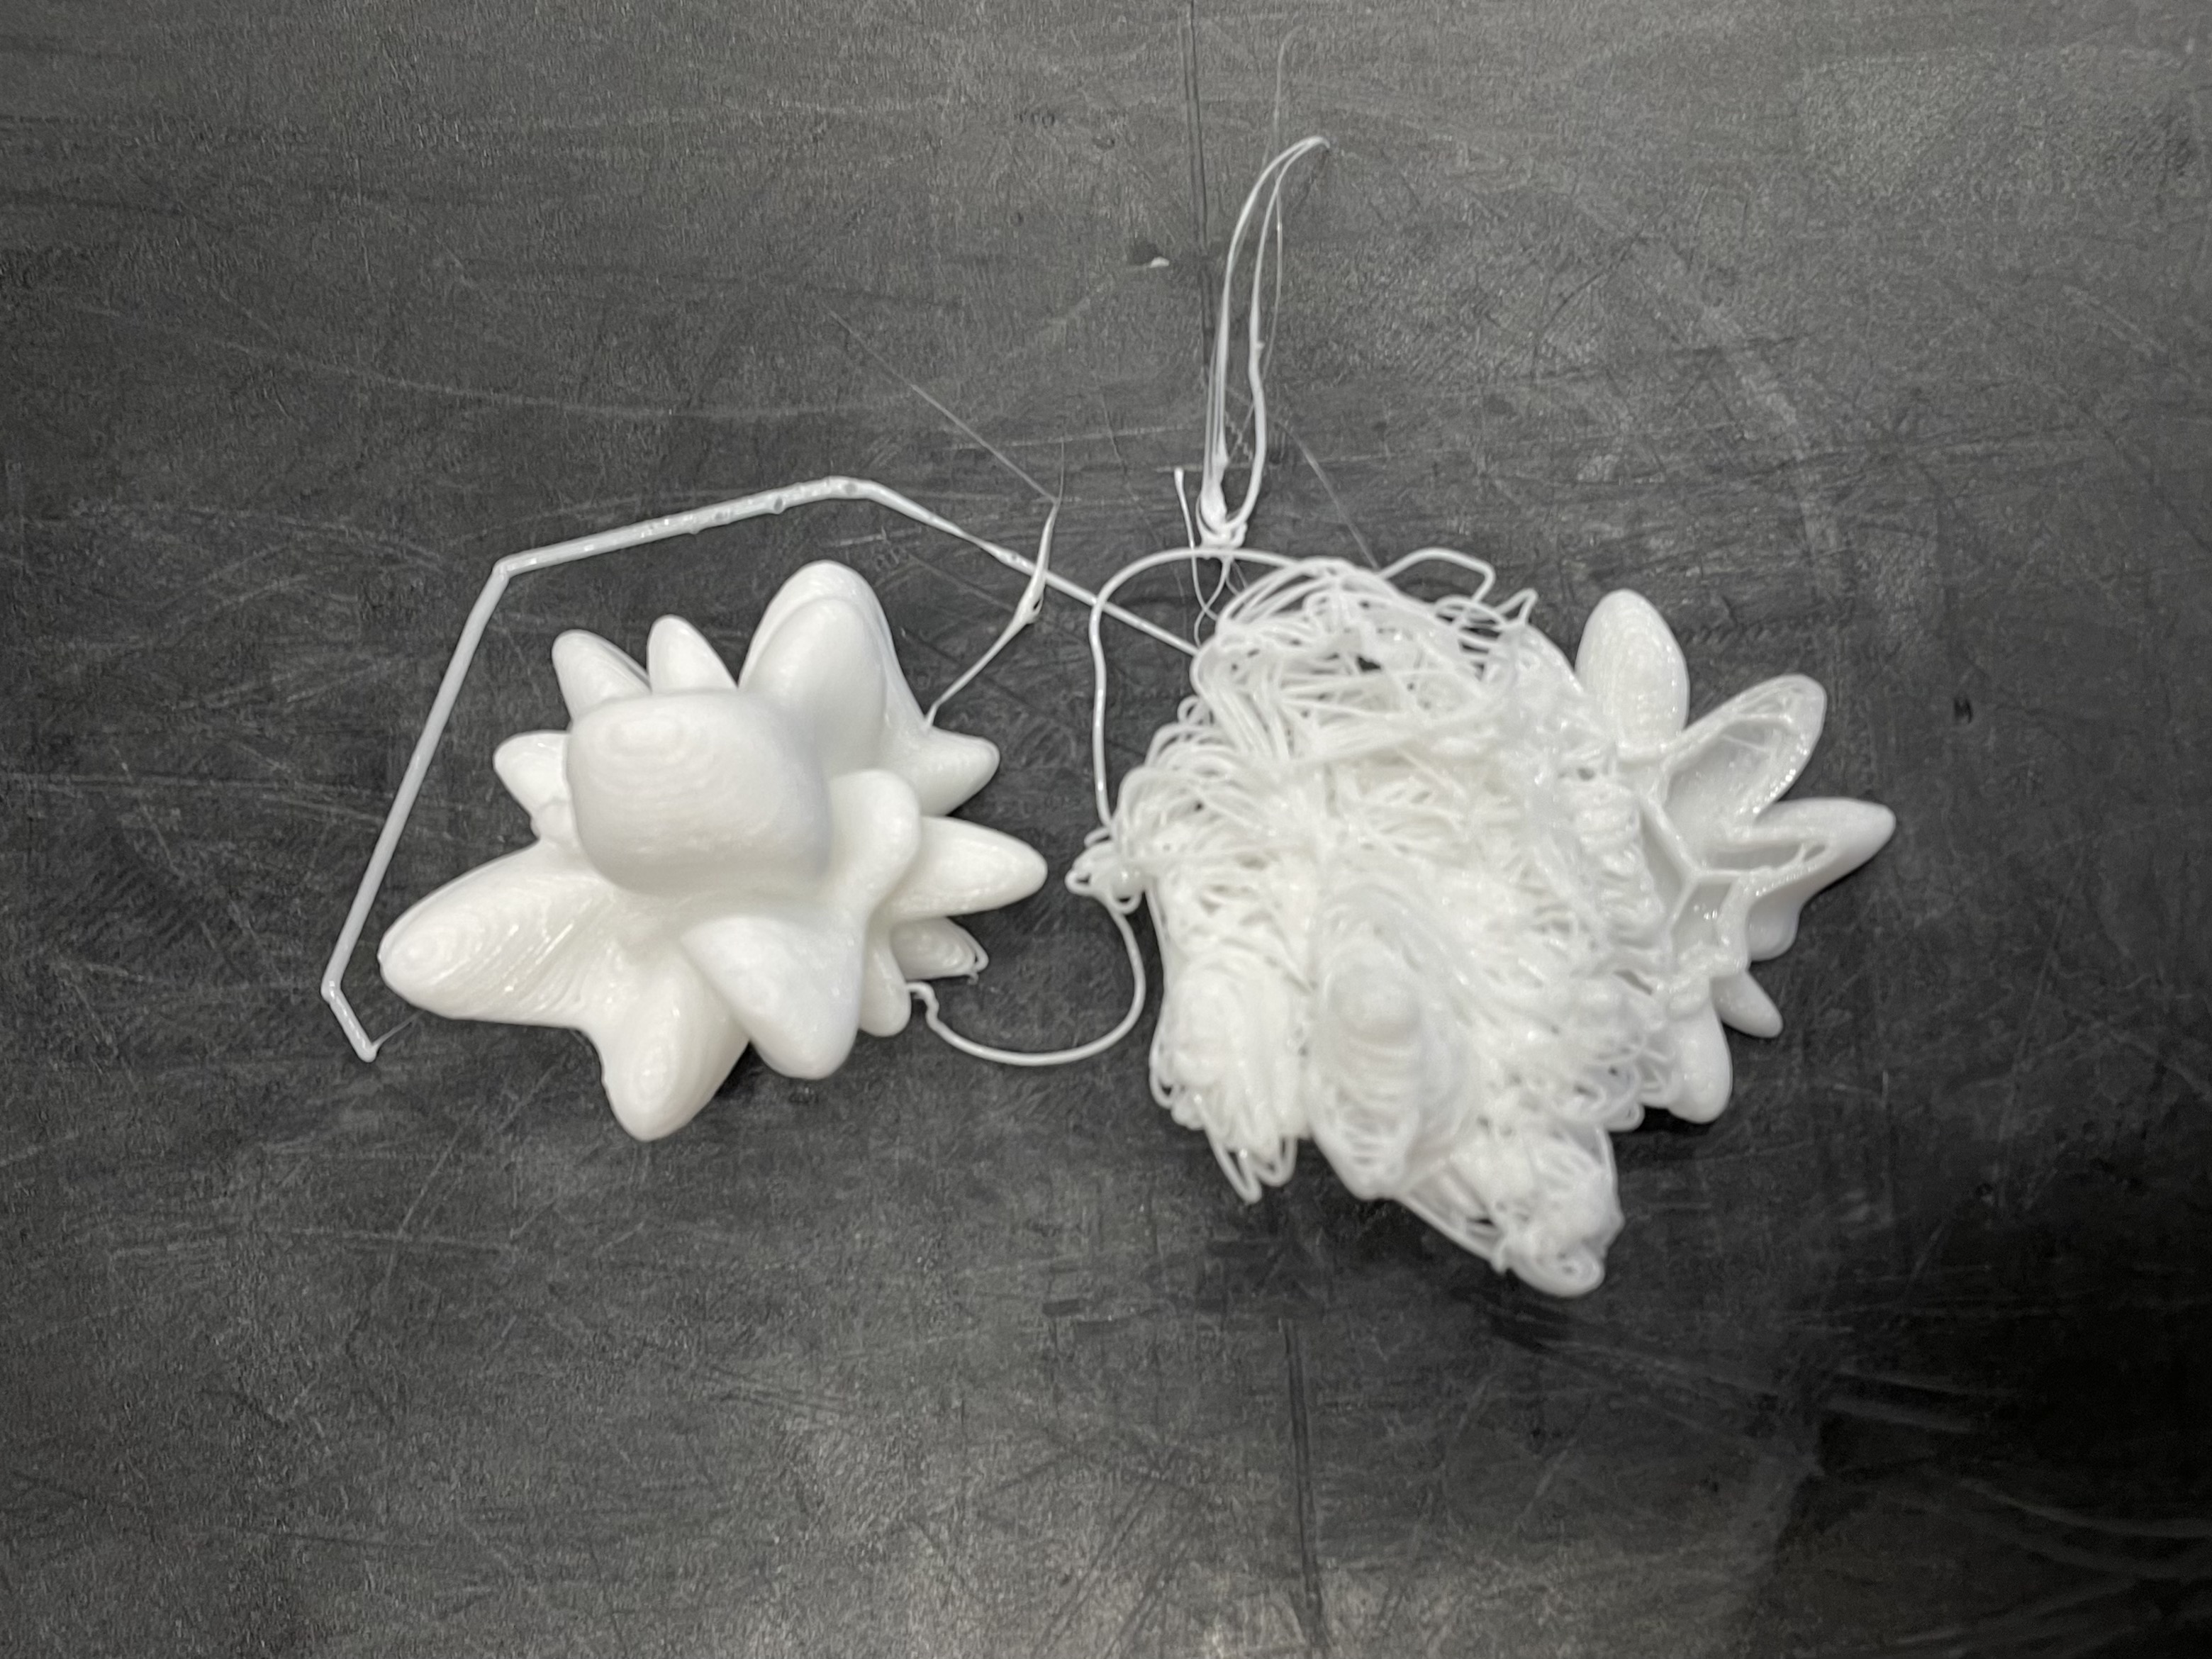
This time round, I placed the designs along the edges, but the same issue still happened and I had to pause the print again as the data object #13 was messed up, while the reprint version of #12 was okay.
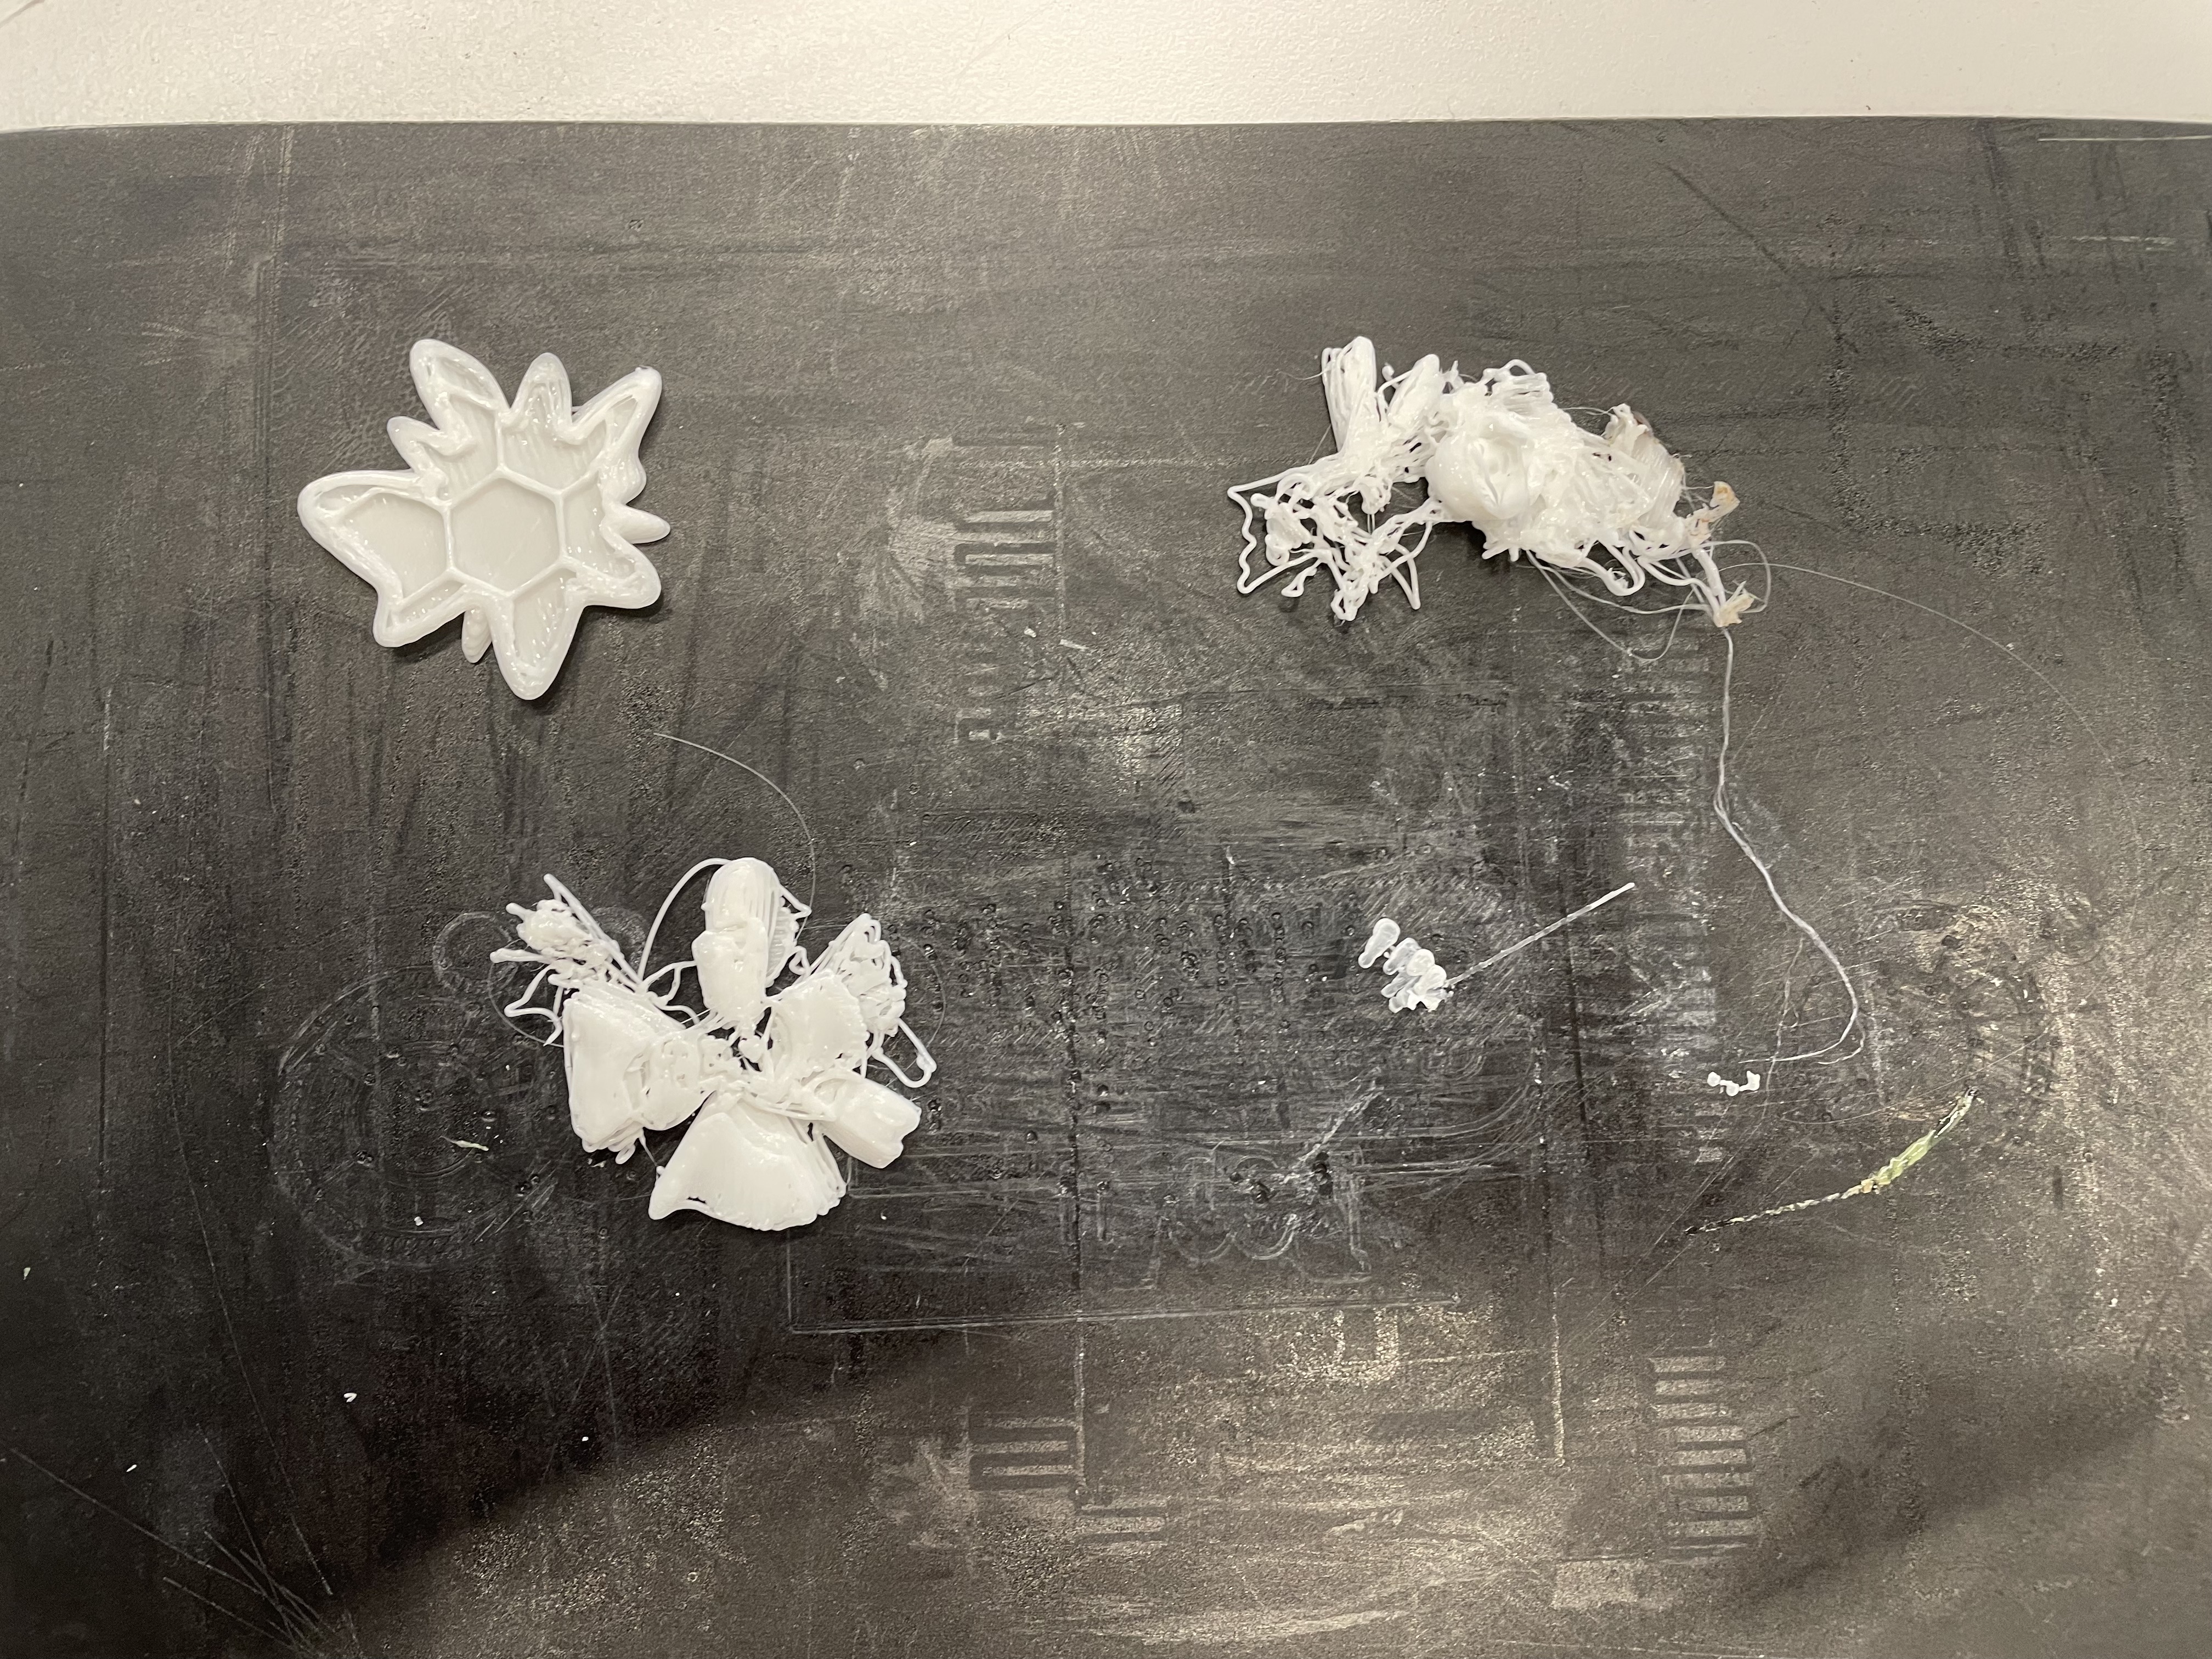
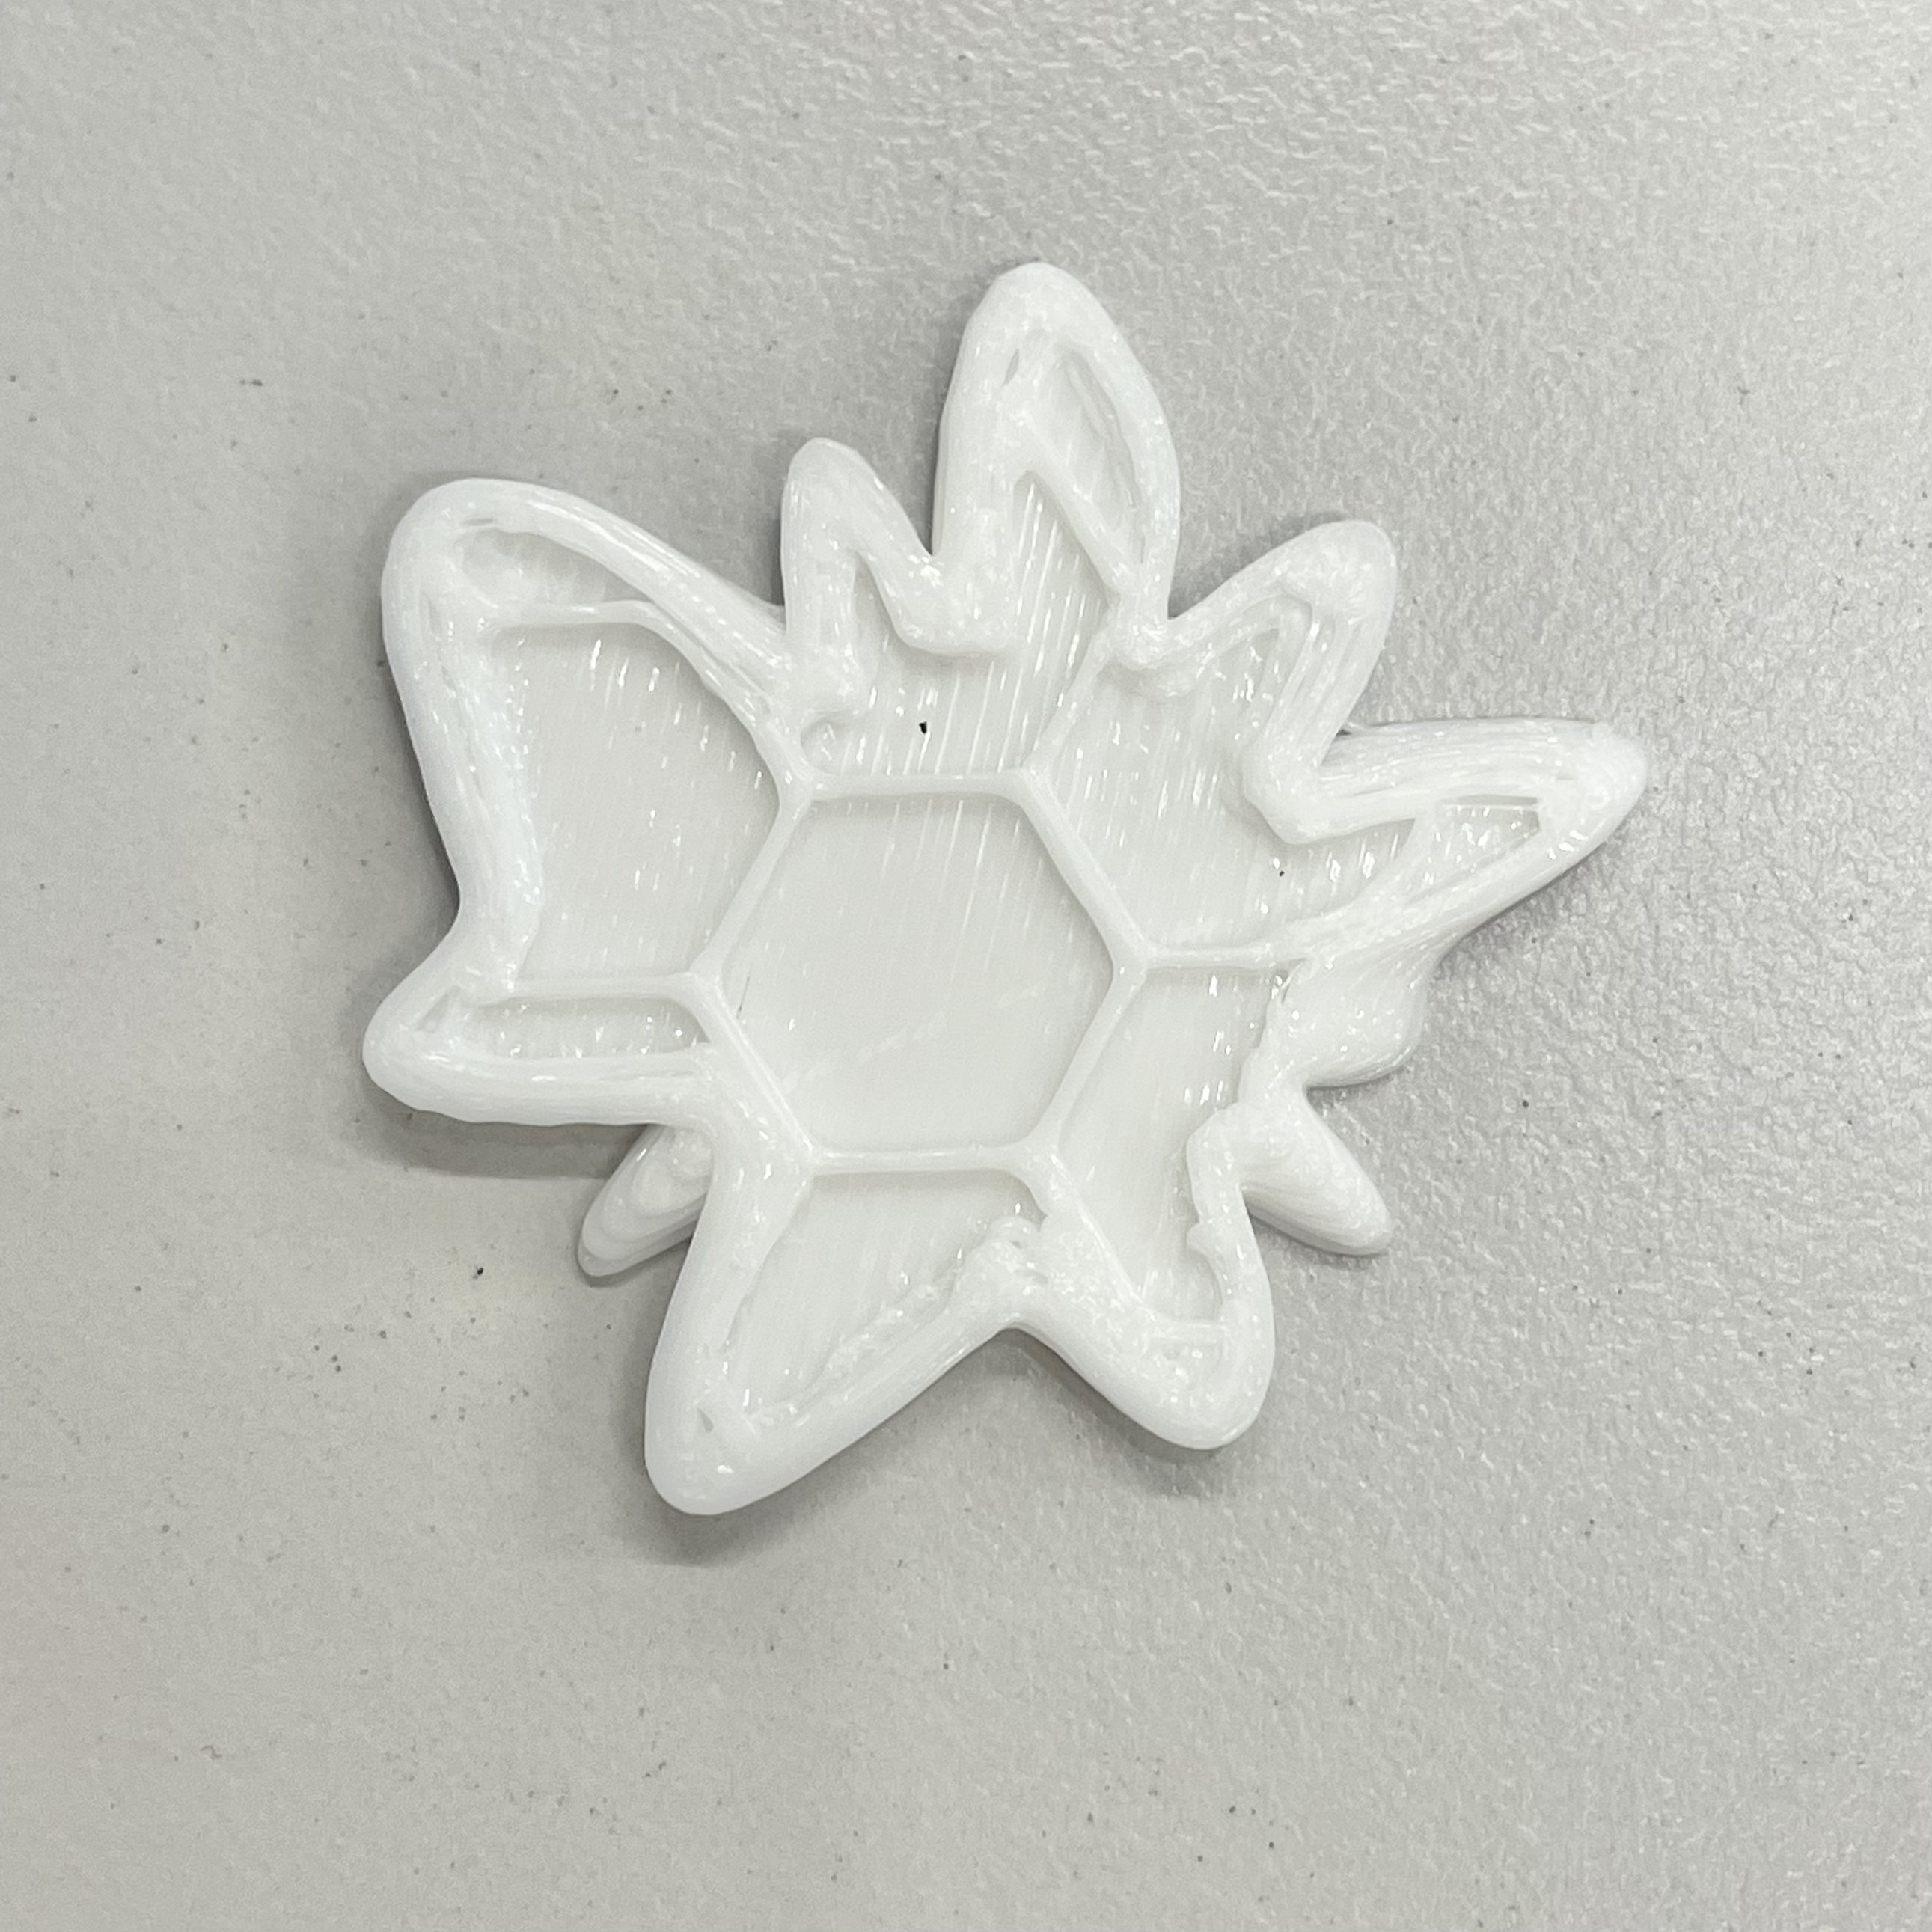
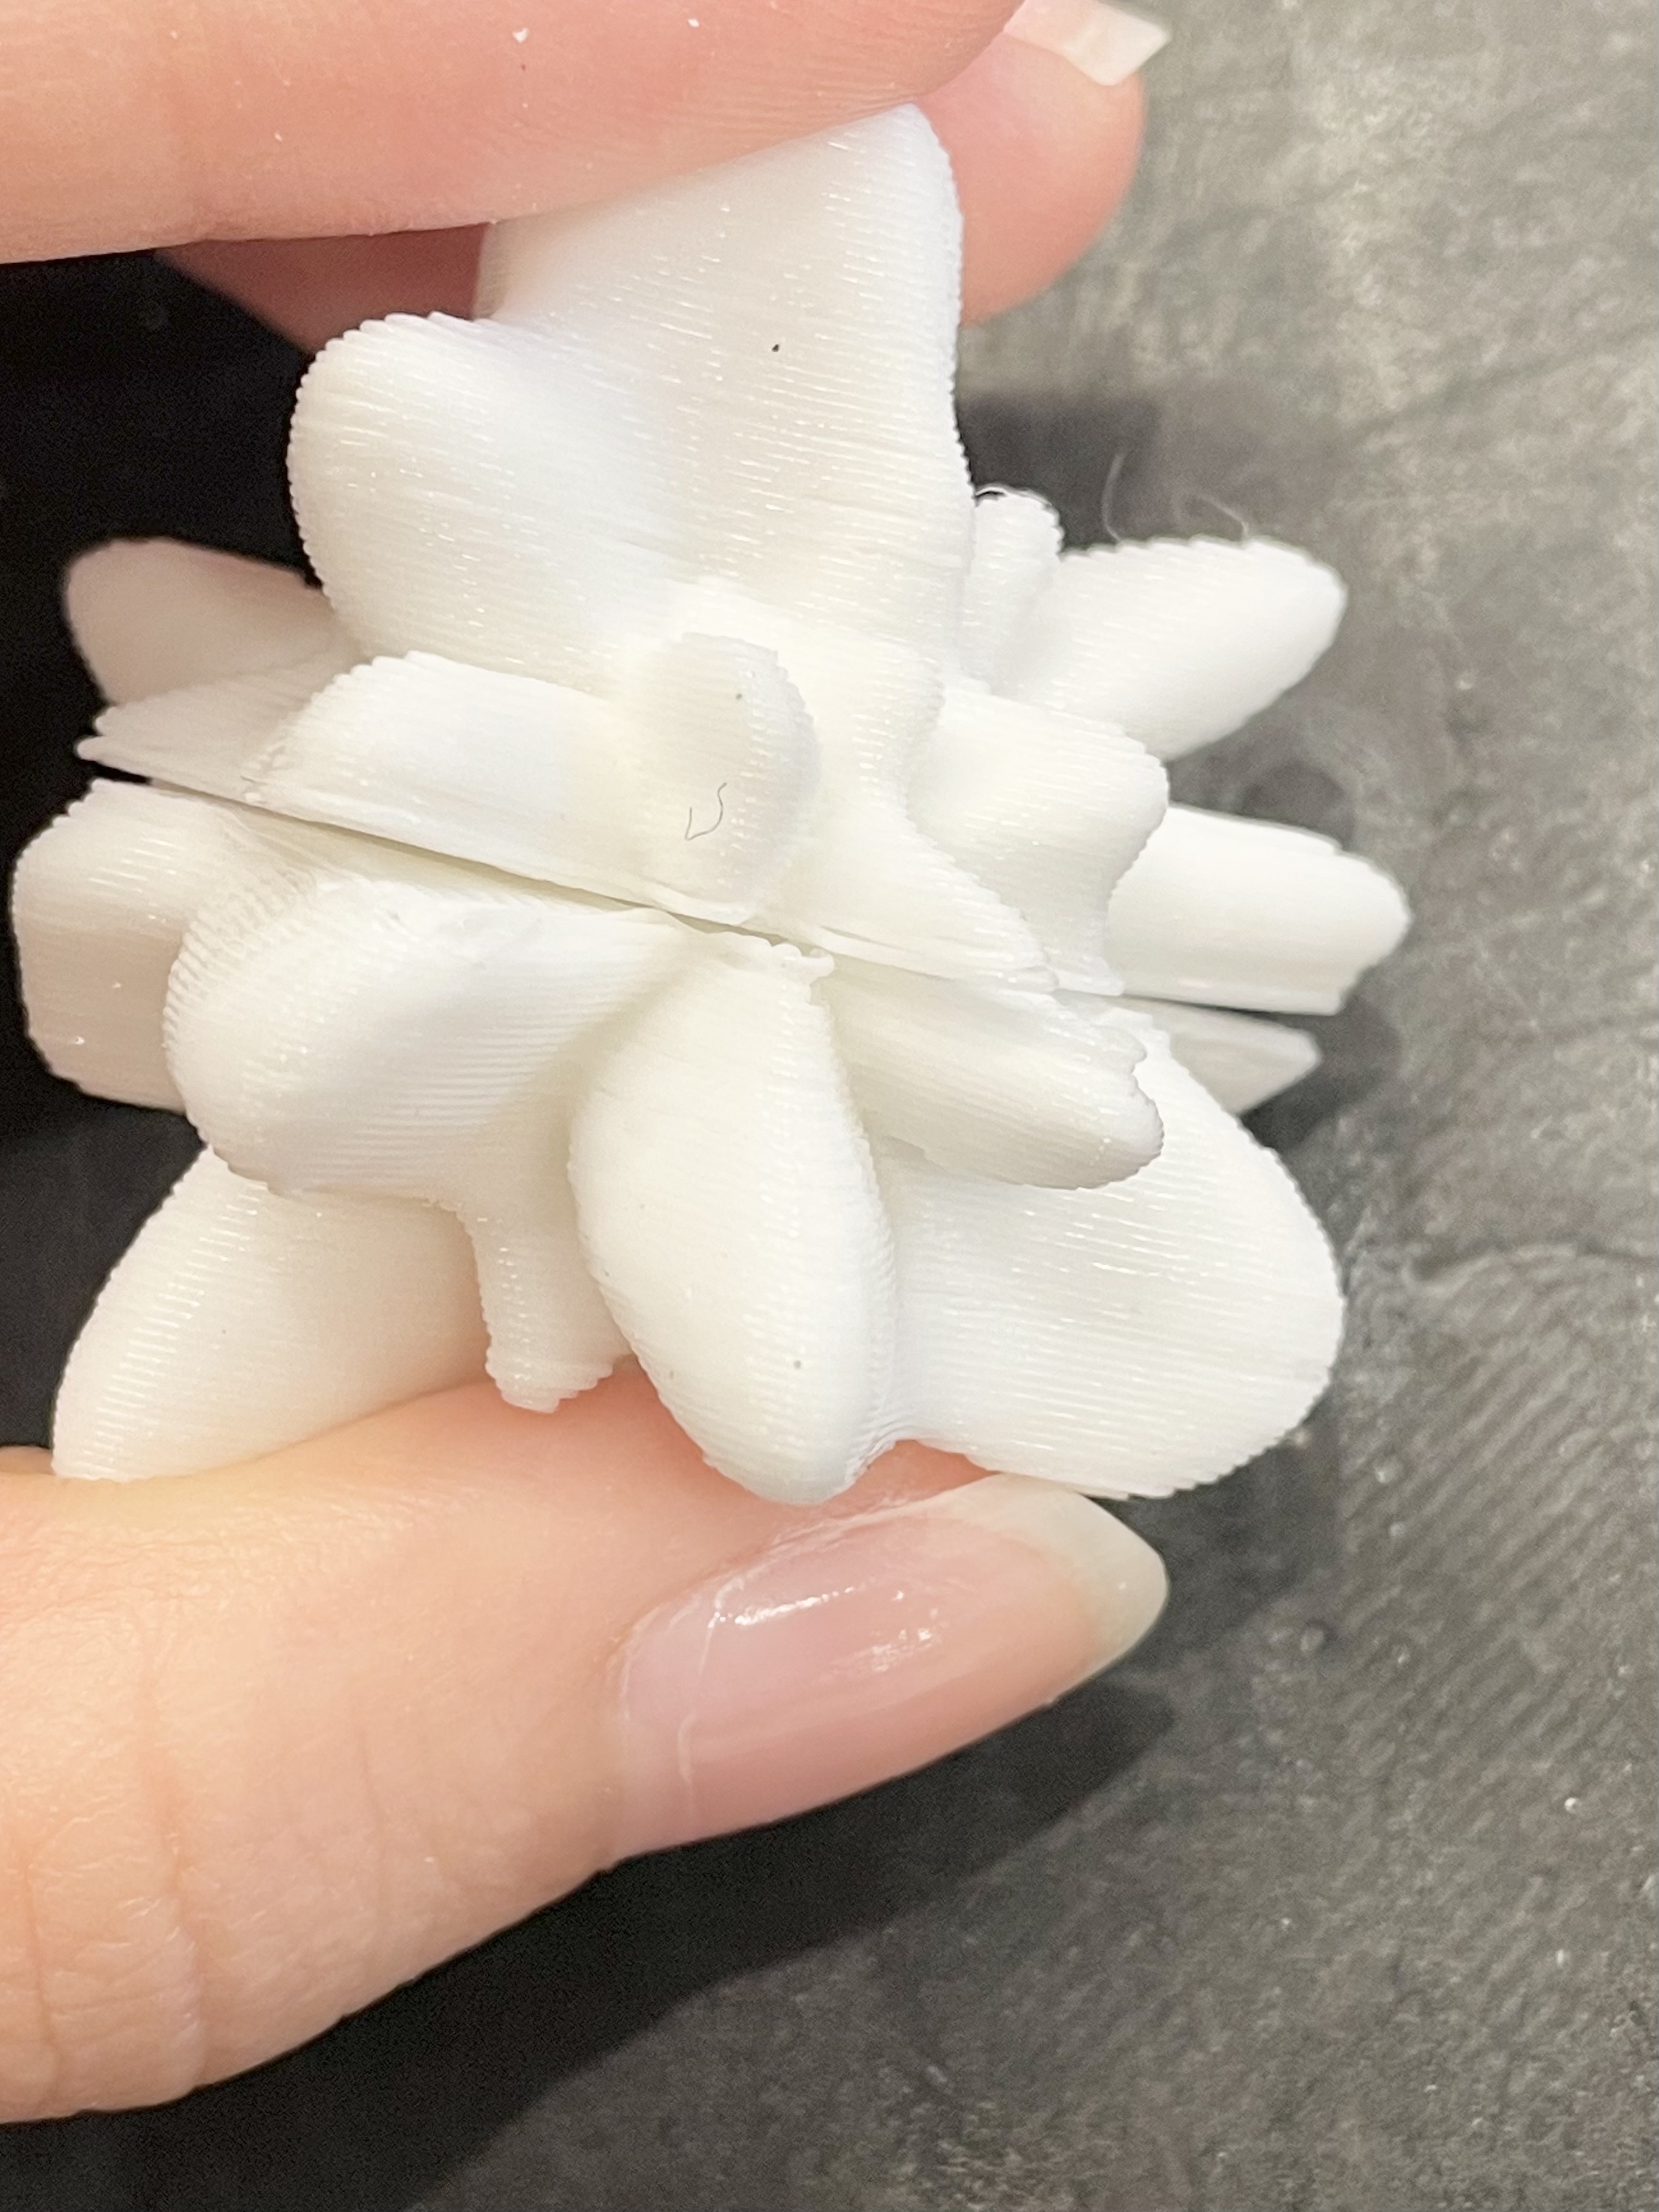
After another round of printing, the designs printed out fine this time. Despite that, this version and the half printed in the first round did not fit perfectly together as one of the halfs' base was not completely flat. I did notice that one of the halfs had a more curved bottom which created a gap between the halfs when placed together. In addition, the original objects had a scale of 2.5cm which I intended to increase 1c, to 3.5cm to create larger data objects that enables users to see and feel the texture better. However, after this print I did feel like 3.5cm might be abit too big, so I might consider 3cm instead depending on the shape form.
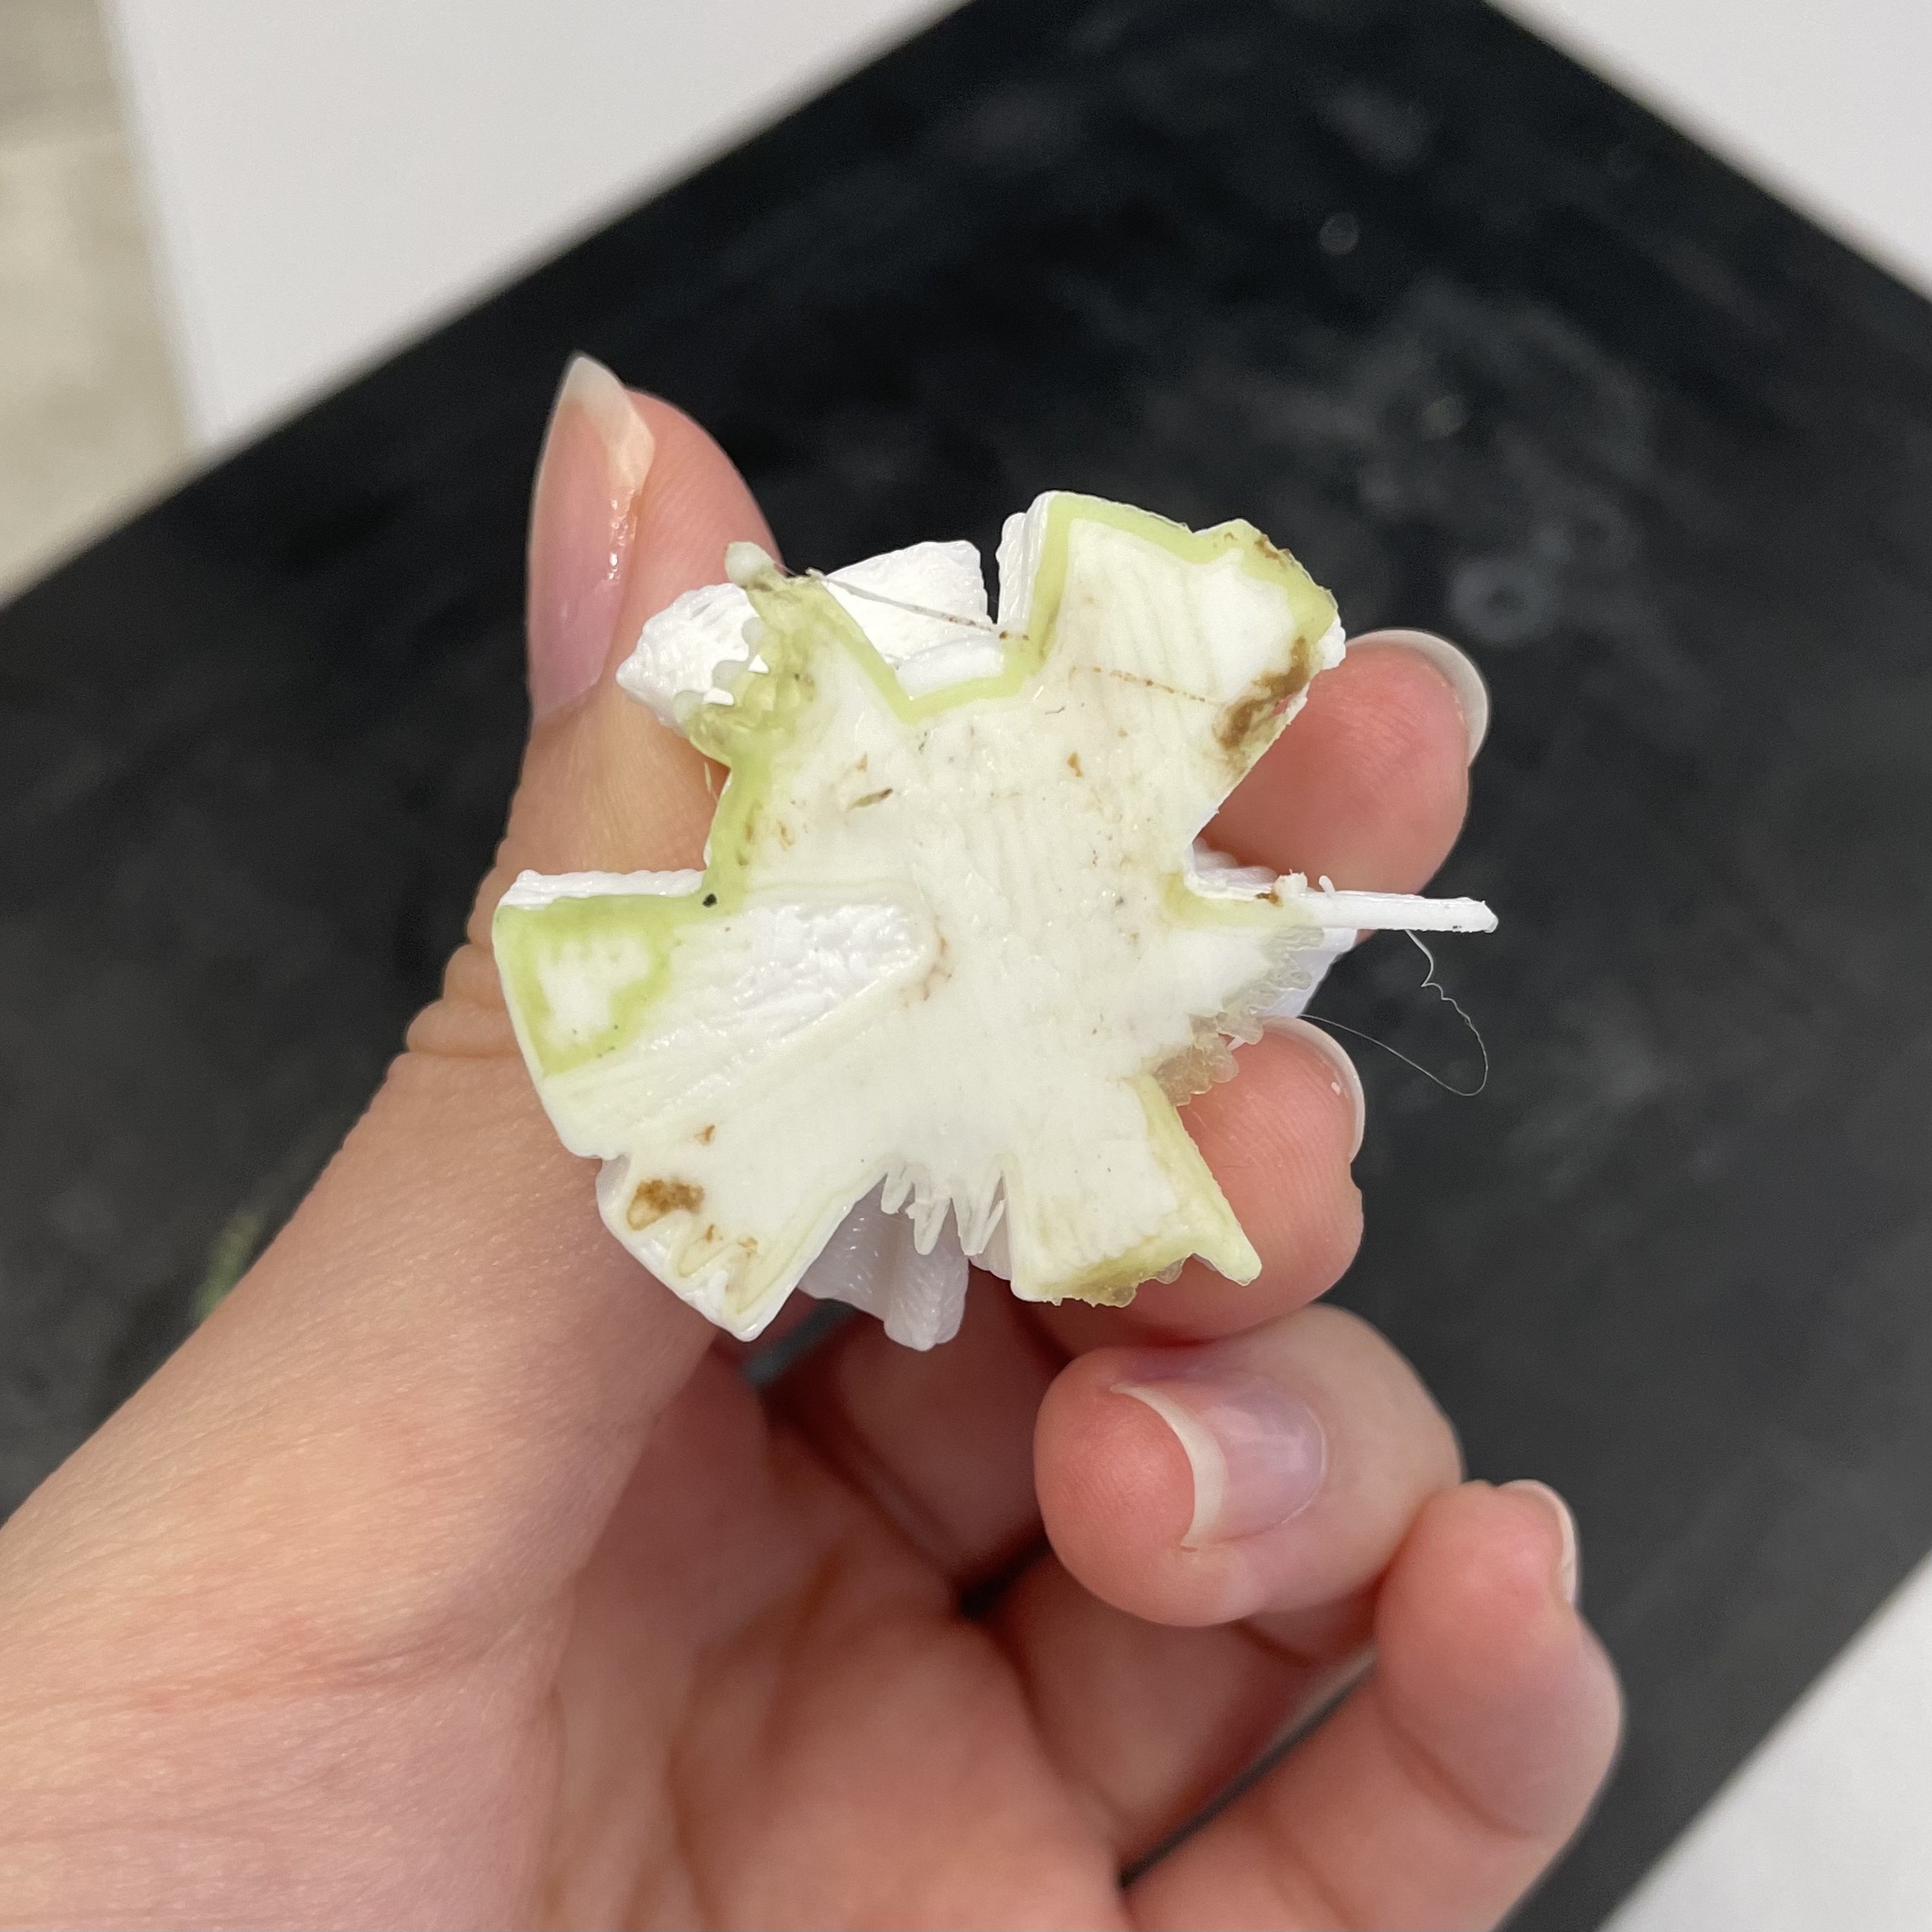
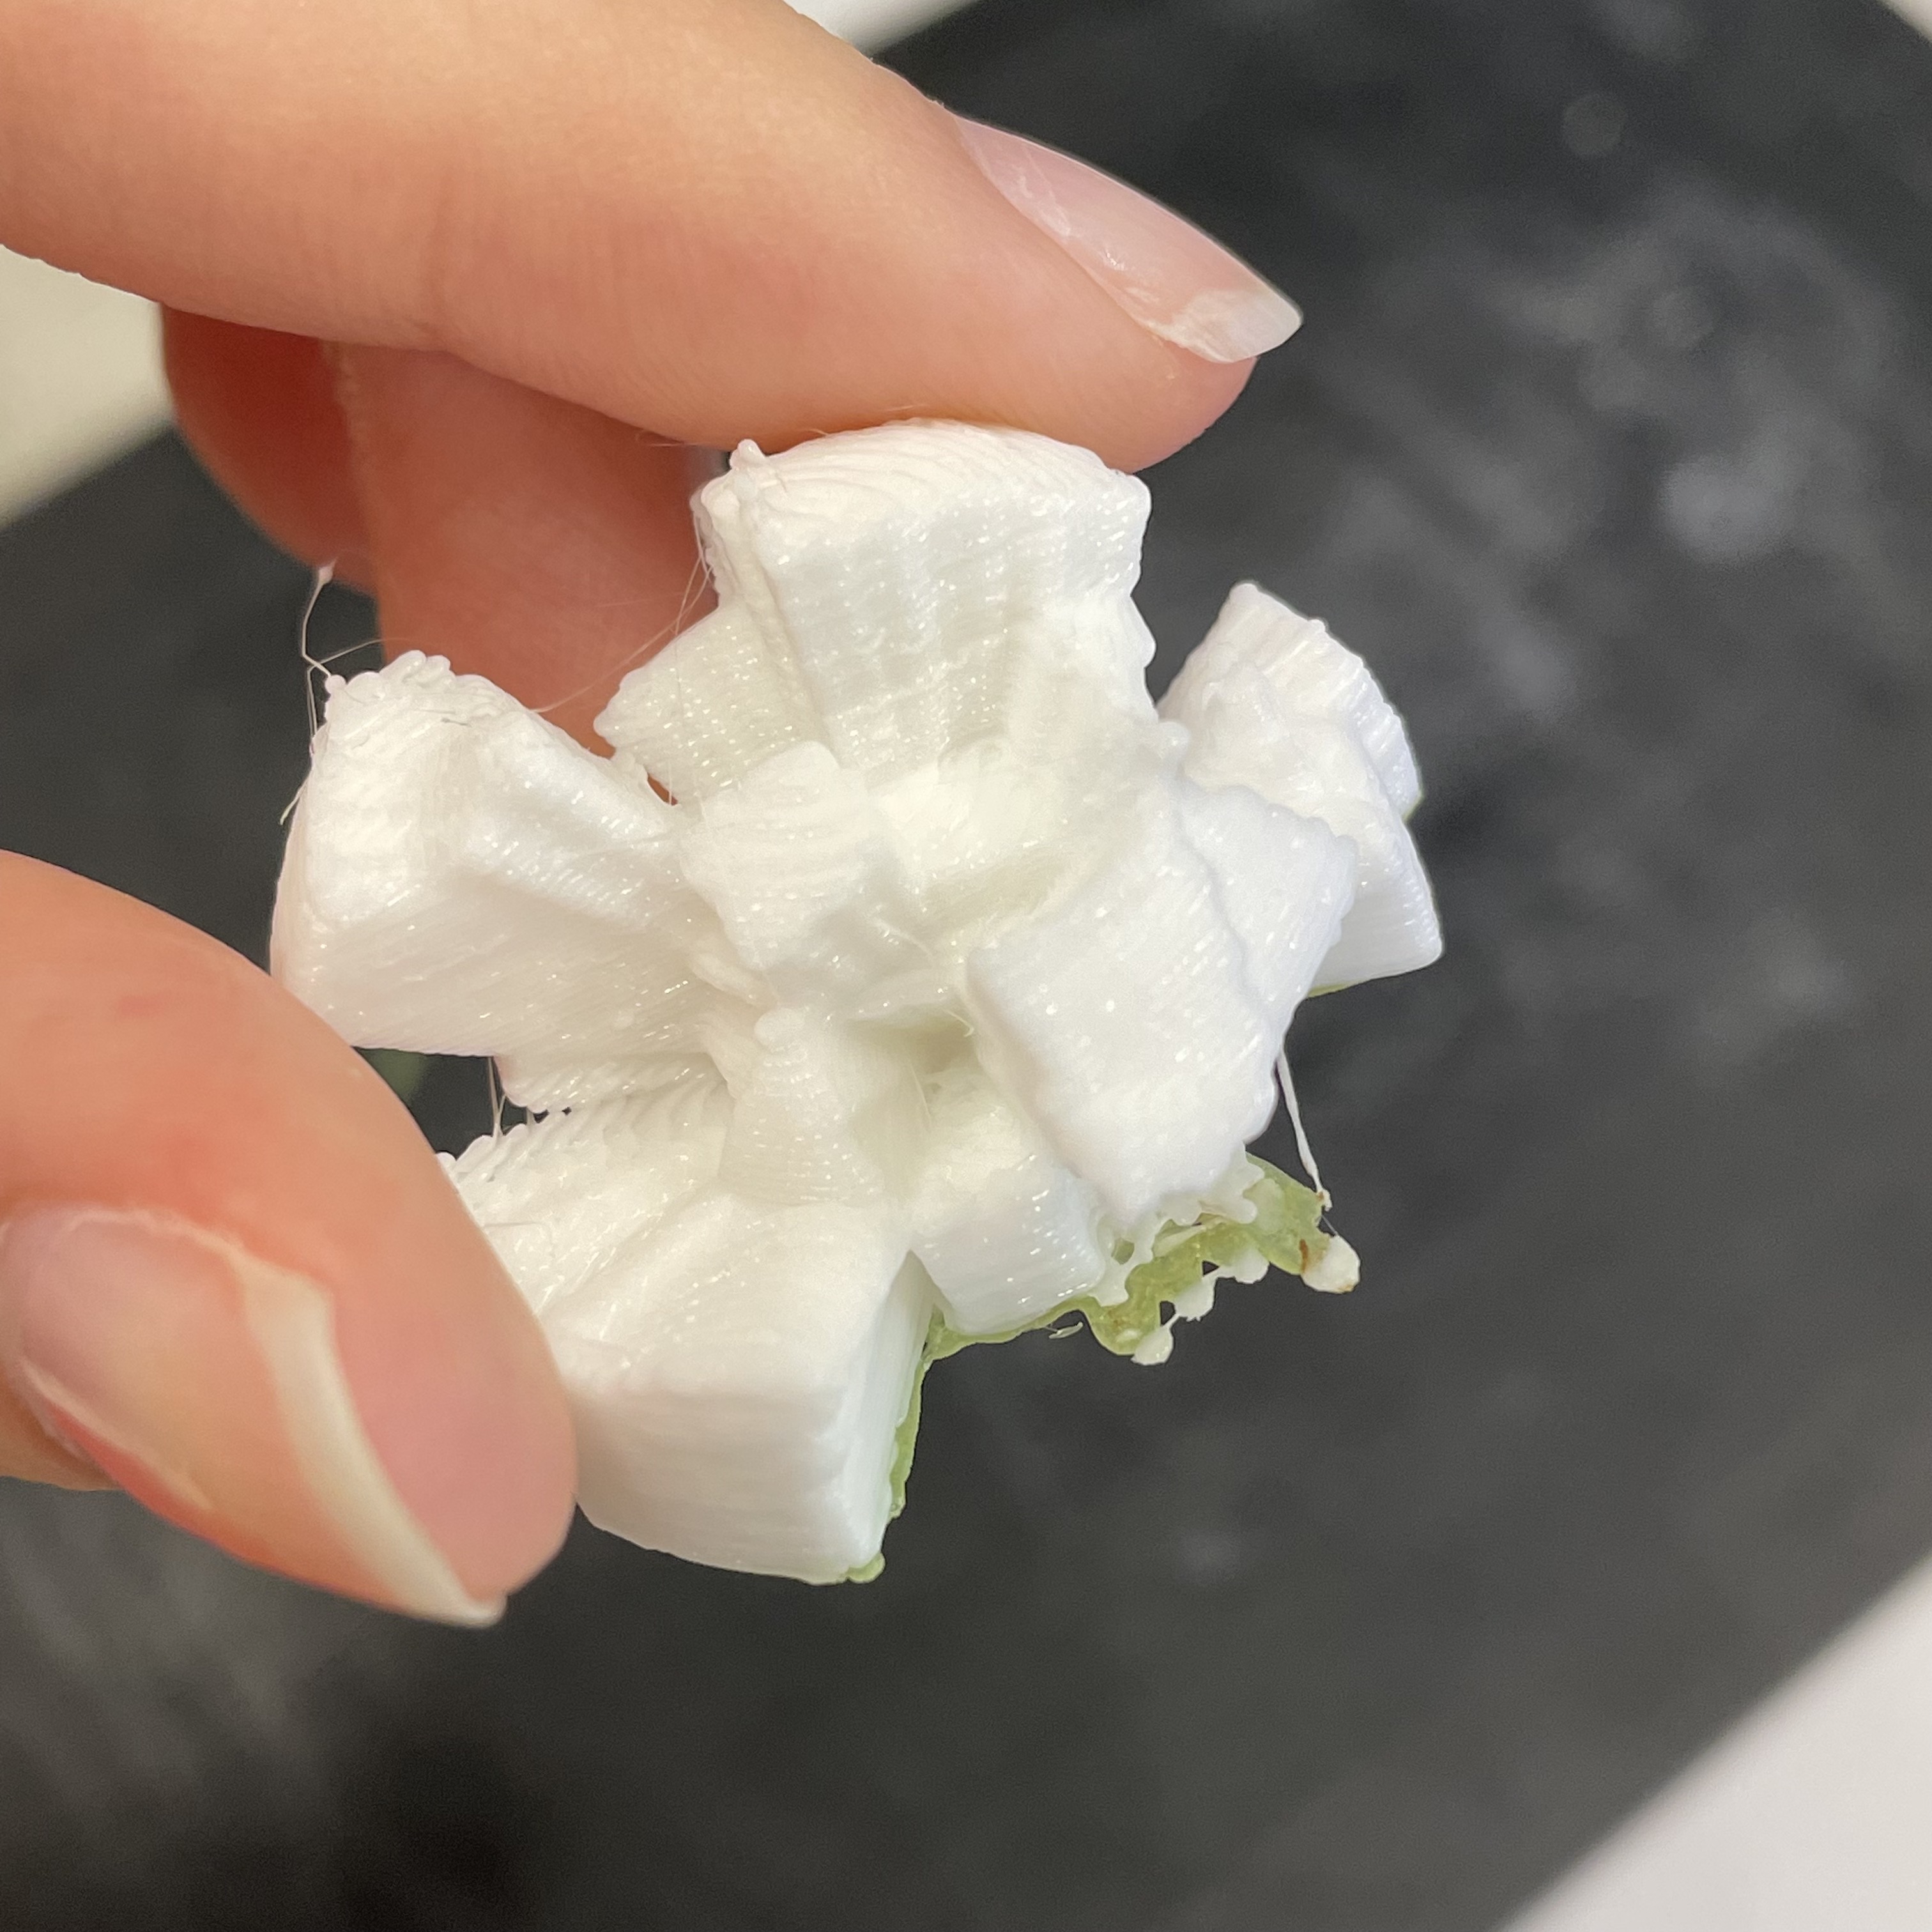
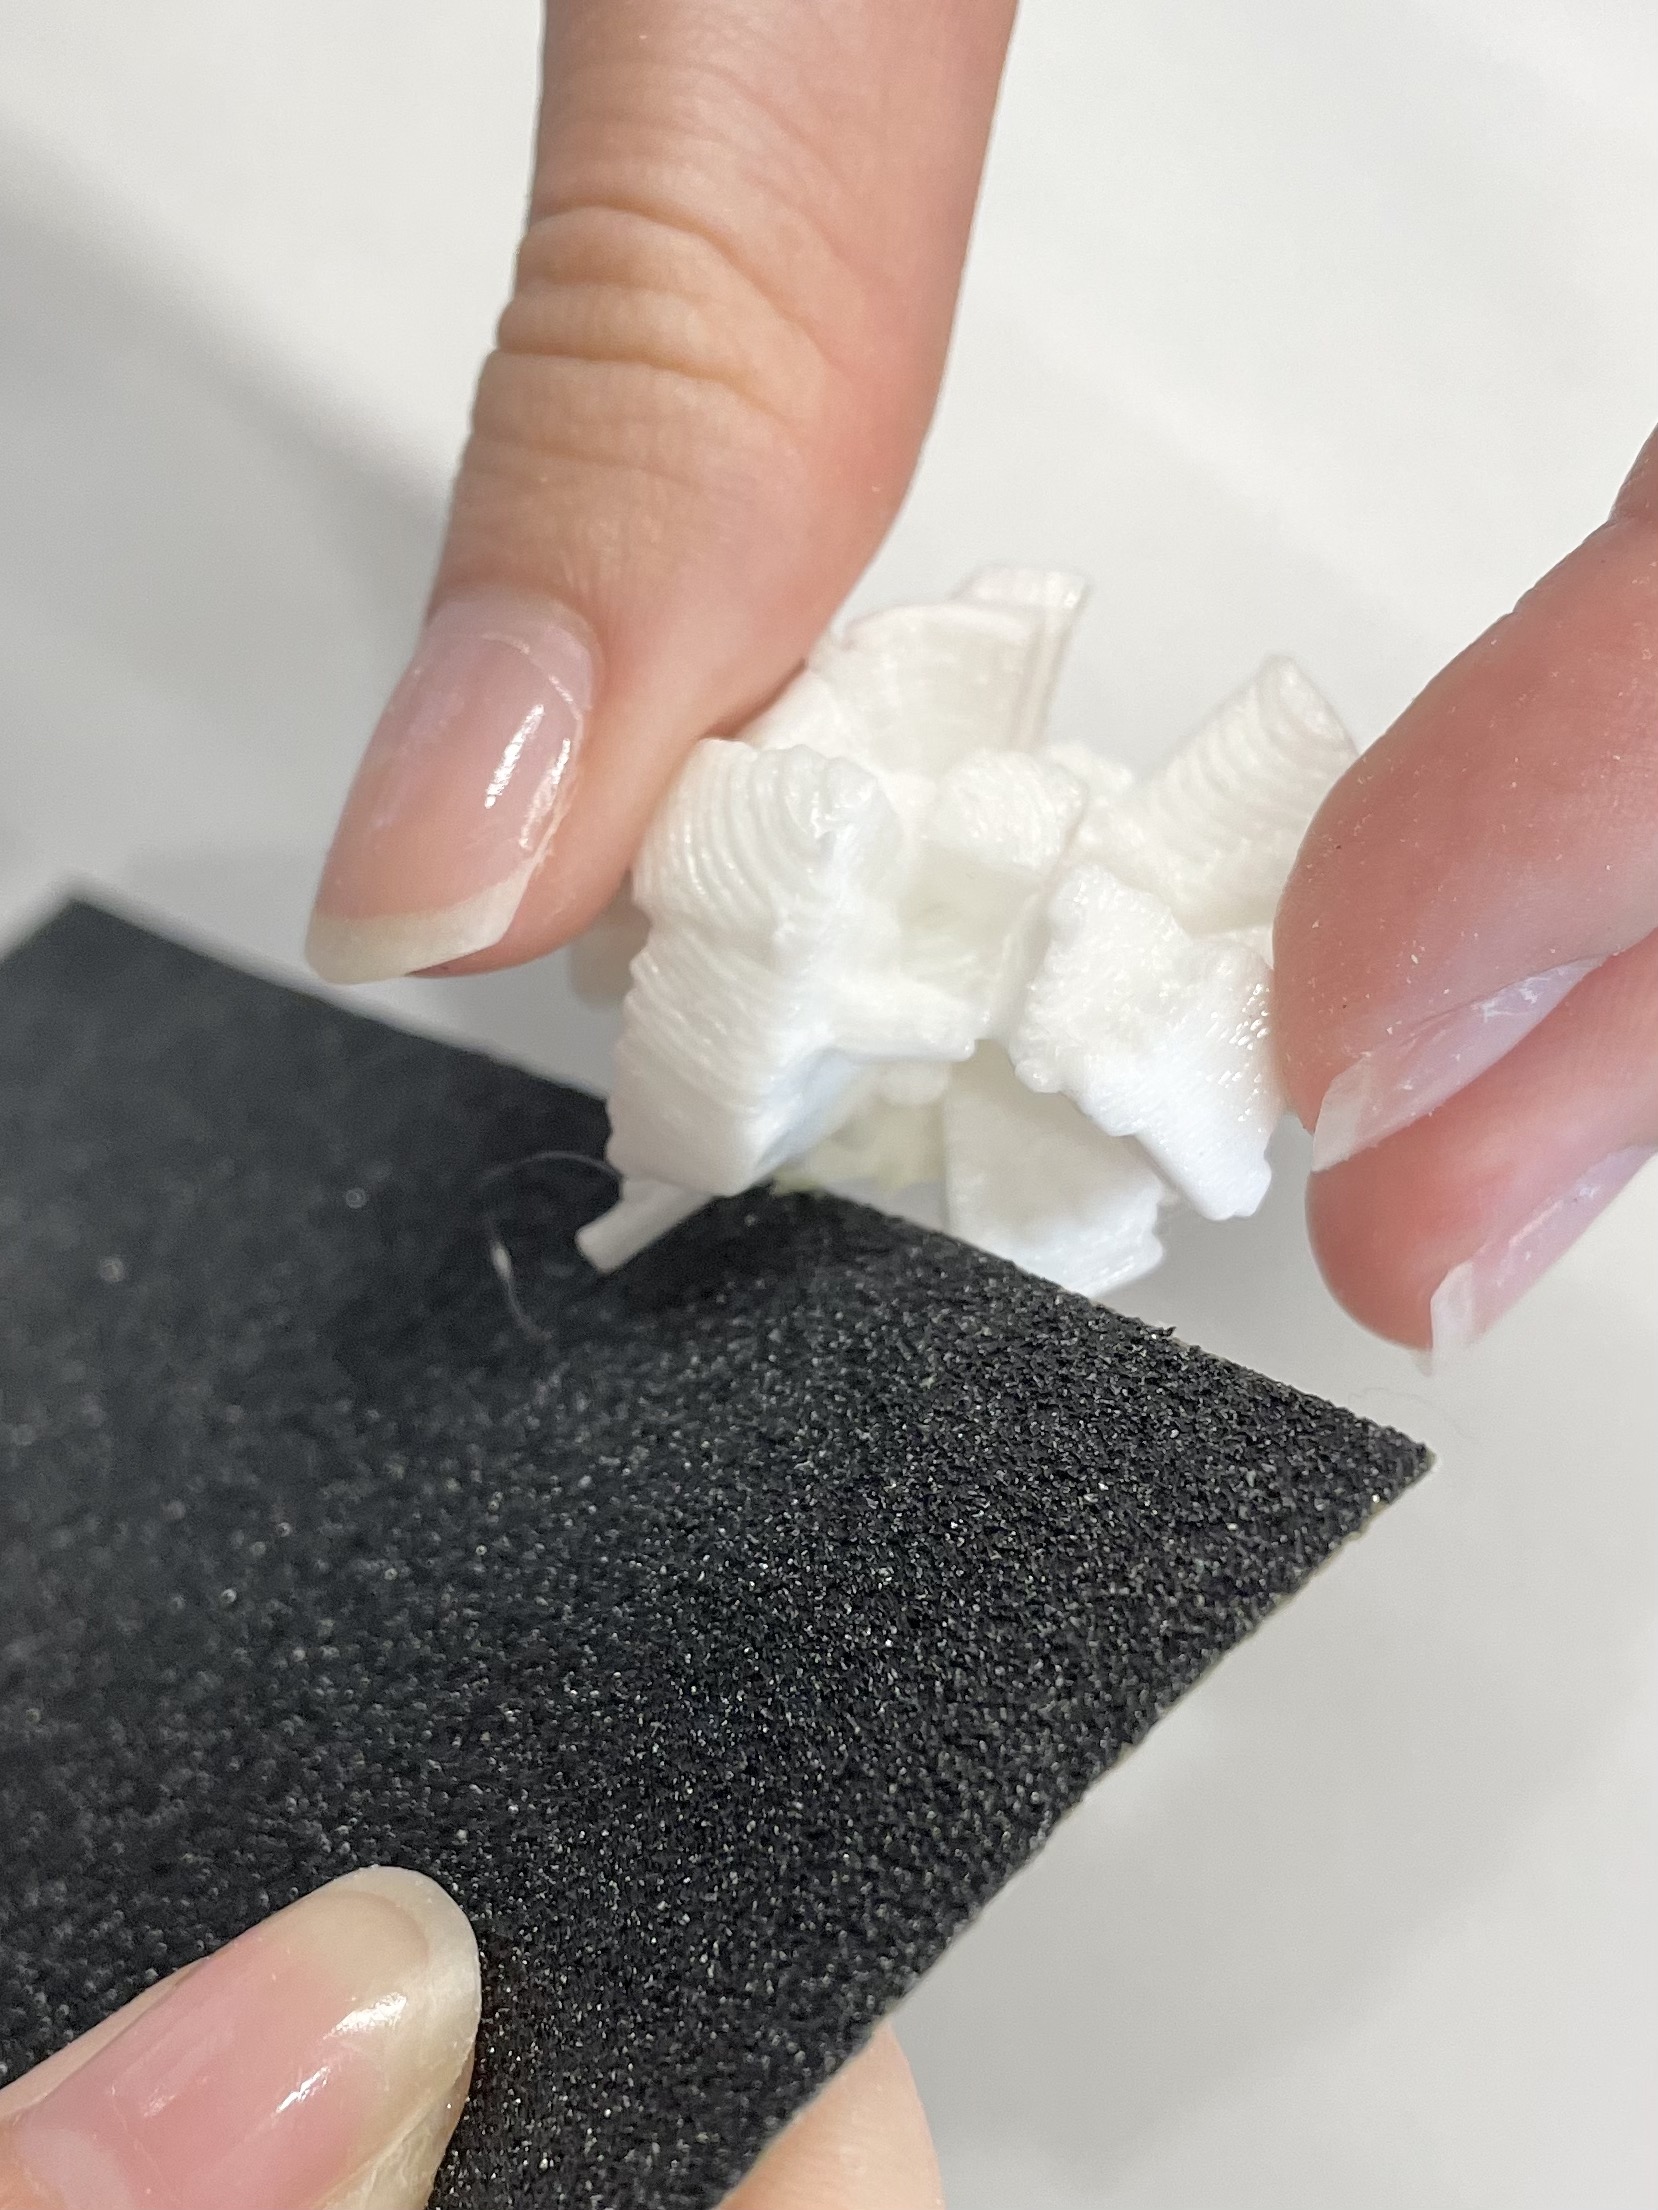
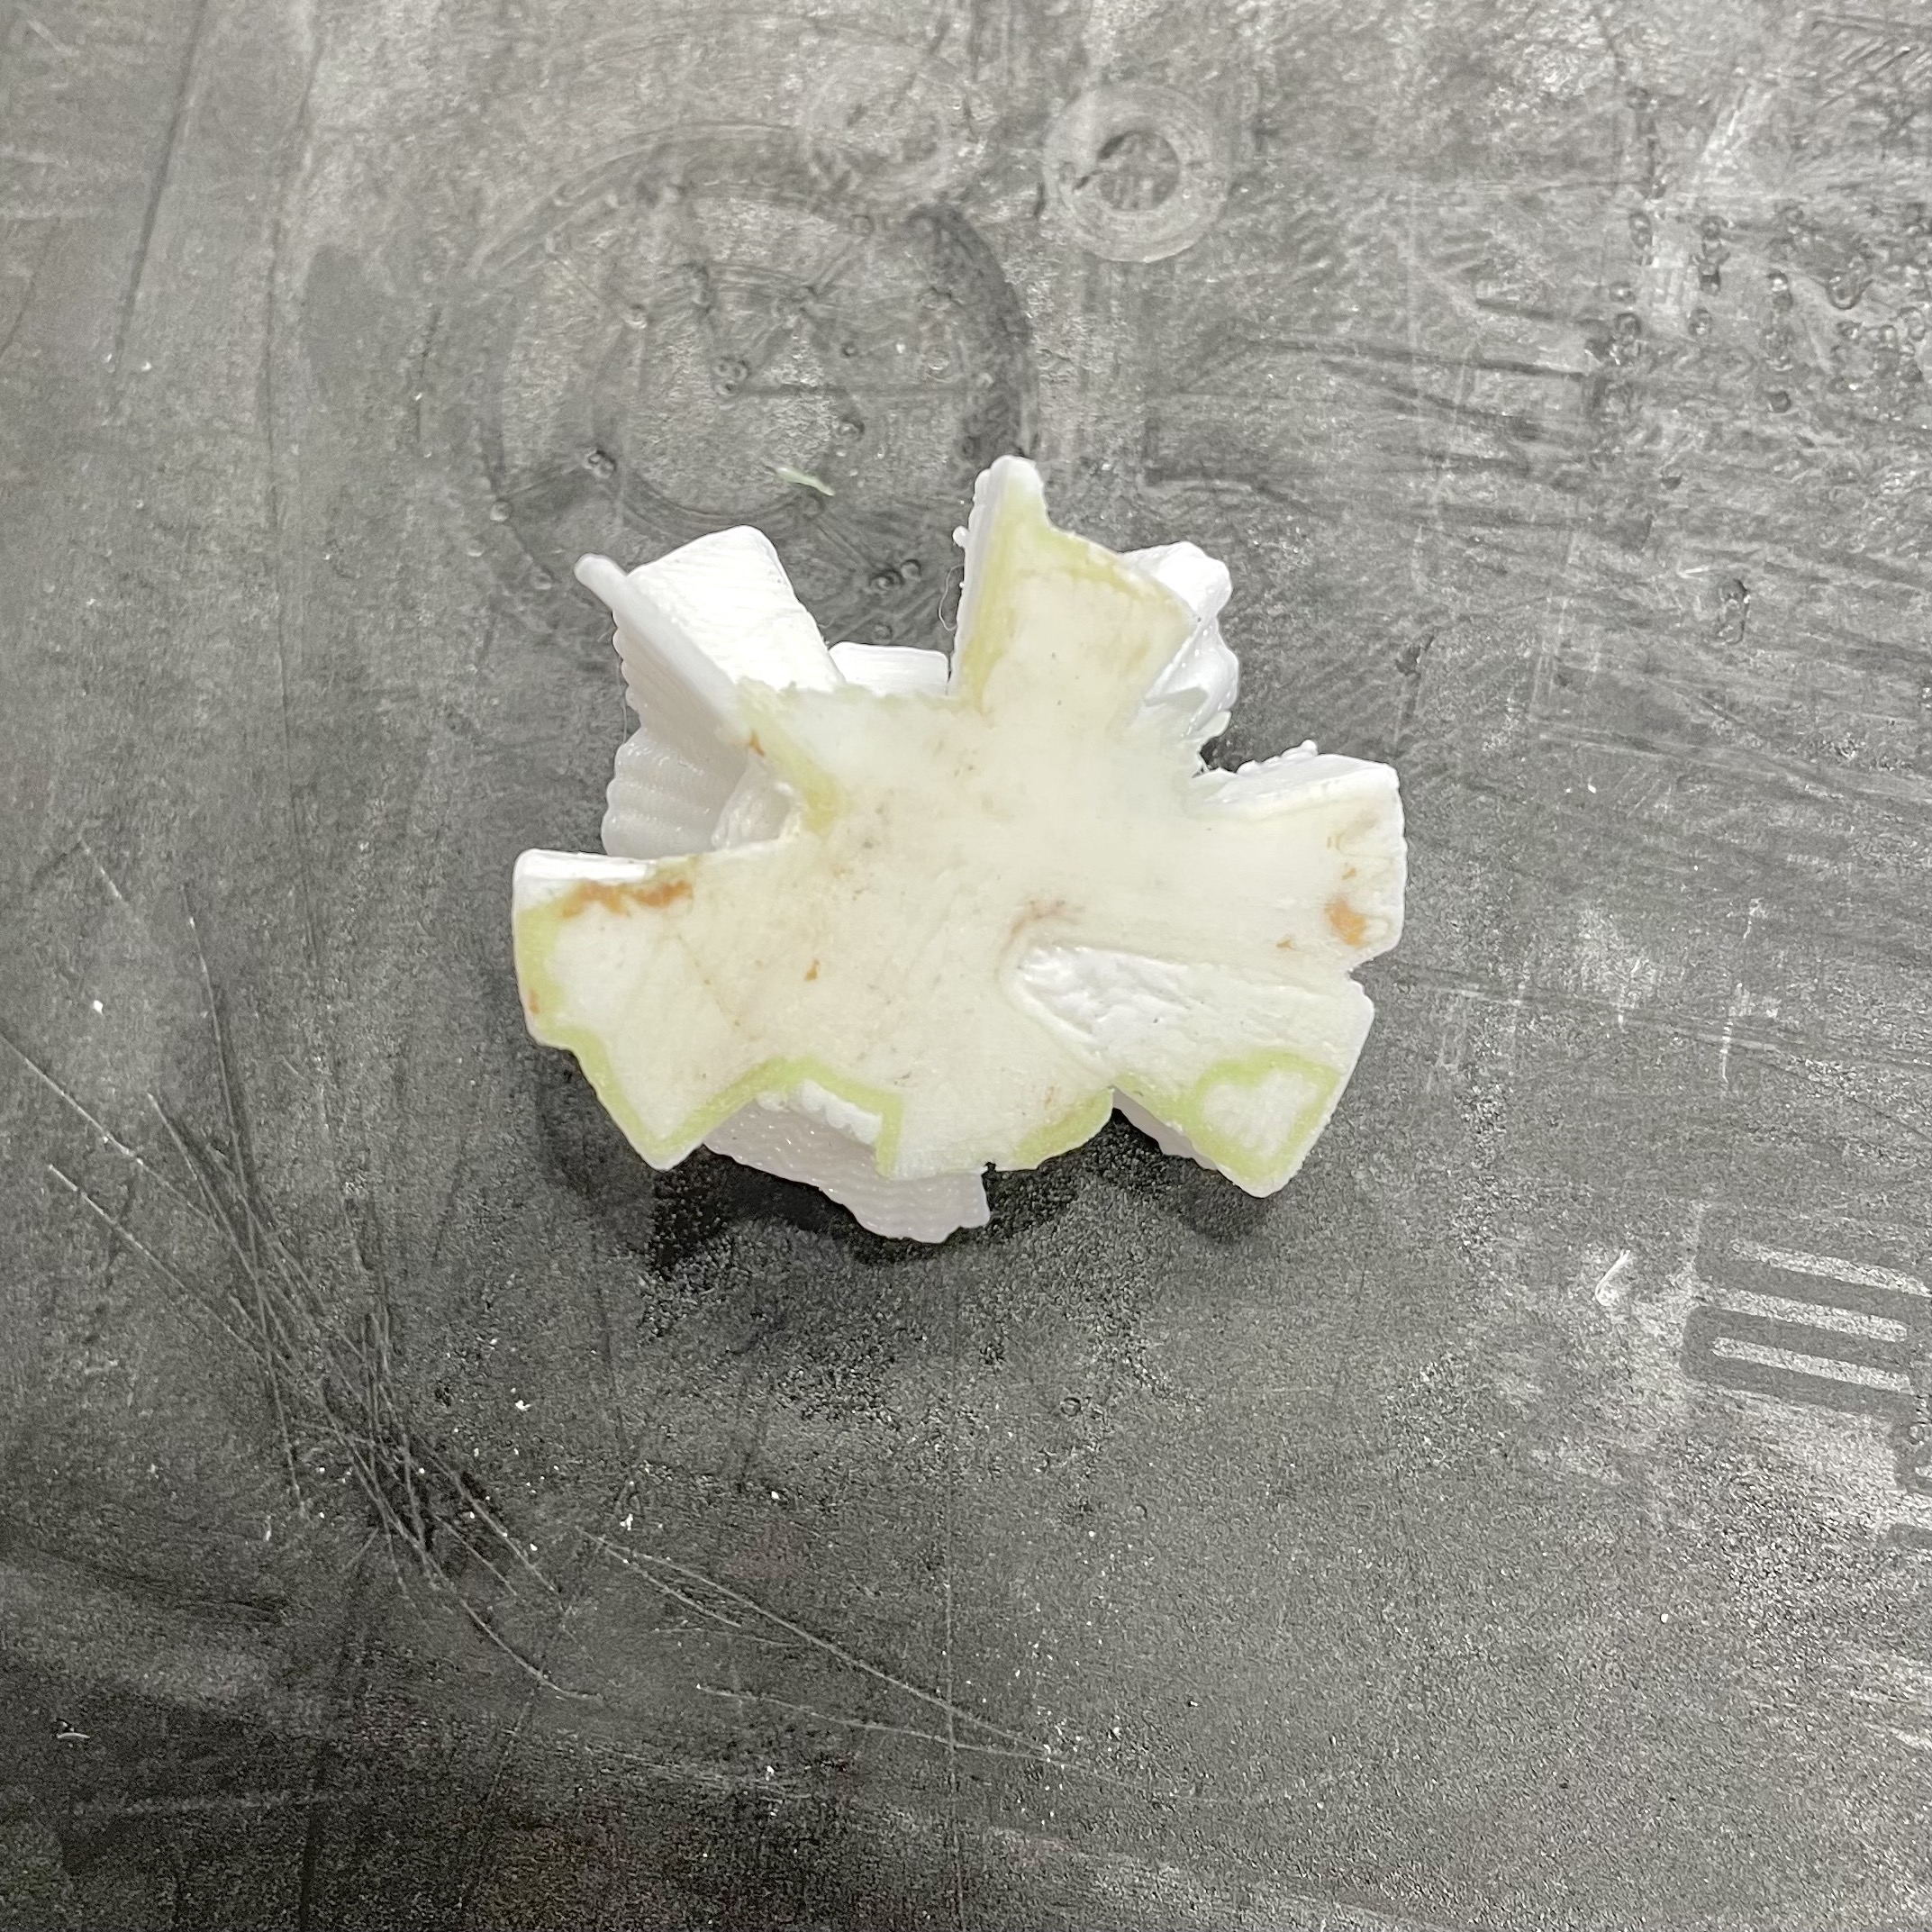
For object #13, the print turned out fine as well. But one of the half's base had leftover green filament from a previous user's printing session stuck to its base. This may be because the mat wasn't cleaned properly after the printing session or the extruder had green filament residue still stuck to its tip when printing. I trie to make it work but when stuck with the other half, against a white object, the green residue can be seen from the edges. Therefore I tried to sand down the edges and the base in hopes of getting rid of the green reisdue. This did work to a certain extent, the green isn't as obvious now as compared to before, but it can be better.
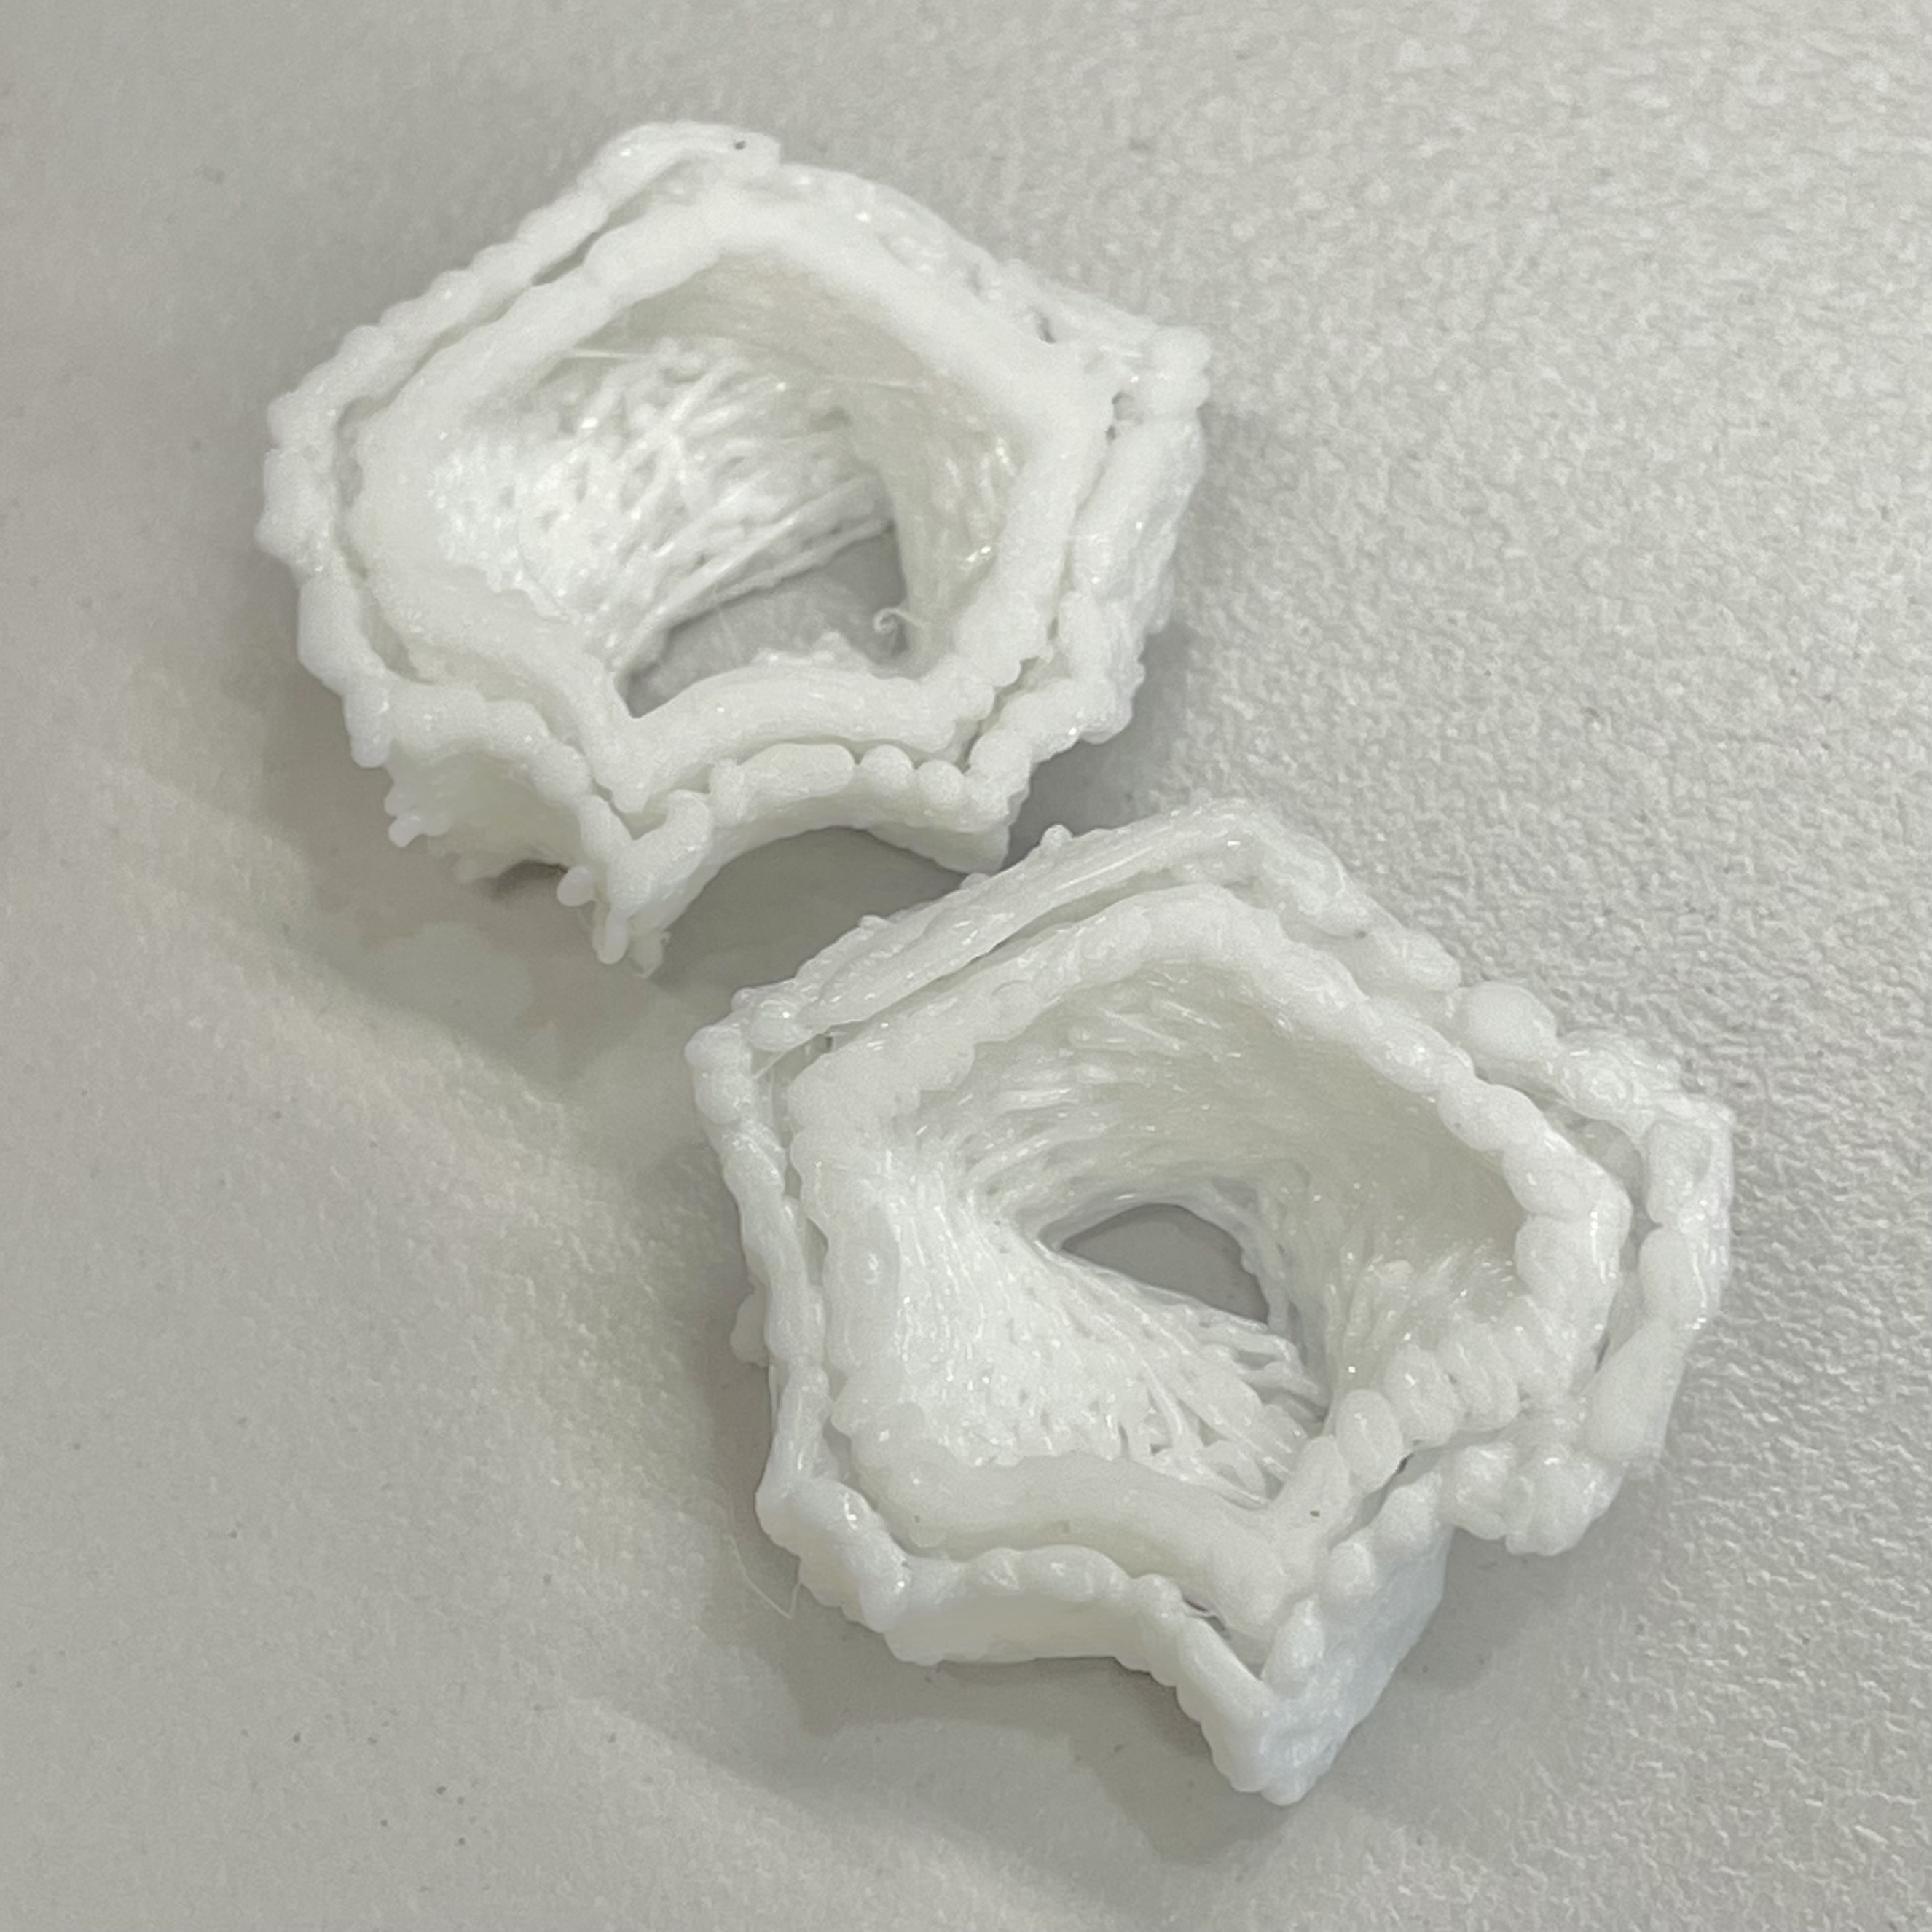
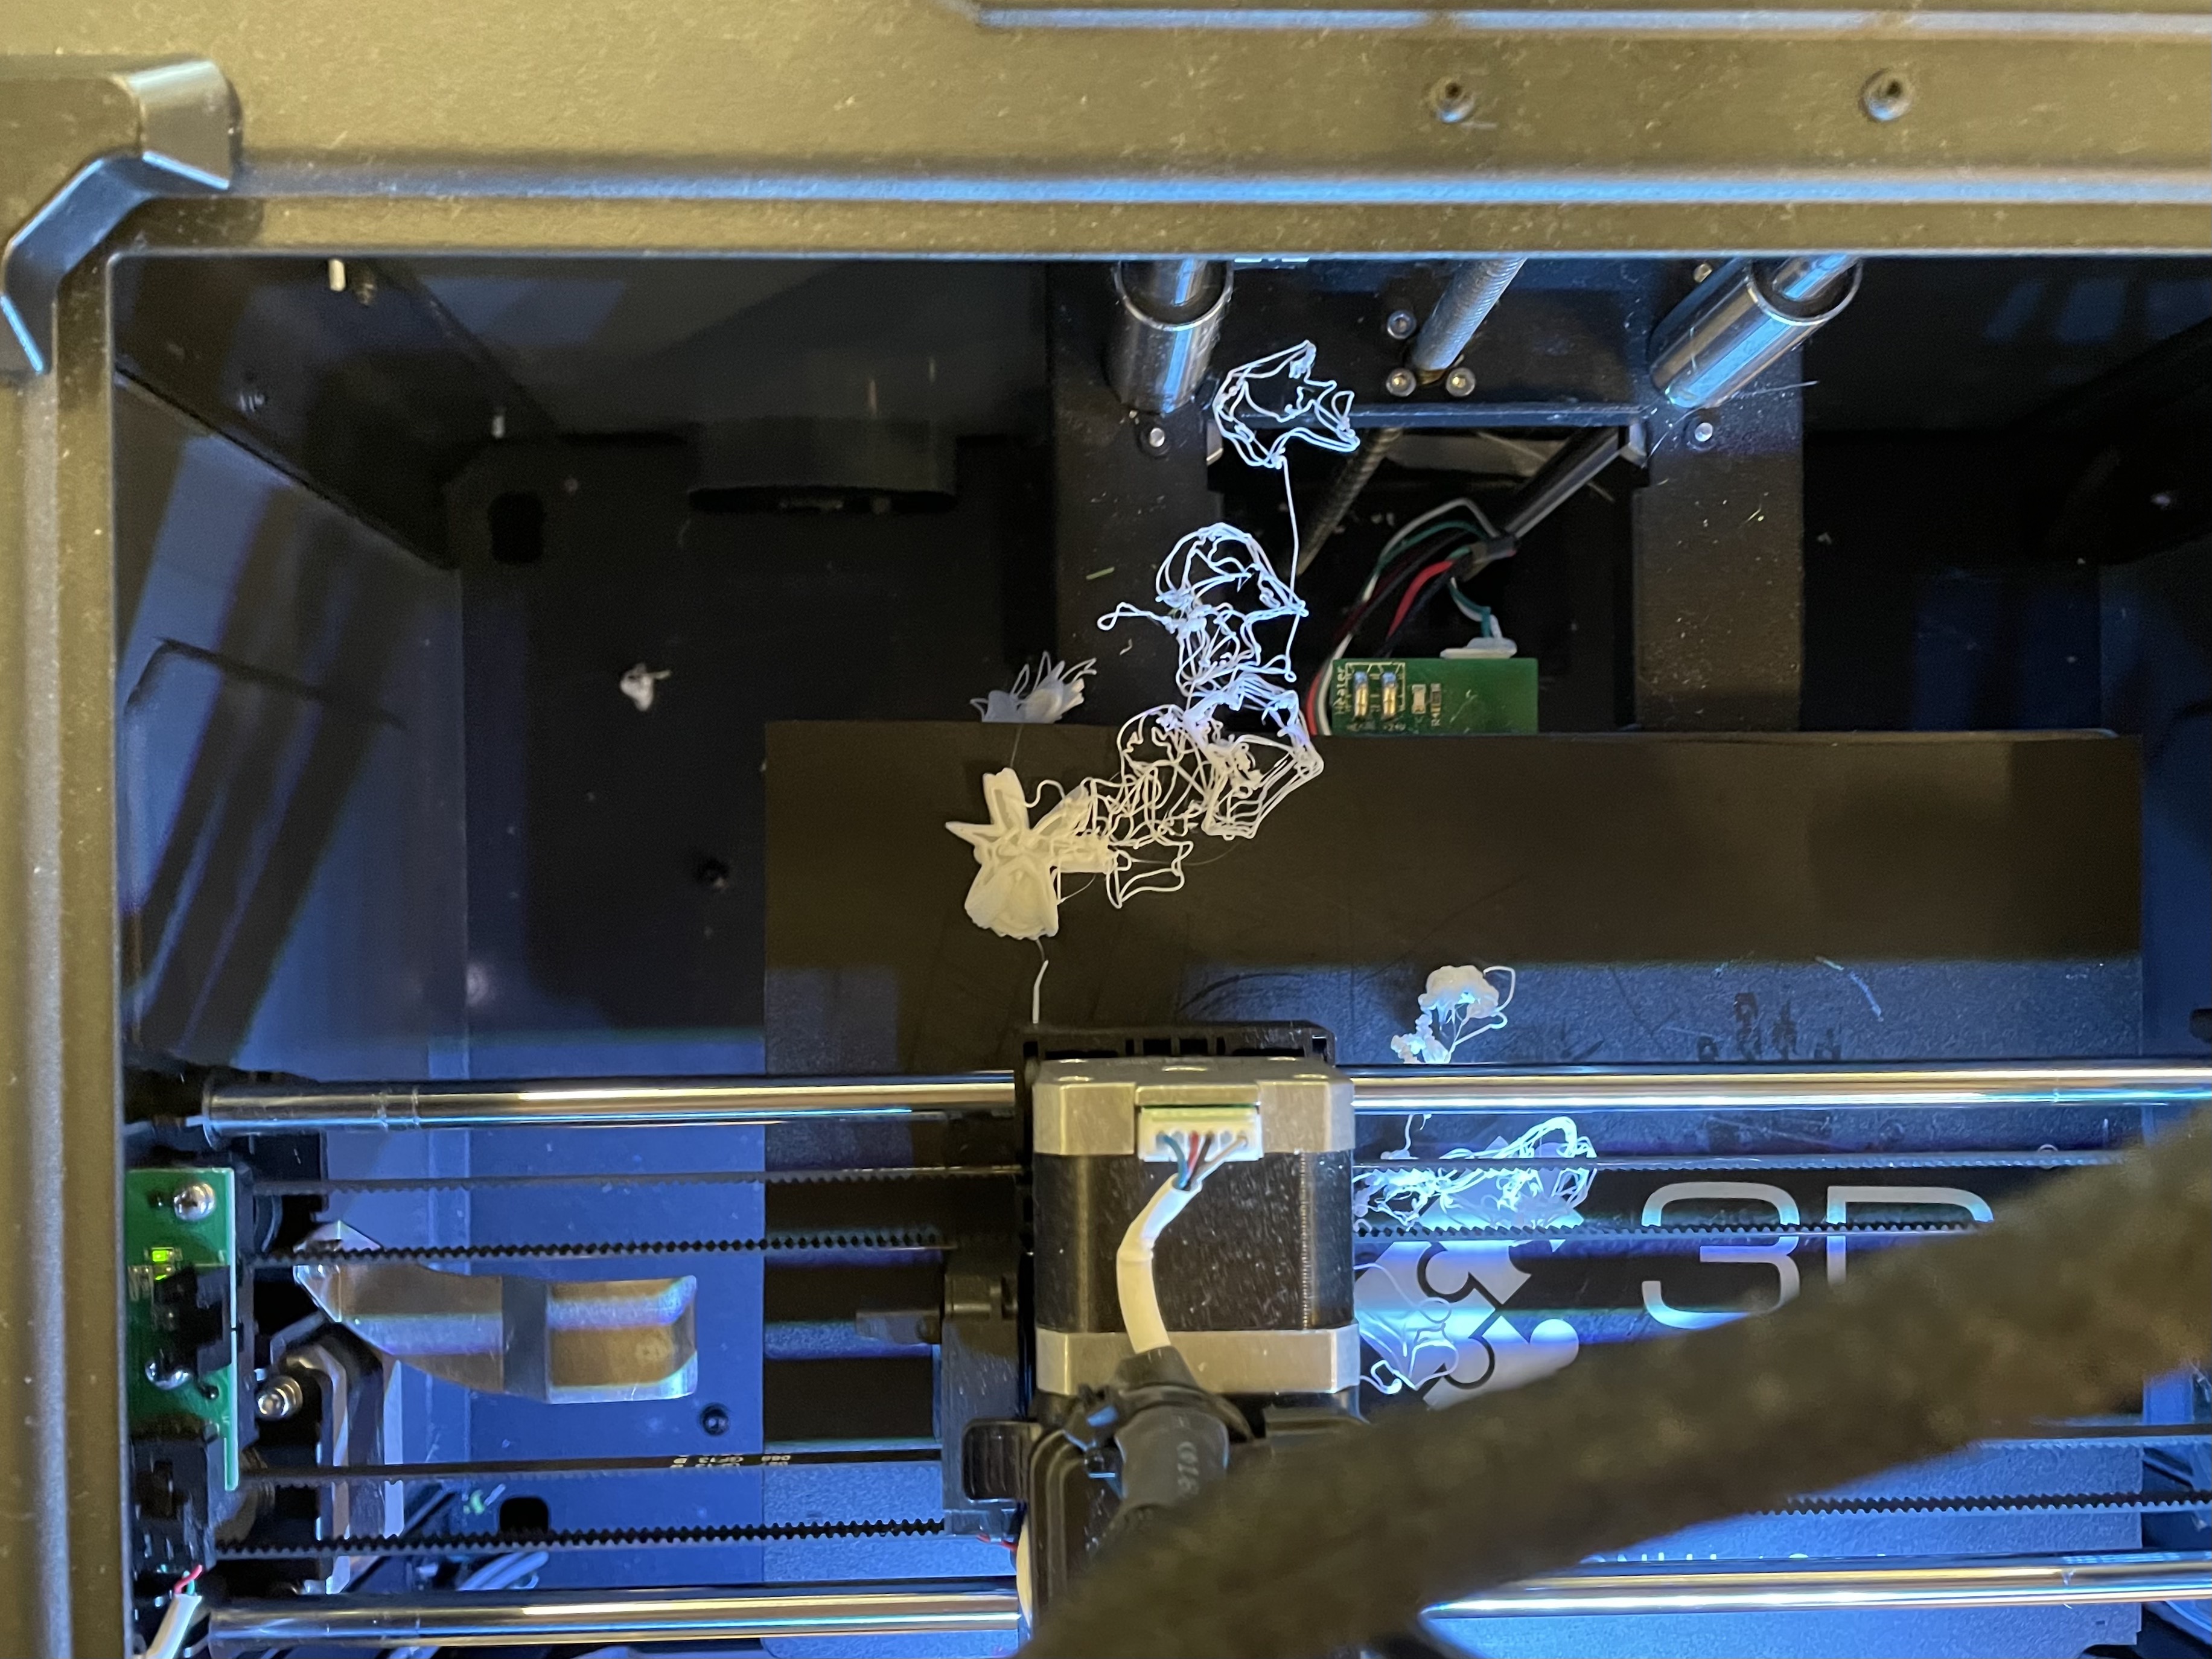
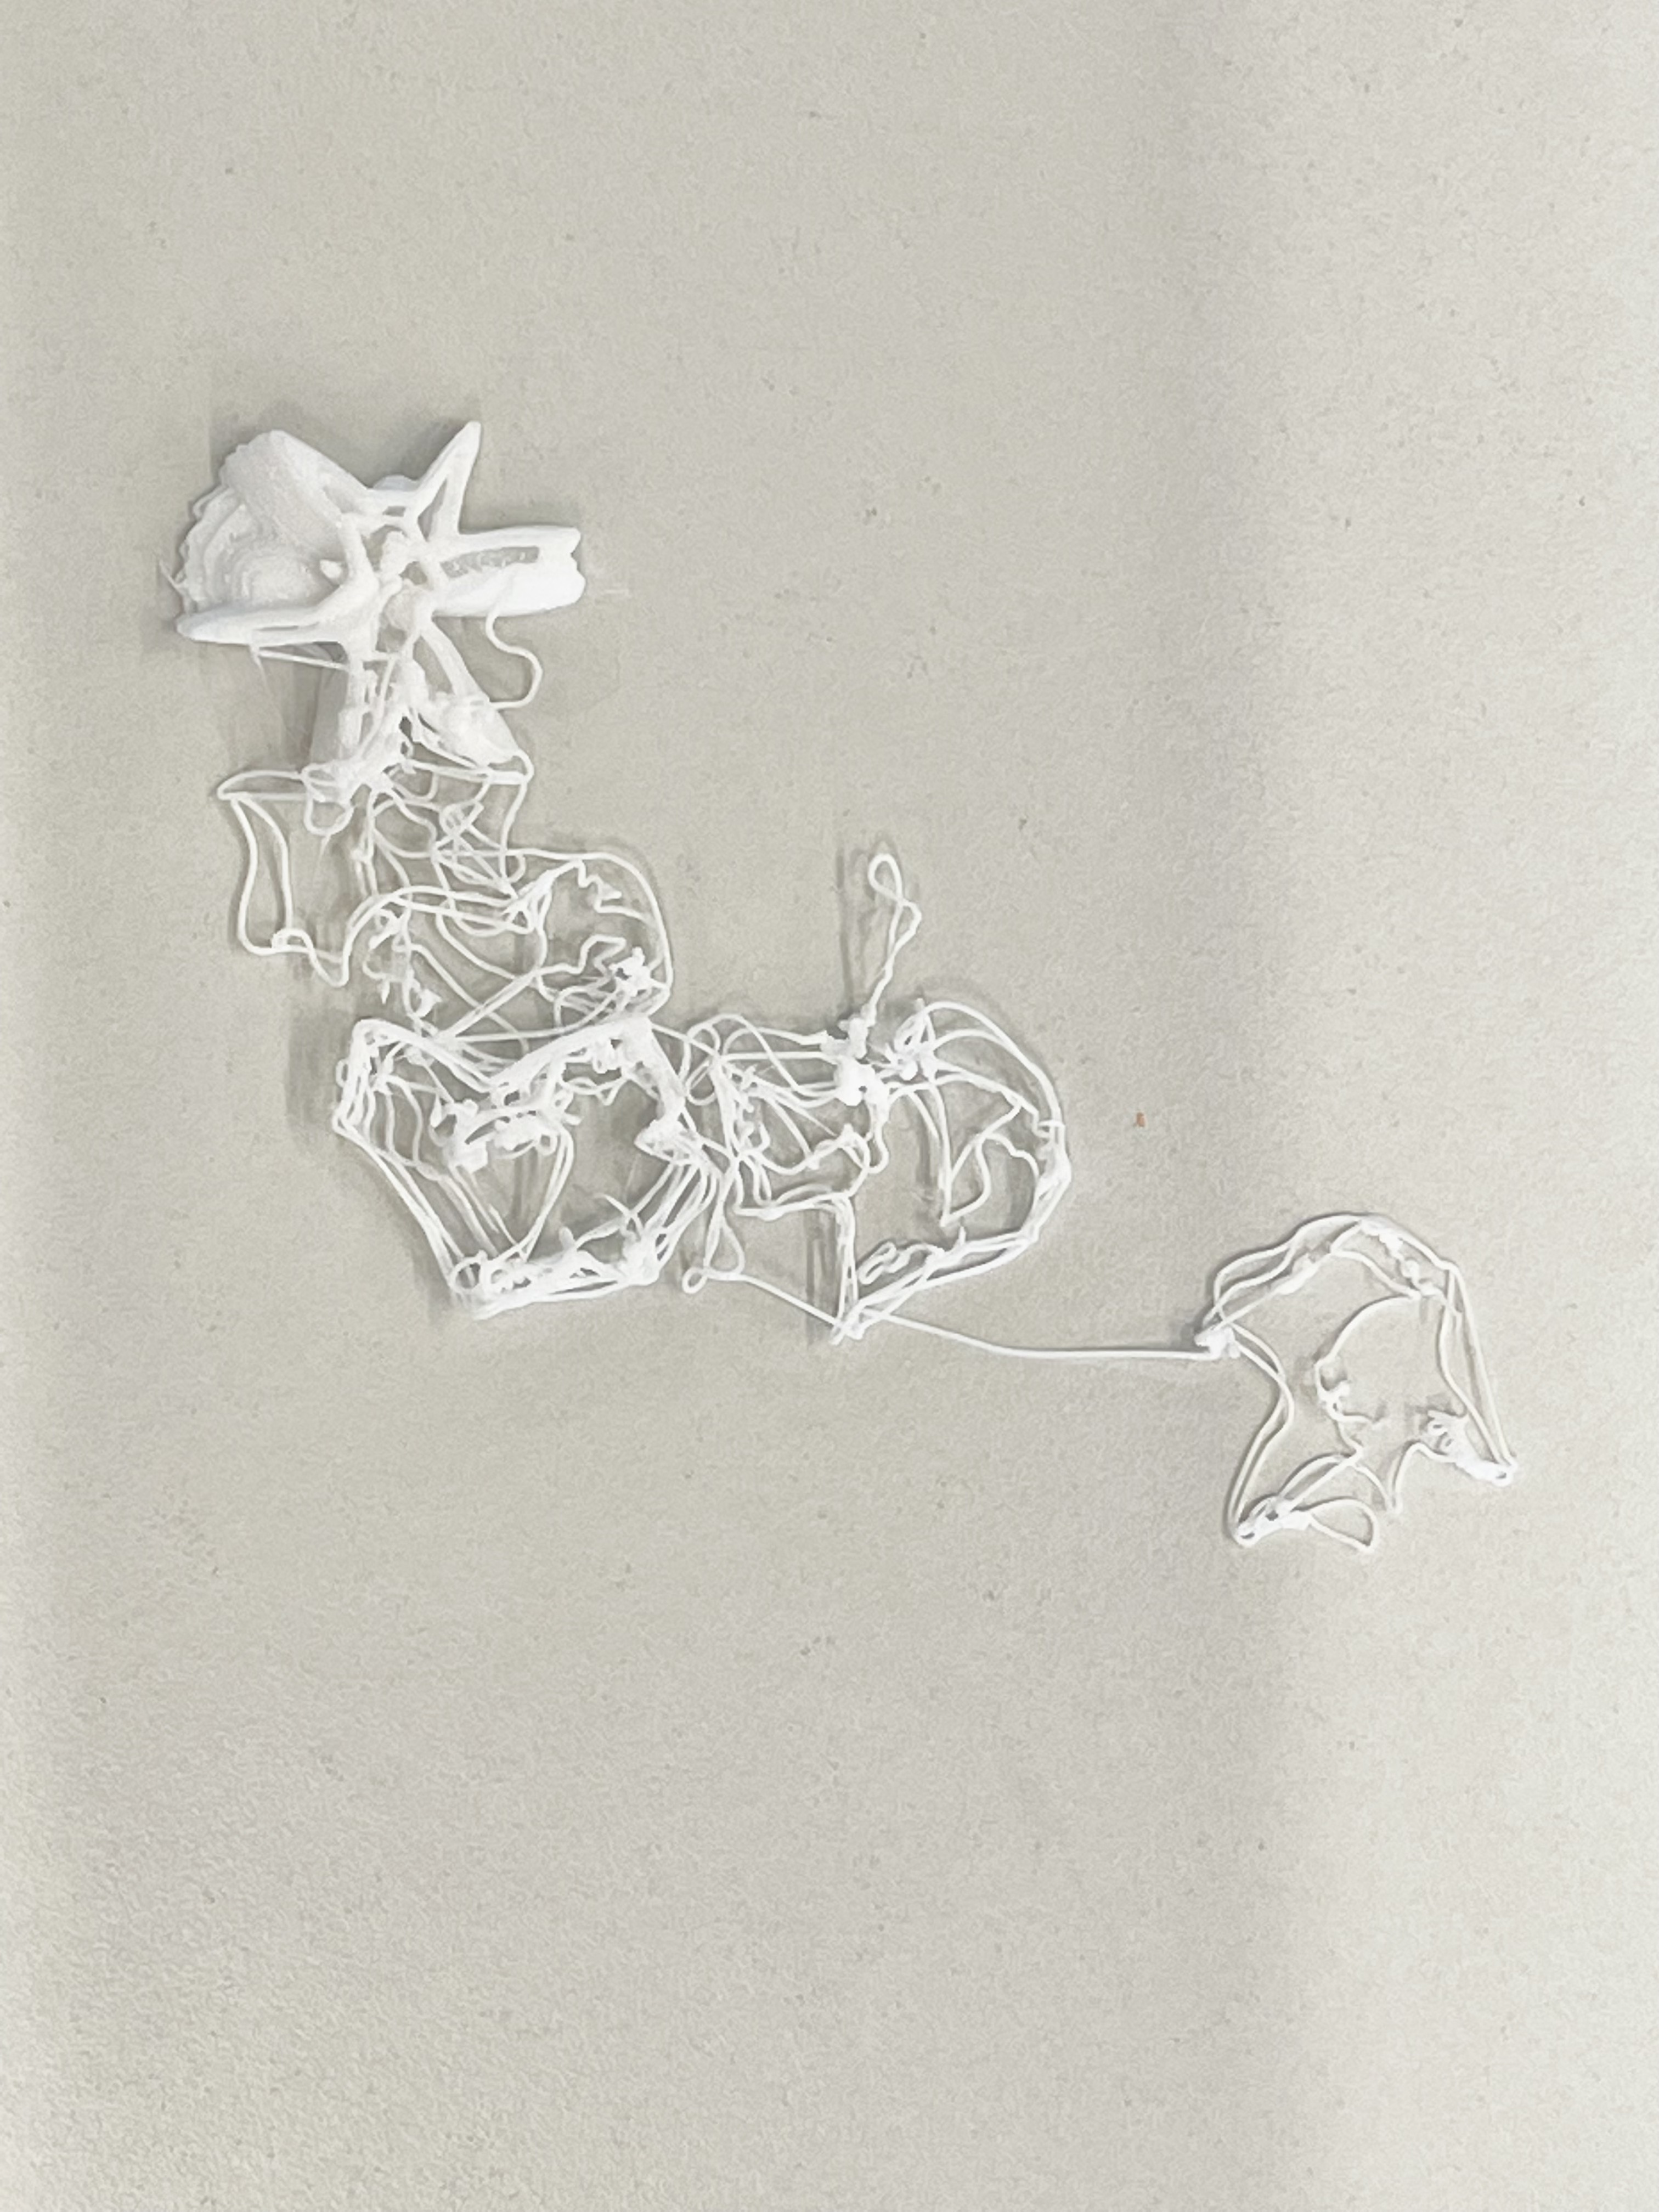
Towards the end of the printing session, I managed to find the chance to use another printer with a white filament to print. Using the same sliced method to cut design #15 in half, I printed this without a brim to try if the original surface area was enough. Surprisingly, this design which I thought might be the most complex one, printed out the successfully. This may be because of the printer or the newer mat that was used in this printer. But halfway through, the row of printers I was using had a power trip which caused the printer to stop its process. As the printers are not equipped with memory retrieve functions, I could not resume the printing from where it had stopped. Additionally as the booked session was almost up, I could not reprint the design. Thus, I was left with this incomplete version of this.
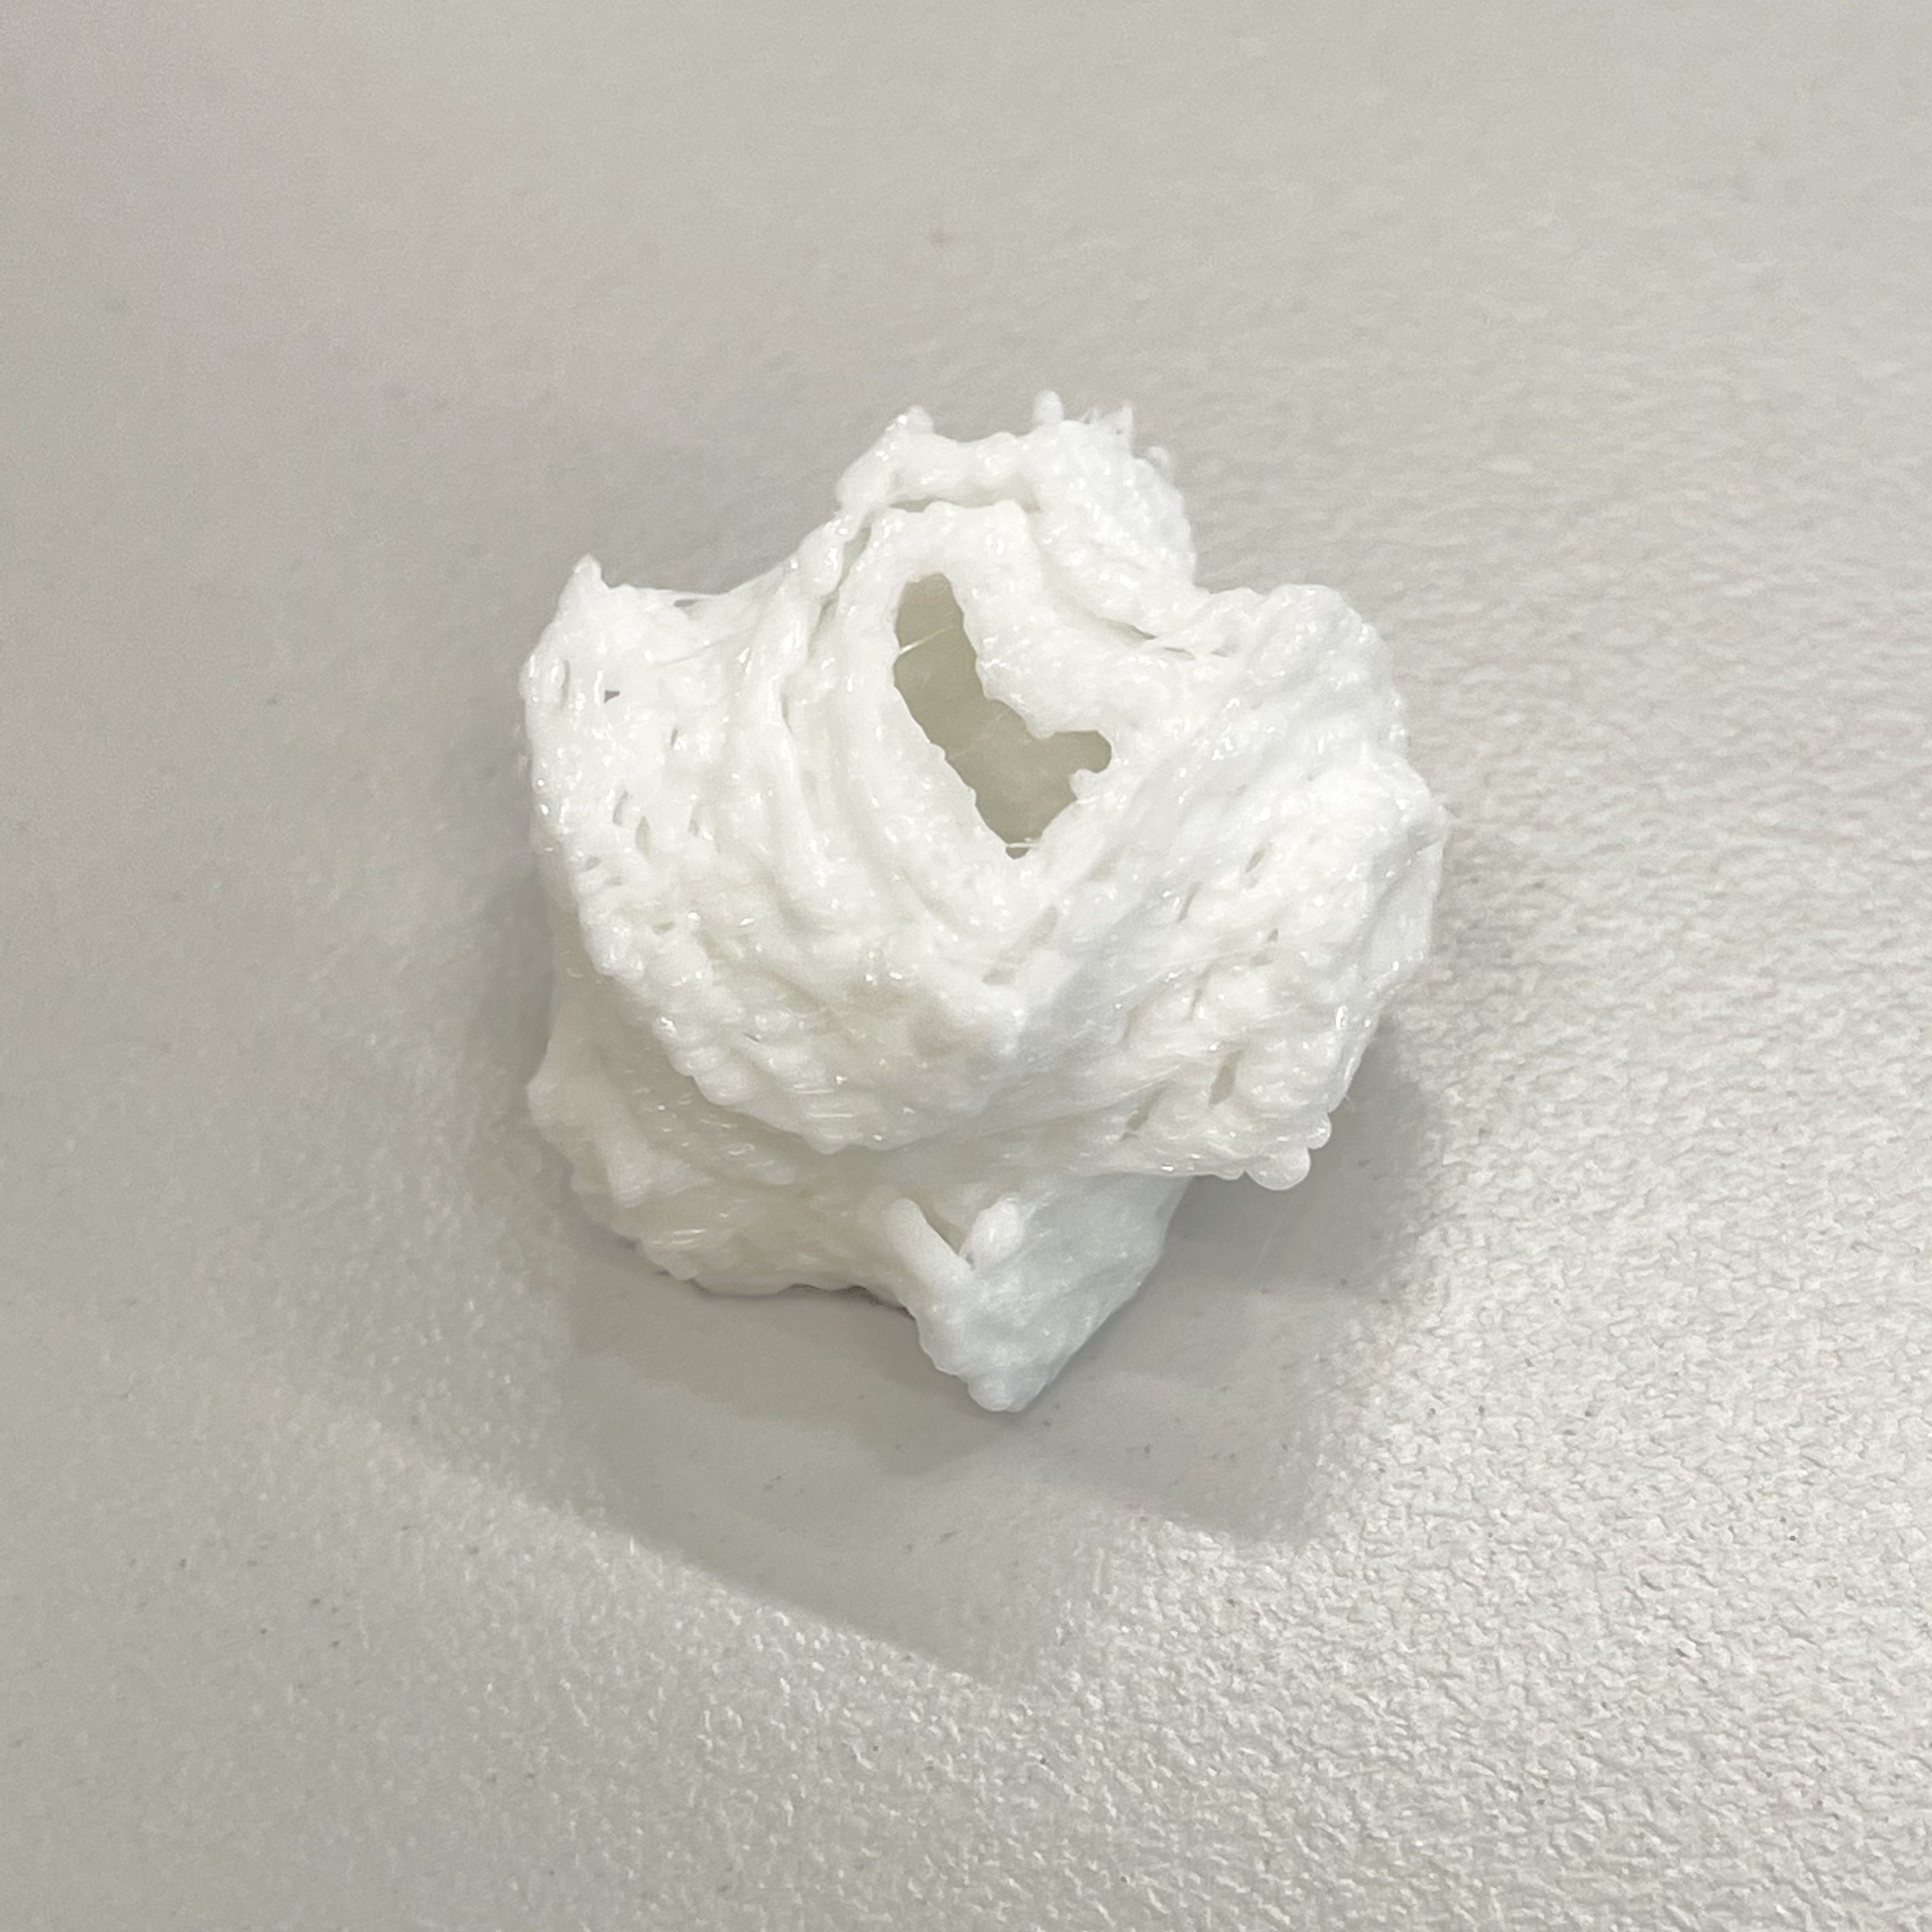
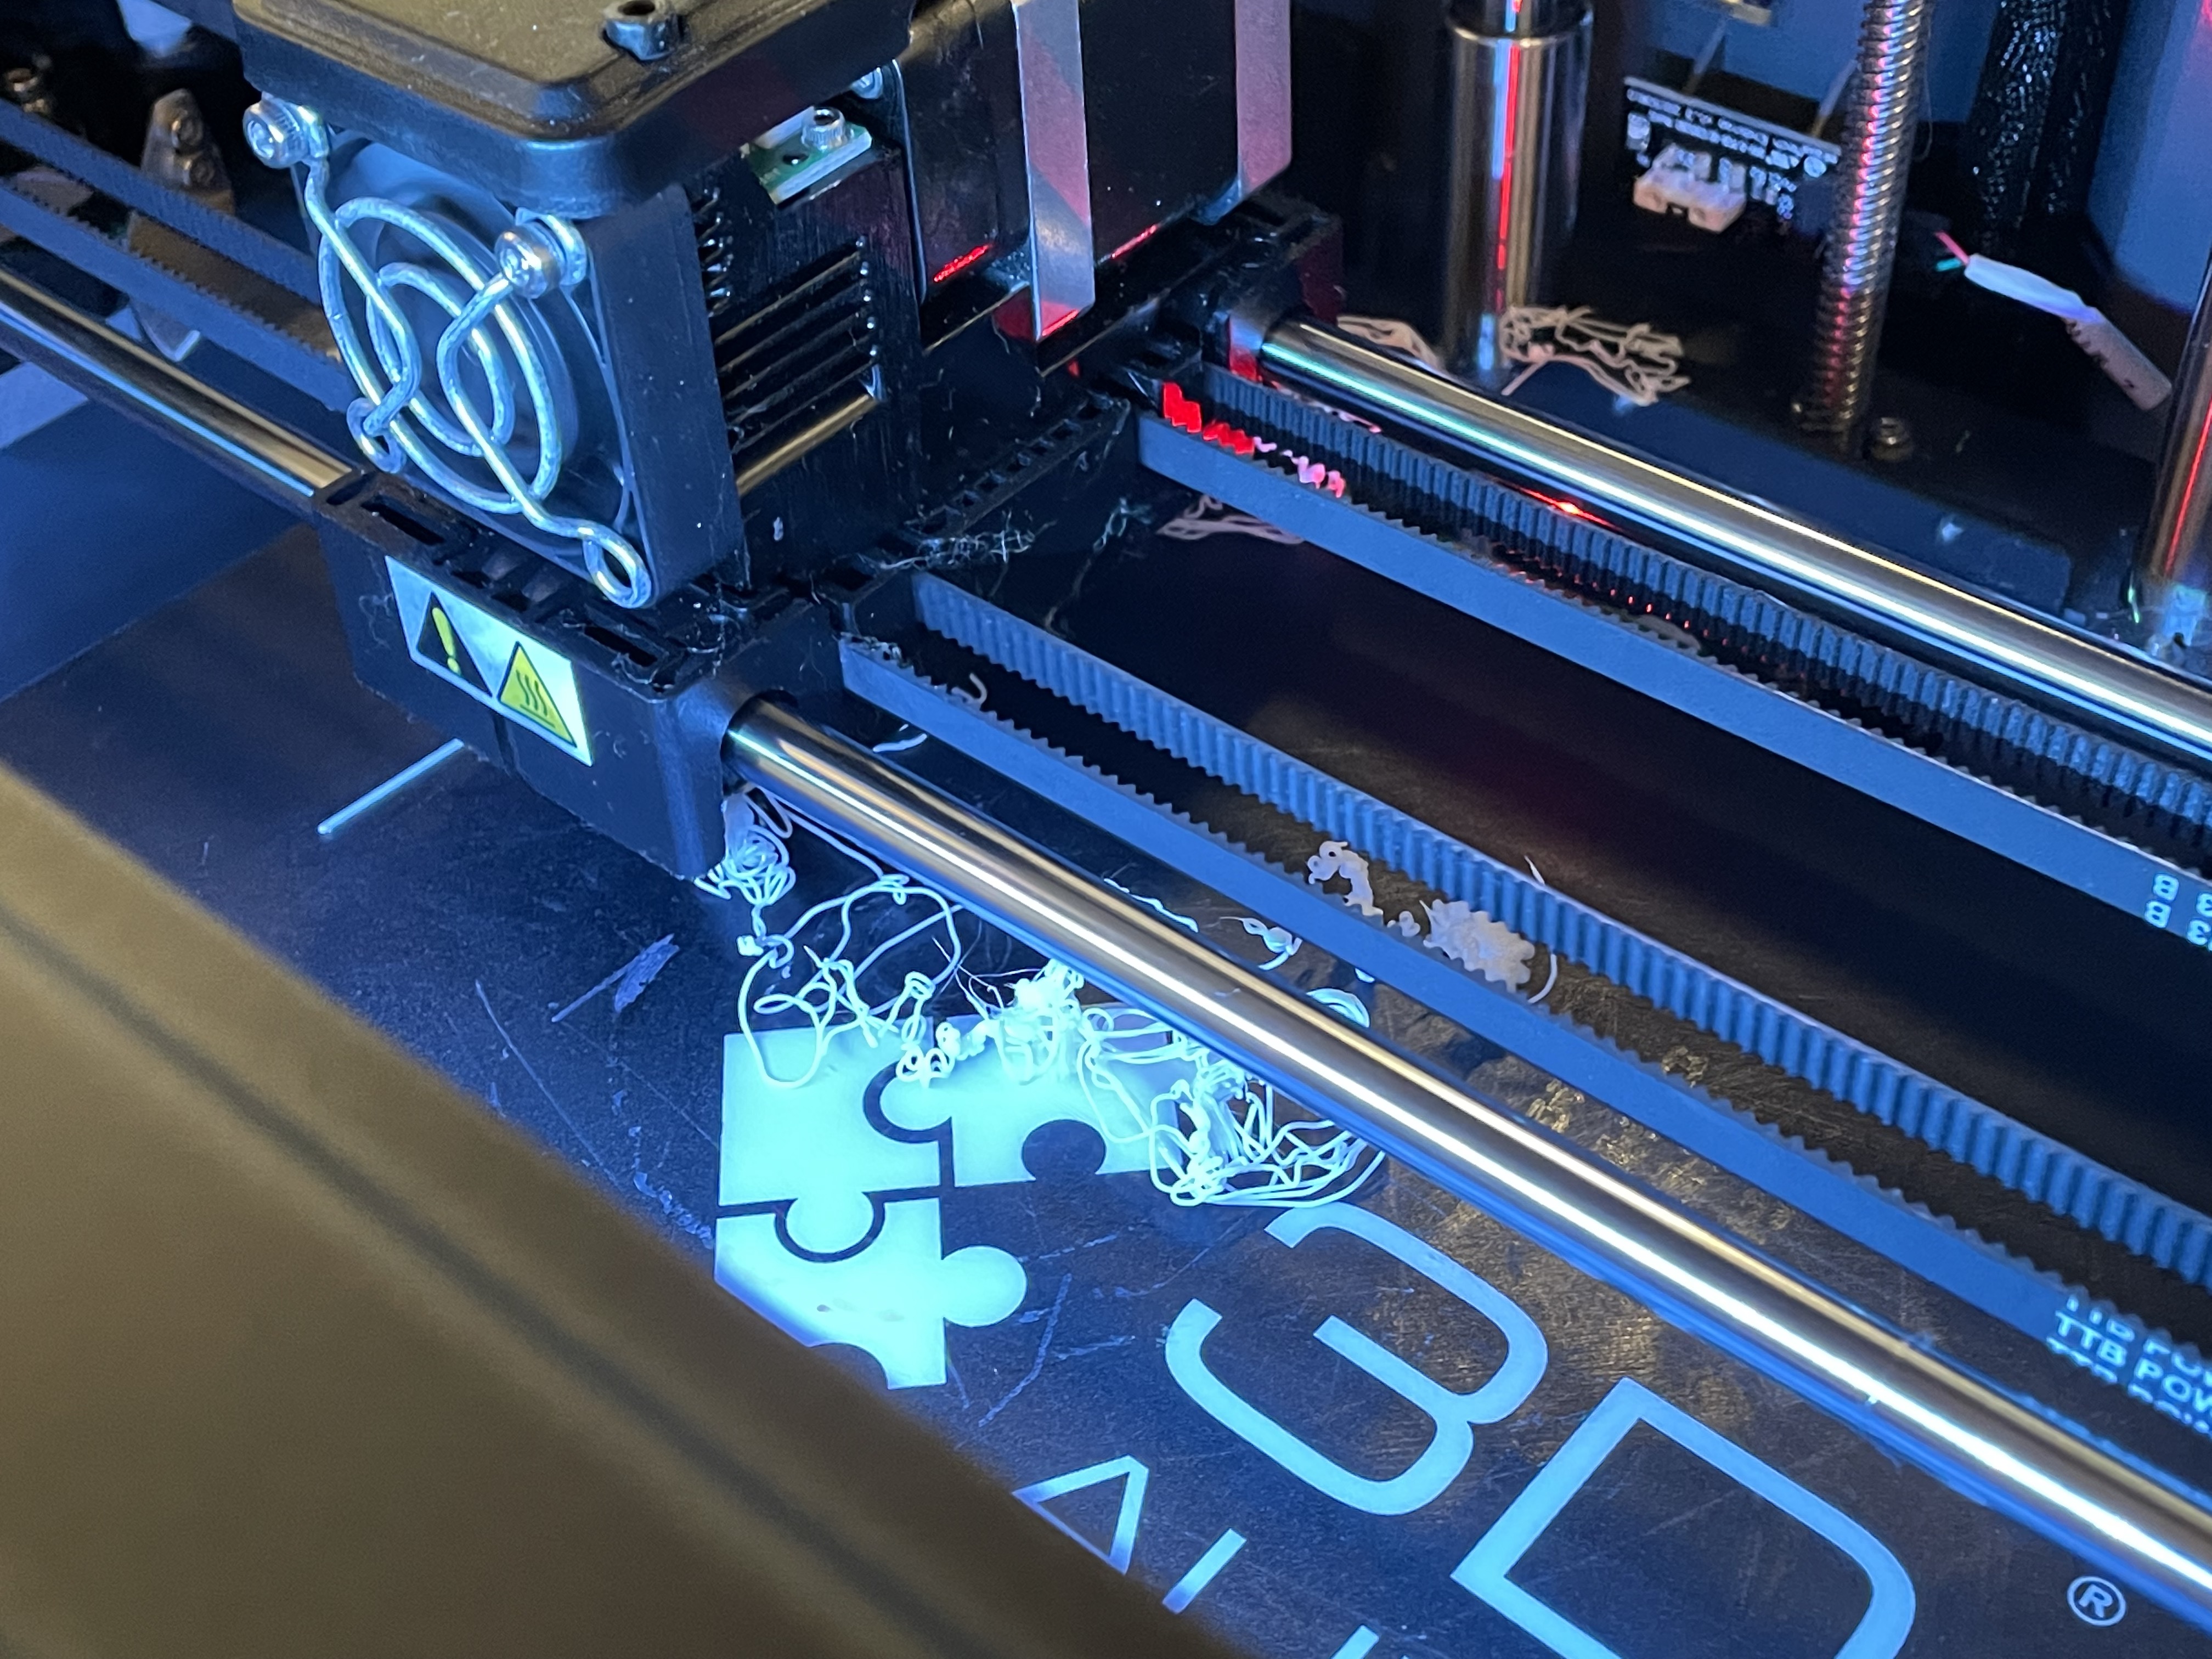
Over on the first printer I was assigned to, the data object #14 encountered the same issue as all the previous designs. The extruded areas could not stick to the mat while printing which messes up the extrusion process. Comparing the two results of the different printers, I believe that the initial problem to start off was because the mat was too worn off which made it difficult for the extruder to grip onto. However, due to the MakeIt space policy we weren't allowed to change printers or the mats so unfortunately I would have to try my luck in getting a better printing mat in my next printing session.

KEYSTROKE DETECTION INTERFACE
Revisited the Affective Data Objects prototype to fix the generative data object display and link the display to the keystroke attributes that are being collected through code.
First, I tried to include videos of the animated 3D data objects in the form of gifs. To do so, I referenced multiple tutorials on the use of background-image.
I also referenced this Stackoverflow discussion on how to write an expression to display gifs within a certain value range. I intend for the gifs to interchange according to the changes in speed values, specifically the best key time rate as this value doesn't constantly change, which may make the generativity of data objects appear random.
To execute the above, I also looked into how I could reference the value within a td cell.
Below I used two videos from past prototype documentations to test the functions before I work on the individual videos for the data objects. When the typing speed reaches 100, it changes the gif being display. The speed can be seen in the console.log.