1 / Audio-Reactive Typography
2 / Prototype Photography
3 / Building the Keystroke Logger
4 / 3D Printing
5 / Consultation
AUDIO-REACTIVE TYPOGRAPHY
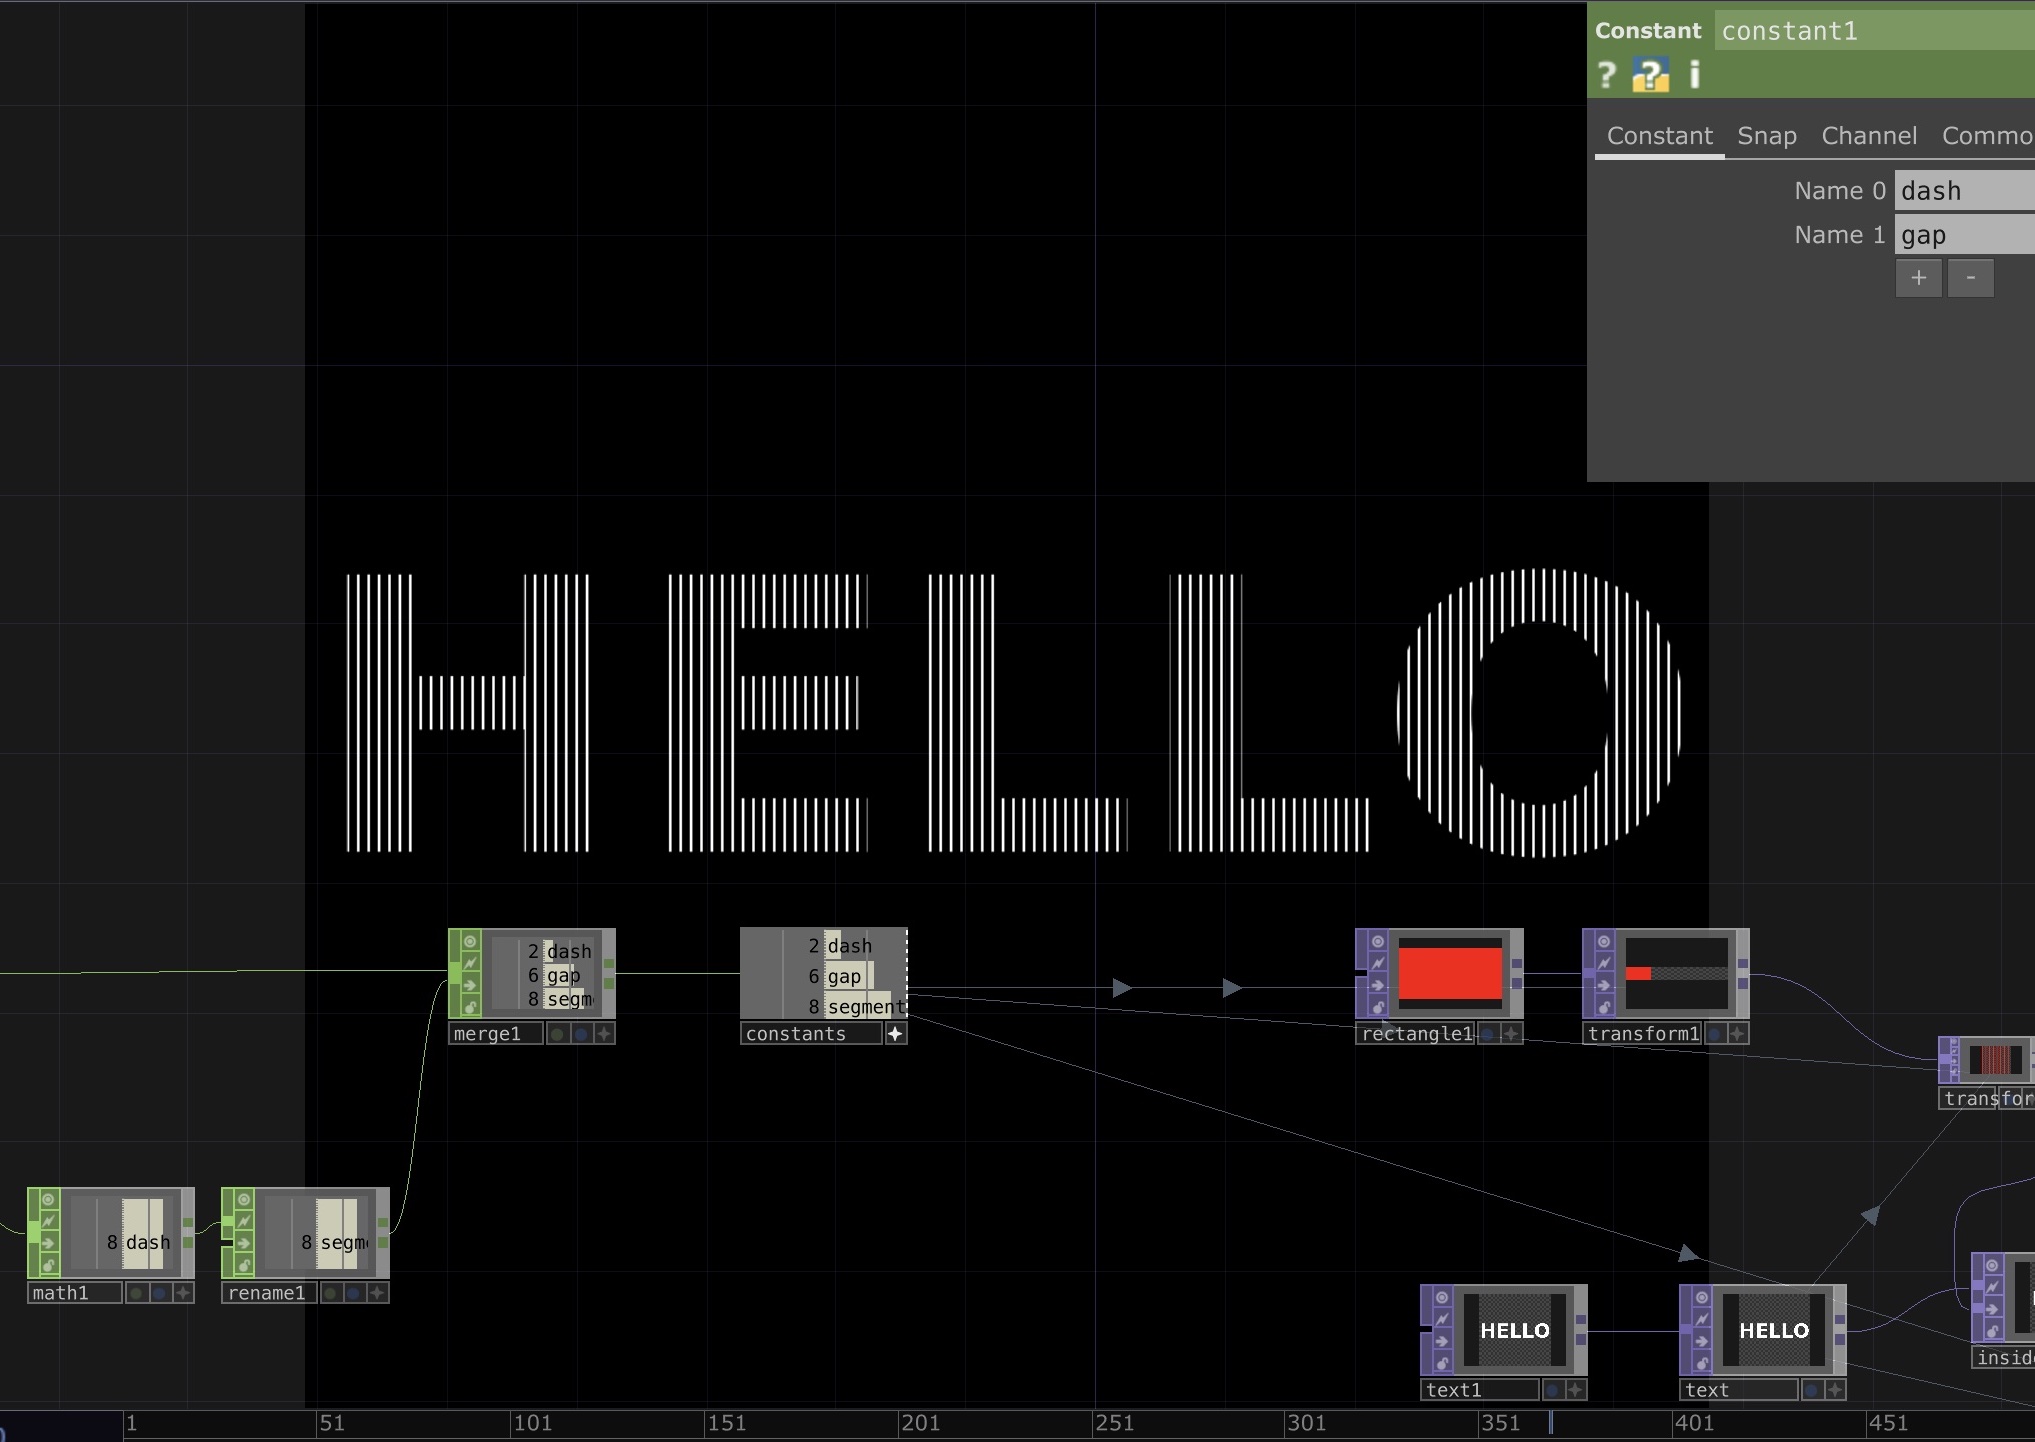
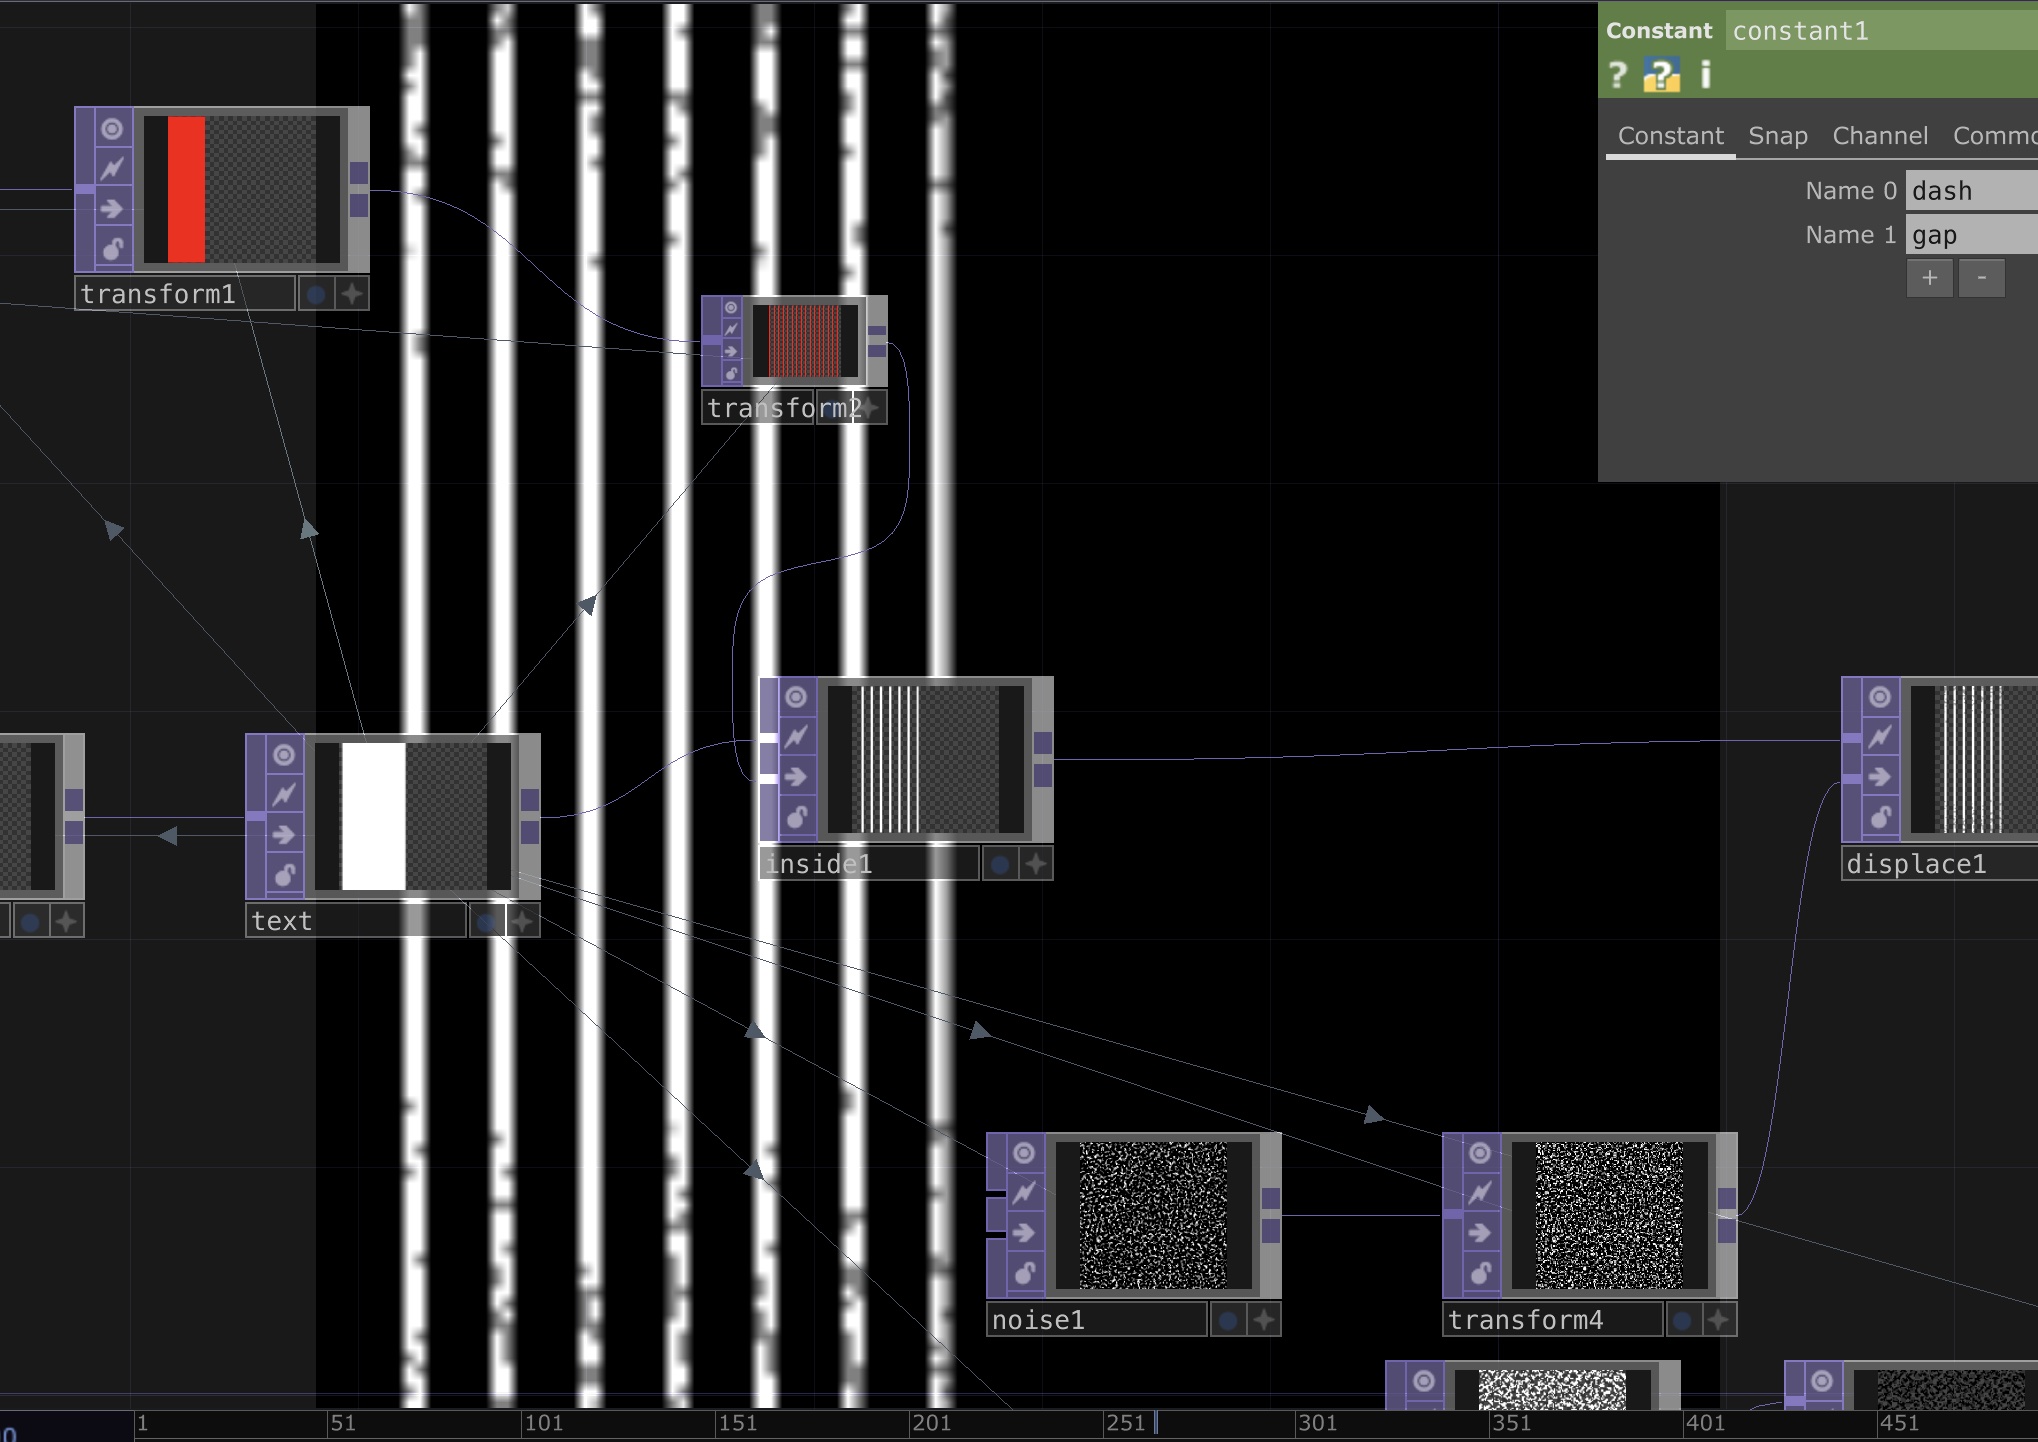
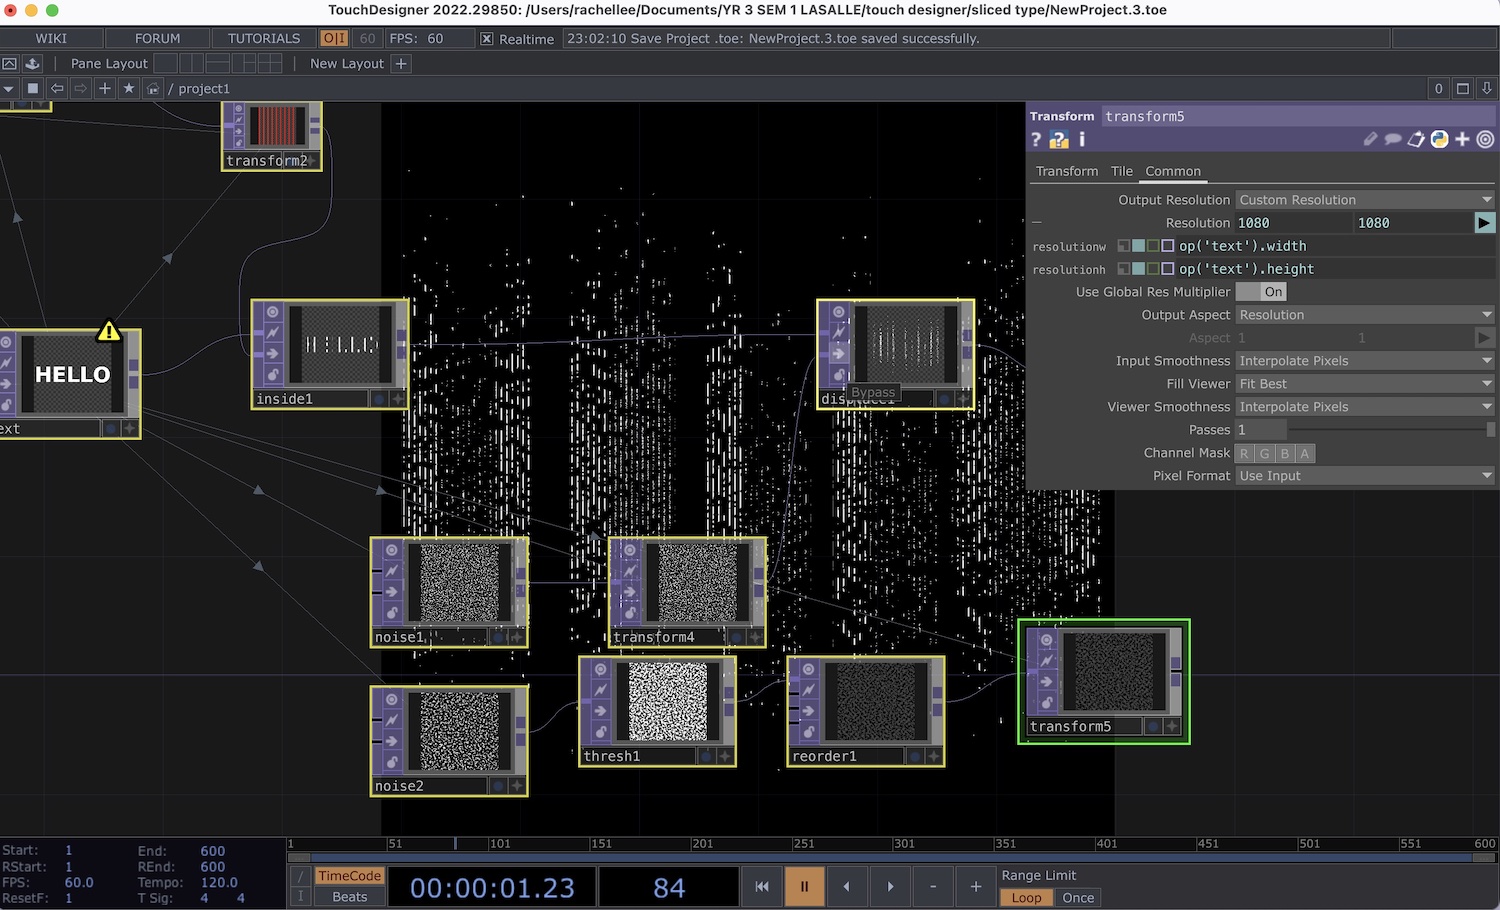
For the scientific prototype exploring voice as our personalities, to learn how I can use audio inputs to manipulate typography, I looked into Touchdesigner as a method to collect audio inputs. To which I found this tutorial by ↘Bruno Imbrizi on creating reactive slices in typography. Basically, this tutorial covers how I will be able to convert letterforms into shapes that could be linked to audio analysers.
-
-
While working on the audio-reactive typography, I added noise as a mesh to the type, which created this speckled effect on the letterform, rendering it unclear and ambiguous. I thought the noise brought an interesting dynamic to the visual as it sort of looked like particles forming the typography.
PROTOTYPE PHOTOGRAPHY

BUILDING THE KEYSTROKE LOGGER
I think the most difficult part of this prototype was trying to build the keystroke tracker in order to collect data for the analysis. Starting off with tutorials online, I tried searching terms such as 'keypressed' 'keyreleased', 'keystroke', 'keyboard', 'keylogger', 'keyevents'. After watching tons of youtube tutorials, I did learn a couple of useful tips in using key event functions etc. but none of the tutorials were exactly what I was looking for.
-
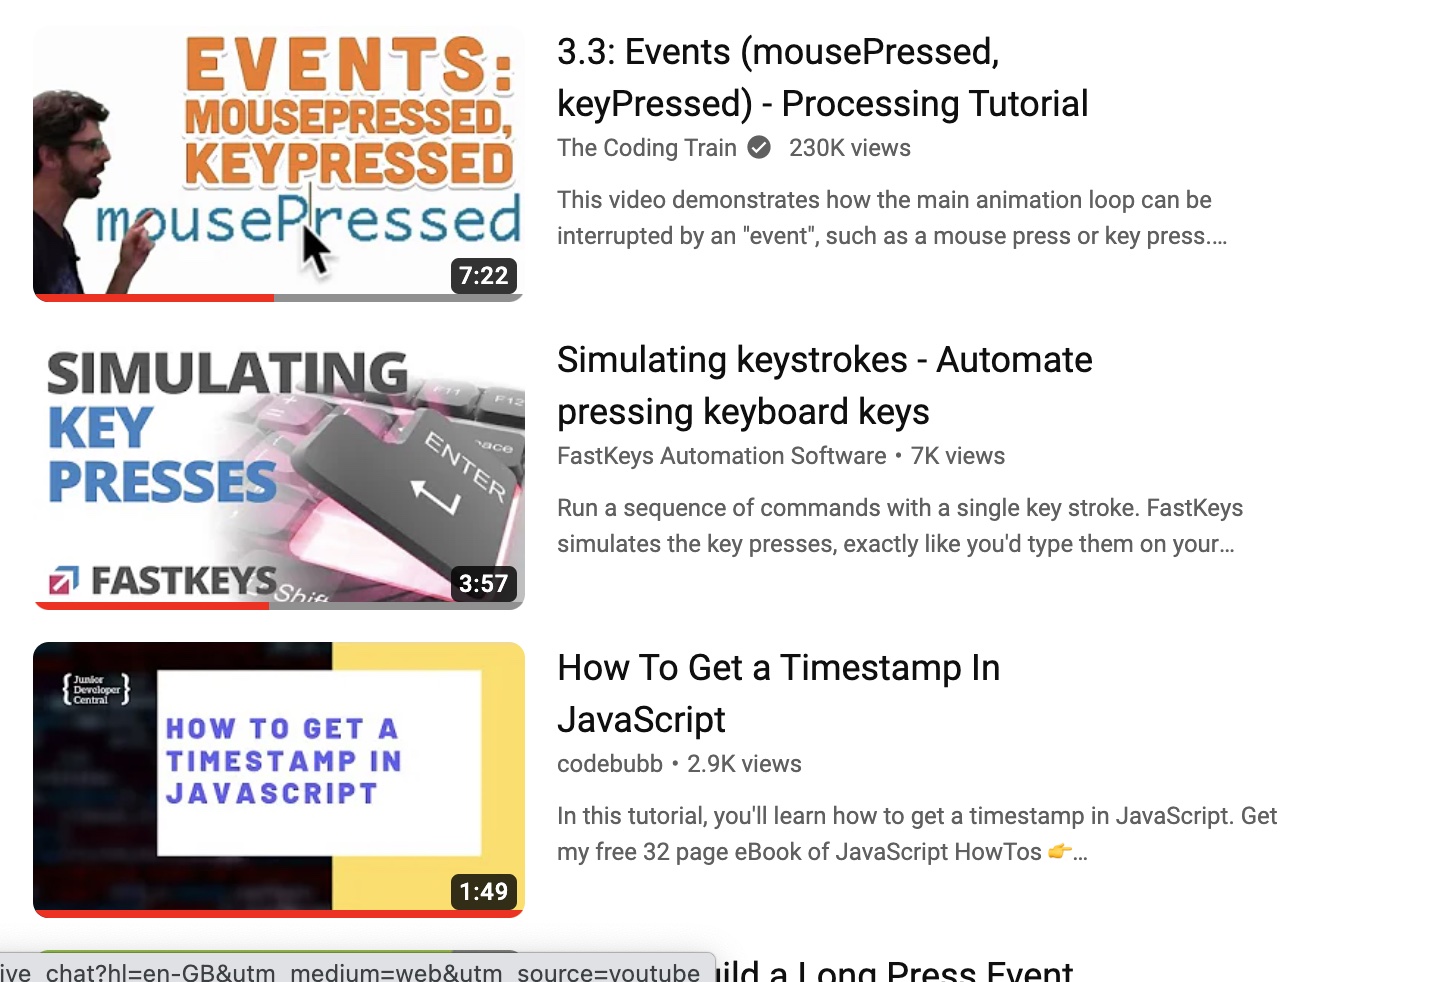
Images: Sceenshots of Tracking Keystroke Youtube Tutorials
-

-
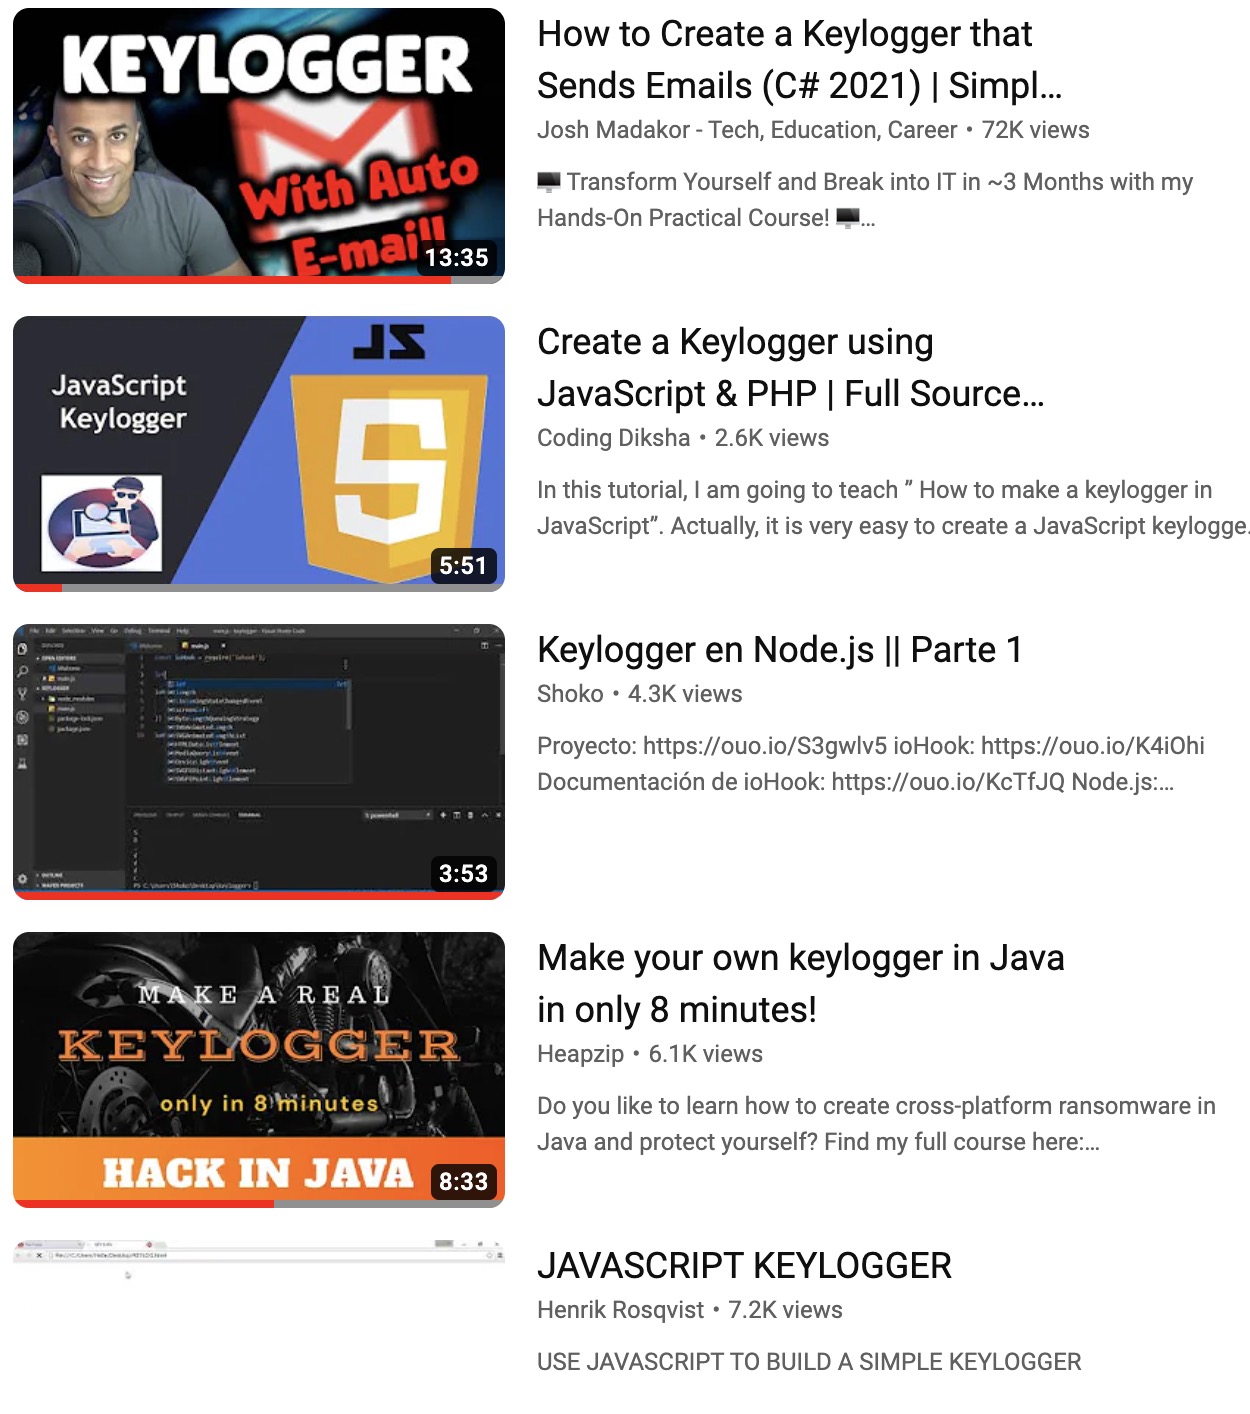
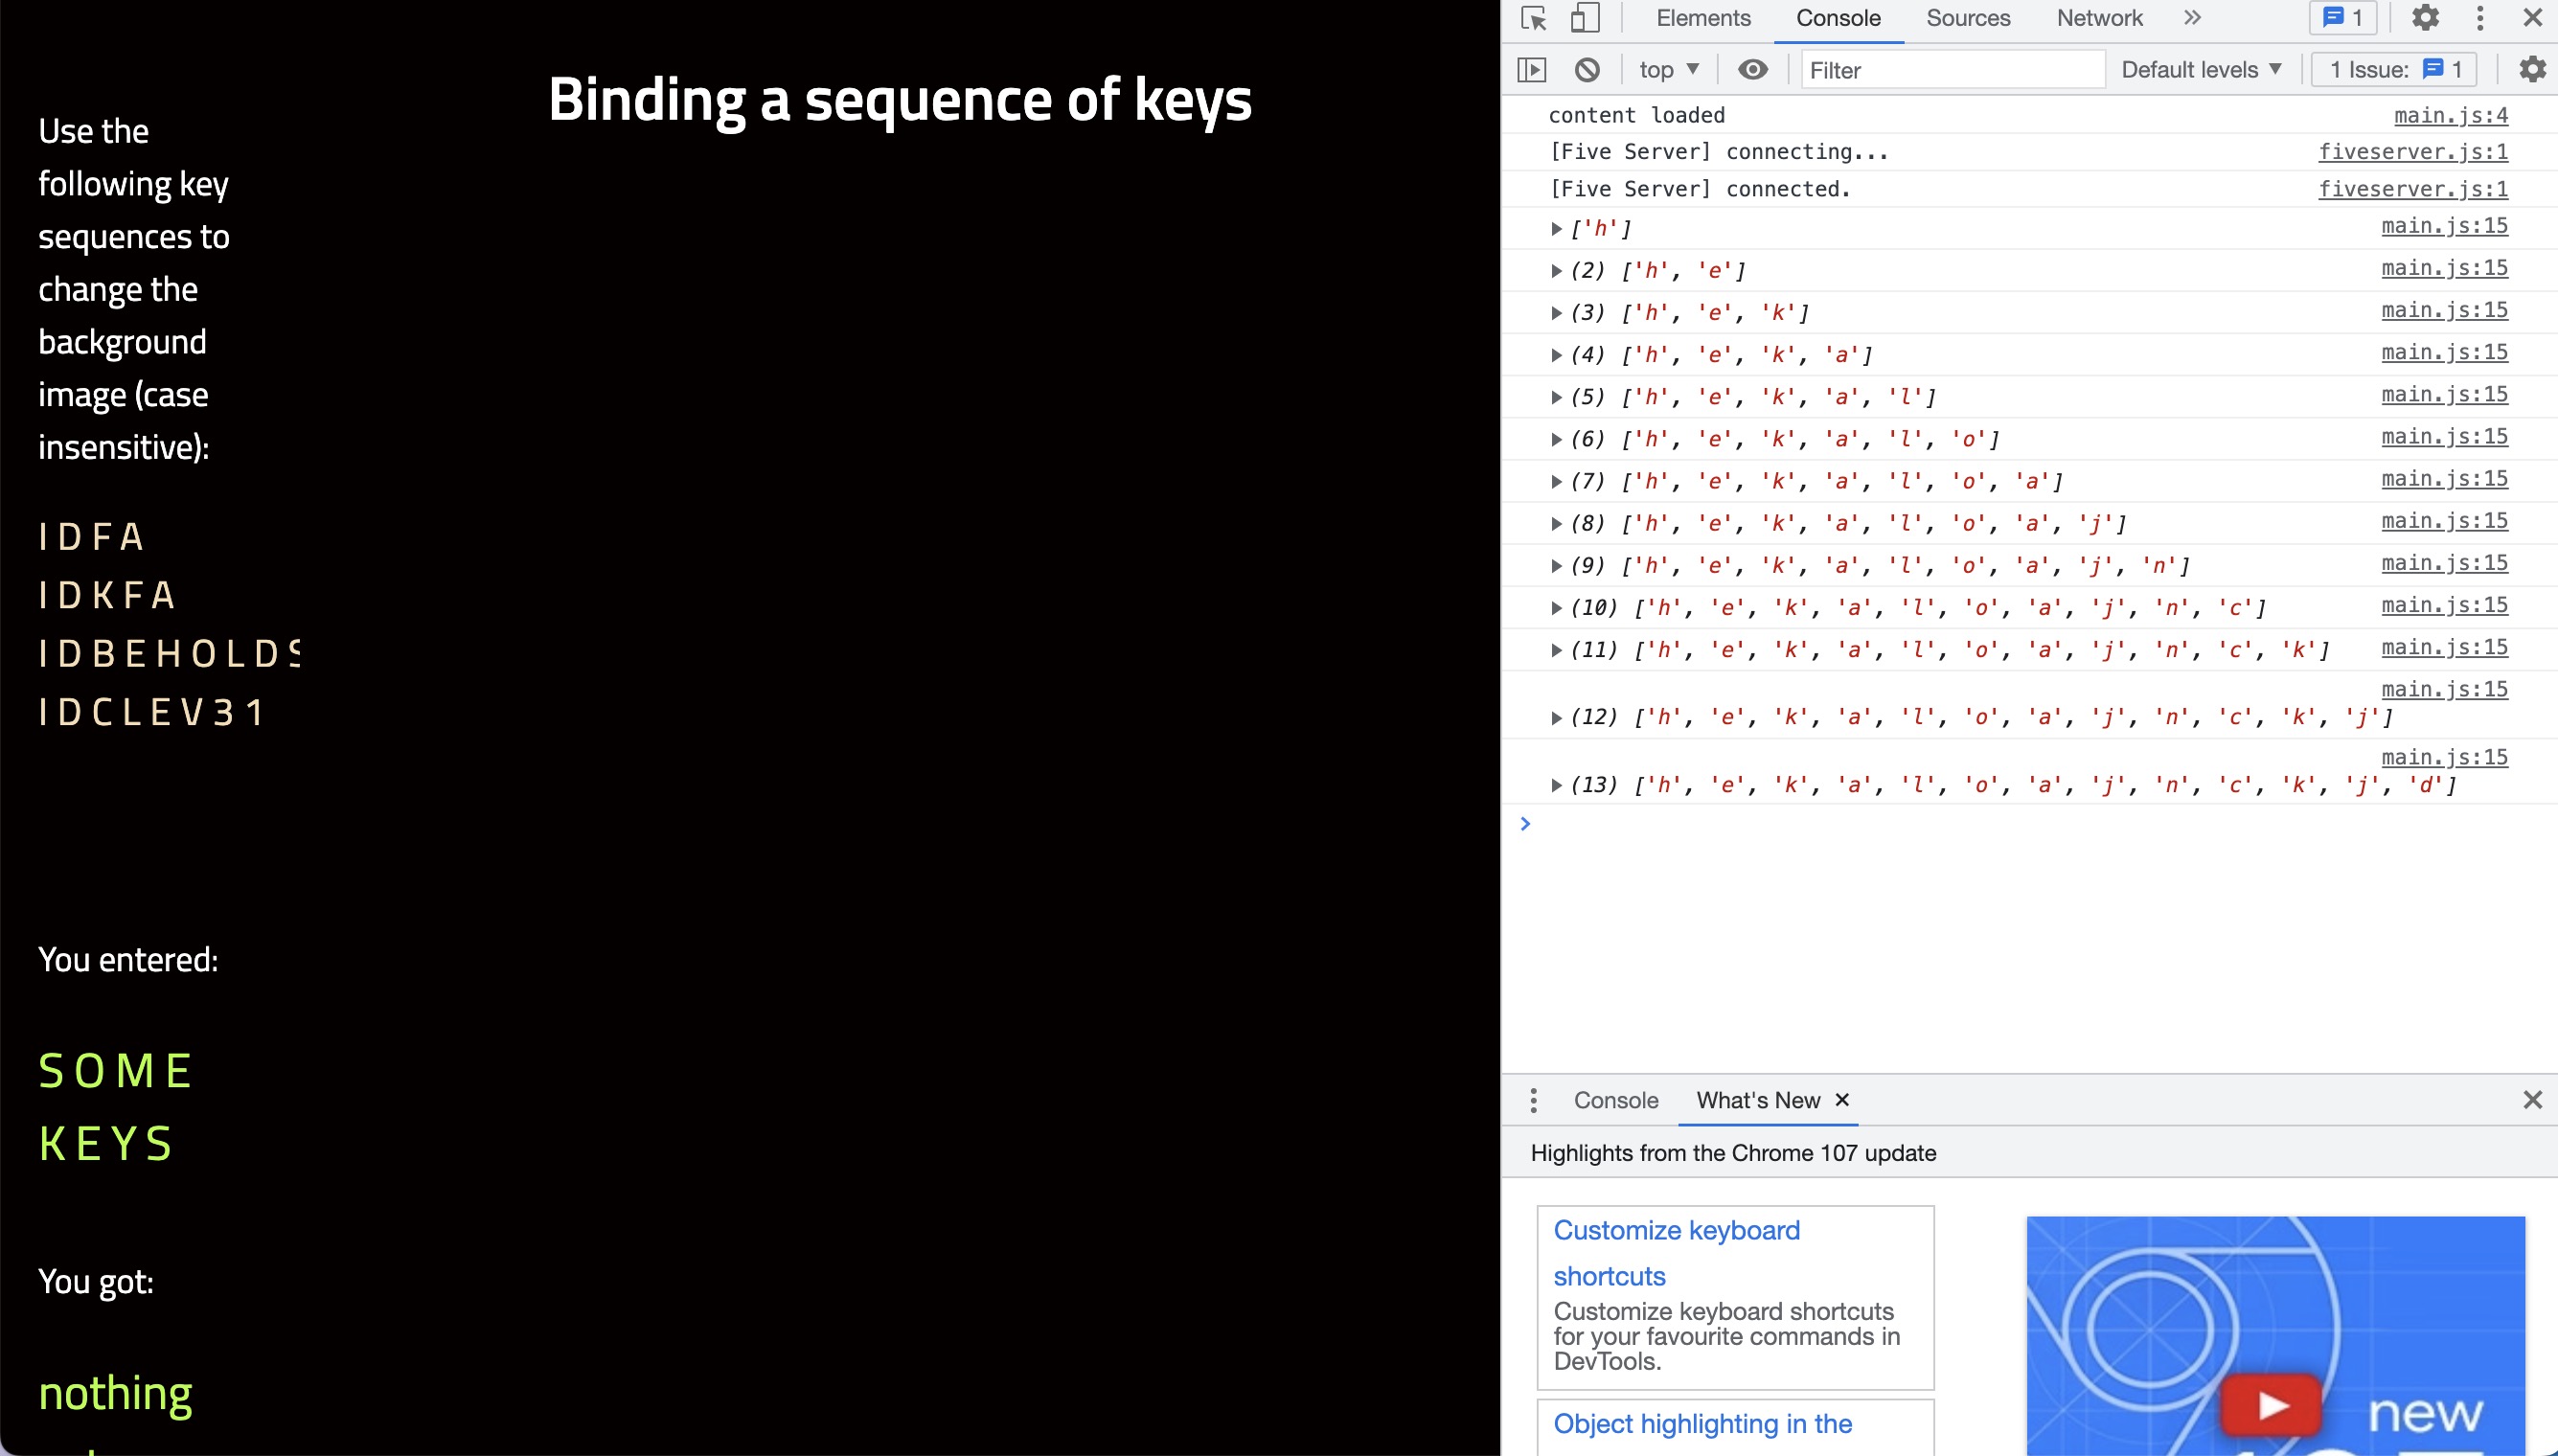
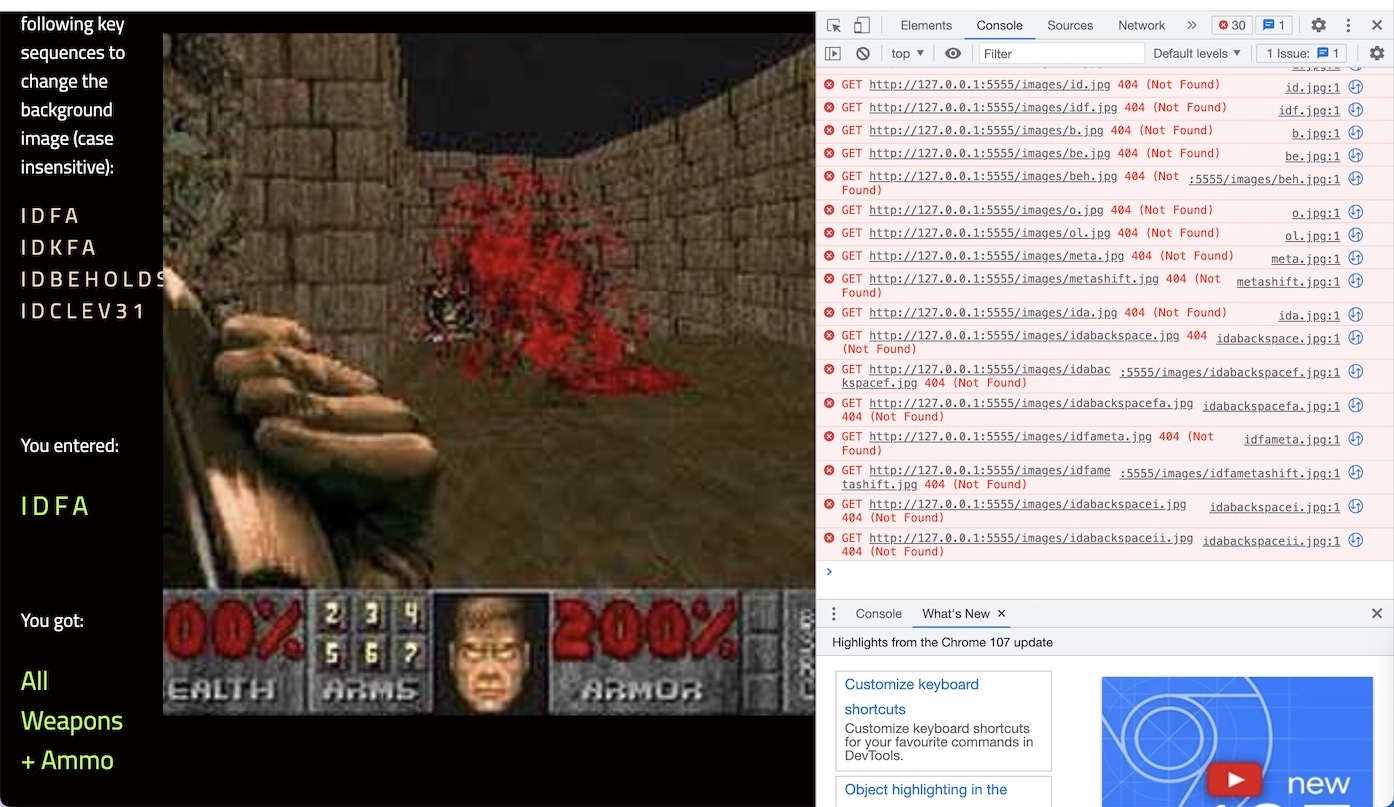
Since there weren't any success in finding a tutorial that does that, I started to search for existing keystroke/key events projects in hopes to find something that I could use as a basis for my interface. I did find some that did use key events to produce some sort of outcome like when a key is pressed, show an image, which I've managed to recreate over on my end.
(There were some hiccups like the image on the left where I did manage to record my keystrokes in an array through the terminal which I thought was a small step forward in trying to track our keystrokes, but the image didn't show.)
Images: Sceenshots from first try
at using key events in html
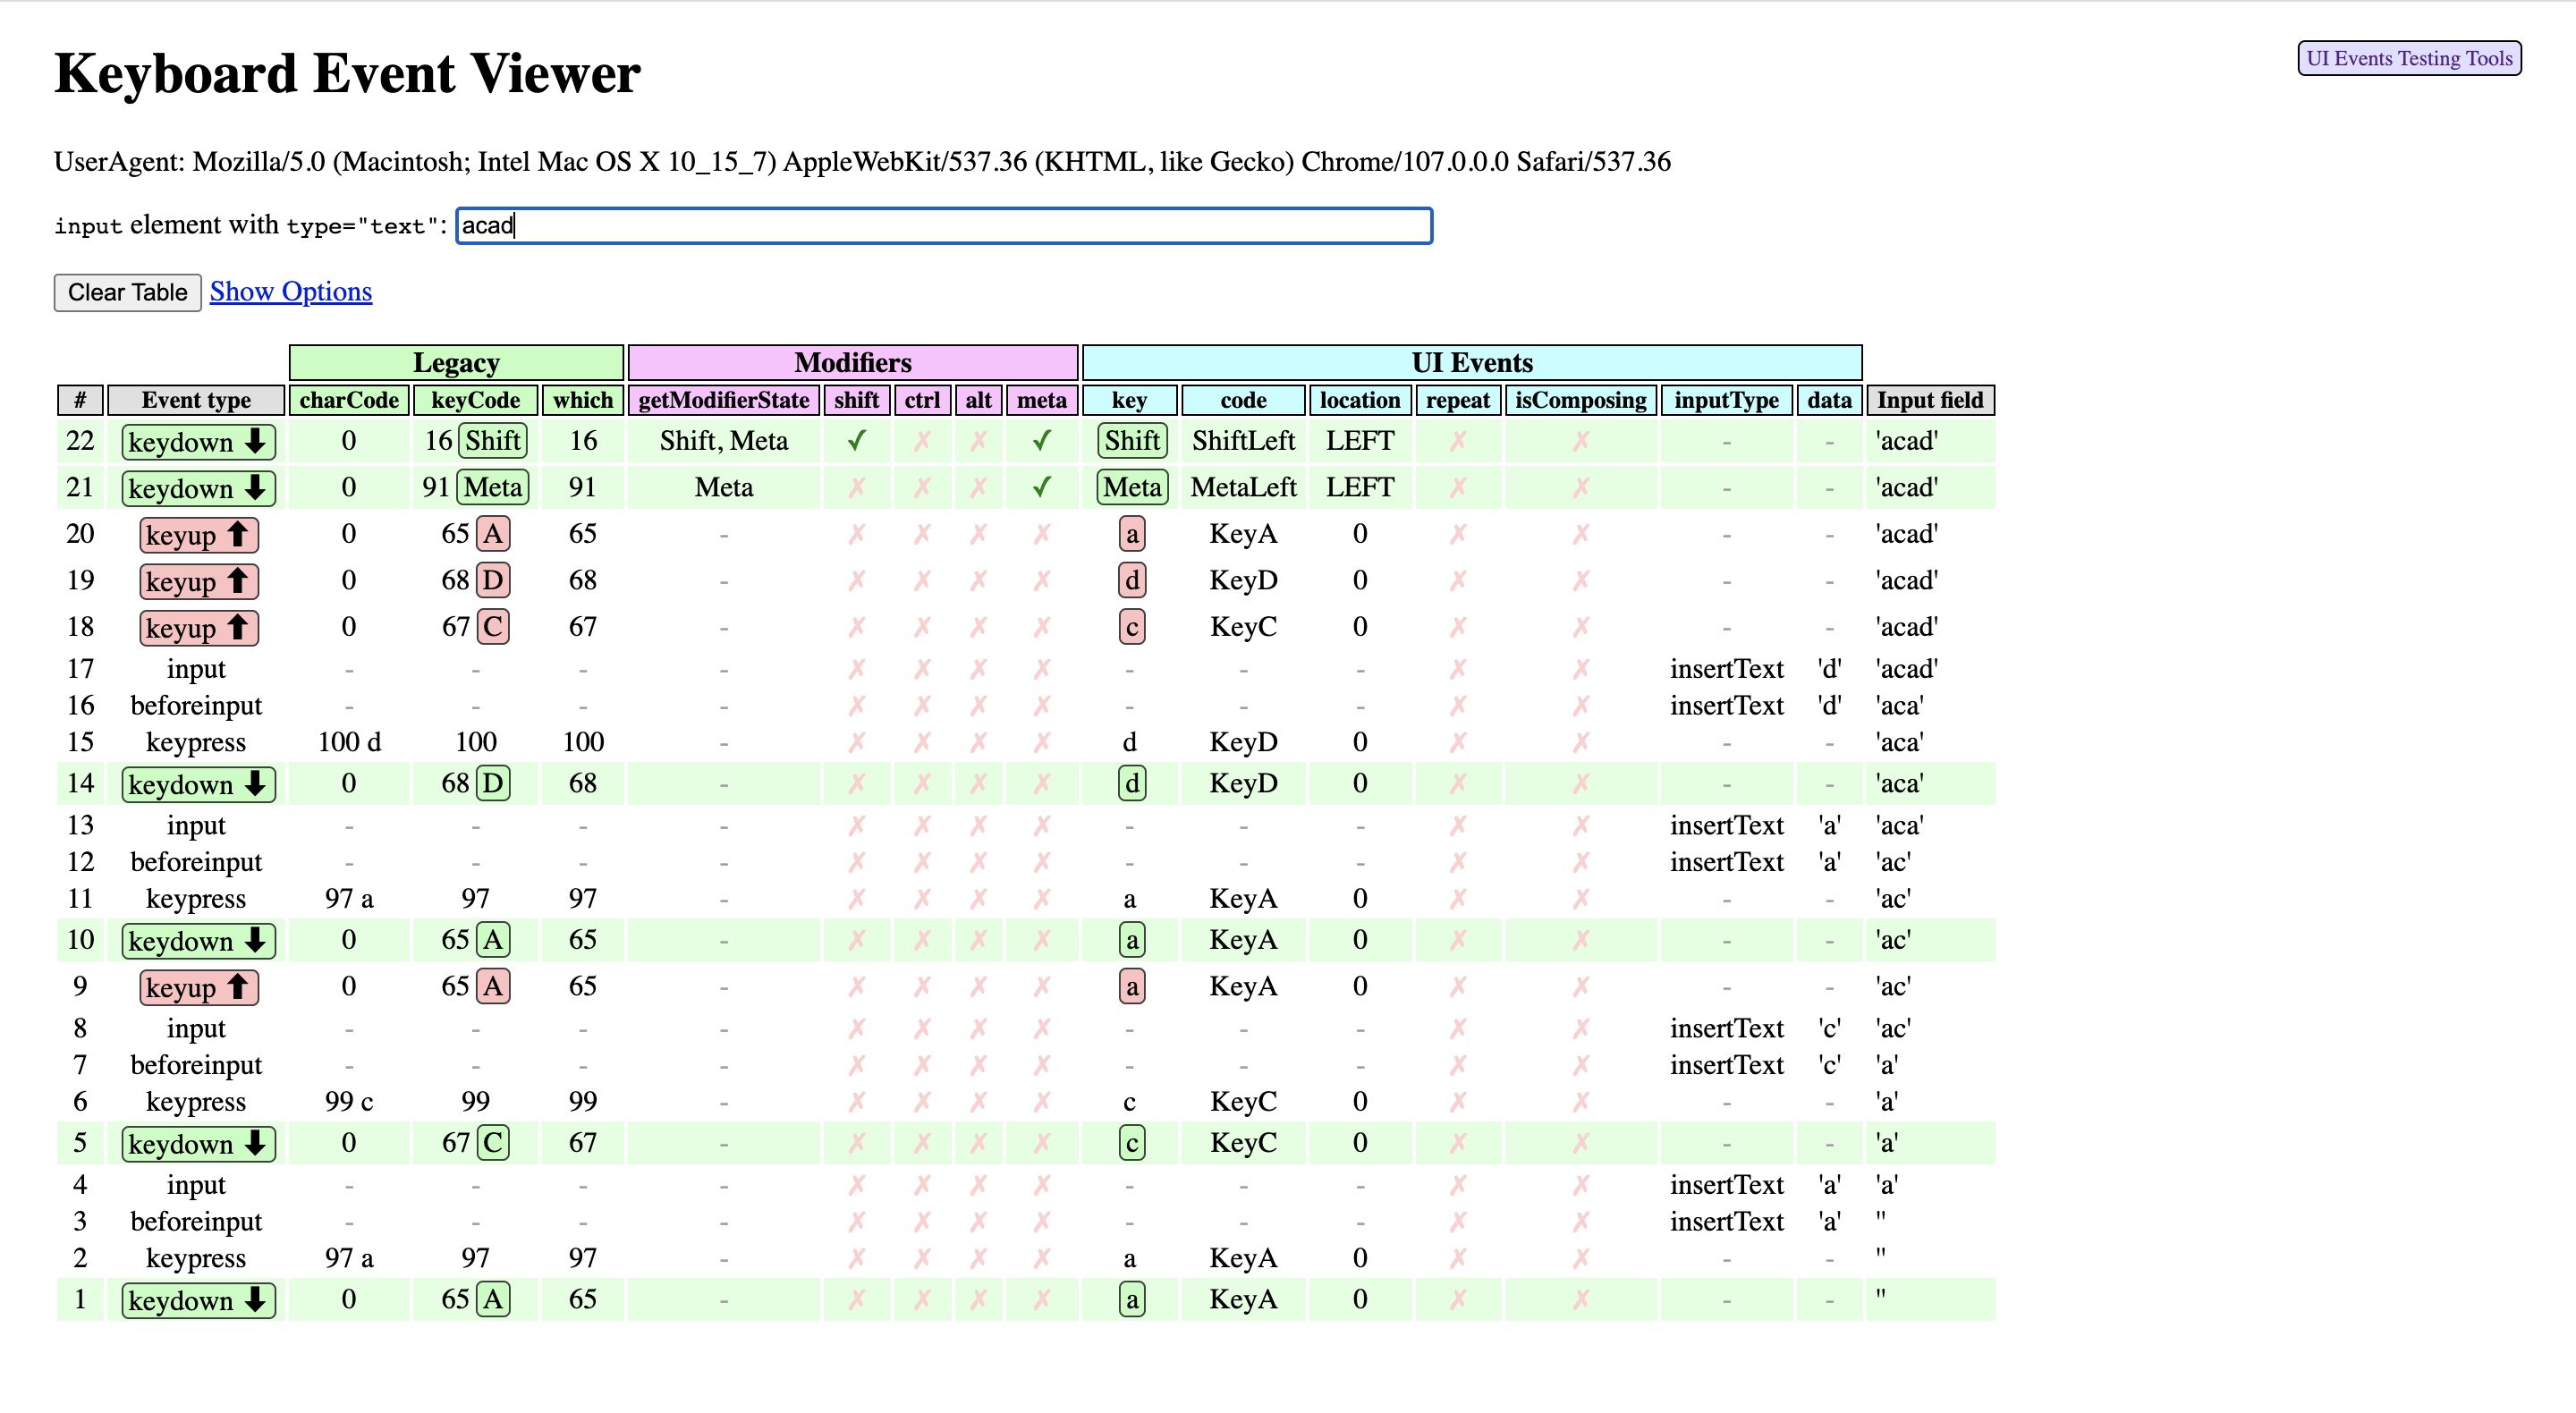
Keyboard Event Viewer
From there, I tried to find pieces of key event functions that I could reference from to piece together an interface. First, I tried to find a code that could help to track what I was typing. Finally I found this tool on github, where someone built a keyboard event viewer that could display the what the user was typing into the input
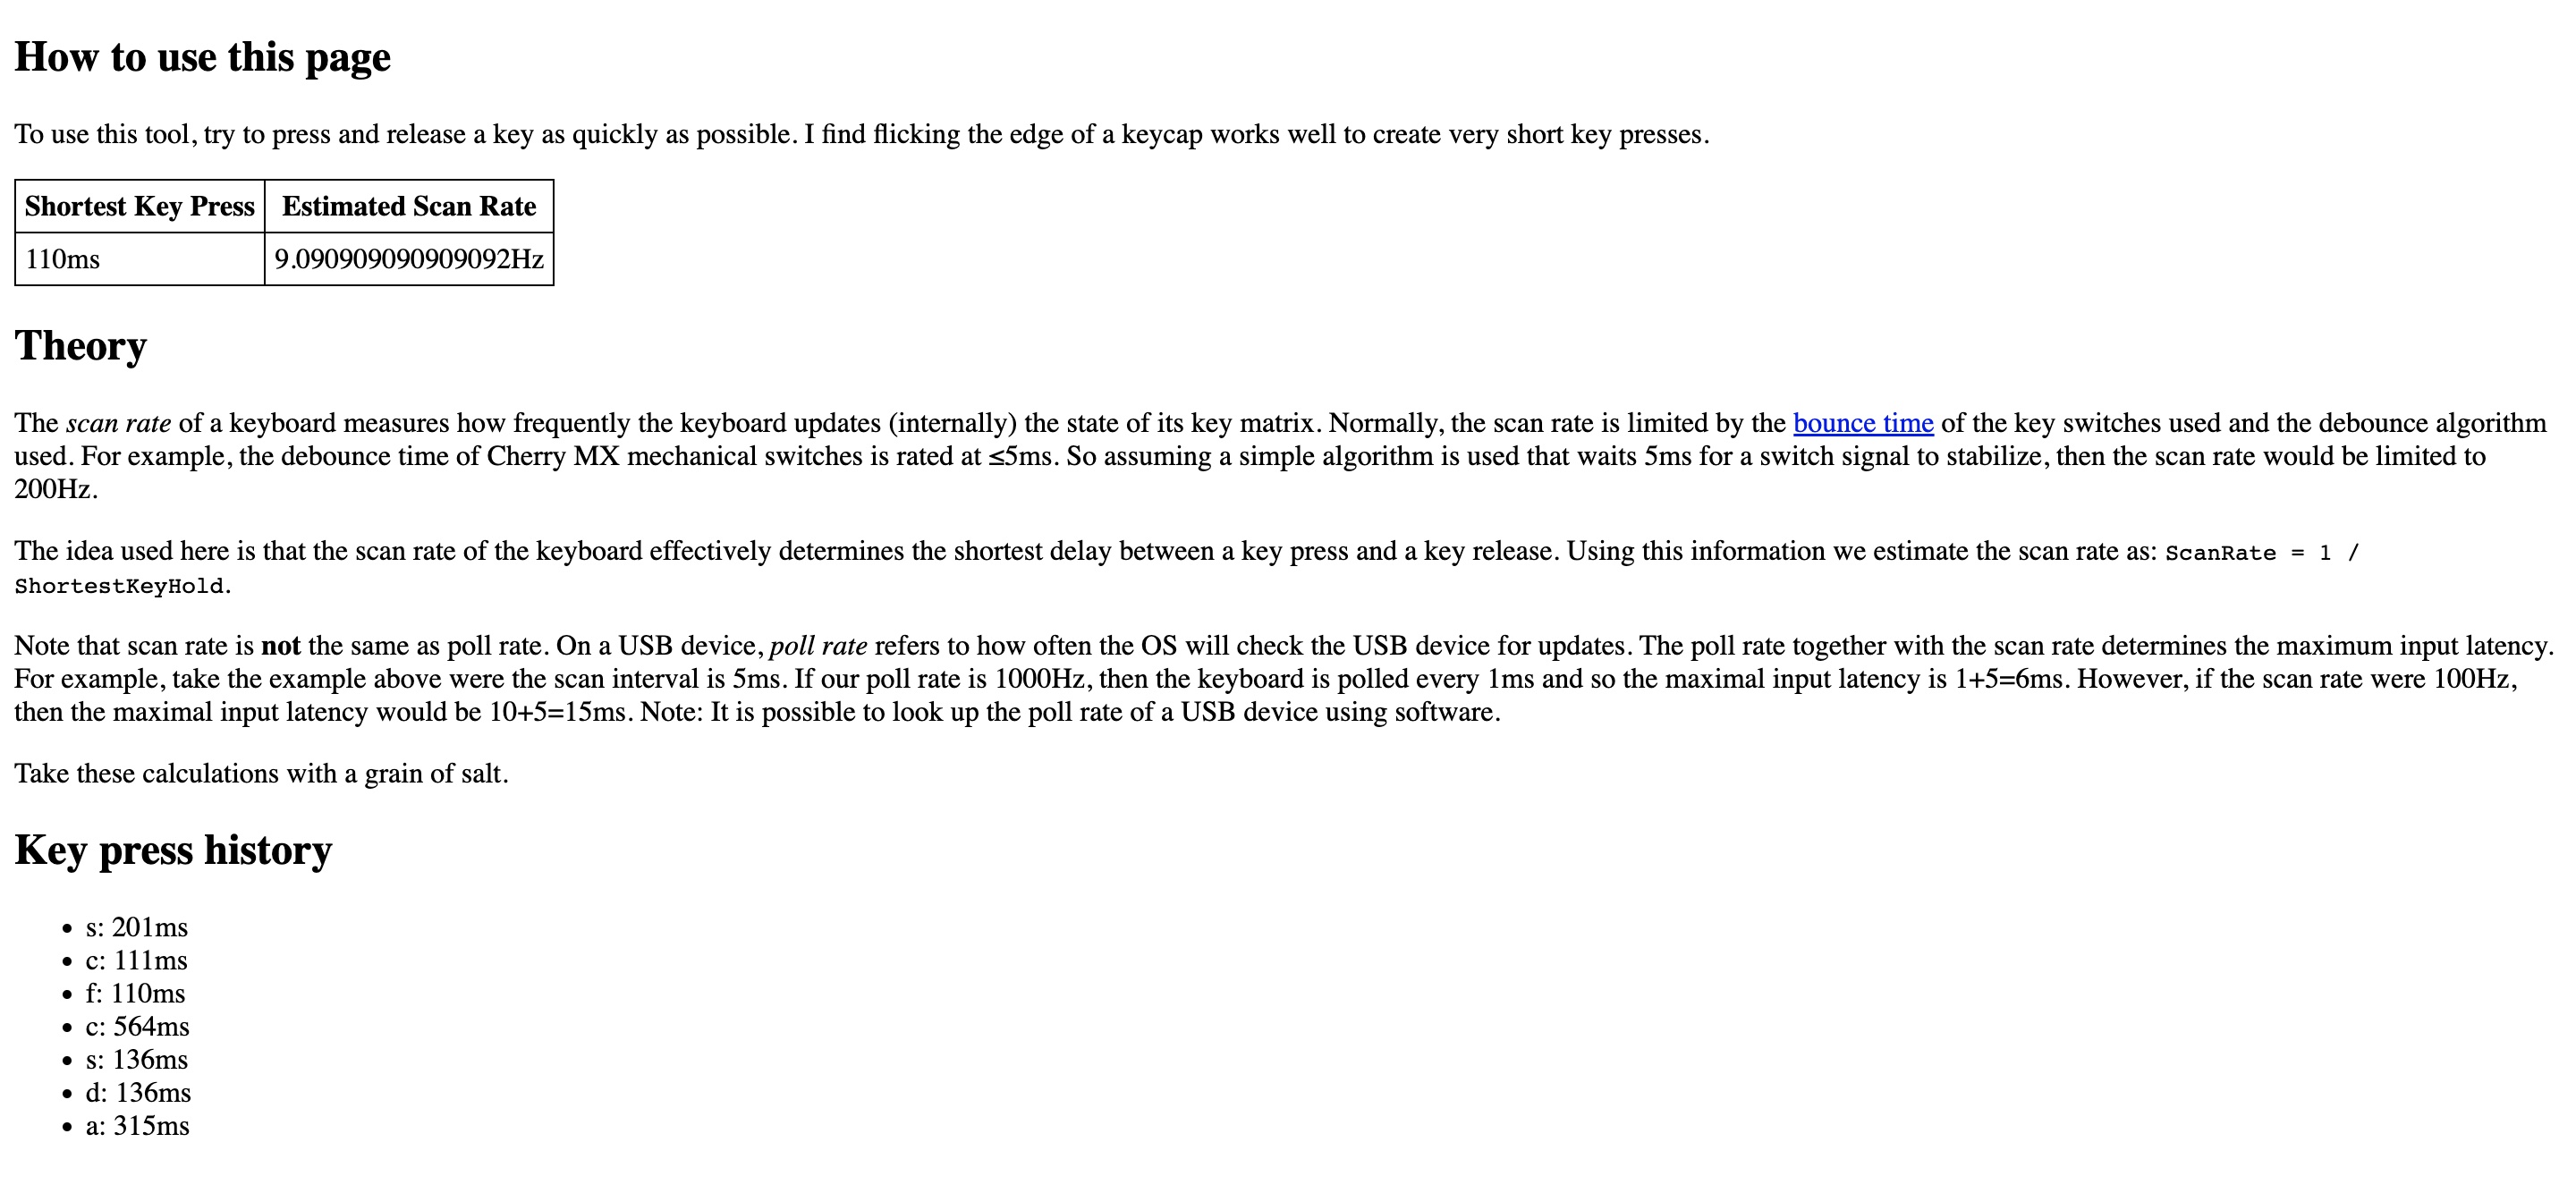
Keyboard Scan Rate Estimator
Next, I tried to find out how I could time the intervals between keystrokes. Do I record the timestamp when the key is pressed and released or do I time the pause between keystrokes? For this, I searched the Internet for keystroke timers, to which I found this site that tracks the rate of of keys being pressed.
- ↘ Link to Keyboard Event Viewer
- ↘ Link to Keyboard Scan Rate Estimator
But a problem with these two sites was that there was no file or code provided for us to use. Thus, I had to inspect the page and extract out the html, js and css codes one by one and try to make sense of the functions being used. I think interpreting what was done by different coders was quite a challenge so I spent quite some time trying to recreate their code and understanding them.
Attempts at building the keystroke tracker
After setting up both the keyboard event viewer and keyboard scan rate estimator on visual studio code, I tried to combine these two into one file. Using the keyboard event viewer code as the base, I adapted the code for the scan rate estimator into the file. It didn't work on the first try as expected, there was two sources of input, the files were disconnected with one another. But after several attempts I discovered an easy way to connect these two files–simply by just changing the data input for the scan rate estimator with the 'id' name of the data table in the keyboard event viewer. Which led me to the outcome below where, the both aspects of the code could track what I was typing at the same time.
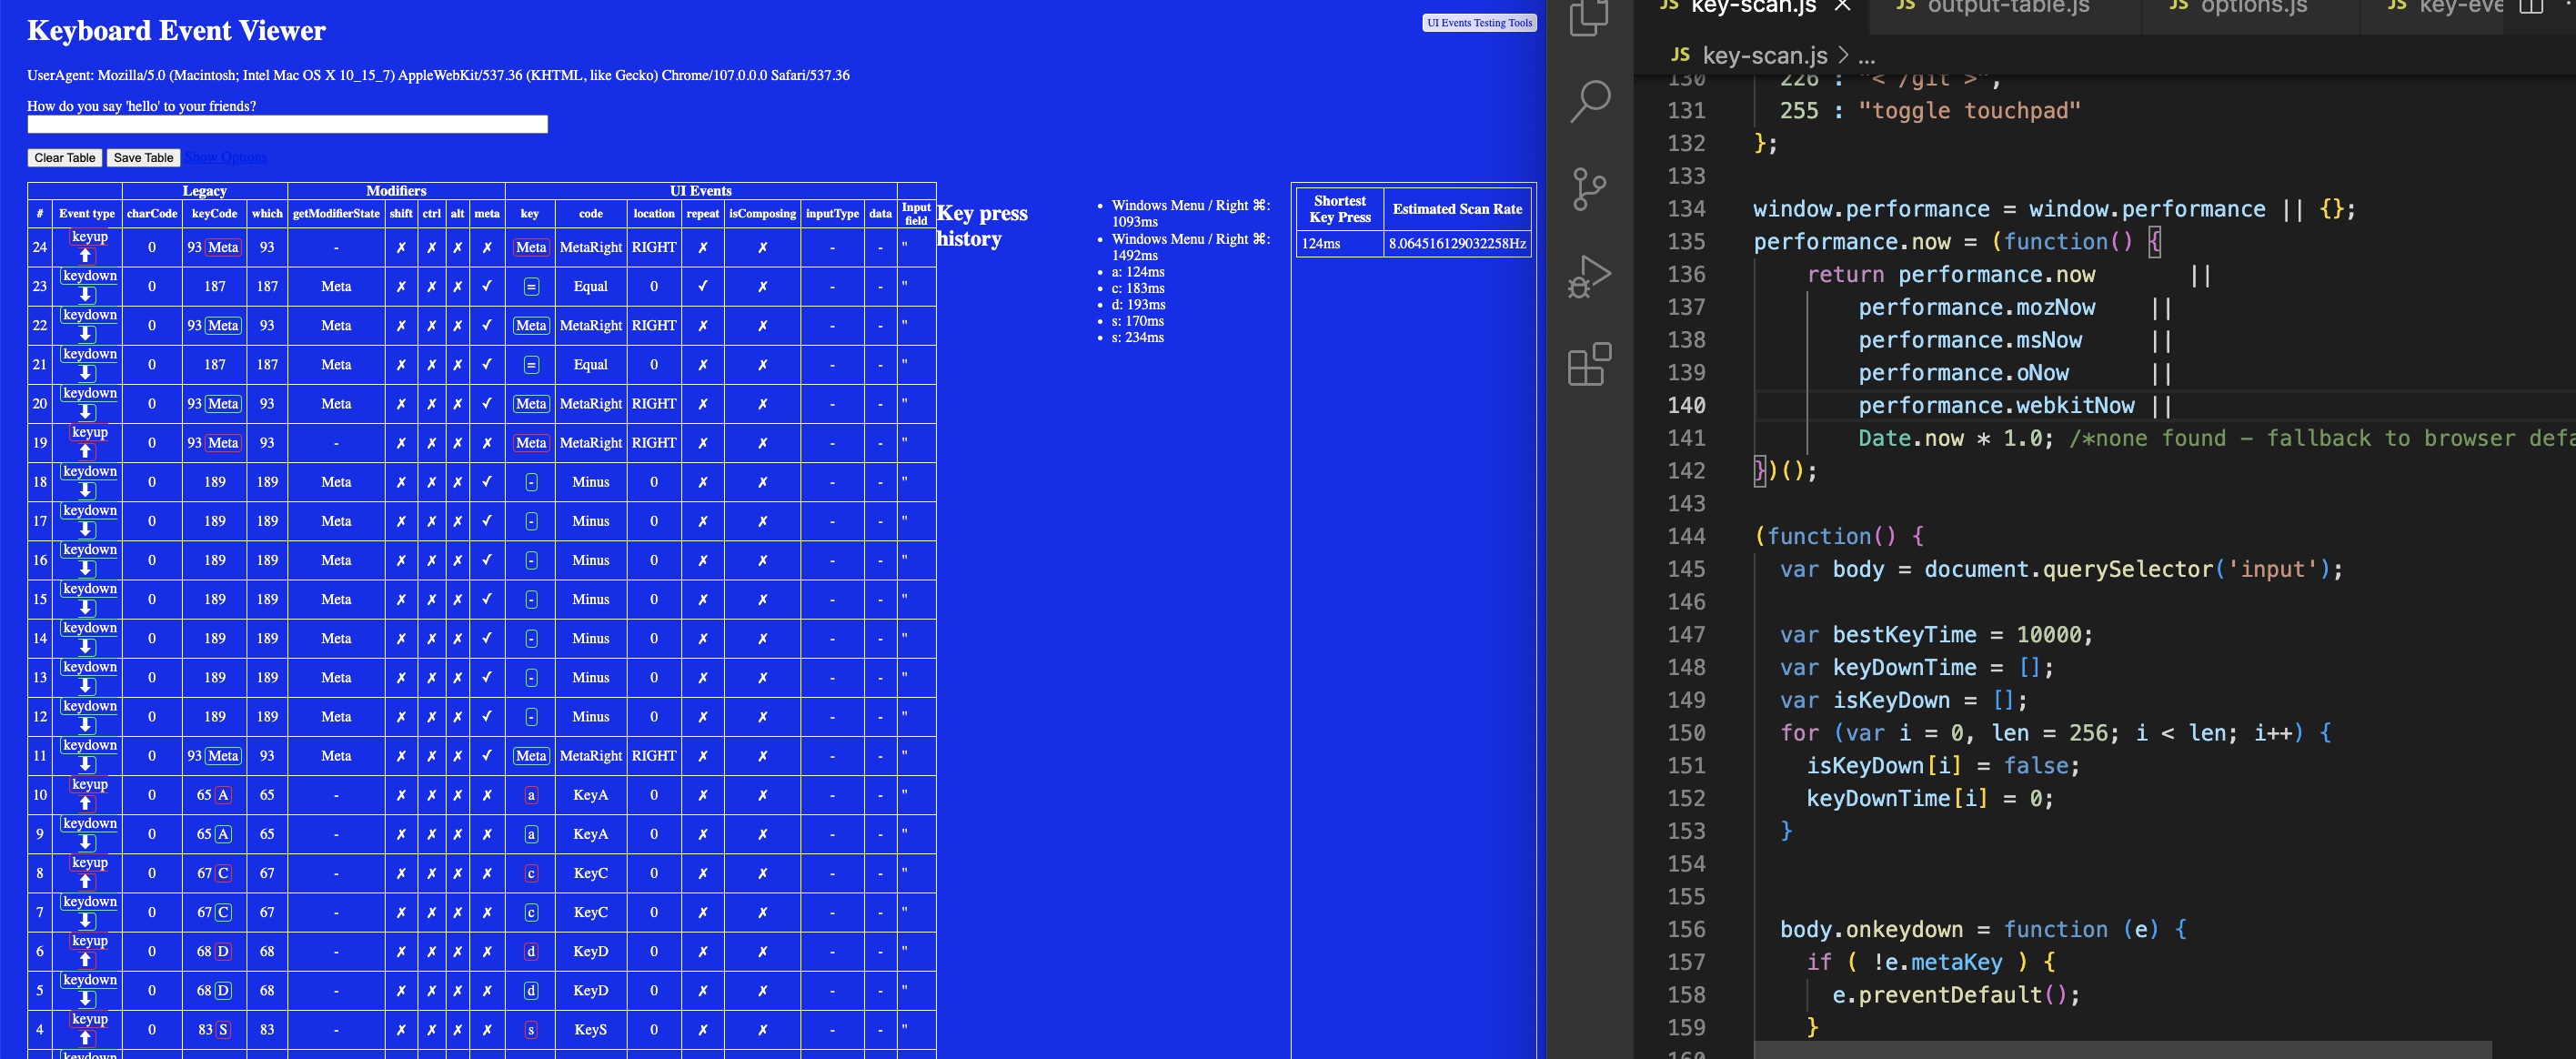
Collecting the data
I did try to insert the rate estimator as a column within the keyboard events table but that would require me to reconfigure the table that had been originally built, hence I decided to leave it as two tables for now.
The next step was to download a csv of the data that has been collected within the table. I inserted a button and added in a path to direct the source of input and output for the file. At this point, I only managed to link one table to the button, I'm still trying to figure out how to download both table at the same time.
Update from the future!
At the end of Week 14, I revisited this after my consultation (refer to consultation notes for the feedback), I worked on what needed to be improved and finally managed to download both tables as one CSV file.
And after hours of trying out, also managed to show the input text in the input field, after removing this line of code from the javascript file.
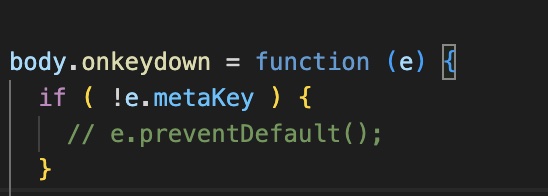
End result
Although there's still alot of work needed to be done on this interface, I think it still fulfills its purpose in collecting keystroke data and enabling the analysis of this data for the next step.
3D PRINTS
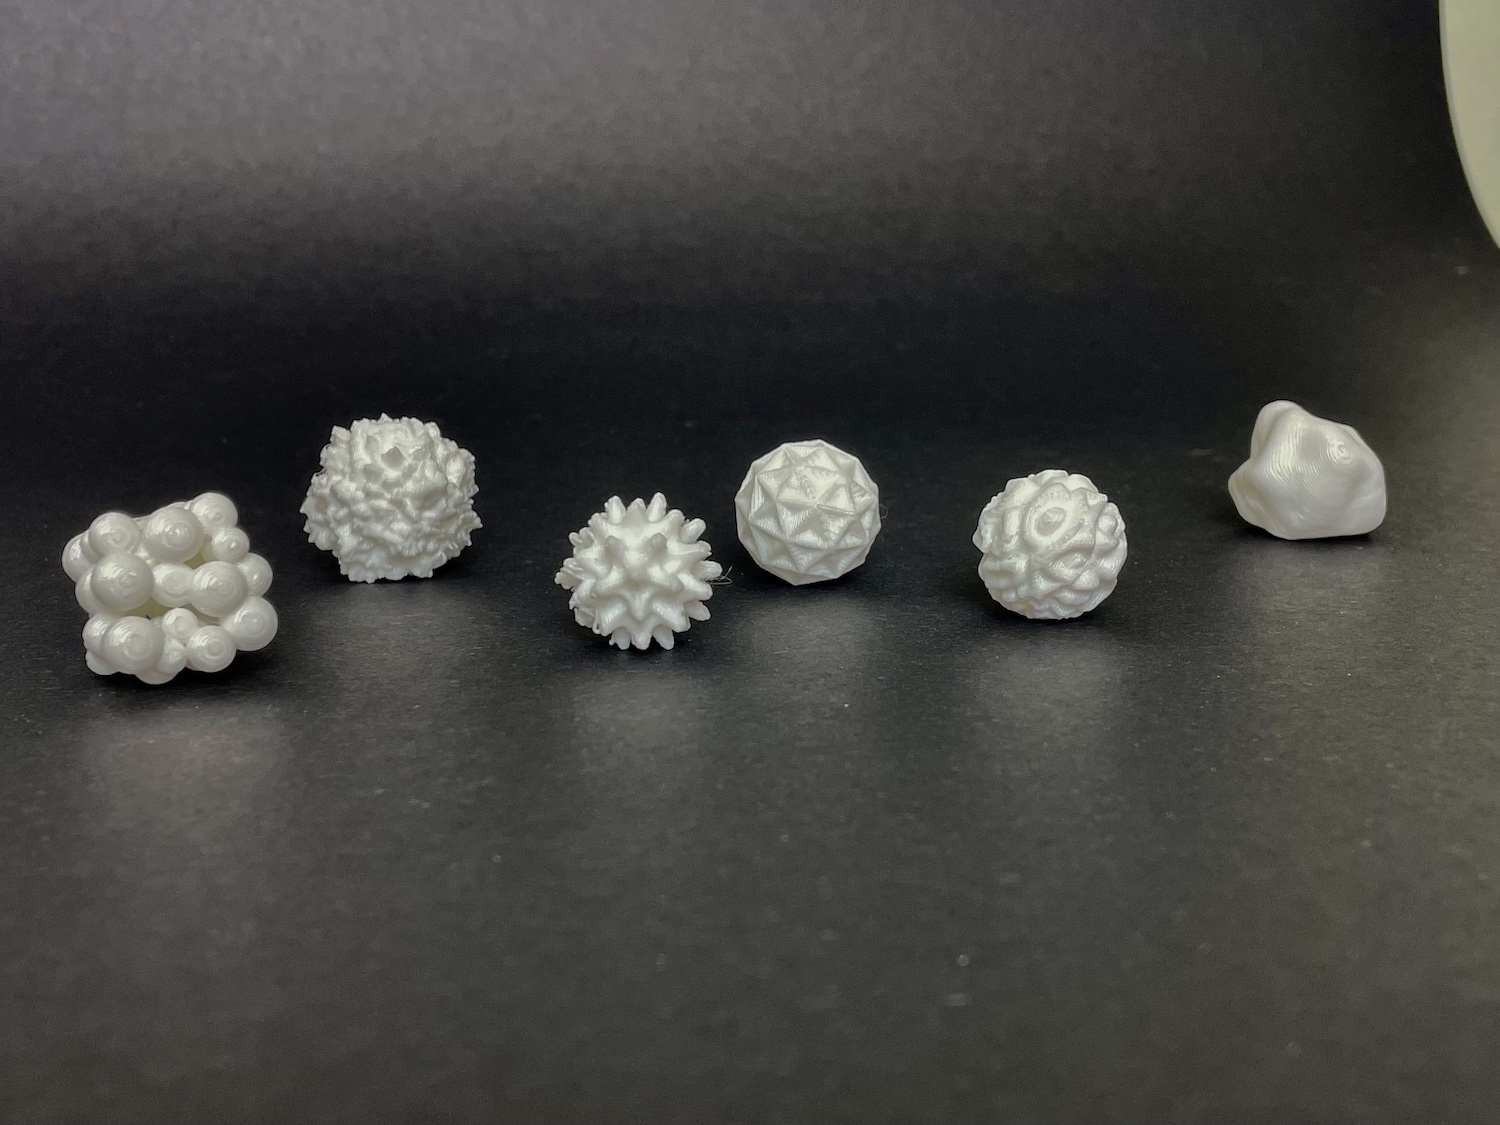
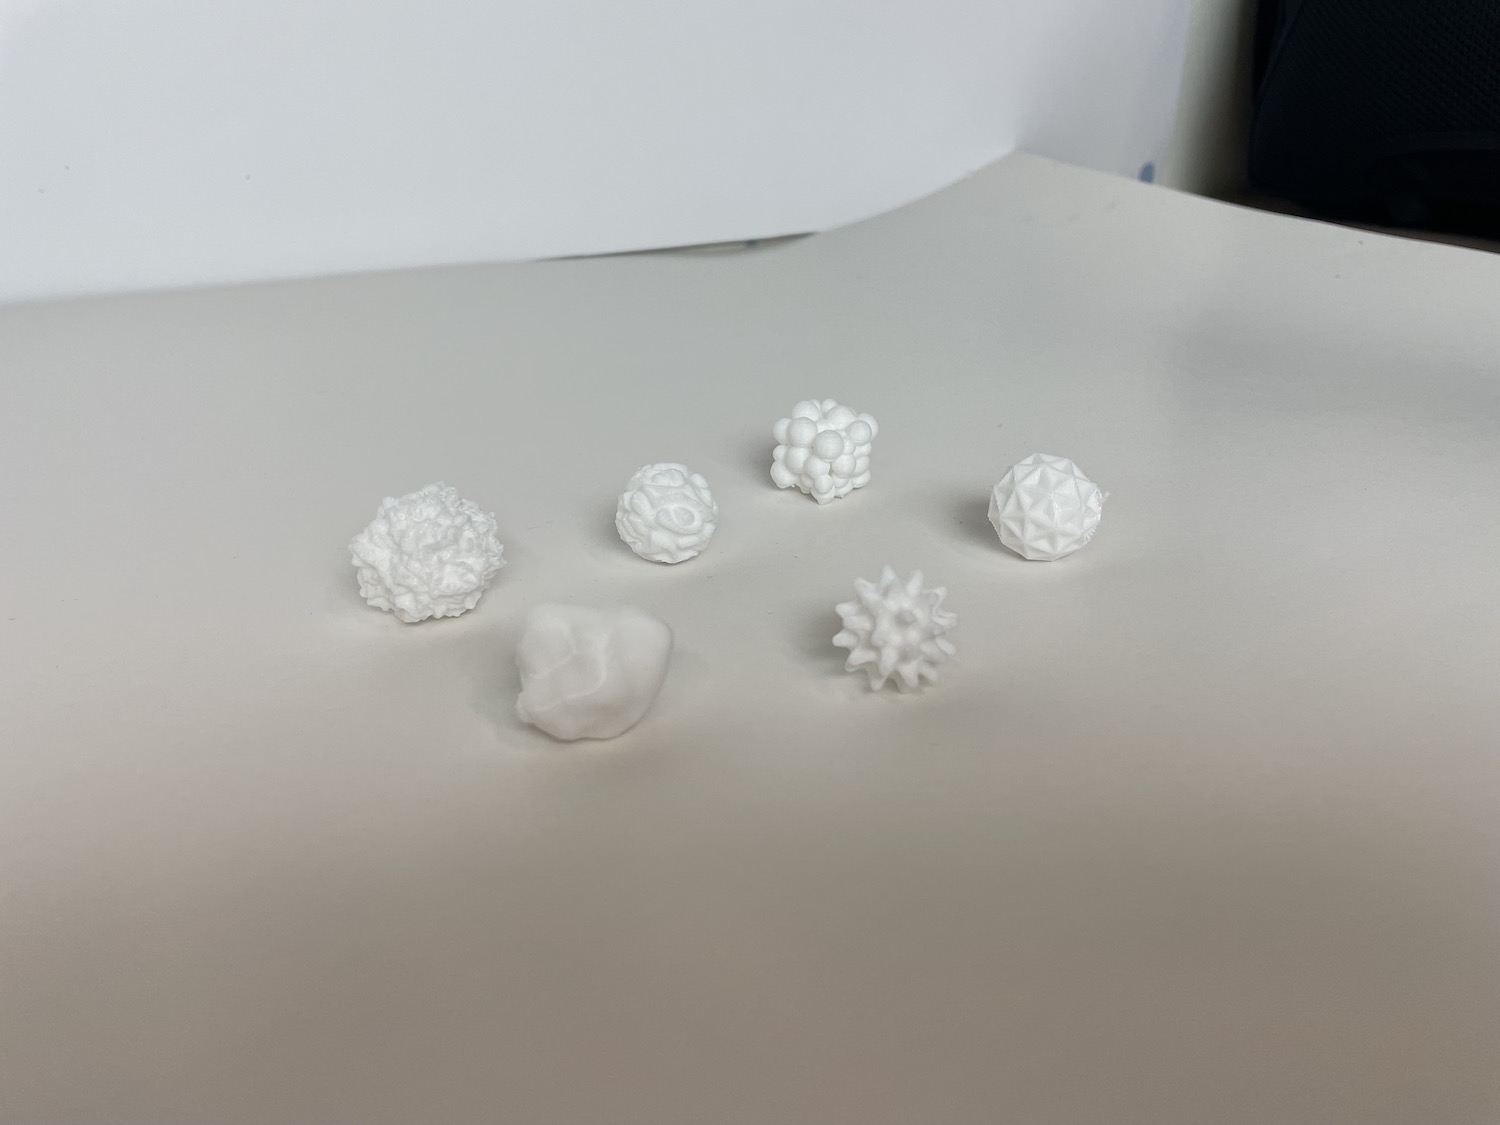
Following the 3D printing session course last week, I was able to book the library resource for 3-hours to print my artefacts.

Some problems faced when printing:
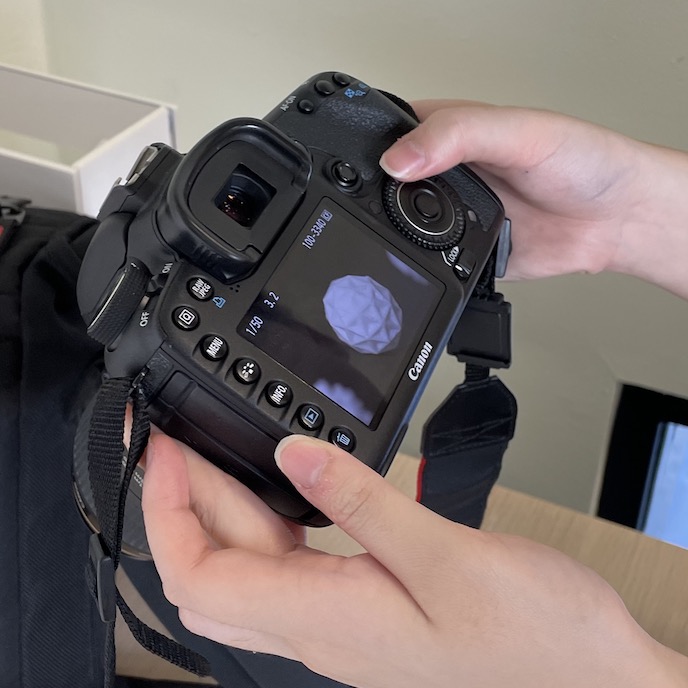
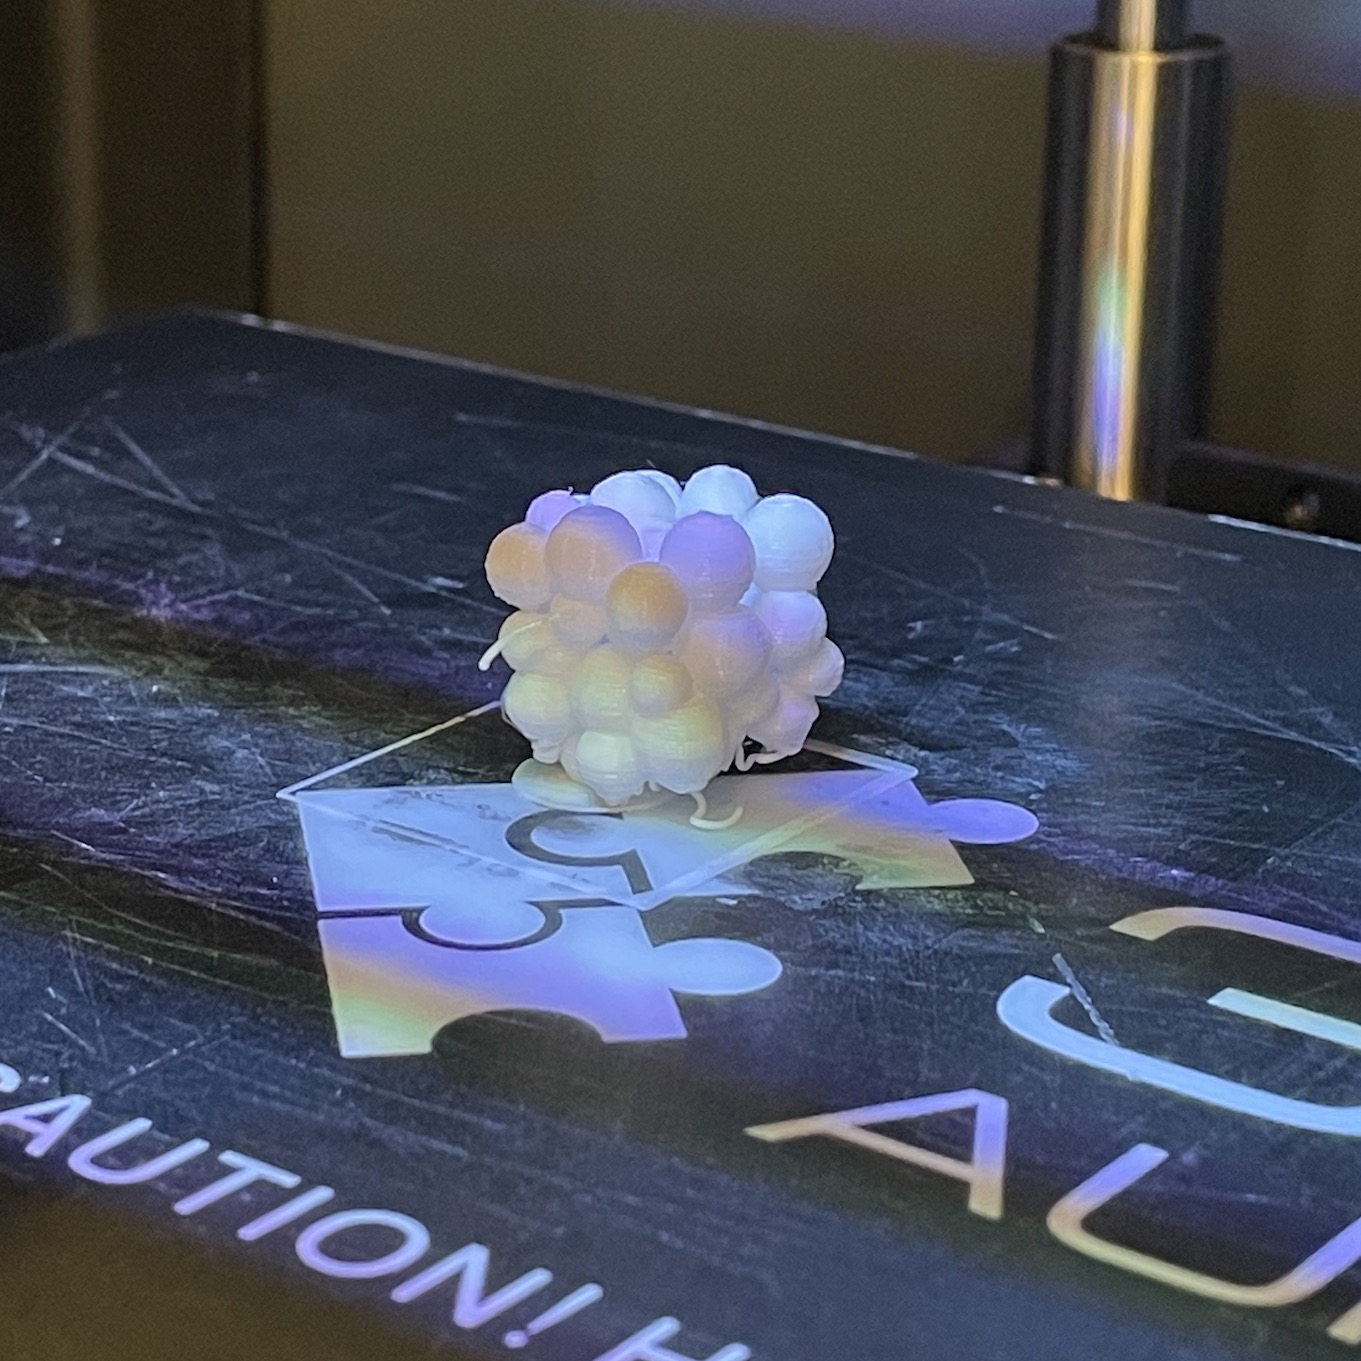
Due to the irregular structure of the artefact, there was no support/base for the printer's extruder to grip onto, hence this was what happened when I tried to print at first.
Thanks to the wonderful makeshift instructors that were present there, he advised me to try adding a brim to my settings during the slicing process. He also went on to explain that a brim would help to create the base for my prototype and make the structure more stable. After applying the brim, the print finally worked!
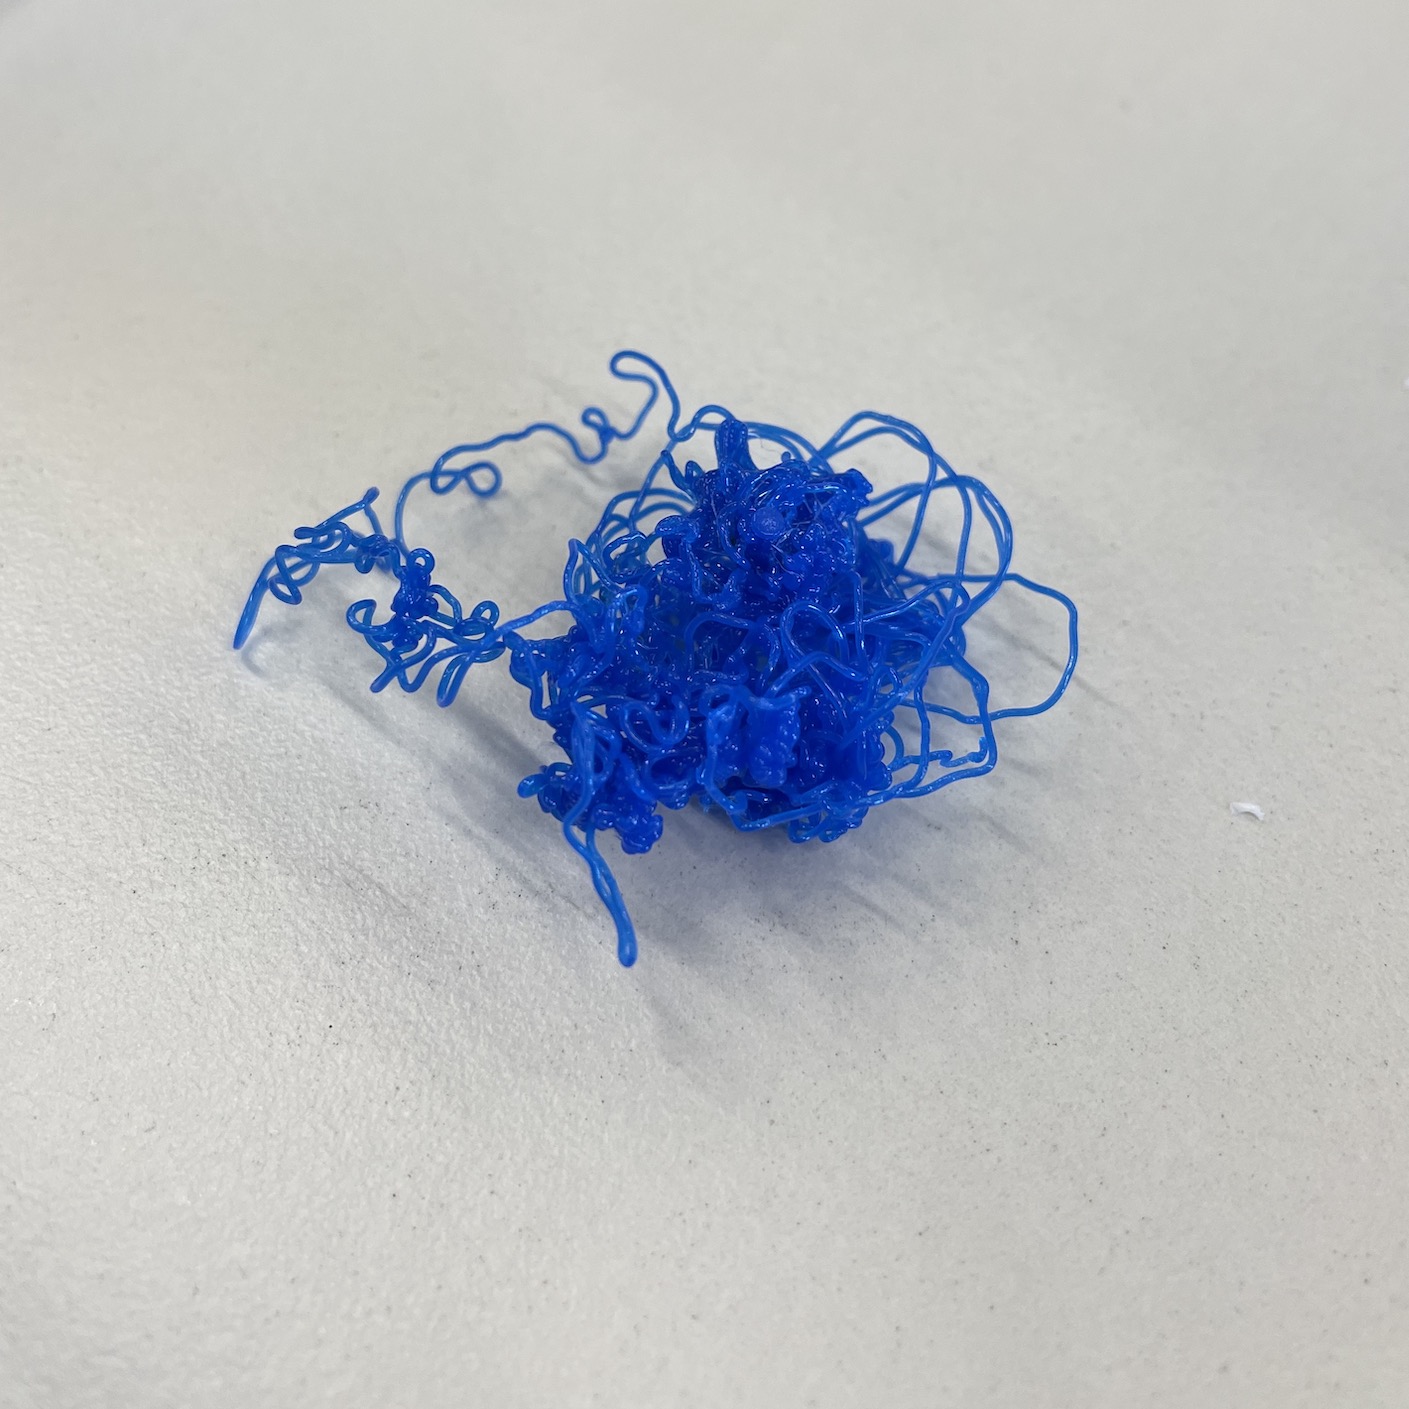
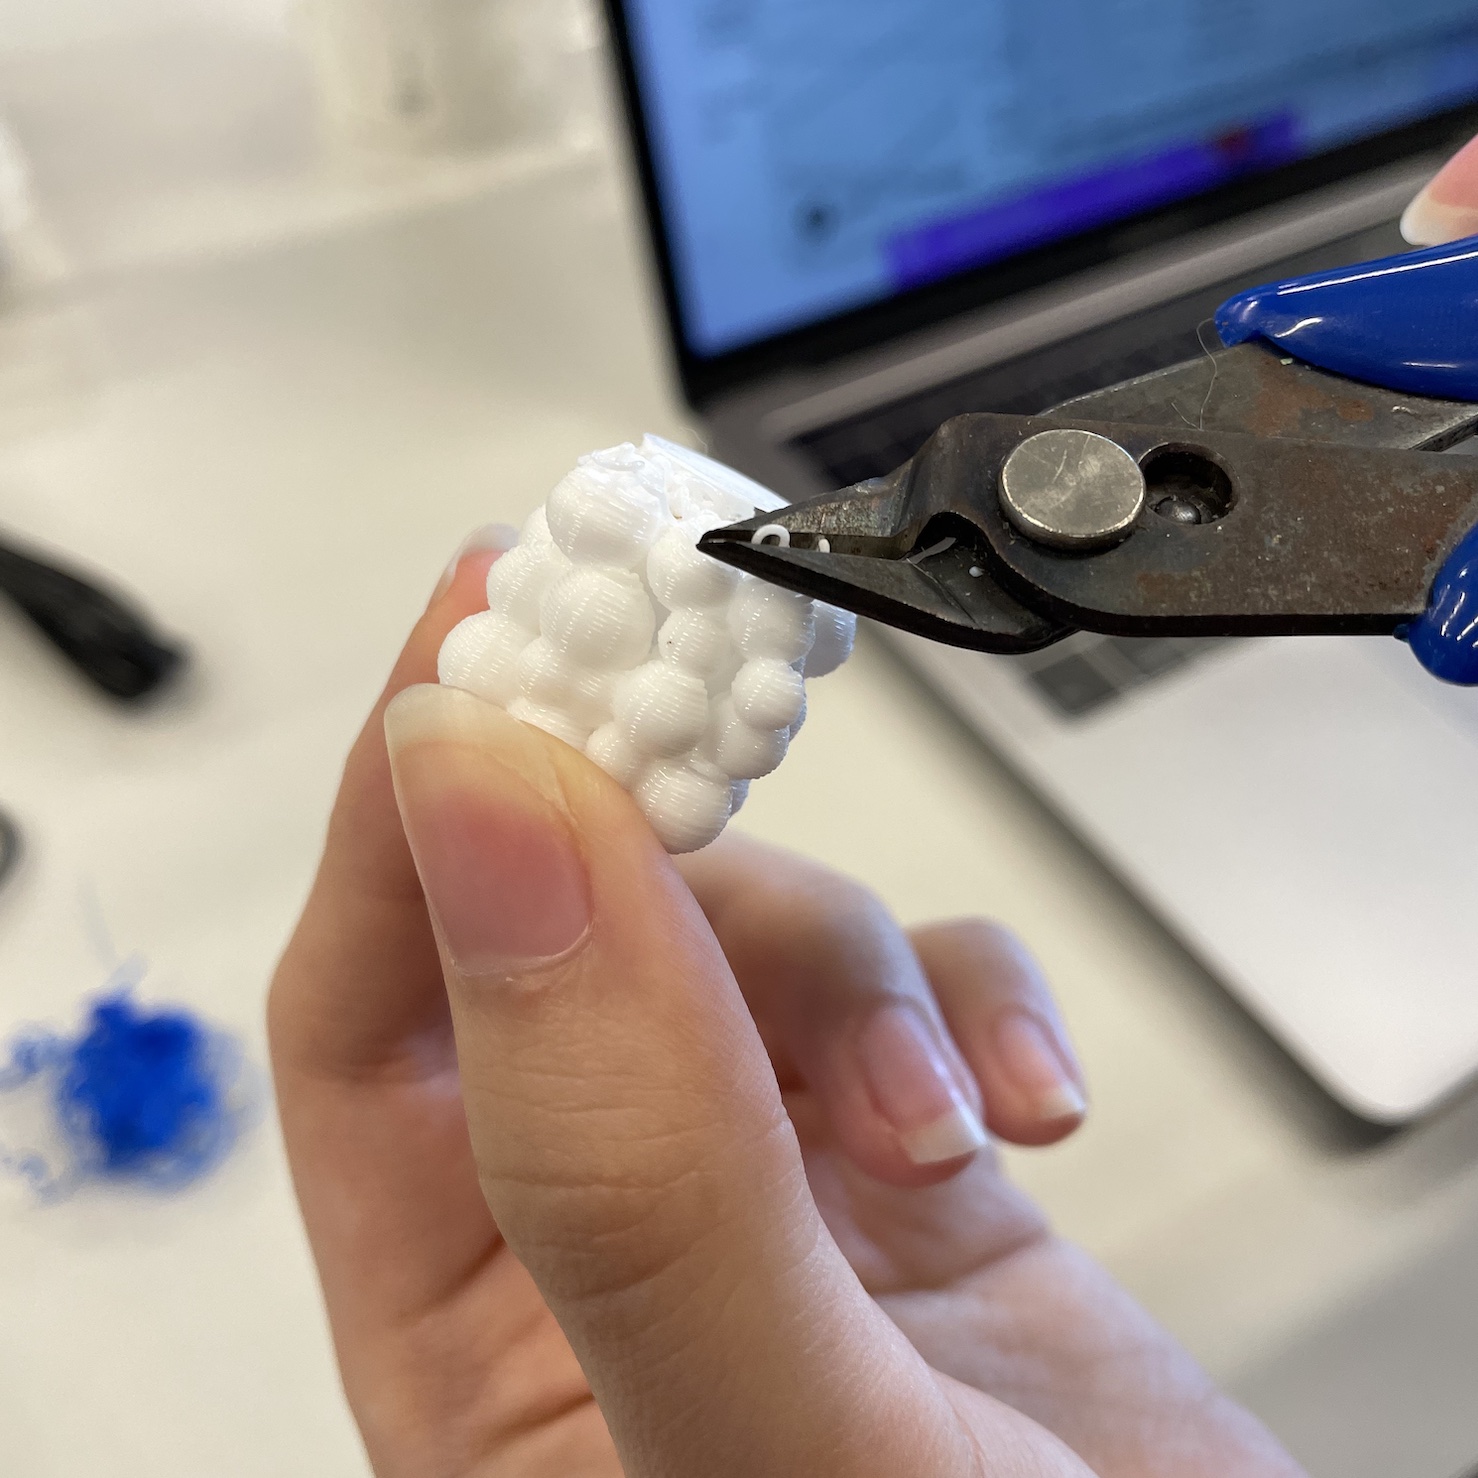
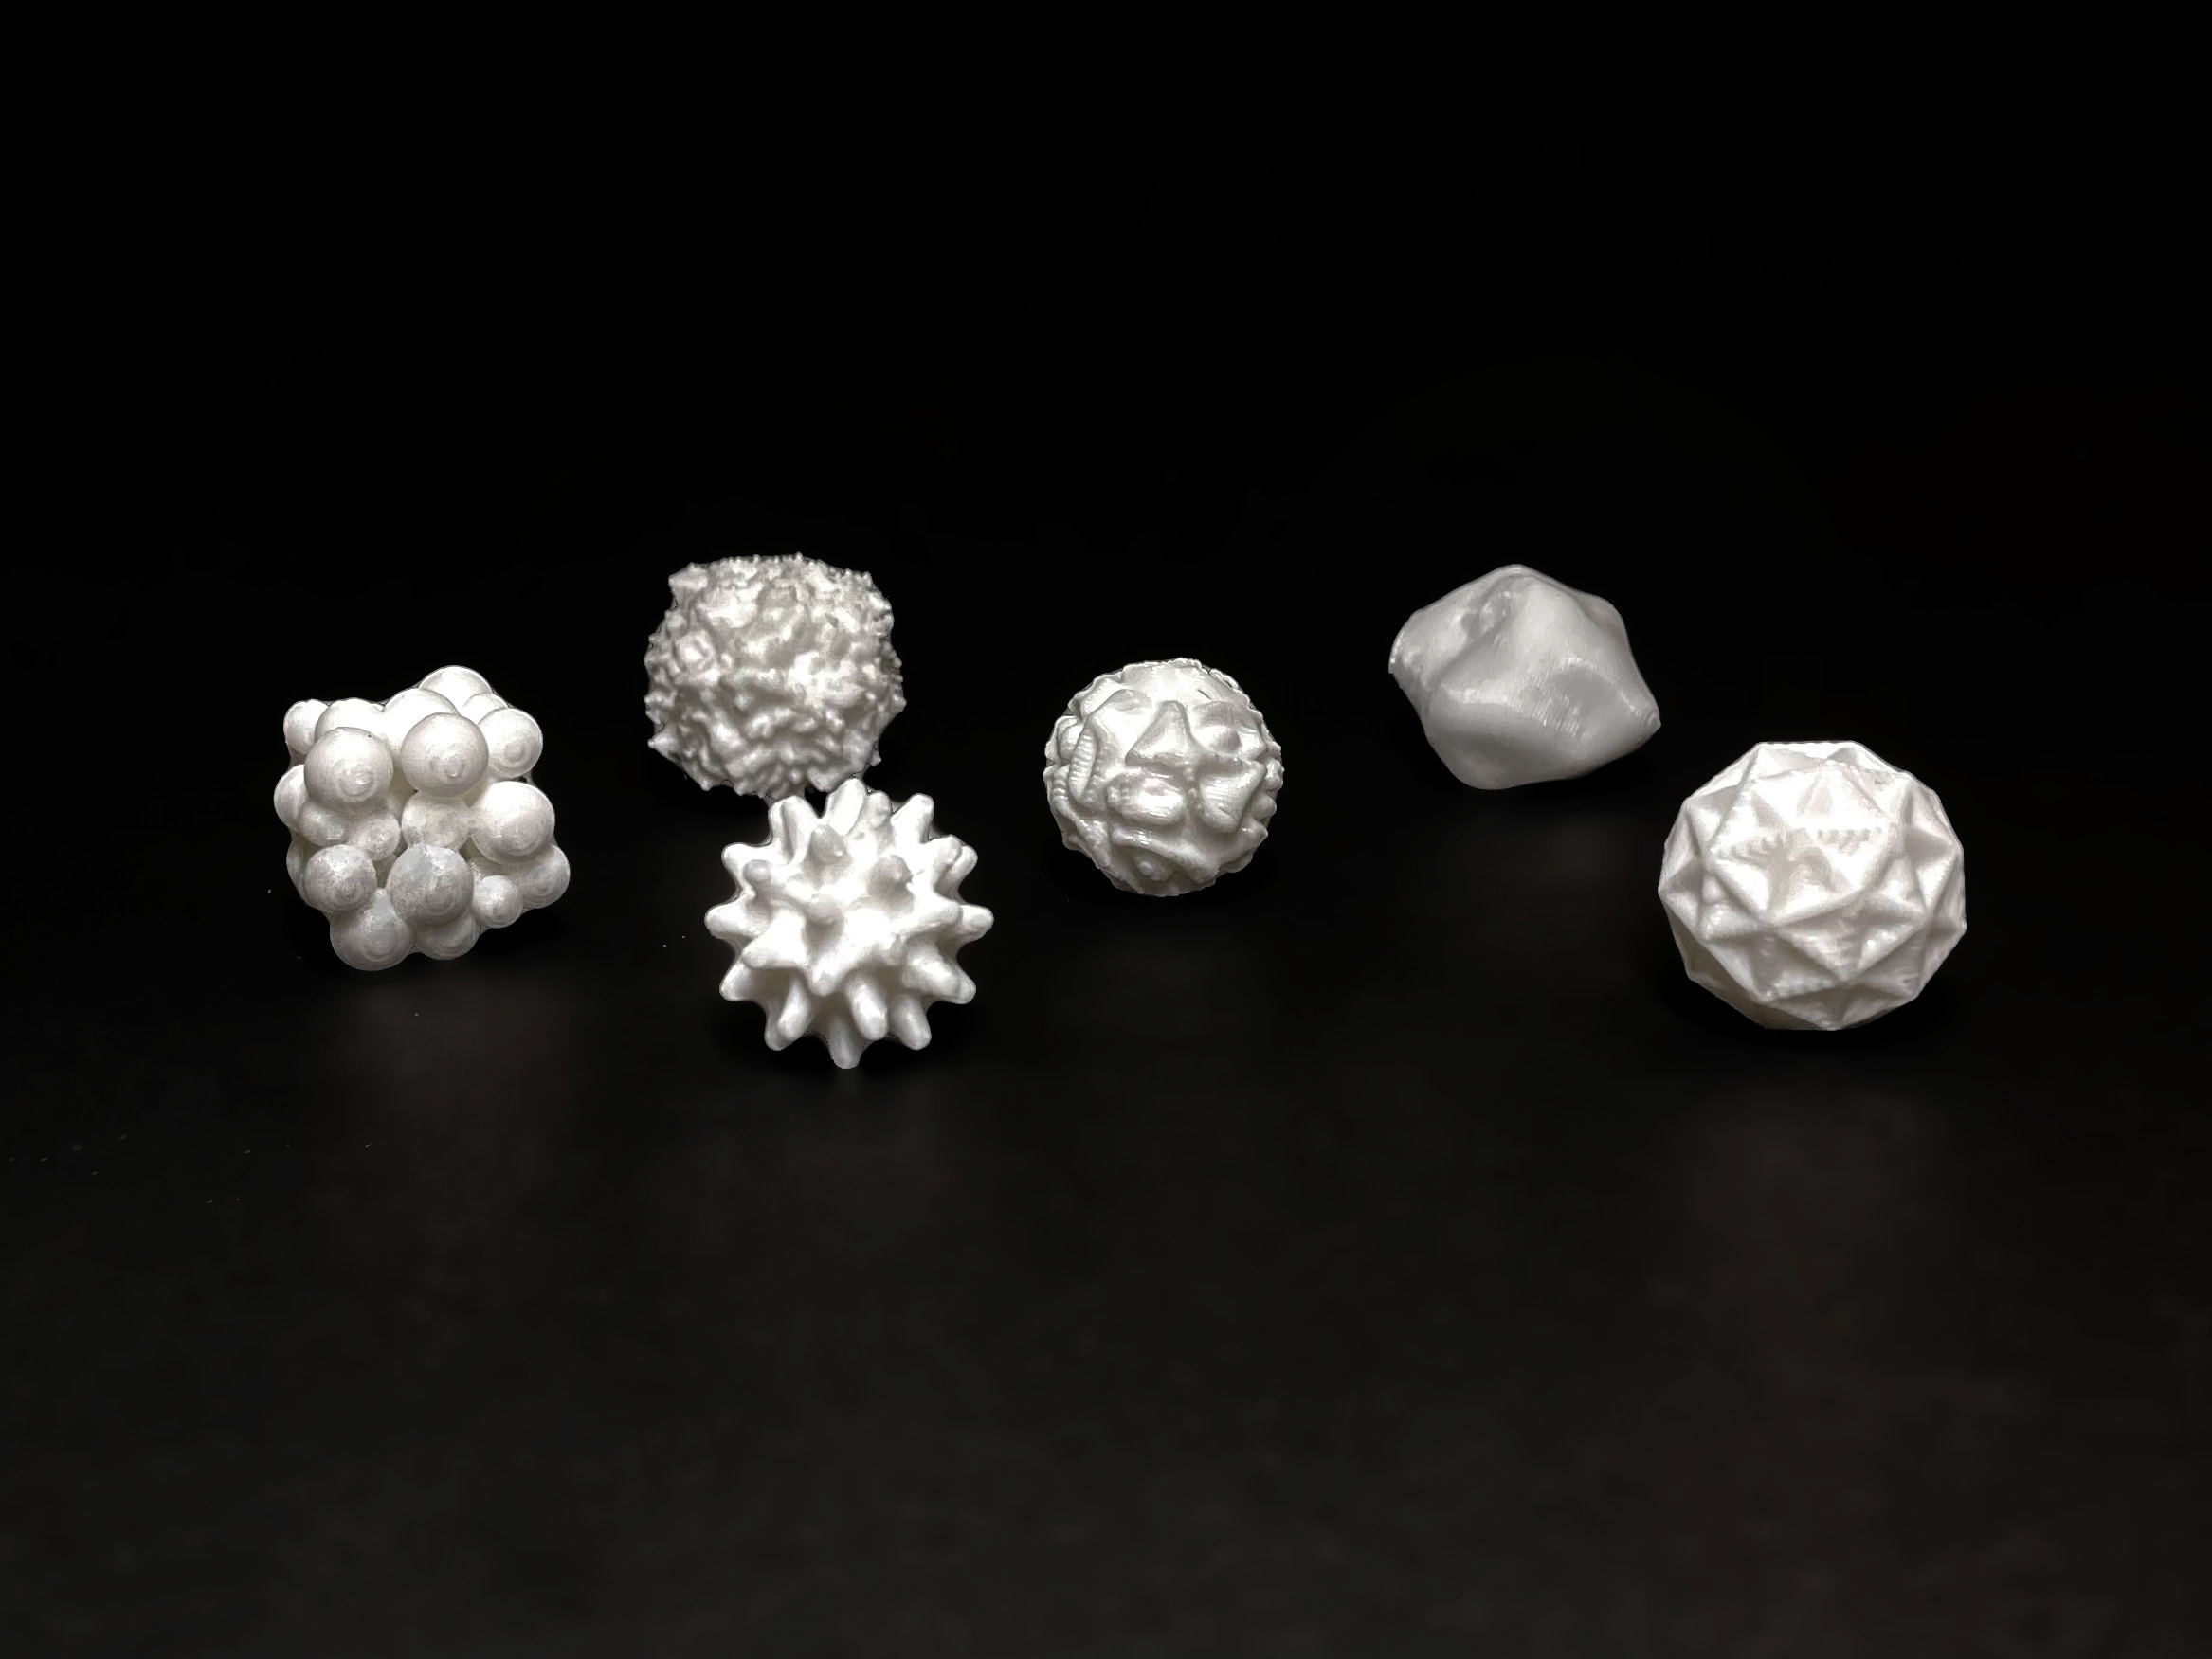
After printing the models, each model came with a brim attached to the base of the structure which needed to be trimmed off with the cutters. It was recommended to trim the model as soon as possible after printing, when the material is still slightly warm as this will allow for a smooth and easy cutting process as compared to when the model has cooled down and solidified completely.
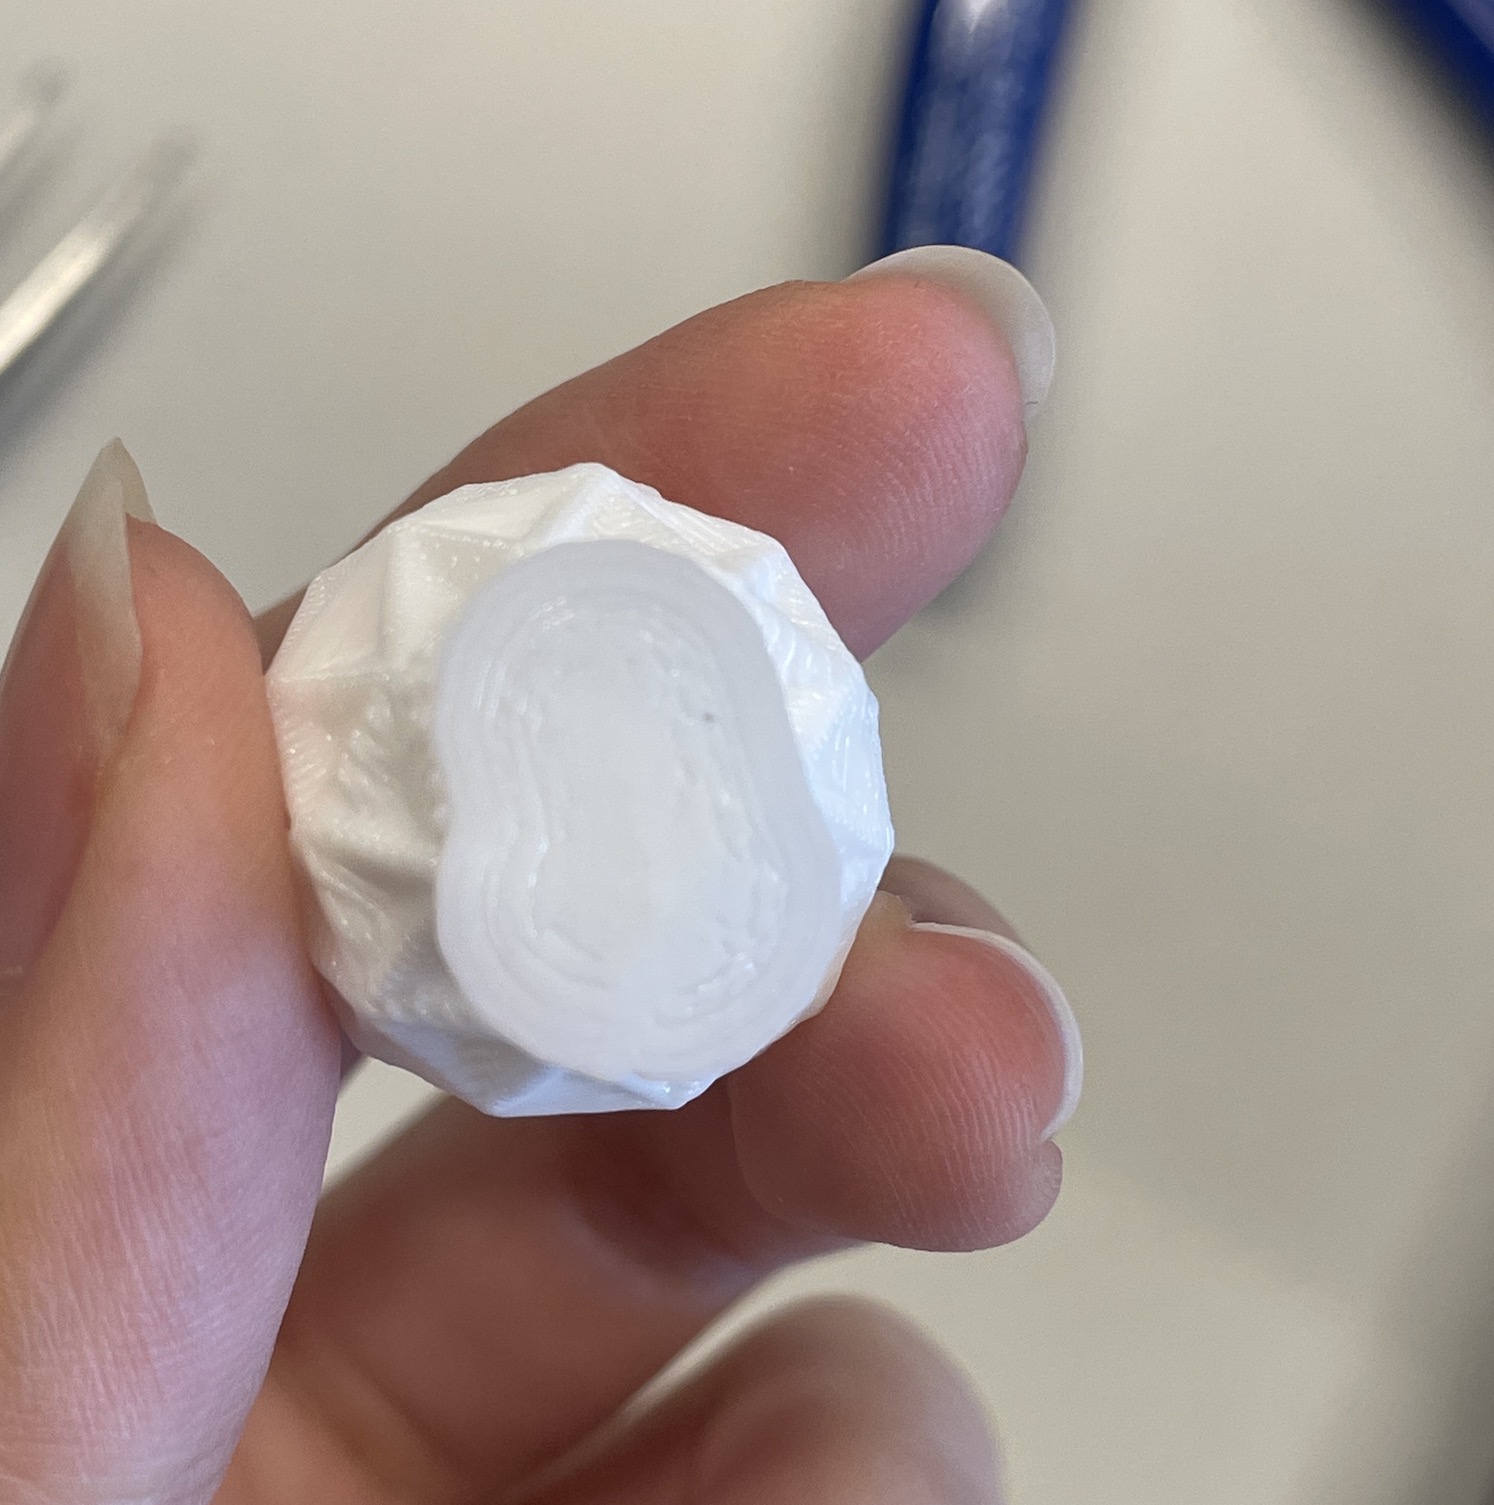
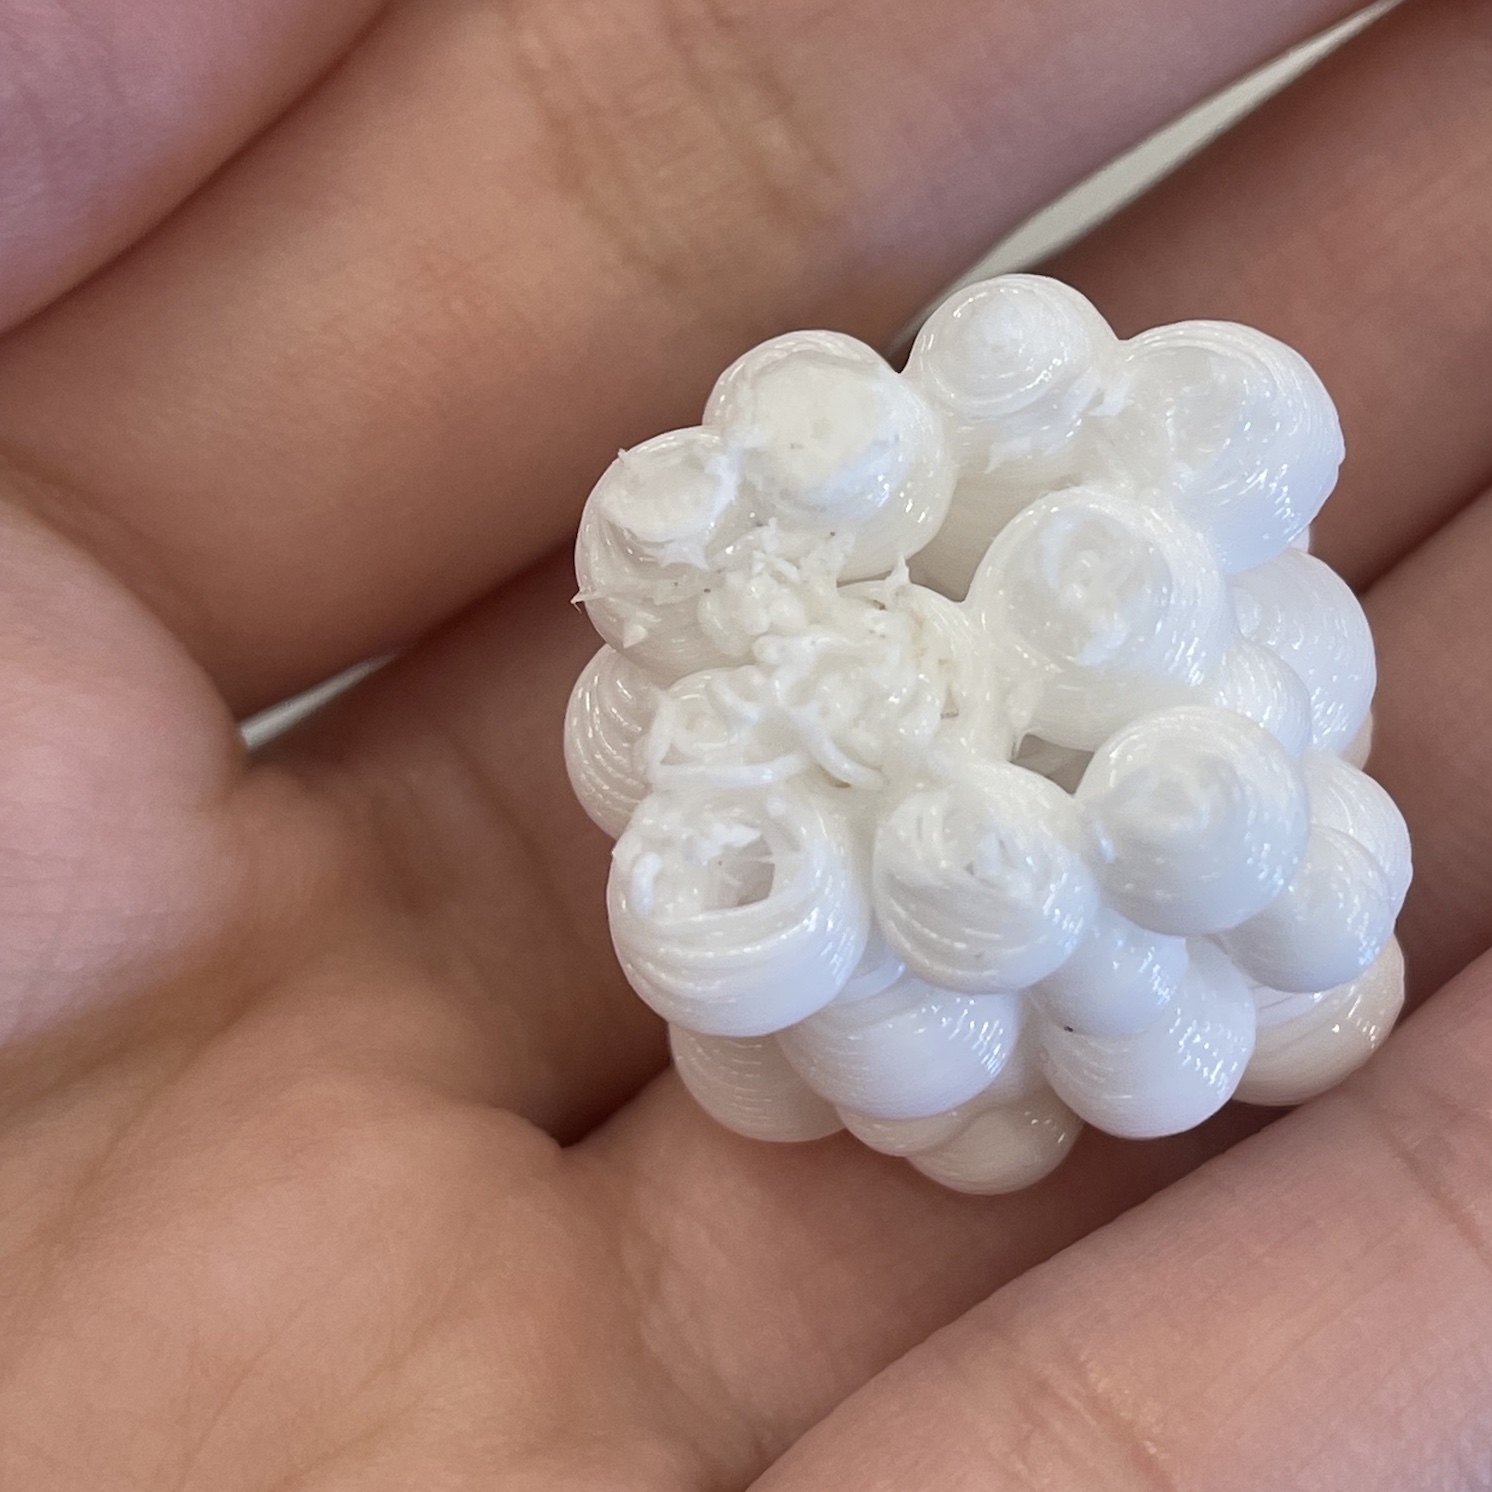
As you can see from the last image, the bottom of the model is still not as clean even after removing the brim, as some areas at the bottom was being extruded without any support, hence why the 'noodle' looking texture.
Other fun stuff at
the MakeShift space
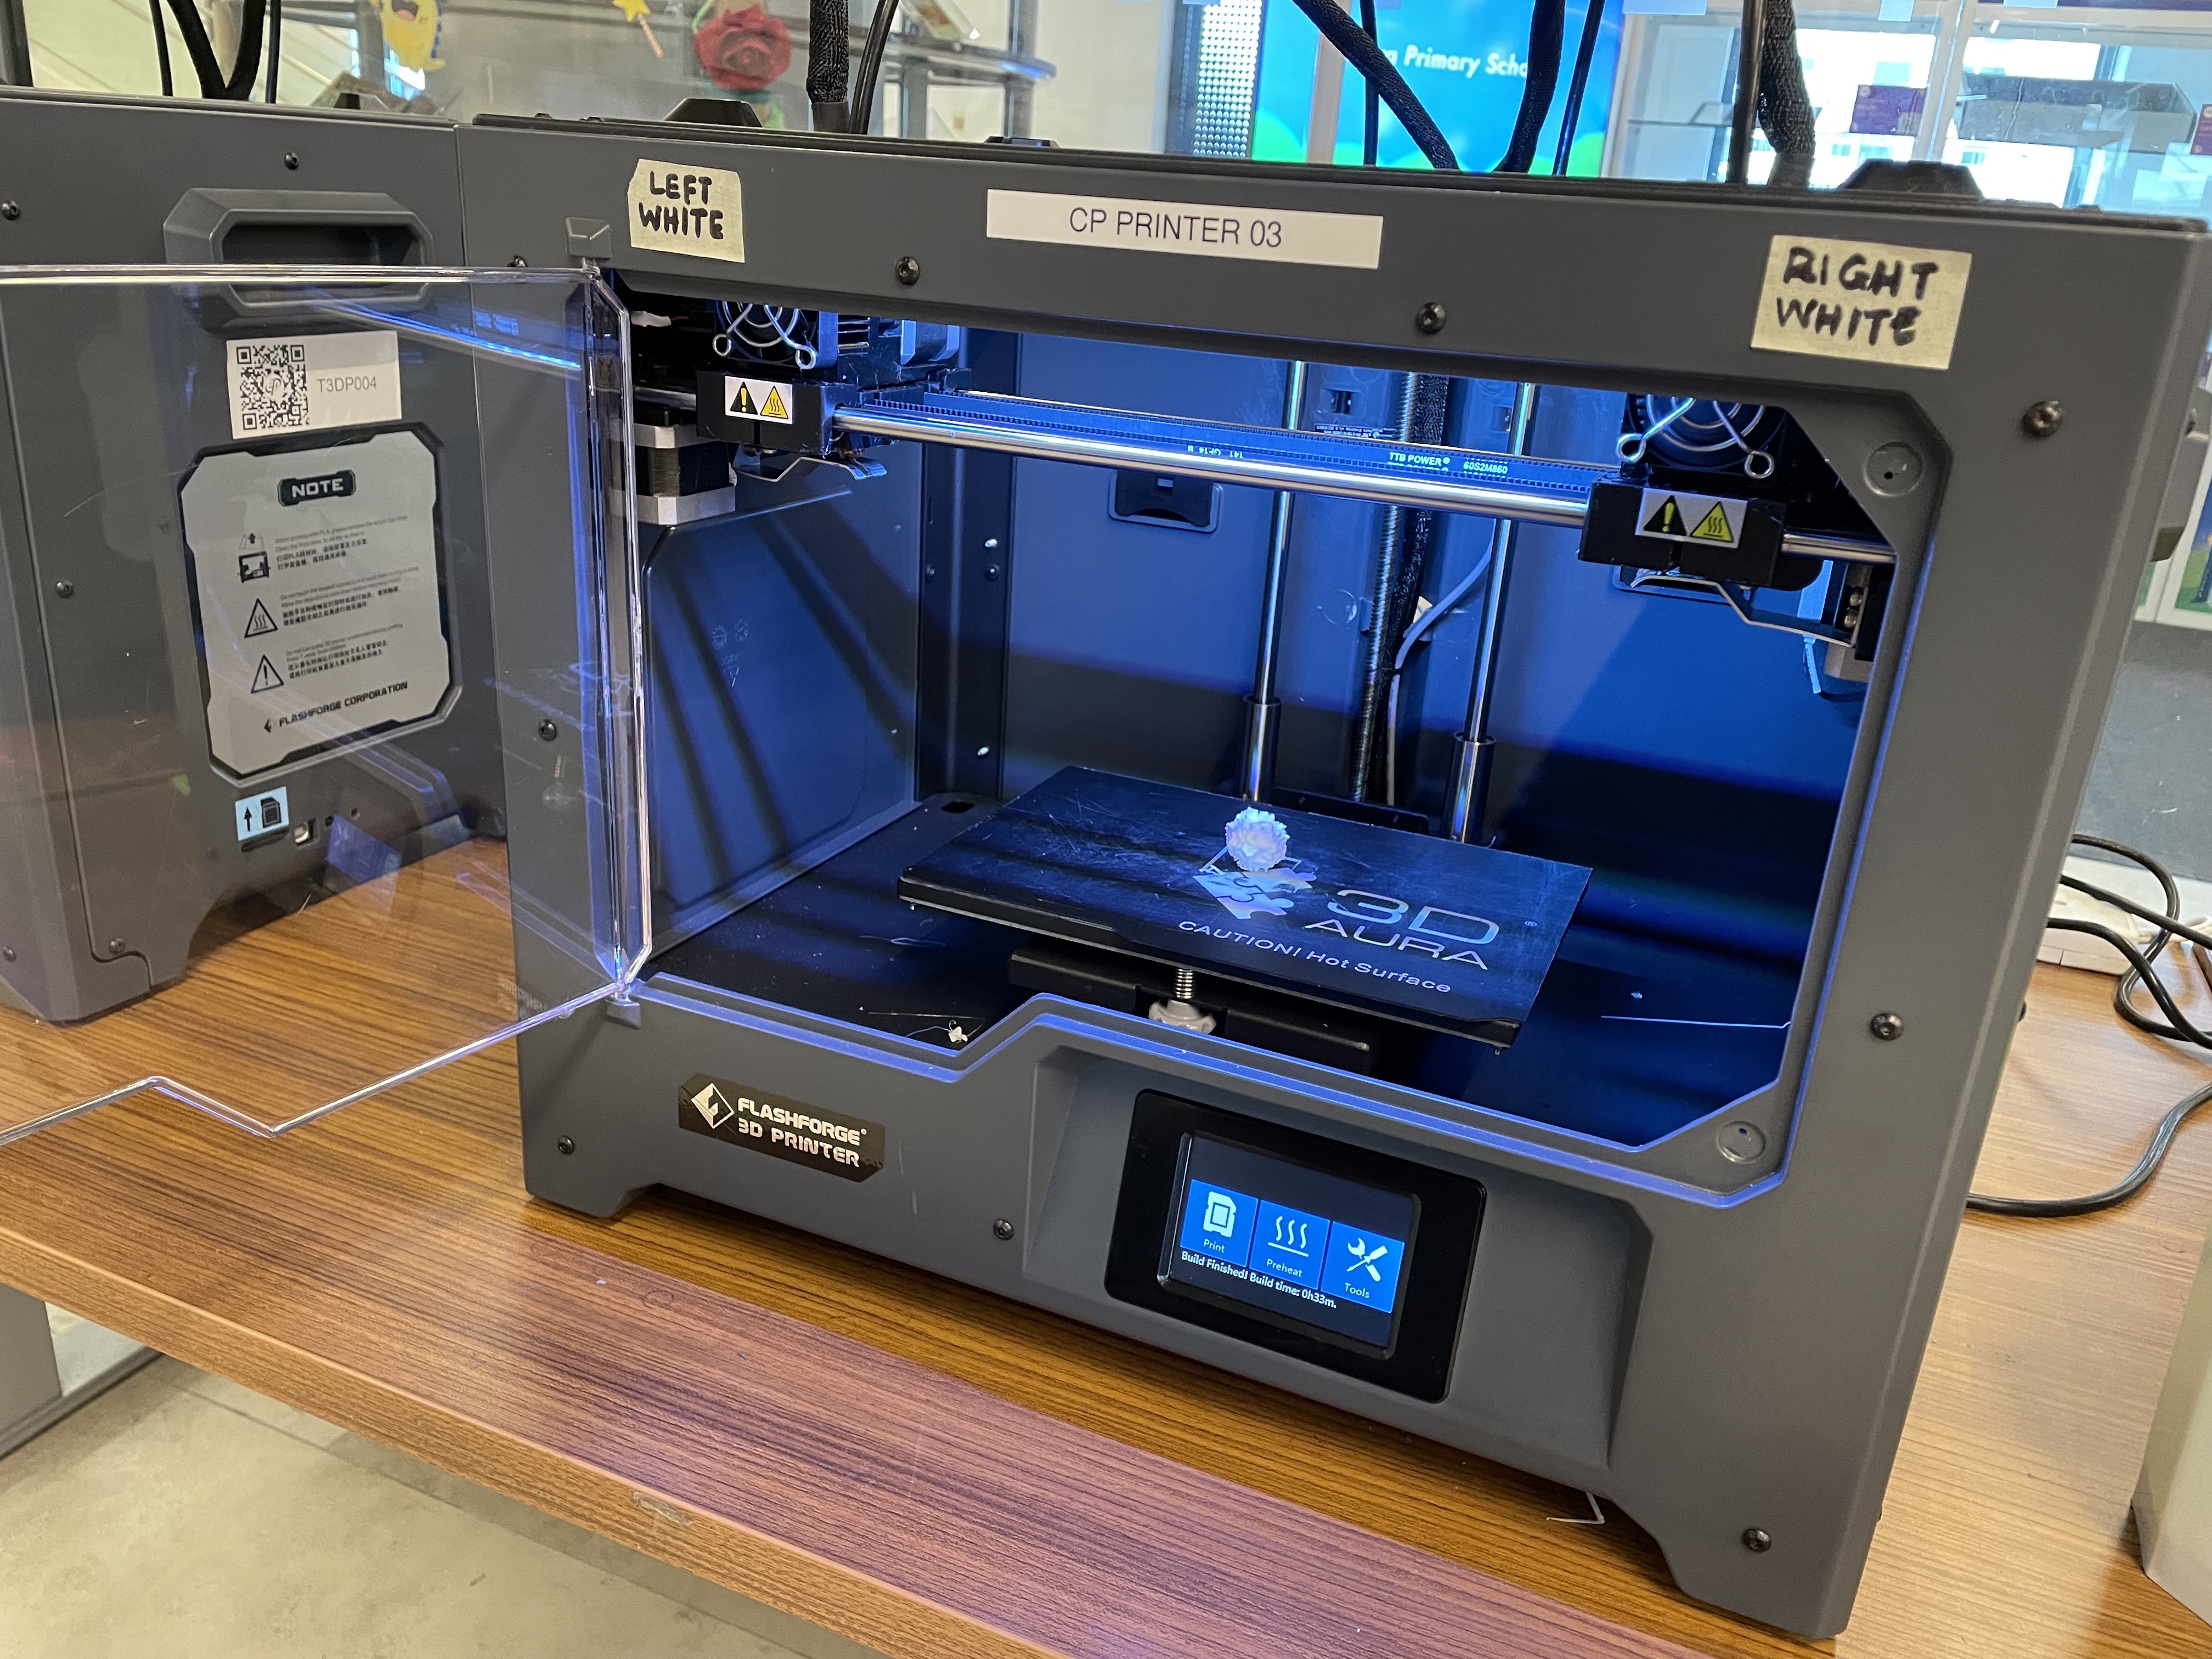
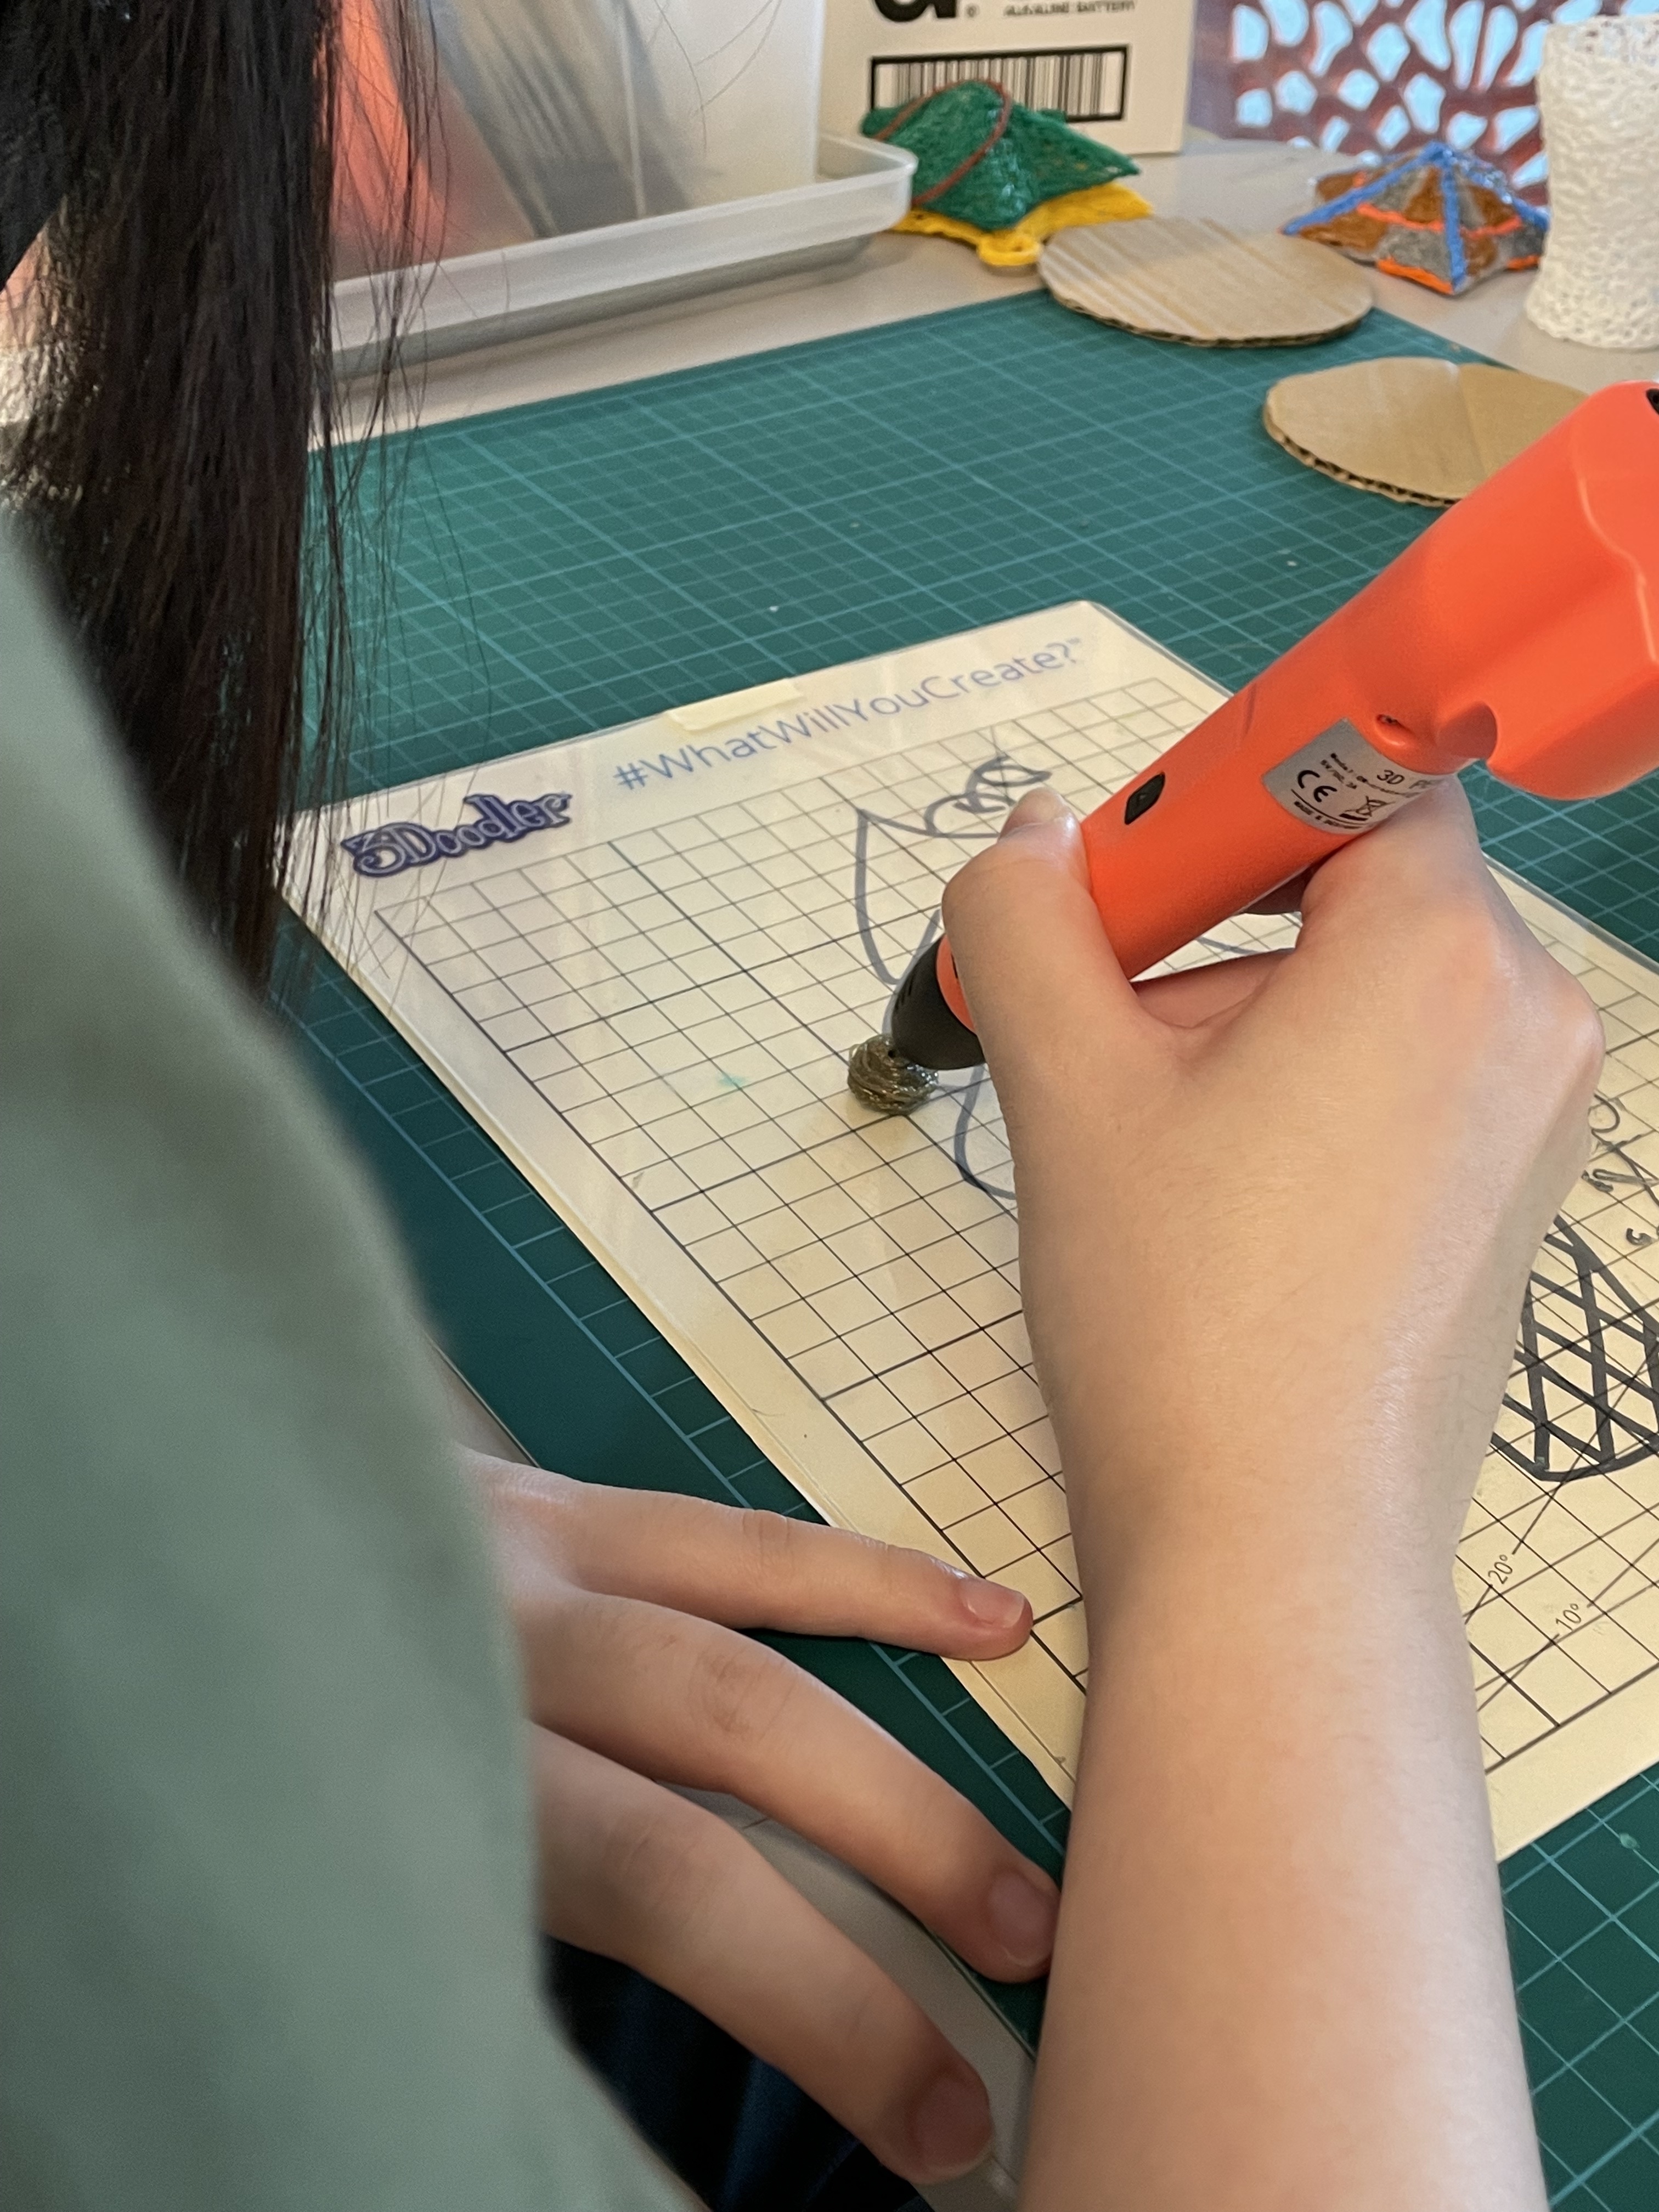
While waiting for the models to print, there were also 3D pens available for us to use, so we just had fun making random shapes using different materials. It was quite difficult to grasp and control the speed at which the material is being extruded, but all in all I think the messiness created a really interesting outcome as well.
CONSULTATION
Comments on prototyping and photography
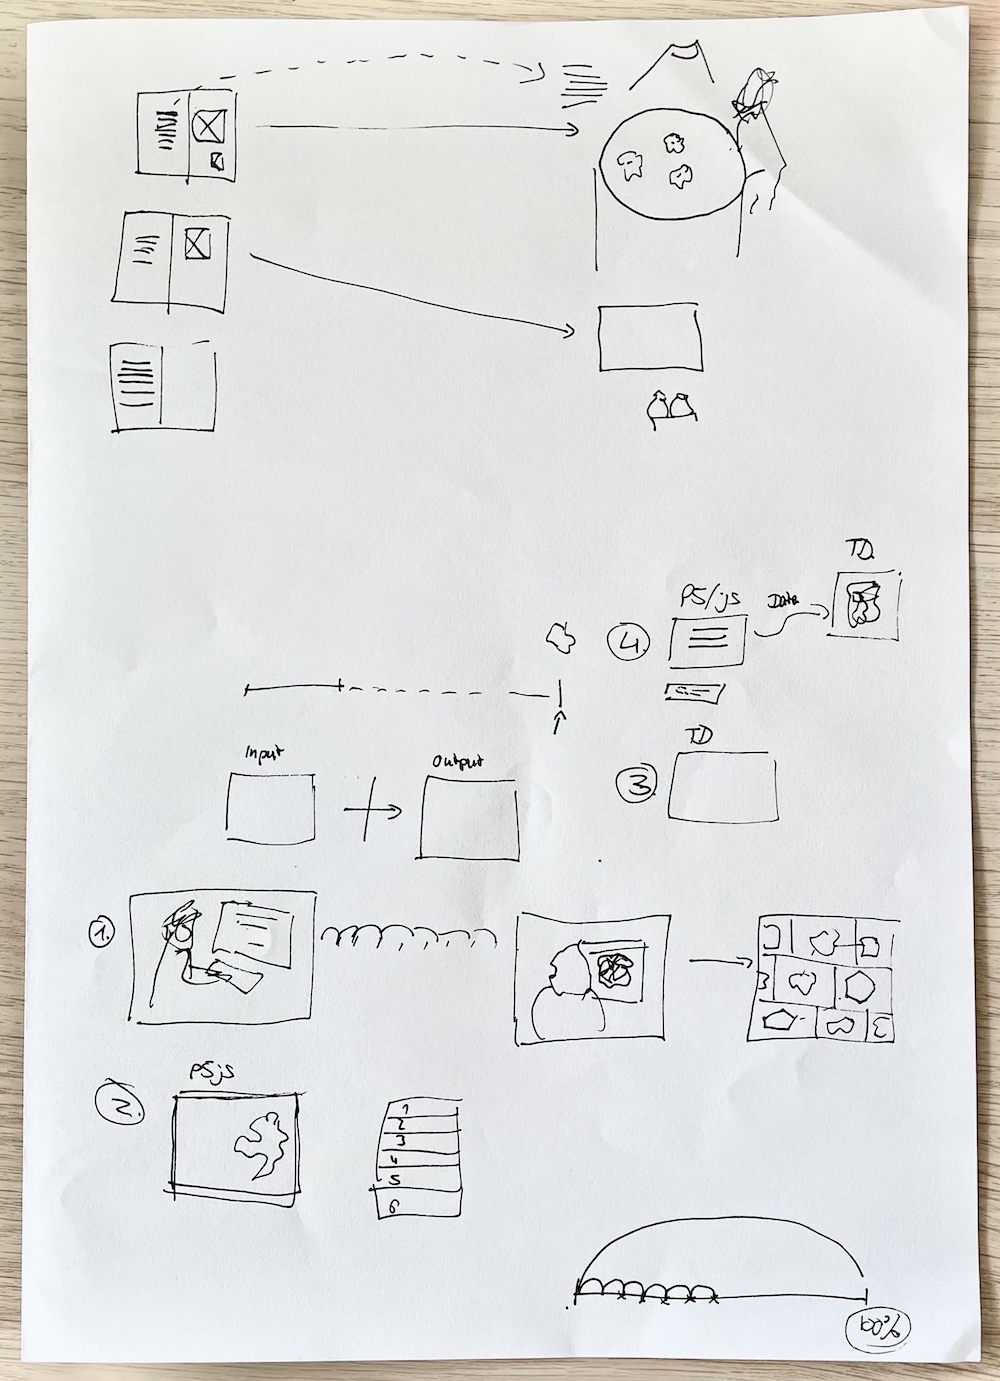
Presentation of Prototypes:
–The printed artefacts can be presented on a pedestal
–The digital formats can be projected on a wall
Consider the use of different
materials as the background:
–Matte background
–White reflective background
– Mirror on mirror to create infinity look
–For the keystroke analysis and the mapping of visuals should be done in one
–Add text into the input area to be able to gather the responses
–Show different screens in order to connect the story
–Video the person typing their responses and reacting to the generated visual
–Shoot the 3d object with different angles of the participant
Recommendations for how to
recreate the prototype:
–Use p5.js
–Using key pressed and key released
–P5.js to communicate data to touchdesignegr
Illustrate the possible outcomes from blender so it doesn't need to look the same
