1 / Exploring Typographic Treatments + Improving Vocal Analyser
2 / Development 3–Identity Grid
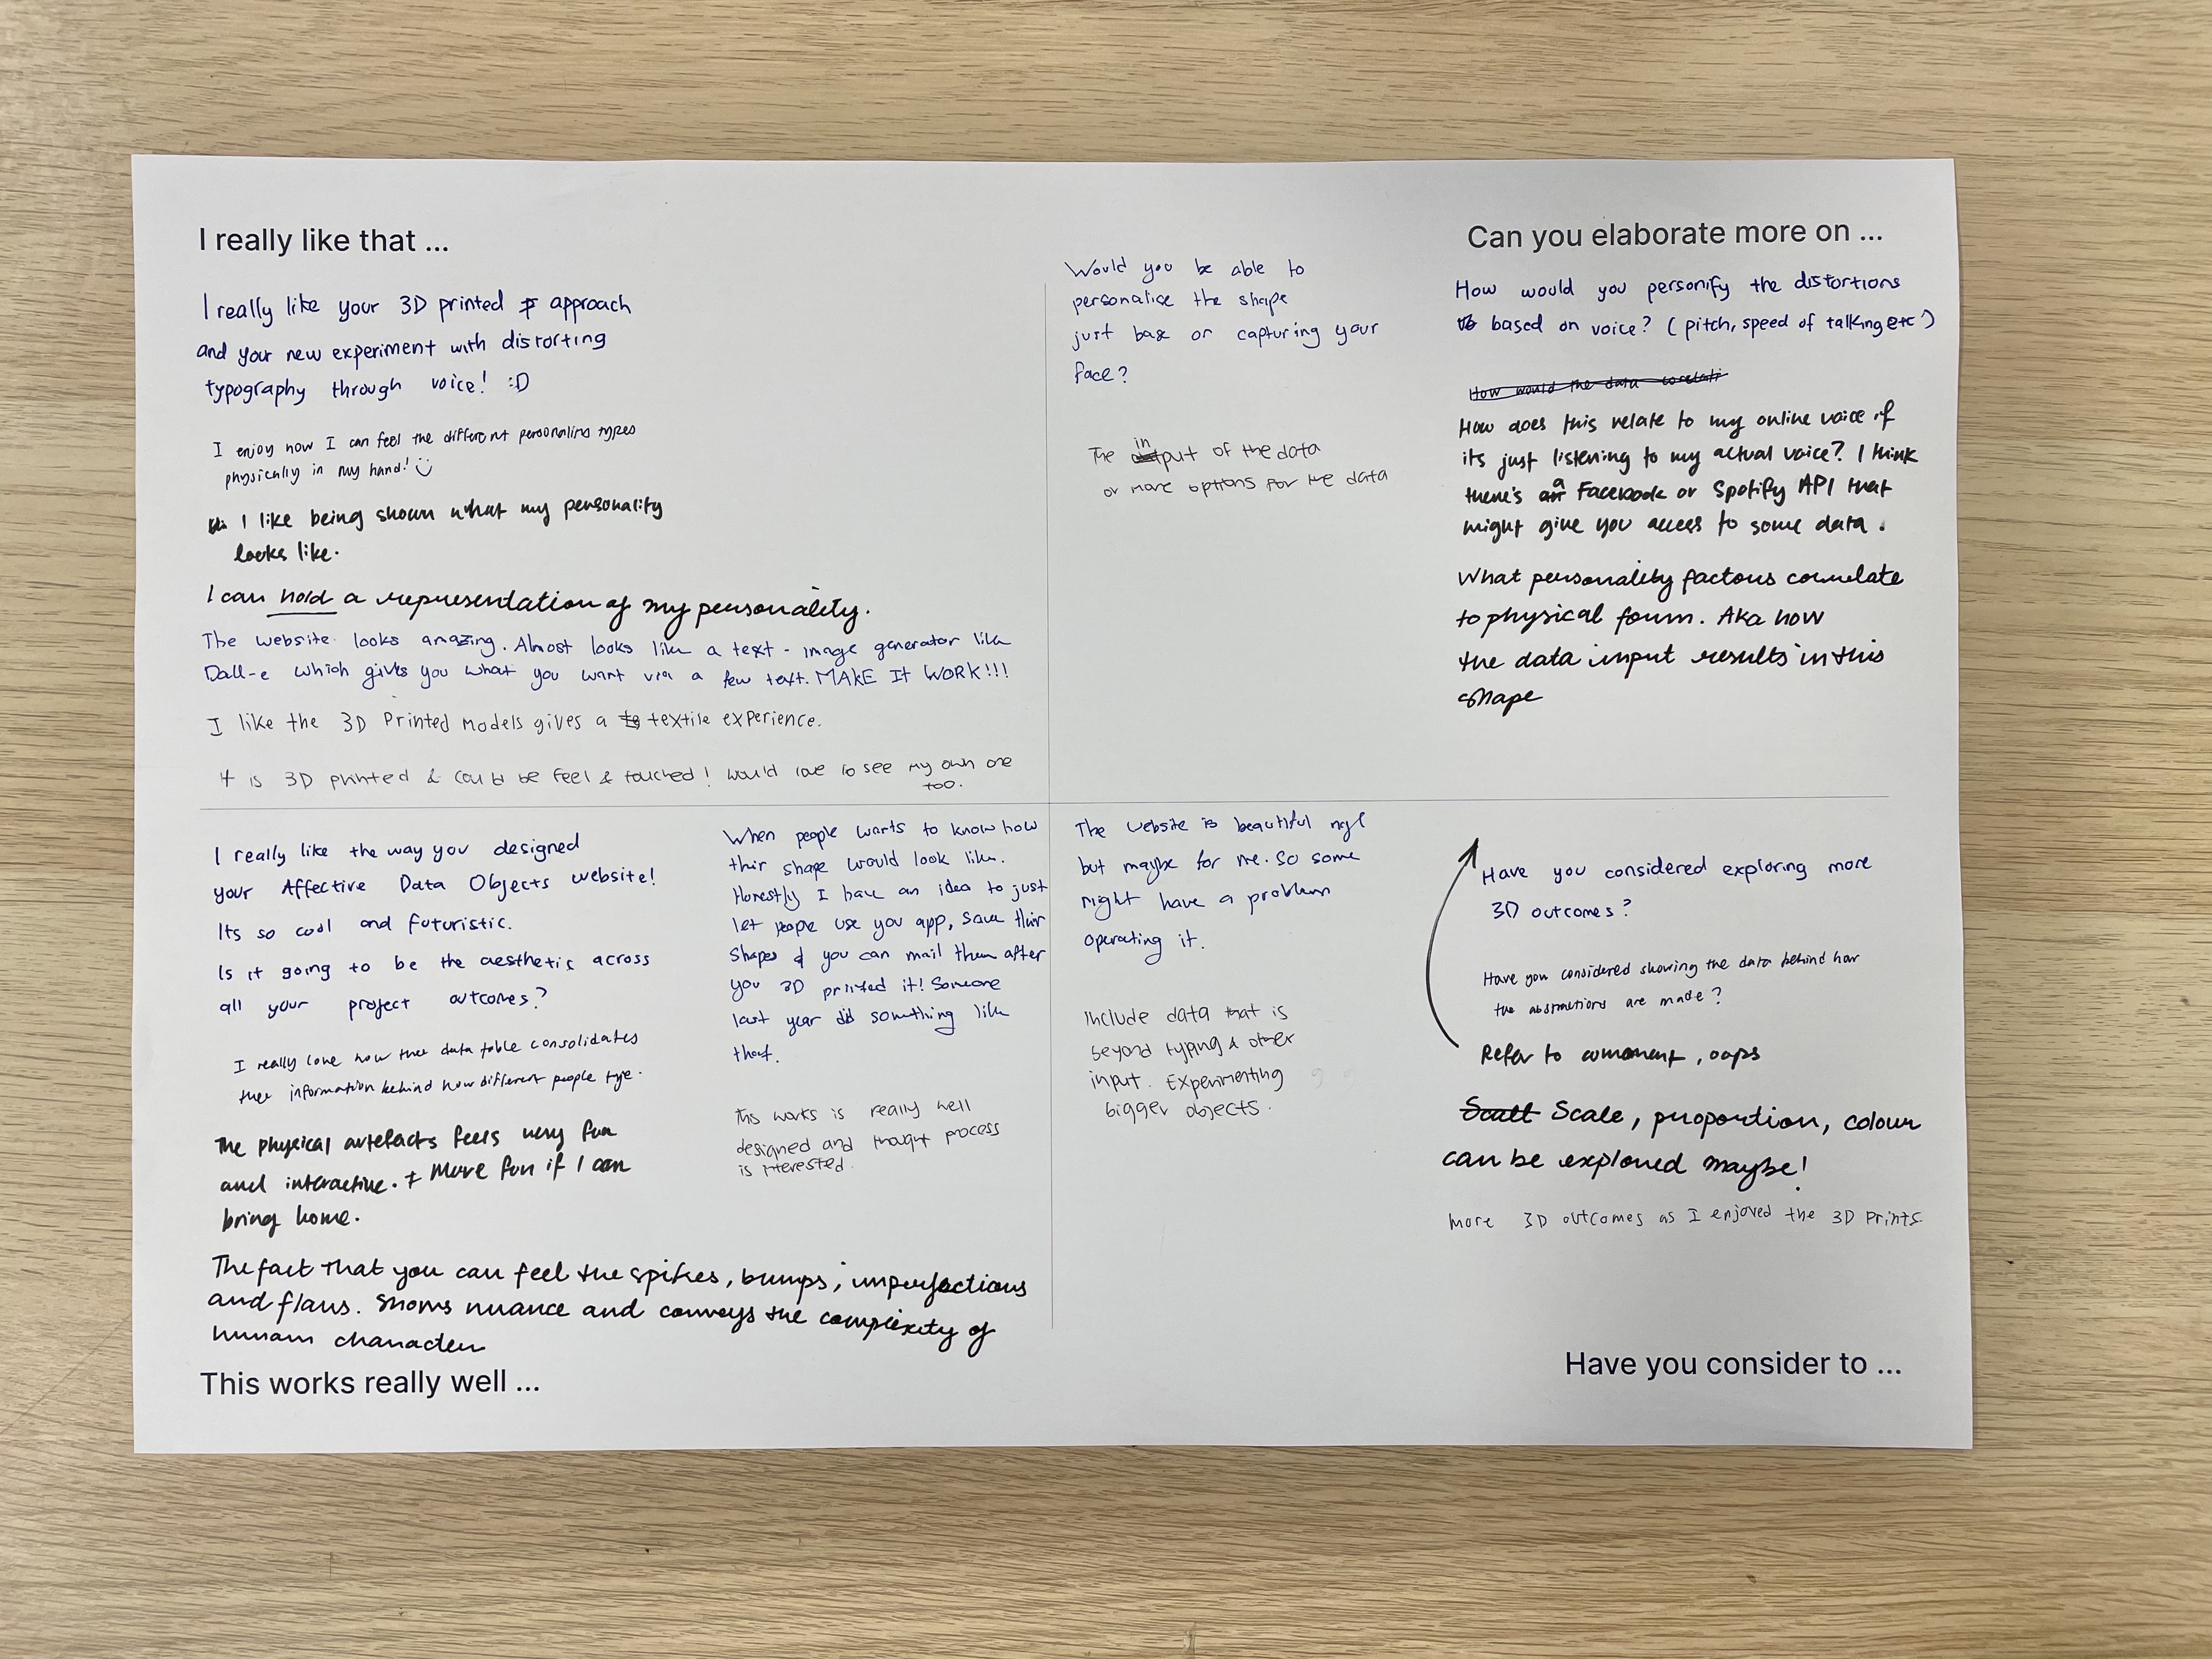
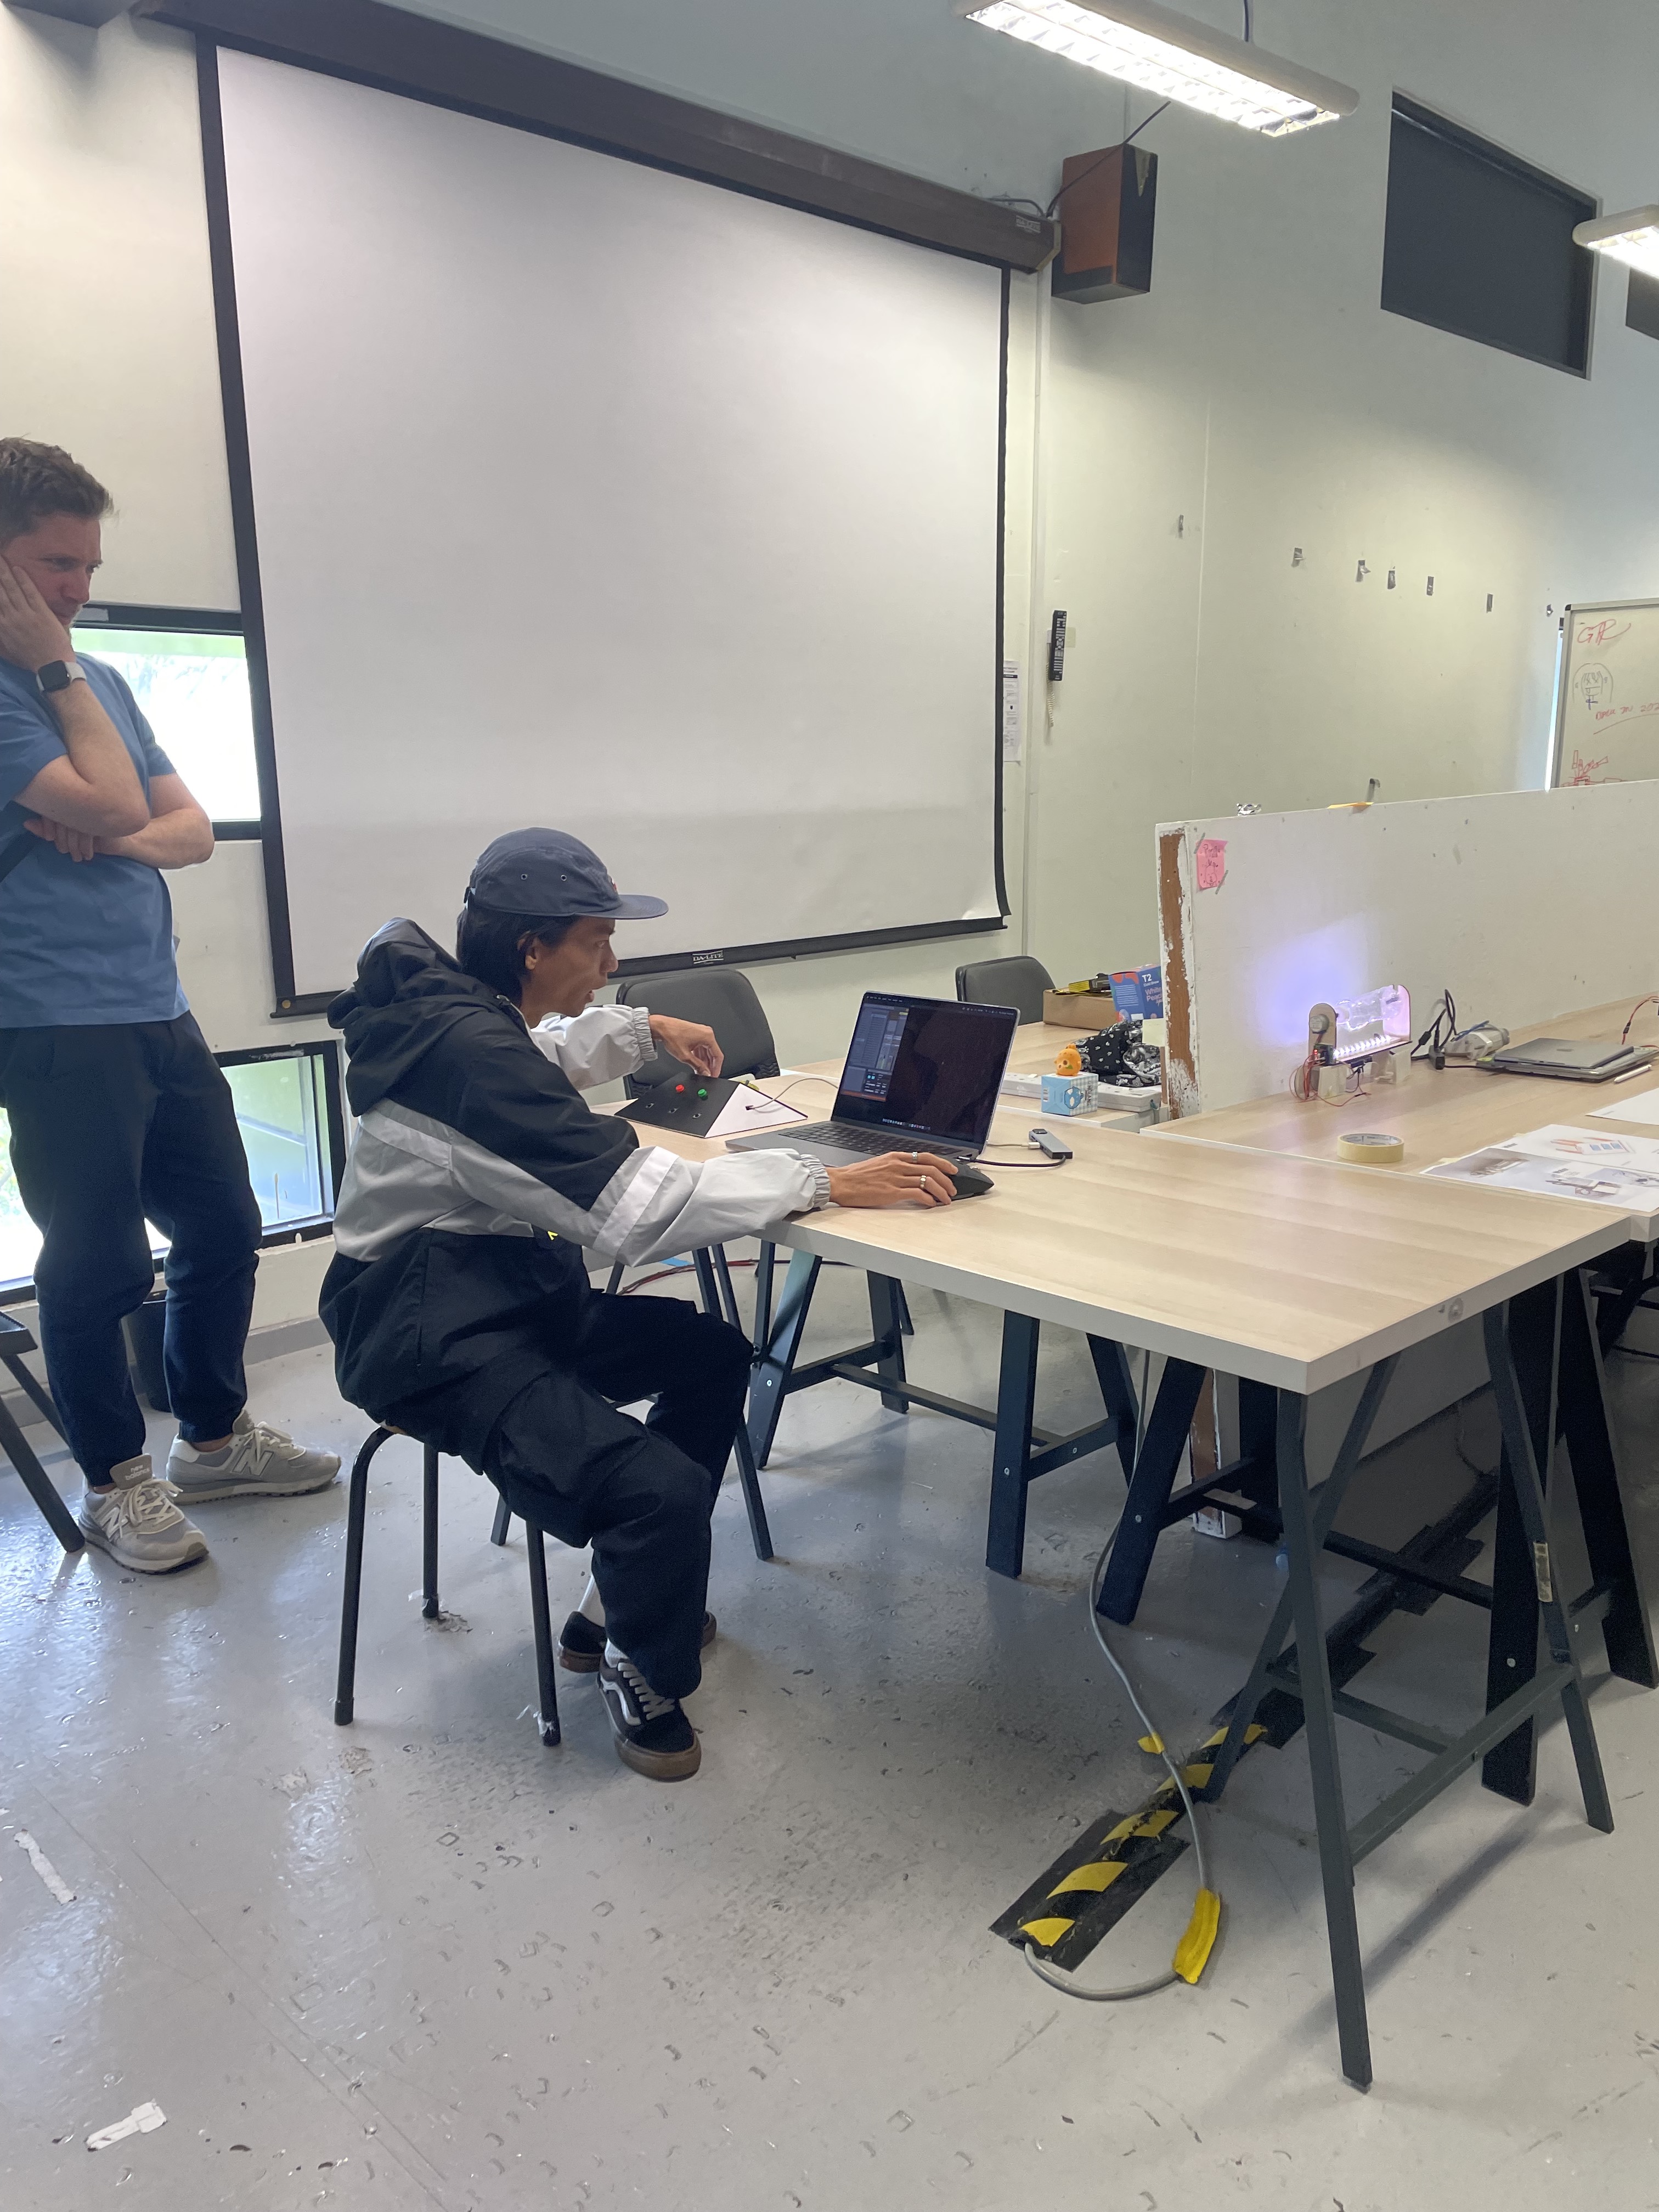
3 / ATelier Progress Sharing
EXPLORING TYPOGRAPHIC TREATMENTS + IMPROVING VOCAL ANALYSER
From last week’s dissertation consultation, I planned to work on the fidelity of my prototypes. Specifically the voice-reactive type development. Hence I started out by improving the aesthetics of the prototype, as its current state wasn’t what I had intended it to be, thus I explored various typographic treatments and searched for tutorials online to learn how to incorporate more dynamic behaviour and movement of type on TouchDesigner. I chanced upon this tutorial by PPPANIK which I found pretty useful as she uses one type of operator to create multiple types of distortion and movements within the type.
Click on the below videos to play/pause.
Turn on volume to listen to the different vocal inputs.
Referencing the techniques used in the tutorial, this was my second typographic exploration, using 2D treatment instead of 3D forms like the exploration in week 1.
This was another attempt that I tried, this time using only a singular variable within the noise operator to distort the typography. By doing this I hoped to make the variations more consistent to avoid looking random when generated. However, I do think that the variations are not distinct enough to create a contrast between different vocal attributes. So that would be something I needed to work on in my next exploration.
I tested the reactivity of these explorations by inserting an audio file which consisted of different voices. During my initial drafts, I tried using my own voice to test the reactivity of the type explorations, but I figured it wasn't a good gauge as I couldn’t perceive the extent of distortions based on a range of voices. Thus, I used this audio clip as a source for more individualised voices as it showcases voices in different accents.
As tested in the above videos, with the different accents I could tell a larger difference in the effects of such vocal traits and the data values they have on the typography.
DEVELOPMENT 3–IDENTITY GRID
For the third development–identity grid, I experimented with p5.js as a possible medium, but so far none of the sketches really functioned in the way I needed it to be. Other than the technical functionality being an issue, the aesthetics were also not what I aimed for. Therefore, I decided to try Touchdesigner as another possible medium.
Screen Time Data Input
To map the screen time data from our mobile devices onto the identity grid, I mainly looked at the categories displayed within the in-built screentime actvity records and then categorise them based on the type of actvities they fall under–passive, interactive, educational and social.
P5.JS SKETCHES
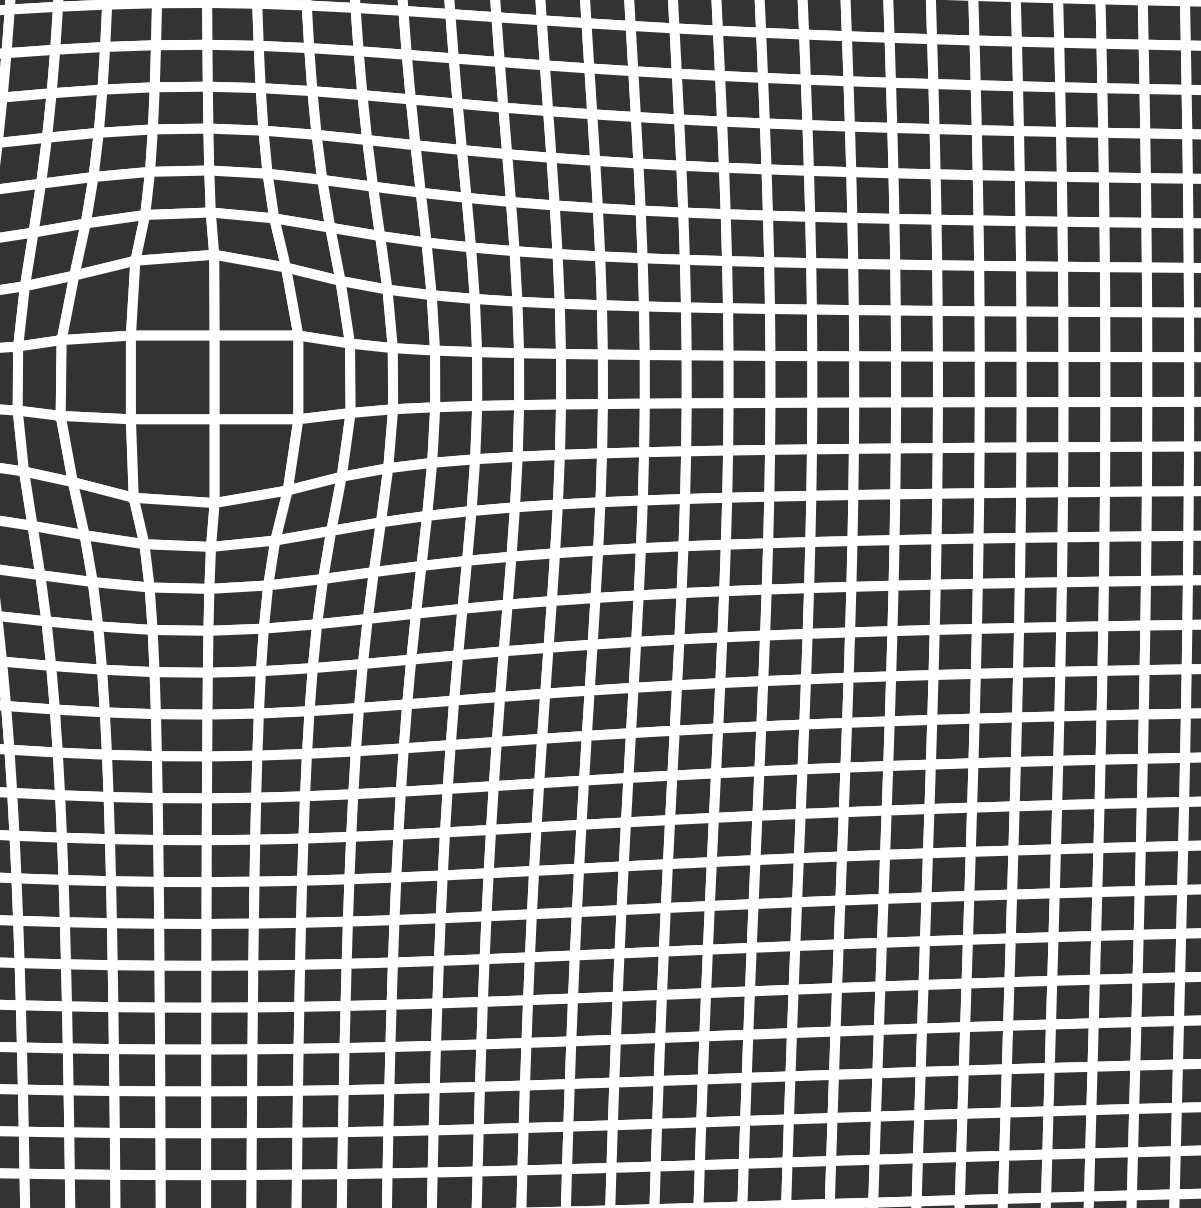
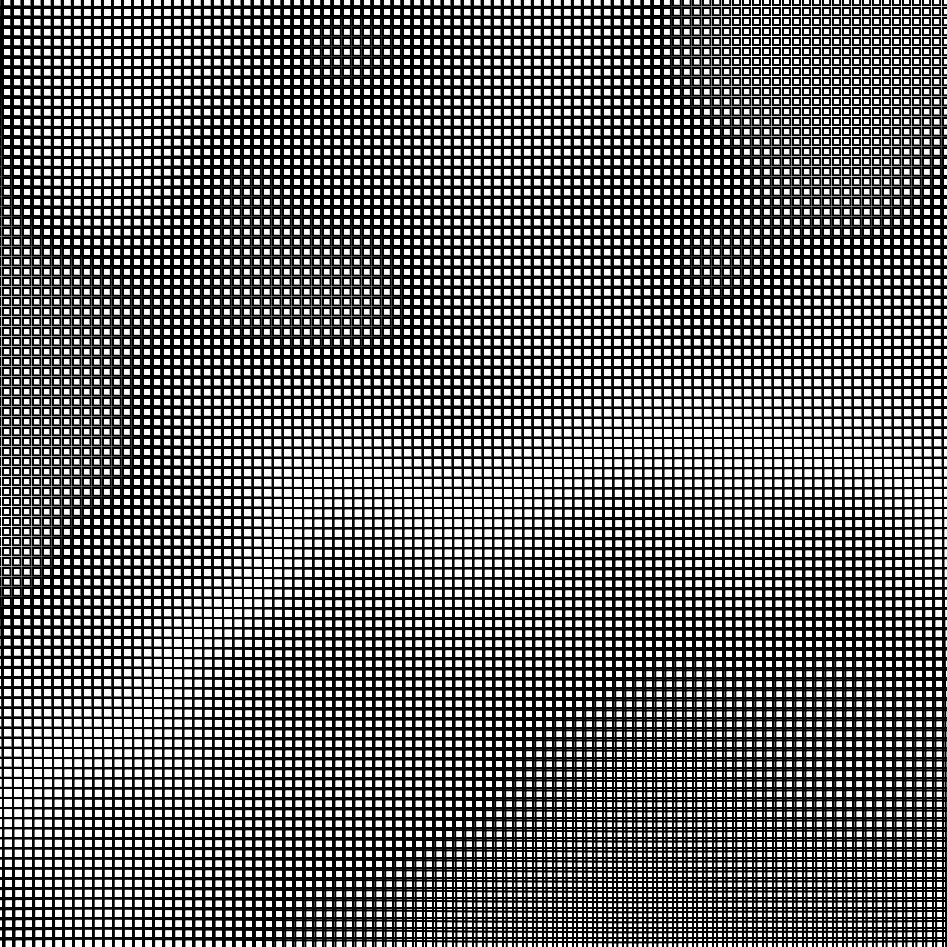
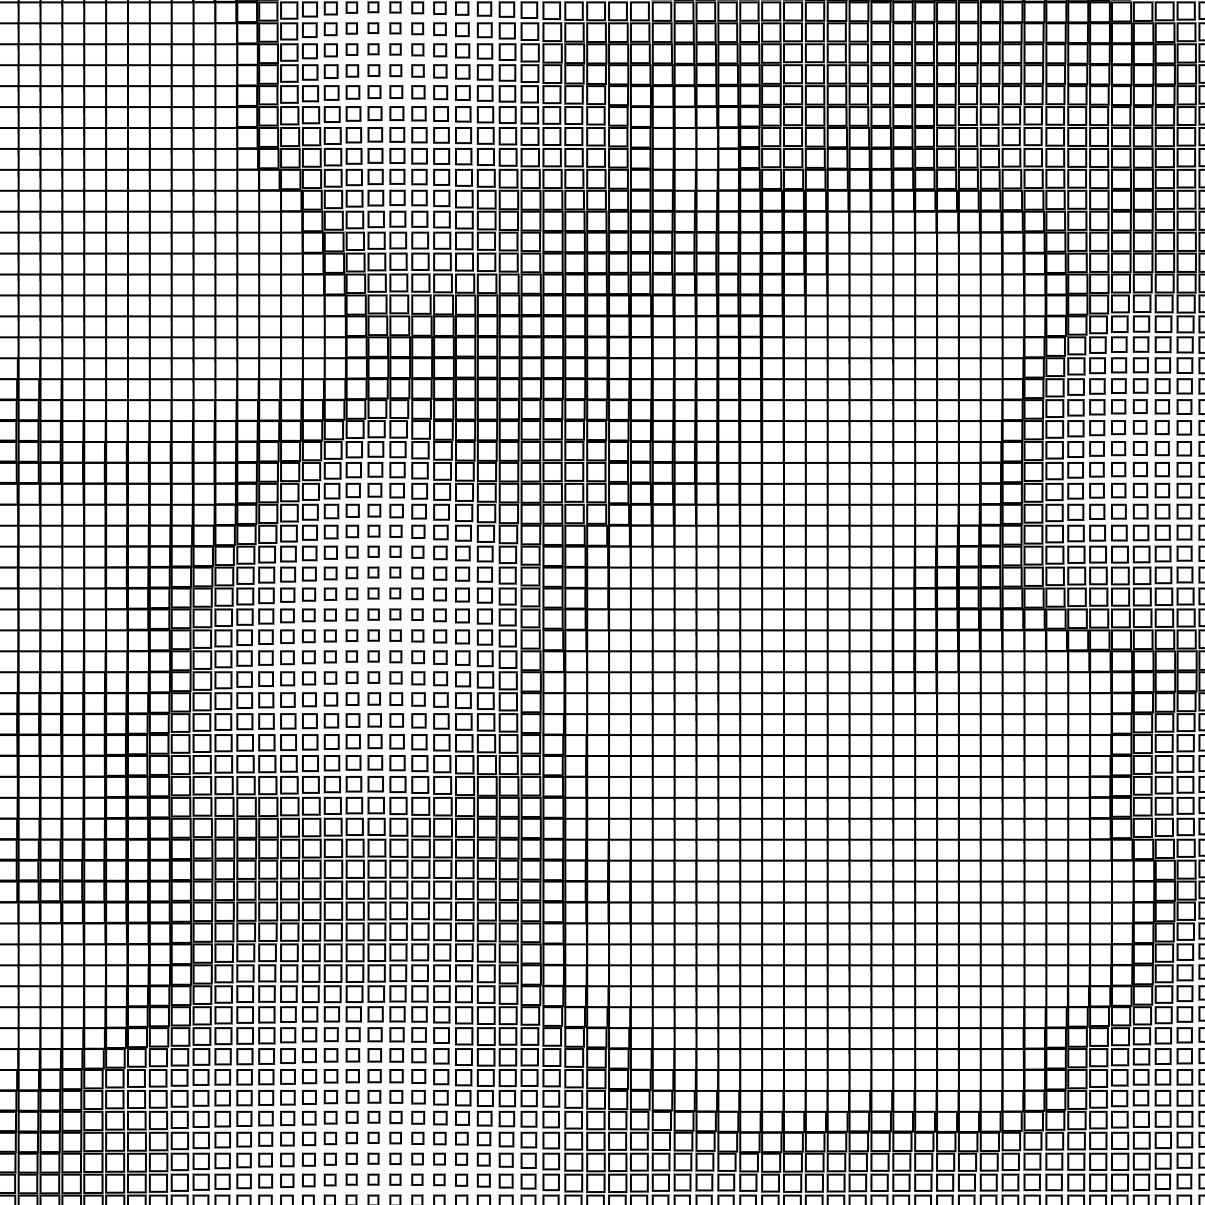
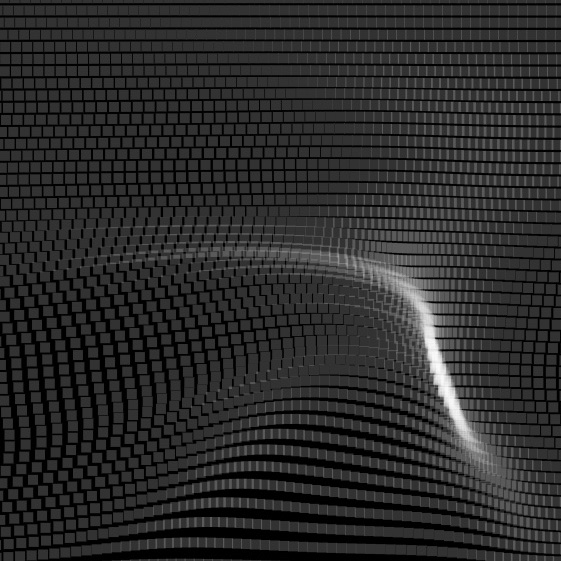
Above are experimentations with using p5.js to create the grid. Despite it being a suitable platform to host data inputs, I found it rather difficult to use data inputs to control the positioning of the grid distortions.
TOUCHDESIGNER EXPLORATION
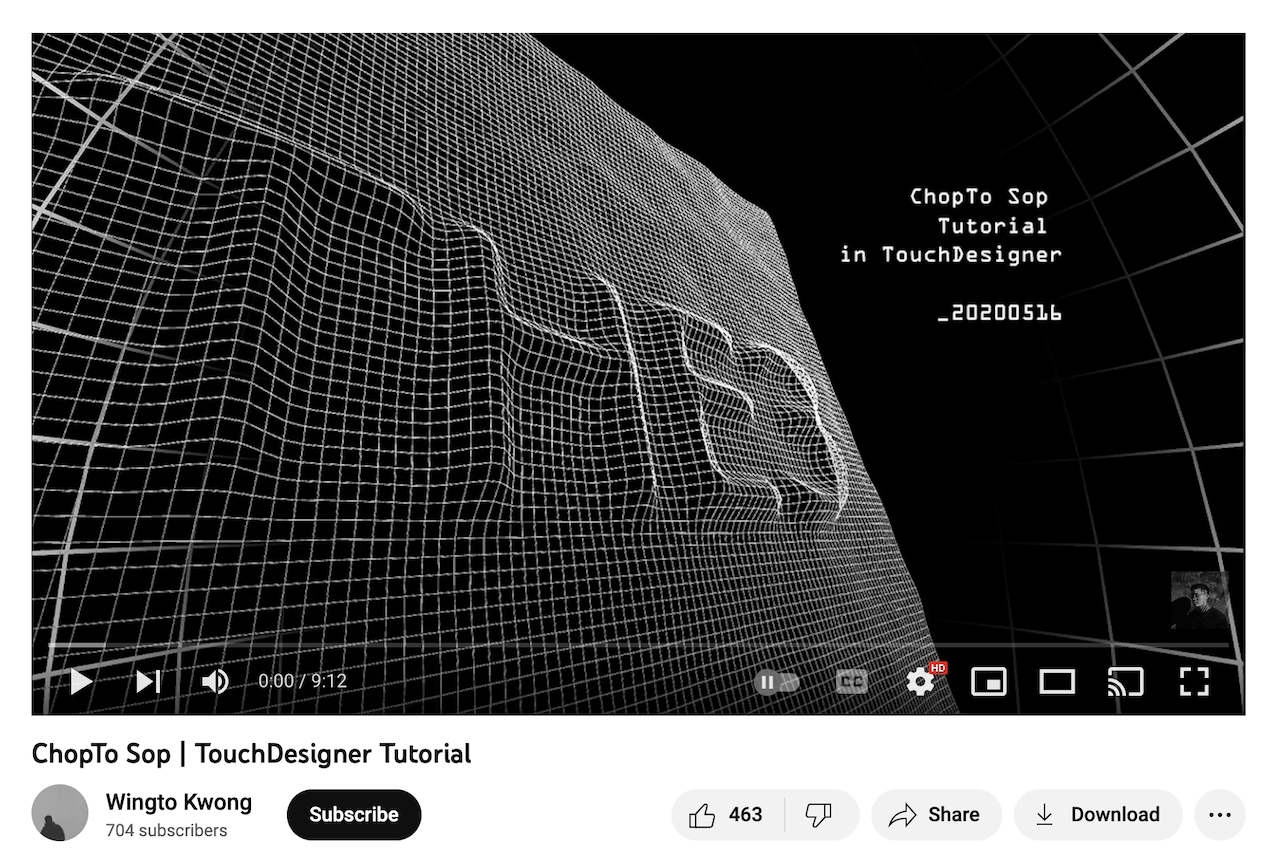
To first create a grid, I referenced this ChopToSop tutorial which also teaches us how to interact with a grid as a material. Although in the tutorial the visuals were more focused on live interactions or the use of images to distort the grid, I managed to find a way to create ridges through the use of circles for the grid distortion.
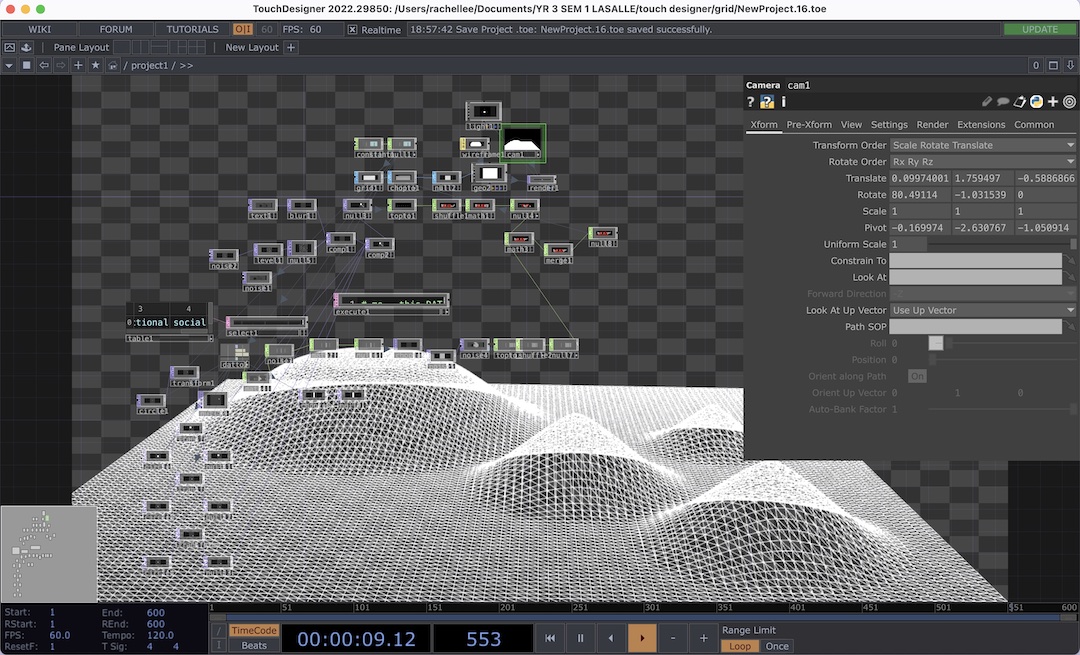
After mapping my screen time to the grid, I noticed the convexity of the grid can only reach a certain extent until it forms a plateau and this is something I'm still trying to fix. In addition, I realised that it looked quite awkward with just four categories– passive, interaction, educational and social–data inputs being shown, thus I decided to add in more noise distortions to create subtle ripples around the data.
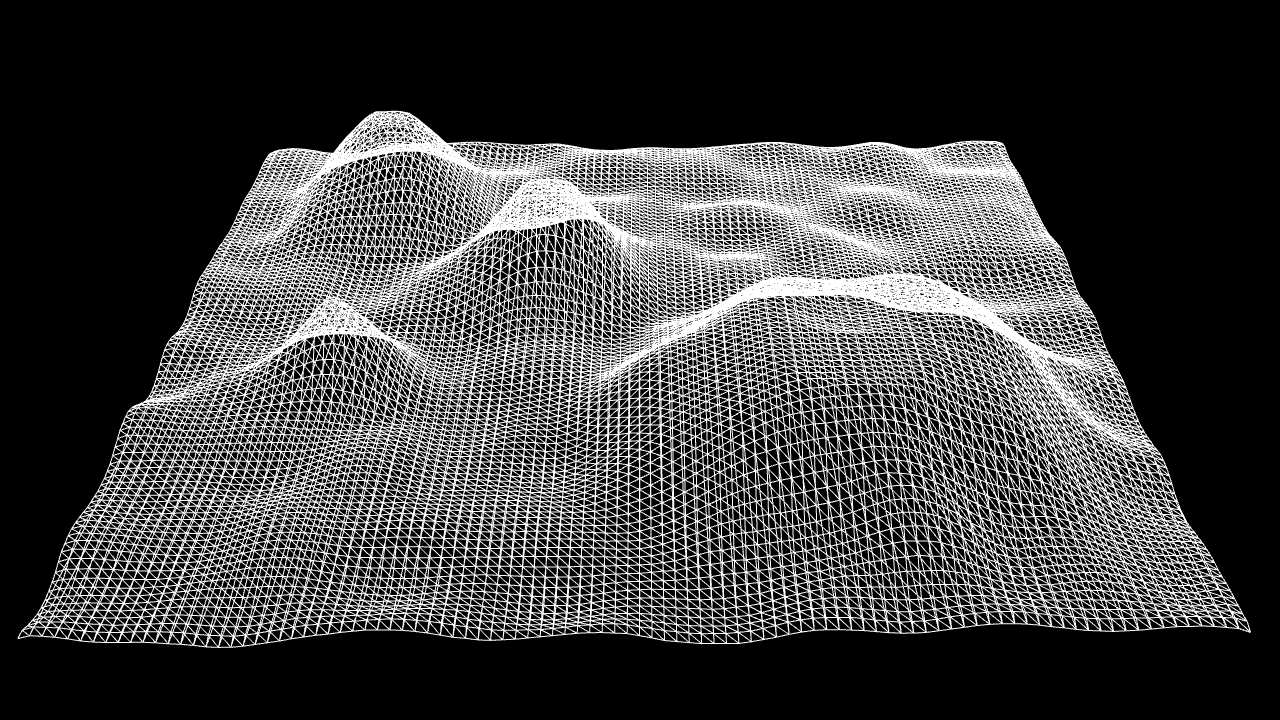

Moving forward for the identity grid, I think it would be good to experiment further using TouchDesigner as I see lots of potential in creating grid displacements with a more accurate data input value, and in addition, creating an interface that connects the data input to the grid itself, generating distortions in real-time.

