1 / Materials Preparation
2 / Set-up
3 / Final Deliverables
MATERIALS PREPARATION
Affective Data Objects Interface Update
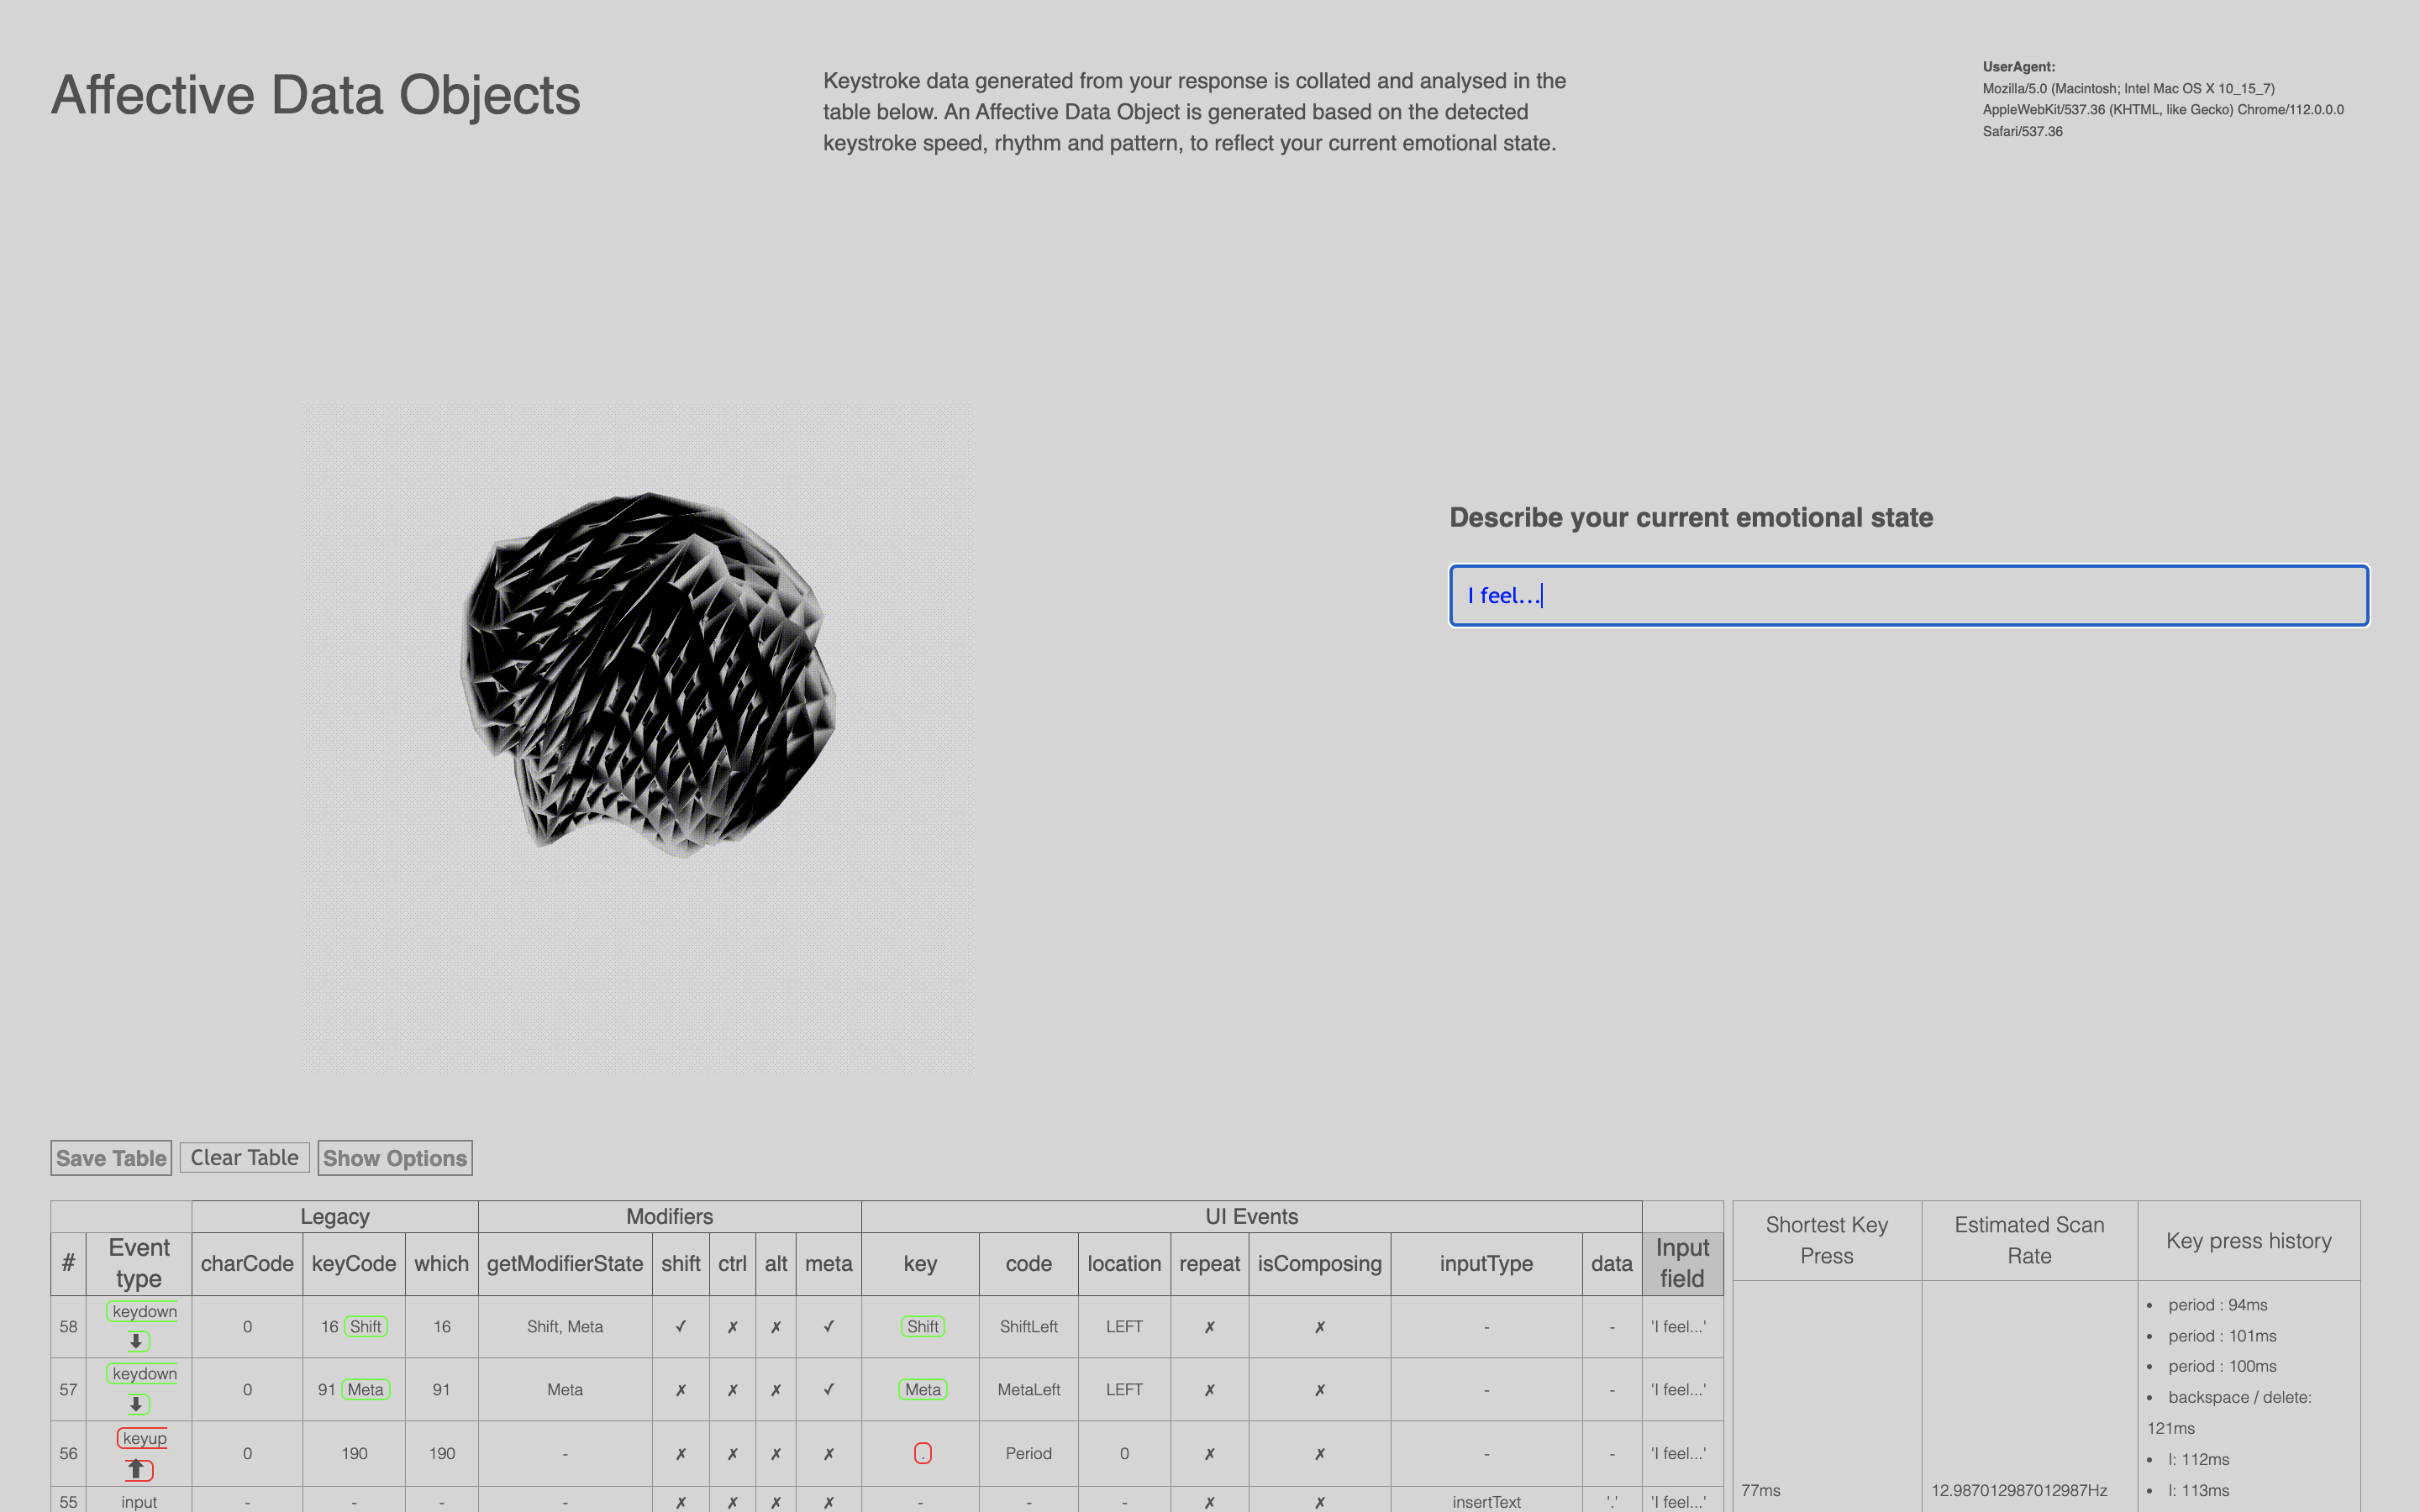
An ongoing issue with the Affective Data Objects interface was the input fields. I still haven't been able to resolve the problem surrounding the data received from the second and third input fields. Thus, to work around this issue, I decided to adjust the interface experience by removing the second and third input points.
With only one input field, I had to reconceptualise the question and prompts for the input. Instead of simulating a conversation with the machine, I tweaked the prompt to "Describe your current emotional state" as a way to engage the user to reflect and communicate their perception of their emotions similar to the SIPI scale. By doing so, the generated Affective Data Object based on their speed of typing when the user reflects is much more personal and representative of their current emotional state. This is because when users reflect on their emotions, this influences their speed of typing as well. Therefore, the generated outcome is more accurate to their perception of emotional identity as well.

Laser-Cutting Surfaces
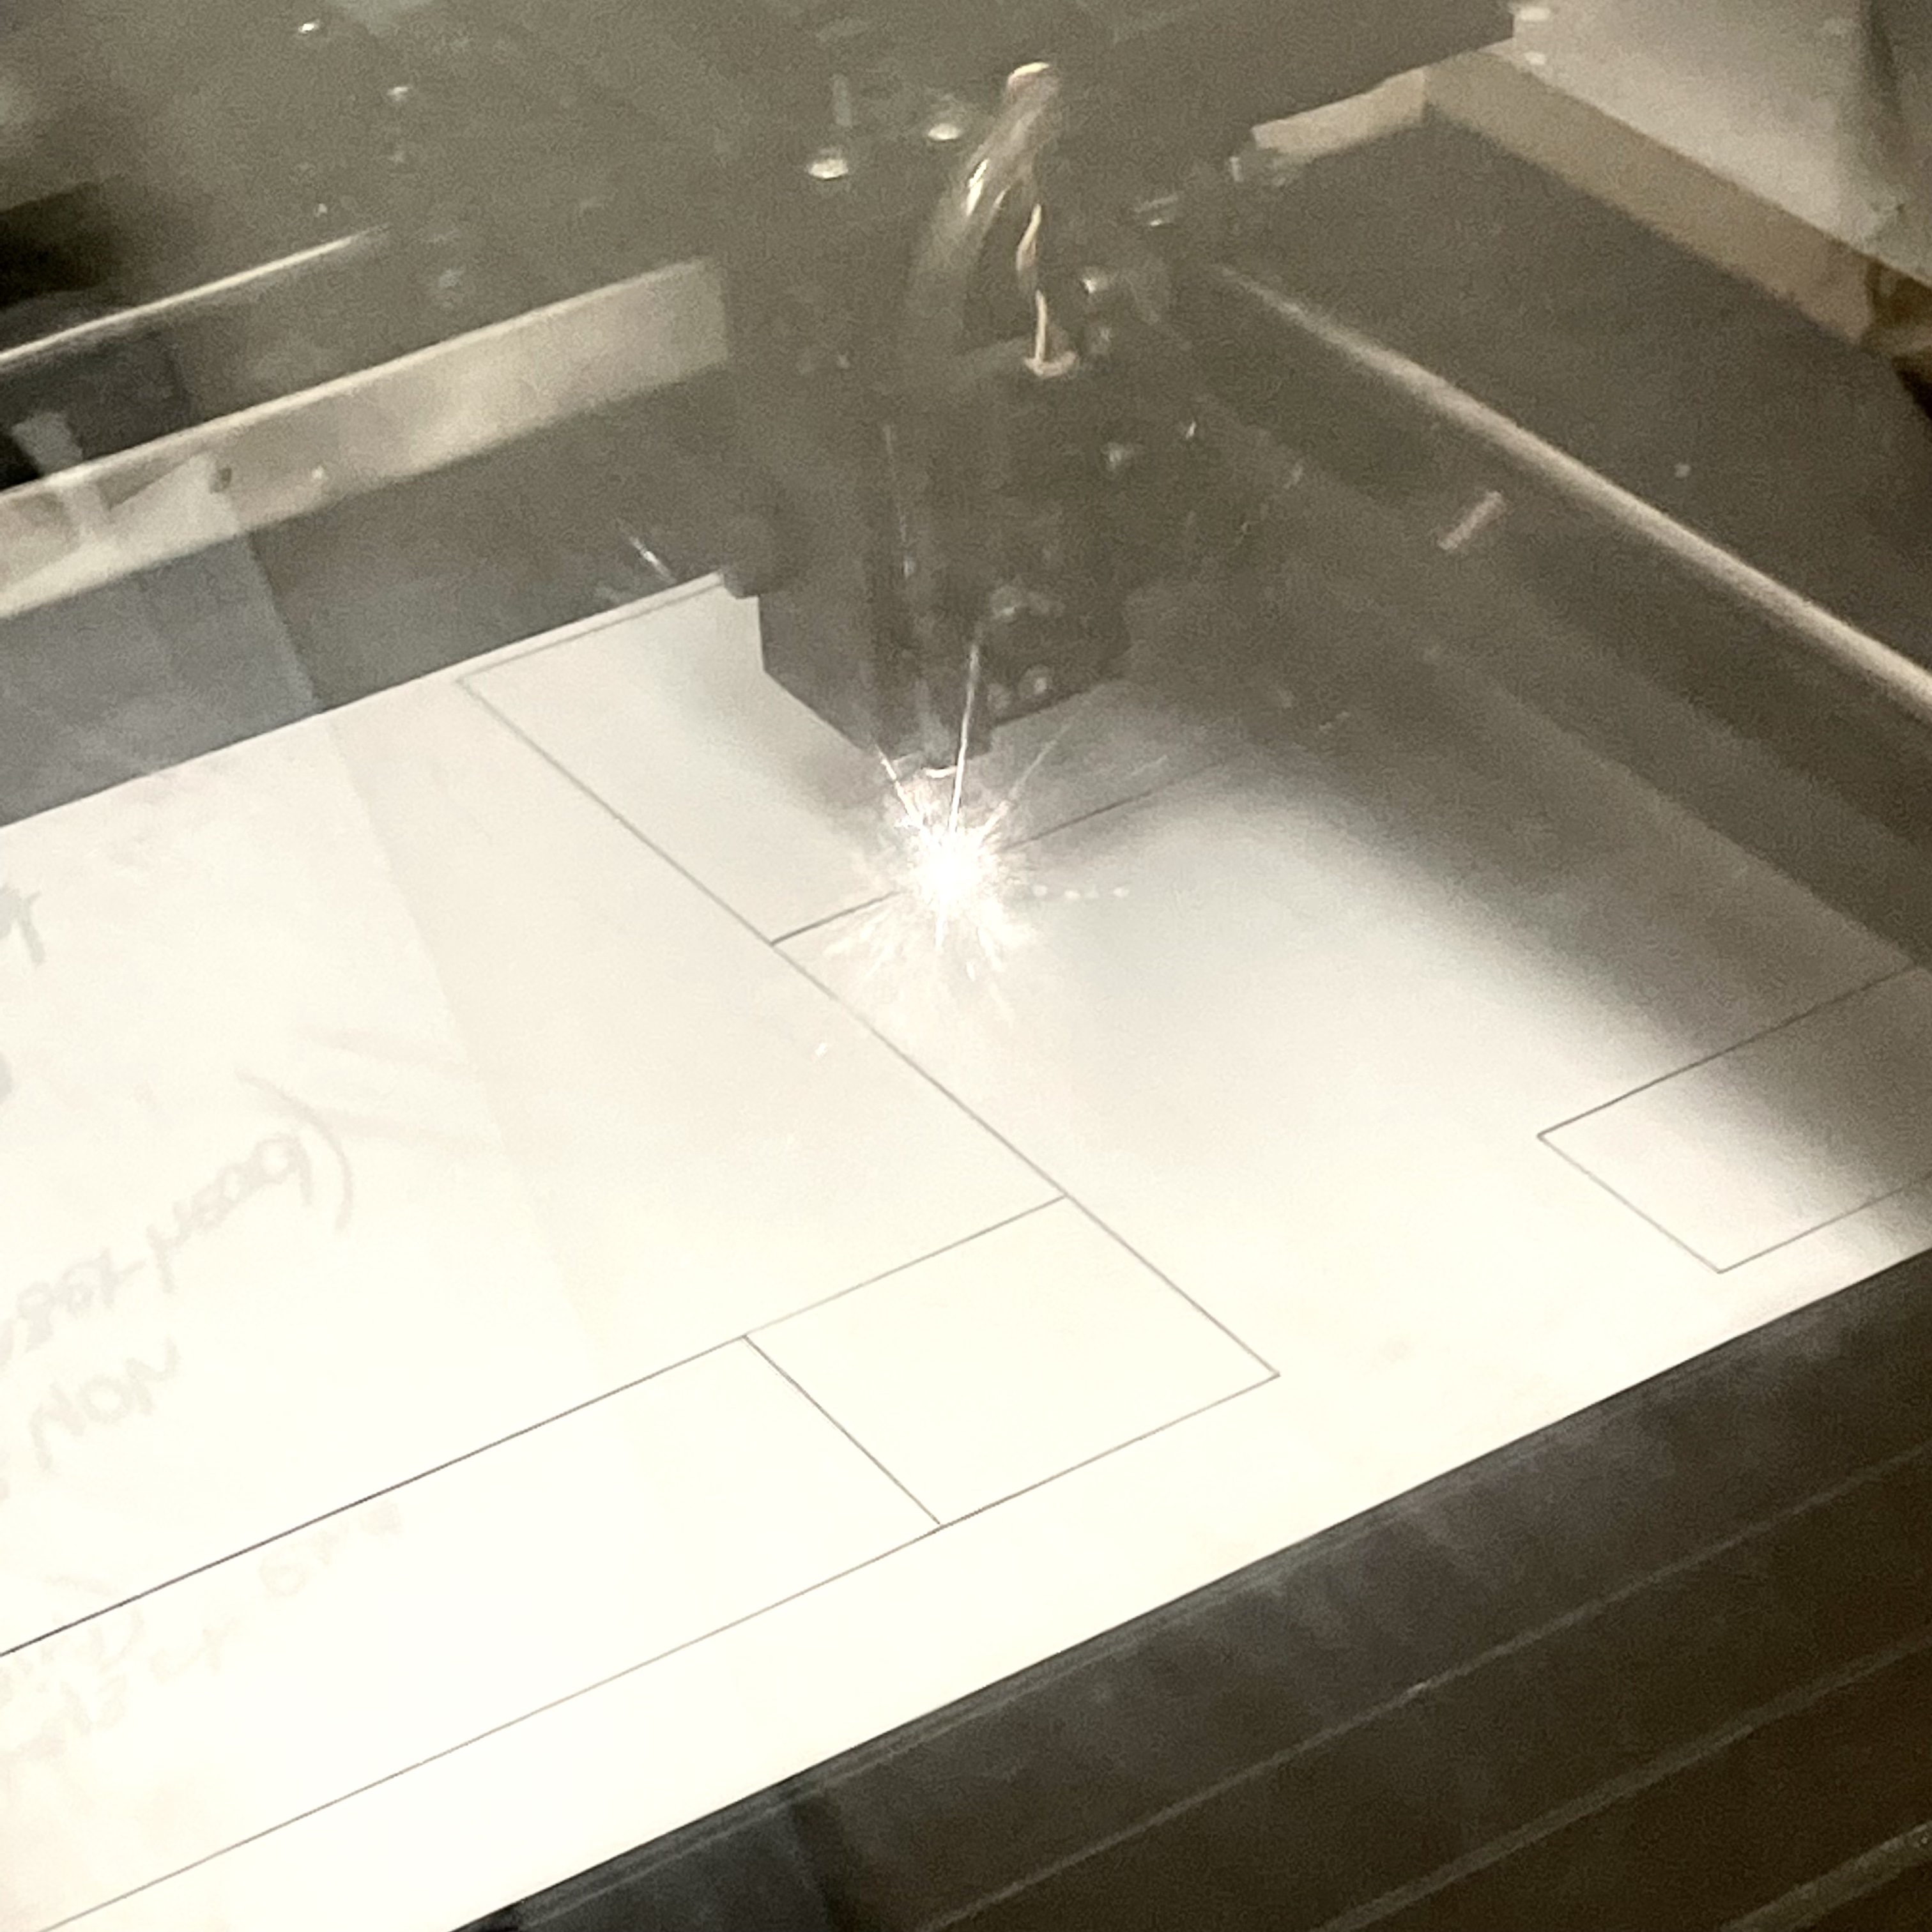
As proposed in the previous week to make reflective surfaces for the physical Affective Data Objects, I had to laser-cut the acrylic mirror sheet into 155mmX155mm to fit the wooden plank surface perfectly.
For the placements of the data objects, I plan to place them on the acrylic blocks above the mirror. This will give the objects more height and bring forth a more elevated look to the flat surface.
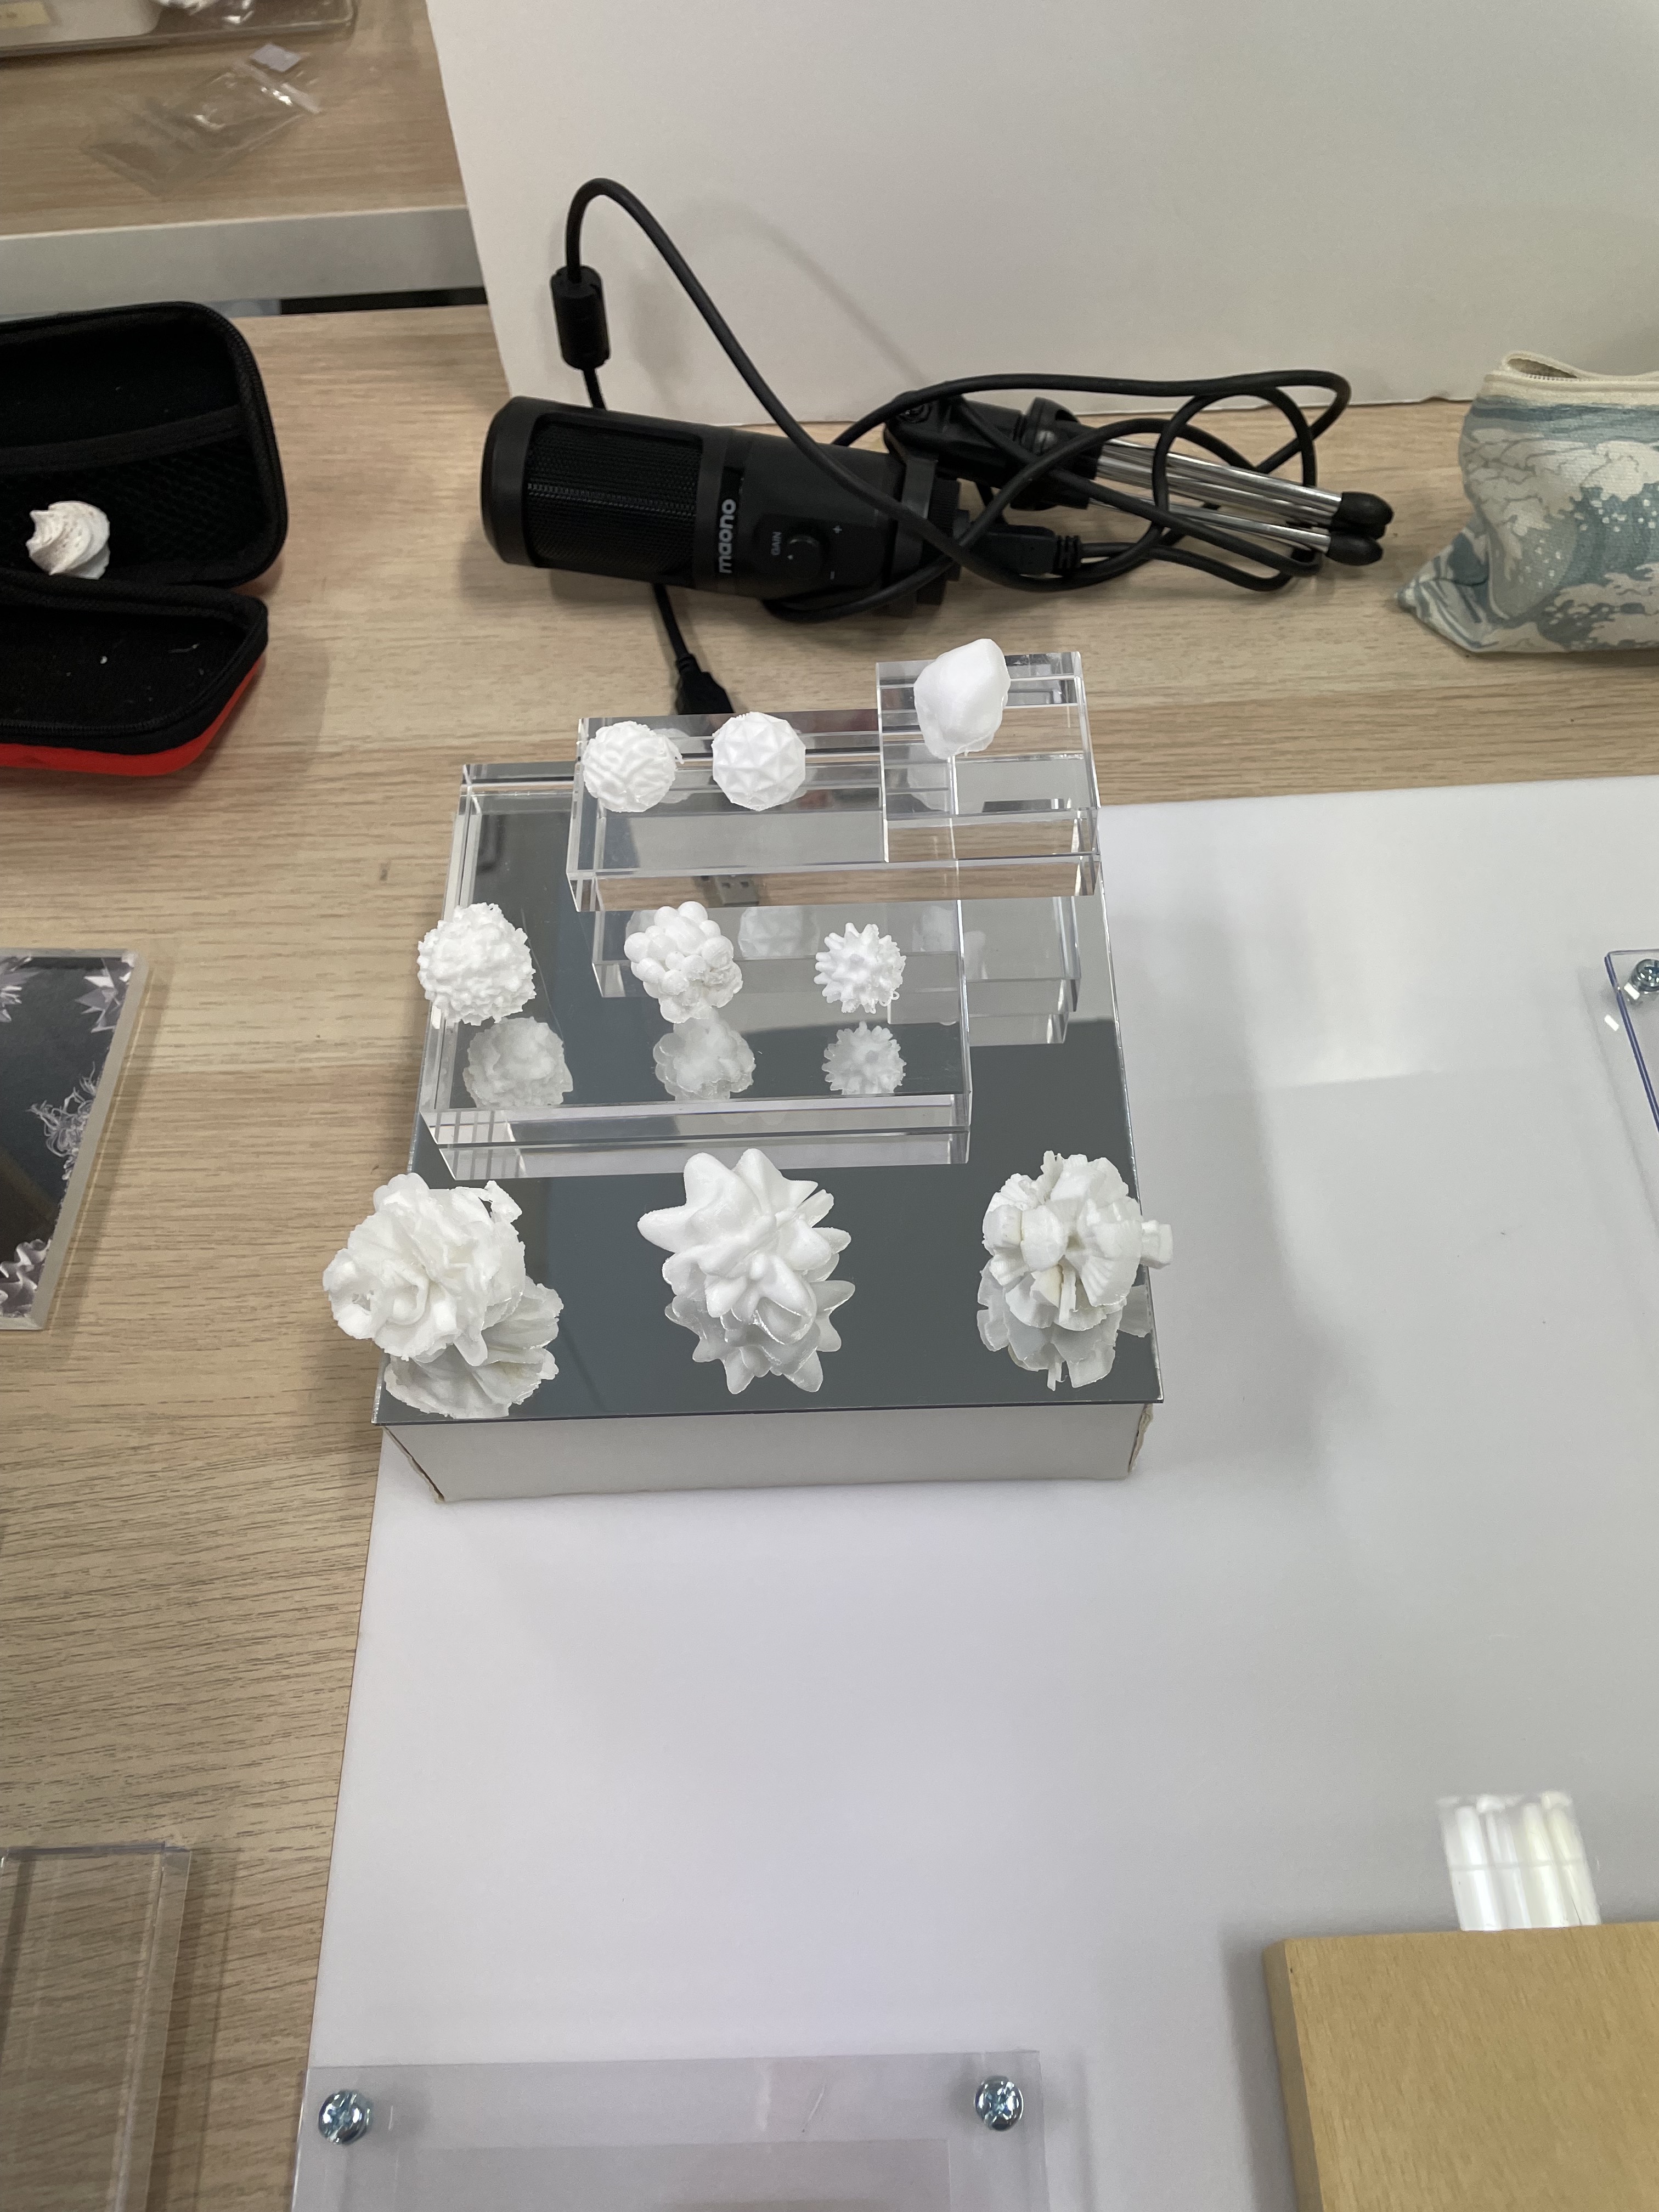

I tried two options for the layout, using acrylic to elevate the smaller data objects, while the larger data objects can rest directly on the mirror surface itself. The first option places the data objects in a linear and stacked orientation while the second option is more playful, rotating the acrylics at an angle to bring more dimension to the set-up. However, I went ahead with the first option as the second option felt too messy especially when the table set-up had so many things going on, a simpler layout displaying the data objects clearly would be a better option in this case.
Behavioural Constructs Prototype Making
For the Behavioural Constructs prototype, I secured the circuit set-up with tape to prevent the potentiometers, breadboard and arduino from moving.
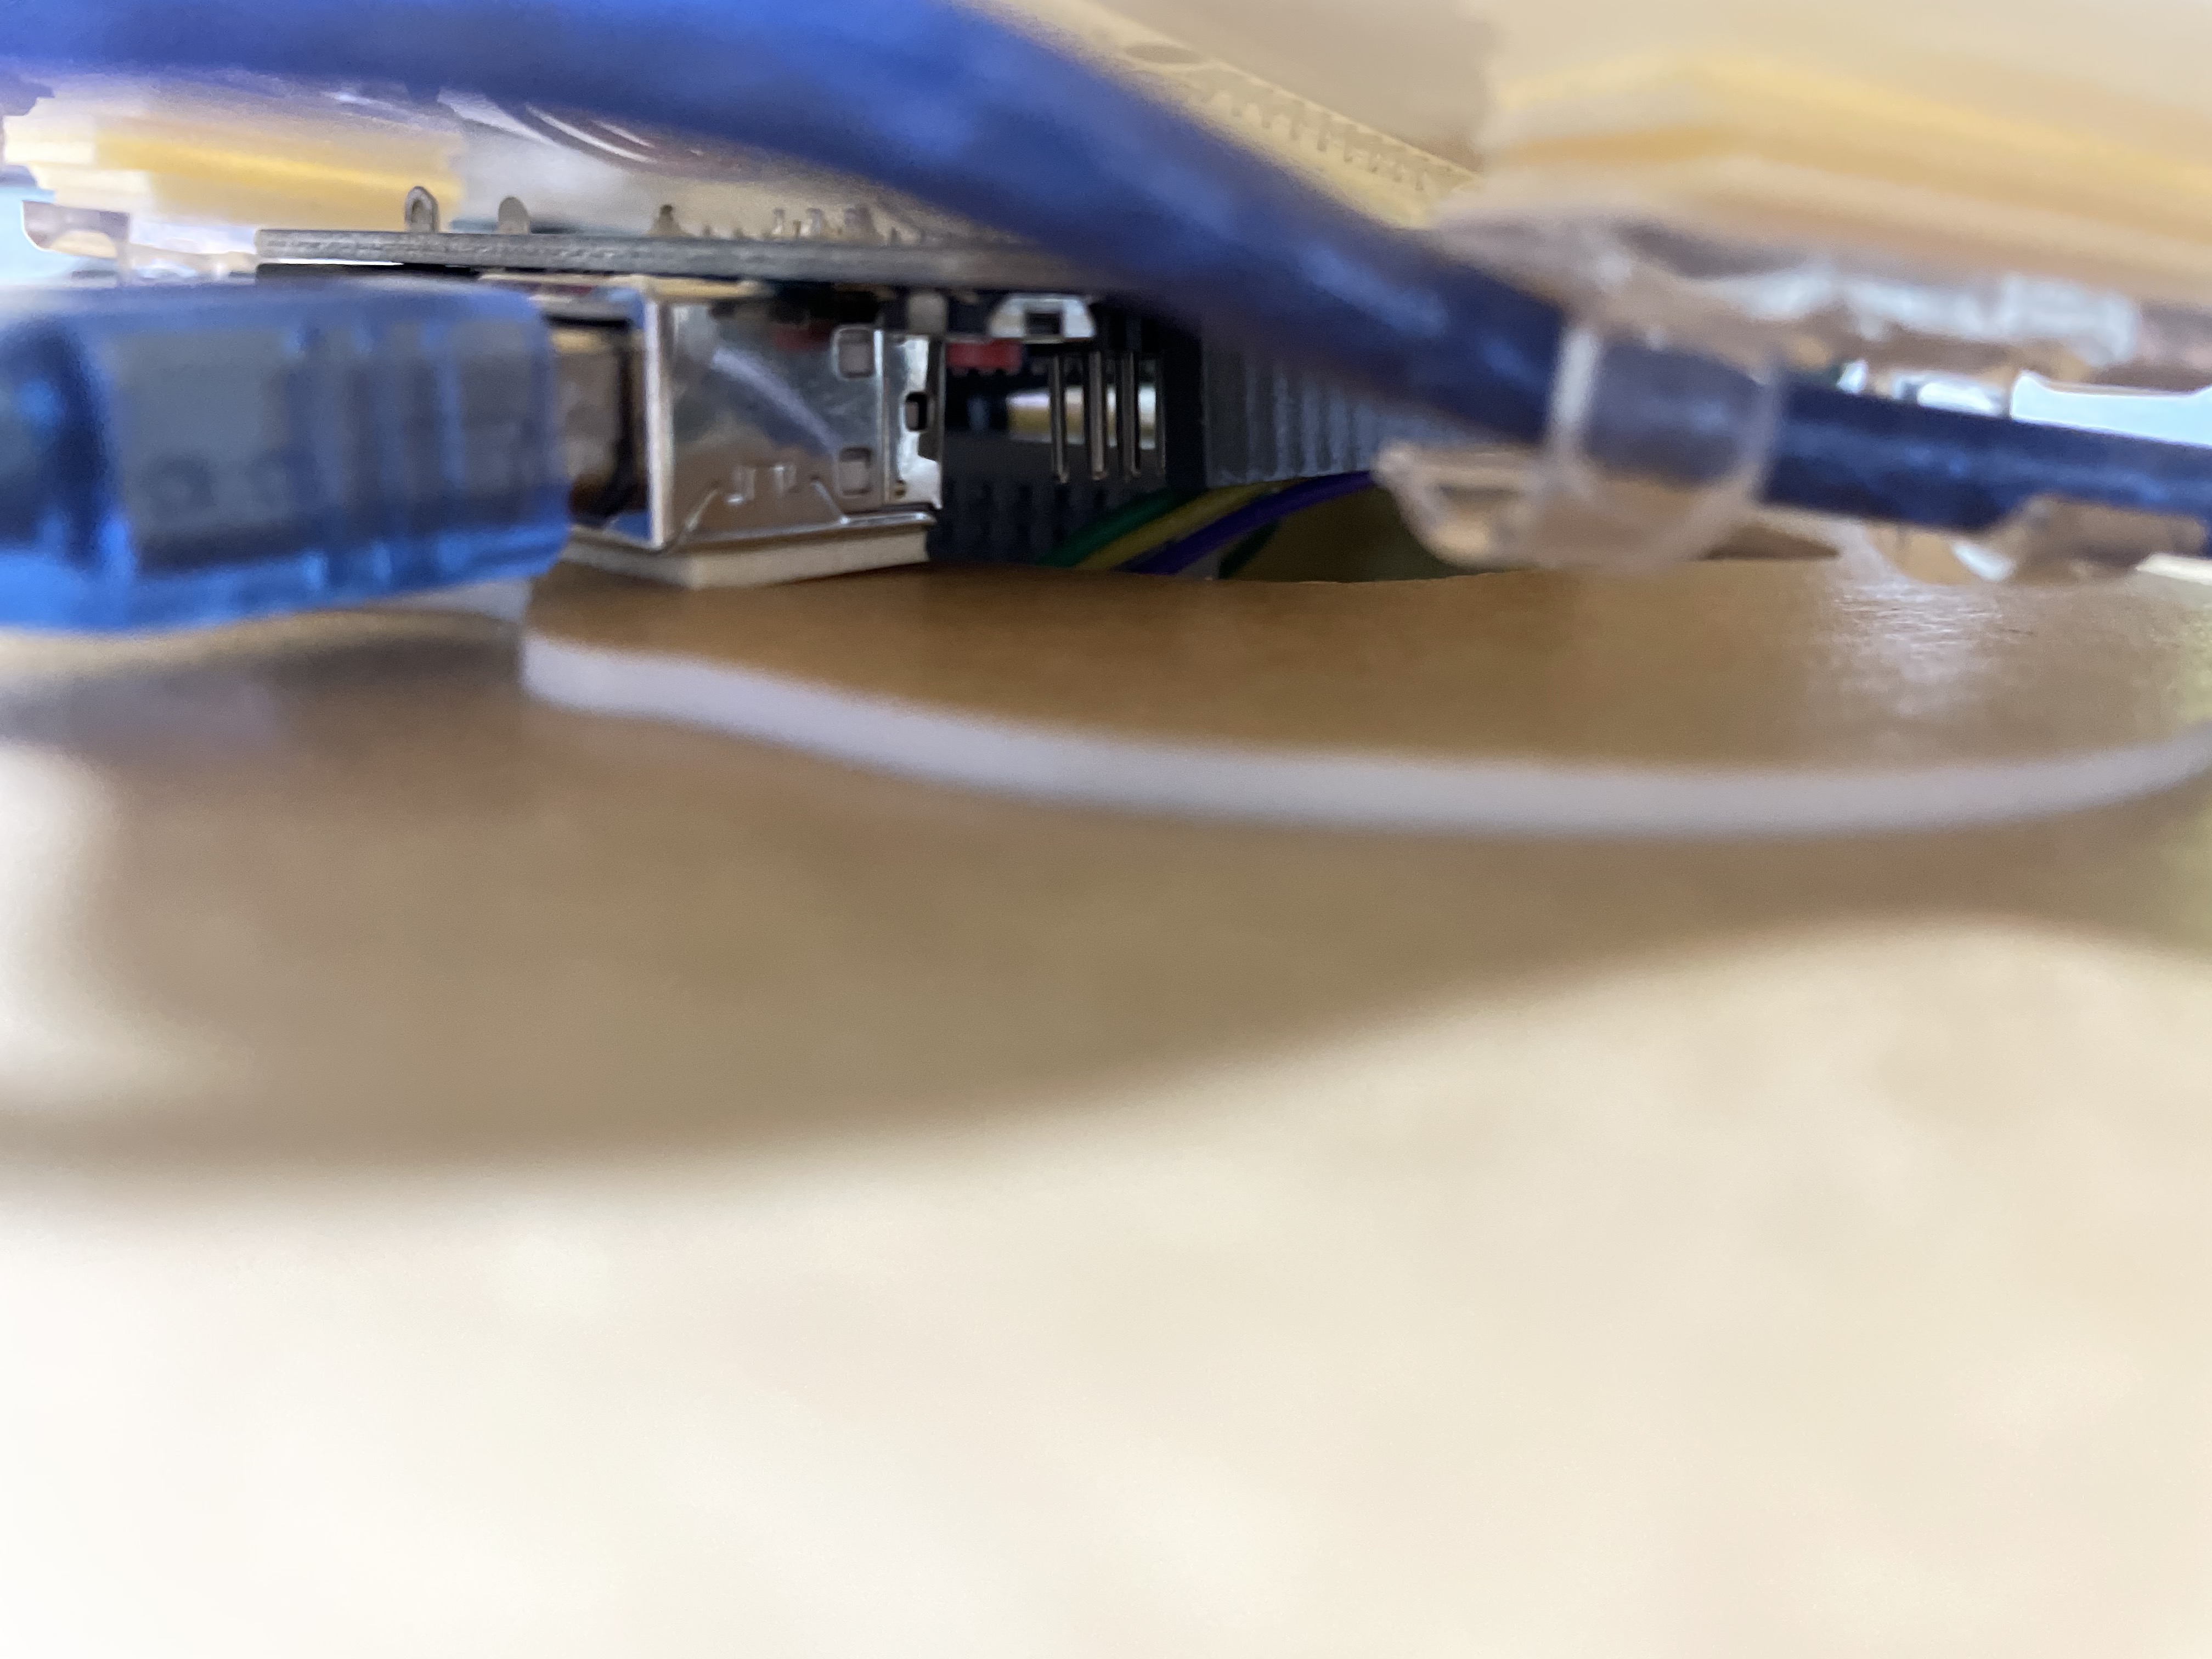
Specifically, I made use of foam tape to fill in the gap between the breadboard and the under surface of the prototype top. Before this, I noticed that the breadboards start to shift whenever the knobs are turned which causes the jumper wires to tangle and disconnect easily. Thus, the thickness of the foam tape helps to stabilise the potentiometers from moving as well. Another adjustment that I made to the circuit was the wiring of the potentiometers. To ensure the knobs lay flat on the top surface, a certain amount of gap is needed between the potentiometer and the under surface. Therefore, I had to reposition the potentiometers on the second row instead.
I applied the same tape to the arduino board to lock the circuit in place. Also the extra height from the tape provides easier access to the cables as well.
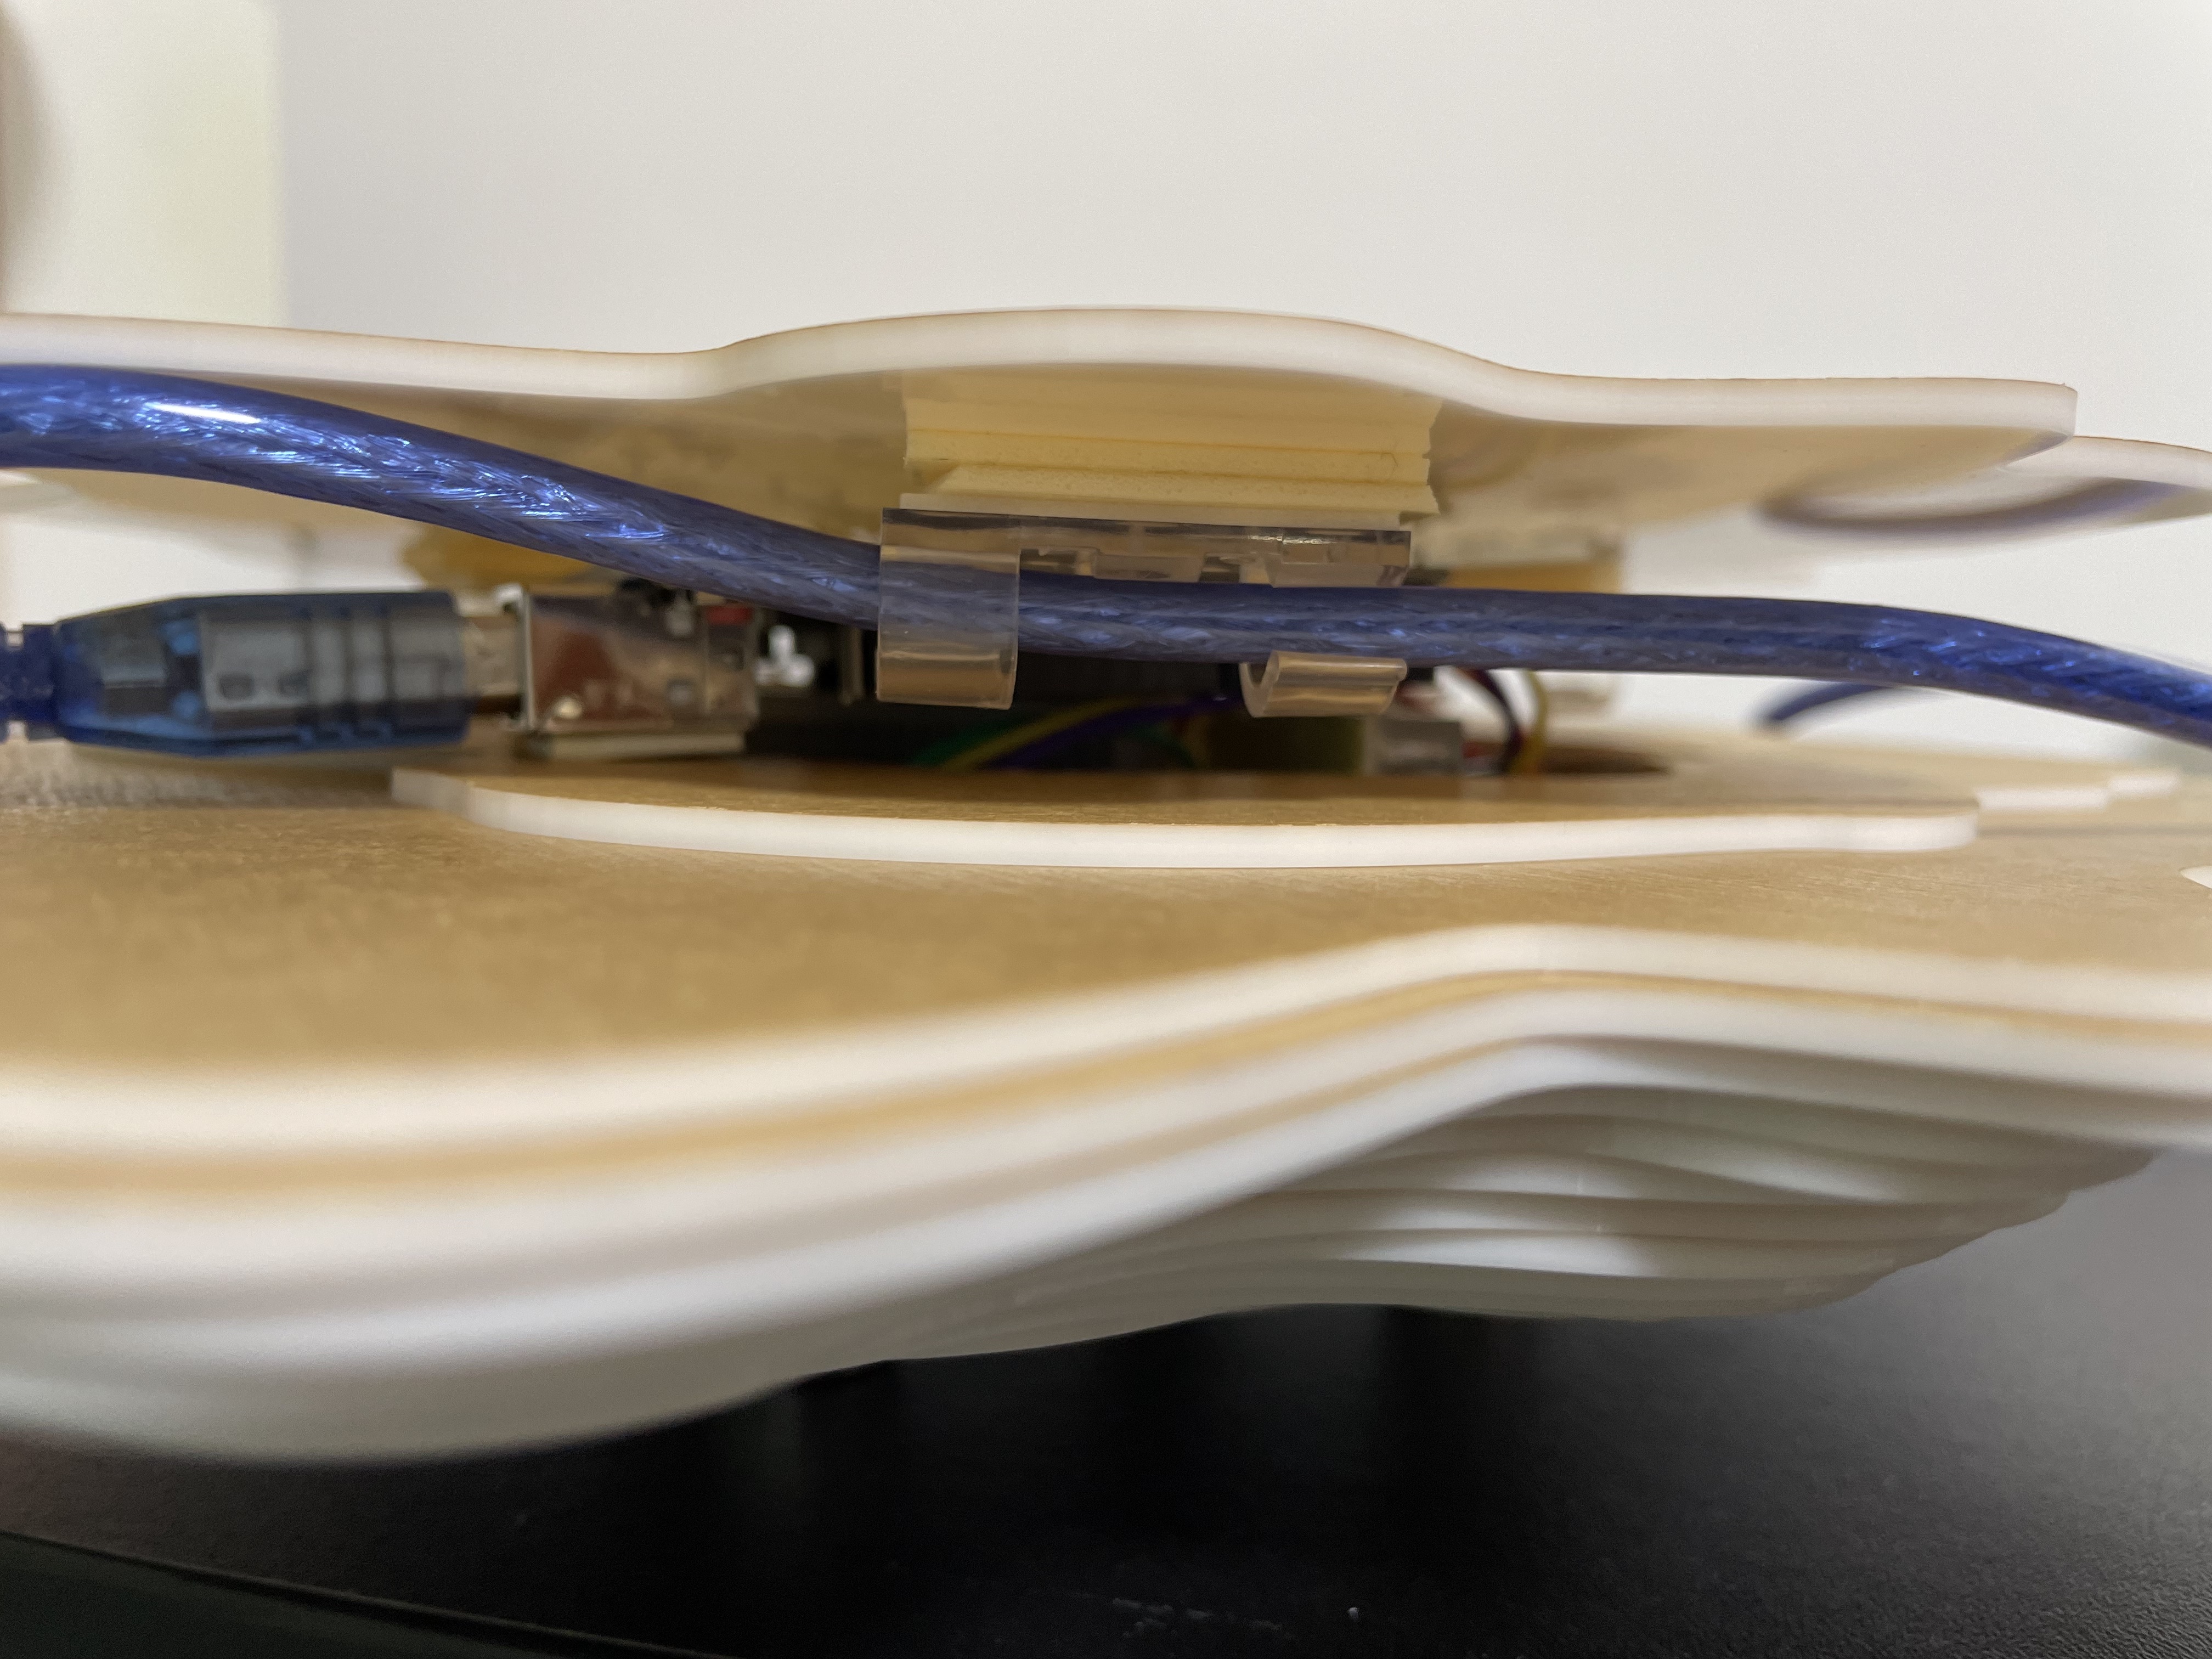
Last but not least, I added two layers of foam tape to the cable holders below to elevate the prototype more and provide space for the arduino circuit to rest on.
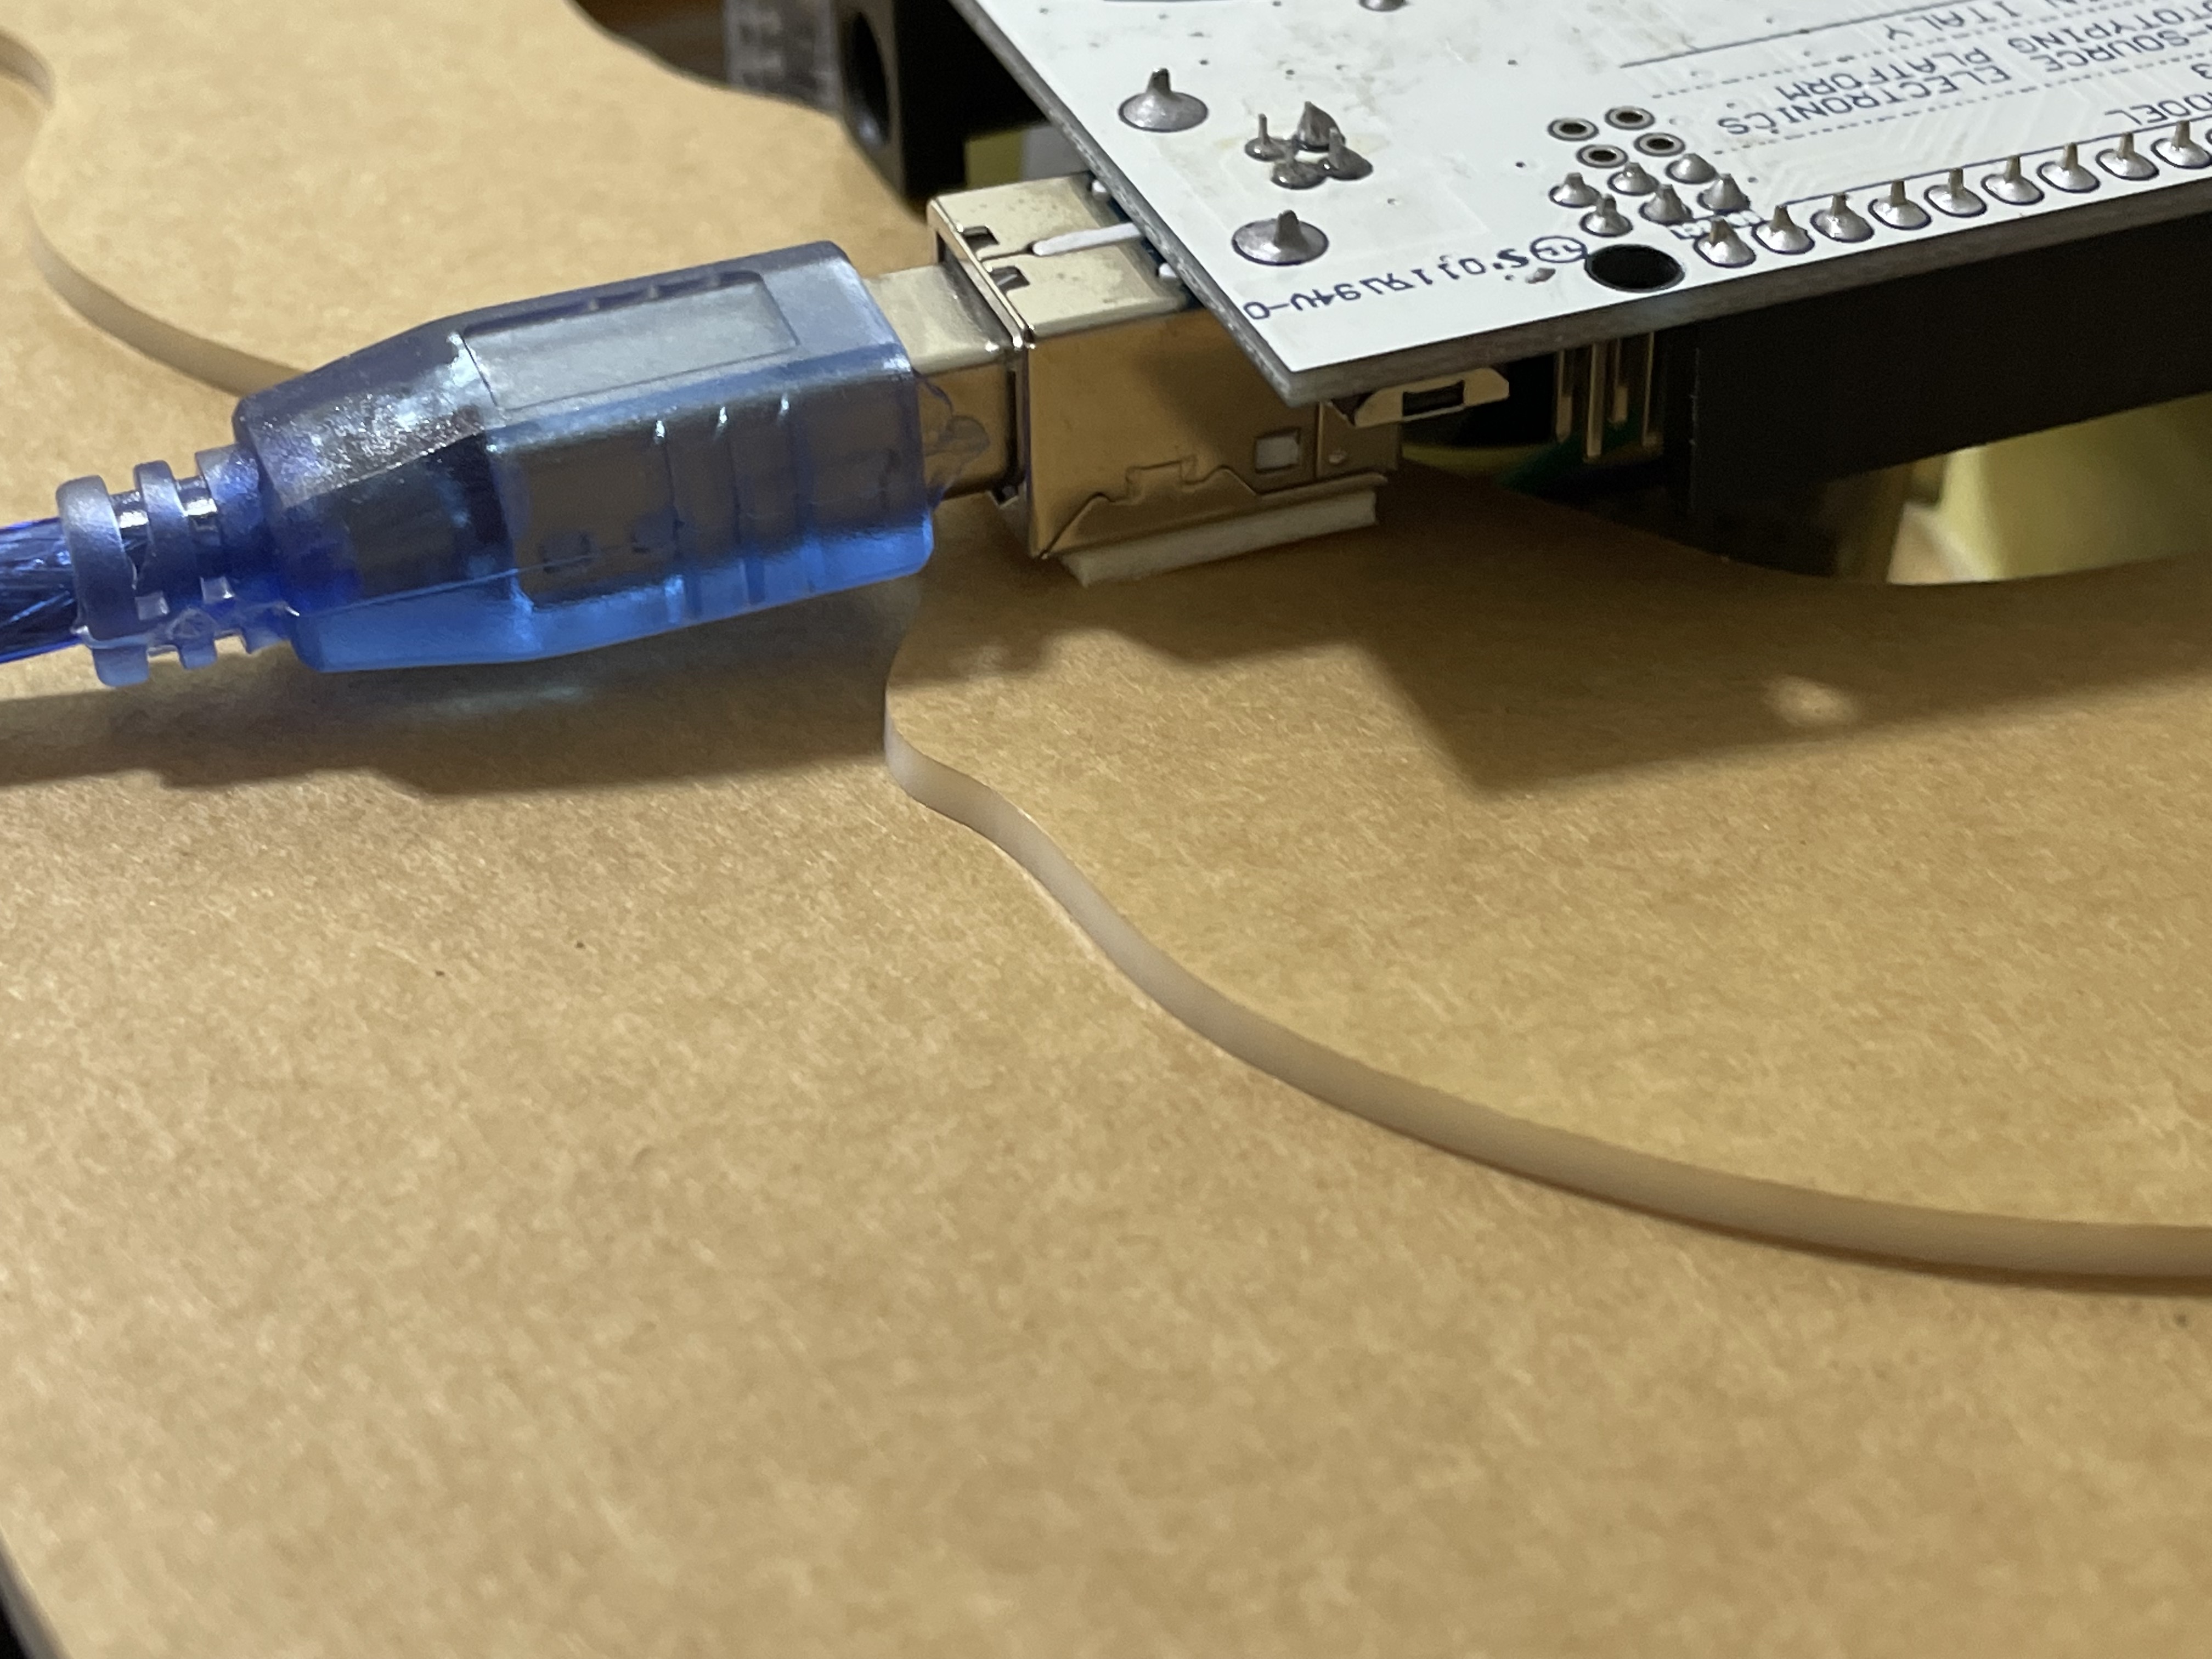
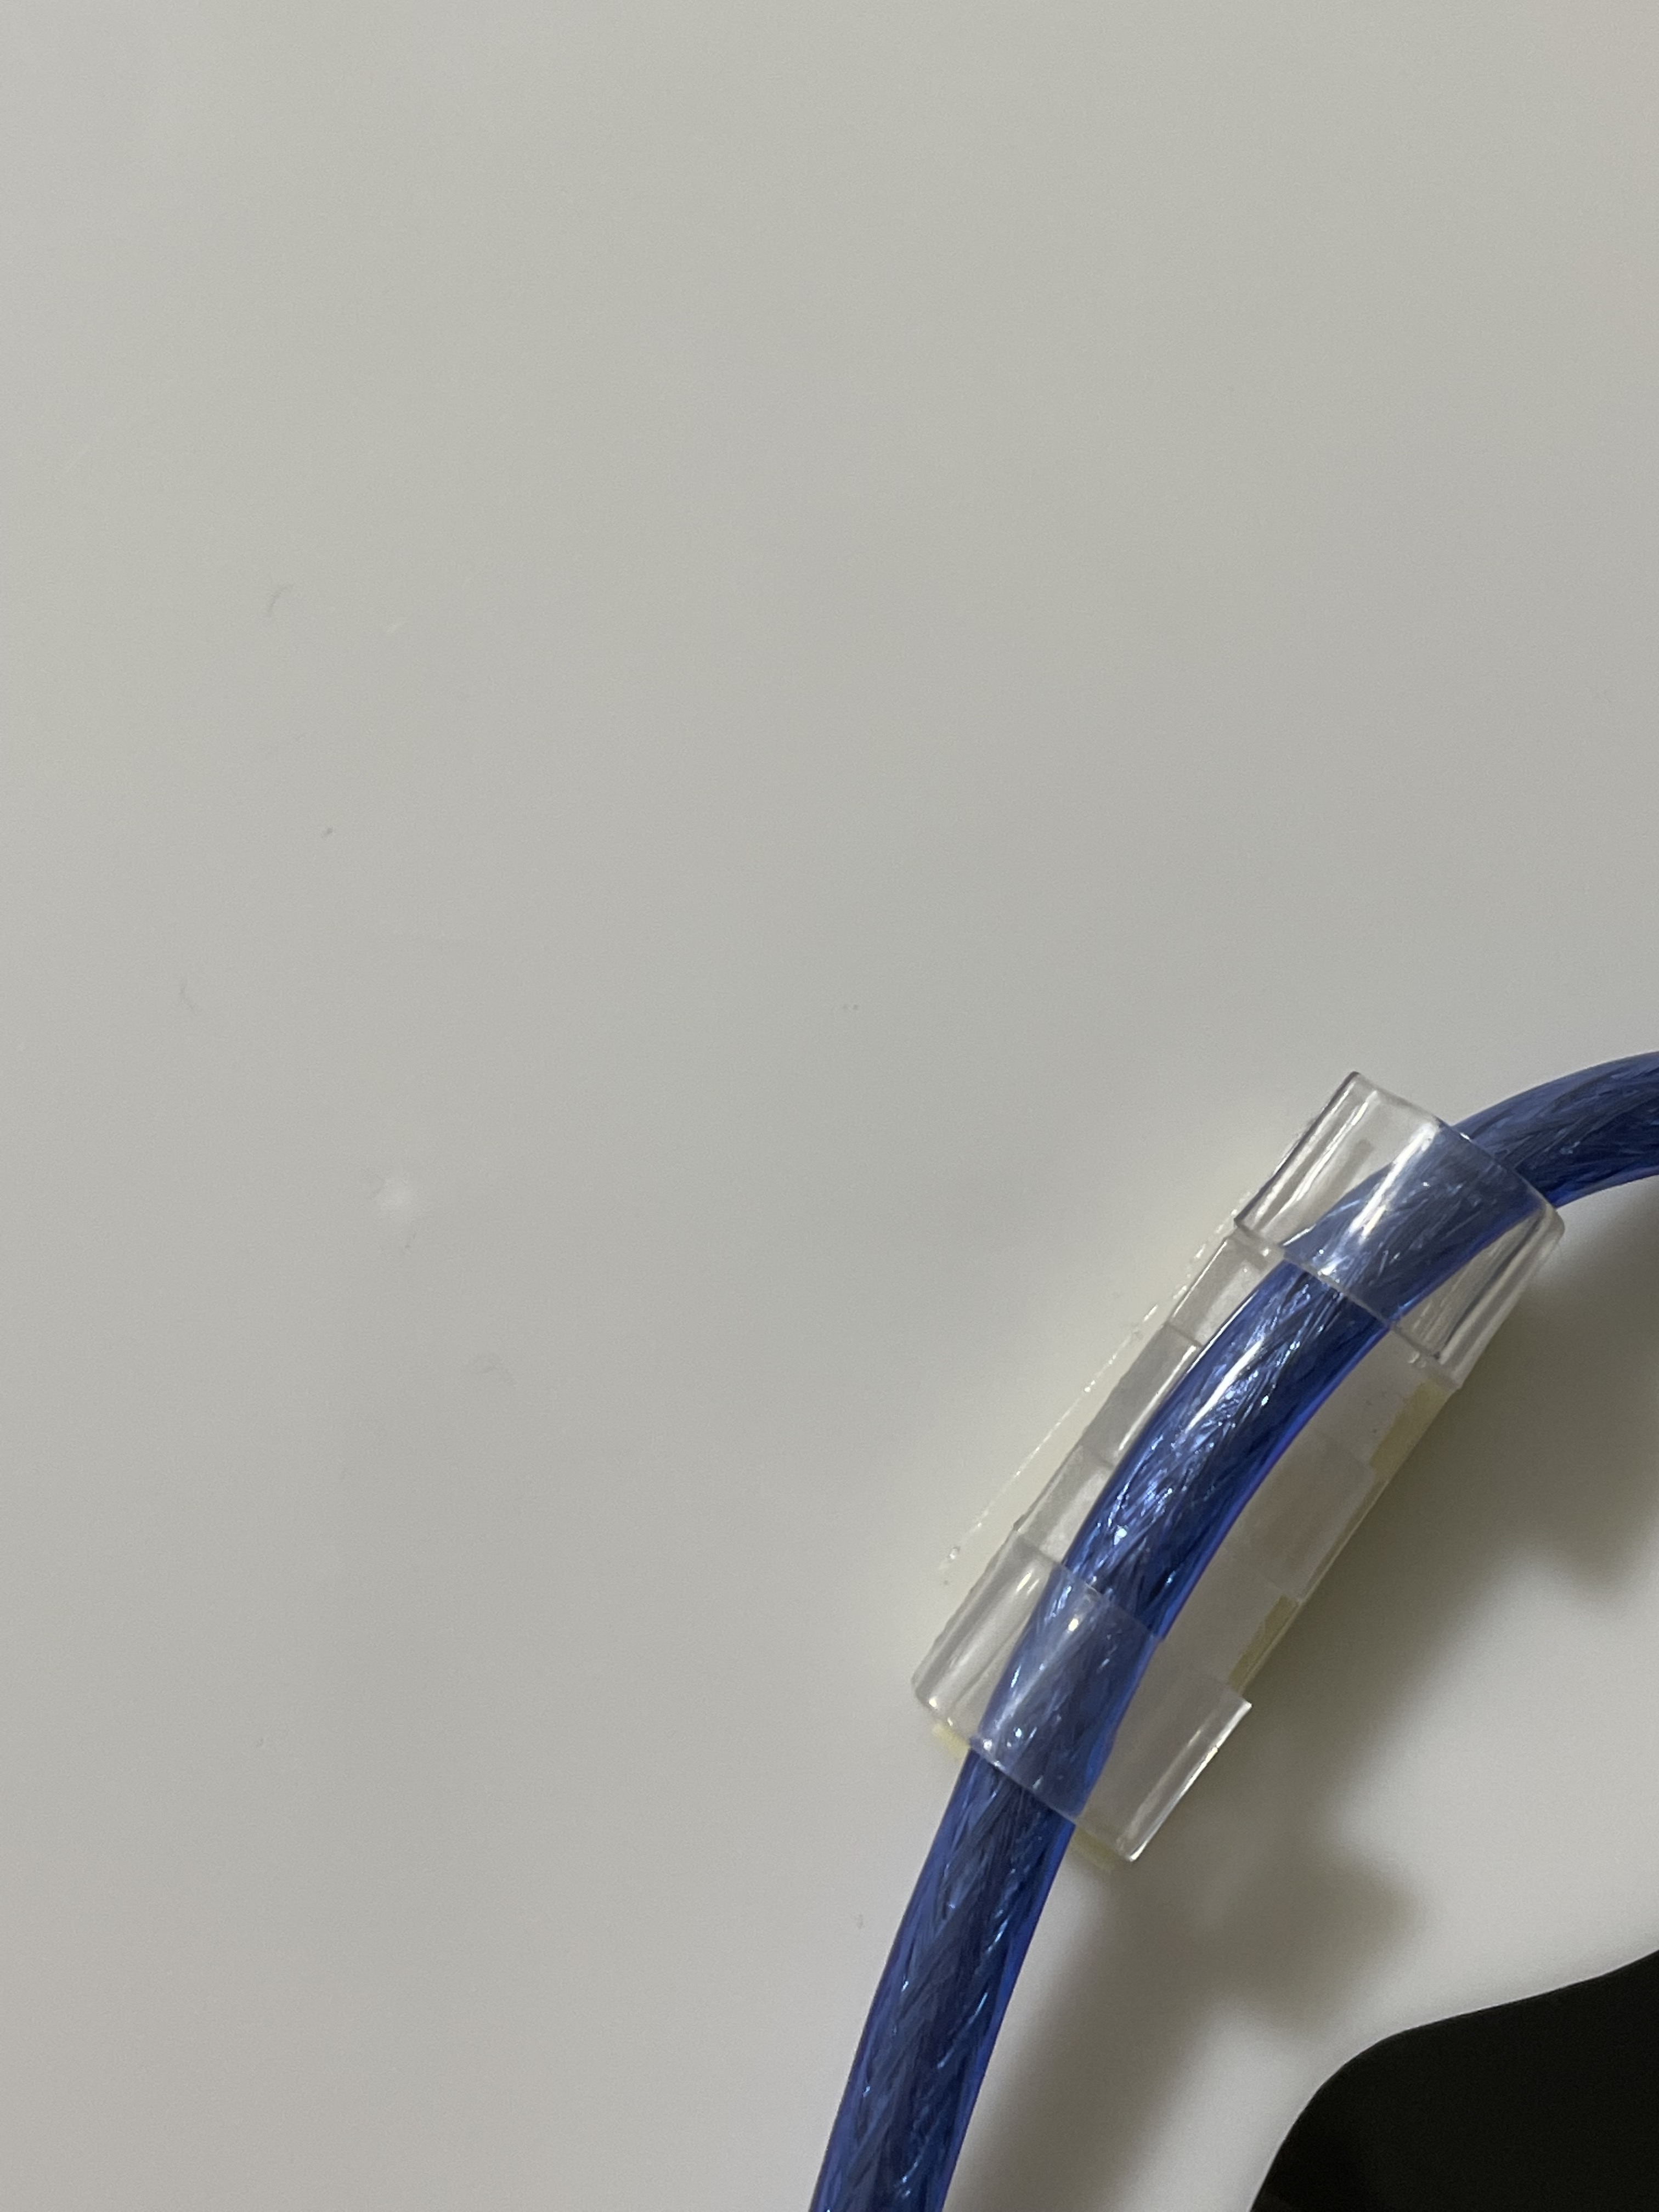
For the concealment of wires when the prototype is not interactive, I intend to use the wire holders to clip the wire cable in place underneath the prototype. Using the wire holders is much more convenient and efficient than using tape when the prototype needs to be set-up for interaction purposes.
SET-UP
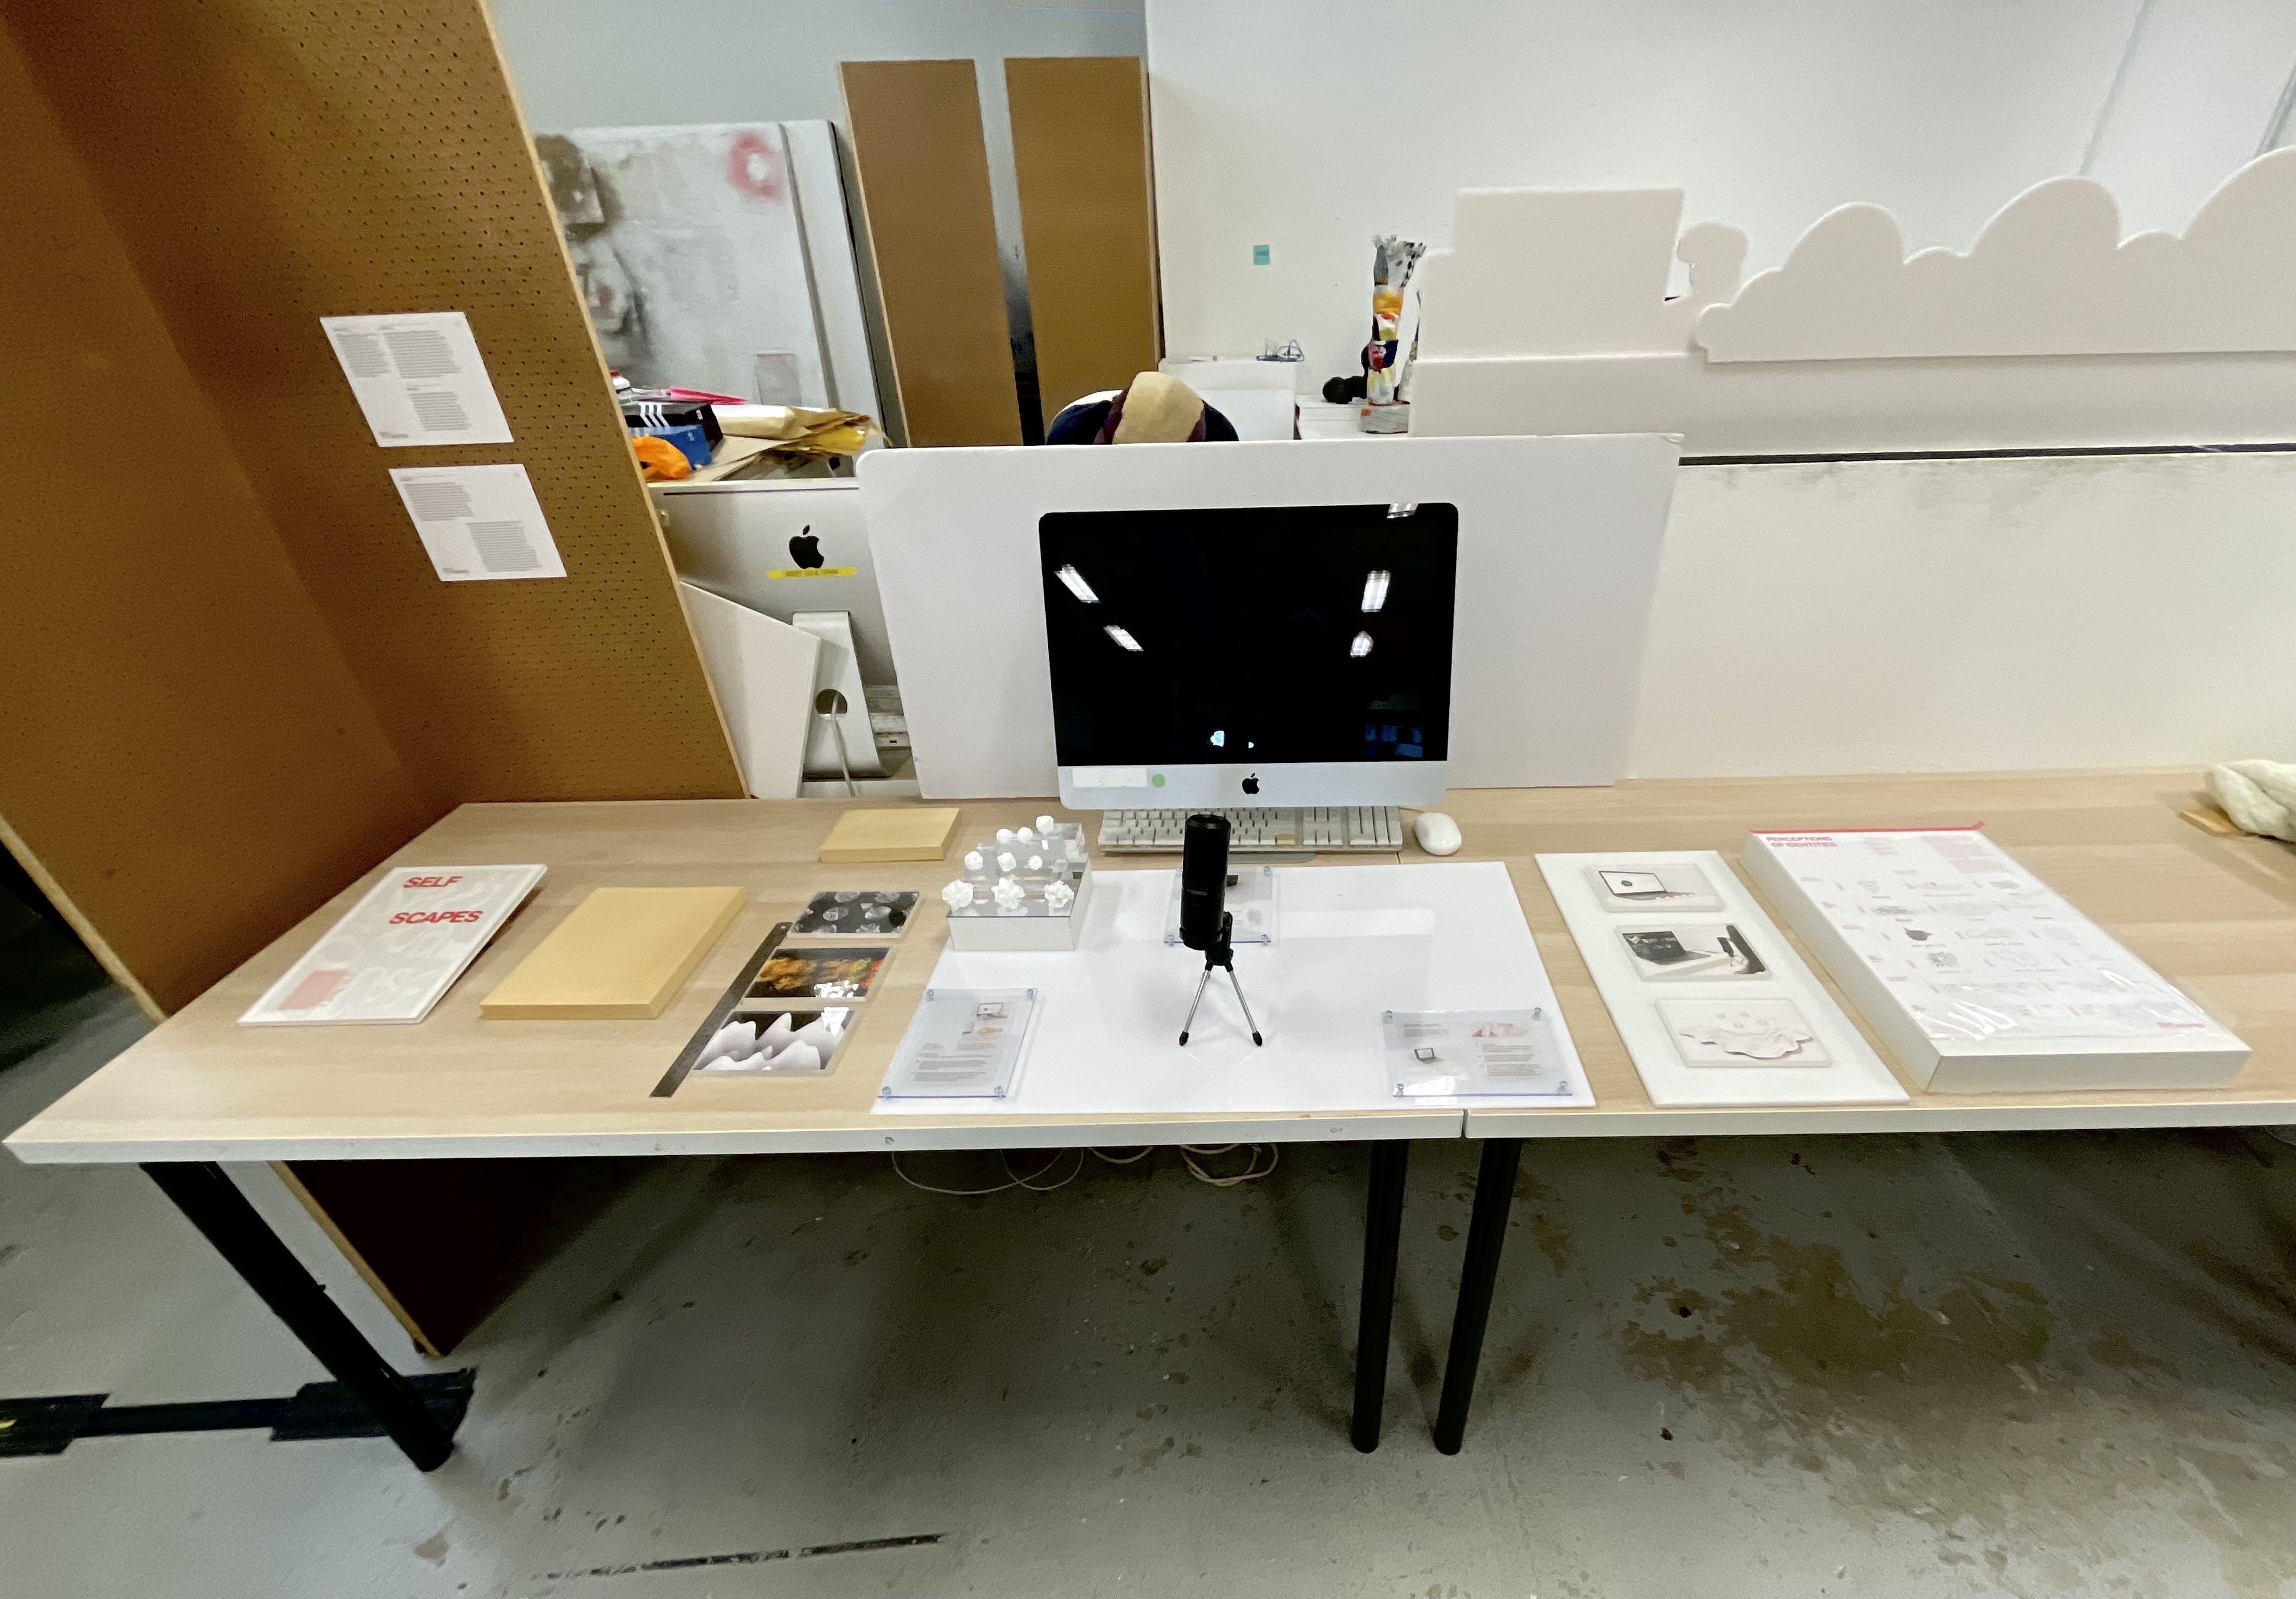
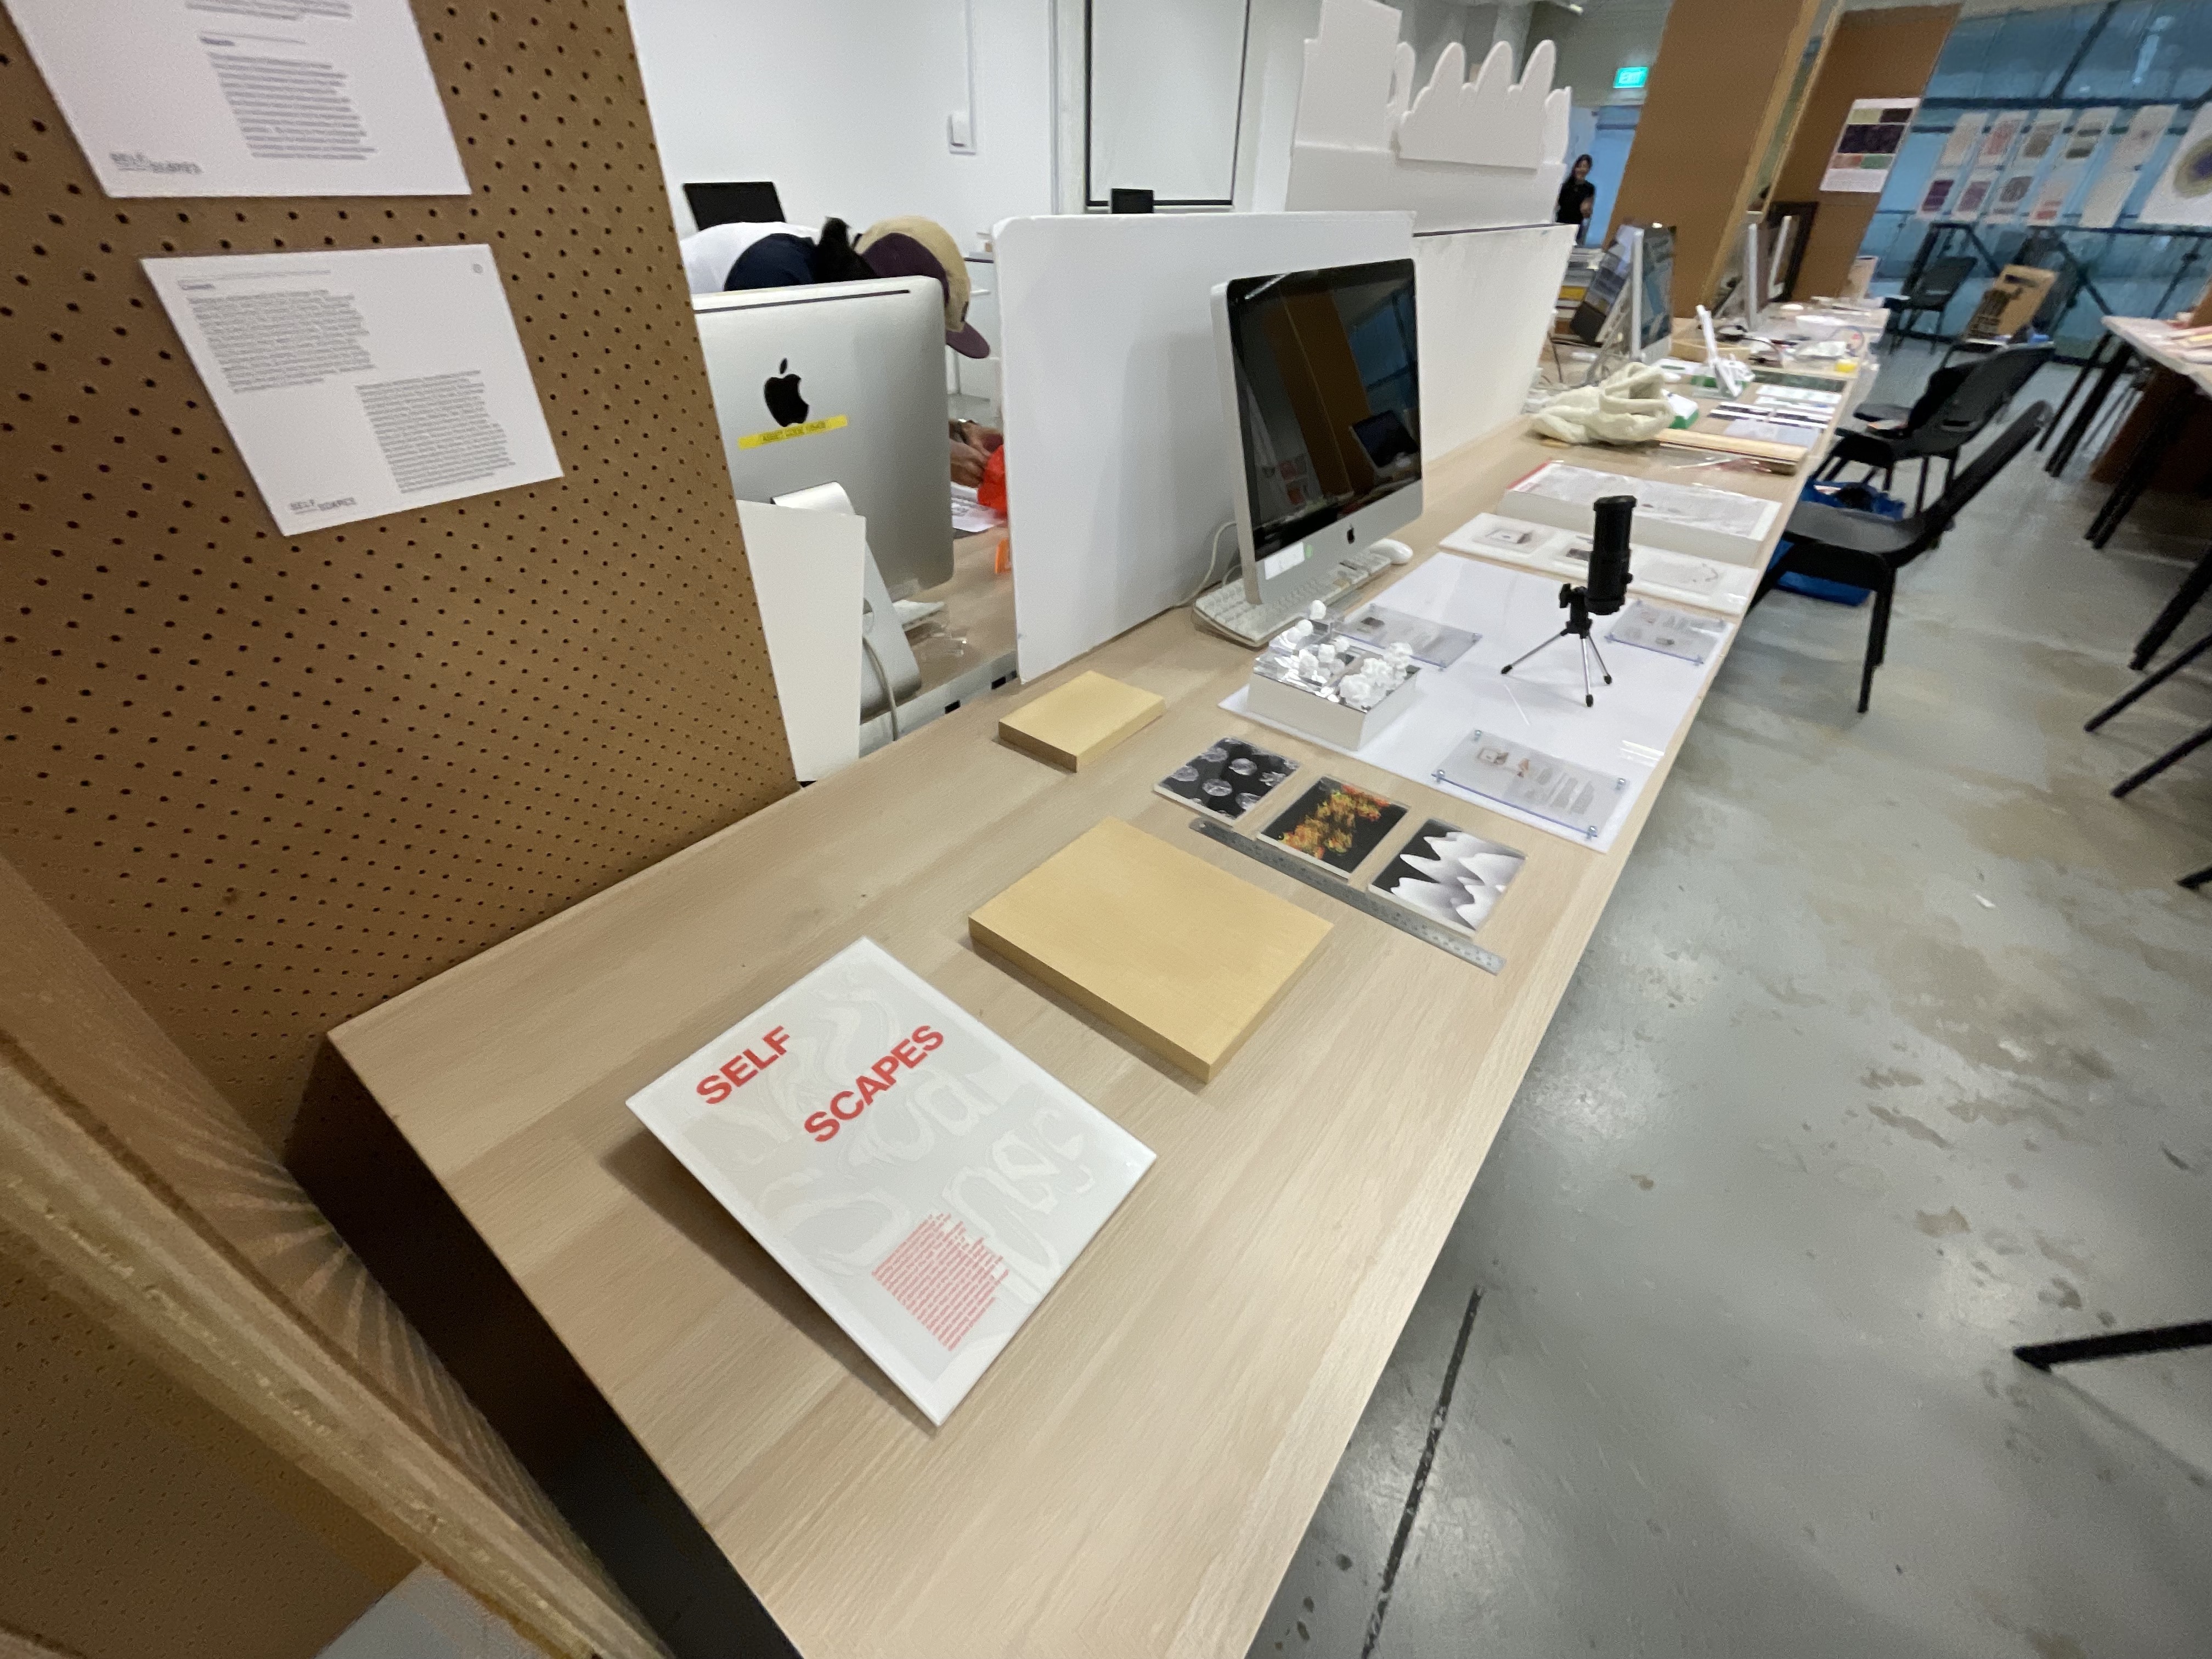
For the studio set-up, I've shifted my space to the table beside mine as Ariel had moved to another table. With an empty space at the side, I was able to position one of the boards by the end of the table to act as a wall for my mounted works. With two table spaces, I was also able to space out my deliverables more so that the work isn't too cramped.
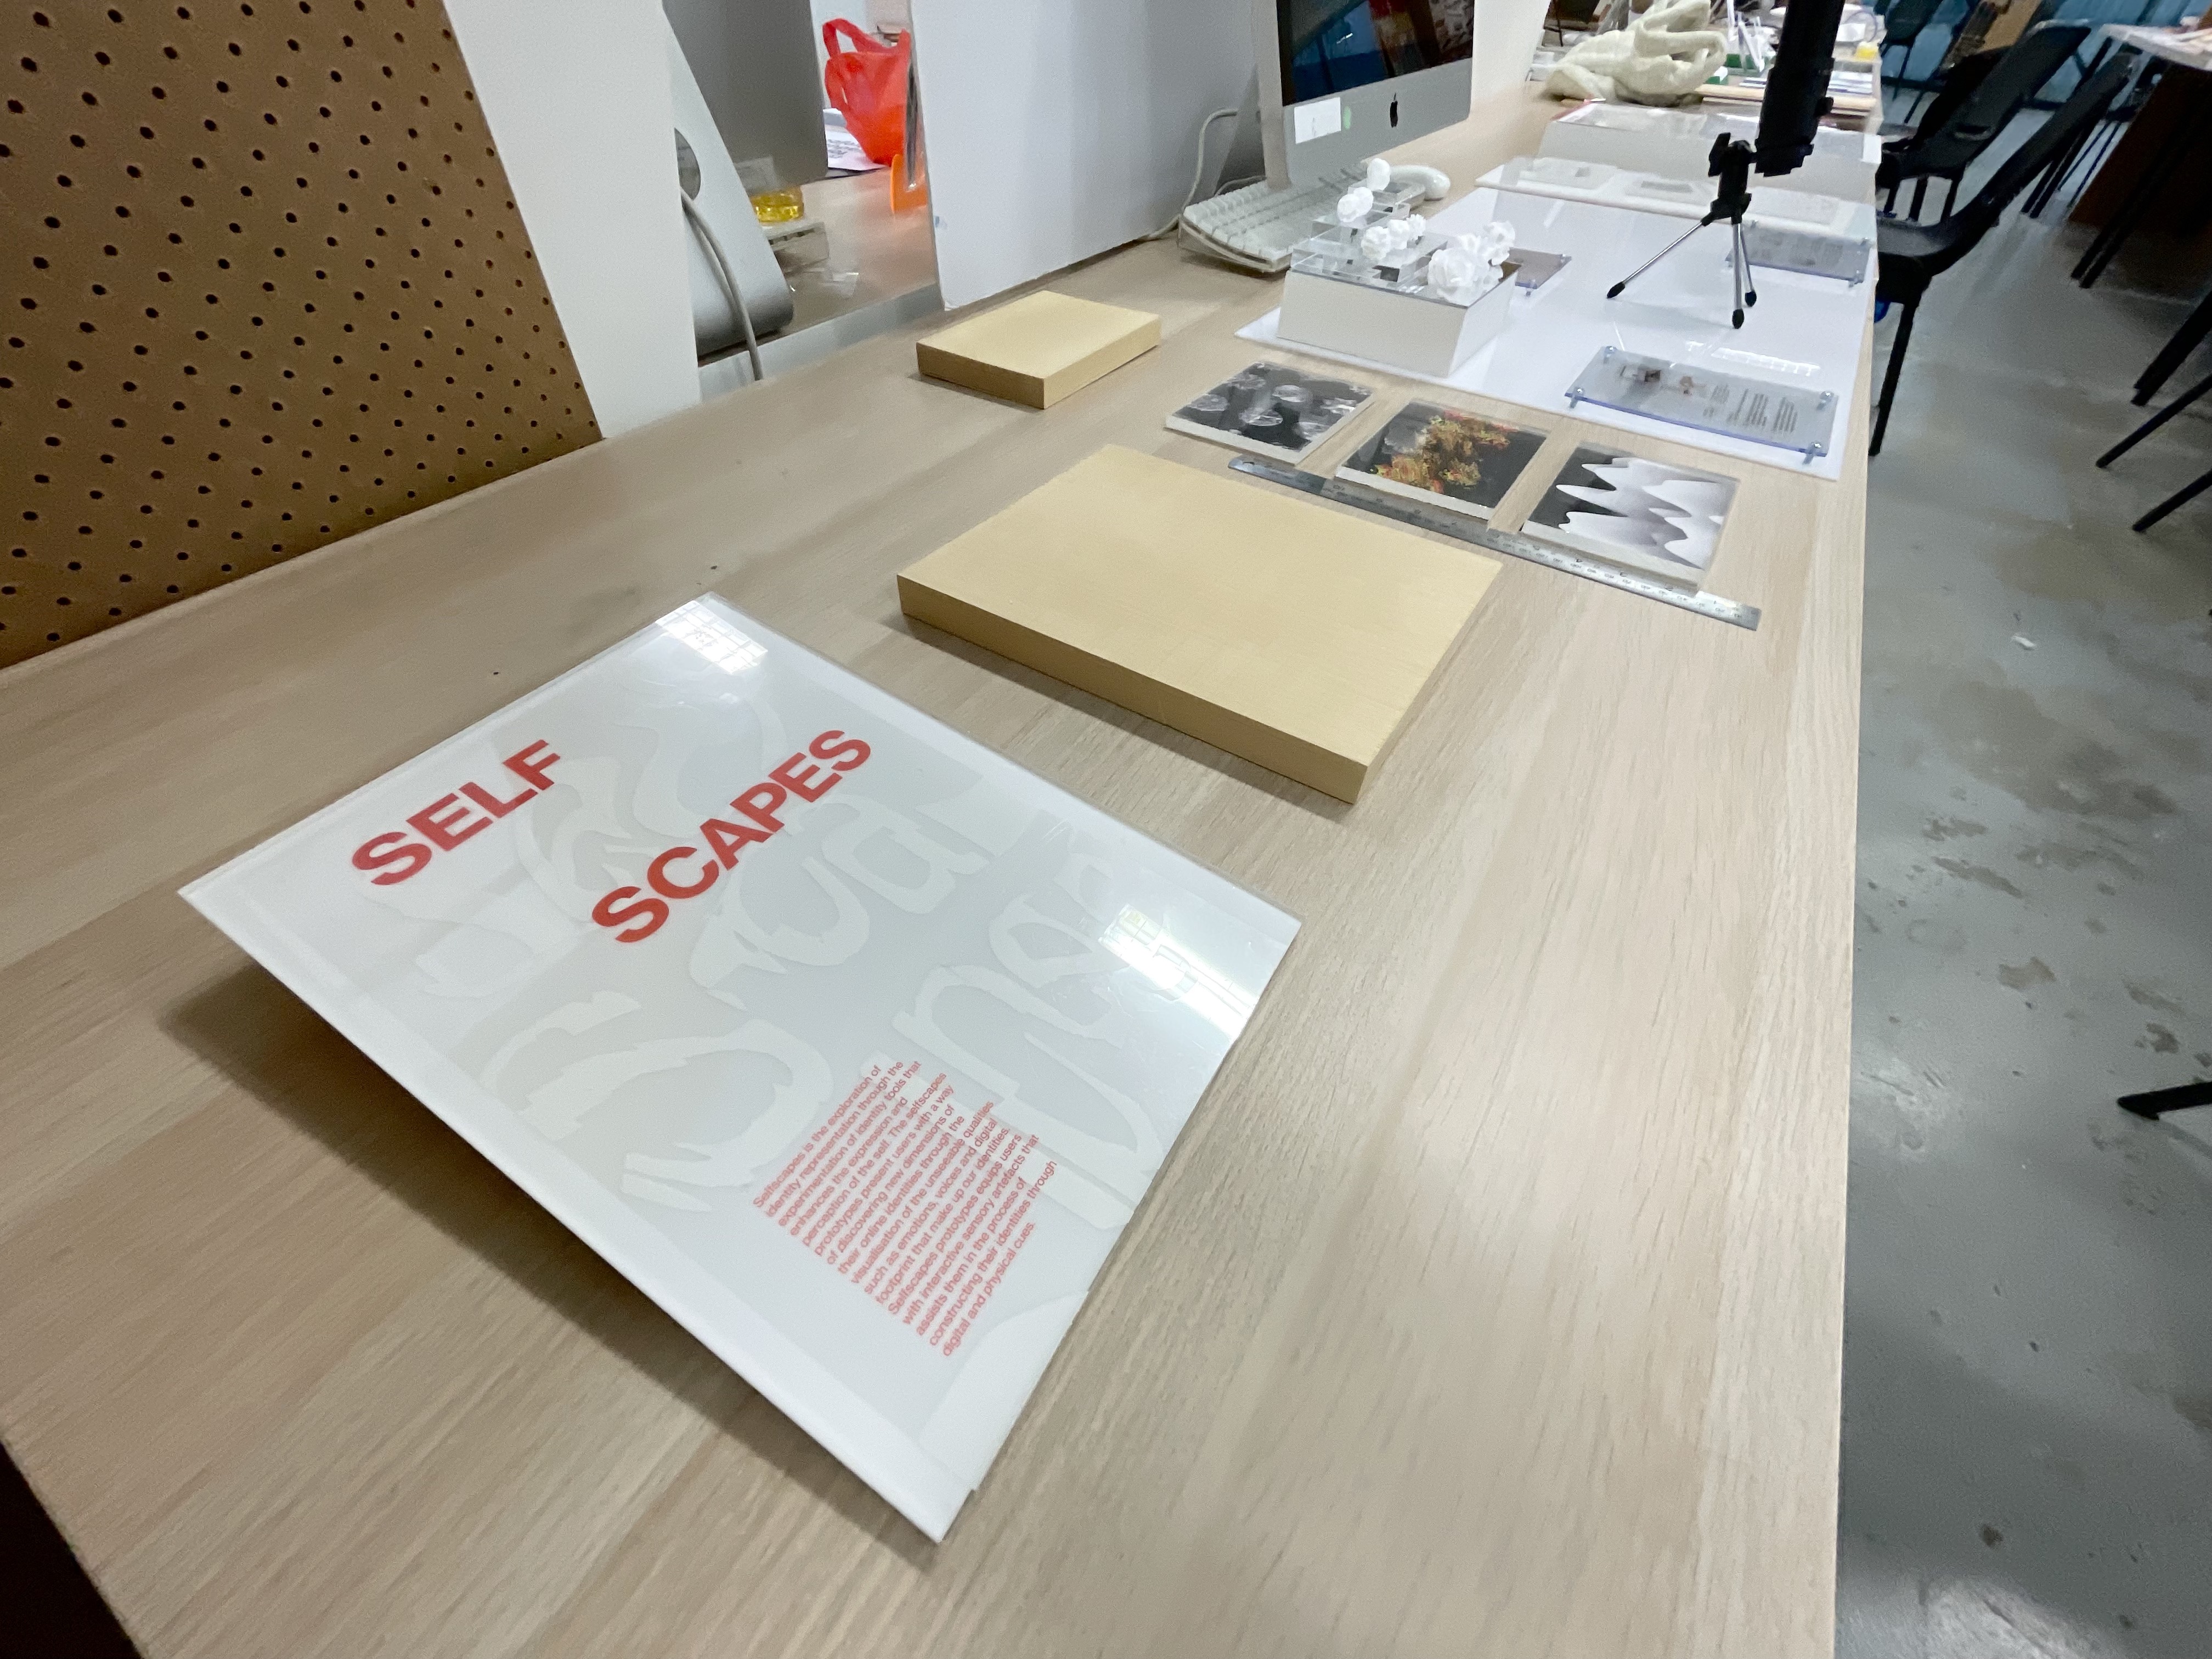
Final Set-Up
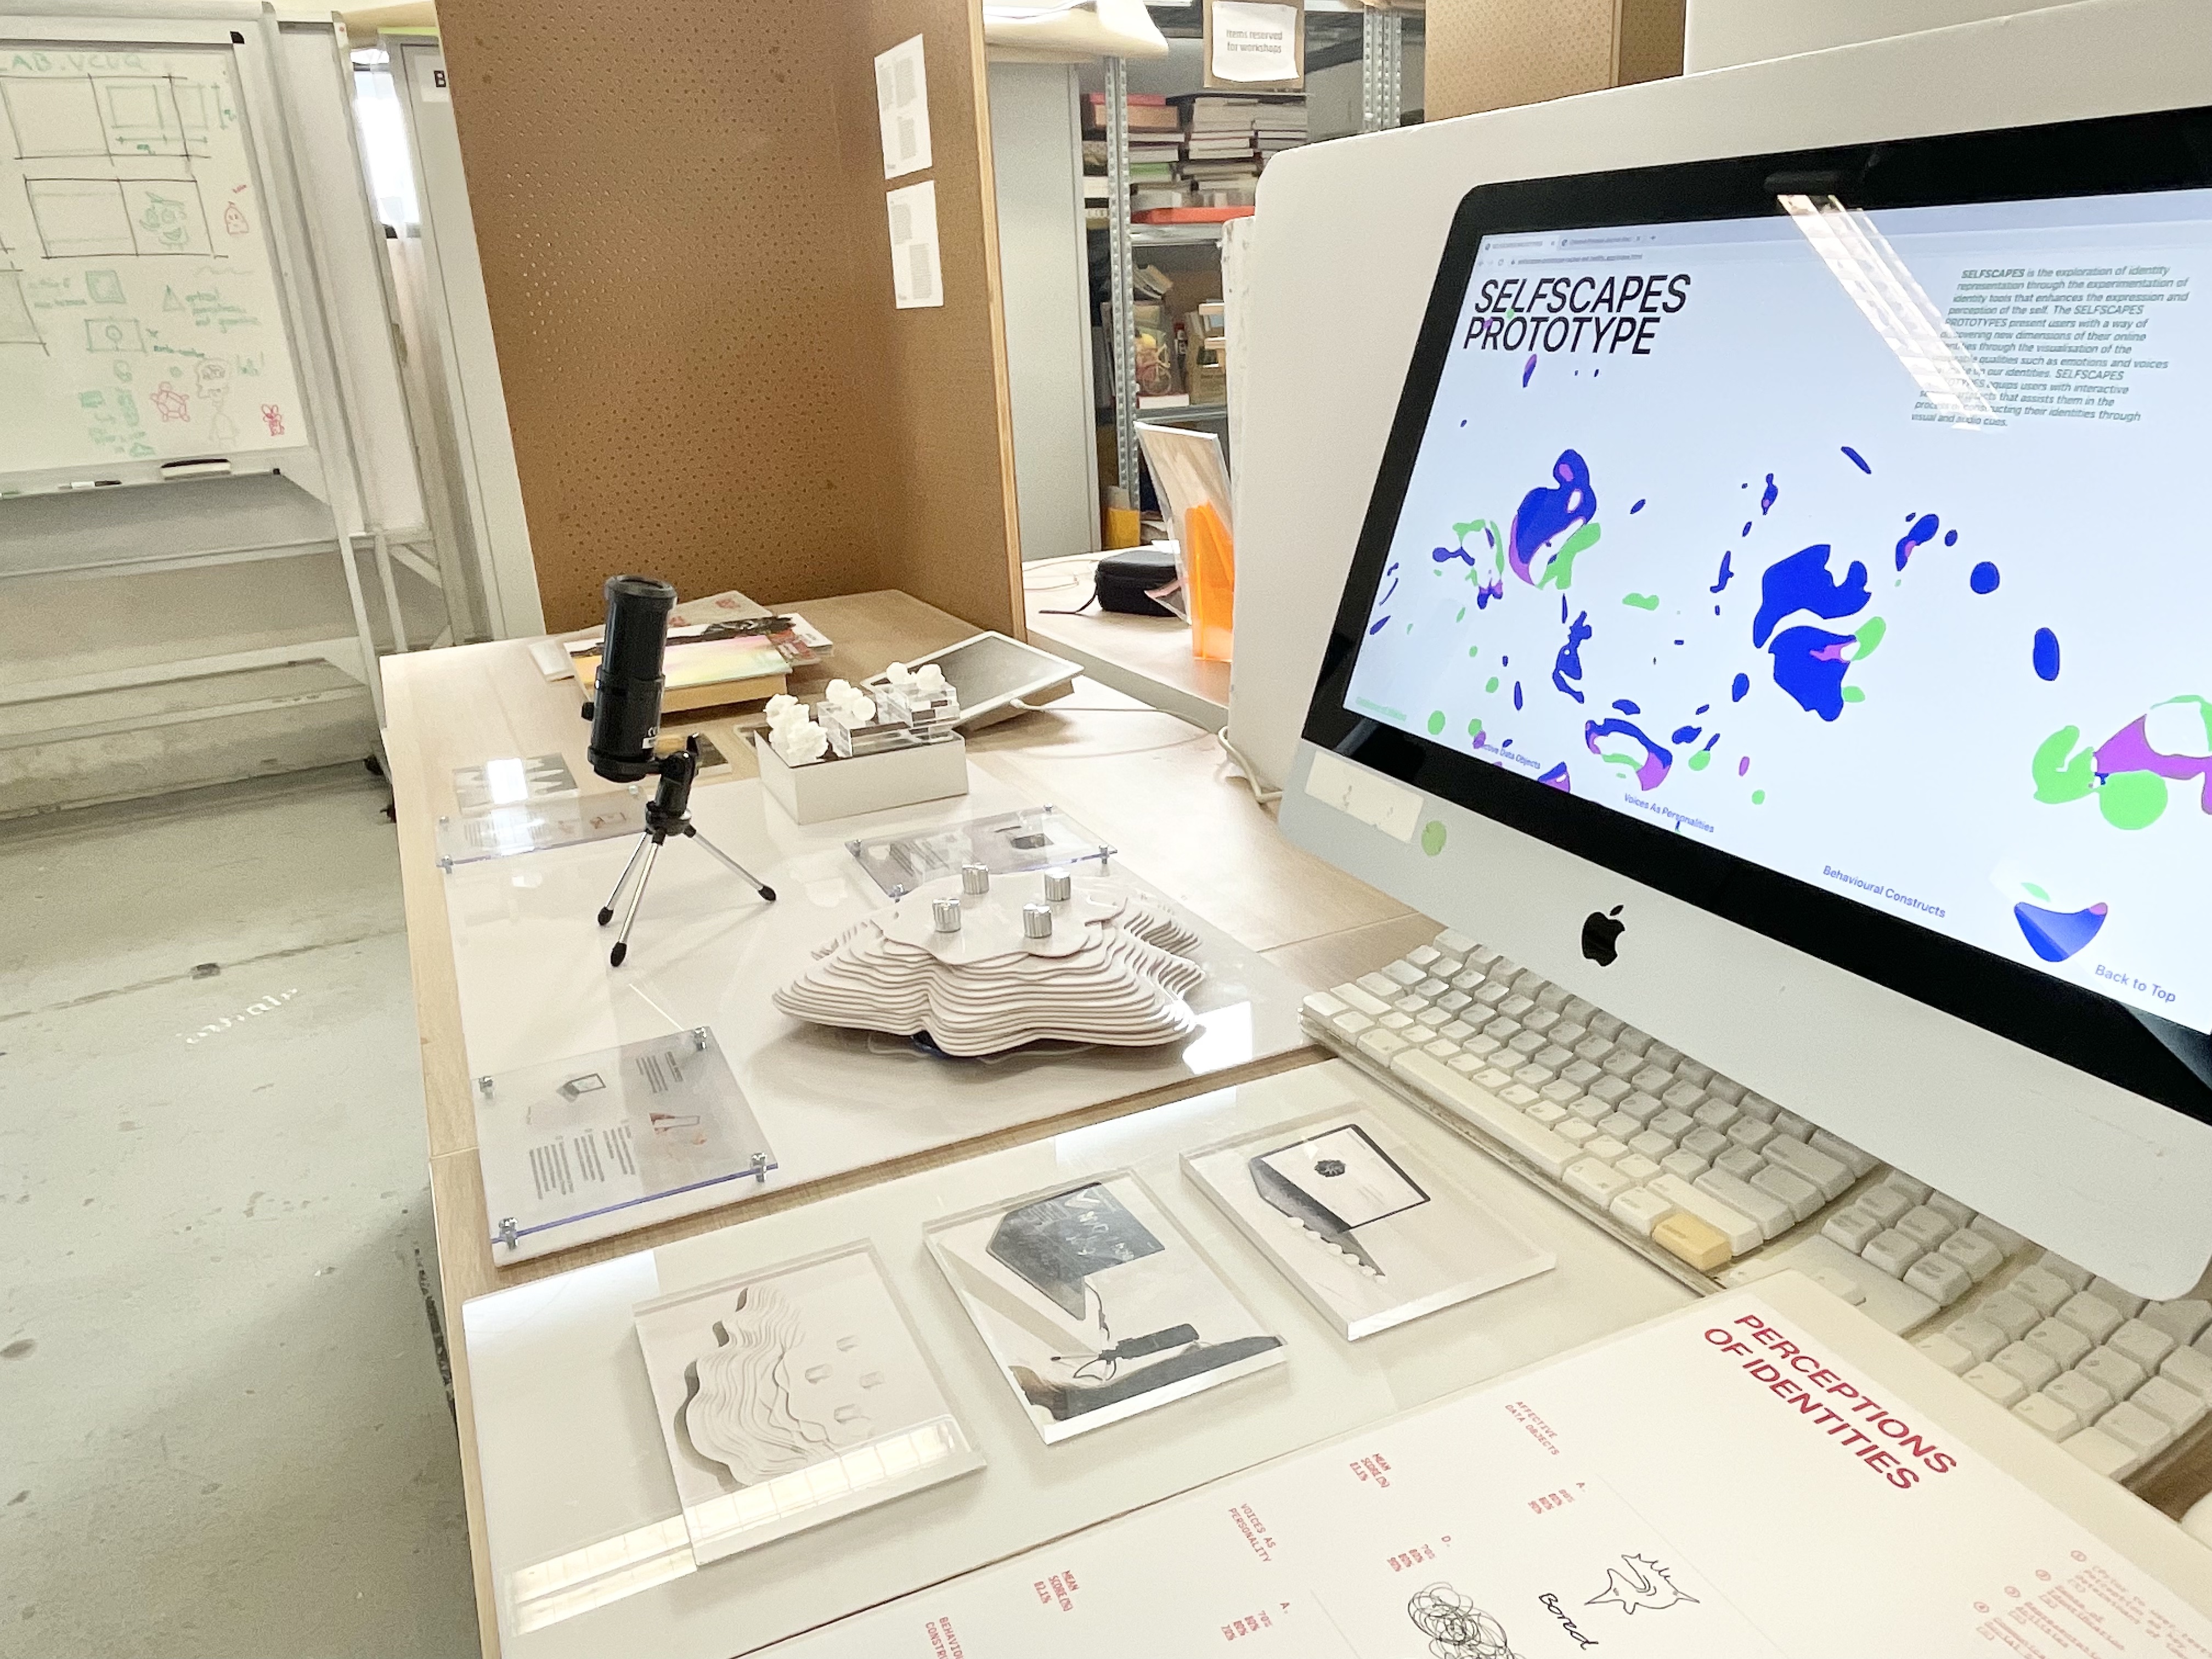
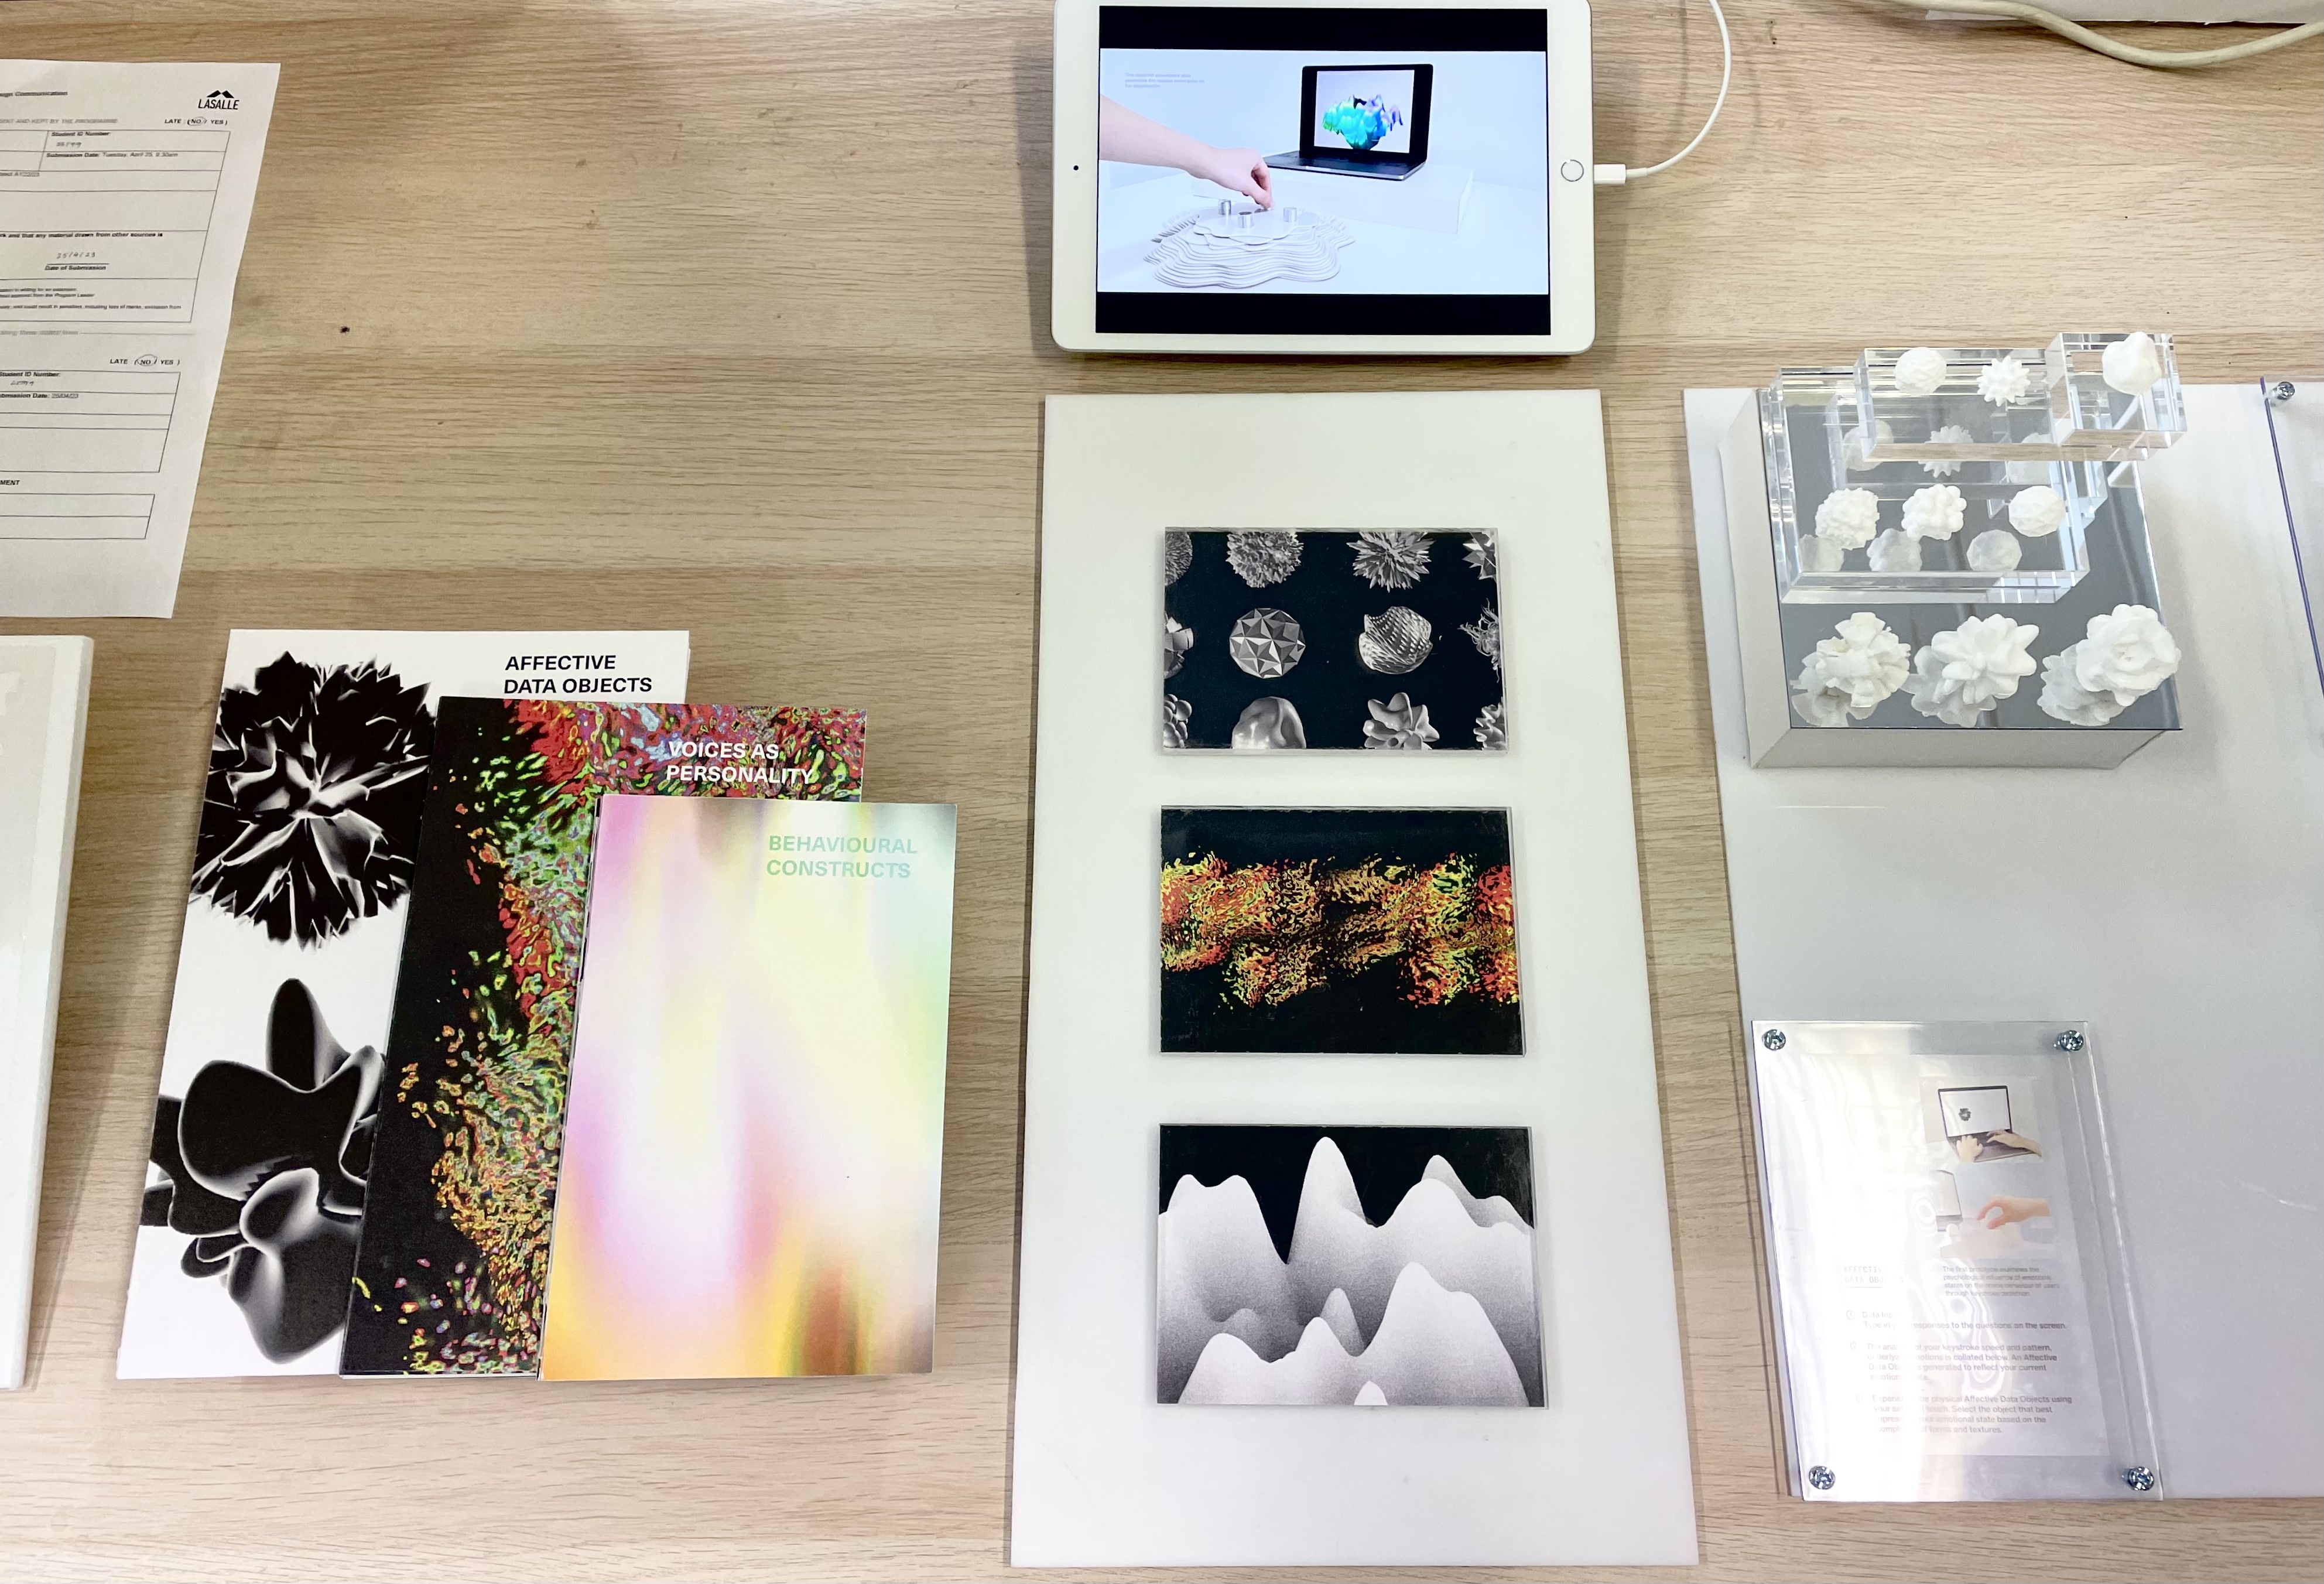
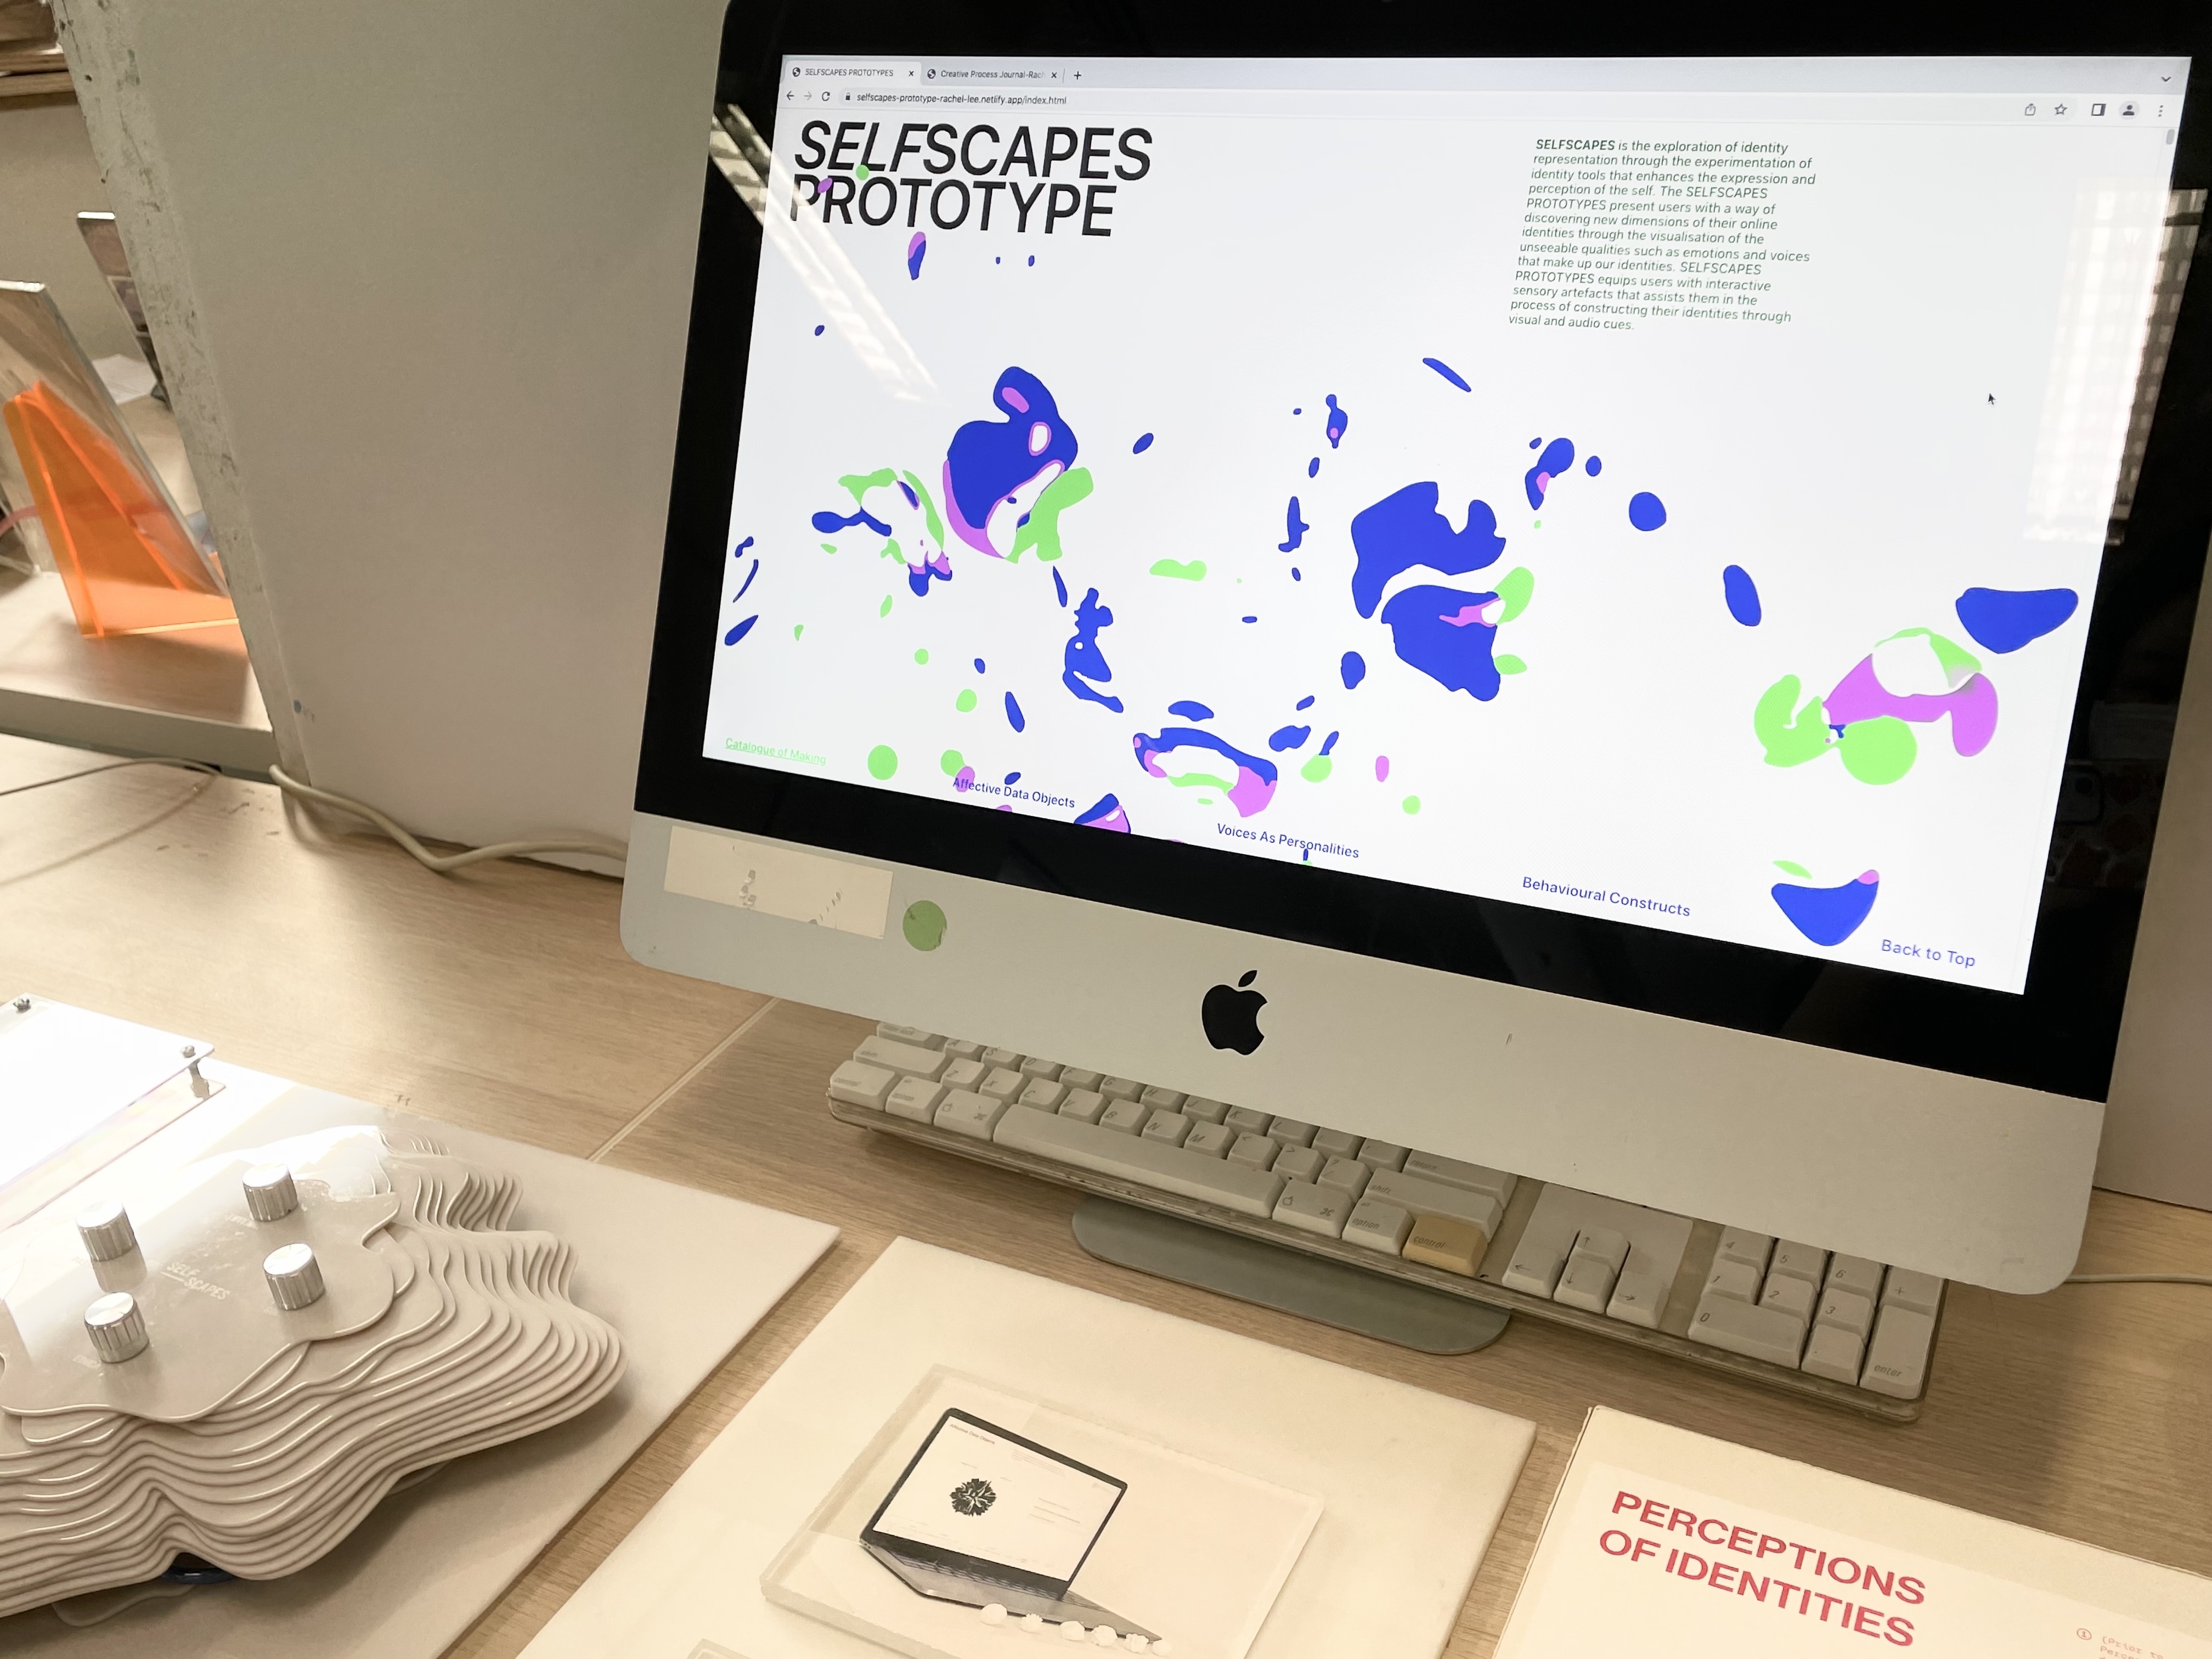
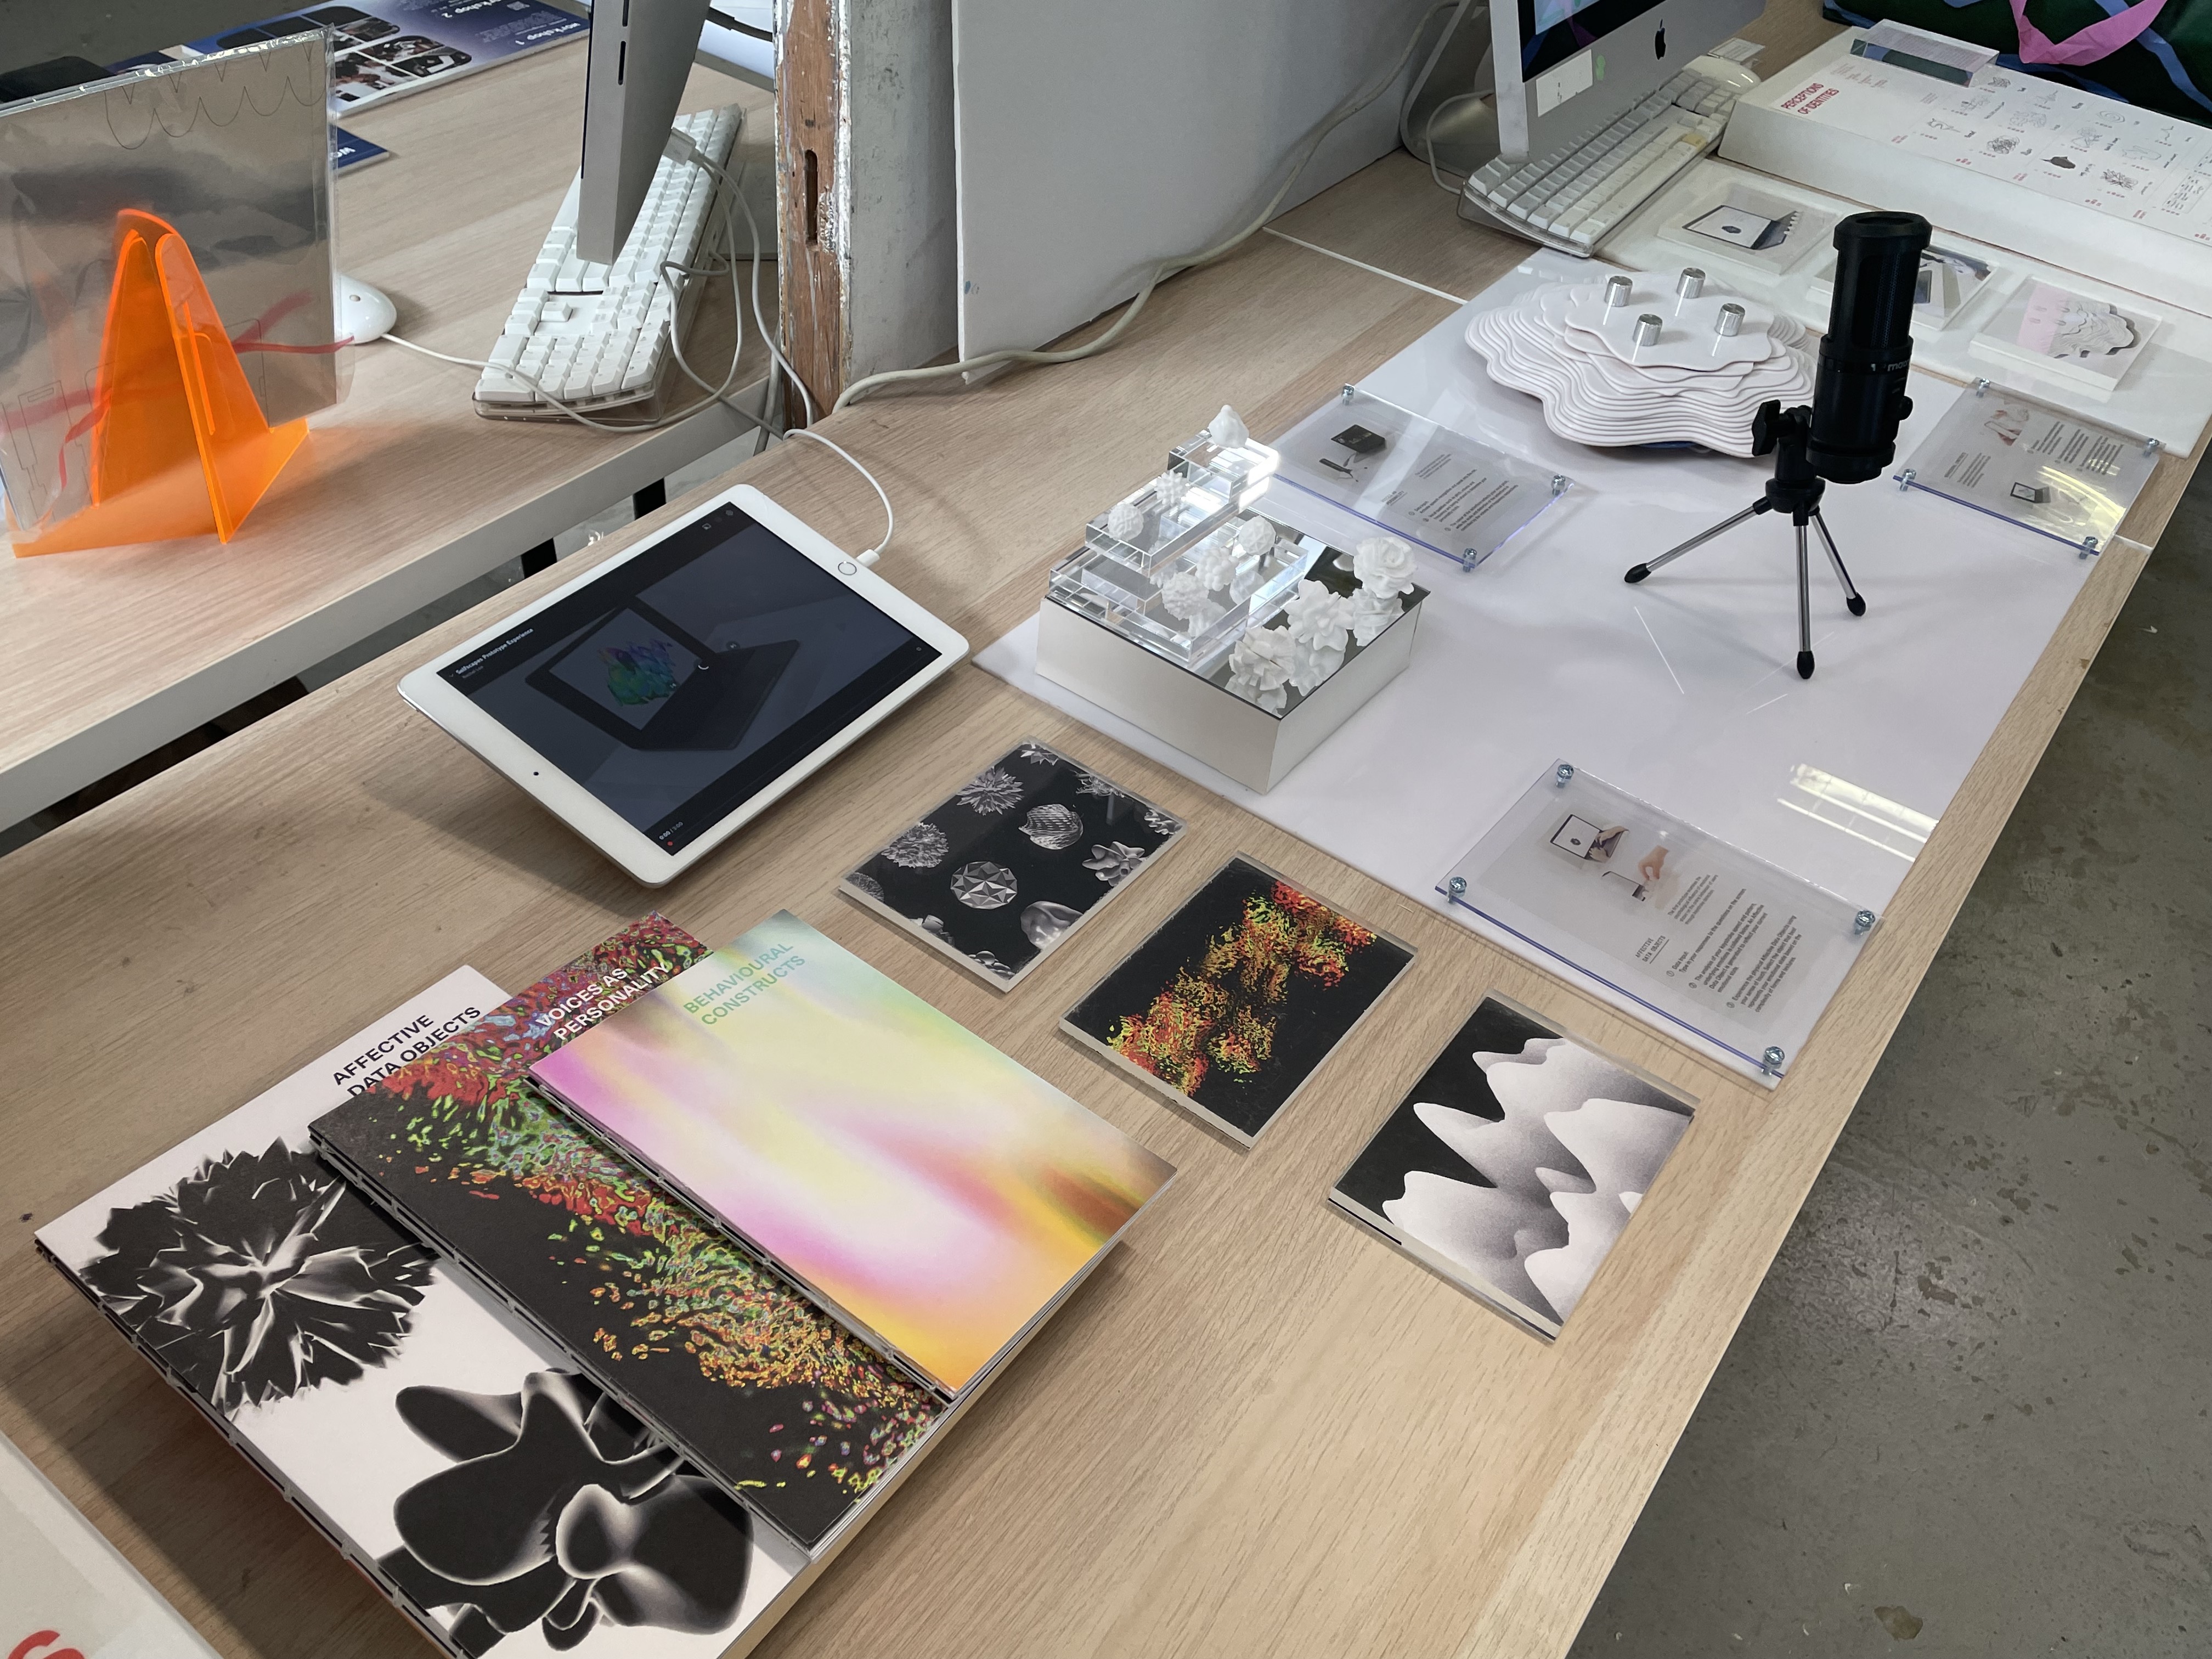
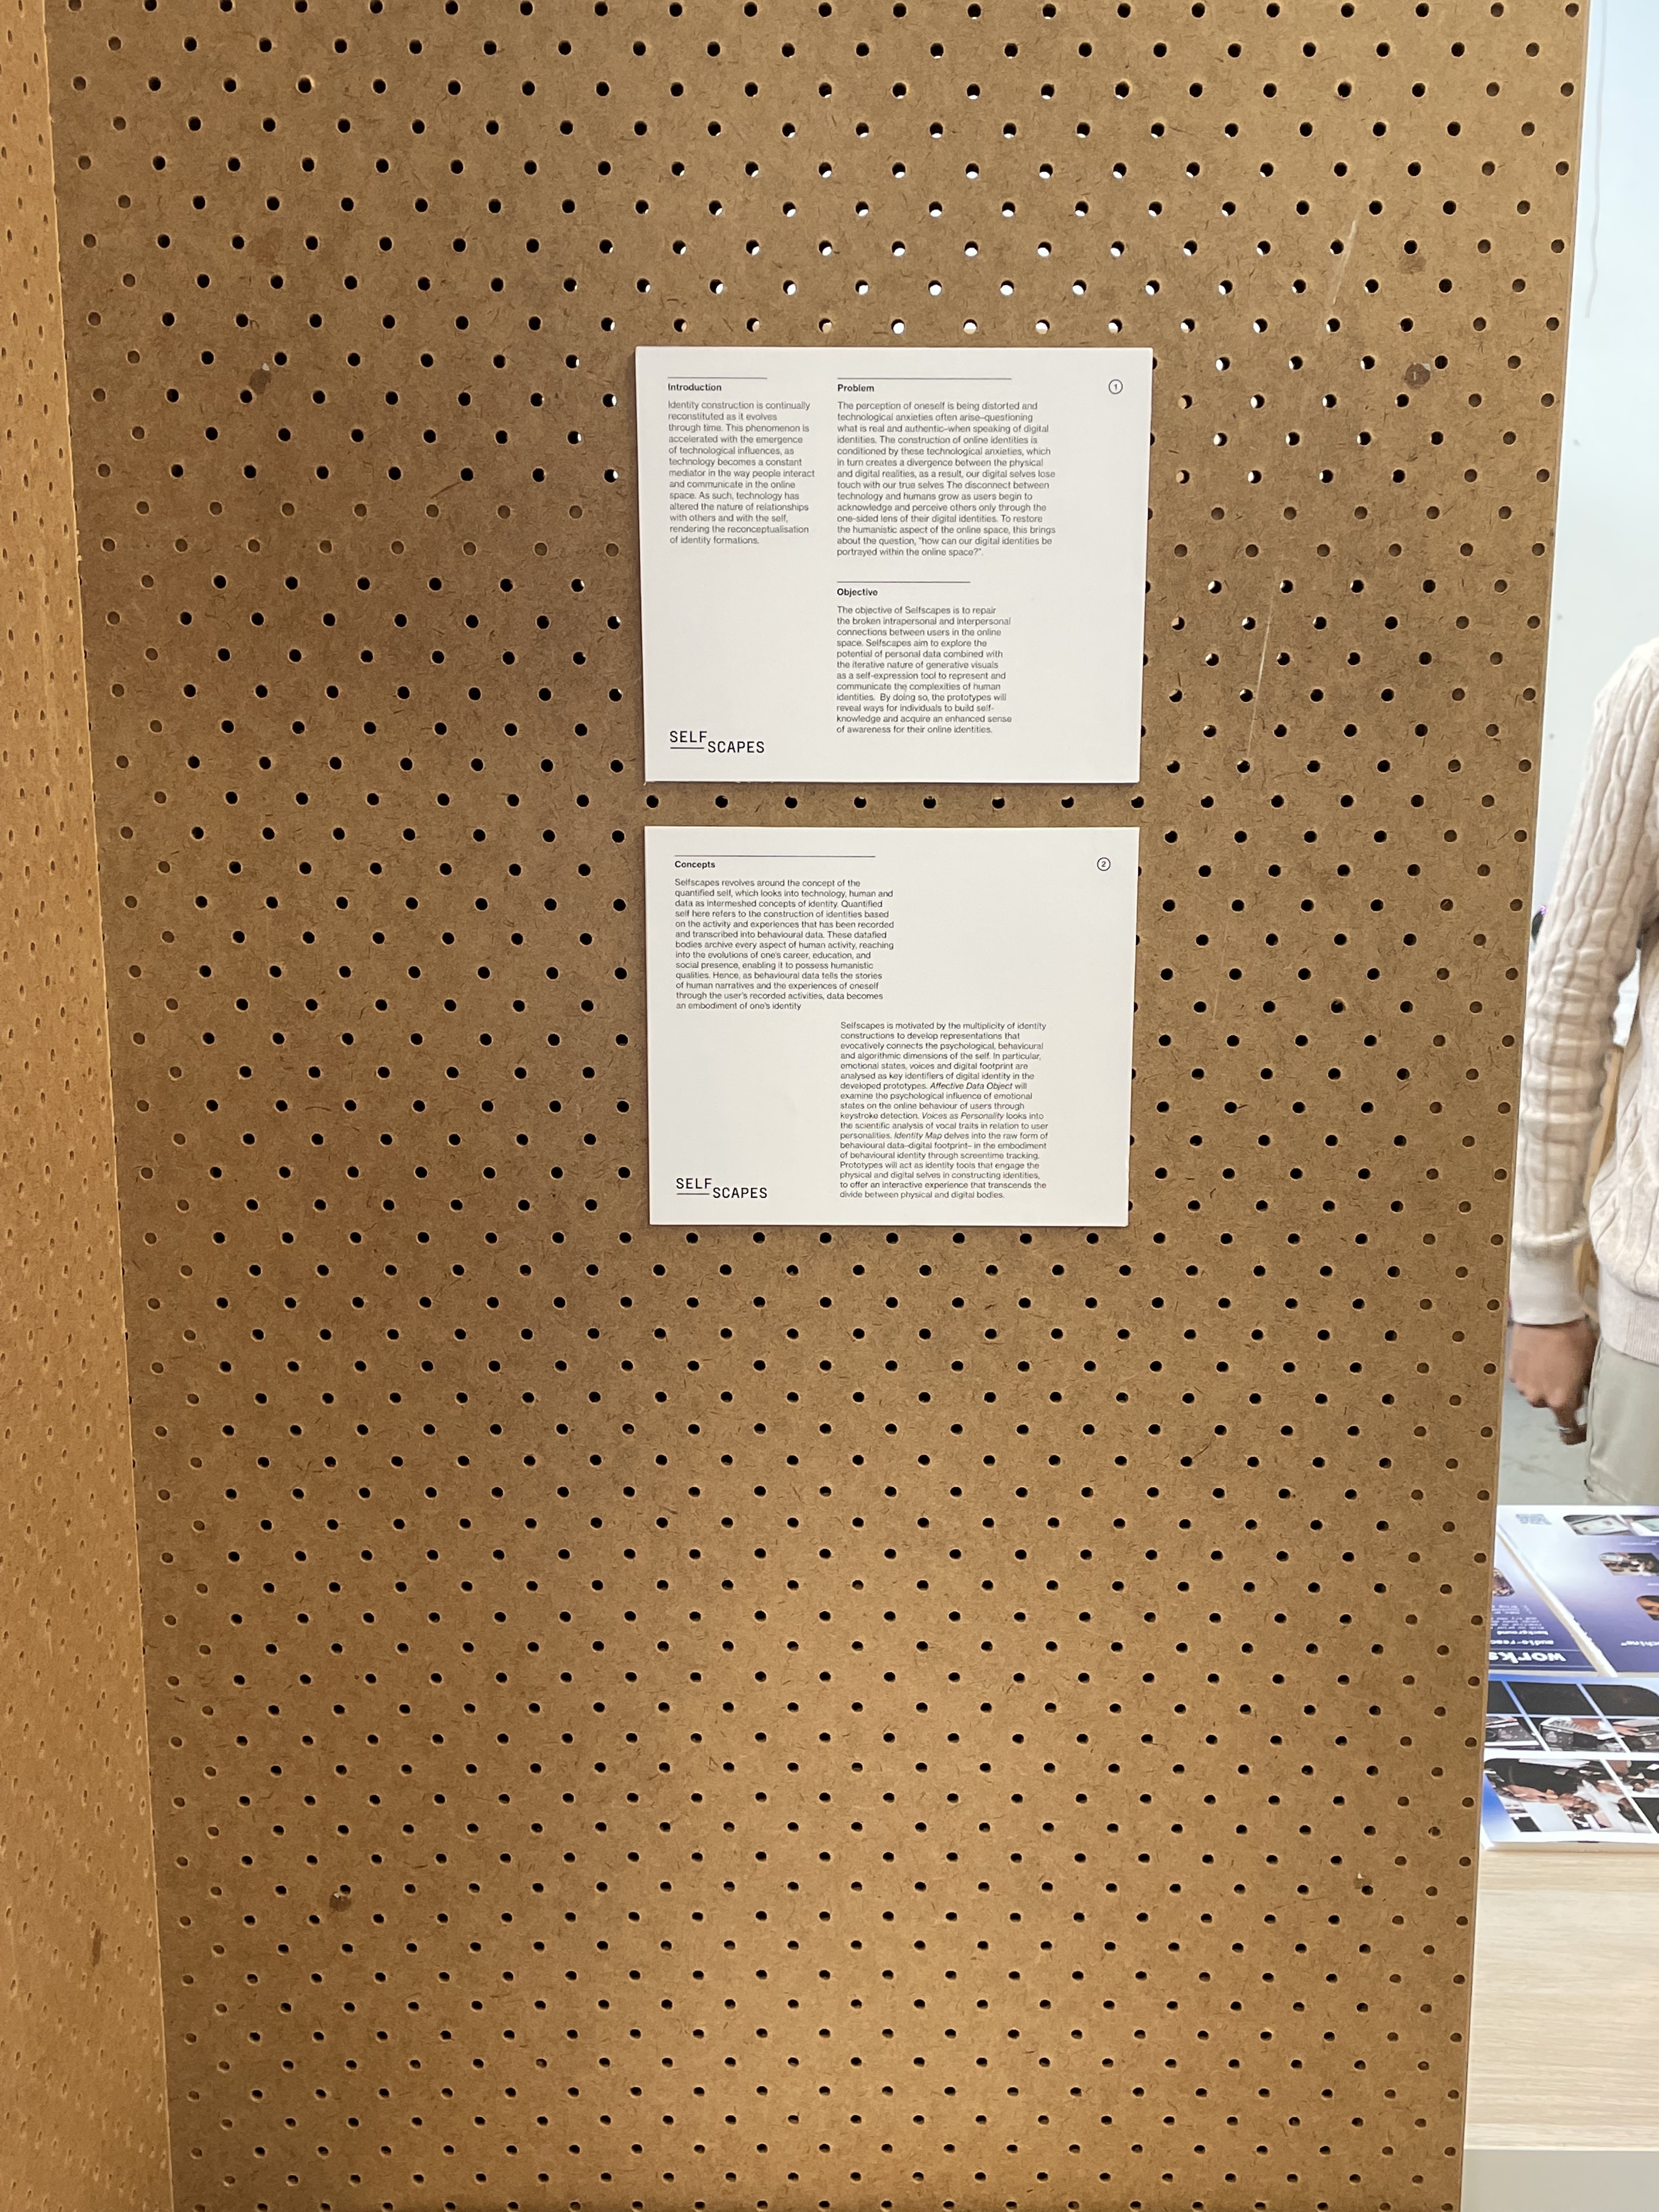
Starting off from the left side of the table, with the introduction, problem, objective and concepts pasted on the wall. Followed by the Selfscapes introduction and concept printed on the transparency sheet and placed in between a transparent and white acrylic slab. Moving from which are the publications accompanied by the video documentation of how the prototypes are interacted with. In between the publications and the prototypes, I've placed several visuals of each prototype to act as a graphic block between different sections of the table.
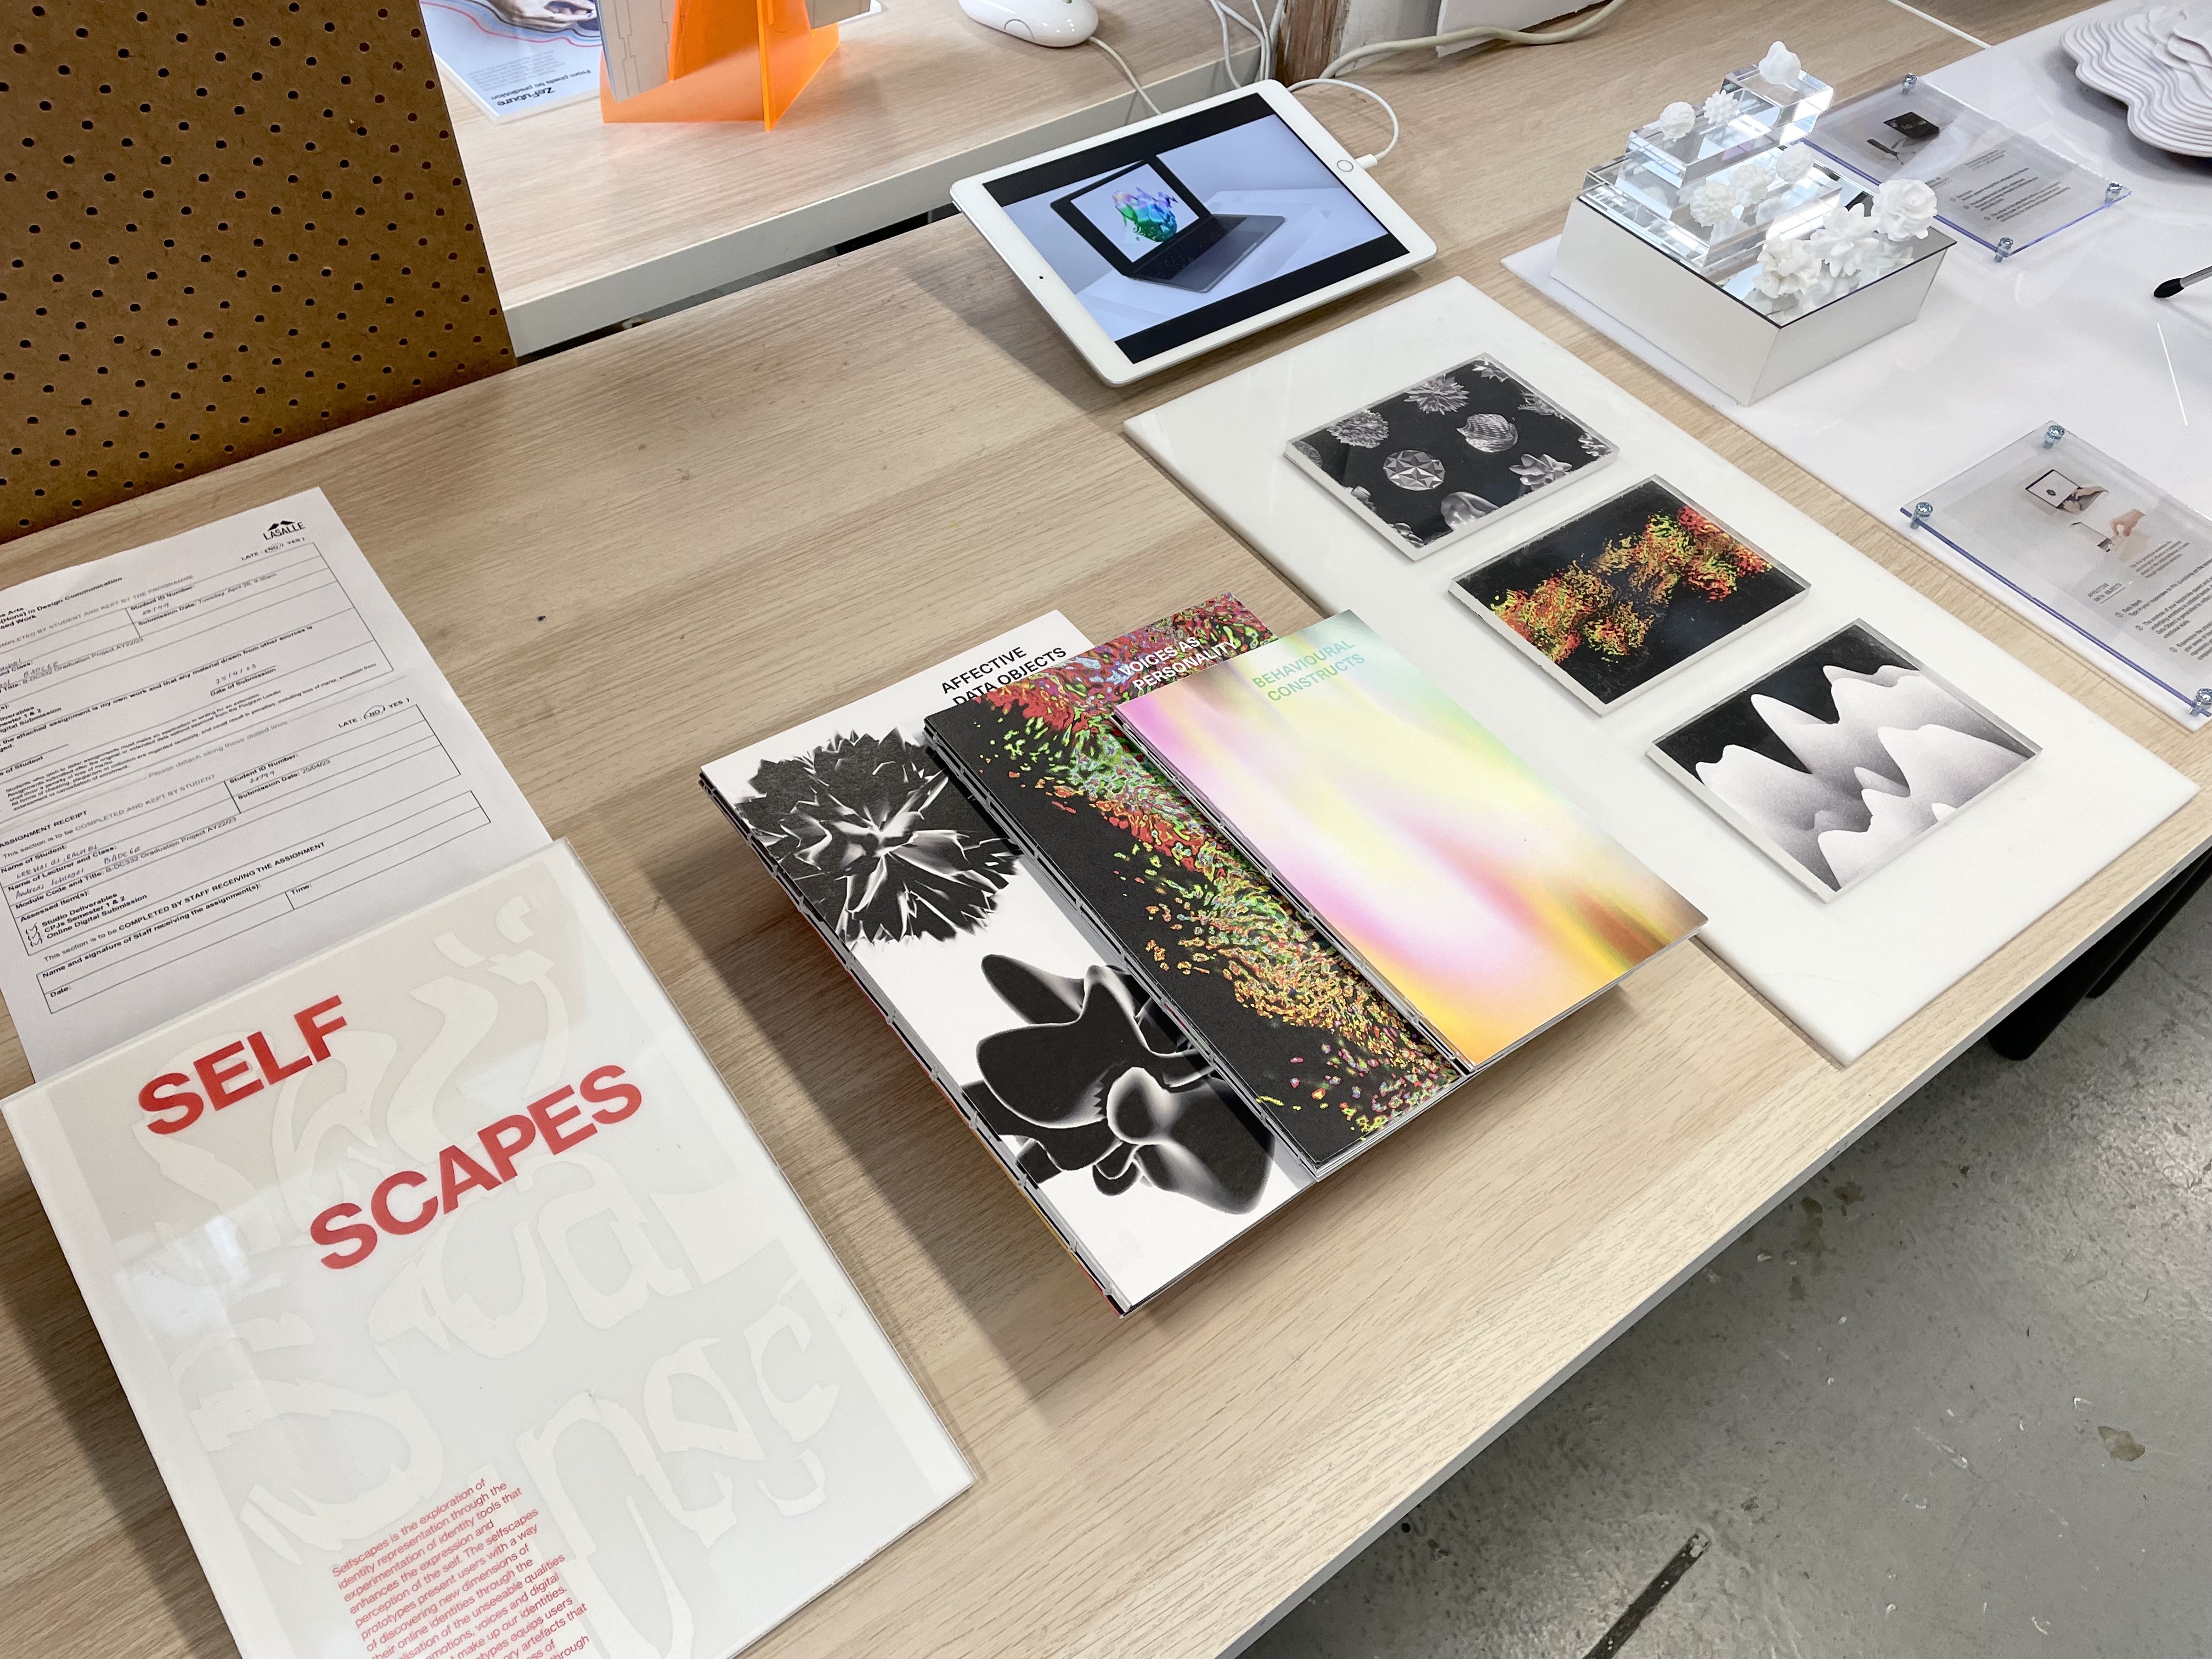
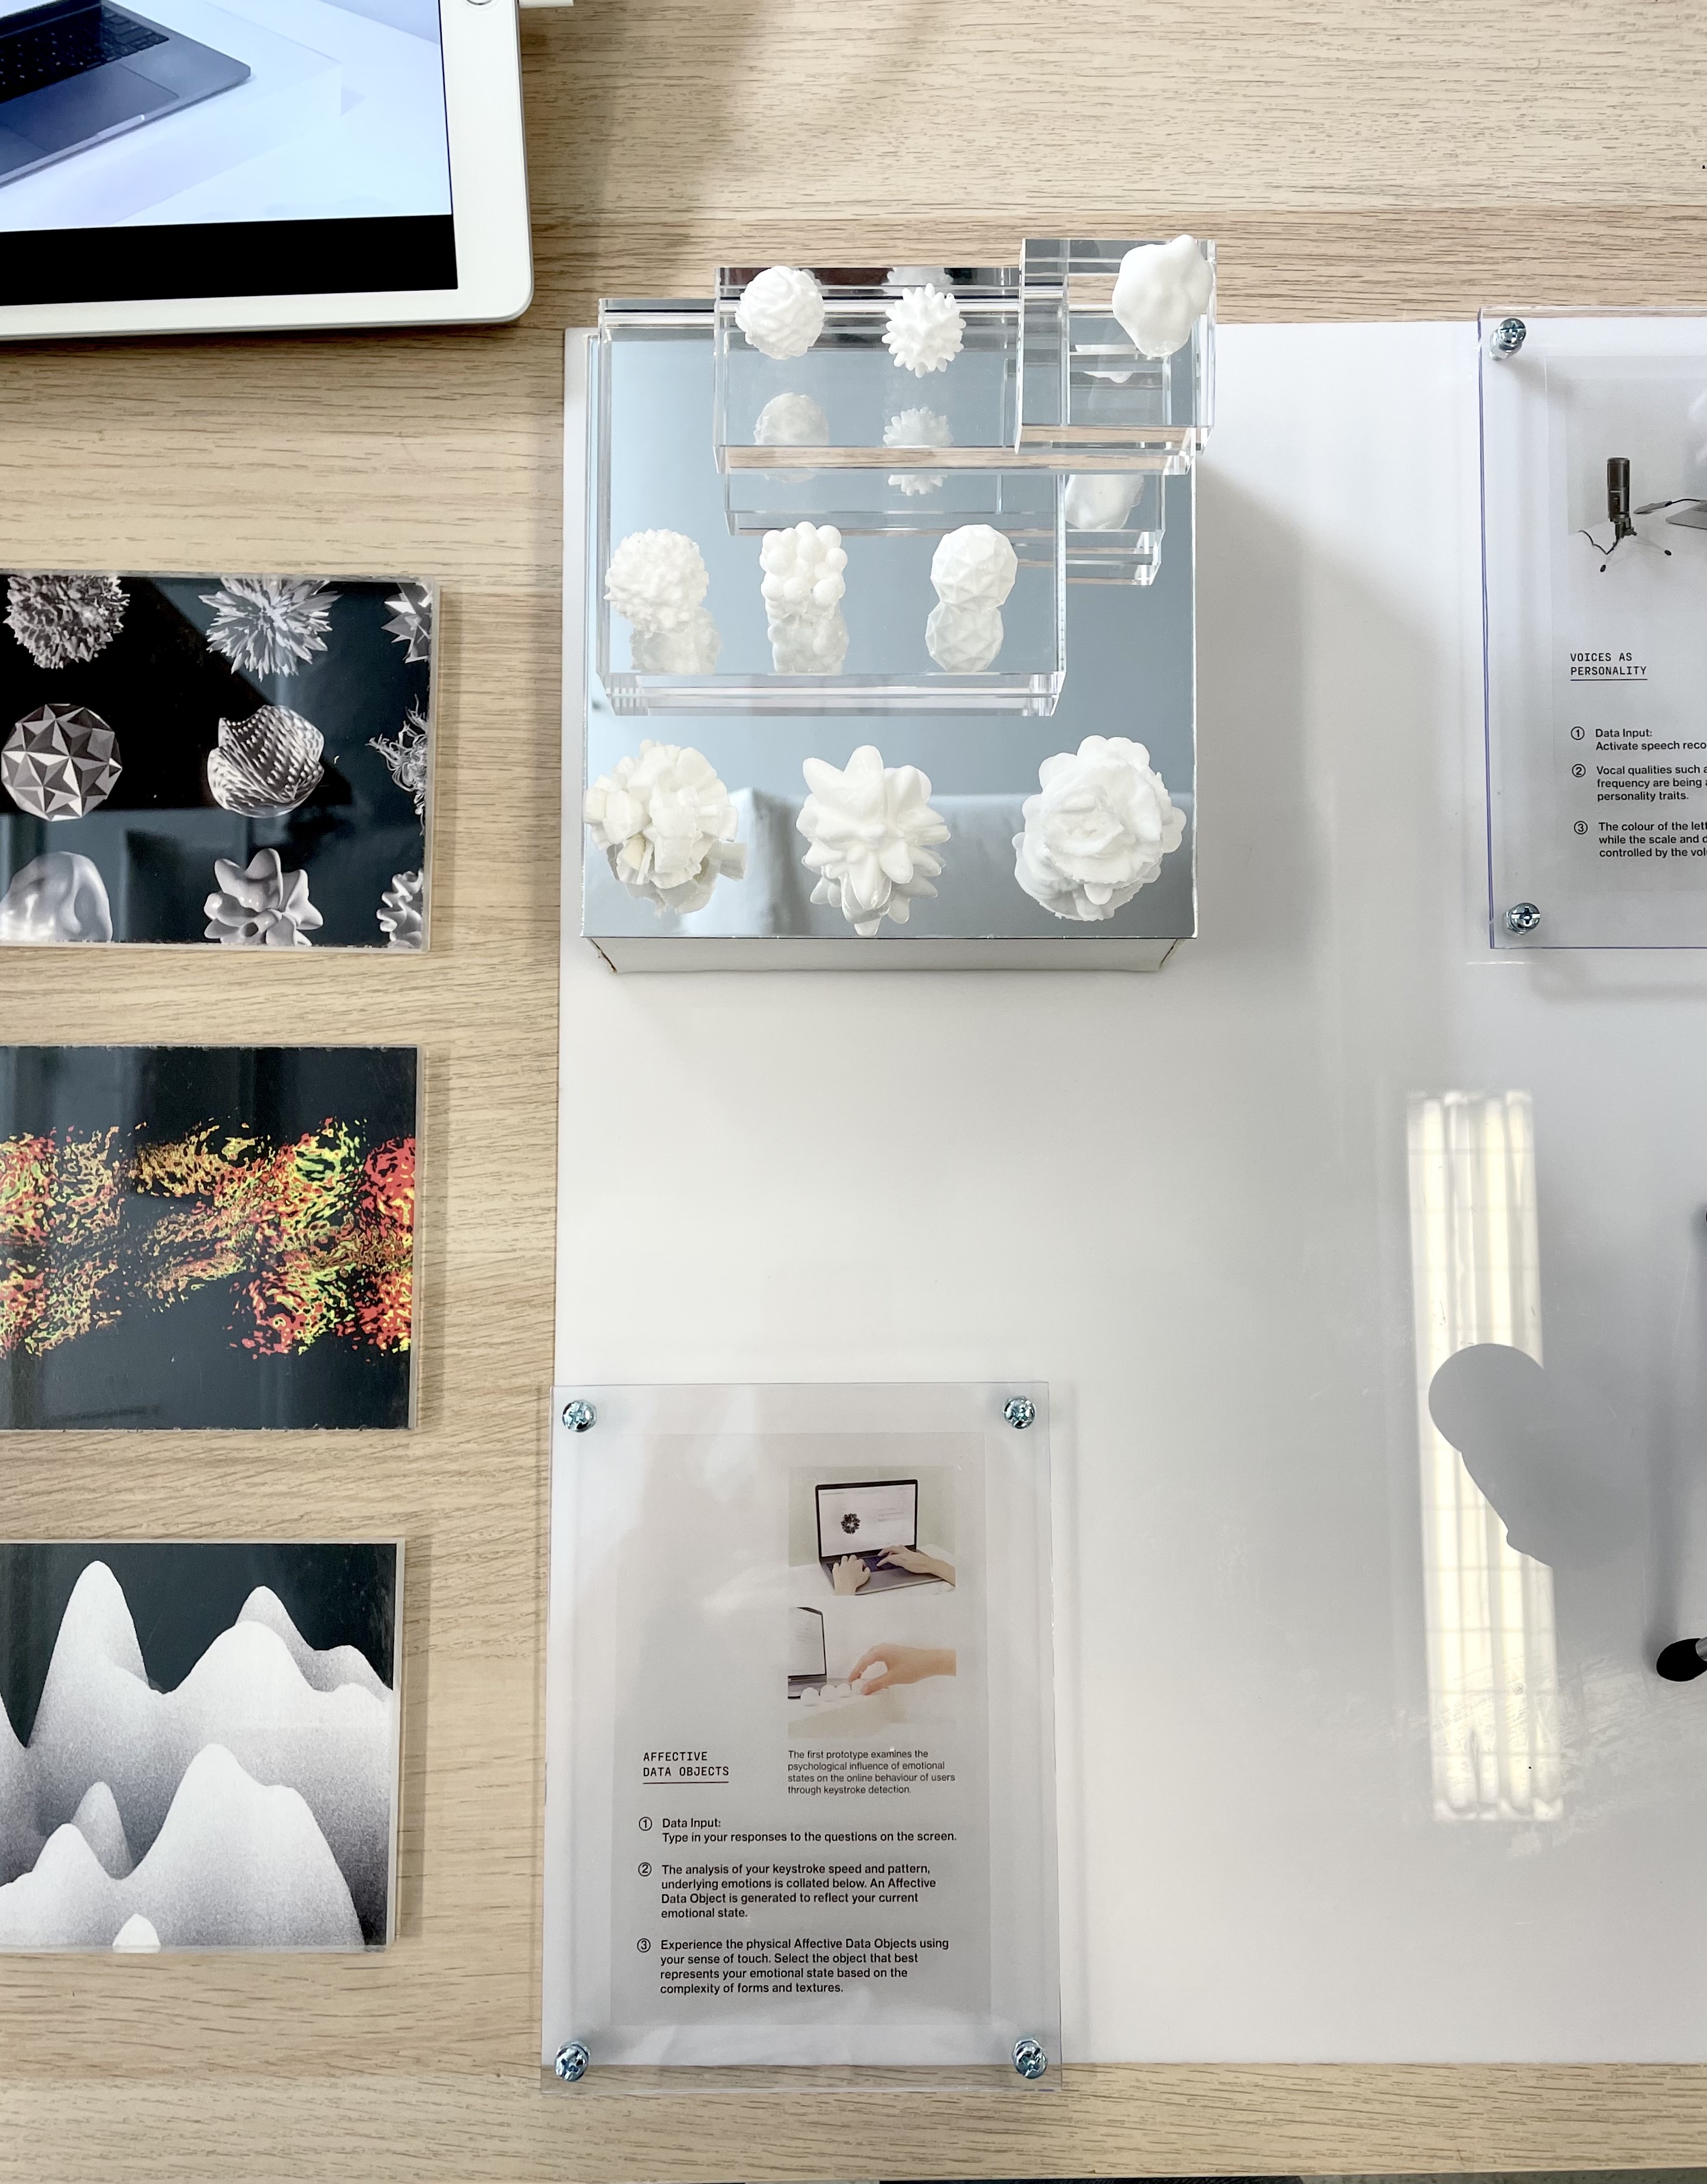
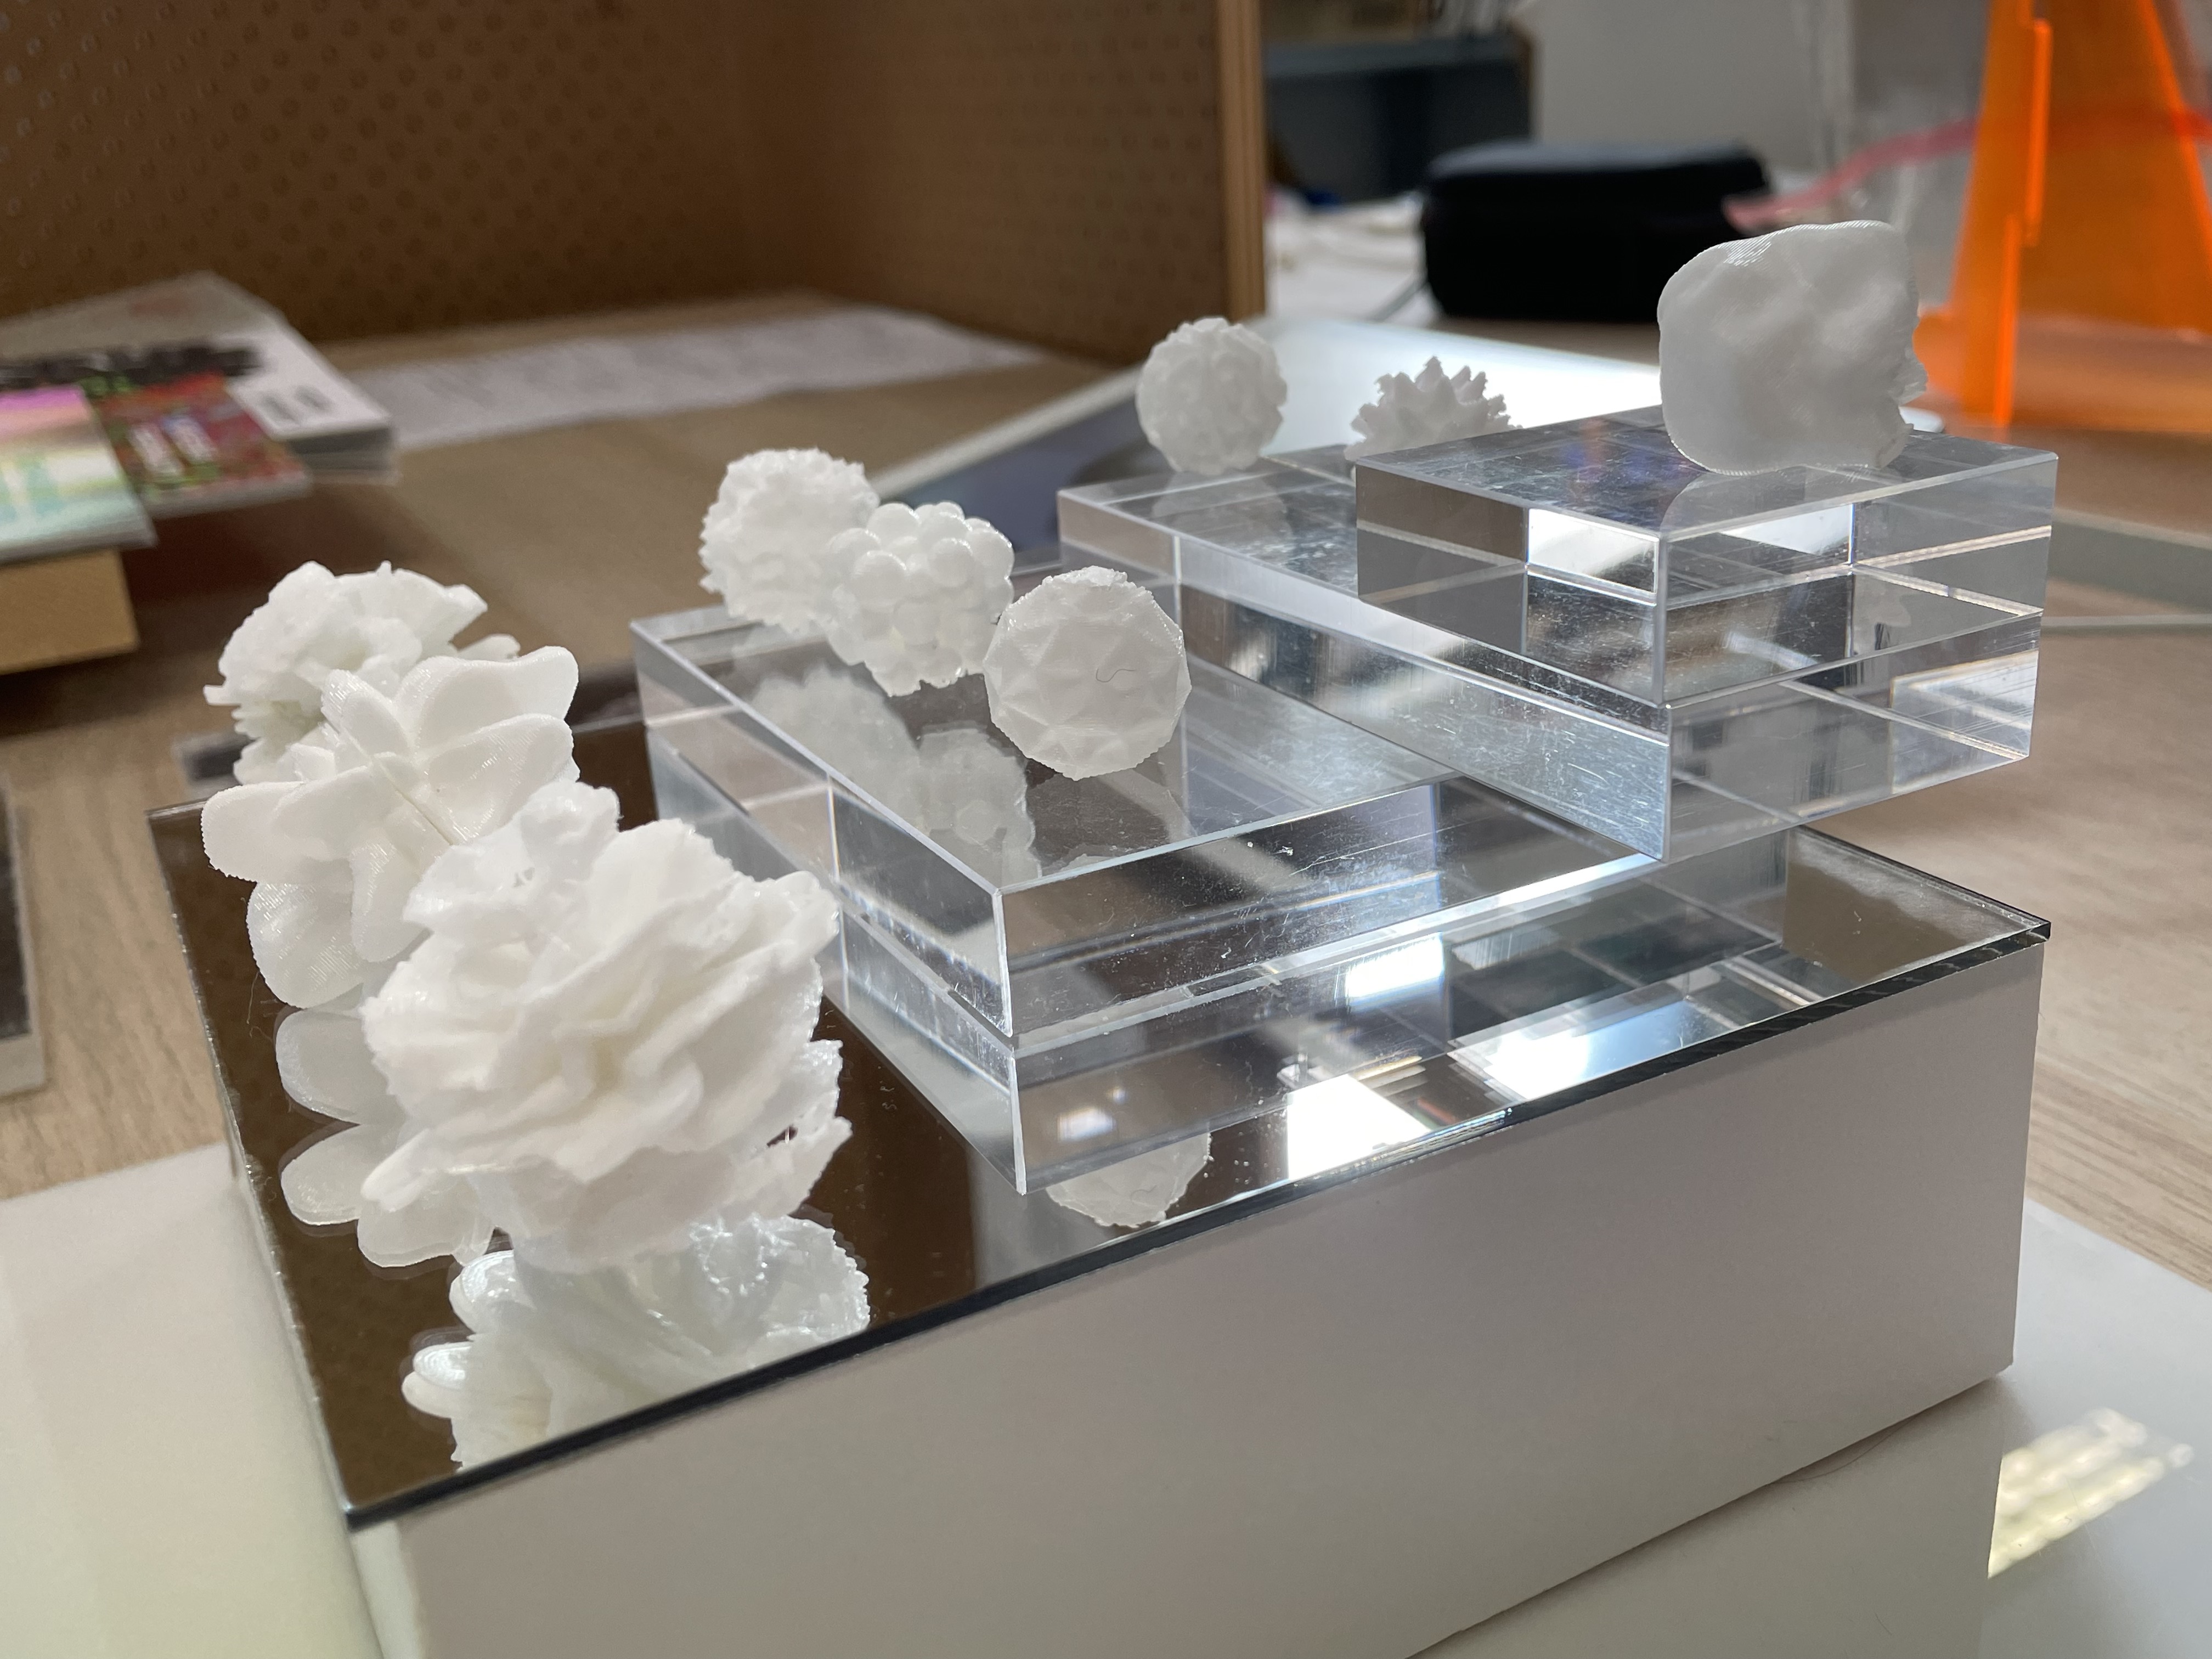
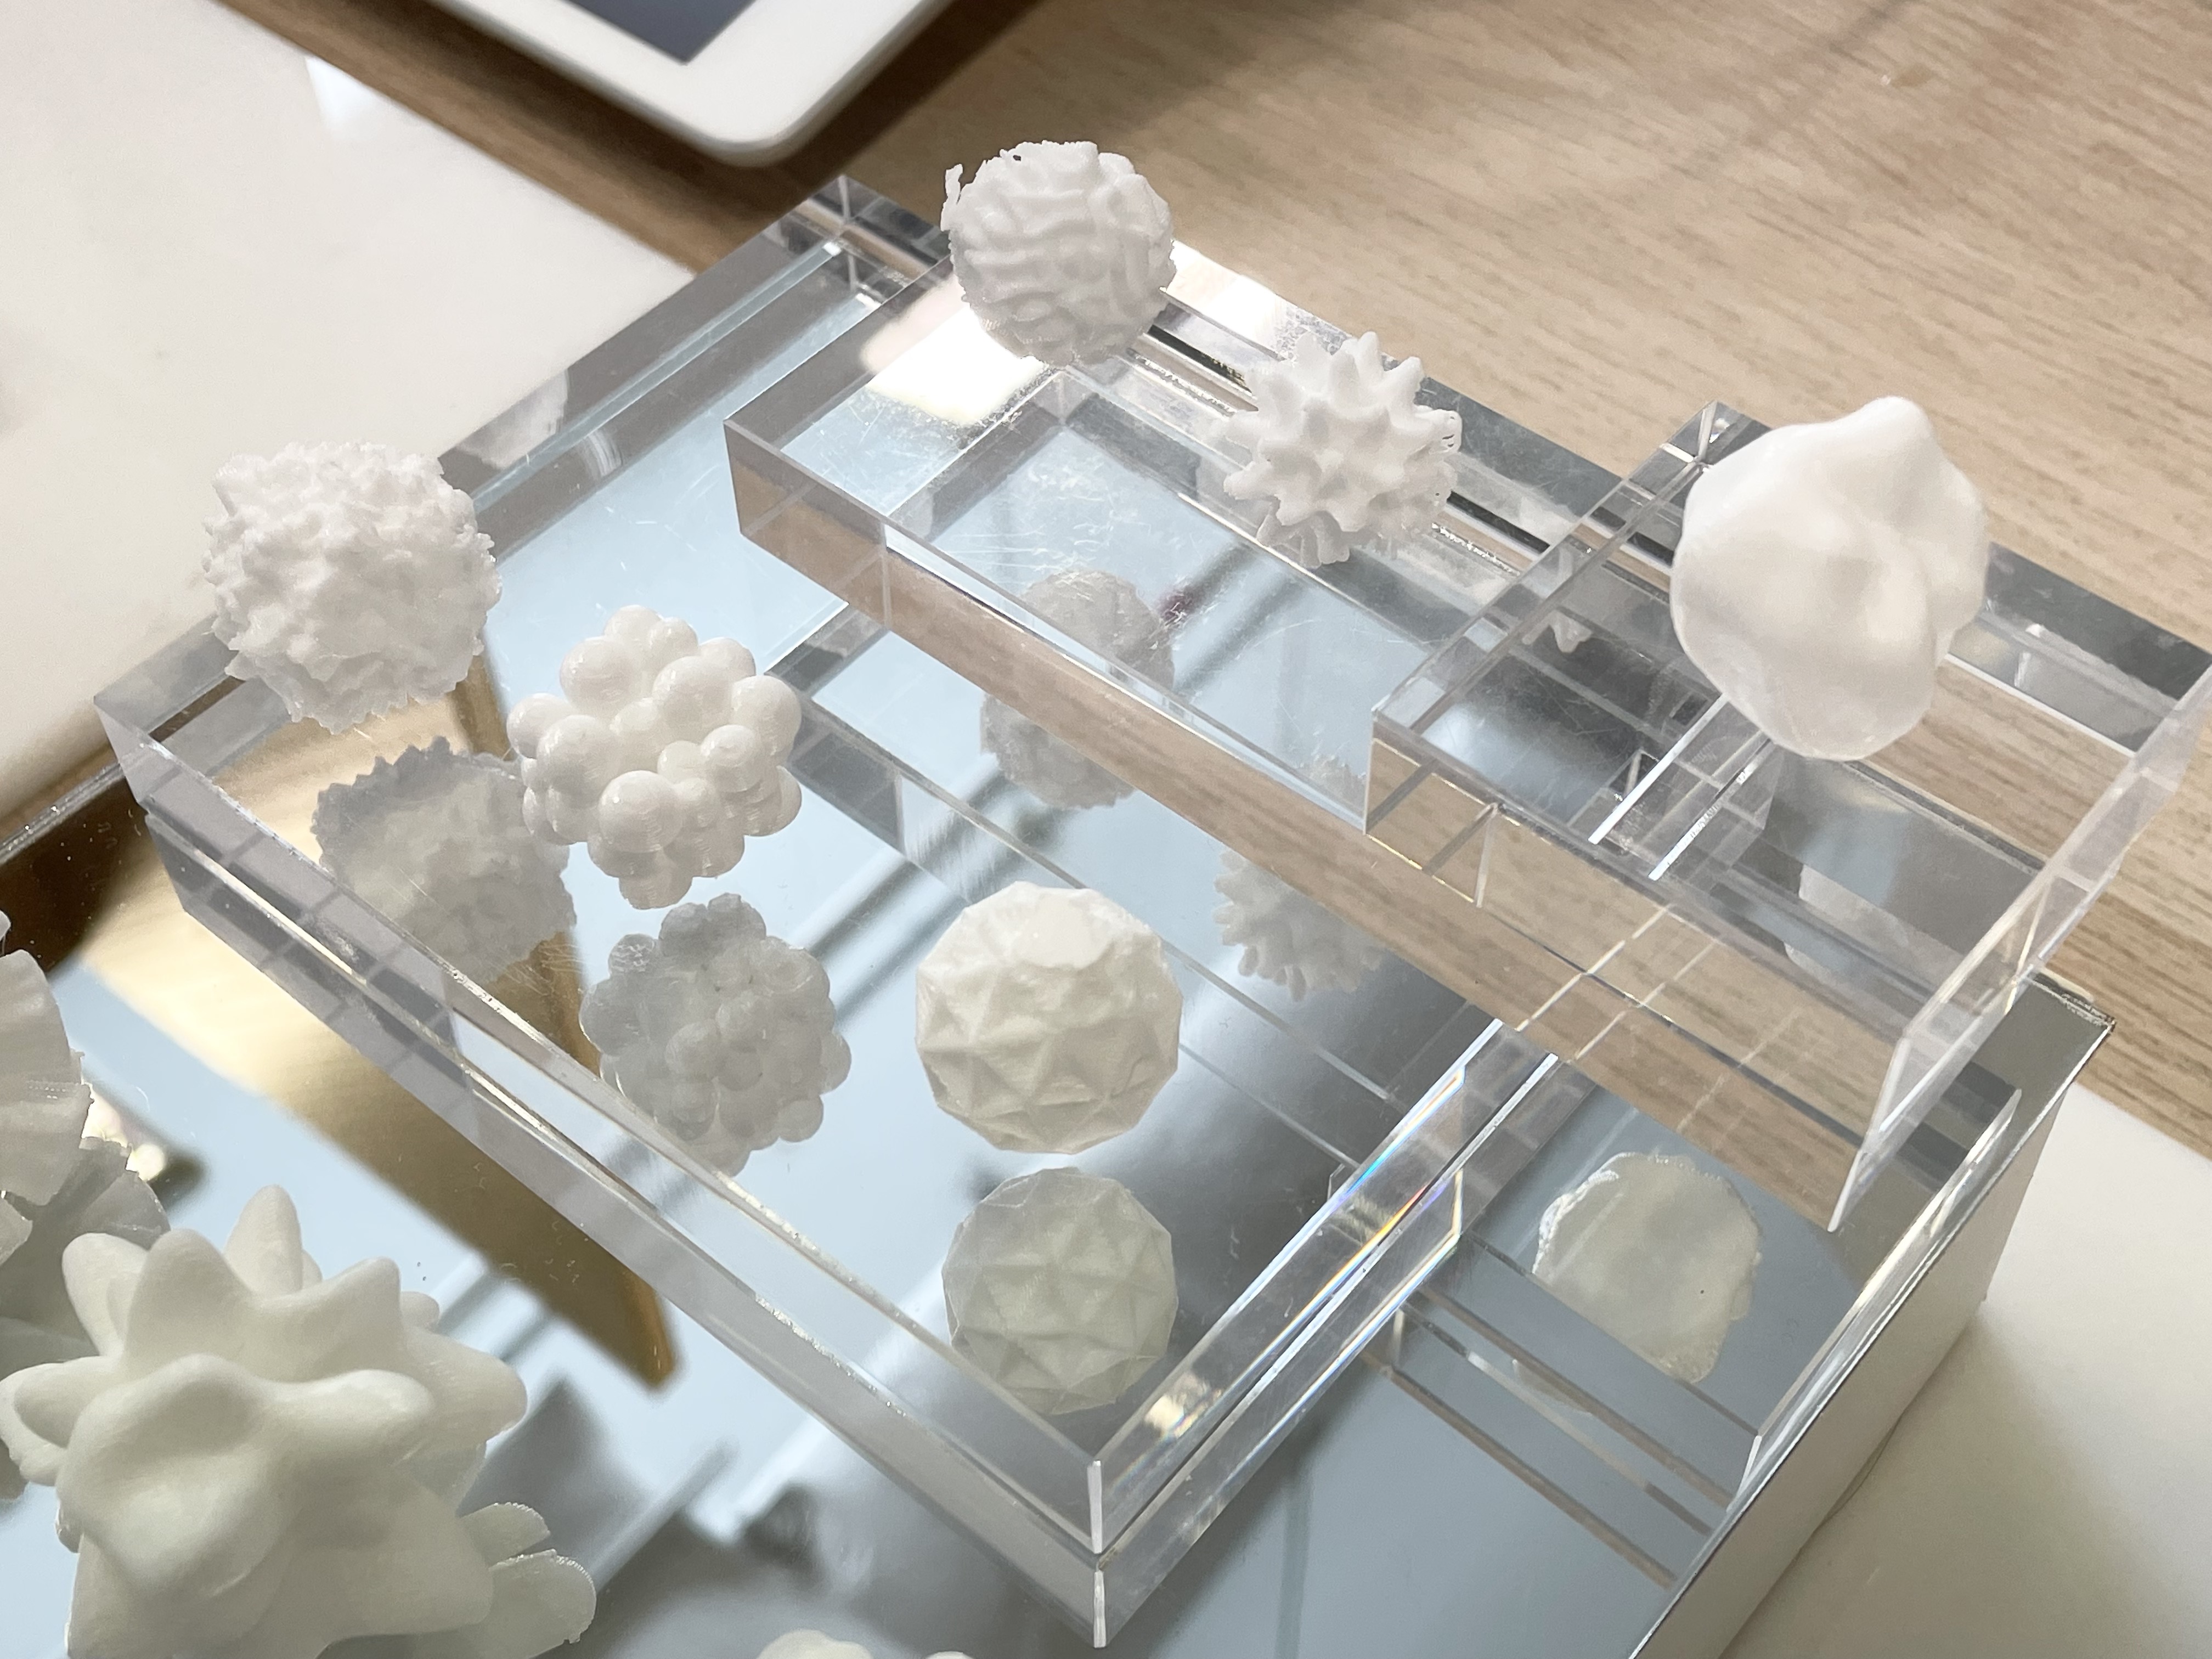
Following the same order as the publications, the first prototype from the left is the Affective Data Objects.
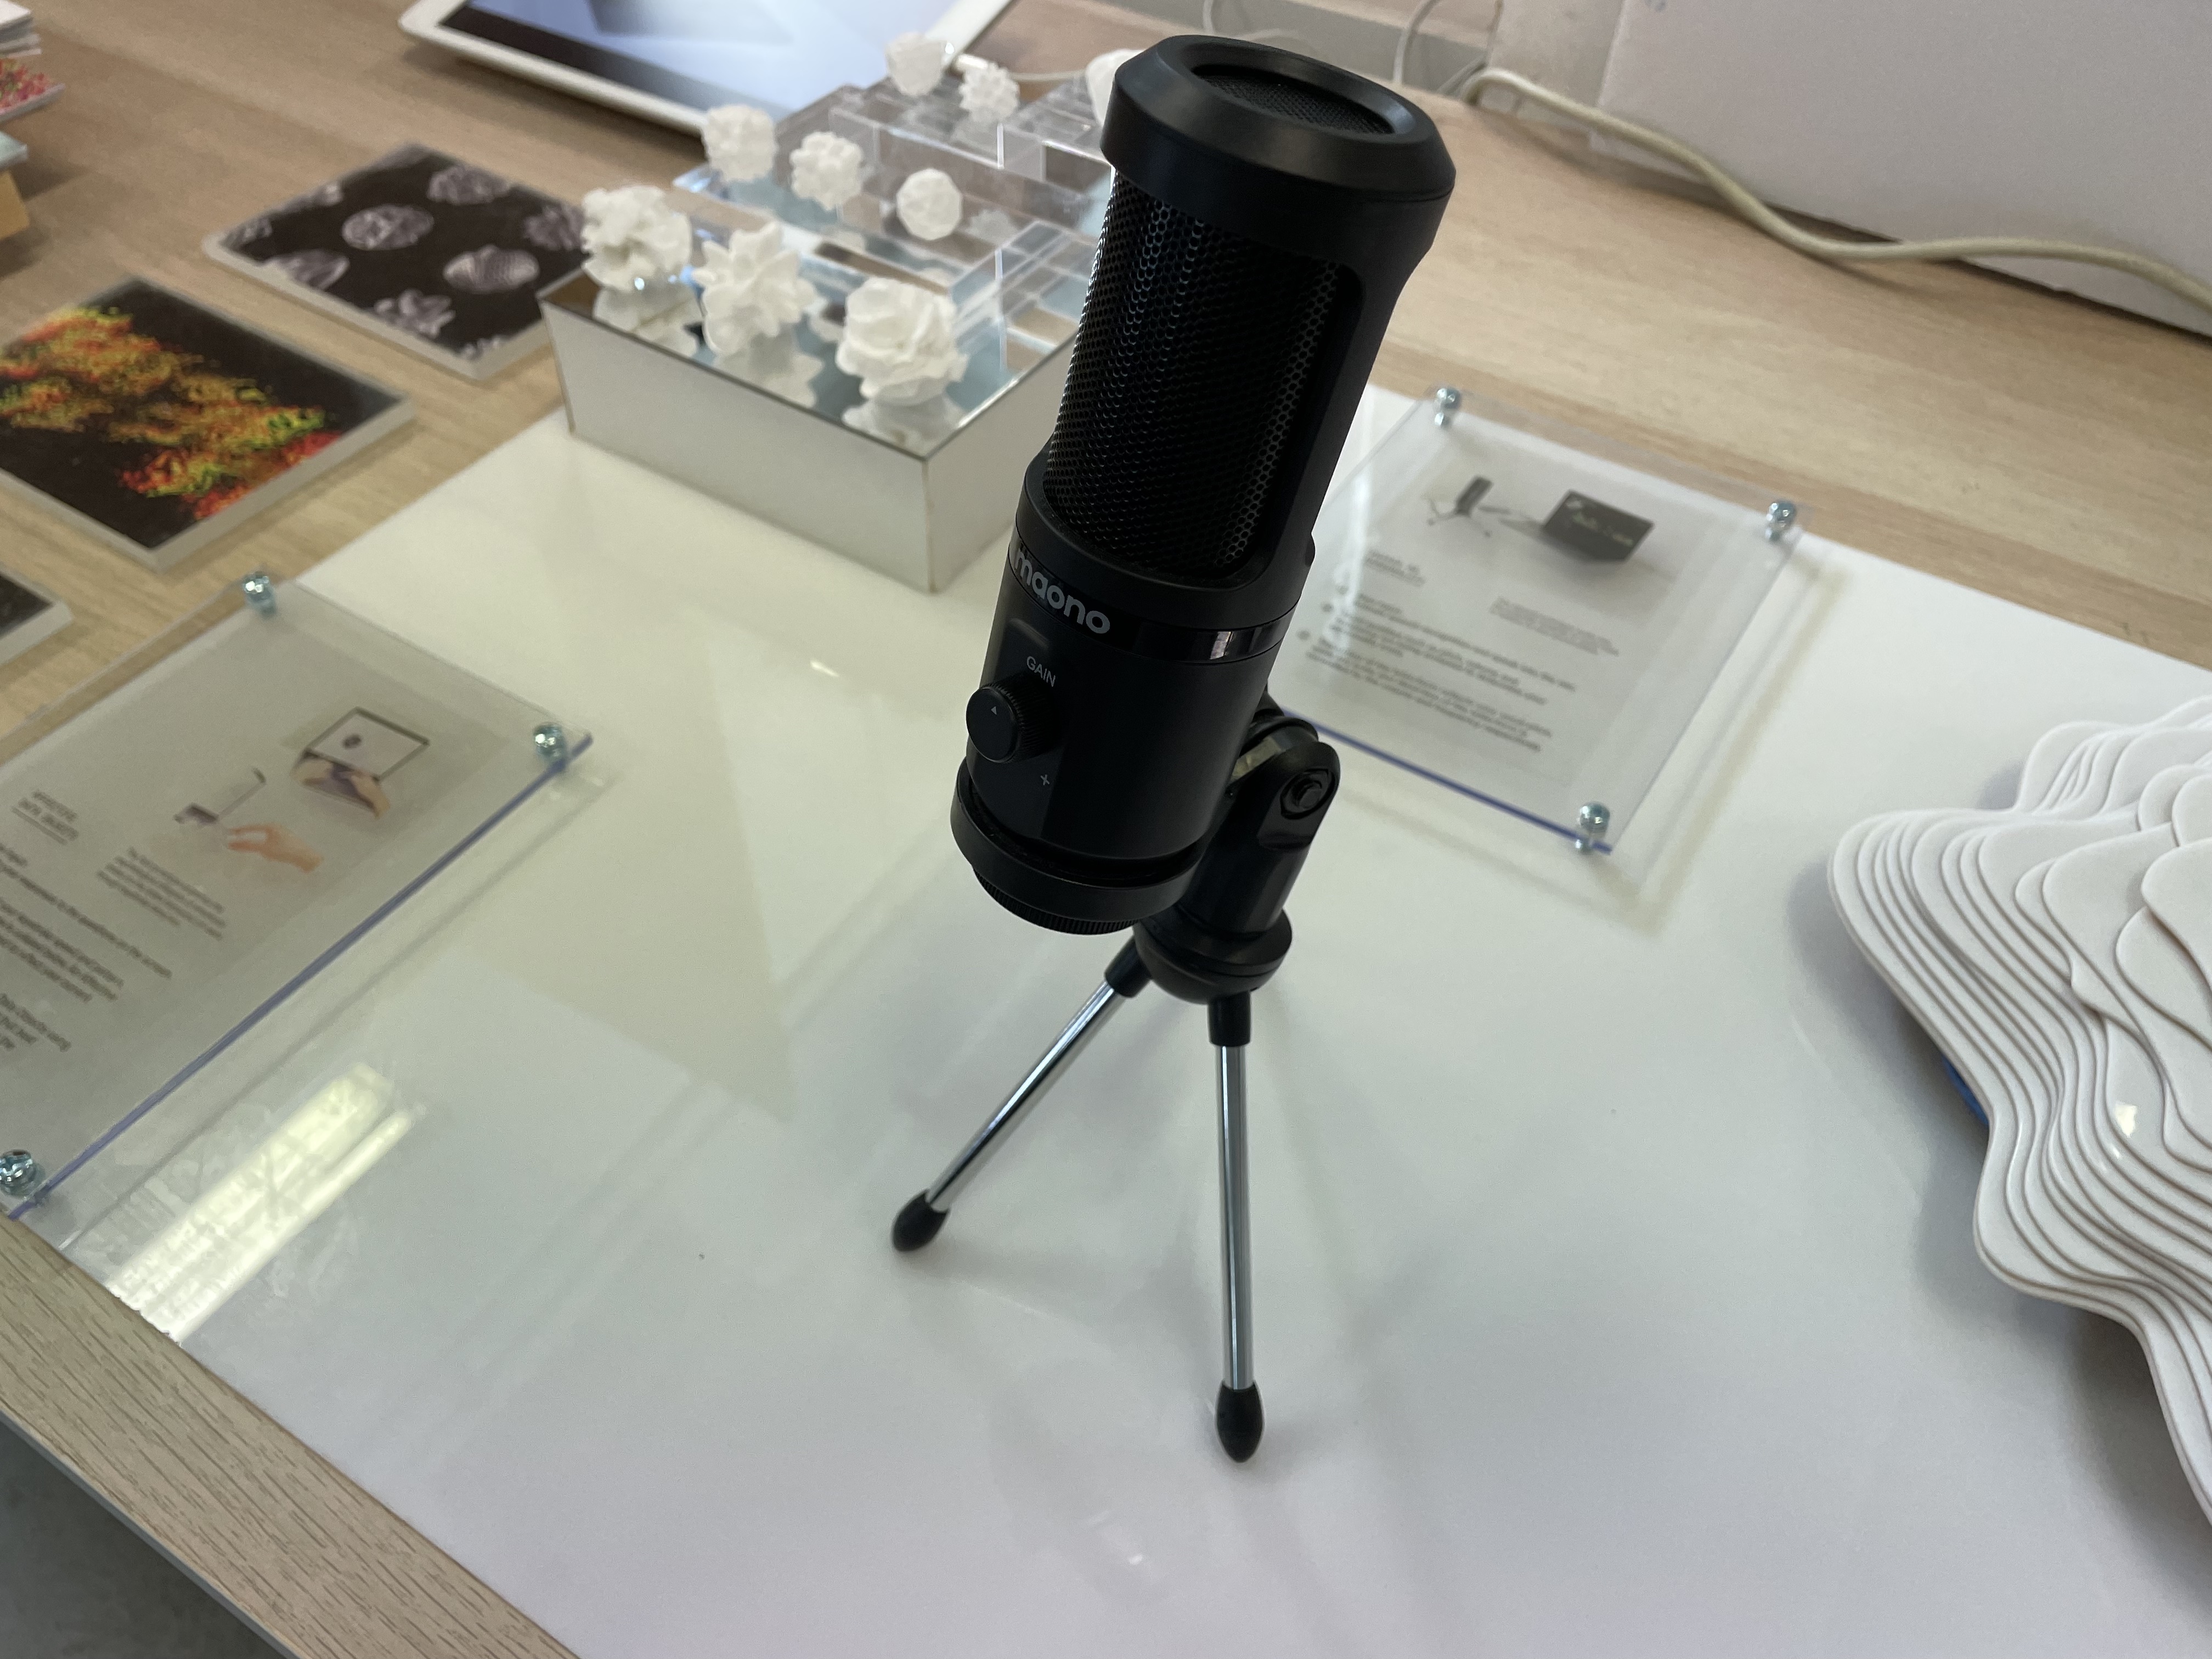
The next prototype is Voices as Personality, featuring the microphone used for the interactive experience.
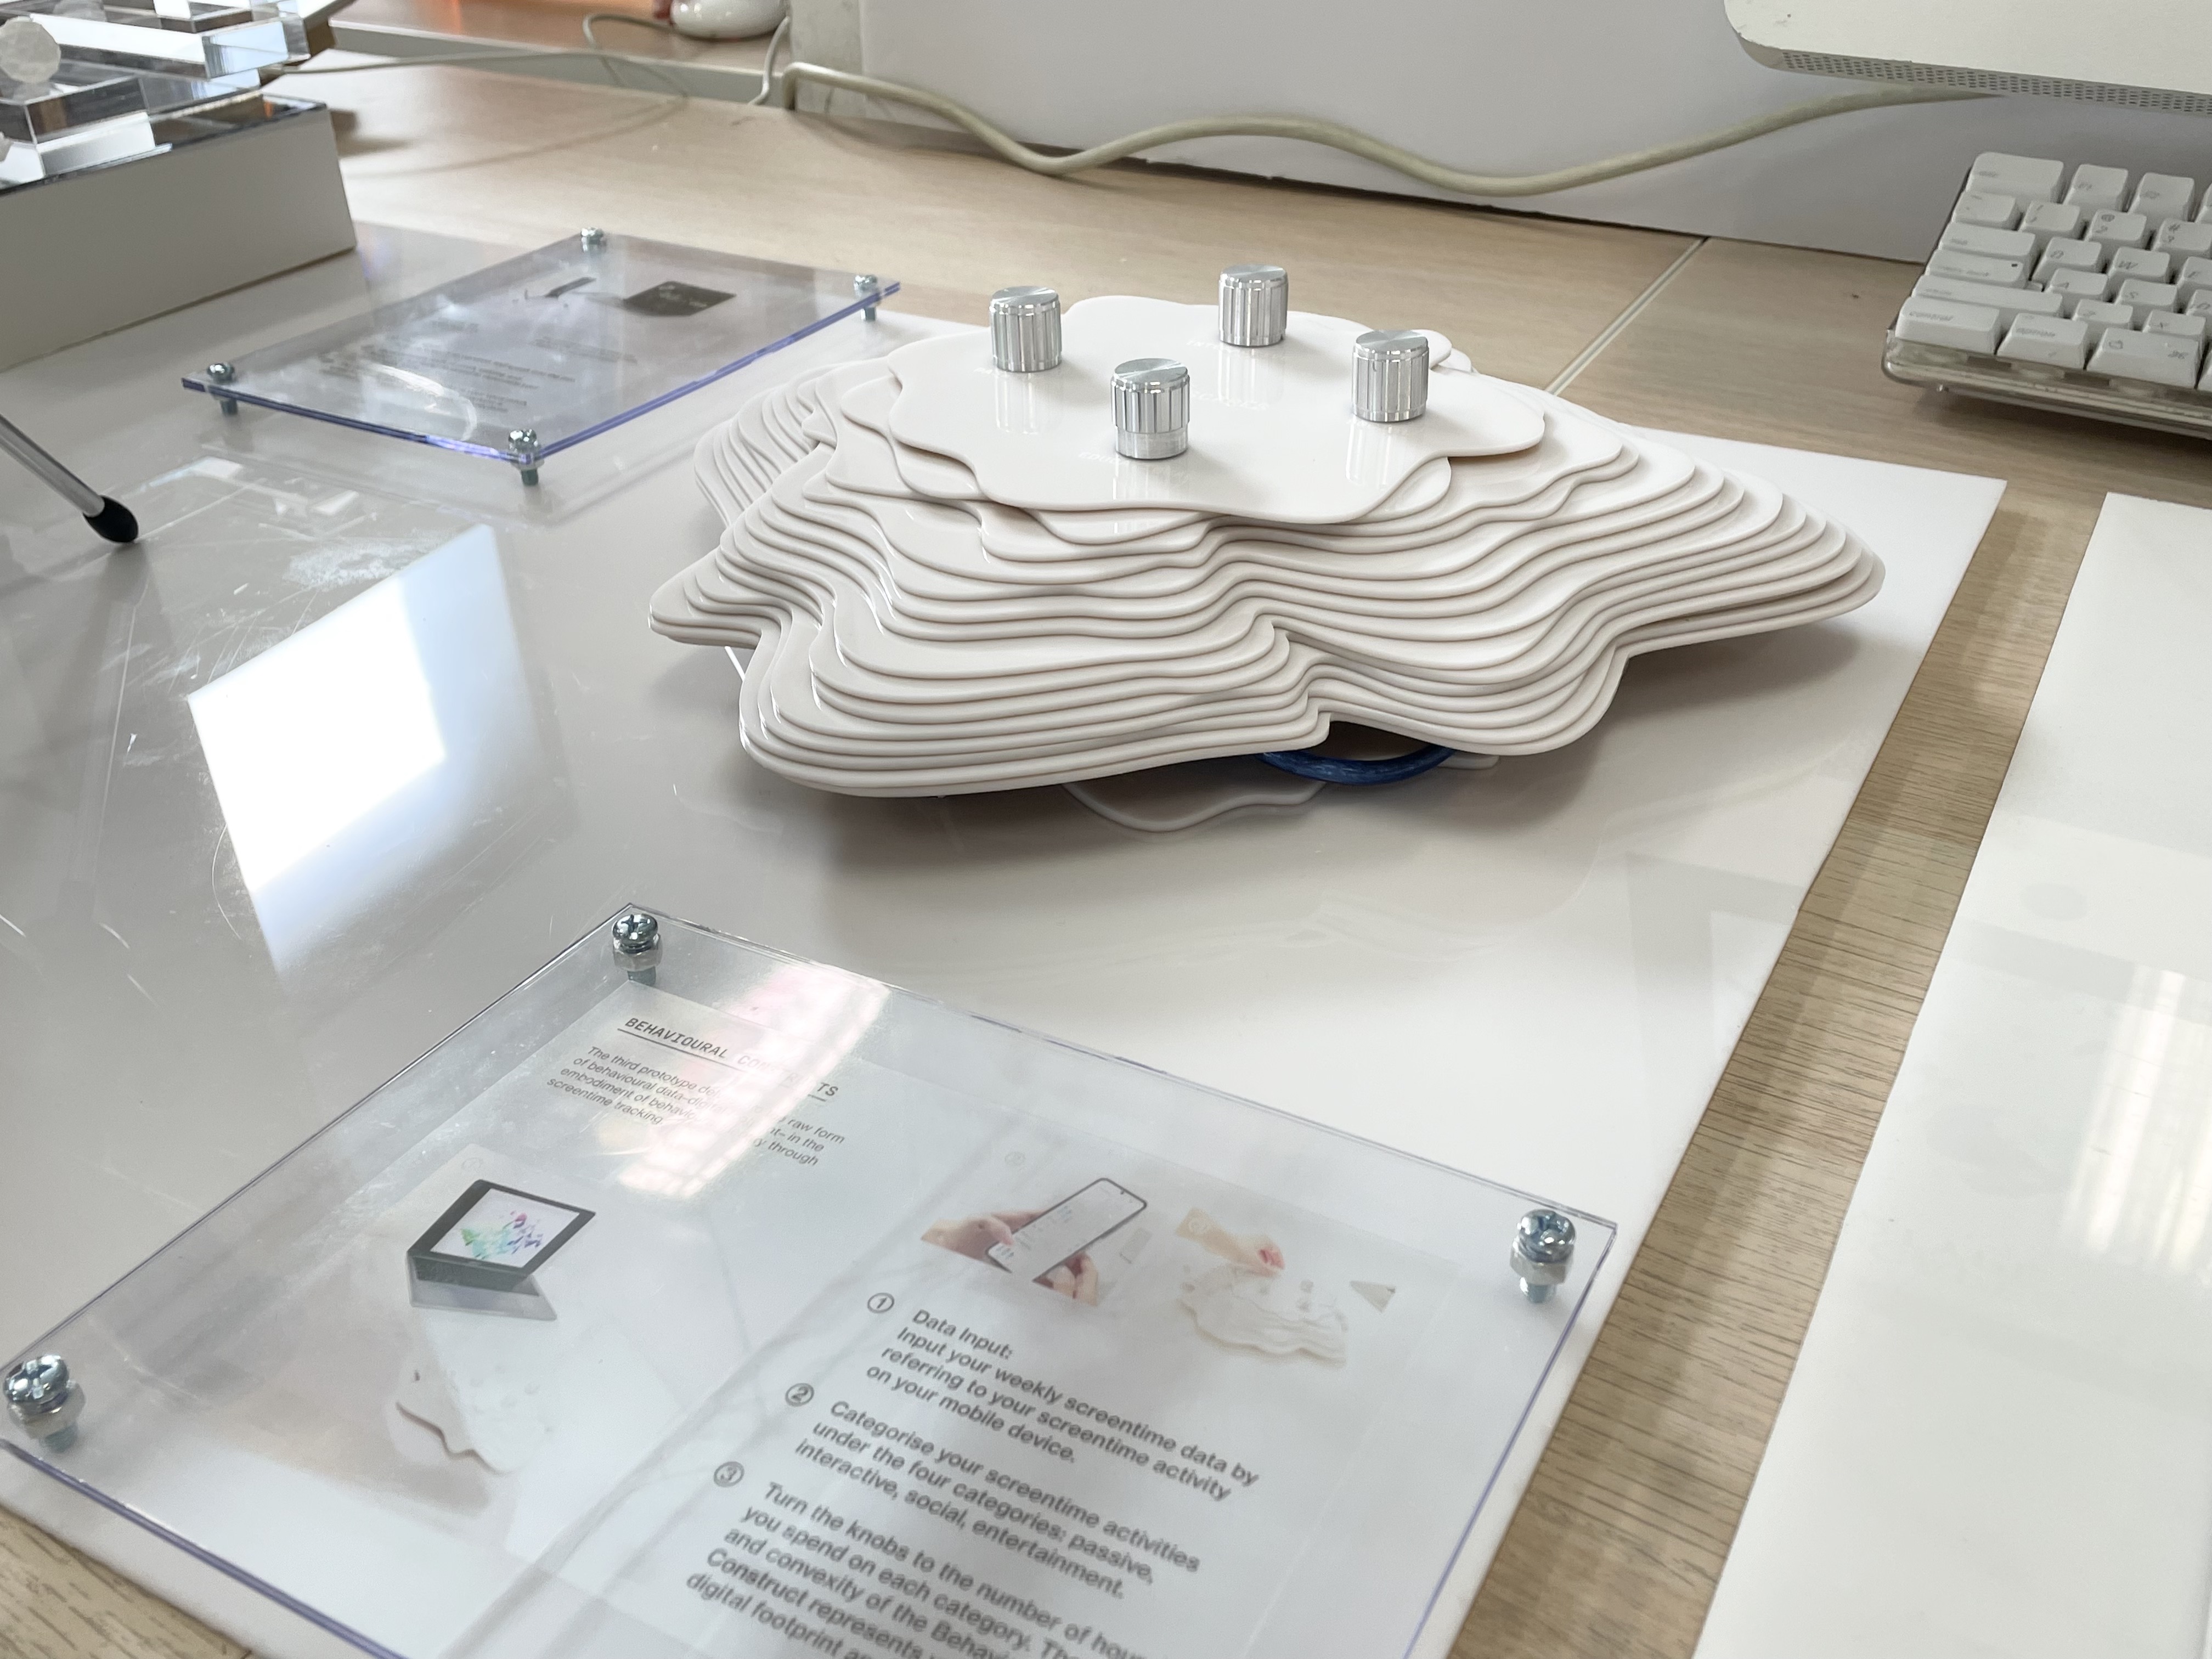
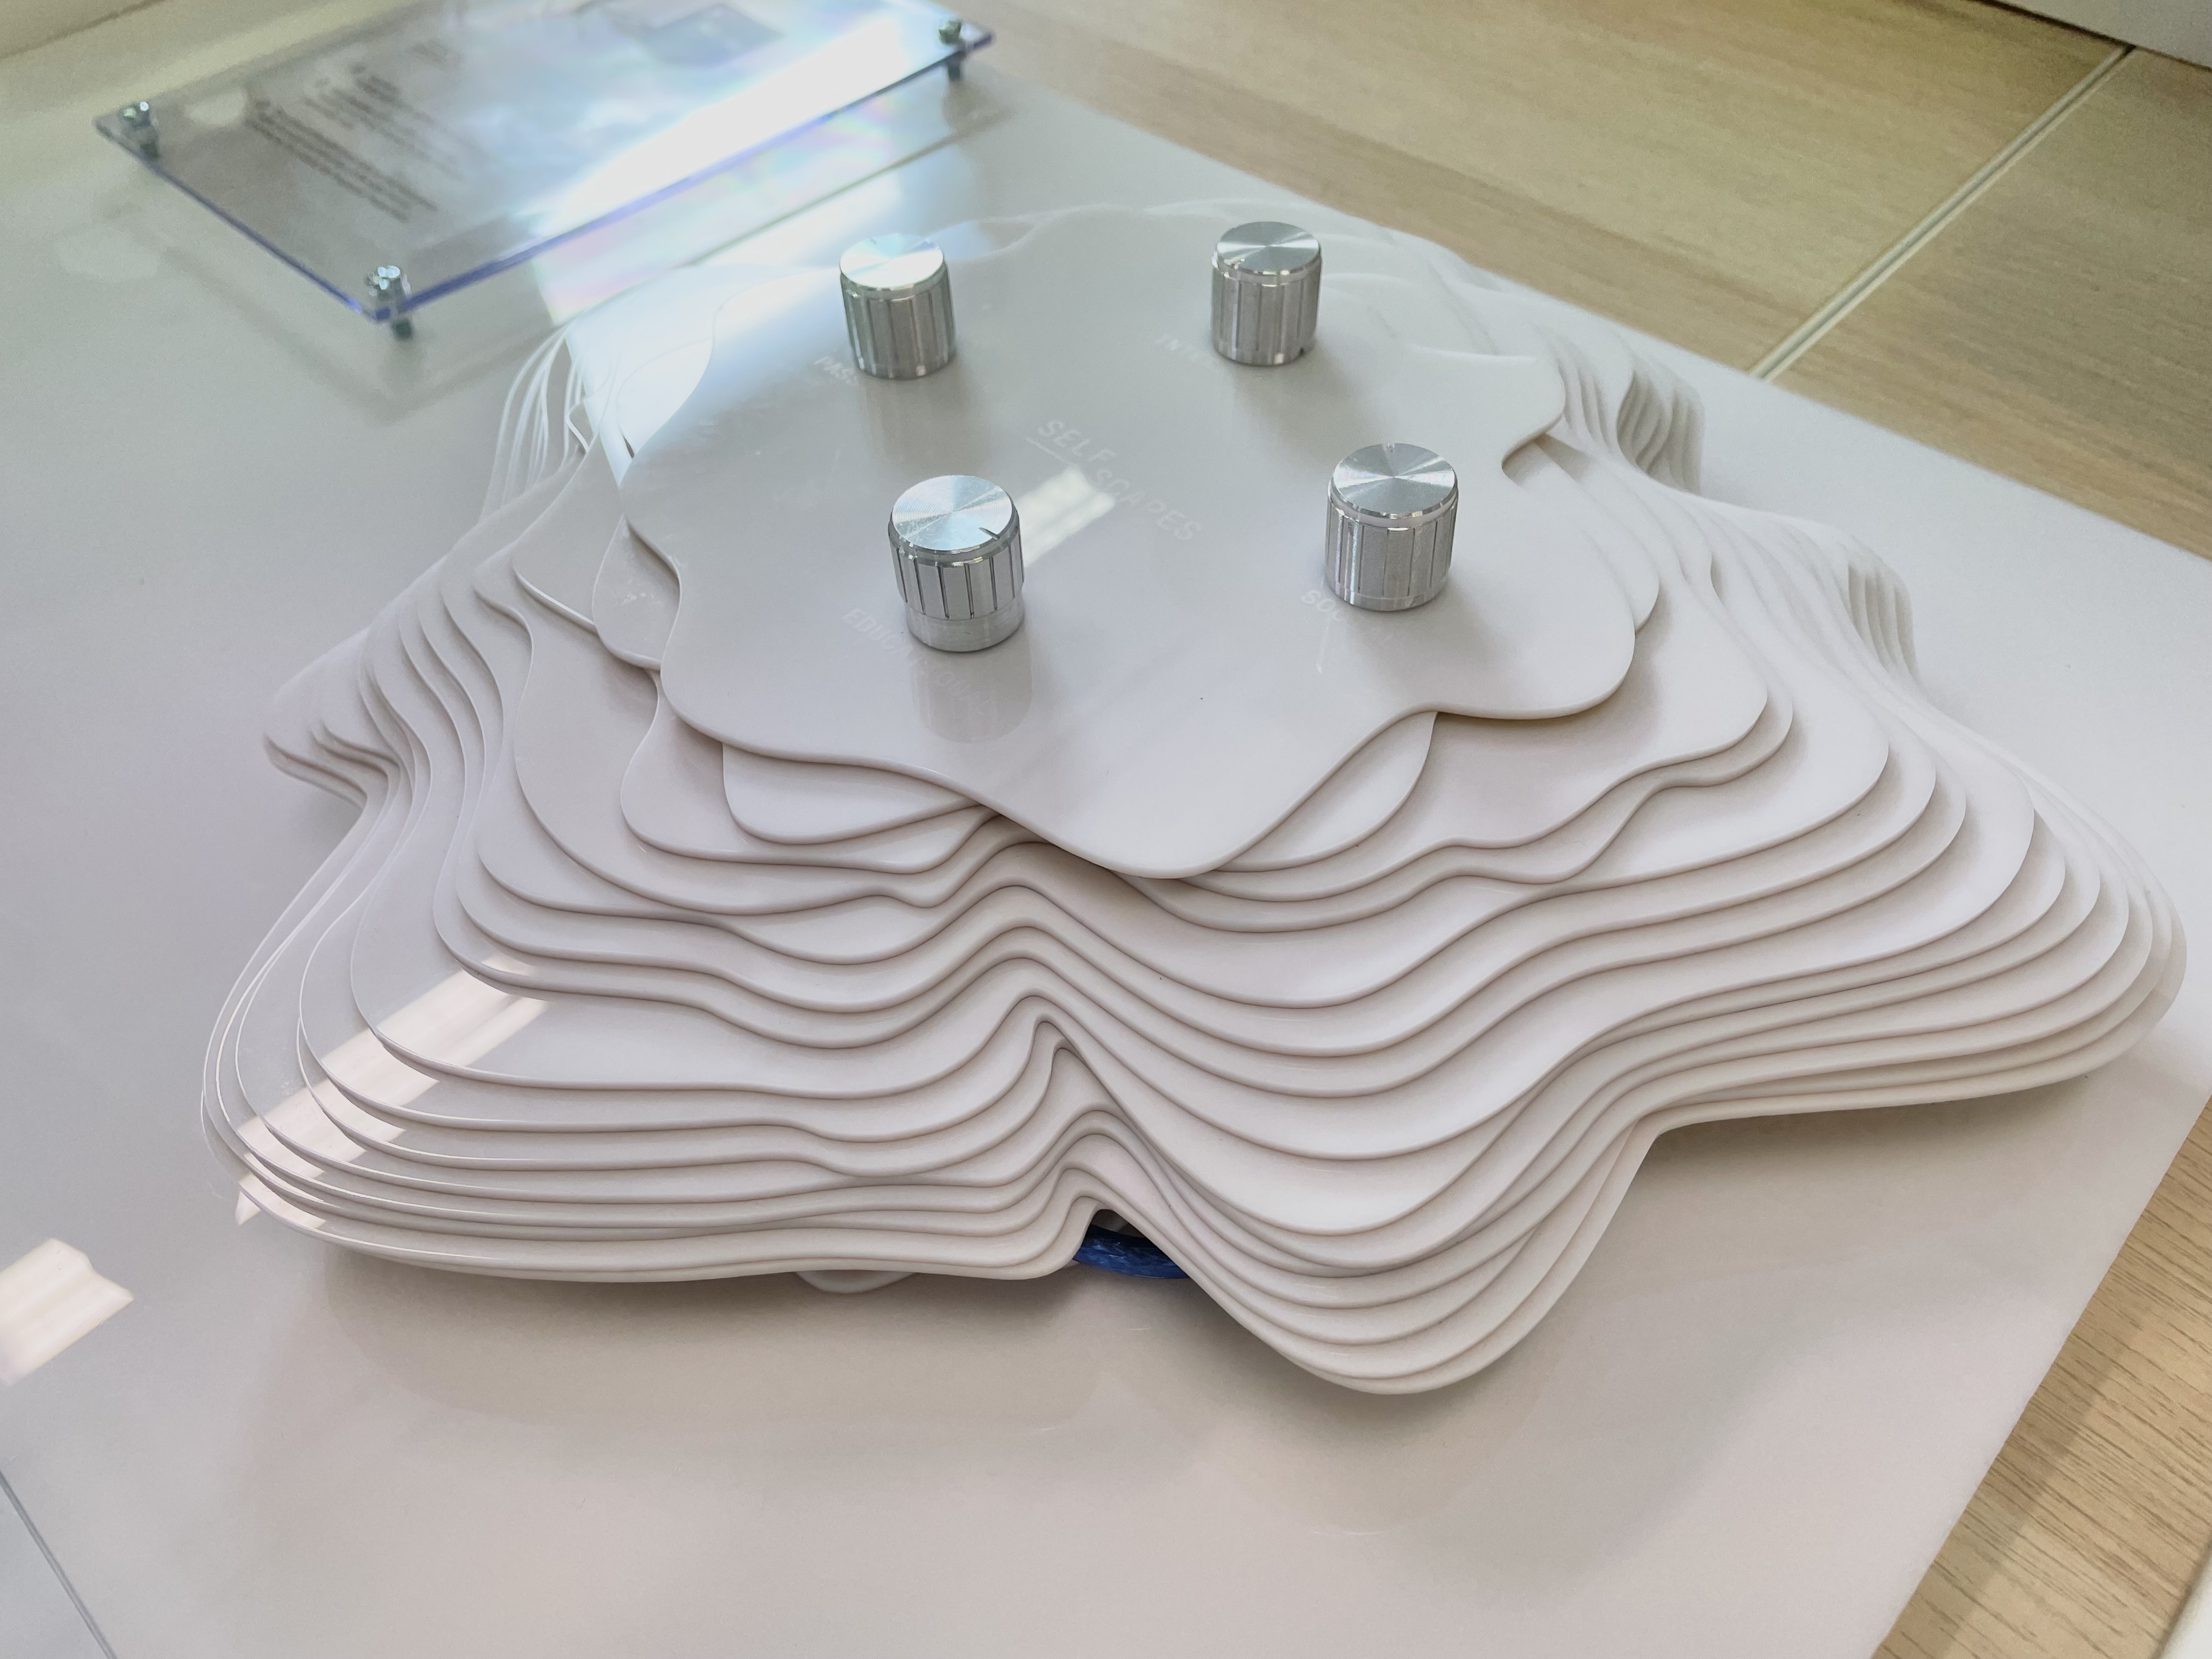
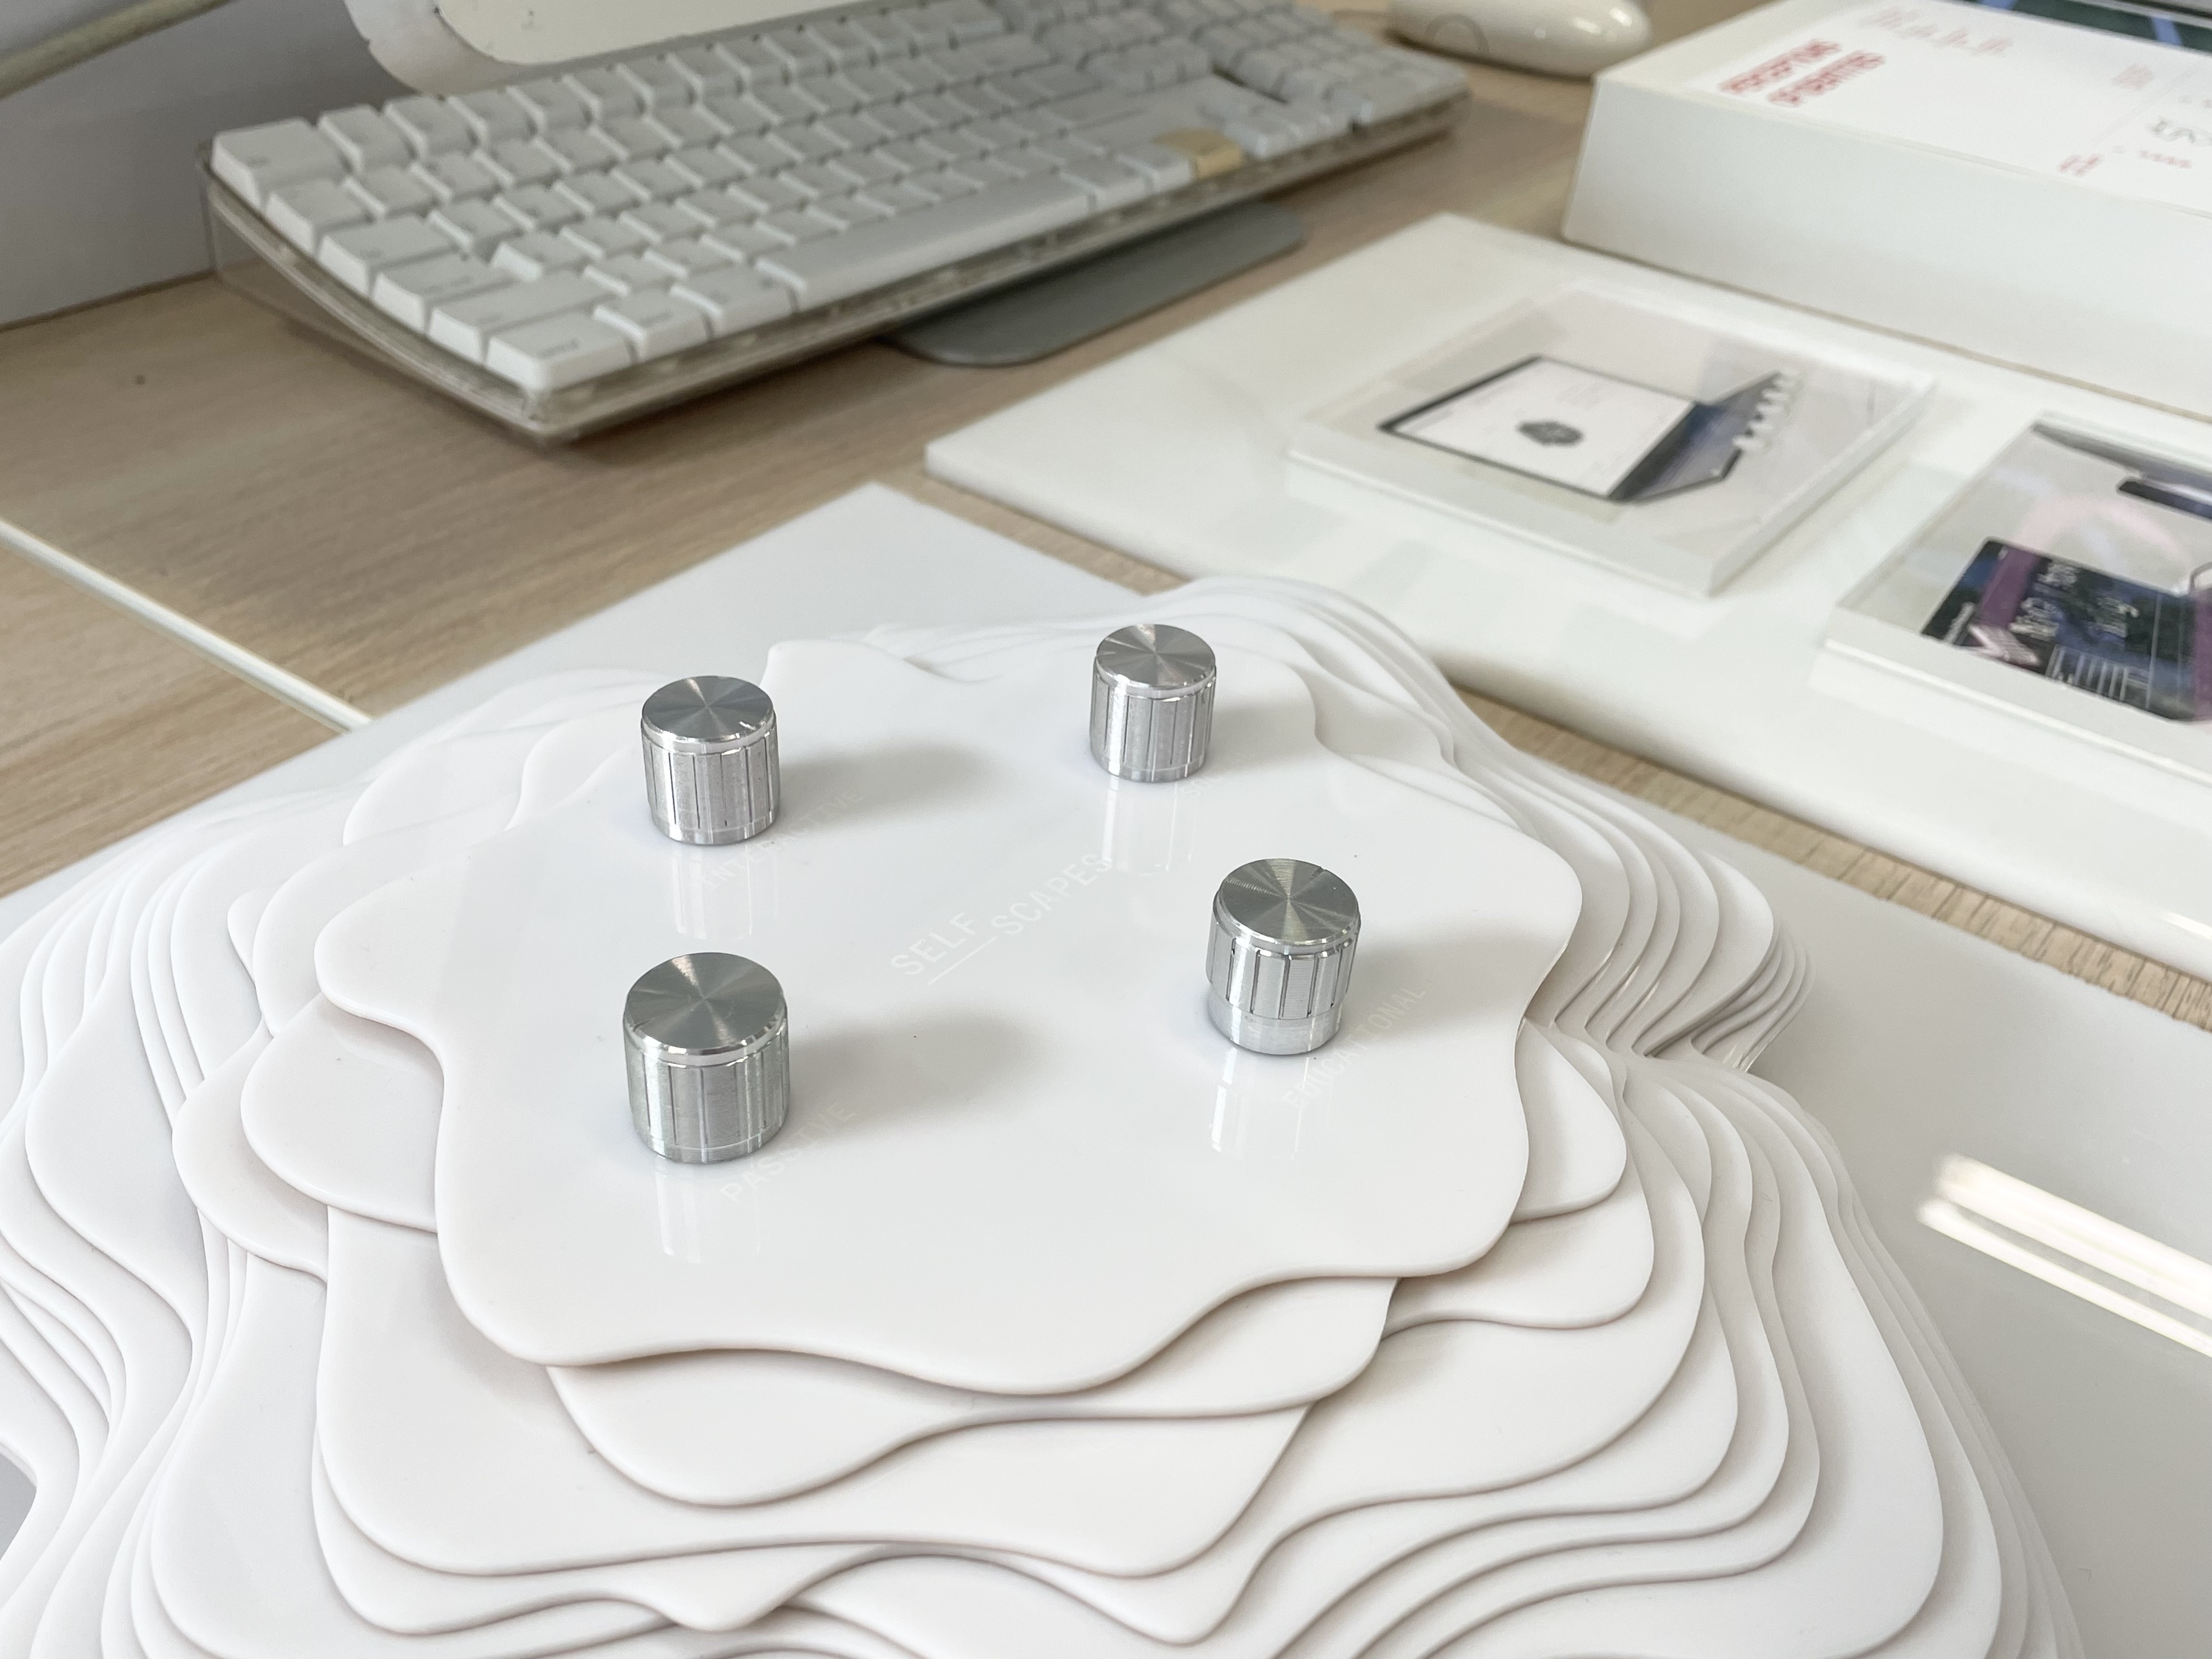
Lastly, on the right is the third prototype is the Behavioural Constructs
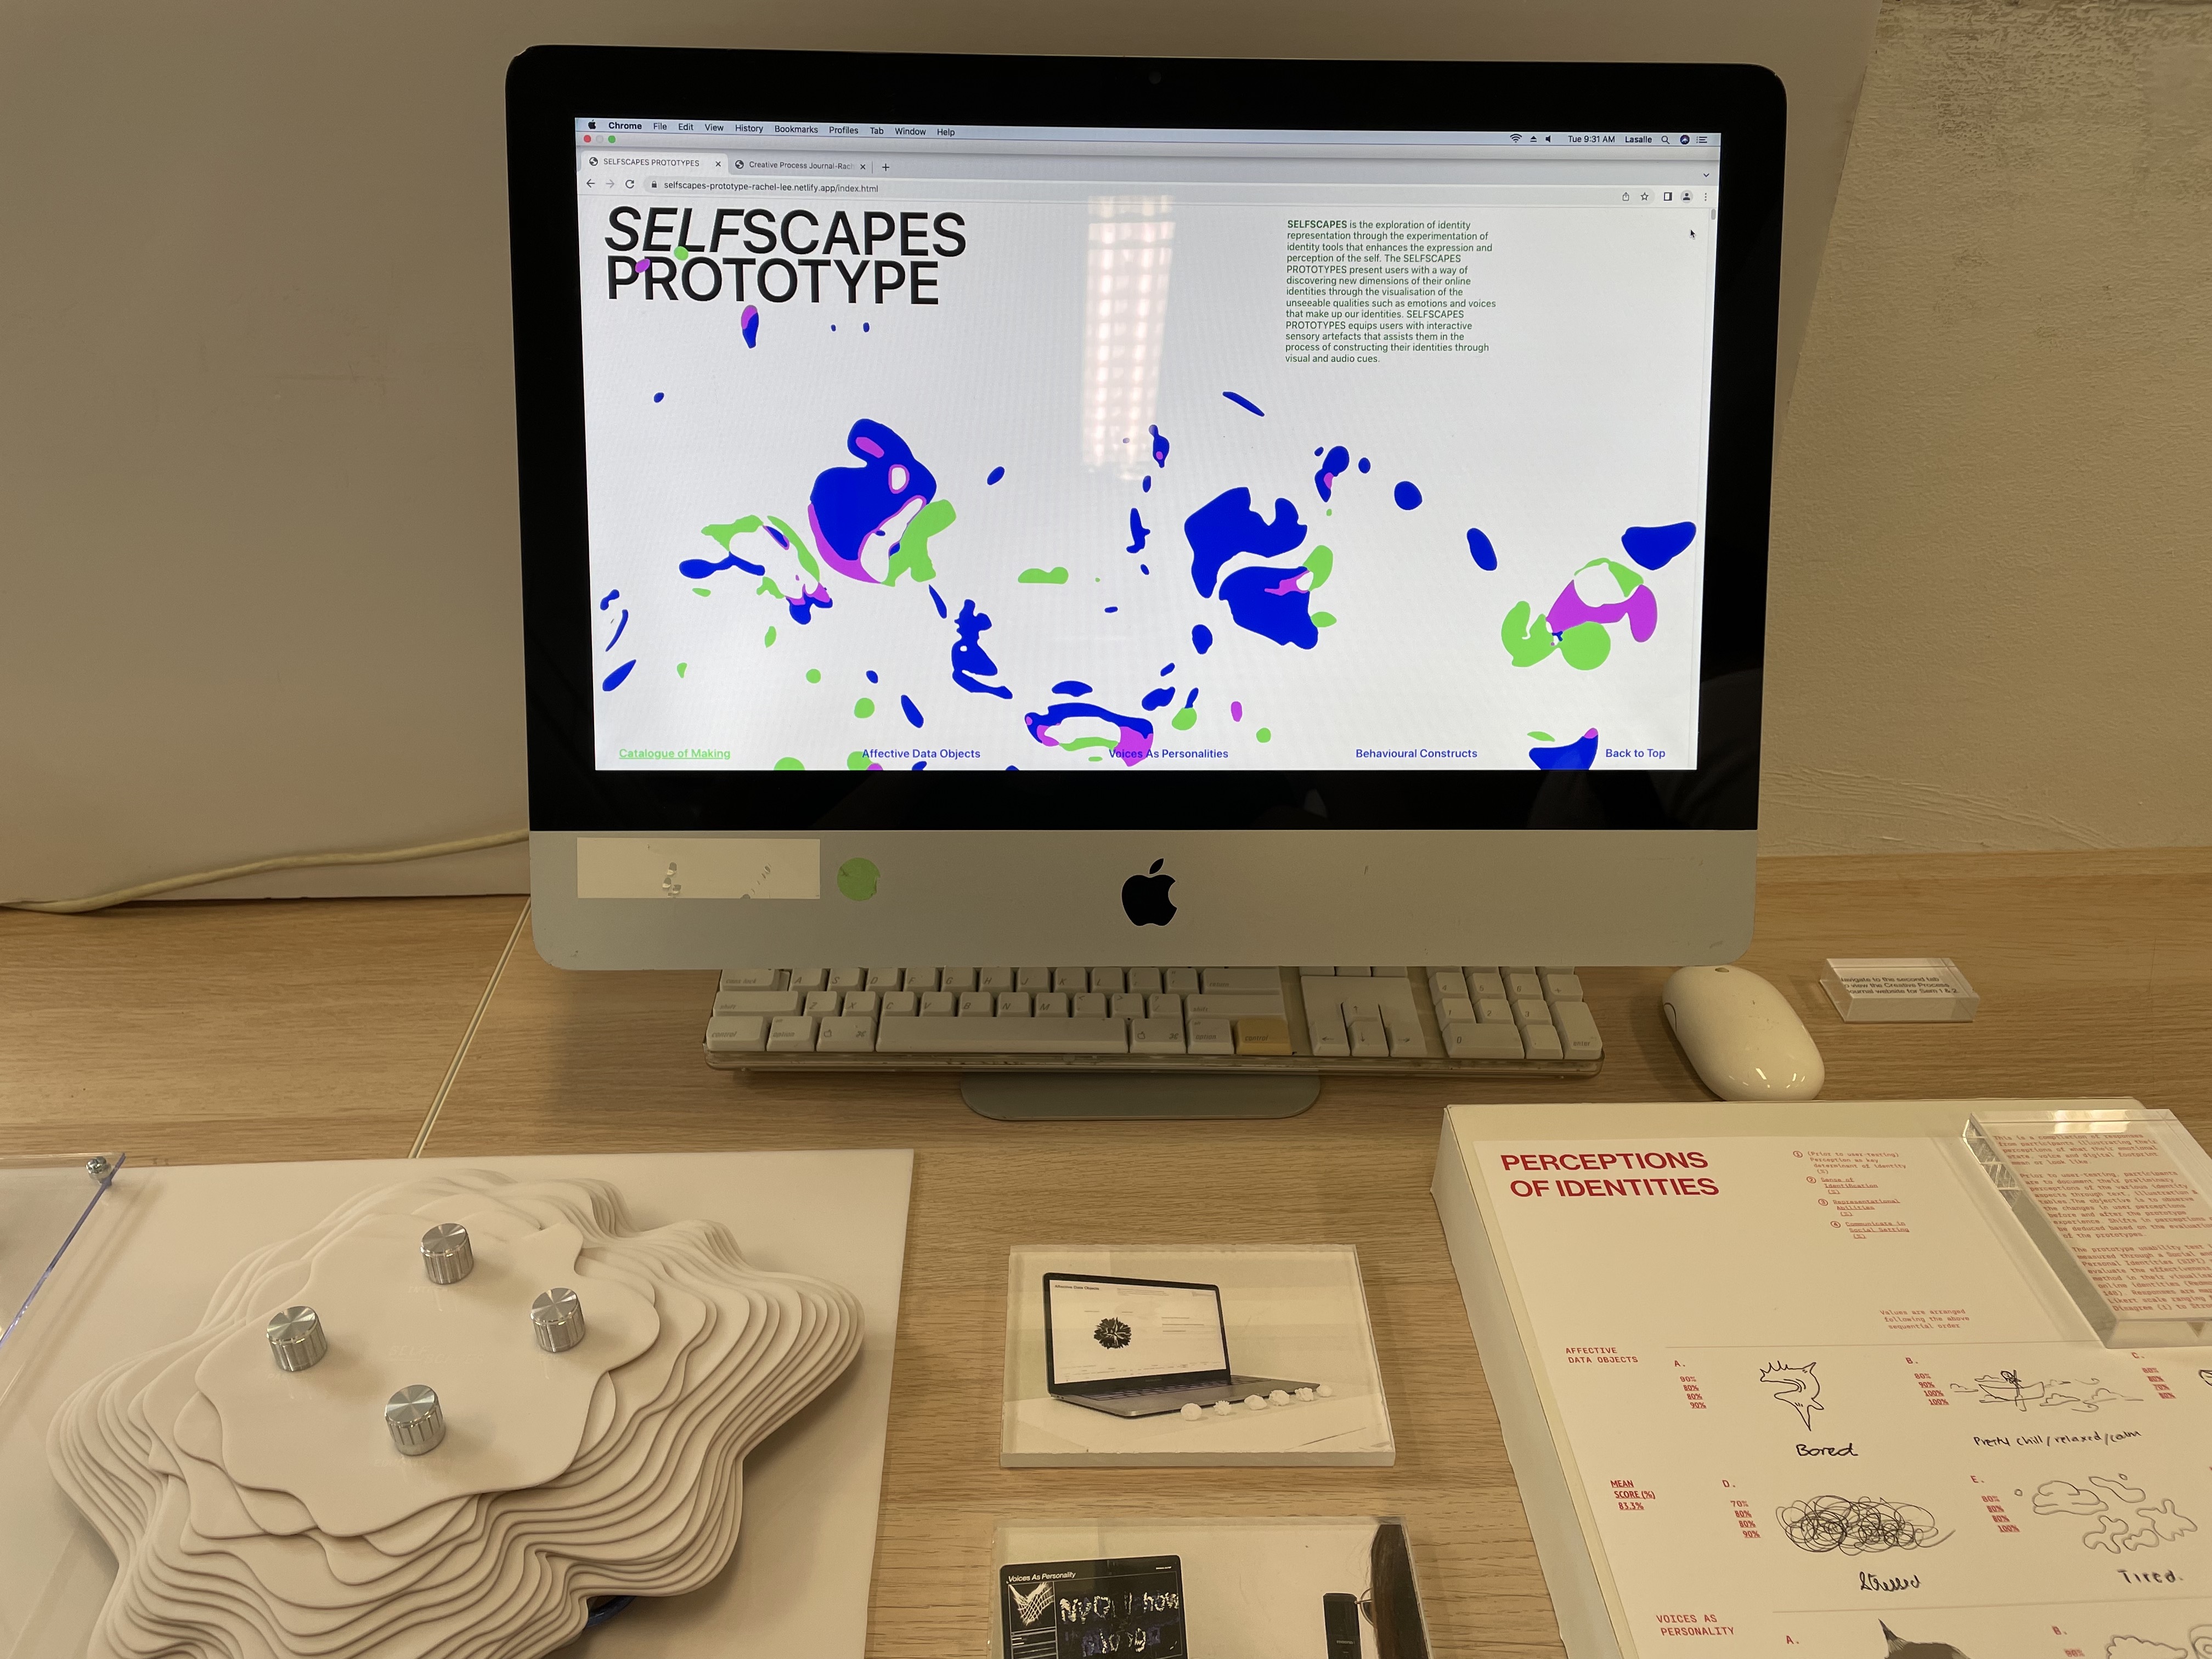
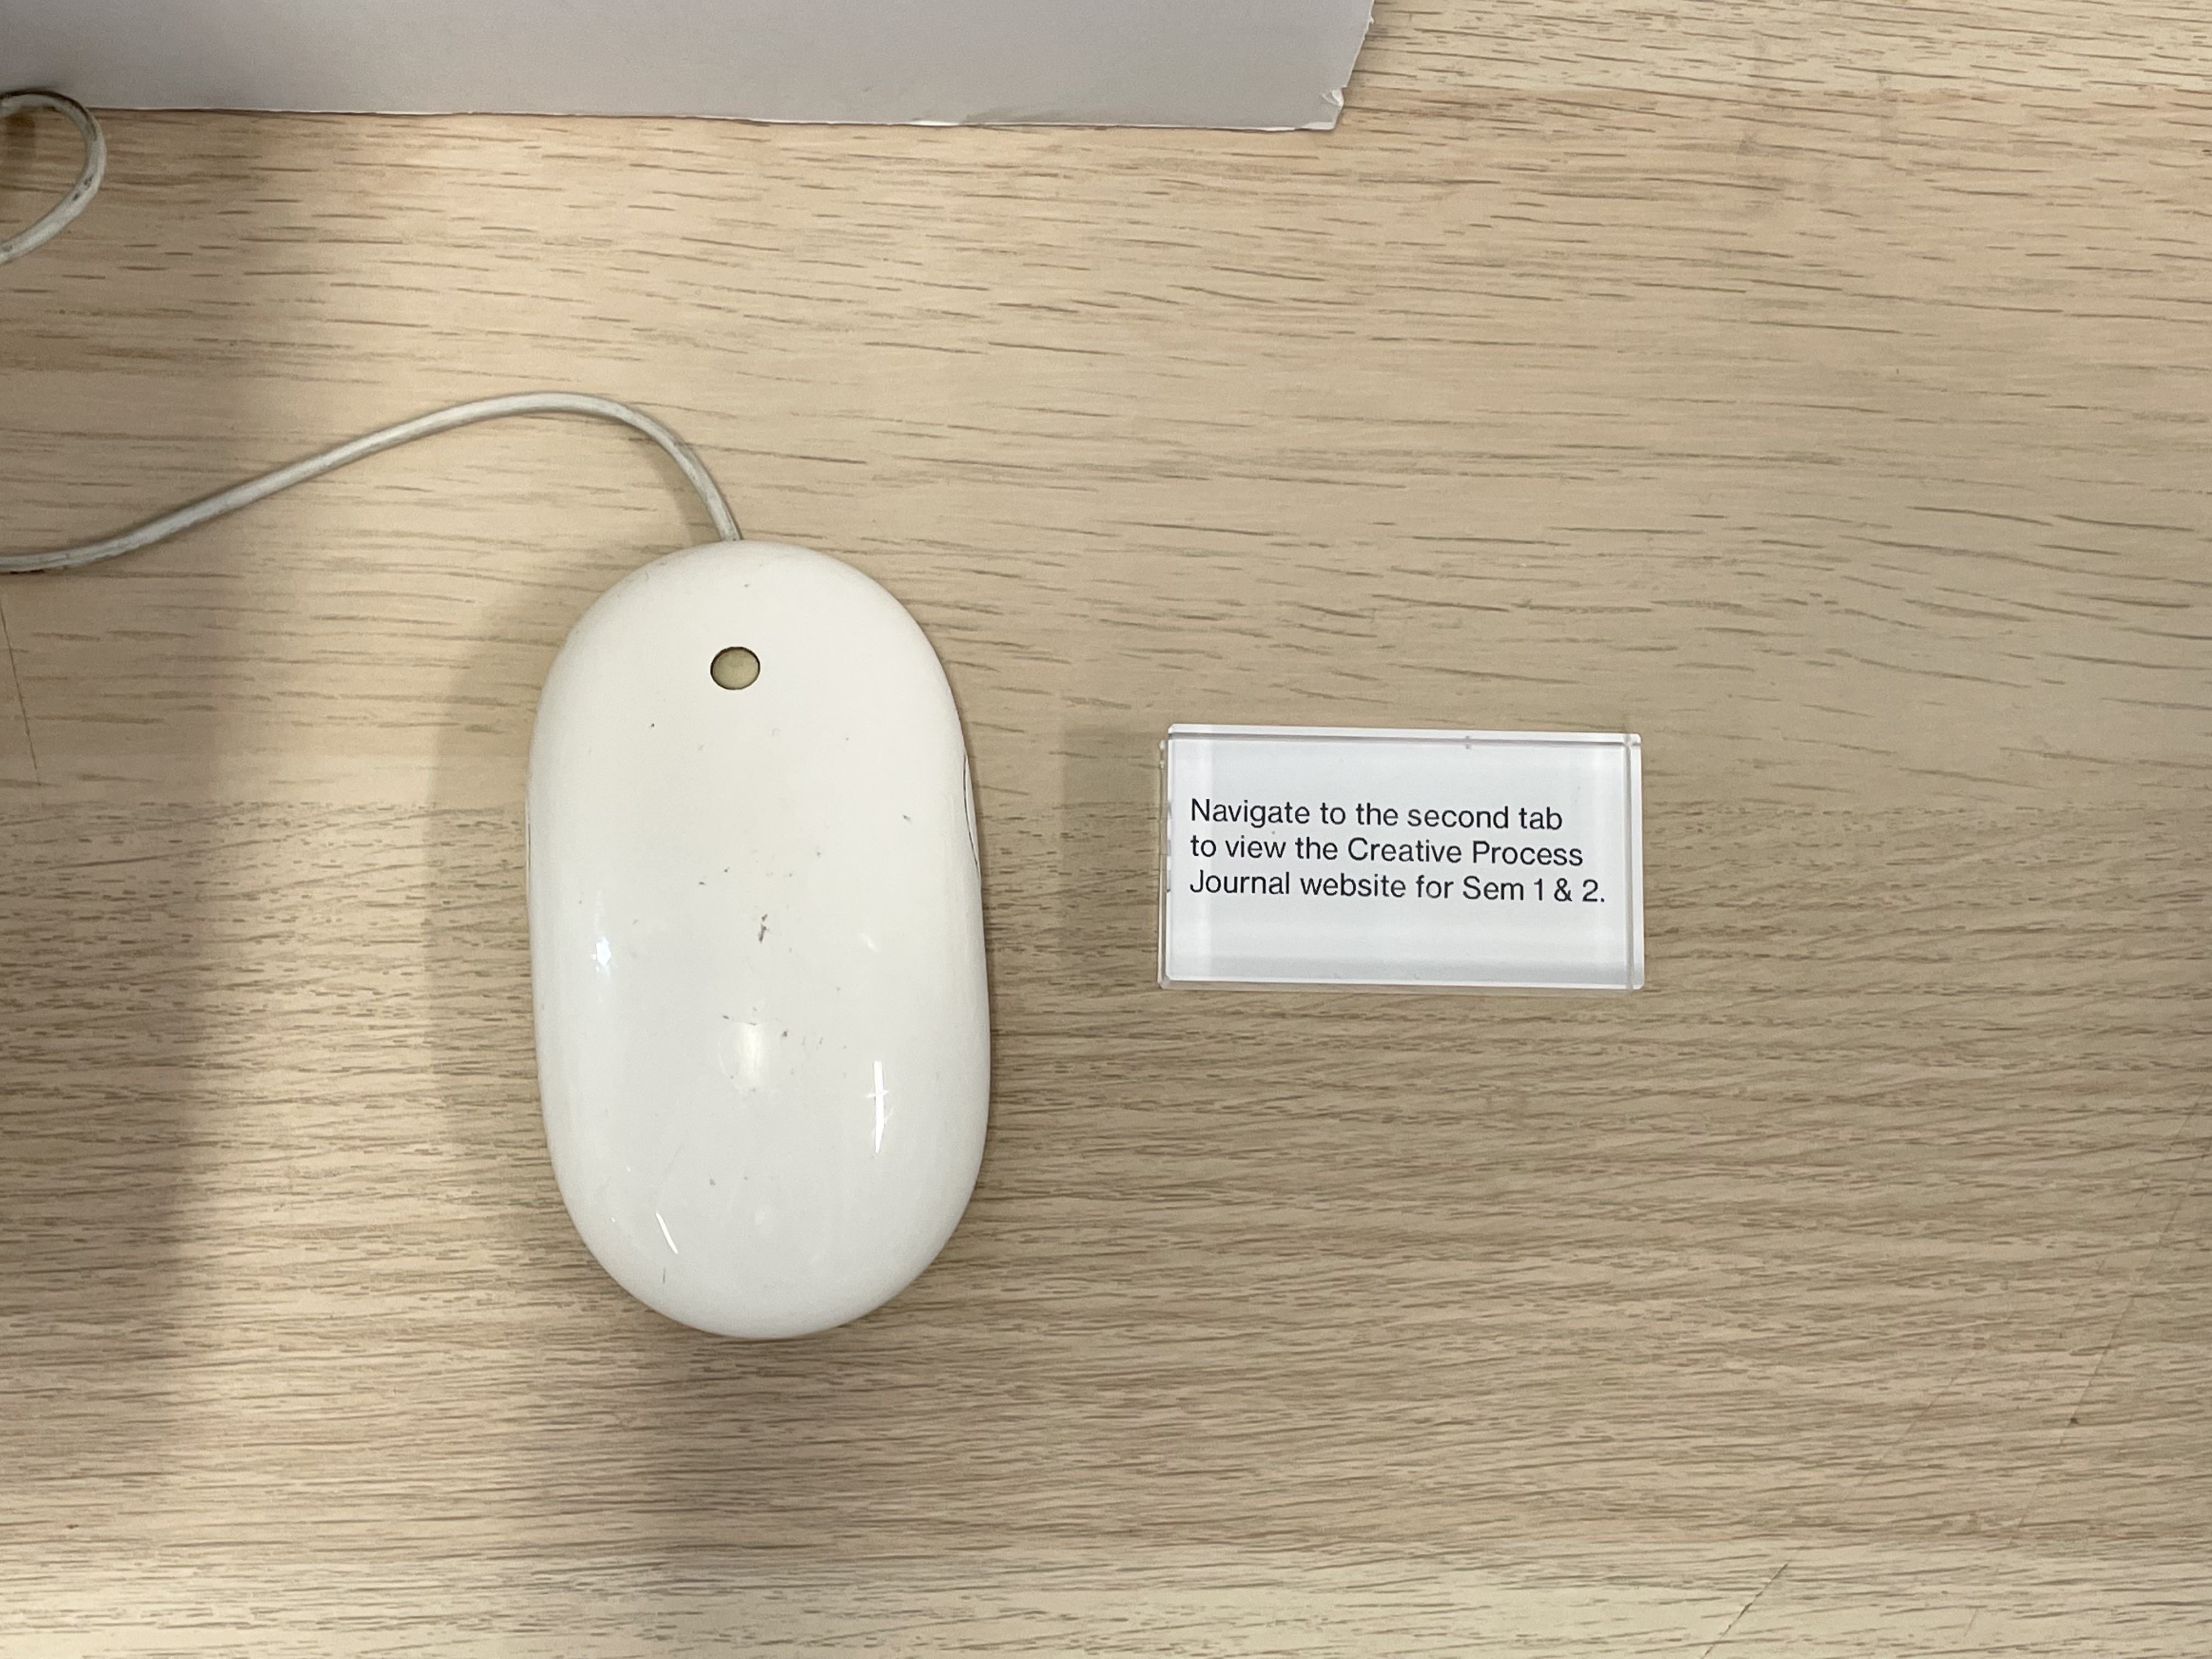
The Mac desktop displaying the Selfscapes website and CPJ will be placed behind the prototypes. A label to guide the navigation between the different sites is placed by the desktop
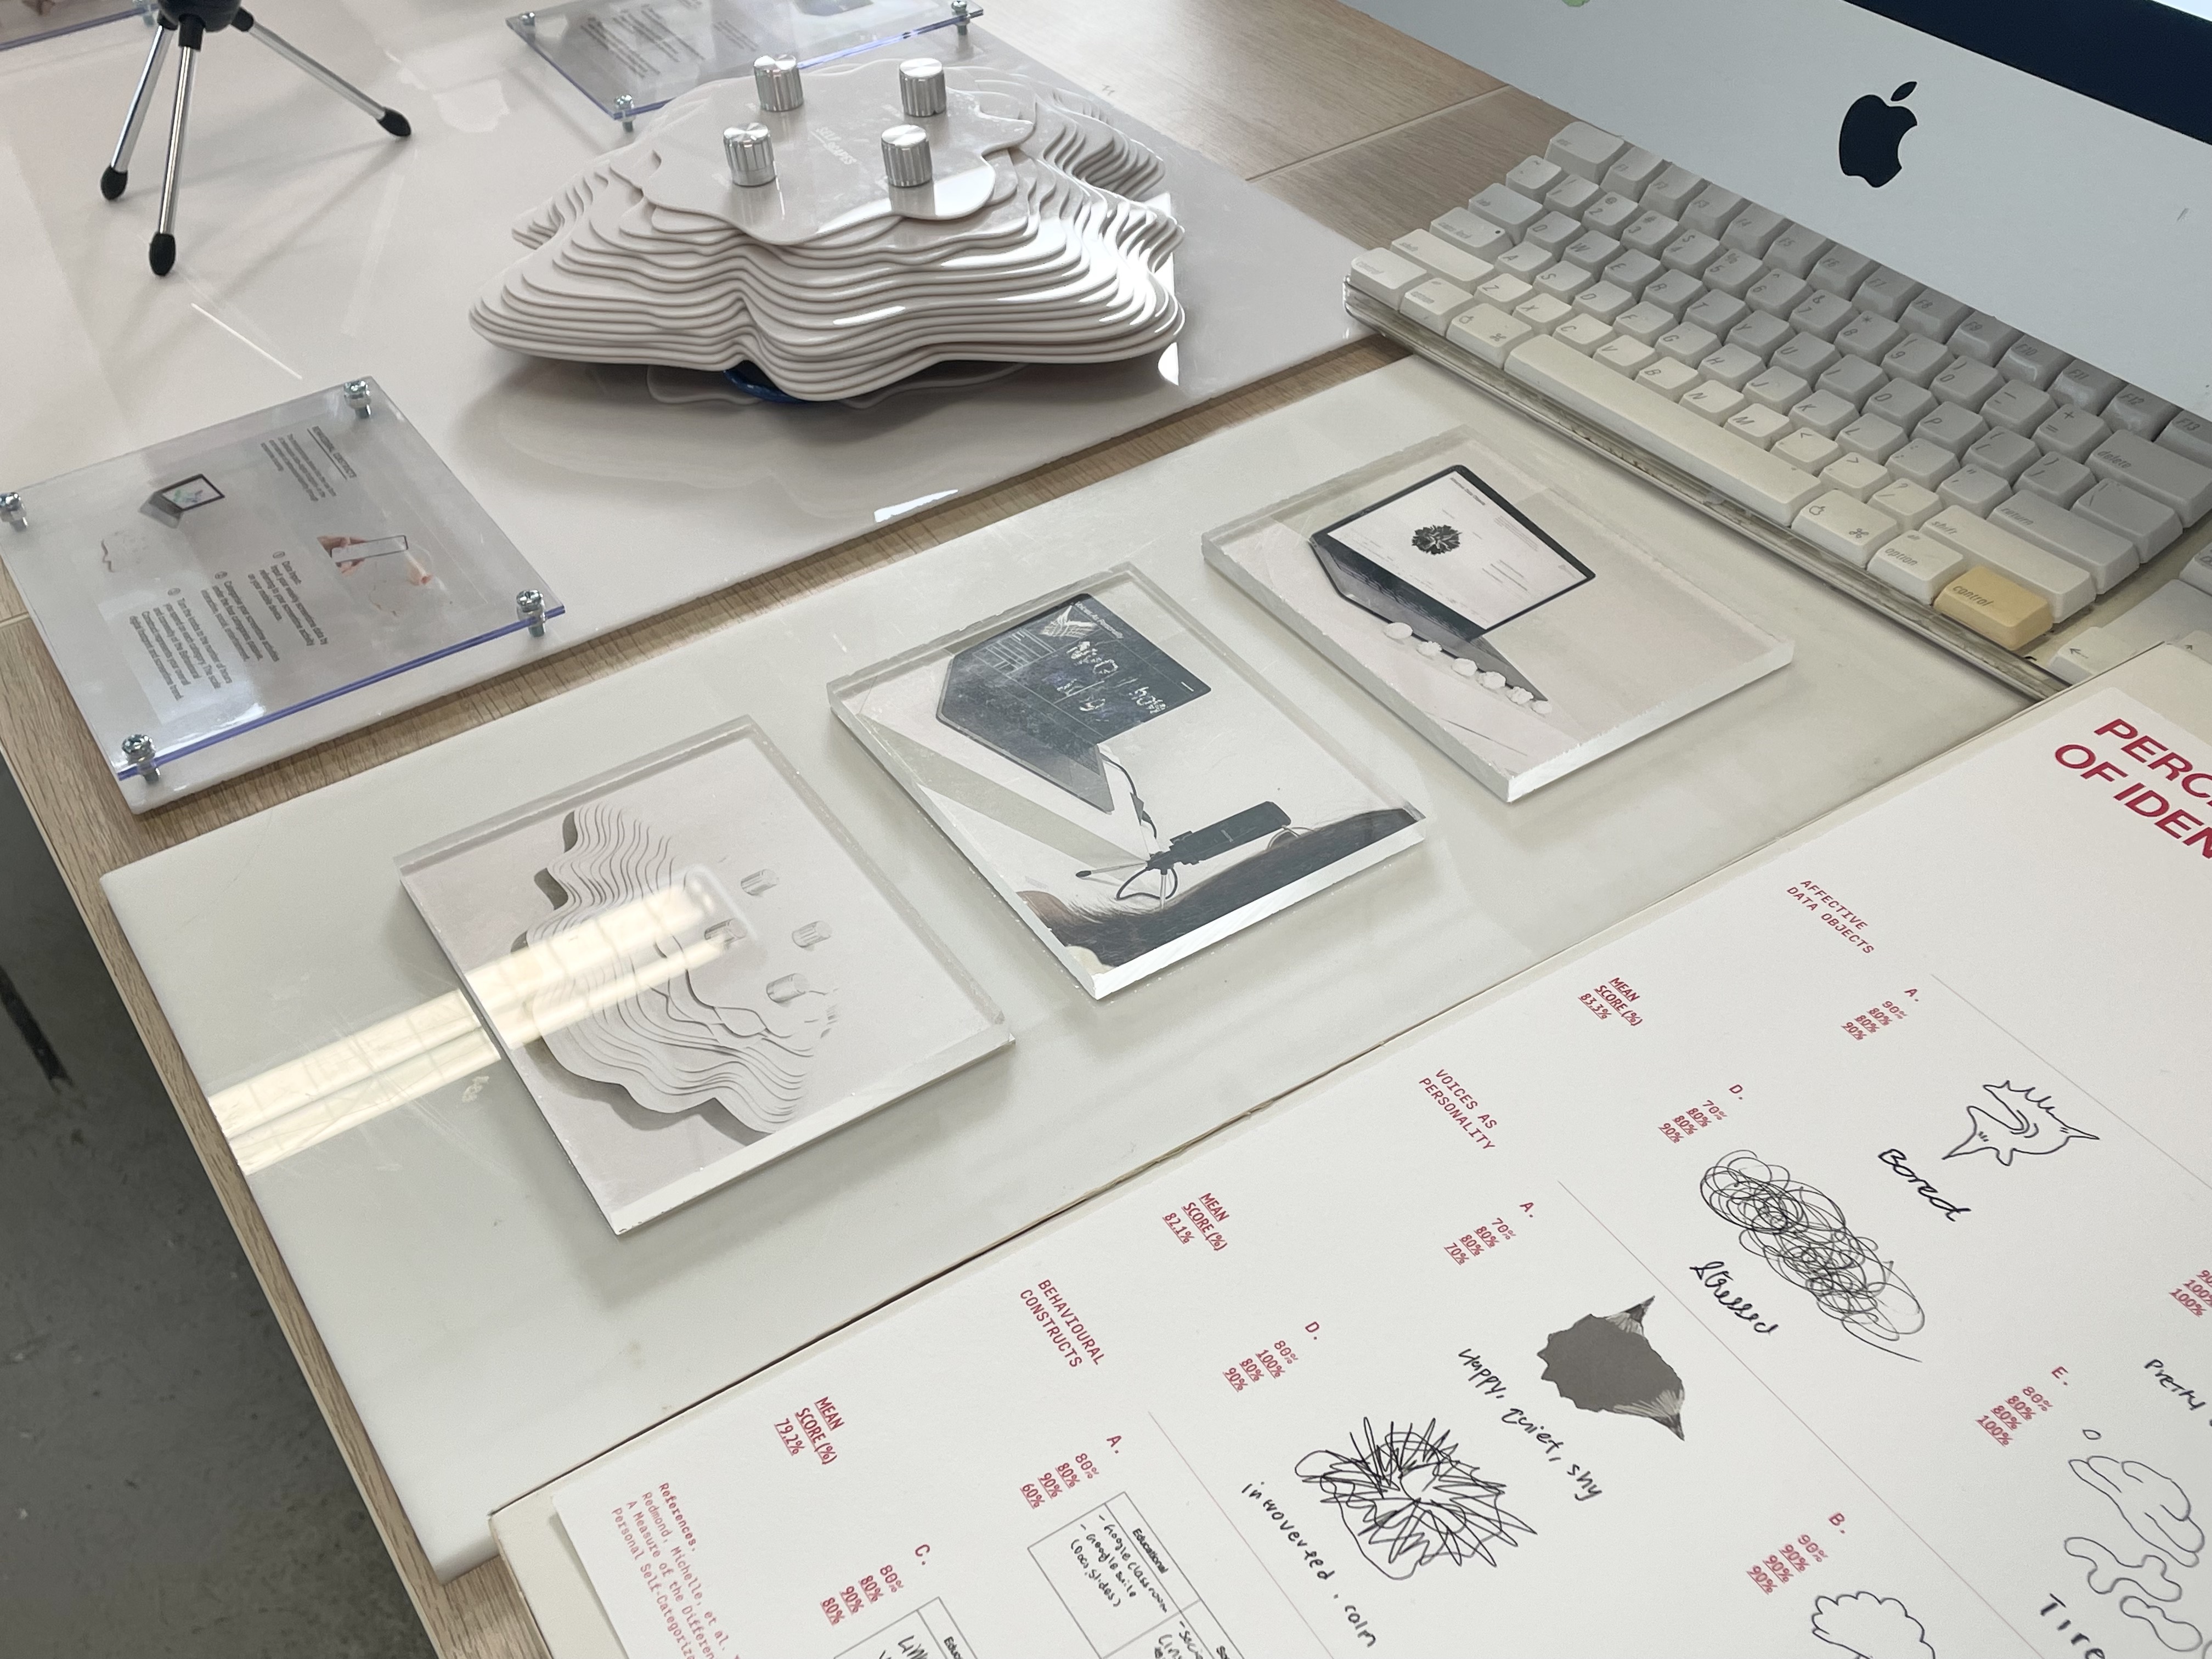
After the prototypes, the insights from the user-testing is being presented on an A3 poster alongside some images from the user-testing process.
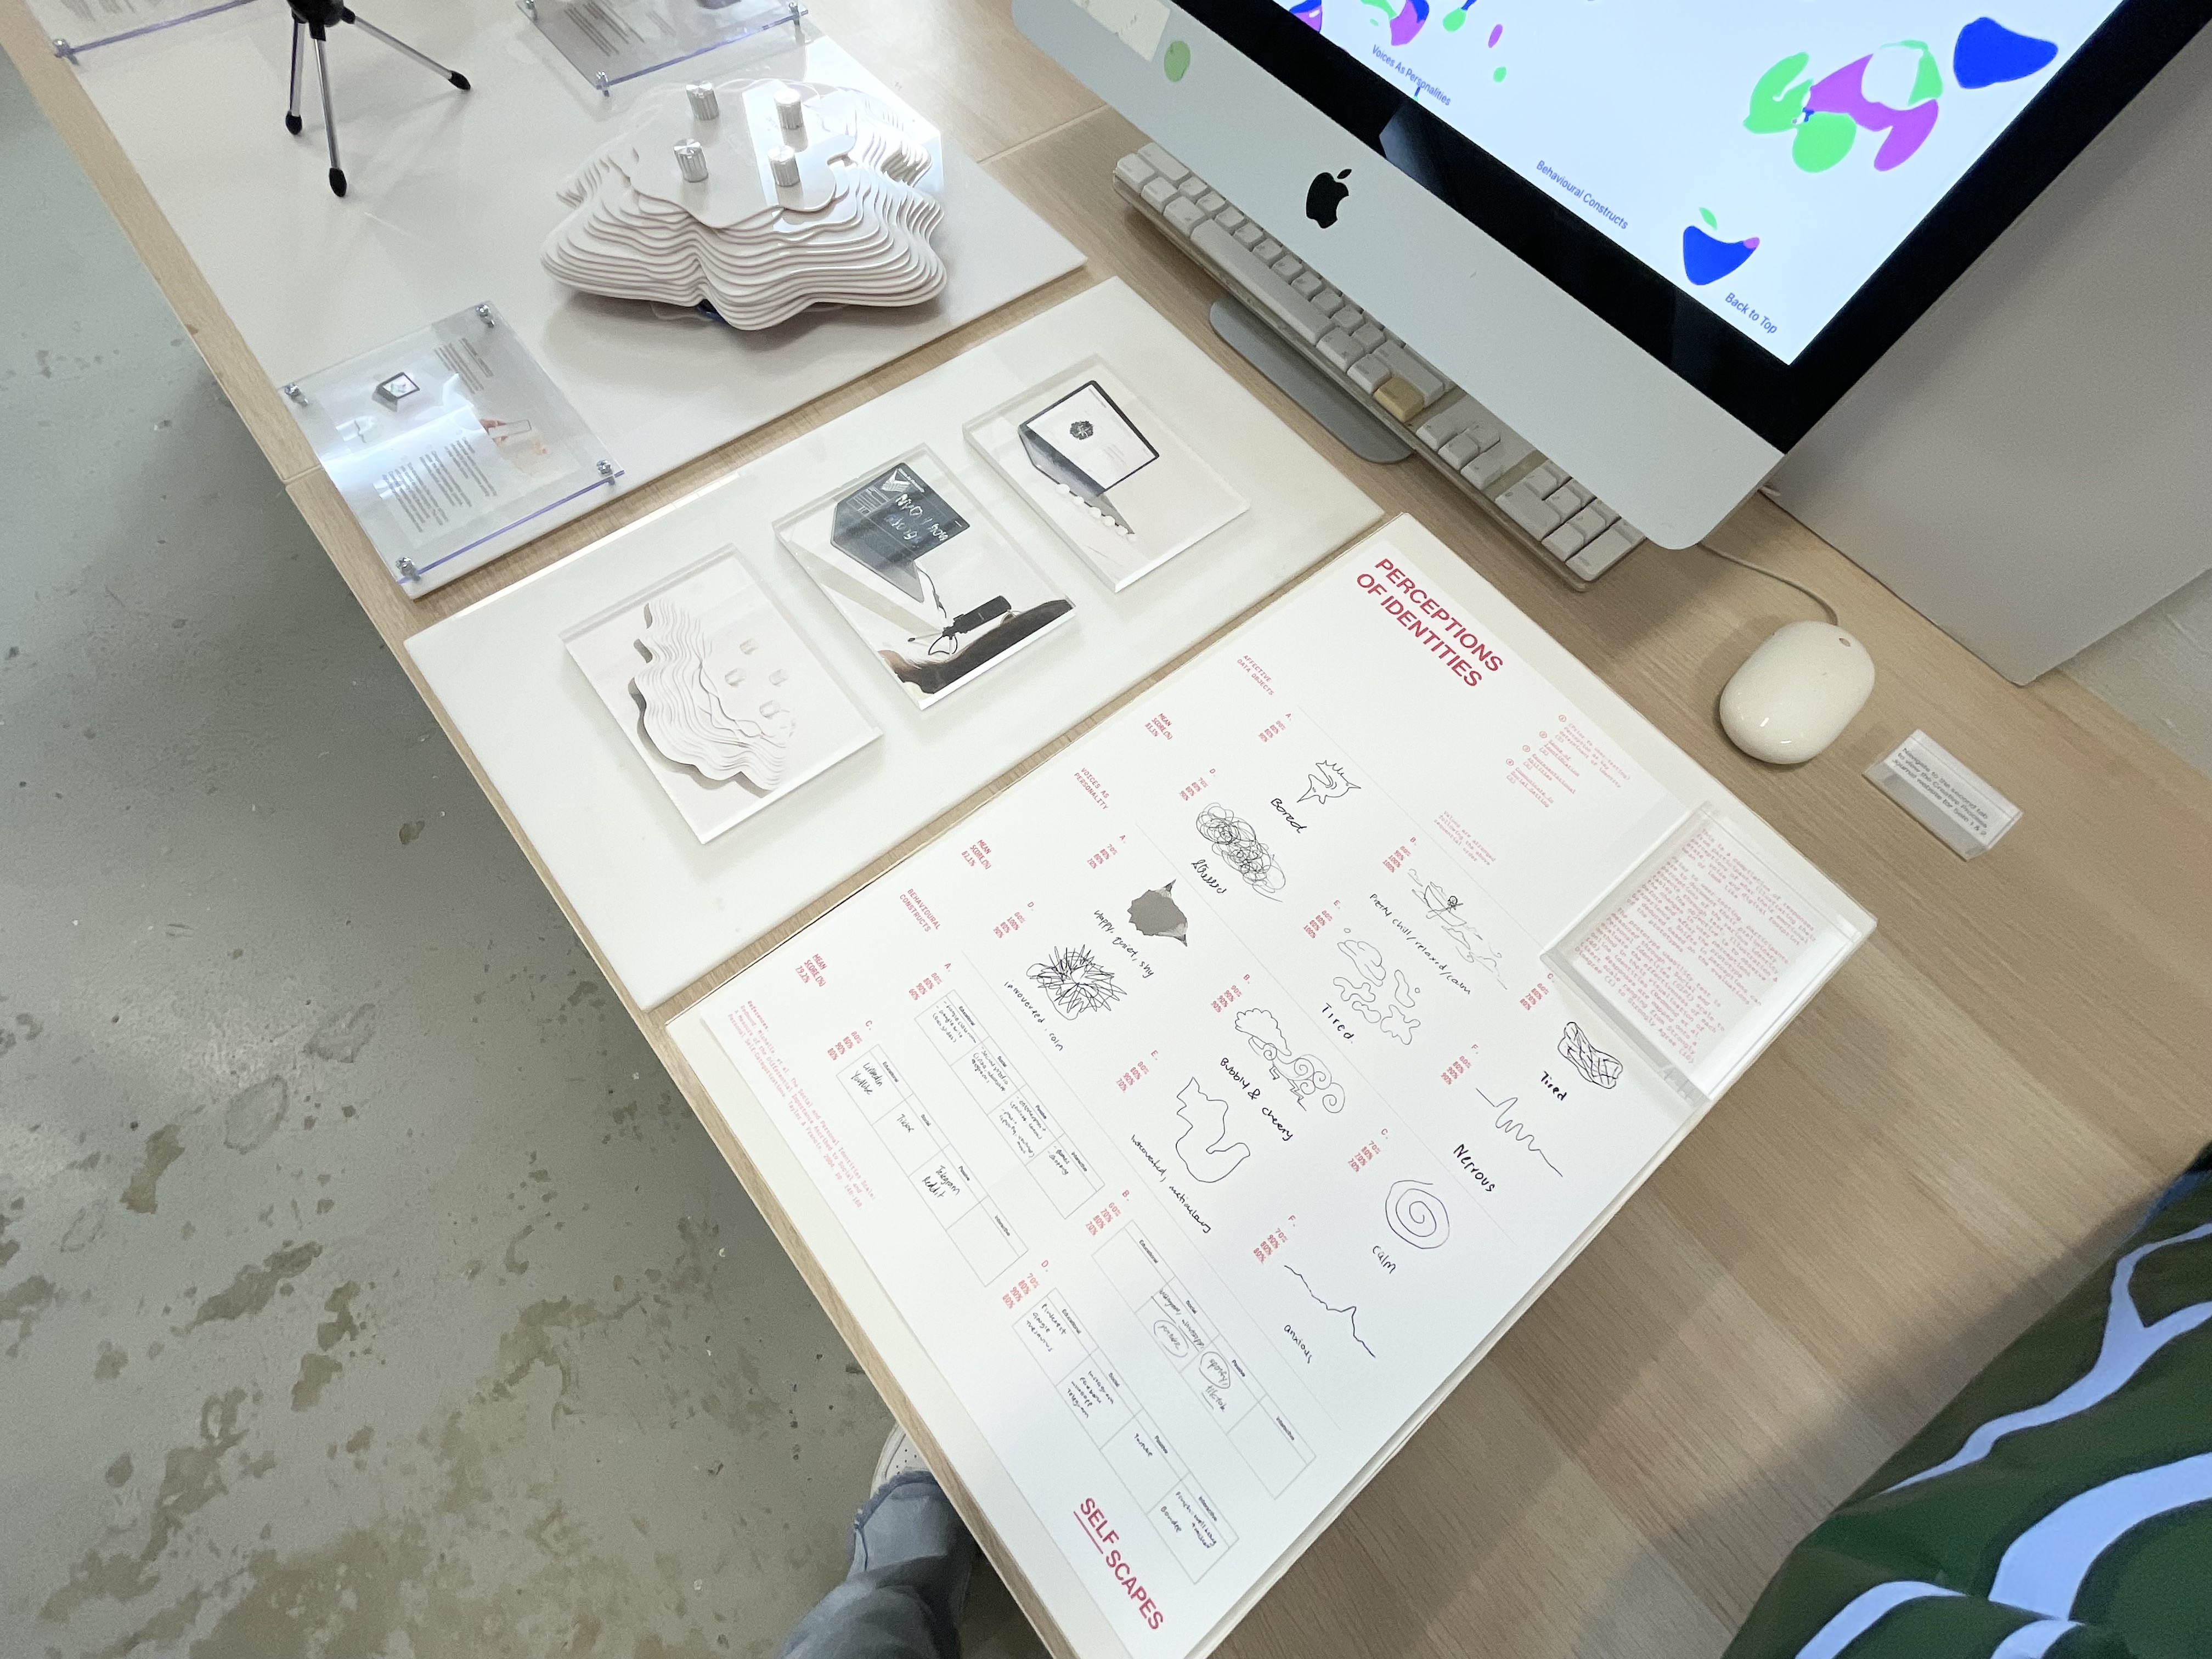
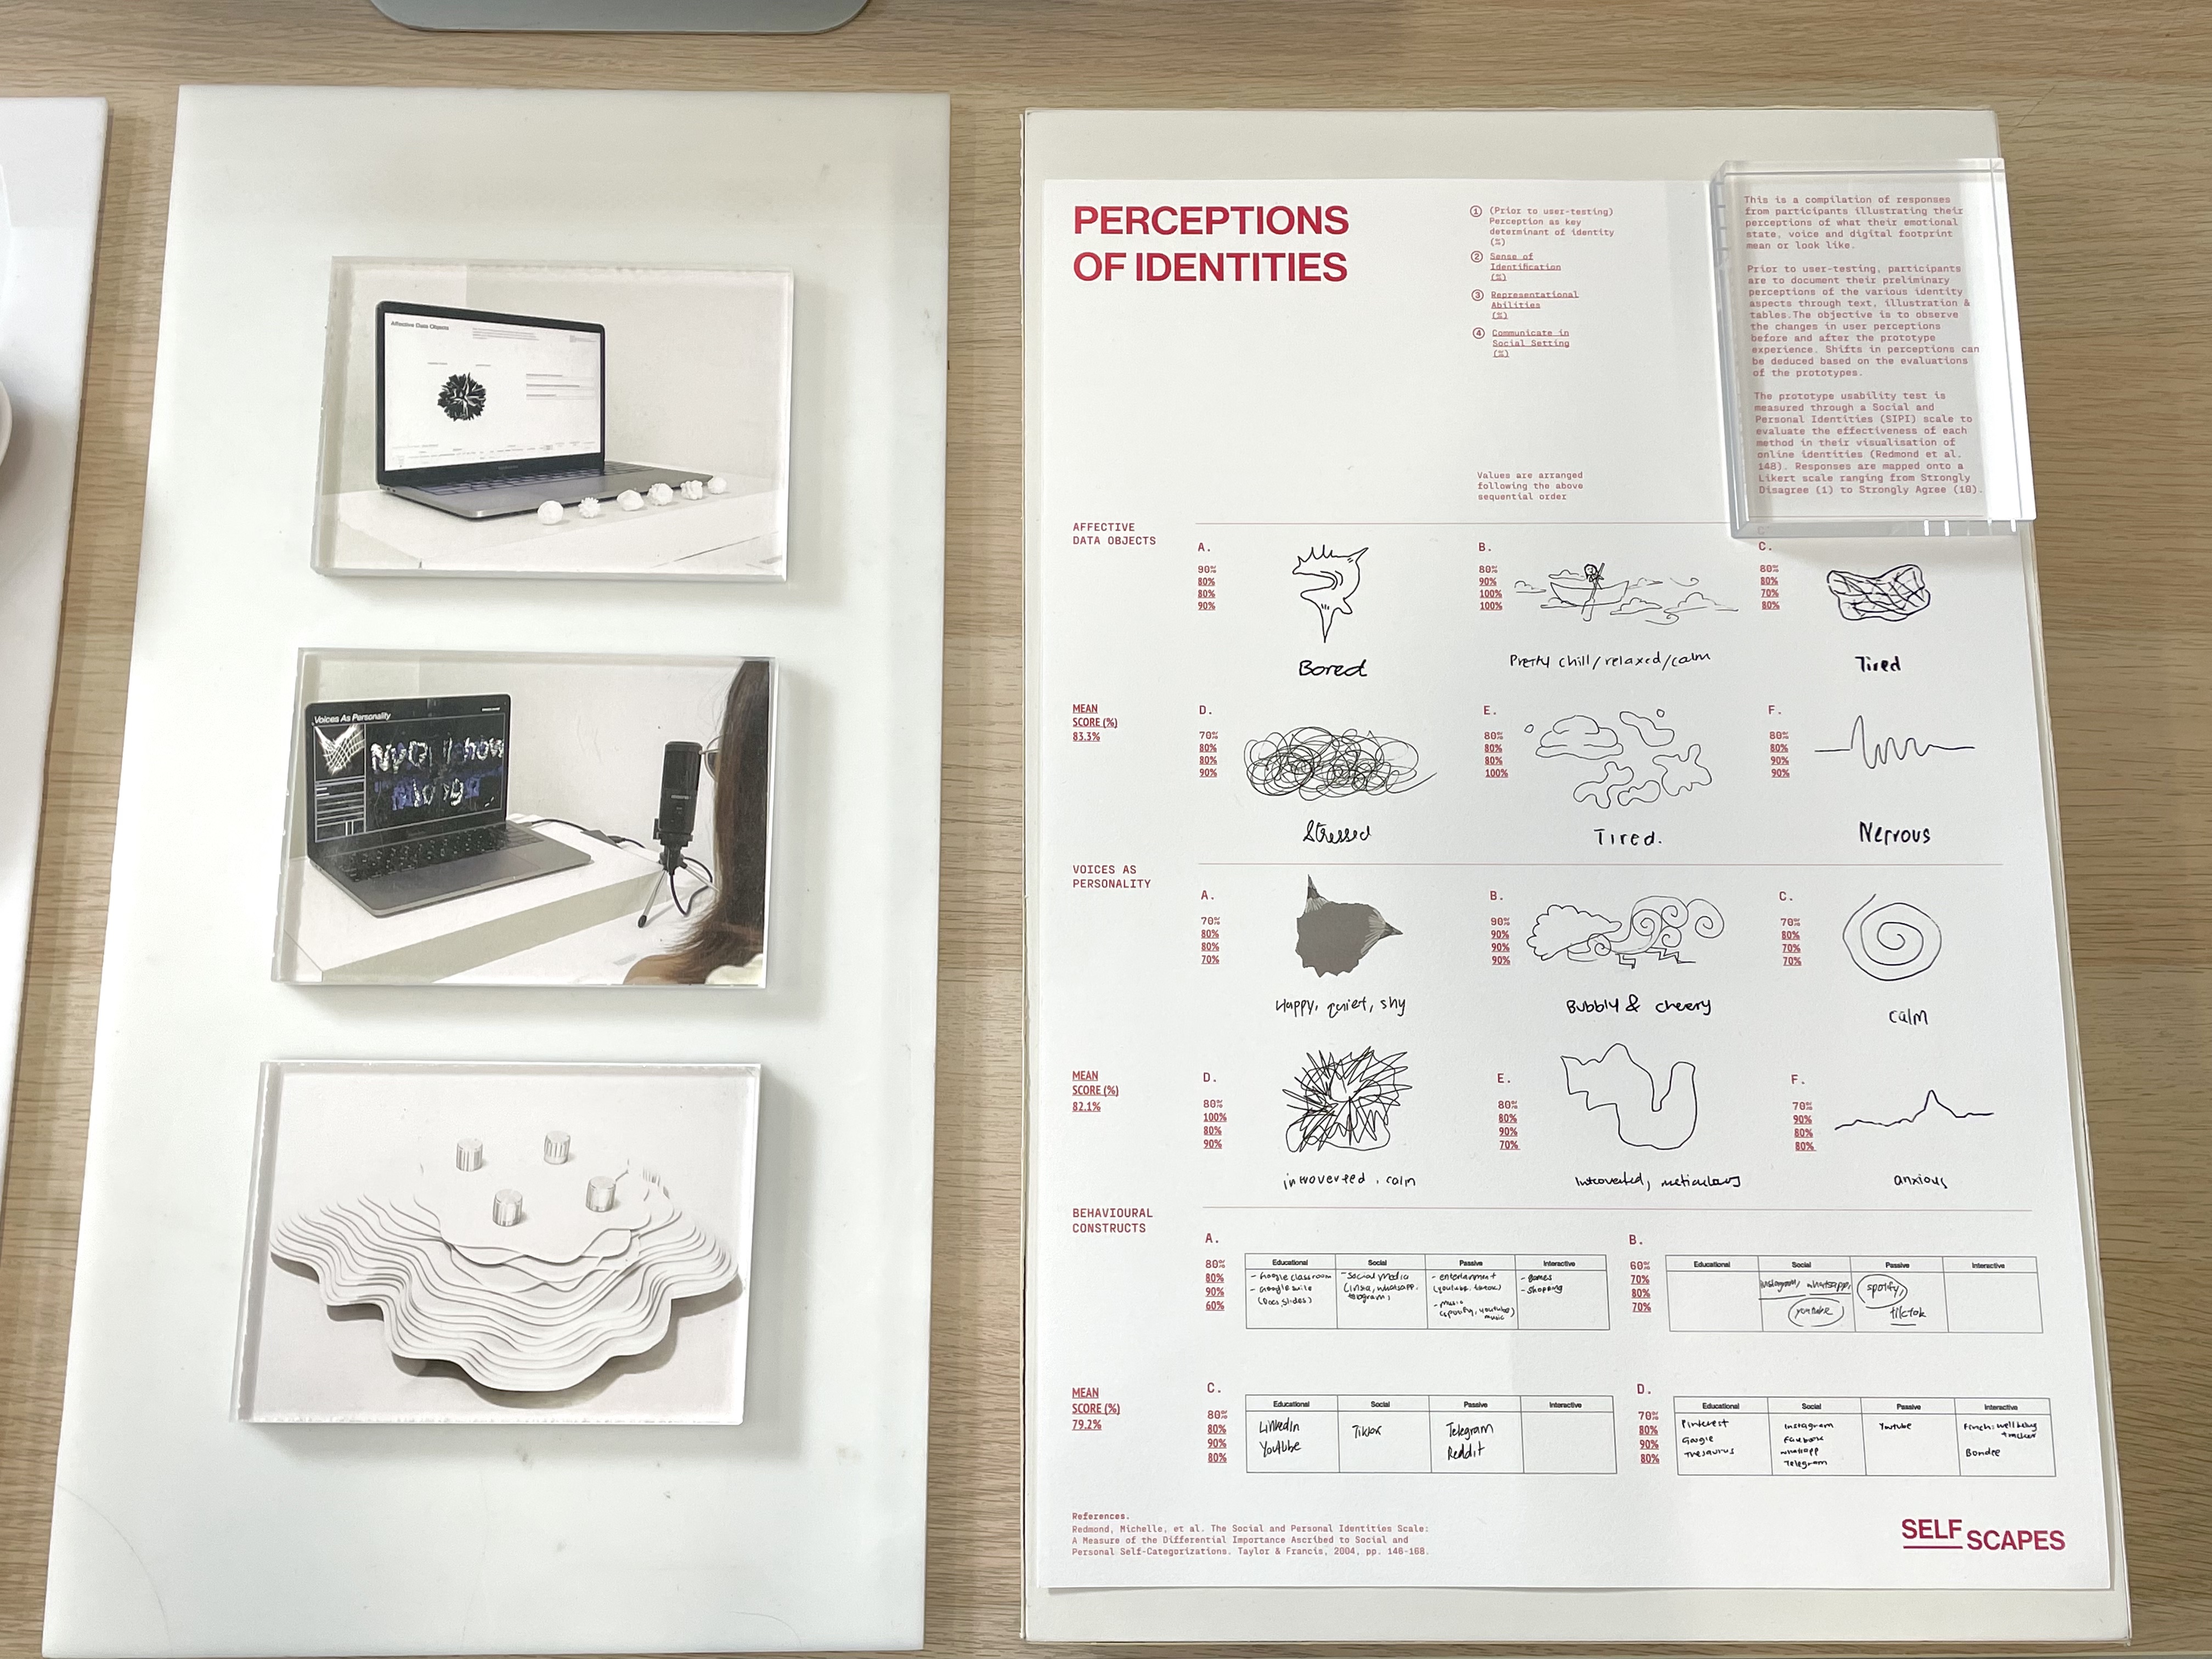
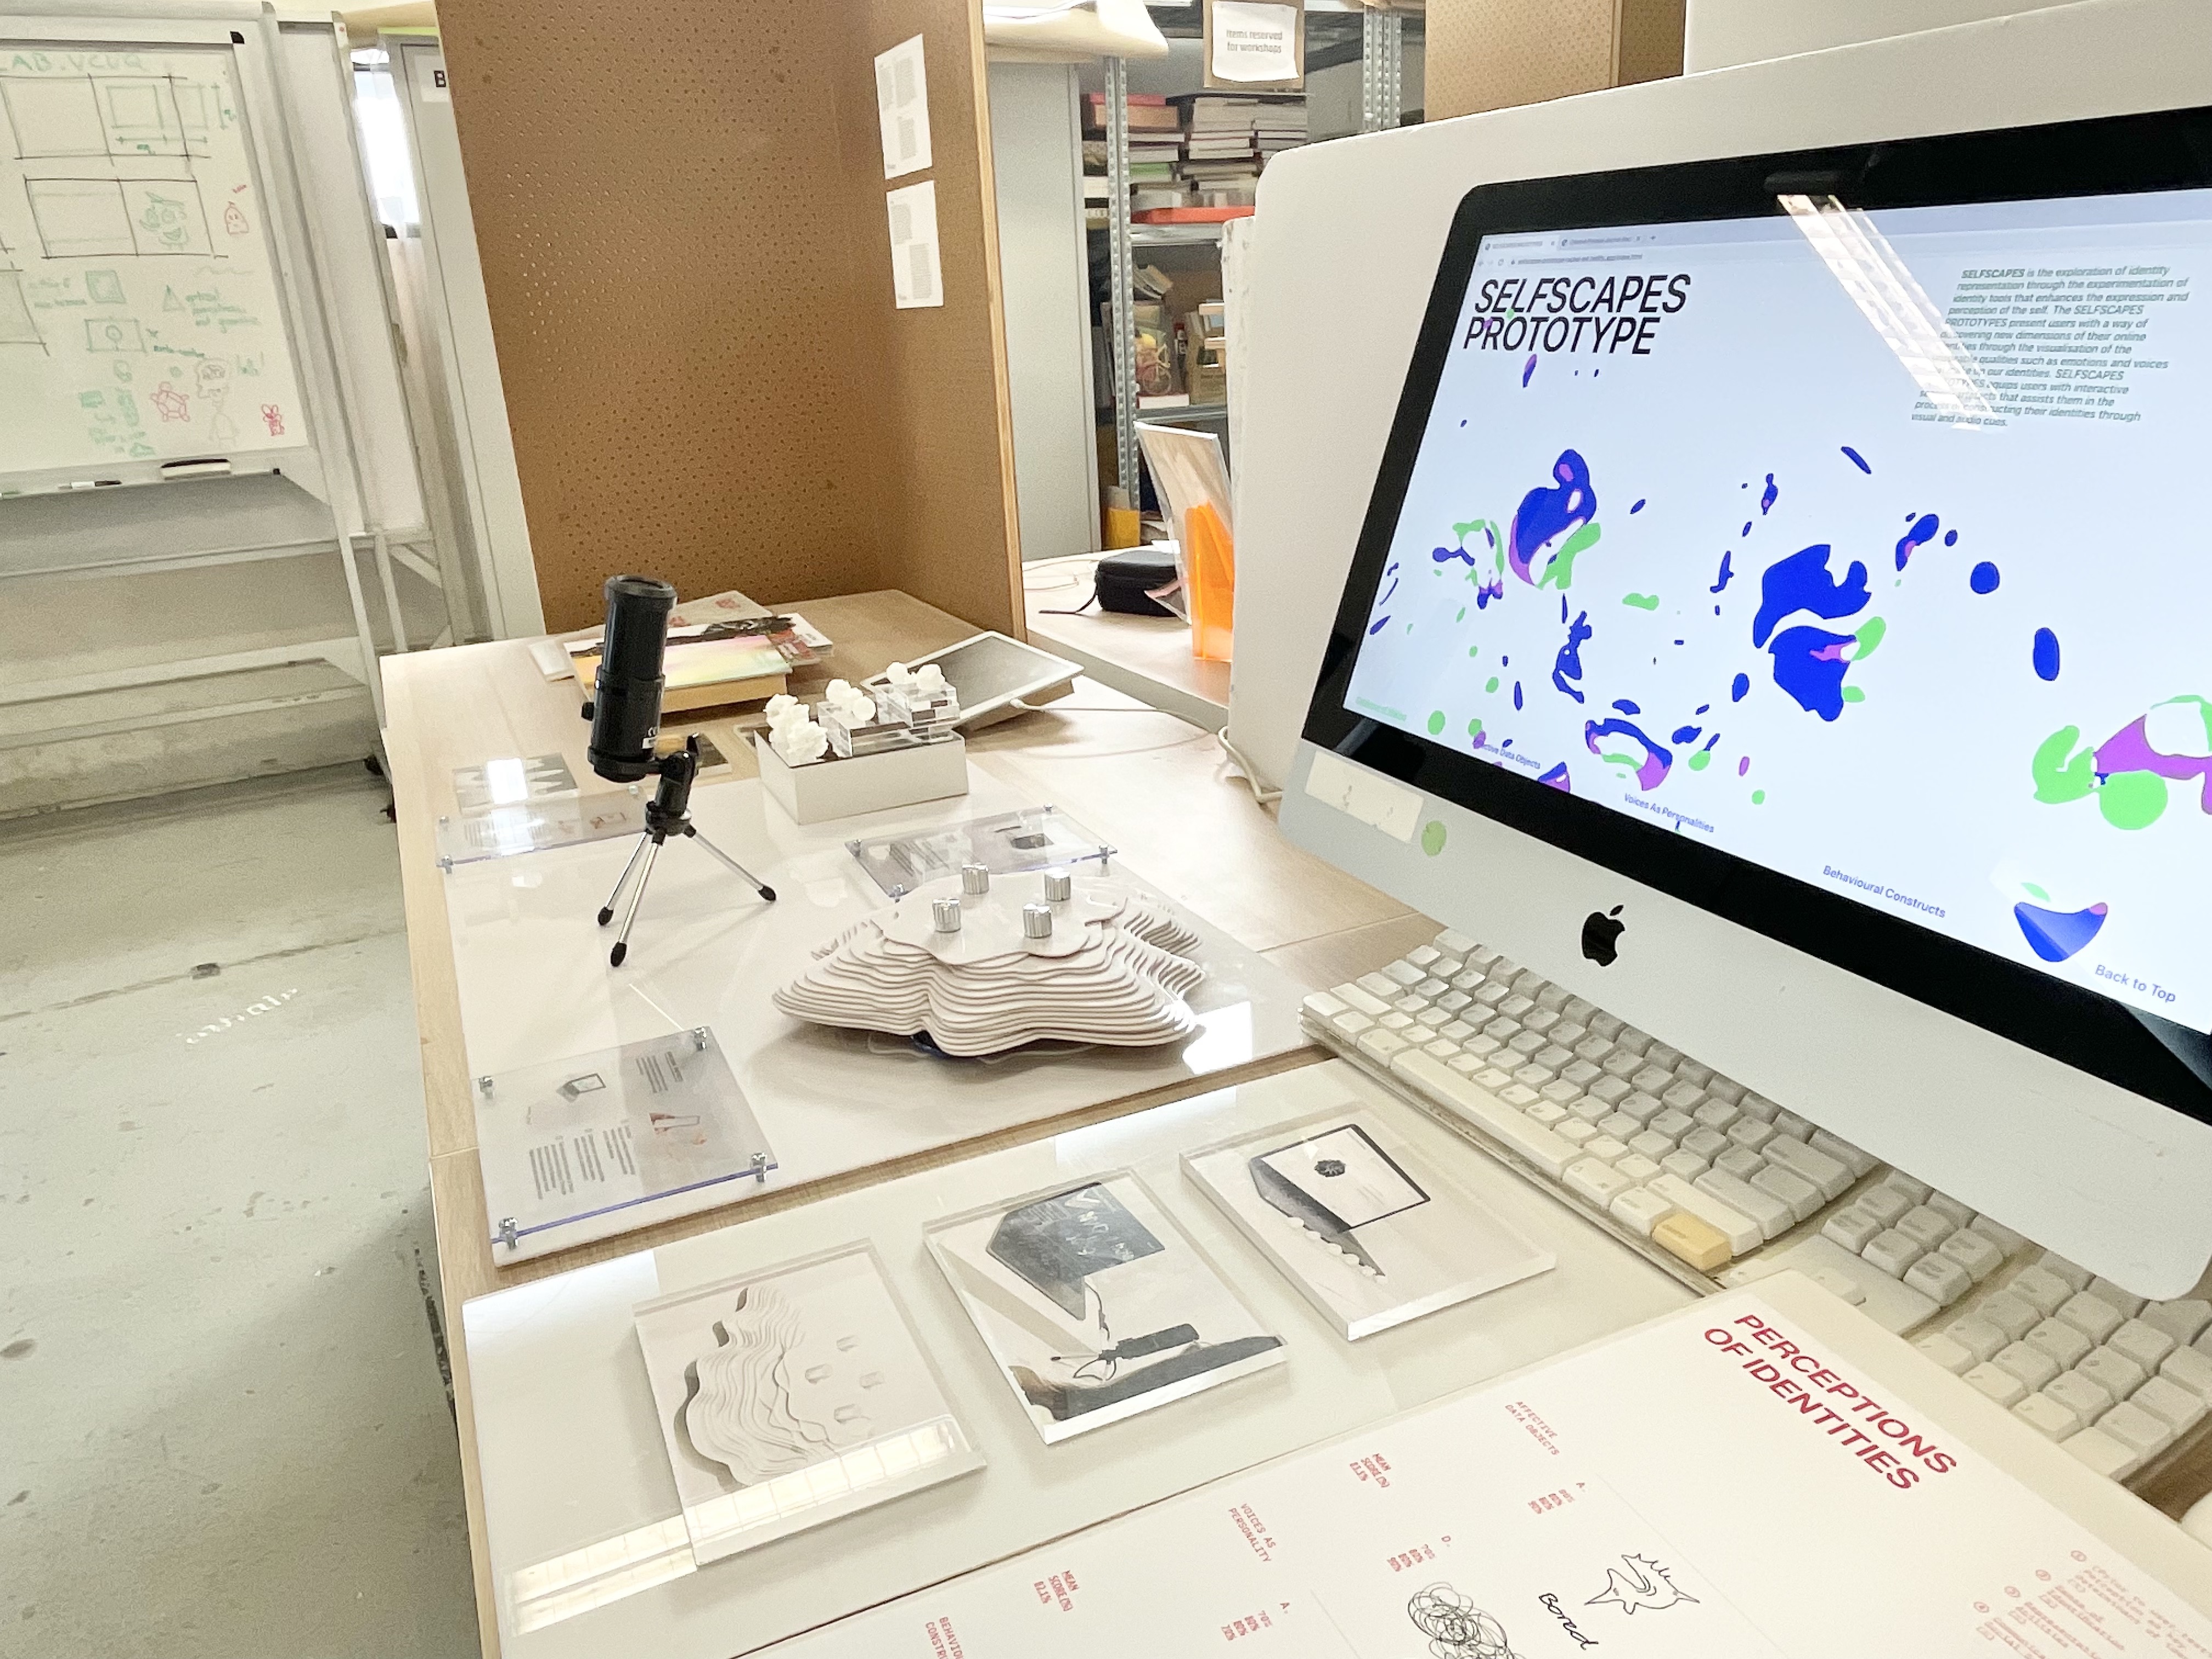
All in all, for the set-up, so much more can be improved for the layout and designing of the space.
I think that I should include more graphical works such as posters, booklets, prints, photos to brighten up and colorise the space. Currently, it looked quite plain
FINAL DELIVERABLES
Website

As I combined the Catalogue of Making website and Prototype websites from sem 1 into a single website for the final submission. To avoid repetition of content, I moved the process documentation for prototypes in the Catalogue of Making website below the experiments as the same content is being shown on the new Prototype website. By doing so, the new Prototype website now features all process documentation in the catalogue of making page, while the semester 1 Catalogue of Making site focuses on the coded experiments that were done in Term 1.
Publications
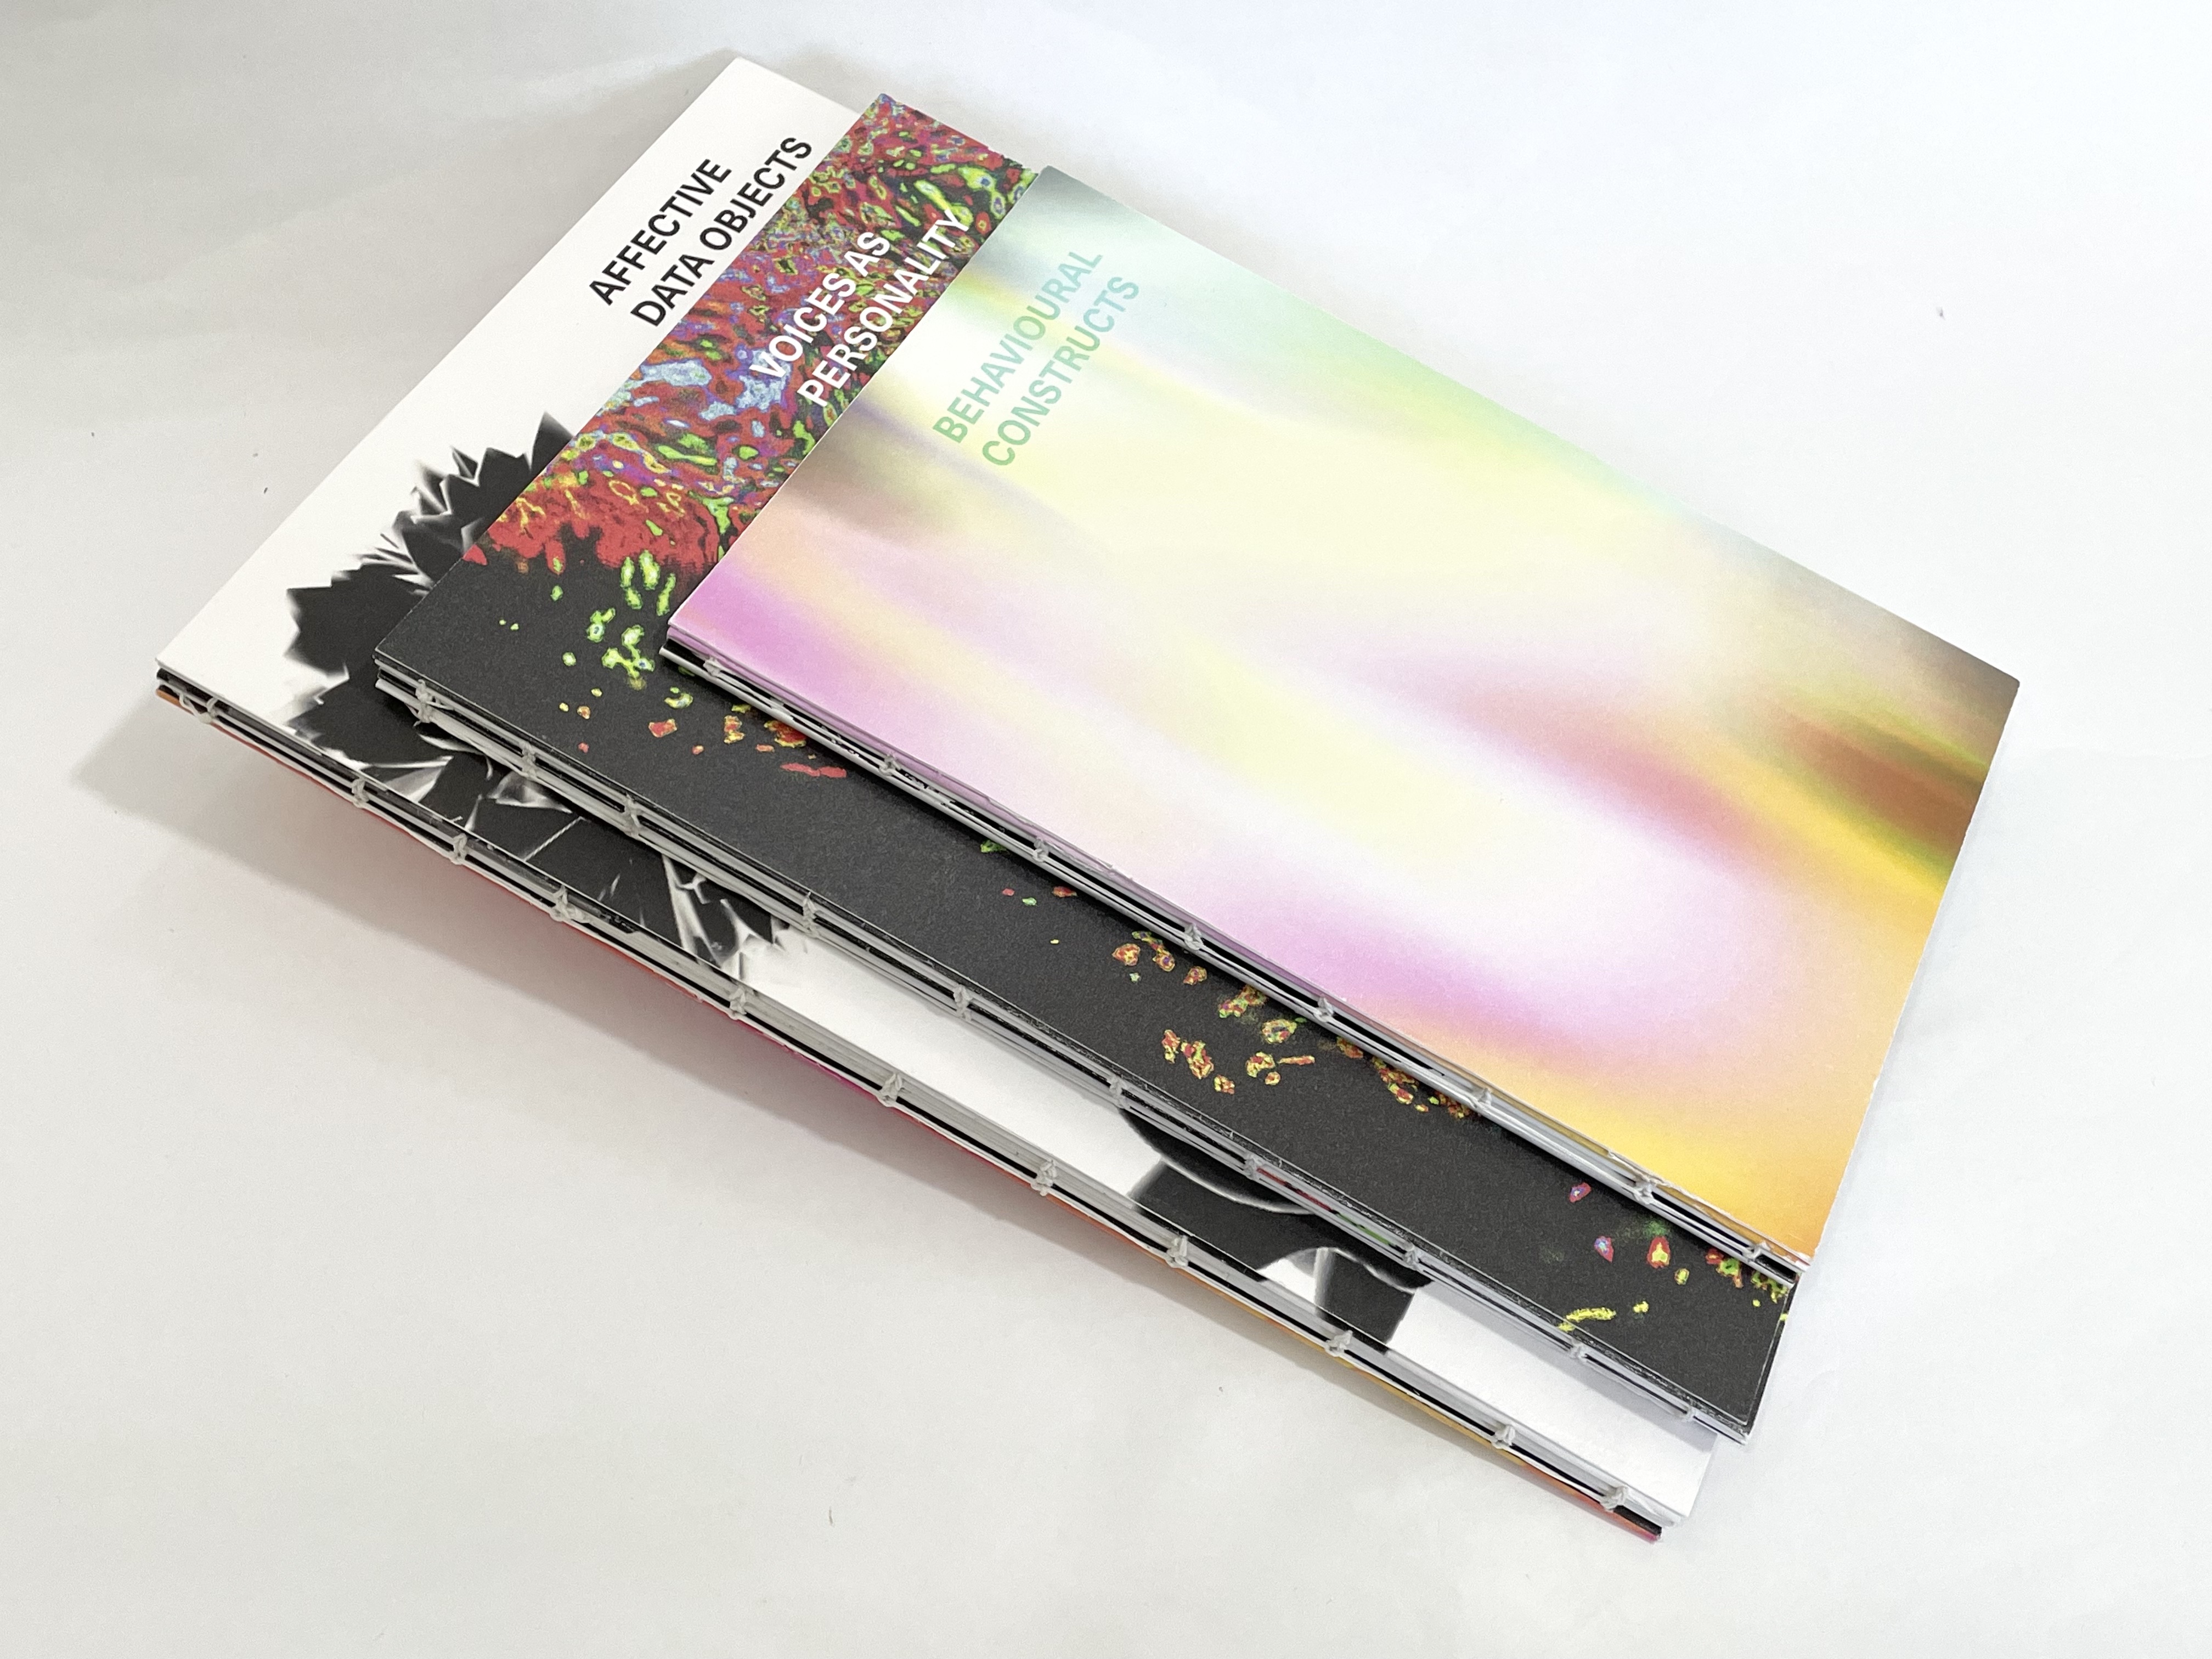
Overall, I'm really happy with the publication outcome. Some things I would improve on would be the printing–paper choice still needs tweaking as the current paper is still slightly heavy on the gsm and a little translucent and binding–this is something I'd like to work on as binding in itself is a great skill and something that I enjoy doing as well.
One of the mistakes while designing the publication was that I overlooked the appearance of black in Indesign. Before these publications, I've never encountered the issue of black prints bind desaturated or altered in the process of printing, hence I was unfamiliar with this problem. After doing some research, I managed to resolve this issue by setting my 'Appearance of Black' preference over in the Indesign settings. Hence, as I only managed to resolve the issue for the digital copies of the publication, if I could change one thing about the publications it would be to preset this before printing out the publications.
Insights Poster
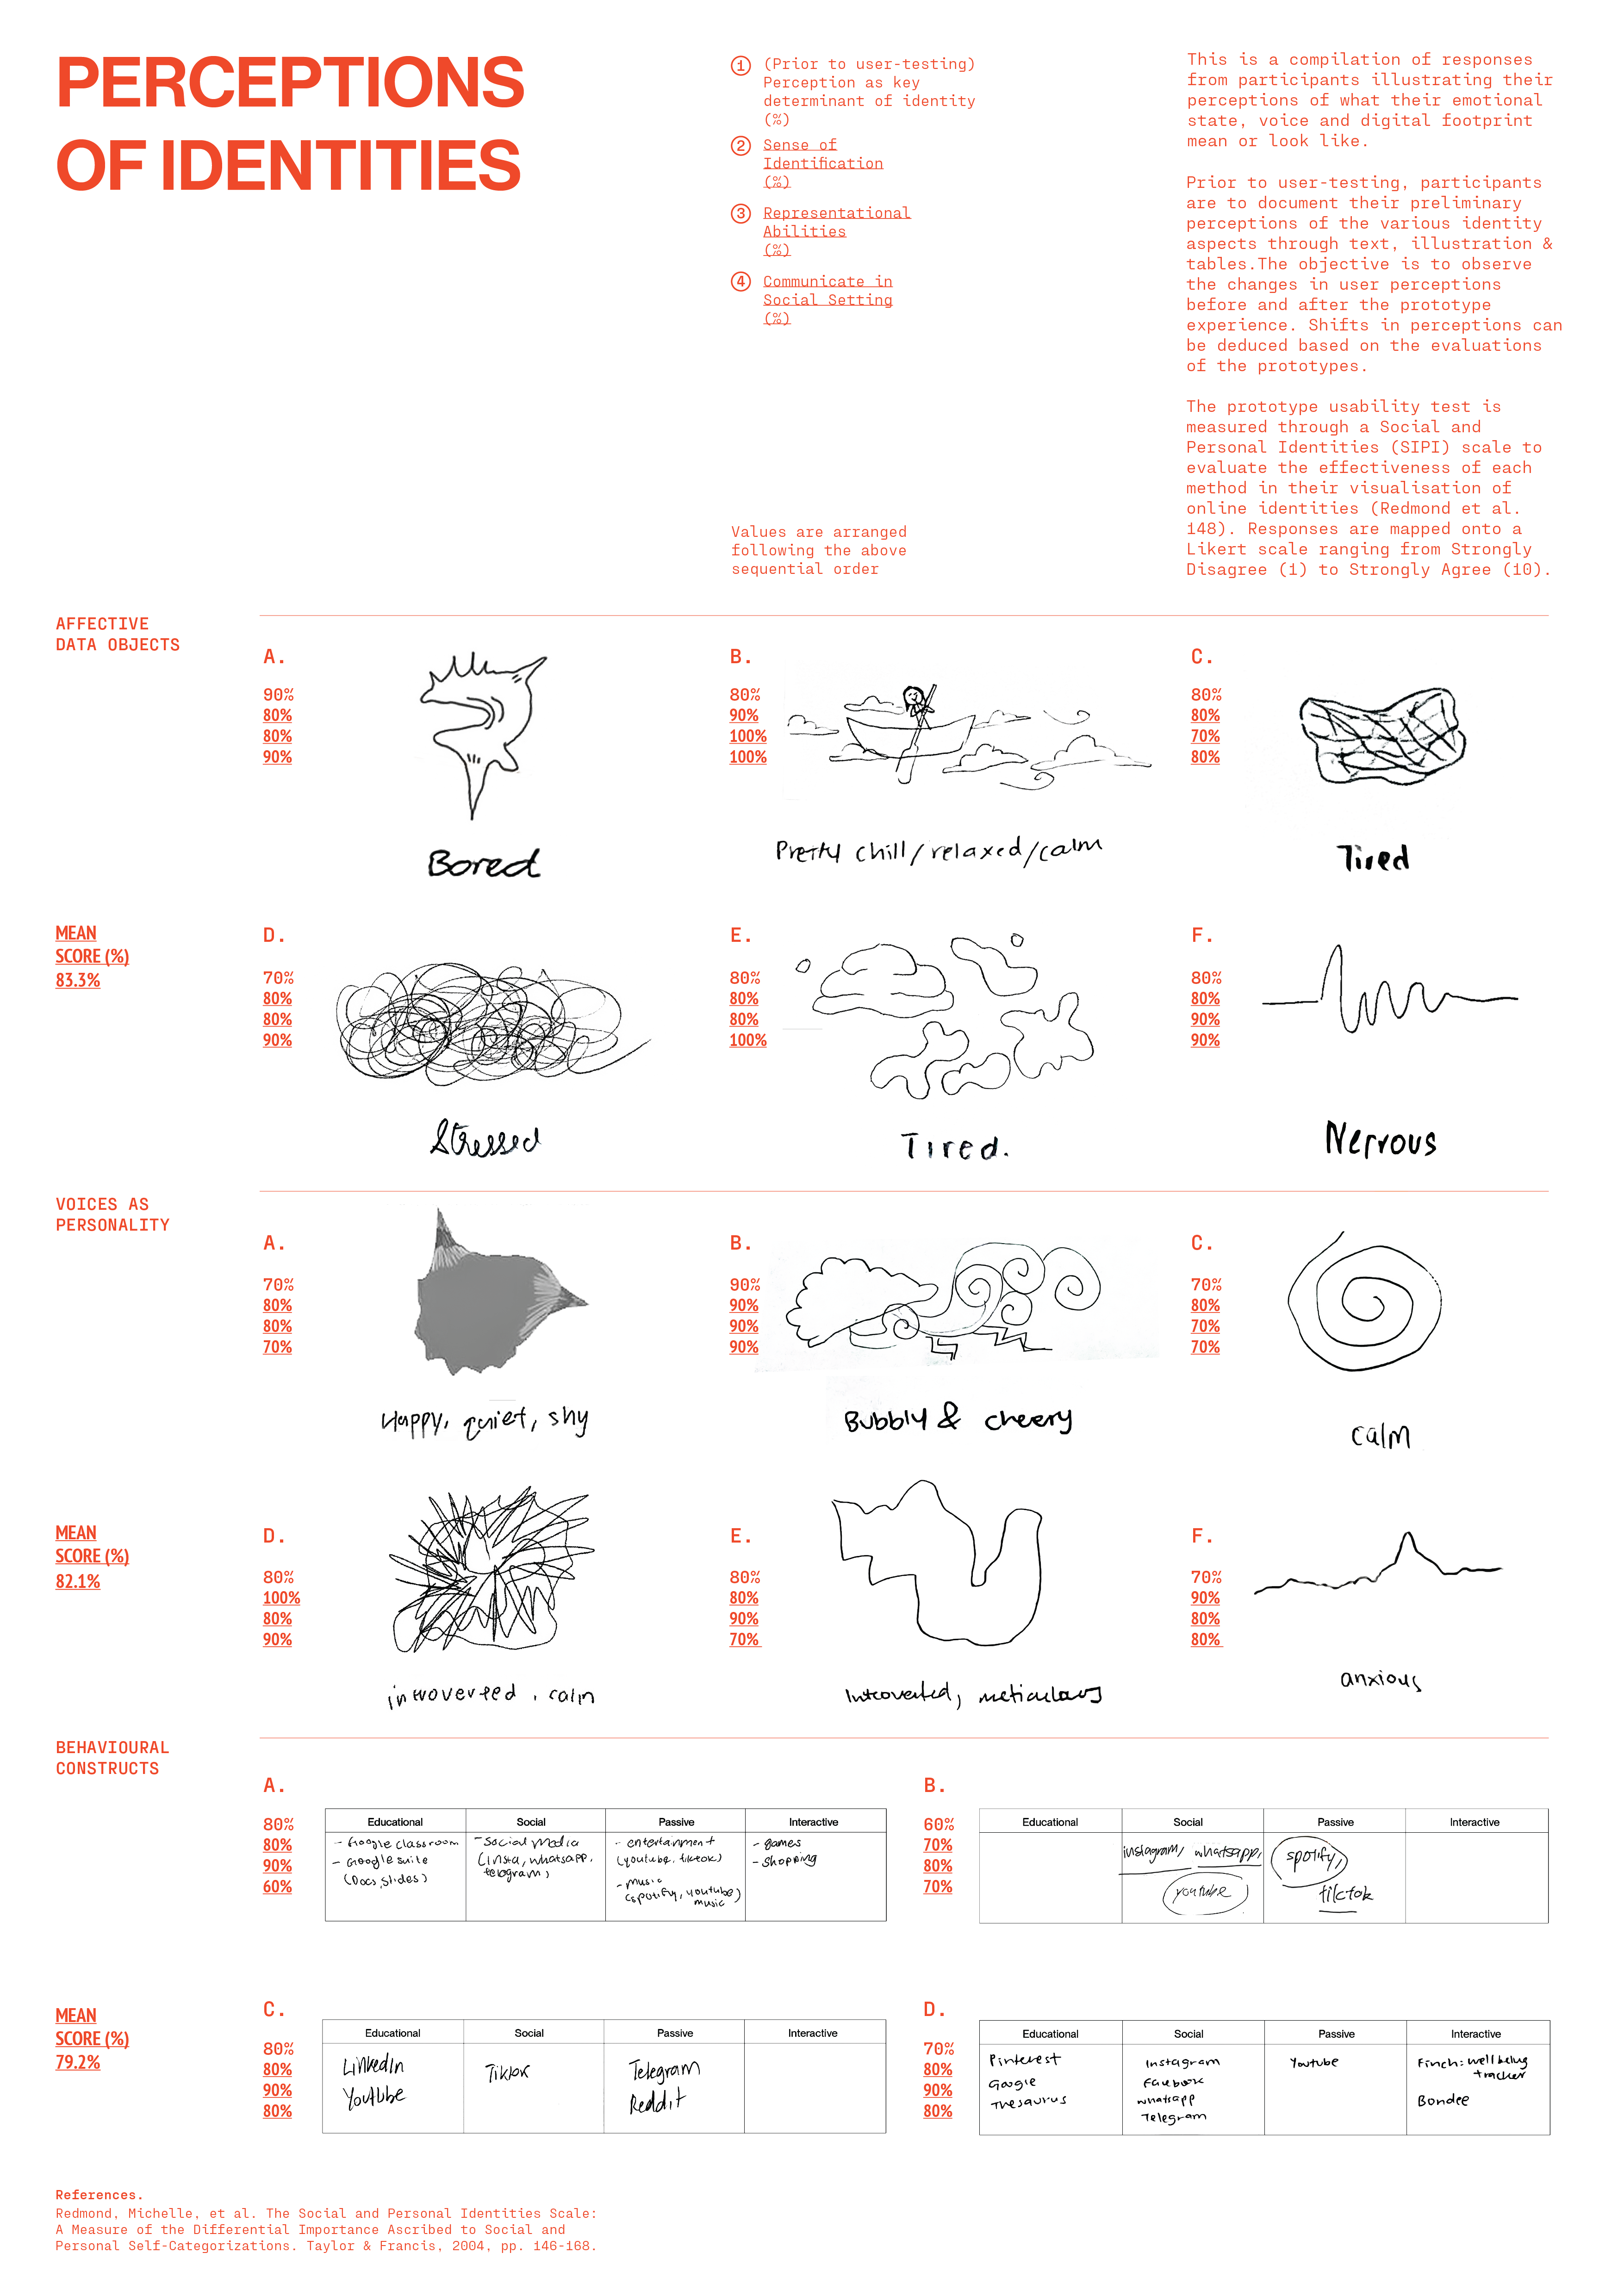
For the poster, I think that as a user-test insights poster, it has successfully served its purpose. However, I do wish to explore more on the graphics–incorporation of the prototype visual elements into a poster series maybe?
Video Documentation
The video documentation acts as a teaser and also a demo of the prototype interaction experience.
→ Link to Selfscapes
Video Documentation
Final Year Reflection
In my final year of design communication was where I see the most growth in myself as a designer. The skills, methods and practices in computation + design has taught me so much more than just visuals but the experience side of design. These practices have also provided me with experiences I'll always cherish and value. The work I've done in my final year is definitely a first step towards a path that I'd like to explore either career-wise or independently. I have enjoyed the process of making every outcome, and with every challenge like 3D printing, laser-cutting, learning Arduino and coding, I've grown more and more curious and explorative in my ways of design thinking. Despite the difficulties, I think that the challenges were part of the process in improving my works. Hence, I wish to continue experimenting with all sorts of materials and methods to generate more exciting and interesting outcomes in the future!